Home>Home Appliances>Kitchen Appliances>How To Fix An Electric Kettle

Kitchen Appliances
How To Fix An Electric Kettle
Modified: October 24, 2024
Learn how to troubleshoot and repair your kitchen appliances with our step-by-step guide. Fix your electric kettle easily and get back to enjoying your favorite hot beverages.
(Many of the links in this article redirect to a specific reviewed product. Your purchase of these products through affiliate links helps to generate commission for Storables.com, at no extra cost. Learn more)
Introduction
Welcome to the world of convenient and efficient kitchen appliances! Electric kettles have become a staple in many households, offering the convenience of quickly boiling water for a variety of purposes, from making hot beverages to cooking. However, like any other appliance, electric kettles may encounter issues over time, such as failure to boil water, strange noises, or even electrical malfunctions.
In this comprehensive guide, we will explore the troubleshooting, maintenance, and repair of electric kettles. Whether you are a seasoned user or a newcomer to the realm of electric kettles, understanding how to address common issues and perform routine maintenance can extend the lifespan of your appliance and ensure that it continues to serve you reliably.
We will delve into the tools and materials needed for the job, walk through the troubleshooting process, discuss the importance of cleaning and descaling, explore the possibility of replacing parts, and conclude with final checks and testing to confirm that your electric kettle is back in optimal working condition.
So, grab your toolkit and let's embark on a journey to unravel the mysteries of electric kettle repair and maintenance. With a little know-how and a touch of DIY spirit, you can keep your electric kettle functioning like new for years to come.
Key Takeaways:
- Keep your electric kettle in top shape by descaling it regularly with vinegar or a descaling solution to remove mineral deposits and ensure optimal performance and longevity.
- When troubleshooting and cleaning fail, consider replacing parts like the heating element or thermostat to restore your electric kettle’s functionality. Always prioritize safety and seek professional assistance if needed.
Read more: What Is An Electric Kettle
Tools and Materials Needed
Before diving into the repair and maintenance of your electric kettle, it’s essential to gather the necessary tools and materials to ensure a smooth and efficient process. Here’s a list of items you’ll need:
- Screwdriver: A Phillips or flathead screwdriver, depending on the type of screws used in your kettle’s construction, will be essential for accessing the internal components.
- Multimeter: This handy device will allow you to test the electrical continuity and voltage of various components within the kettle, aiding in the diagnosis of electrical issues.
- Cotton Swabs or Soft Cloth: These will be used for cleaning and wiping down the interior and exterior of the kettle.
- Vinegar or Descaling Solution: For descaling the kettle to remove mineral buildup and ensure optimal performance.
- Replacement Parts: Depending on the specific issue you encounter, you may need replacement parts such as heating elements, thermostats, or power cords. It’s advisable to have these on hand before beginning the repair process.
- Owner’s Manual: If available, the owner’s manual can provide valuable insights into the construction, components, and troubleshooting procedures specific to your electric kettle model.
By having these tools and materials prepared, you’ll be well-equipped to address a wide range of issues that may arise with your electric kettle. With the right resources at your disposal, you can approach the repair and maintenance process with confidence and efficiency.
Troubleshooting
When your electric kettle exhibits signs of malfunction, it’s essential to troubleshoot the issue to identify the root cause. Here are some common problems you might encounter and the steps to troubleshoot them:
- Kettle Not Boiling: If your kettle is not heating the water, the issue may stem from a faulty power cord, heating element, or thermostat. Begin by checking the power cord for any visible damage or fraying. Use a multimeter to test for continuity in the cord. If the power cord is functioning correctly, the heating element or thermostat may require inspection and potential replacement.
- Strange Noises: Unusual sounds emanating from the kettle could indicate mineral buildup on the heating element or a loose internal component. Try descaling the kettle with vinegar or a descaling solution to remove any mineral deposits. If the noise persists, it may be necessary to open the kettle and inspect the internal components for loose or damaged parts.
- Electrical Malfunctions: If the kettle fails to turn on or experiences intermittent power issues, the electrical connections and components should be examined. Check for loose wiring, blown fuses, or faulty switches. Use a multimeter to test the continuity and voltage of the electrical components to pinpoint the source of the malfunction.
By systematically troubleshooting these common issues, you can gain valuable insights into the condition of your electric kettle and determine the appropriate course of action for repairs. Remember to exercise caution when handling electrical components and always unplug the kettle before conducting any troubleshooting procedures.
Cleaning and Descaling
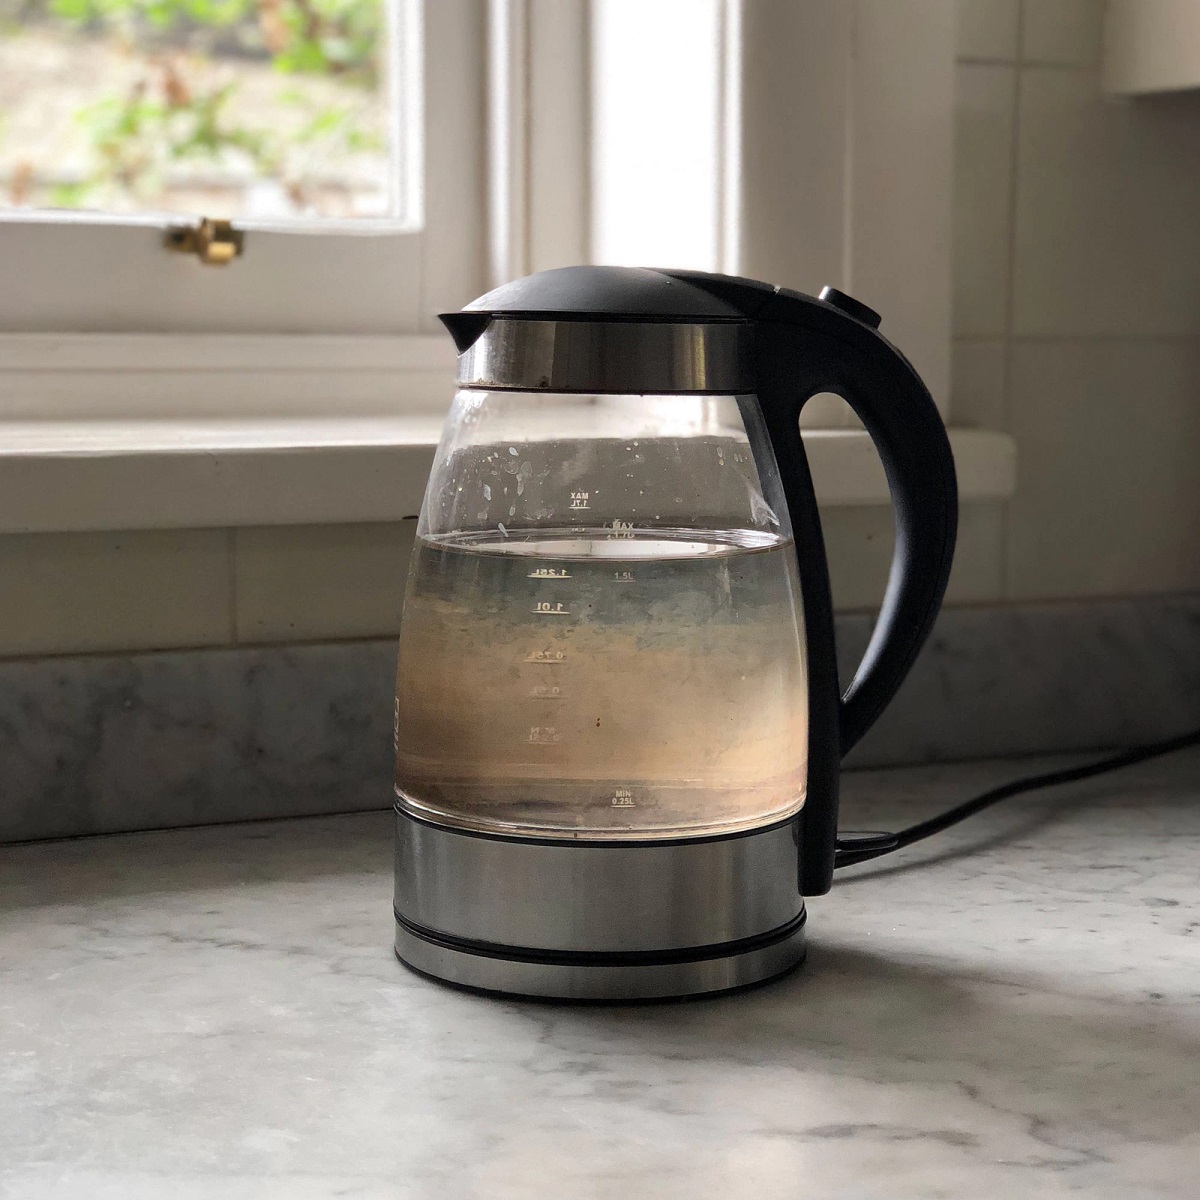
Maintaining a clean and descaled electric kettle is crucial for ensuring optimal performance and prolonging its lifespan. Over time, mineral deposits from water, such as limescale, can accumulate on the heating element and interior surfaces, leading to reduced efficiency and potential damage. Here’s how to effectively clean and descale your electric kettle:
- Vinegar Descale: One of the most common and effective methods for descaling an electric kettle is using white vinegar. Begin by filling the kettle with equal parts water and vinegar, ensuring that the heating element is submerged. Allow the solution to sit for an hour or two to dissolve the mineral deposits. Next, boil the vinegar solution and allow it to cool before discarding. Rinse the kettle thoroughly with clean water to remove any residual vinegar.
- Descaling Solution: Alternatively, commercial descaling solutions specifically designed for electric kettles are available and can offer efficient descaling with minimal effort. Follow the manufacturer’s instructions for the proper use of the descaling solution, ensuring thorough rinsing of the kettle after descaling.
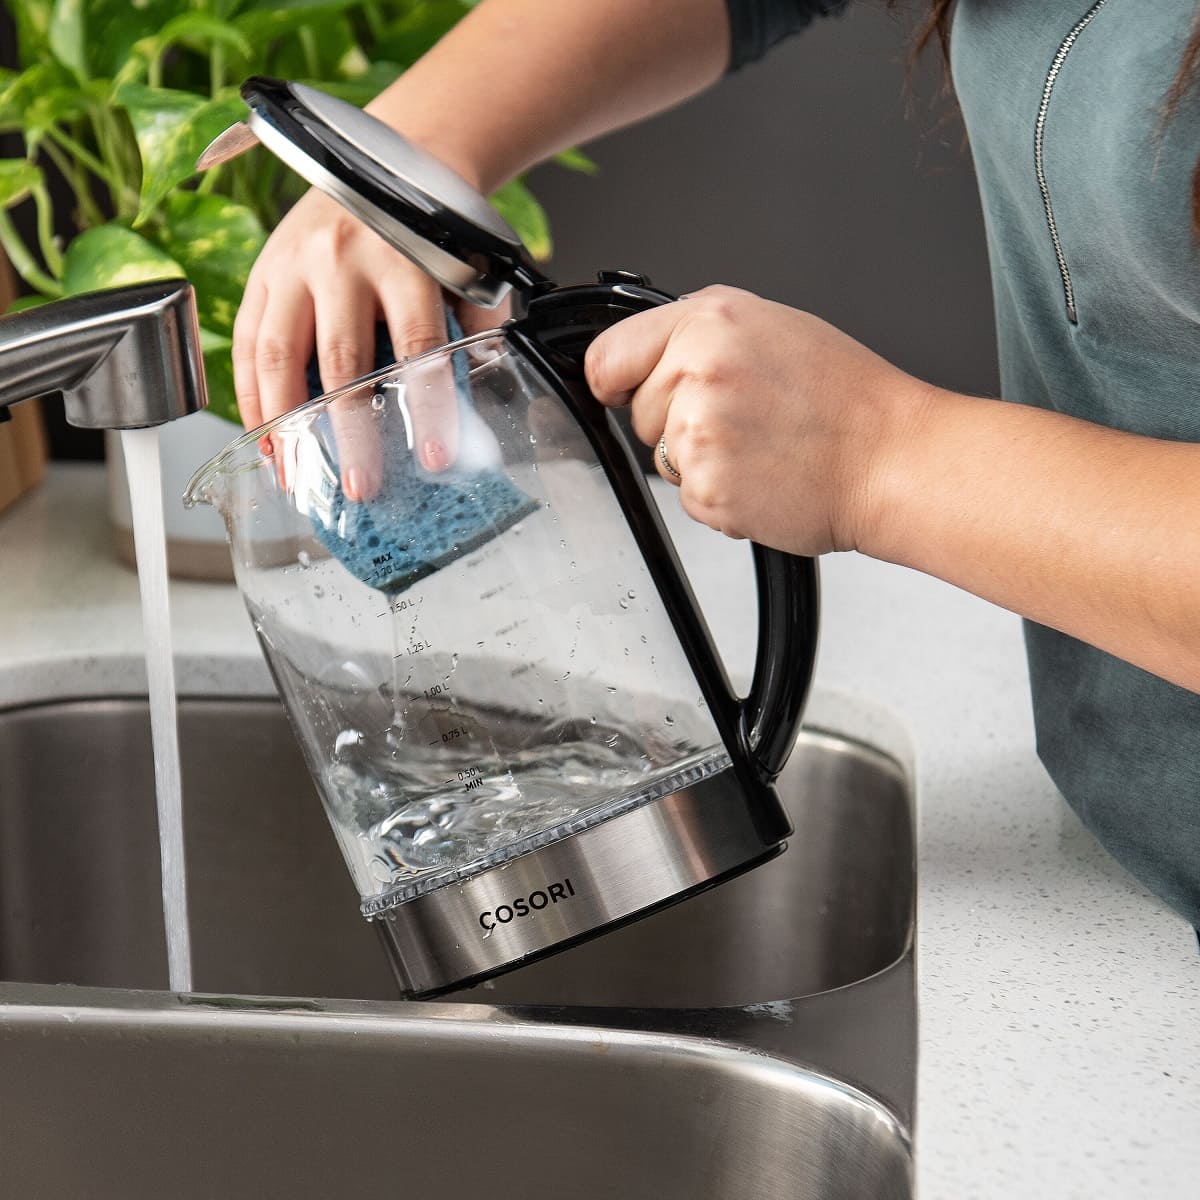
- Exterior Cleaning: To maintain the exterior of the kettle, use a soft cloth dampened with mild soapy water to wipe away any stains or residue. Avoid abrasive cleaners or scouring pads, as they may damage the kettle’s finish.
- Regular Maintenance: To prevent excessive mineral buildup, consider descaling your electric kettle every few months, especially if you live in an area with hard water. Regular maintenance will help preserve the kettle’s heating efficiency and ensure the purity of boiled water for consumption.
By incorporating regular cleaning and descaling into your electric kettle maintenance routine, you can mitigate the effects of mineral deposits and maintain the appliance’s functionality at its best. Not only will this contribute to a better tasting cup of tea or coffee, but it will also extend the longevity of your electric kettle.
If your electric kettle is not working, try descaling it with a mixture of equal parts water and vinegar. Let it sit for an hour, then rinse thoroughly. This can help remove mineral buildup and get your kettle working again.
Replacing Parts
When troubleshooting and cleaning fail to resolve the issues with your electric kettle, it may be necessary to replace certain components to restore its functionality. Here are the key parts that may need replacement and the steps to undertake this process:
- Heating Element: If your kettle fails to heat or boils water inconsistently, a faulty heating element could be the culprit. To replace the heating element, begin by unplugging the kettle and removing the base. Depending on the kettle’s design, you may need to unscrew or detach the heating element from its housing. Take note of the wiring connections and carefully disconnect them before installing the new heating element. Ensure that the replacement part is compatible with your kettle model.
- Thermostat: A malfunctioning thermostat can lead to overheating or inadequate heating of the water. To replace the thermostat, access the internal components of the kettle and locate the thermostat assembly. Disconnect the wiring and remove the faulty thermostat, replacing it with a compatible new unit. Exercise caution when handling electrical components and ensure that the kettle is unplugged throughout the replacement process.
- Power Cord: If the power cord is damaged or compromised, it is essential to replace it to maintain the safety and functionality of the kettle. Begin by disconnecting the old power cord from the terminal connections within the kettle. Install the new power cord by carefully connecting it to the appropriate terminals, ensuring a secure and proper fit.
Before embarking on the replacement of any parts, it is crucial to source the correct replacement components that are compatible with your electric kettle model. Additionally, exercise caution when working with electrical components, and if you are uncertain about the replacement process, it may be advisable to seek professional assistance to ensure the safe and effective restoration of your electric kettle.
Read more: How To Clean An Electric Kettle
Final Checks and Testing
After performing troubleshooting, cleaning, and potential part replacements, it is essential to conduct thorough checks and testing to ensure that your electric kettle is operating as intended. Here are the final steps to confirm the success of your repair and maintenance efforts:
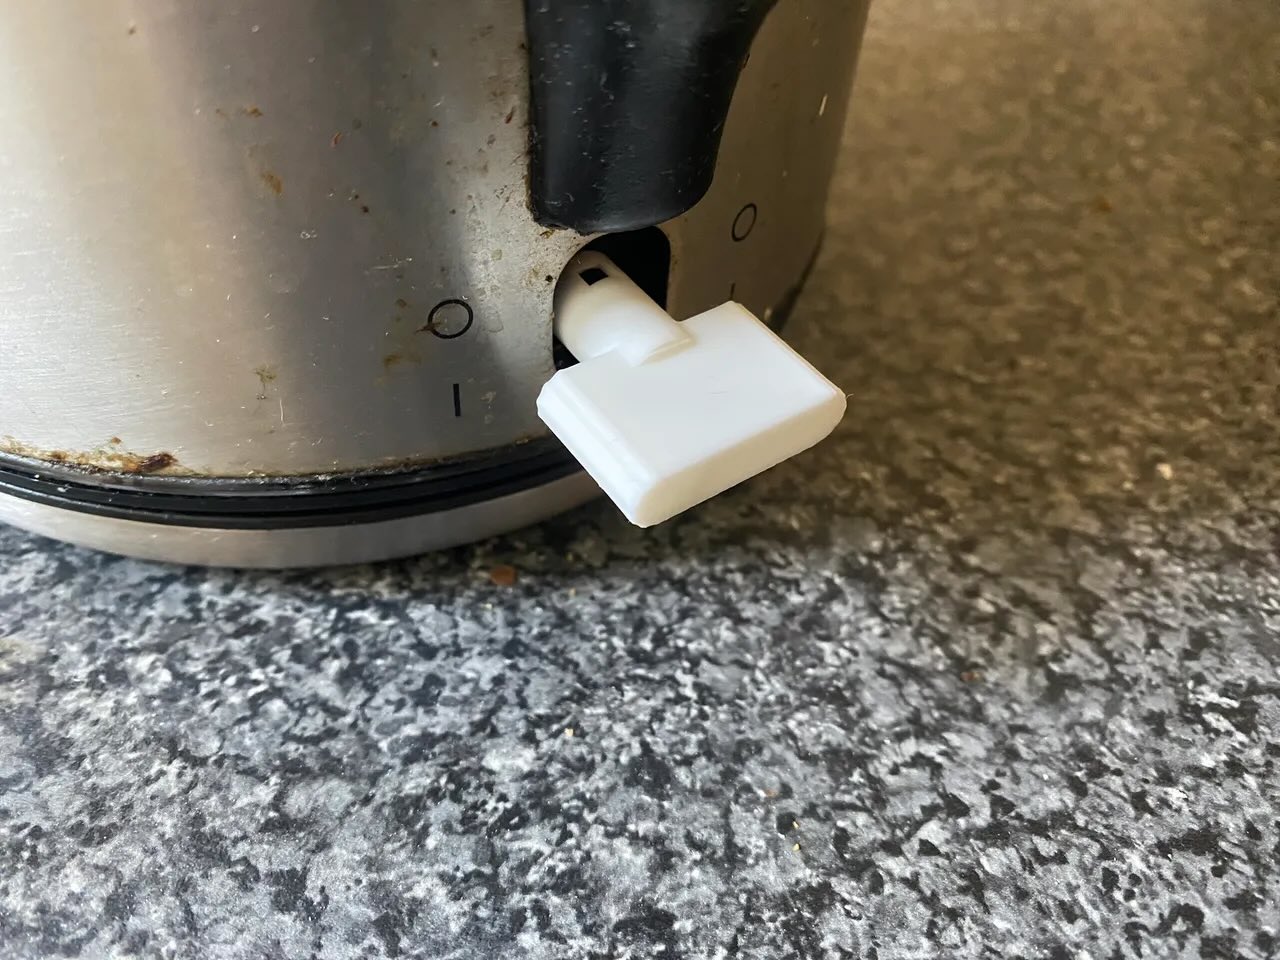
- Visual Inspection: Before reconnecting the power, visually inspect the kettle’s interior and exterior for any loose components, debris, or signs of damage. Ensure that all parts are securely reassembled and that no foreign objects are present inside the kettle.
- Electrical Safety: Double-check the electrical connections and ensure that any replaced components, such as the heating element or power cord, are properly installed and secured. Avoid any exposed wiring or loose connections that could pose a safety hazard.
- Power On and Boil Test: Plug in the kettle and perform a boil test with water to verify that it heats up efficiently and reaches the desired temperature. Observe the heating process and listen for any unusual noises that may indicate lingering issues.
- Water Taste and Quality: Once the kettle has boiled water, pour it out and assess the taste and clarity. If the water exhibits any unusual flavors or odors, it may indicate lingering mineral deposits or residual cleaning solutions, necessitating further rinsing and testing.
By meticulously conducting these final checks and testing procedures, you can ensure that your electric kettle is not only operational but also safe to use and capable of producing clean, high-quality boiled water. If the kettle passes these tests successfully, you can rest assured that your repair and maintenance efforts have been fruitful, and your appliance is ready to resume its essential role in your kitchen.
Conclusion
Repairing and maintaining your electric kettle is a rewarding endeavor that can prolong the lifespan of this indispensable kitchen appliance. By familiarizing yourself with the troubleshooting process, cleaning and descaling techniques, and the potential replacement of parts, you can address common issues and ensure that your electric kettle continues to serve you reliably.
Remember, regular cleaning and descaling are key to preventing mineral buildup and preserving the efficiency of your kettle. Additionally, conducting thorough checks and testing after any repair or maintenance work ensures the safety and functionality of the appliance.
While some repairs and maintenance tasks can be accomplished through DIY efforts, it’s important to prioritize safety and seek professional assistance if you encounter complex electrical issues or feel uncertain about handling certain components.
By following the guidelines outlined in this comprehensive guide, you can take proactive measures to keep your electric kettle in optimal working condition, providing you with the convenience of swiftly boiling water for your favorite hot beverages and culinary endeavors. With a little care and attention, your electric kettle will continue to be a reliable companion in your kitchen for years to come.
So, the next time your electric kettle encounters a hiccup, roll up your sleeves, gather your tools, and embark on a journey of repair and maintenance, knowing that you have the knowledge and skills to keep your trusty kettle in top shape.
Frequently Asked Questions about How To Fix An Electric Kettle
Was this page helpful?
At Storables.com, we guarantee accurate and reliable information. Our content, validated by Expert Board Contributors, is crafted following stringent Editorial Policies. We're committed to providing you with well-researched, expert-backed insights for all your informational needs.


0 thoughts on “How To Fix An Electric Kettle”