Home>Storage Ideas>Kitchen Storage>How To Clean An Electric Kettle
Kitchen Storage
How To Clean An Electric Kettle
Modified: October 20, 2024
Learn how to effectively clean your electric kettle with these easy kitchen storage ideas. Keep it sparkling and odor-free for a great cup of tea every time!
(Many of the links in this article redirect to a specific reviewed product. Your purchase of these products through affiliate links helps to generate commission for Storables.com, at no extra cost. Learn more)
Introduction
Welcome to our comprehensive guide on how to clean an electric kettle! Electric kettles are a convenient and efficient appliance for boiling water, but they can quickly accumulate mineral deposits, limescale, and other residues that can affect the taste and performance of your beverages. Regularly cleaning your electric kettle not only ensures a longer lifespan but also guarantees a clean and fresh cup of tea, coffee, or any other hot beverage you enjoy.
In this article, we will take you through a step-by-step process of cleaning your electric kettle effectively. From safety precautions to the proper cleaning techniques, we’ve got you covered. So, grab your supplies and let’s get started!
Key Takeaways:
- Regularly cleaning your electric kettle with vinegar or lemon juice removes limescale and mineral deposits, ensuring a fresh and flavorful cup of hot beverages every time.
- Prioritize safety by unplugging and cooling down the kettle before cleaning, and handle with care to maintain its longevity and performance.
Read more: How To Clean A Cosori Electric Kettle
Safety Precautions
Before you start cleaning your electric kettle, it’s essential to take some safety precautions to protect yourself and prevent damage to the appliance:
- Unplug the kettle: Ensure that the kettle is unplugged and disconnected from the power source before you begin the cleaning process. This will help prevent any electrical accidents.
- Let it cool down: Wait for the kettle to cool down completely before you start cleaning. Hot surfaces can cause burns and injuries.
- Read the manufacturer’s instructions: Different electric kettles may have specific cleaning instructions provided by the manufacturer. It’s important to read and follow these guidelines to avoid damaging your kettle.
- Avoid submerging electrical components: When cleaning the kettle, avoid submerging any electrical components, including the base or the power cord, in water. This can damage the kettle and pose an electrical hazard.
- Use gentle cleaning agents: Stick to mild and safe cleaning agents, such as vinegar or lemon juice, which are effective in removing limescale and mineral deposits without causing any harm to the kettle.
- Handle with care: When handling the kettle, be cautious of any sharp or protruding edges. Use oven mitts or a towel to protect your hands while cleaning.
- Avoid abrasive scrubbing: Use soft brushes or cloths to clean the interior and exterior of the kettle. Abrasive scrubbing pads can scratch and damage the surfaces.
- Ensure thorough drying: After cleaning, make sure the kettle is completely dry before plugging it back in or storing it. Moisture can lead to mold or electrical malfunctions.
By following these safety precautions, you will create a safe environment for cleaning your electric kettle and ensure the longevity of the appliance.
Step 1: Gather Your Supplies
Before you begin cleaning your electric kettle, gather all the necessary supplies. Having them on hand will make the cleaning process smooth and efficient. Here’s what you’ll need:
- White vinegar or lemon juice: These acidic substances are excellent for removing limescale and mineral deposits from the interior of the kettle.
- Water: You’ll need water to fill the kettle and create a cleaning solution.
- Mild dish soap: Use a gentle dish soap to clean the exterior of the kettle.
- A soft brush or sponge: A soft-bristled brush or sponge will help scrub away any residue without scratching the surface.
- A cloth or towel: Keep a cloth or towel nearby to wipe down the kettle and dry it after cleaning.
Once you have gathered all the necessary supplies, you’re ready to move on to the next steps and start cleaning your electric kettle. Remember, using the right cleaning agents and tools will ensure stubborn stains and deposits are effectively removed, leaving your kettle looking and functioning like new.
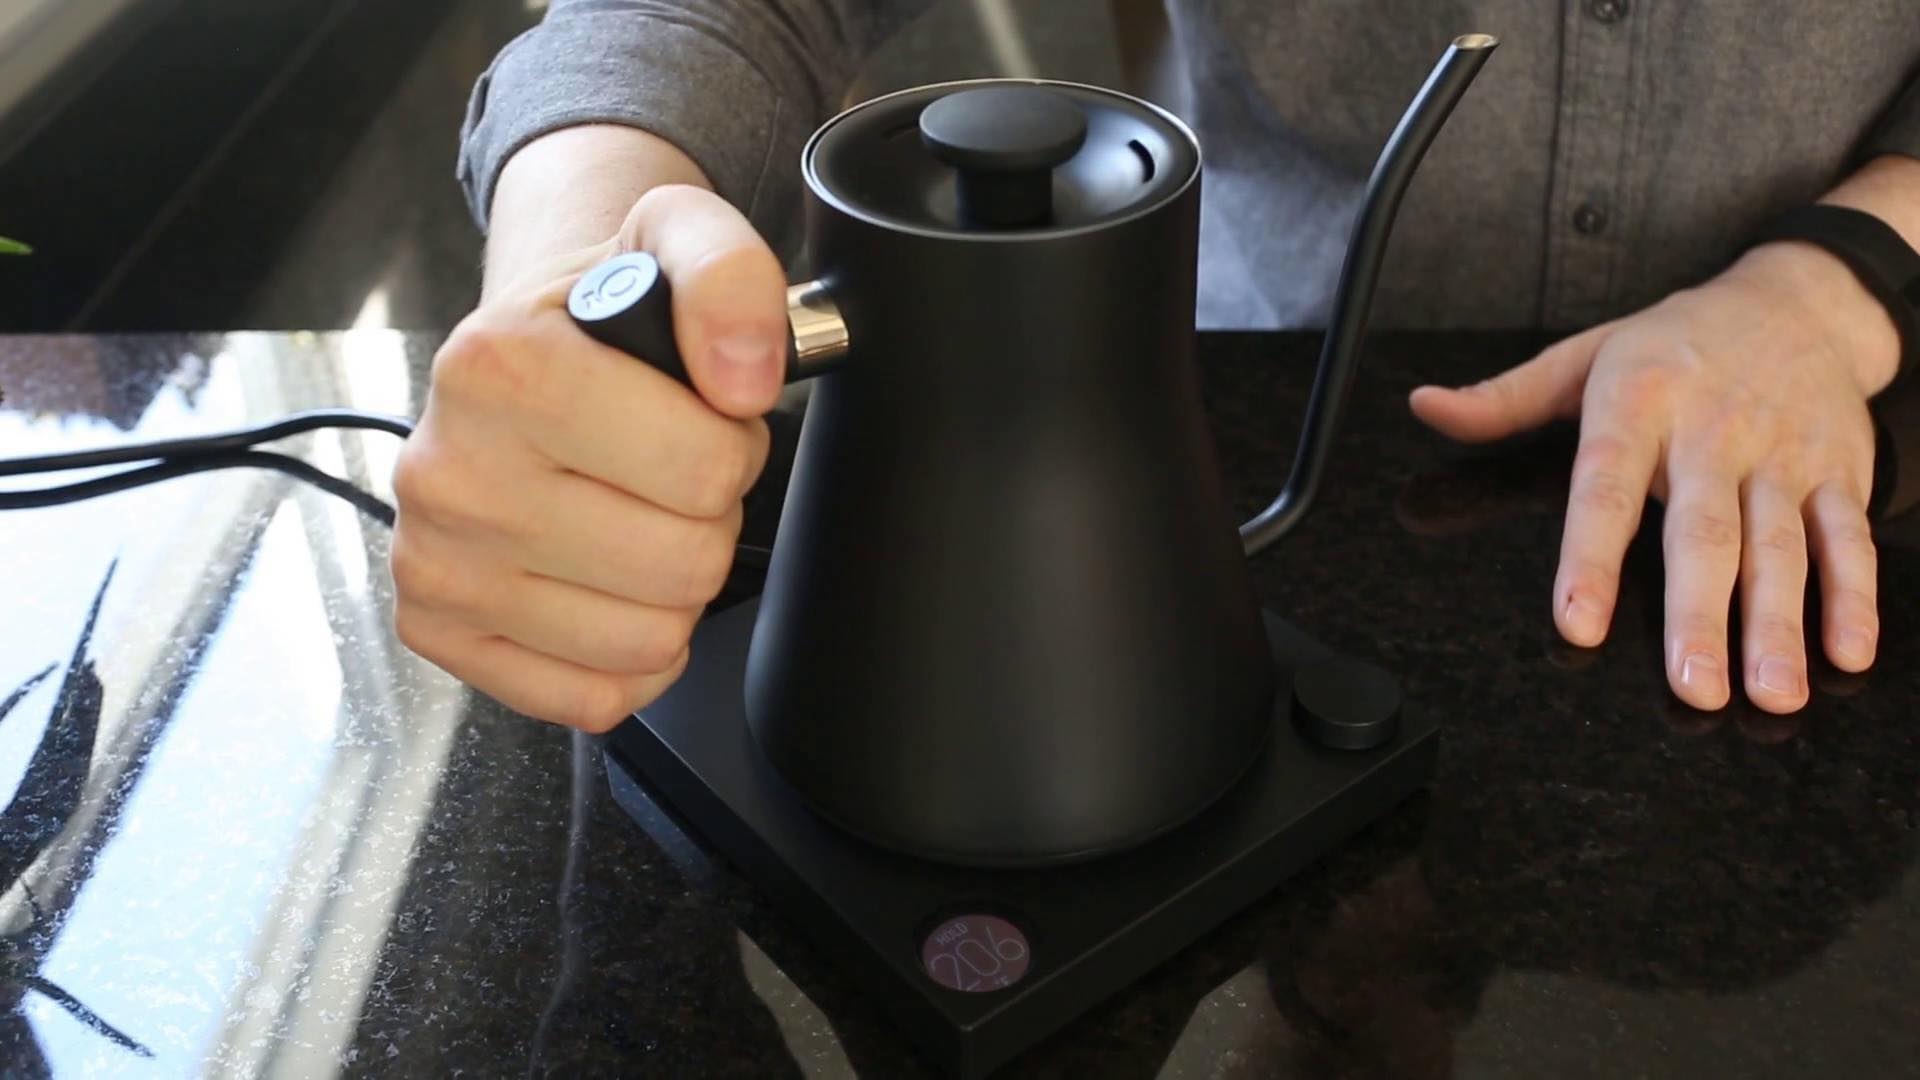
Step 2: Unplug and Cool Down the Kettle
Before you begin the cleaning process, ensure that your electric kettle is unplugged from the power source. This is crucial for your safety and to prevent any electrical accidents.
Next, you’ll want to allow the kettle to cool down completely. Hot surfaces can cause burns and injuries, so it’s essential to give it enough time to reach a safe temperature.
Once the kettle has cooled down, you can proceed to the next steps of the cleaning process. It’s important to never attempt to clean an electric kettle while it’s still hot or plugged in, as this can be extremely hazardous.
By following this step, you are prioritizing safety and creating a safe and controlled environment for cleaning your electric kettle.
Step 3: Remove Any Detachable Parts
Now that your electric kettle is unplugged and cooled down, it’s time to remove any detachable parts before cleaning. This step allows for easier access to all areas of the kettle and ensures a thorough cleaning.
Depending on the manufacturer and model of your kettle, there may be various removable parts, such as a removable filter, spout cover, or lid. Carefully check the kettle to identify which parts can be detached.
Follow these steps to remove the detachable parts:
- Filter: Many electric kettles have a removable filter that prevents any particles or impurities from being poured into your drink. Simply lift or slide out the filter from the designated area inside the kettle.
- Spout cover: Some kettles have a spout cover that can be easily lifted or twisted off. Gently remove the spout cover to expose the spout opening.
- Lid: Check if your kettle has a detachable lid. If it does, lift or pull it off to open up the kettle.
Once you have removed all the detachable parts, set them aside for separate cleaning later. By doing this, you can focus on cleaning the main body of the kettle without any obstructions.
Taking the time to remove the detachable parts ensures that every nook and cranny of your electric kettle can be thoroughly cleaned, leaving no residue behind.
Fill the kettle with equal parts water and vinegar, bring to a boil, then let it sit for an hour. Rinse thoroughly with water to remove any vinegar taste.
Read more: How To Clean A Chefman Electric Kettle
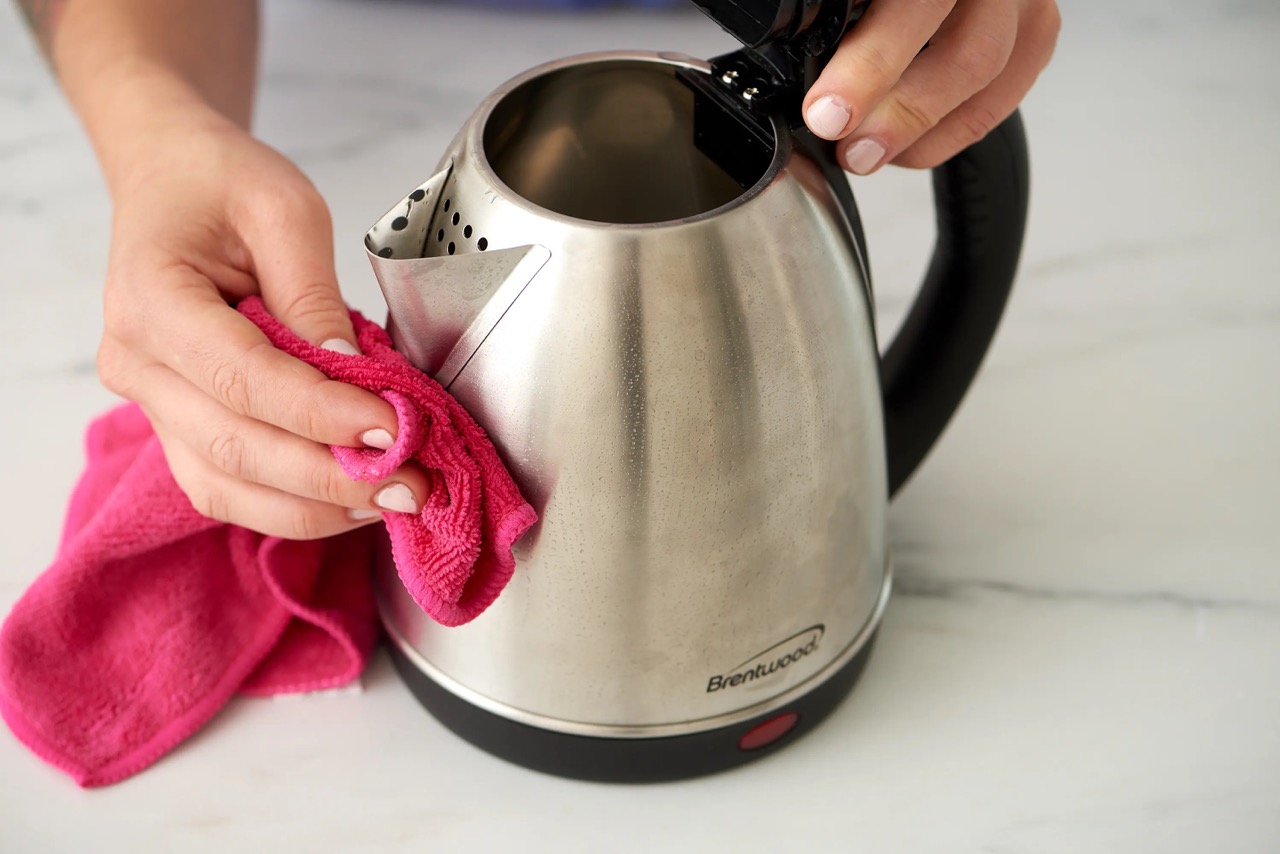
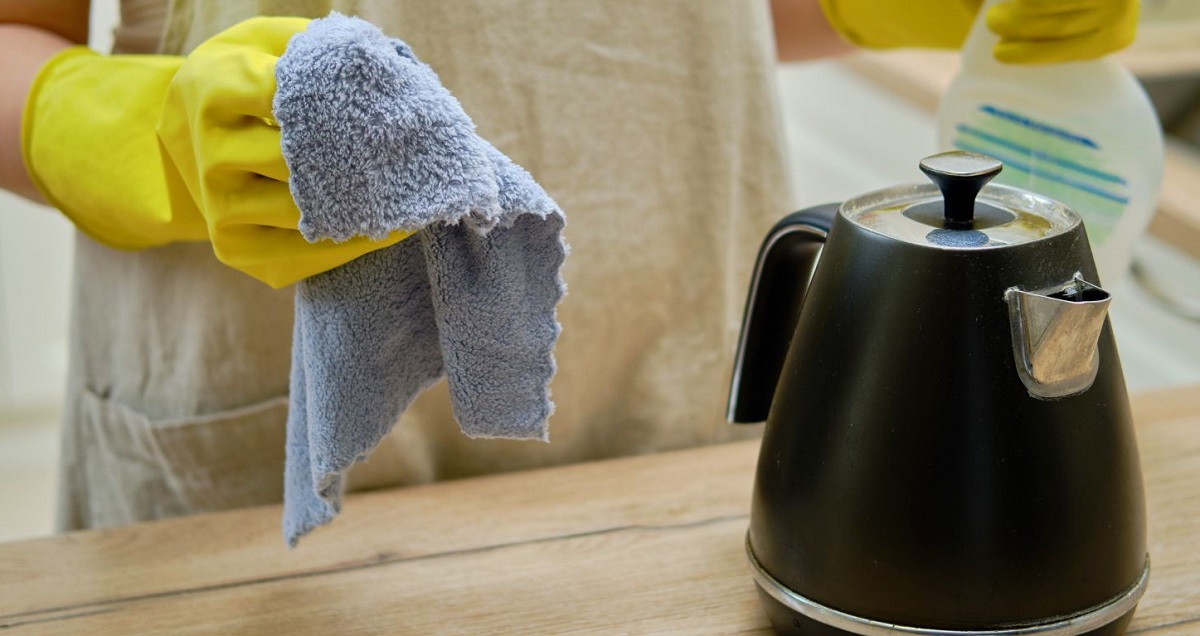
Step 4: Clean the Exterior of the Kettle
Now that you’ve removed the detachable parts, it’s time to clean the exterior of your electric kettle. This step will help remove any dirt, grime, or fingerprints that may have accumulated on the outside surfaces.
Here’s how you can clean the exterior of your kettle:
- Prepare a cleaning solution: Fill a basin or sink with warm water and add a small amount of mild dish soap. Mix it gently to create a soapy solution.
- Dip a cloth or sponge: Dip a soft cloth or sponge into the soapy solution and squeeze out any excess liquid. The cloth should be damp, not dripping wet.
- Wipe the exterior: Gently wipe the exterior surfaces of the kettle using the damp cloth or sponge. Pay attention to areas that are prone to dirt or stains, such as the handle, base, and buttons. Remember to be gentle and avoid scrubbing too vigorously.
- Rinse with clean water: Once you’ve wiped down the exterior, rinse the cloth or sponge with clean water and go over the surfaces again to remove any soap residue.
- Dry with a towel: Finally, use a dry towel to wipe the exterior of the kettle and remove any remaining moisture. Make sure the kettle is completely dry before moving on to the next steps.
Cleaning the exterior of your electric kettle not only keeps it looking clean and presentable but also helps maintain the overall hygiene of the appliance.
With the exterior now sparkling clean, you’re ready to move on to the next step of the cleaning process.
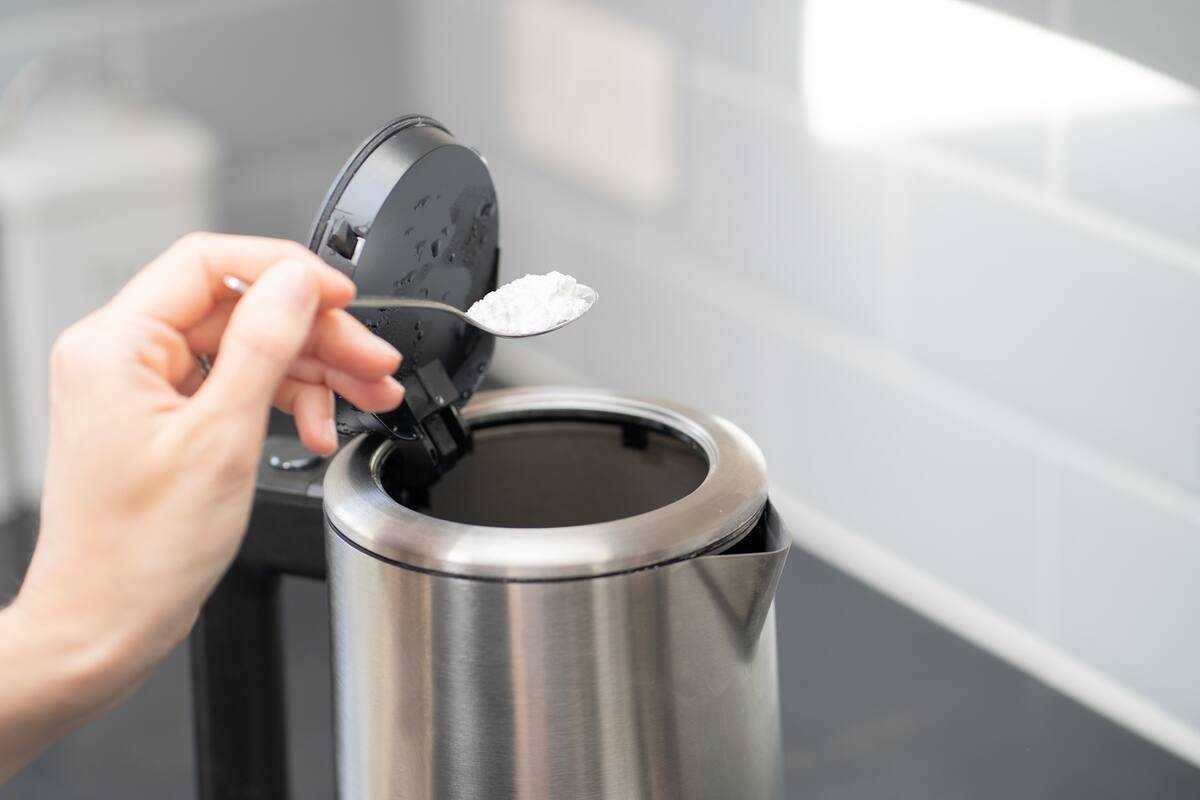
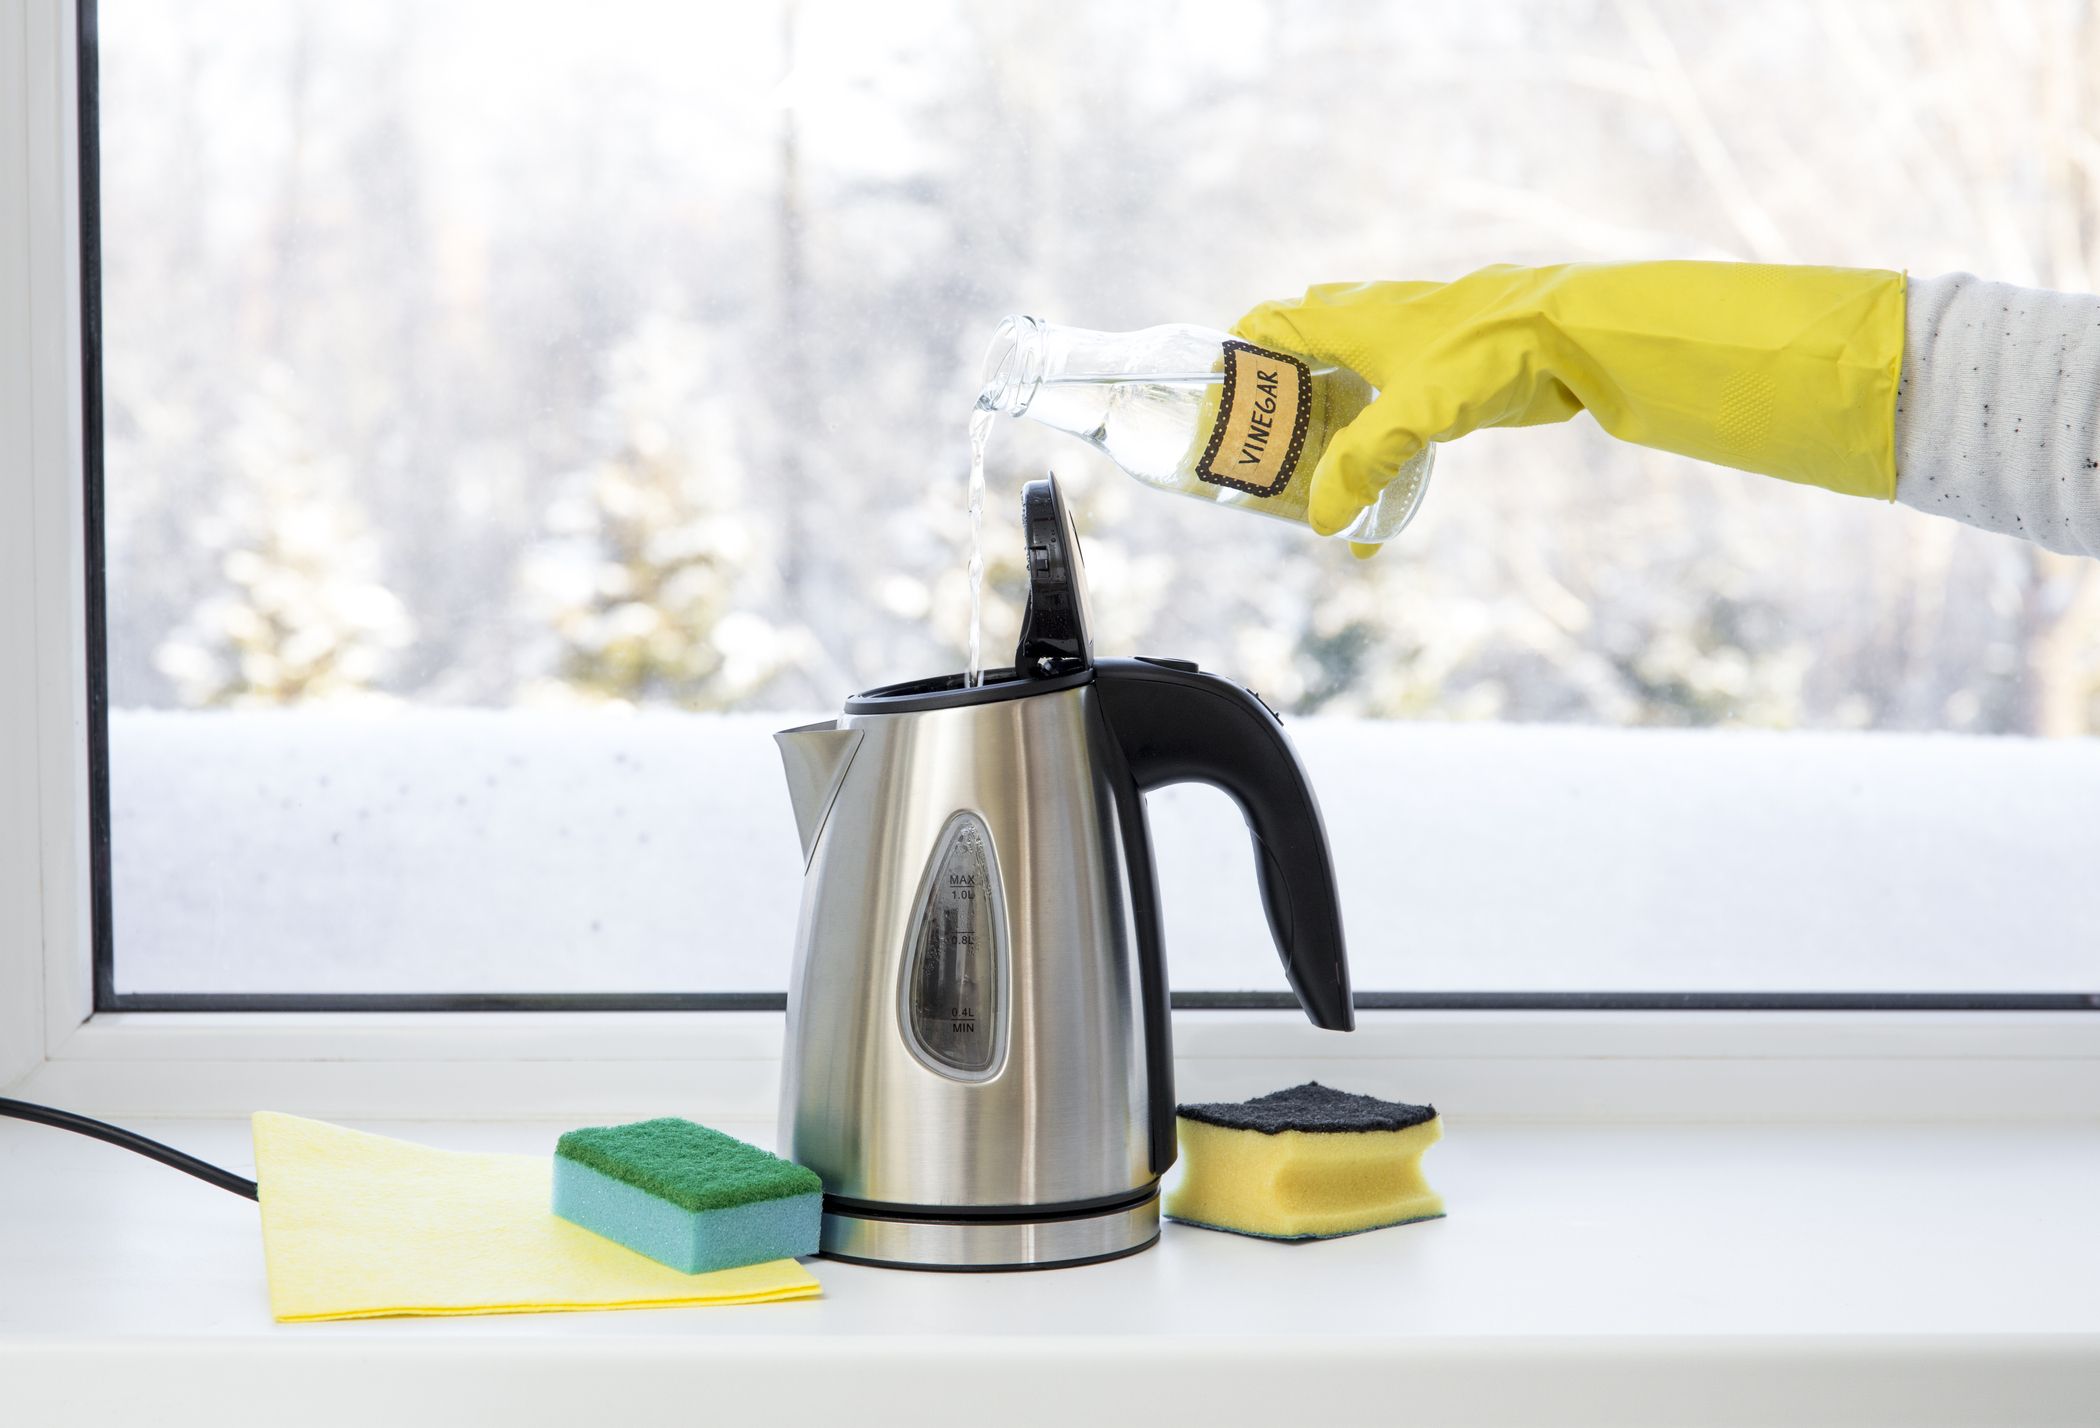
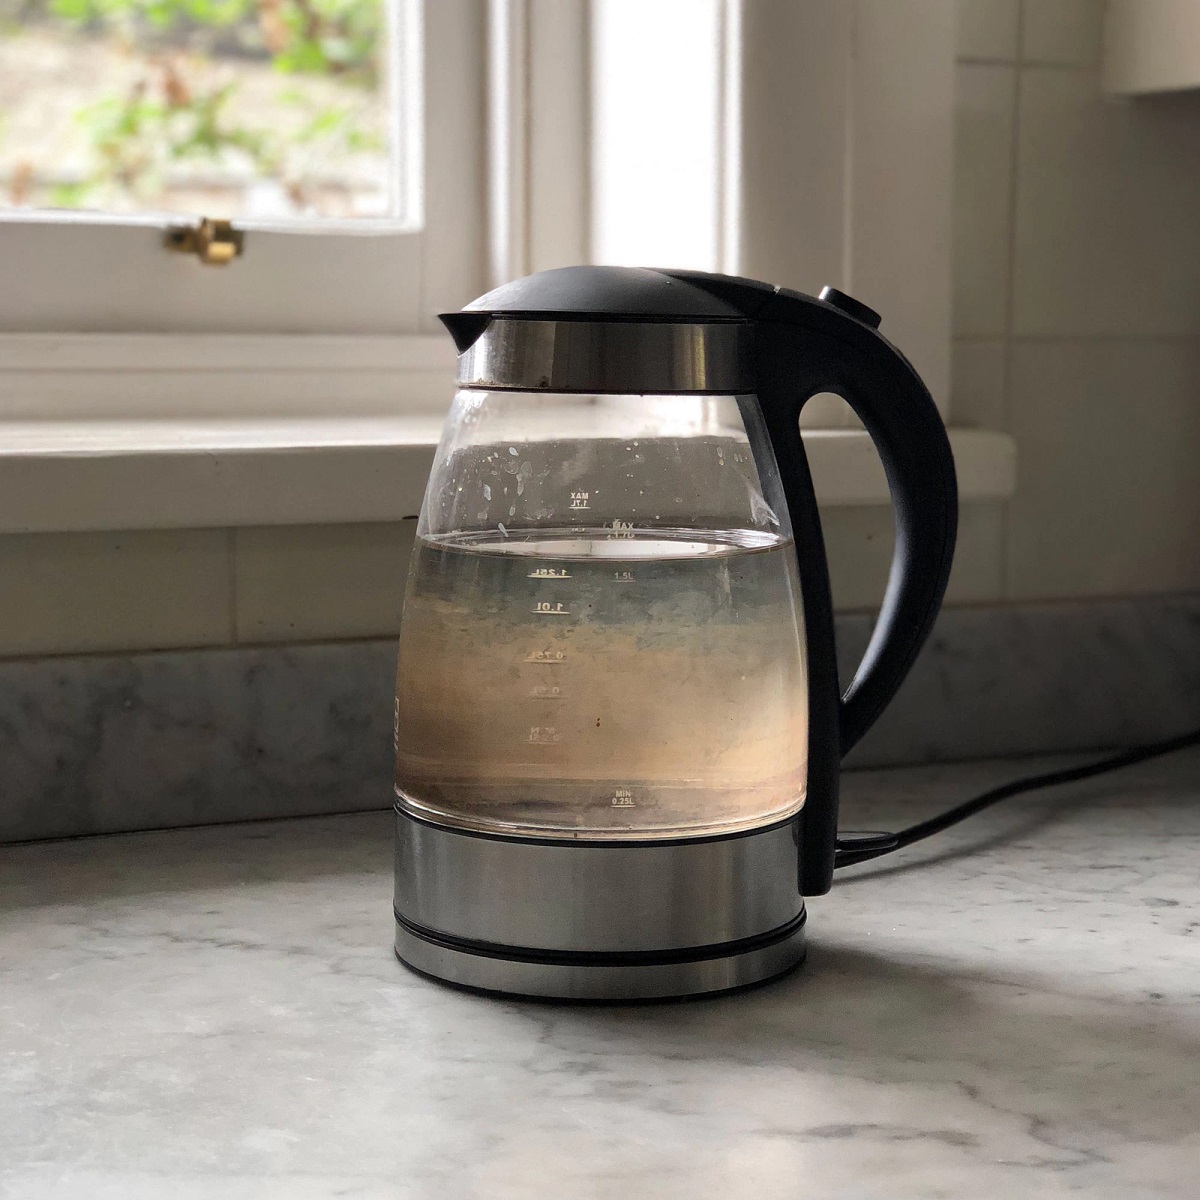
Step 5: Descaling the Interior
Over time, electric kettles can develop limescale and mineral deposits on the interior surface. These deposits not only affect the taste of your hot beverages but can also hinder the kettle’s performance. Descaling the interior of your kettle is an important step to remove these deposits and restore its functionality.
Follow these steps to descale the interior of your electric kettle:
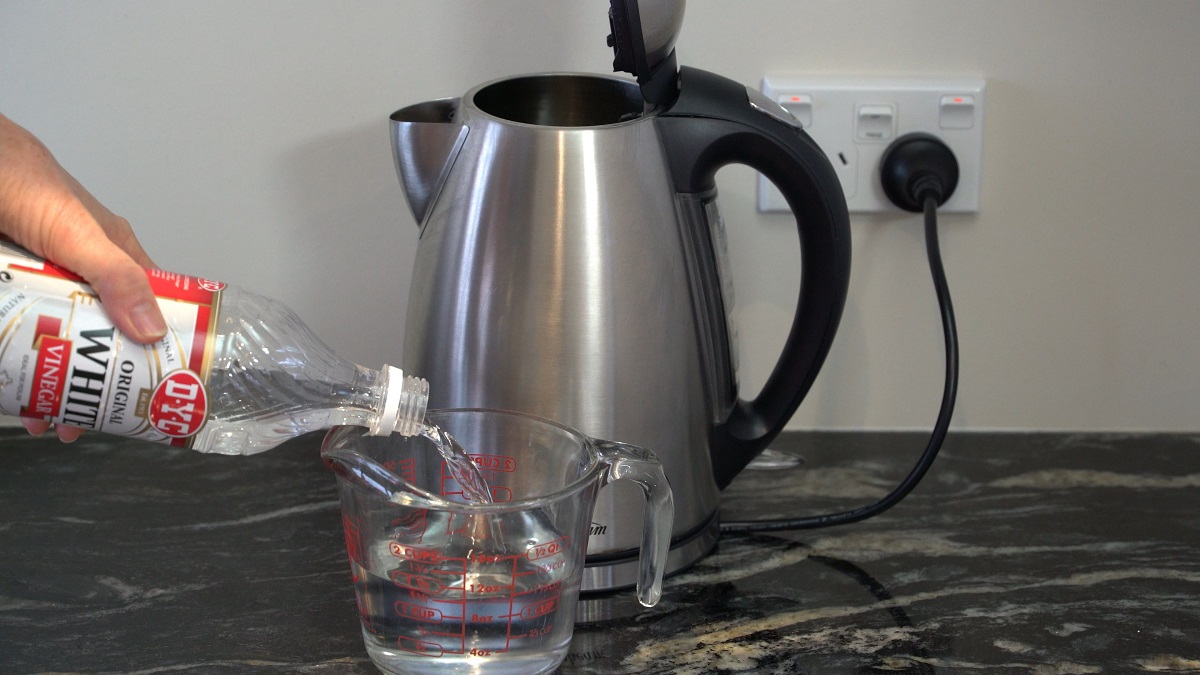
- Create a descaling solution: Fill the kettle halfway with equal parts white vinegar and water. The acidity of the vinegar helps break down the limescale deposits.
- Let the solution sit: Place the kettle on the heating base or stove, if applicable, and let the solution sit for about an hour. This allows the vinegar solution to penetrate and loosen the limescale.
- Boil the solution: Turn on the kettle and let the vinegar-water solution come to a boil. Allow it to boil for a few minutes.
- Turn off and let it cool: Once the solution has boiled, turn off the kettle and unplug it from the power source. Allow it to cool down for about 15-20 minutes.
- Scrub the interior: Using a soft brush or sponge, scrub the interior of the kettle to remove any loosened limescale deposits. Pay extra attention to areas with heavy buildup.
- Rinse thoroughly: After scrubbing, pour out the vinegar-water solution and rinse the kettle with clean water multiple times to remove any residue or leftover vinegar smell.
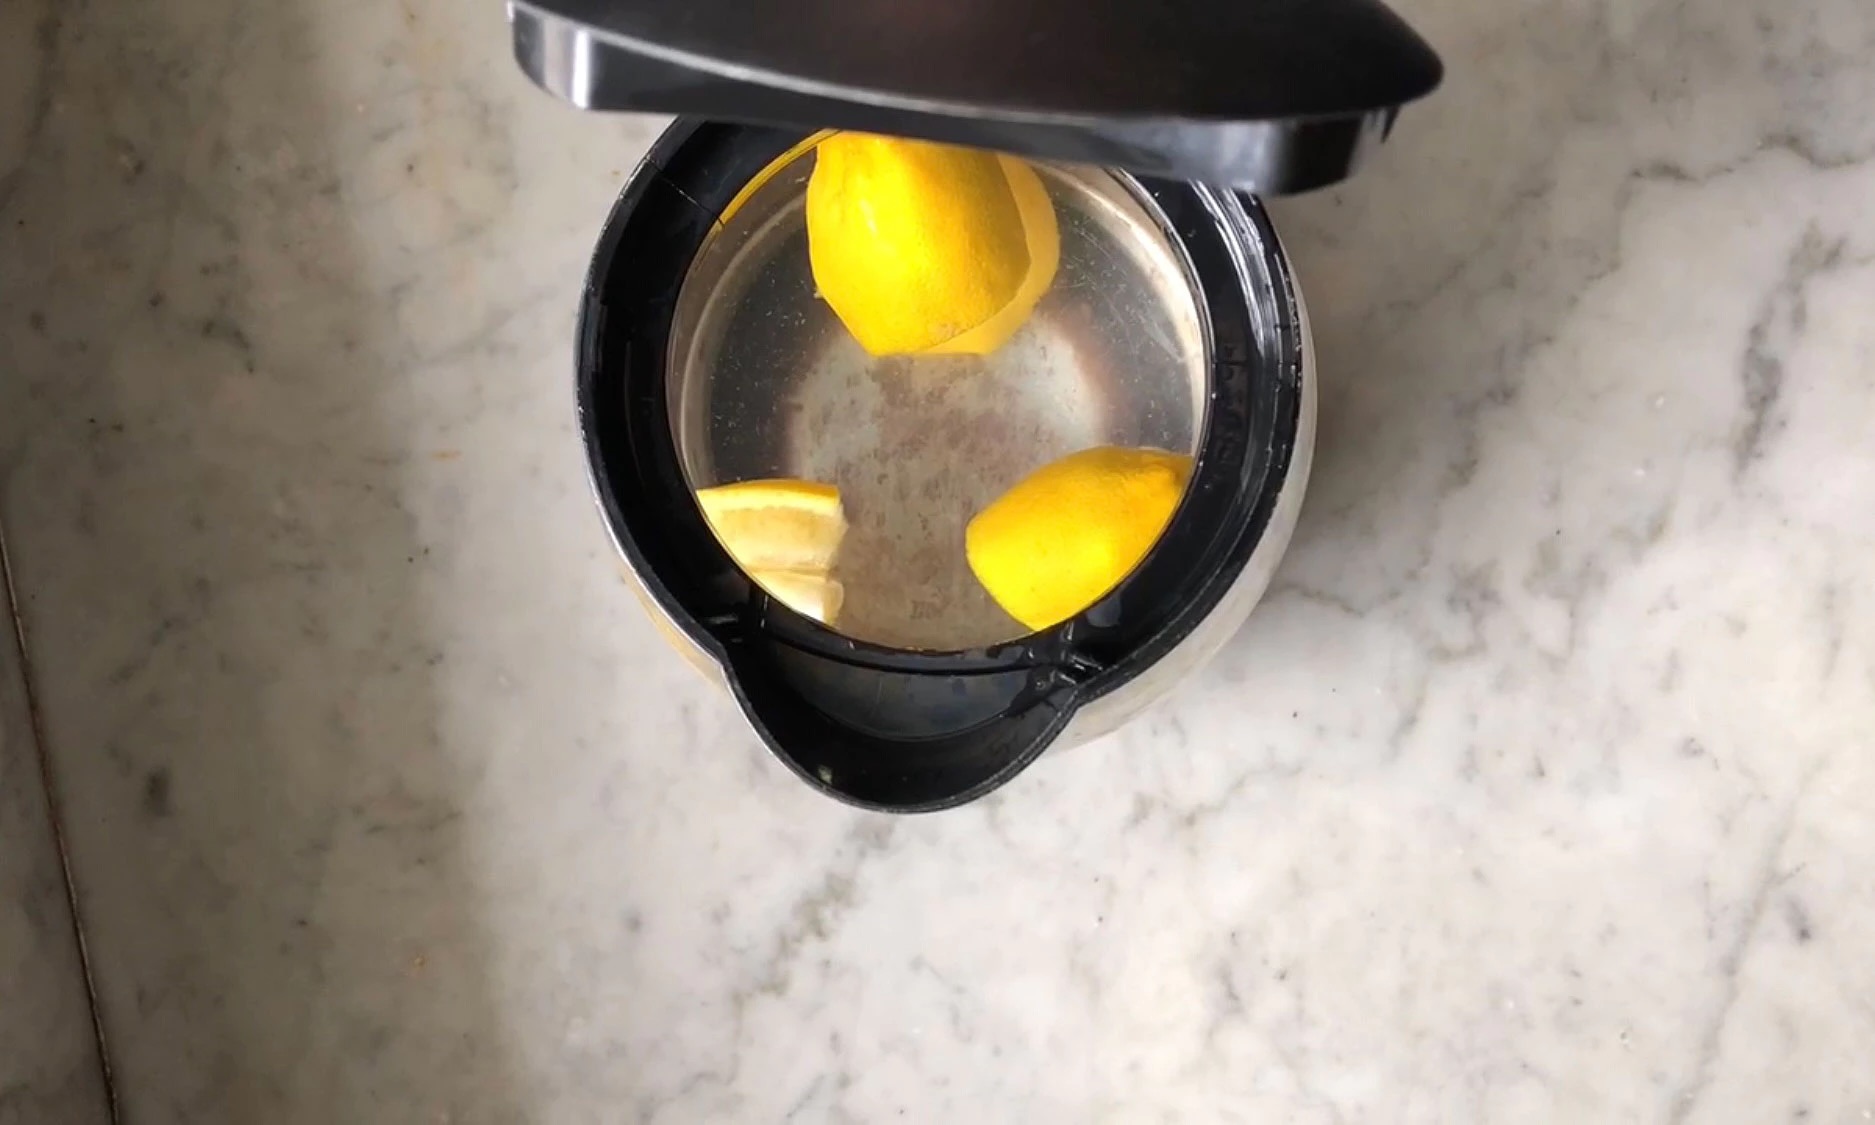
It’s important to note that if you are concerned about the smell or taste of vinegar in your kettle, you can repeat the rinsing process or add a small amount of lemon juice to the water for a fresh scent.
By descaling the interior of your electric kettle, you’ll not only improve the taste and quality of your hot beverages but also ensure the efficient operation and longevity of the appliance.
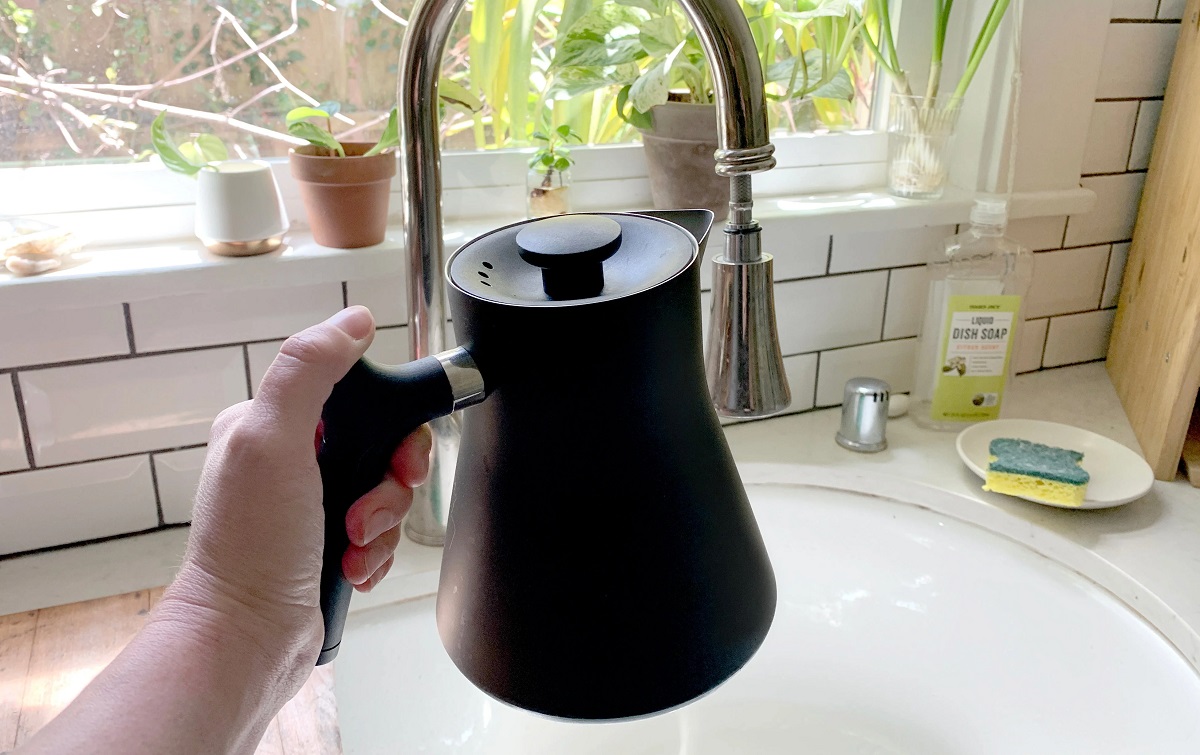
Step 6: Rinse and Dry the Kettle
After descaling the interior of your electric kettle, it’s important to rinse it thoroughly to remove any remaining residue or vinegar smell. This step will ensure that your hot beverages are not affected by any lingering cleaning agents.
- Empty the kettle: Pour out any remaining water and vinegar solution from the descaling process.
- Rinse with clean water: Fill the kettle with clean water, preferably filtered or distilled water, to rinse the interior. Swirl the water around to ensure that all surfaces are thoroughly rinsed.
- Pour out the rinse water: Pour out the rinse water from the kettle, repeating the process if necessary to eliminate any leftover vinegar smell.
Once you have rinsed the kettle, it’s important to dry it thoroughly before use. Here’s how to do it:
- Use a towel or cloth: Gently dry the interior and exterior of the kettle using a clean, dry towel or cloth. Pay attention to any residual moisture, ensuring that all surfaces are completely dry to prevent mold or electrical malfunctions.
- Air dry if necessary: If there are any small crevices or hard-to-reach areas that are still damp, allow the kettle to air dry in a well-ventilated area for a few hours.
By properly rinsing and drying your electric kettle, you ensure a fresh and clean start for your next cup of hot beverage.
Step 7: Reassemble the Kettle
Now that you have thoroughly cleaned, descaled, rinsed, and dried your electric kettle, it’s time to reassemble it. Follow these easy steps to put all the detachable parts back in place:
- Filter: If you removed the filter during the cleaning process, place it back into the designated area inside the kettle. Ensure it fits securely and is aligned properly.
- Spout cover: If you previously removed the spout cover, carefully place it back onto the spout opening. Make sure it is fitting snugly and covers the spout entirely.
- Lid: If your kettle has a detachable lid, position it correctly on top of the kettle and gently press or secure it in place.
Once you have reassembled the kettle with all the necessary parts, give it a quick visual check to make sure everything is correctly in place.
With the kettle fully reassembled, you can now plug it back into the power source and enjoy your hot beverages with the assurance of a clean and well-maintained appliance.
Regularly following the cleaning process and reassembling the kettle correctly will help it operate efficiently and prolong its lifespan.
Read more: How To Clean A Mueller Electric Kettle
Conclusion
Cleaning your electric kettle is an essential task that ensures the longevity, performance, and taste of your hot beverages. By following the step-by-step guide provided in this article, you can effectively clean, descale, and maintain your electric kettle.
Remember to prioritize safety by unplugging the kettle, letting it cool down completely, and following the manufacturer’s instructions. Take the time to gather the necessary supplies, and be sure to remove any detachable parts for a thorough cleaning.
Cleaning the exterior of the kettle with a mild dish soap helps to keep it looking clean and presentable, while descaling the interior with a vinegar-water solution removes limescale and mineral deposits that can affect the taste of your hot beverages.
Once you have completed the cleaning process, rinse the kettle with clean water to remove any leftover residue or odor. Thoroughly dry the kettle to prevent mold or electrical malfunctions.
Lastly, reassemble the kettle by placing all the detachable parts back in their respective positions, ensuring a proper fit and alignment.
Regularly cleaning your electric kettle will not only enhance its performance but also guarantee a clean and fresh cup of tea, coffee, or any other hot beverage you enjoy. So, take the time to care for your electric kettle, and it will continue to serve you for years to come.
Frequently Asked Questions about How To Clean An Electric Kettle
Was this page helpful?
At Storables.com, we guarantee accurate and reliable information. Our content, validated by Expert Board Contributors, is crafted following stringent Editorial Policies. We're committed to providing you with well-researched, expert-backed insights for all your informational needs.


0 thoughts on “How To Clean An Electric Kettle”