Home>Home Appliances>Kitchen Appliances>How To Use Oven As A Dehydrator
Kitchen Appliances
How To Use Oven As A Dehydrator
Modified: August 25, 2024
Learn how to use your oven as a dehydrator to preserve food at home. Get creative with your kitchen appliances and enjoy homemade dried fruits and snacks. Discover the tips and tricks for efficient dehydration.
(Many of the links in this article redirect to a specific reviewed product. Your purchase of these products through affiliate links helps to generate commission for Storables.com, at no extra cost. Learn more)
Introduction
Welcome to the world of food dehydration, where you can transform fresh produce and meats into delicious, shelf-stable snacks and ingredients. Dehydration is a time-honored method of food preservation that not only extends the shelf life of perishable items but also concentrates their flavors and nutrients. While dedicated food dehydrators are commonly used for this purpose, did you know that you can achieve similar results using your standard kitchen oven? In this guide, we'll explore the art of using your oven as a dehydrator, allowing you to unlock a new realm of culinary possibilities right in your own home.
Dehydration is a fantastic way to reduce food waste and enjoy seasonal produce year-round. By removing the moisture from fruits, vegetables, herbs, and even meats, you can create lightweight, space-saving provisions that are perfect for camping, hiking, or simply snacking on the go. Furthermore, the process of dehydrating food helps to intensify its natural flavors, resulting in concentrated taste sensations that can elevate your recipes to new heights.
In this comprehensive guide, we'll delve into the fundamentals of dehydration, discuss the conversion of your oven into a makeshift dehydrator, cover the essential steps for preparing food for dehydration, explore the process of dehydrating food in the oven, and provide tips for storing your dehydrated creations. By the end of this journey, you'll be equipped with the knowledge and confidence to harness the power of dehydration using your trusty oven, opening up a world of culinary exploration and creativity. So, let's embark on this flavorful adventure and uncover the secrets of using your oven as a dehydrator.
Key Takeaways:
- Transform your oven into a dehydrator to create delicious, shelf-stable snacks and ingredients. Enjoy the benefits of food preservation and intensified flavors without investing in specialized equipment.
- Properly prepare, dehydrate, and store food in your oven to enjoy flavorful, nutritious, and space-saving dehydrated provisions for snacking, cooking, and emergency preparedness.
Understanding the Basics of Dehydration
Before we delve into the specifics of using your oven as a dehydrator, it’s essential to understand the basic principles of dehydration. At its core, dehydration is the process of removing moisture from food items to inhibit the growth of microorganisms and prevent spoilage. By reducing the water content in foods to a level where bacteria, yeast, and mold cannot thrive, dehydration effectively preserves the edibility and nutritional value of the items.
One of the key advantages of dehydration is its ability to significantly extend the shelf life of various foods. When properly dehydrated and stored, fruits, vegetables, meats, and herbs can last for months or even years without refrigeration. This makes dehydration an invaluable technique for preserving seasonal abundance and minimizing food waste.
Furthermore, the dehydration process intensifies the flavors of the food, resulting in concentrated, rich tastes that can enhance a wide range of recipes. Whether you’re making flavorful fruit leathers, zesty vegetable chips, or savory jerky, dehydrated foods offer a burst of natural goodness in every bite.
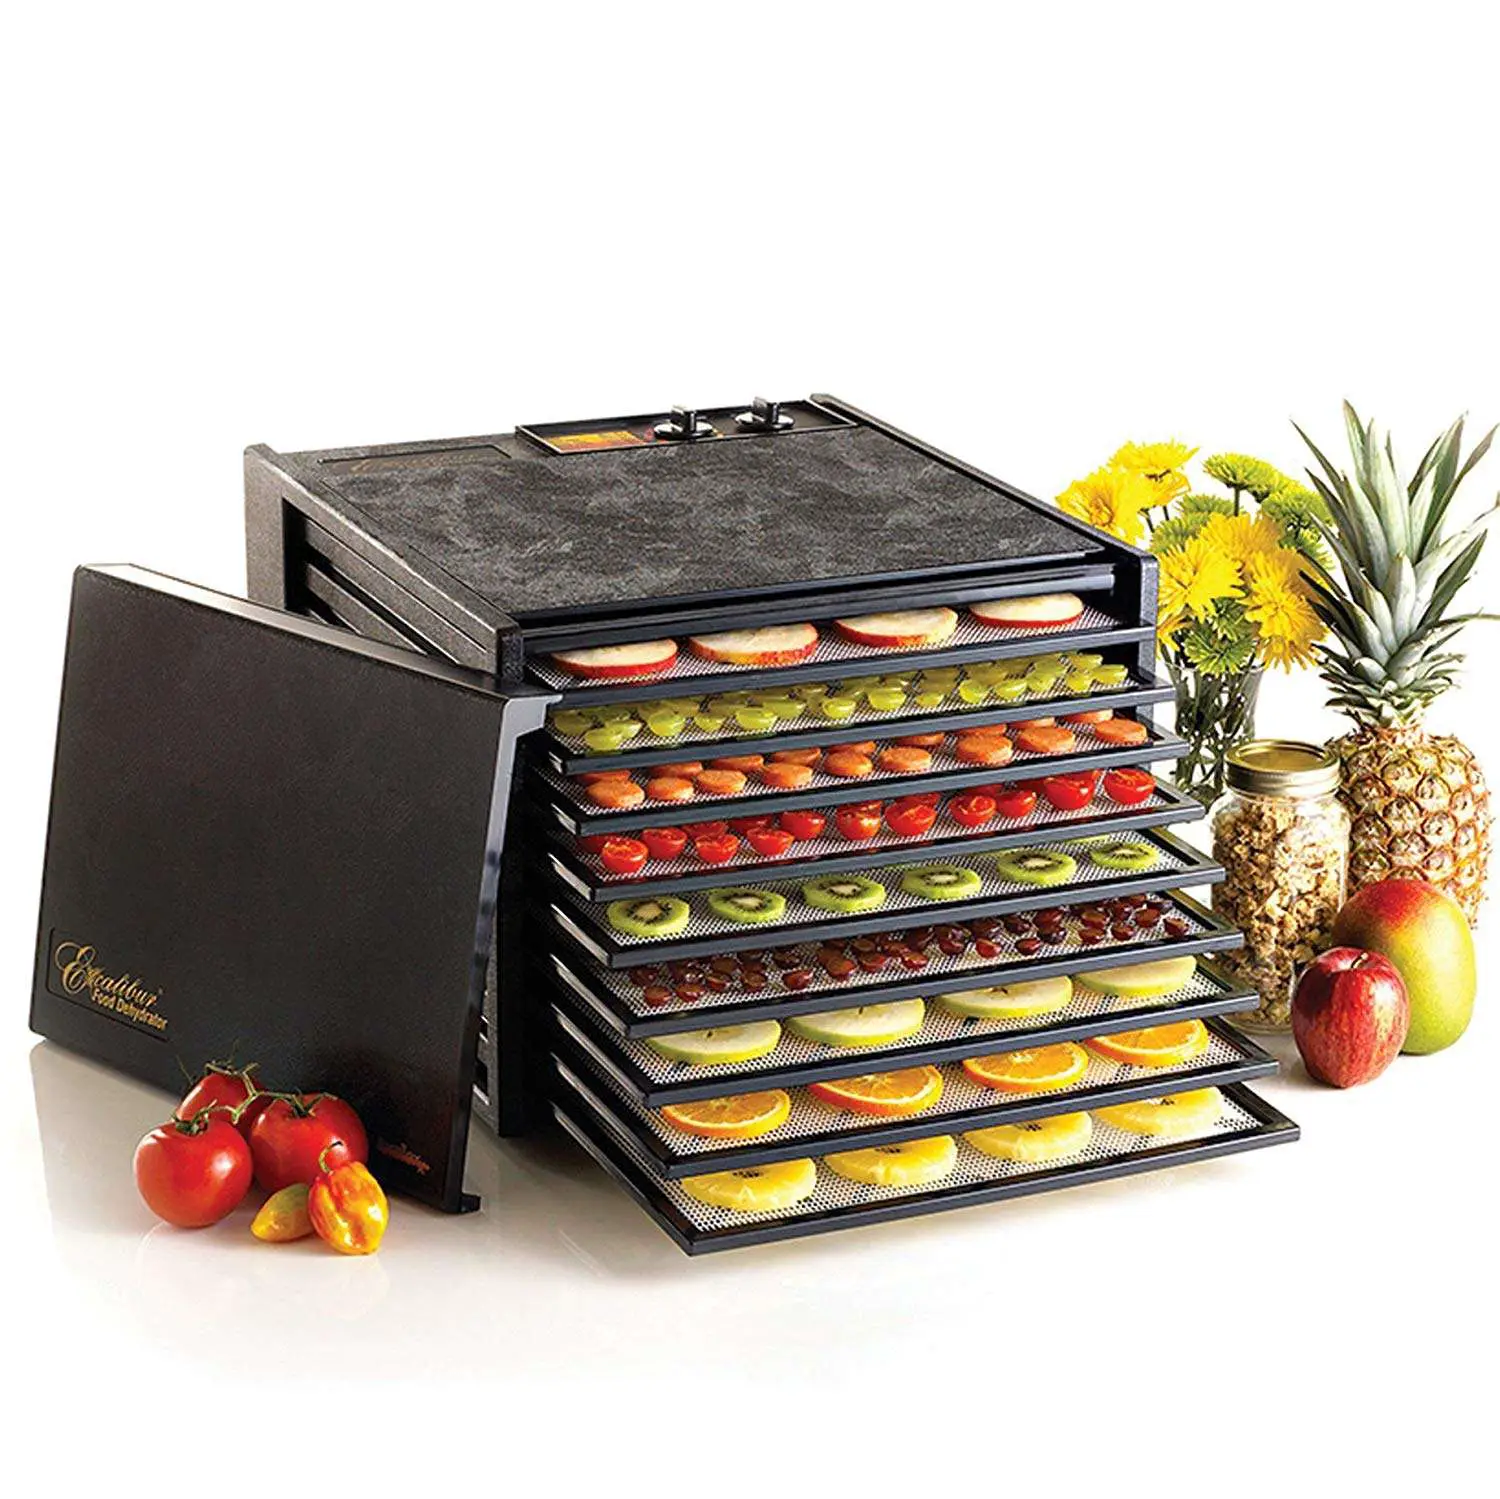
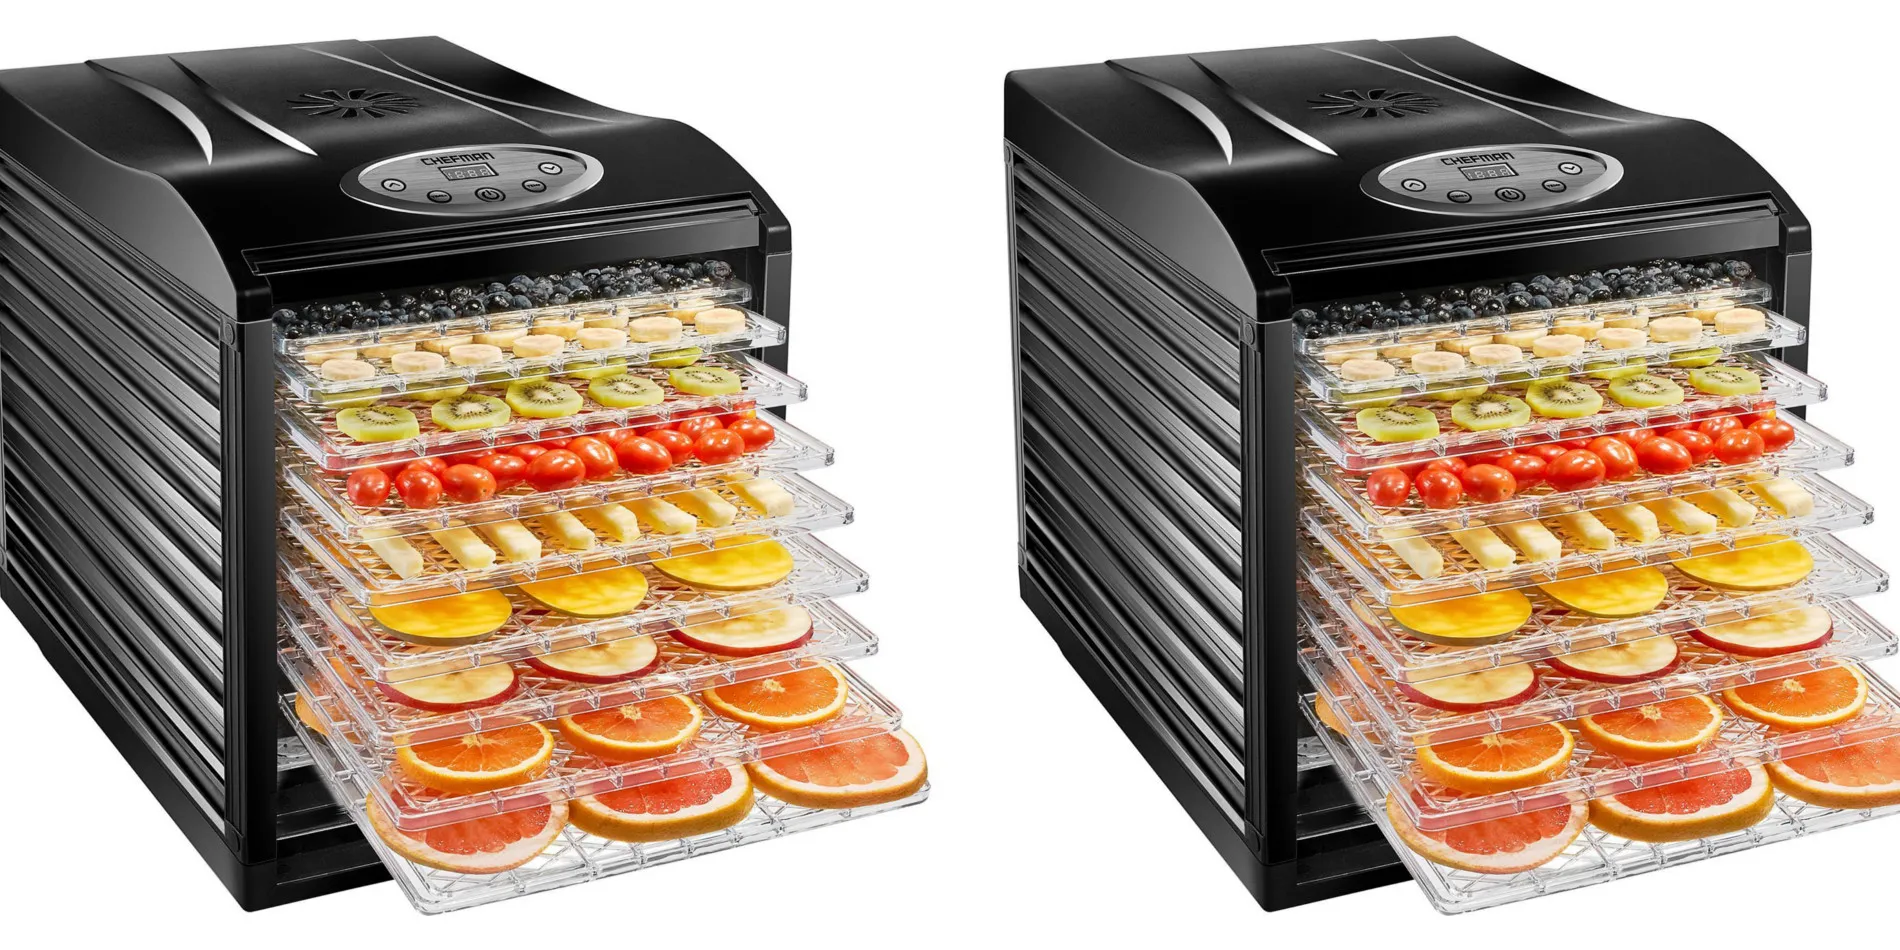
While dedicated food dehydrators are designed specifically for this purpose, not everyone has access to these appliances. Luckily, your kitchen oven can serve as a capable alternative for dehydrating a variety of foods. With a bit of understanding and the right techniques, you can harness the power of your oven to create an array of delectable dehydrated treats.
Now that we’ve laid the groundwork for the art of dehydration, let’s move on to the exciting process of converting your oven into a makeshift dehydrator, where we’ll explore the essential steps for preparing and dehydrating food to perfection.
Converting Your Oven into a Dehydrator
While dedicated food dehydrators are designed for the specific purpose of removing moisture from foods, your standard kitchen oven can be transformed into a makeshift dehydrator with a few simple adjustments. This versatility allows you to experiment with dehydration without the need for additional equipment, making it accessible to a wider audience of culinary enthusiasts.
To convert your oven into a dehydrator, you’ll need to set it to a low temperature, typically between 140°F and 170°F (60°C and 75°C). Many ovens have a “warm” setting that falls within this temperature range, making it ideal for dehydration. It’s important to use an oven thermometer to ensure that the temperature remains consistent throughout the dehydration process, as fluctuations can affect the quality of the end product.
Additionally, airflow is crucial for effective dehydration. To facilitate air circulation, prop the oven door open slightly using a wooden spoon or a heat-safe object. This allows moisture to escape and prevents the buildup of condensation, helping to dry the food evenly. If your oven has a convection setting, using it can further enhance air circulation and promote uniform dehydration.
While using your oven as a dehydrator offers convenience and flexibility, it’s important to note that the process may take longer than with a dedicated dehydrator, as ovens are not specifically optimized for dehydration. However, with a bit of patience and attentiveness, you can achieve excellent results and enjoy the benefits of dehydrated foods without investing in specialized equipment.
Now that you understand the fundamentals of converting your oven into a dehydrator, let’s explore the essential steps for preparing food for dehydration, ensuring that you maximize the quality and flavor of your dehydrated creations.
Preparing Food for Dehydration
Before you embark on the dehydrating journey, it’s essential to properly prepare the food items to ensure optimal results. Whether you’re dehydrating fruits, vegetables, meats, or herbs, the preparation process plays a crucial role in the quality and flavor of the end product.
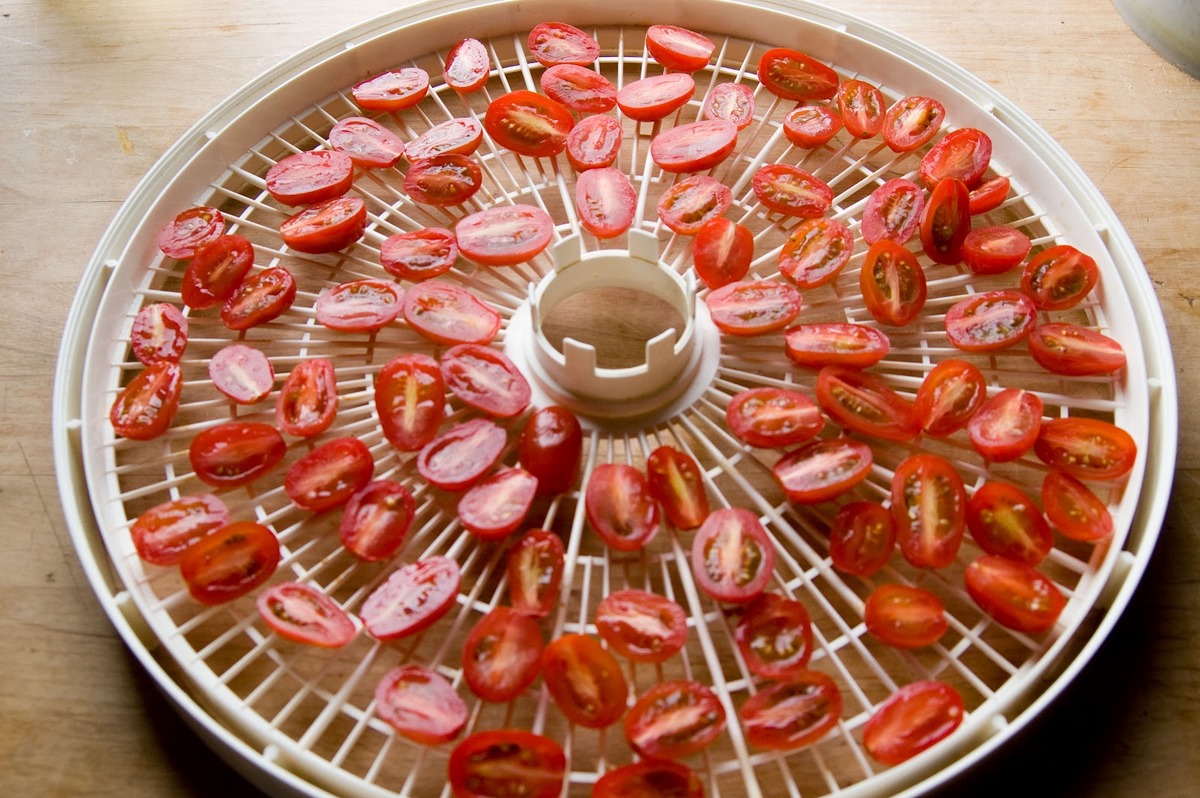
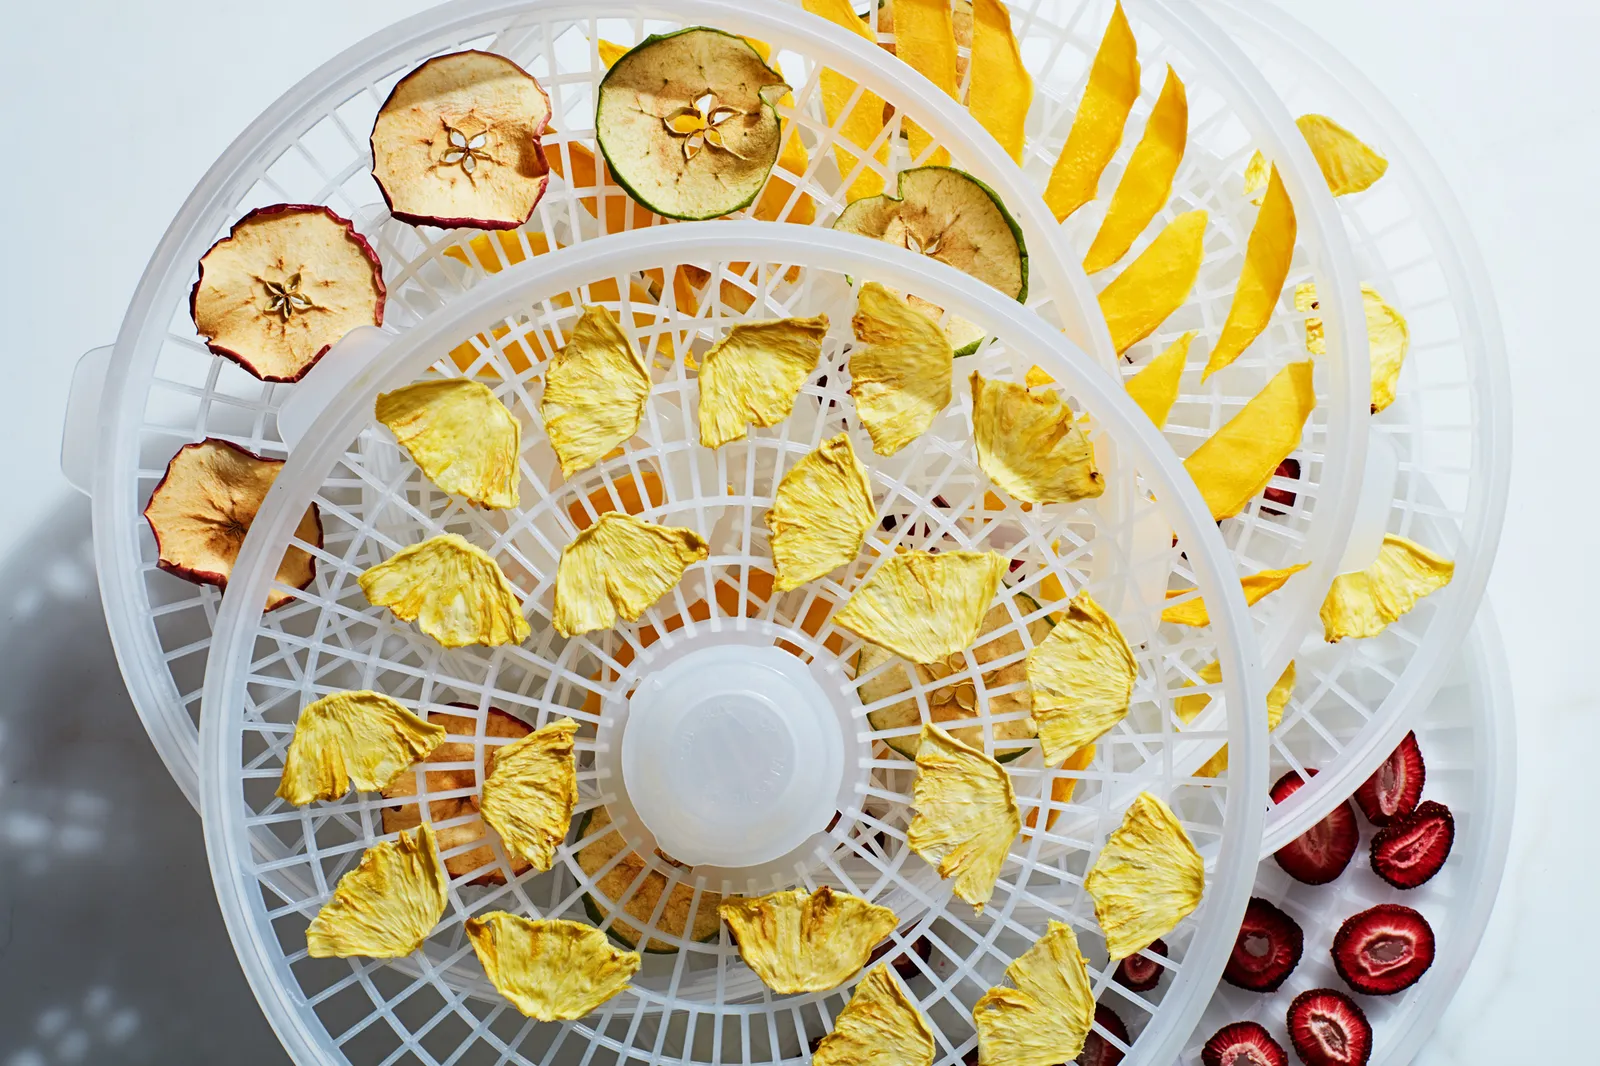
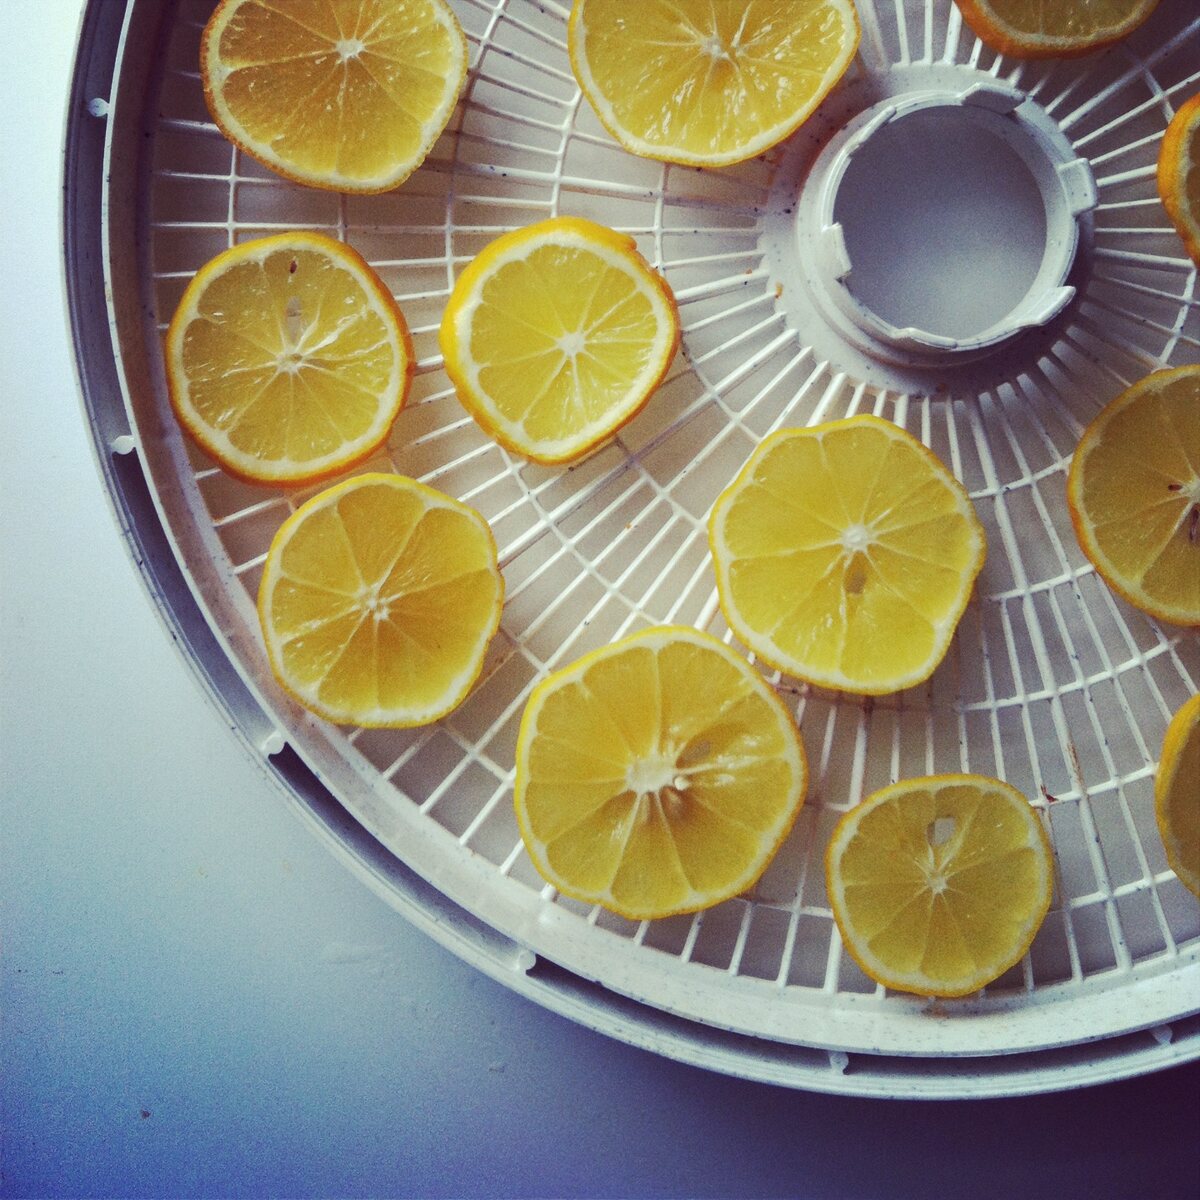
When dehydrating fruits, it’s important to start with ripe, high-quality produce. Wash the fruits thoroughly and remove any blemishes or bruises. Depending on the type of fruit, you may need to peel, core, and slice it into uniform pieces to promote even drying. Acidulated water, which is water mixed with lemon juice or ascorbic acid, can be used to prevent fruits from browning during preparation.
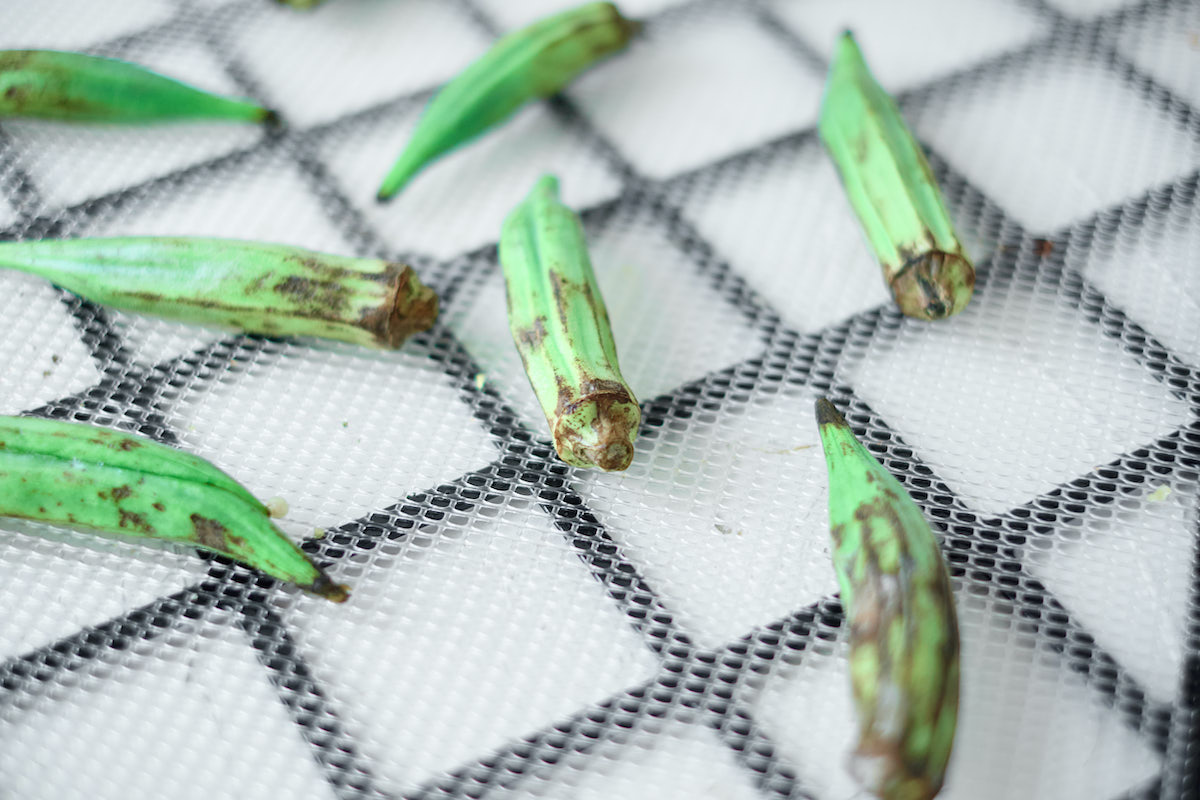
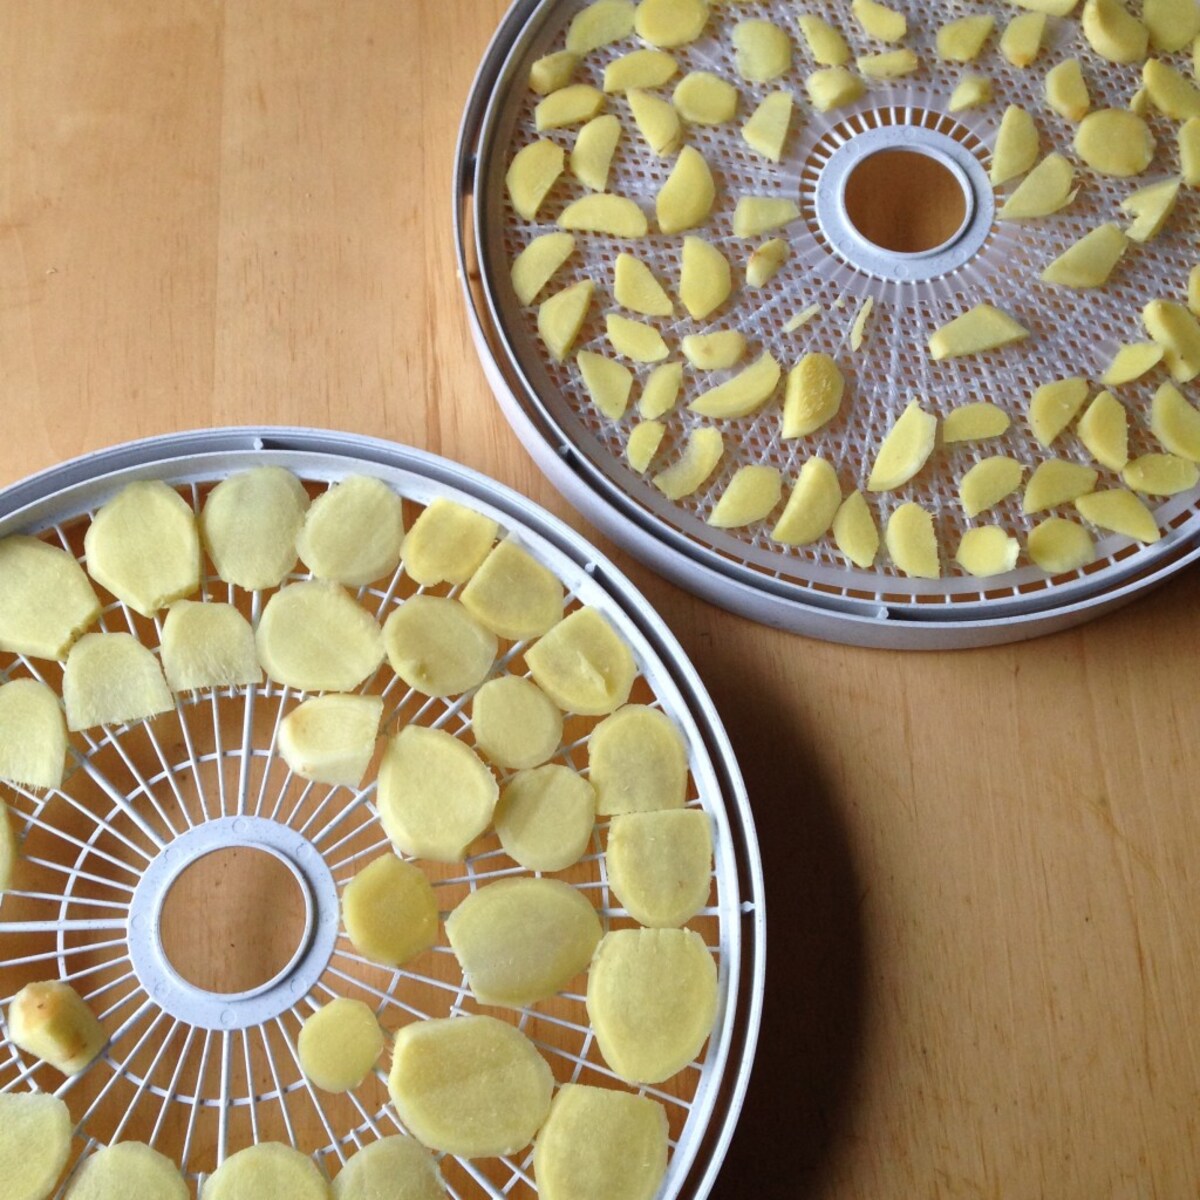
For vegetables, the key is to blanch them before dehydration. Blanching involves briefly immersing the vegetables in boiling water, followed by an immediate plunge into ice water. This process helps to preserve the color, texture, and nutritional content of the vegetables before dehydration. Once blanched, the vegetables should be thoroughly dried and arranged in a single layer for dehydration.
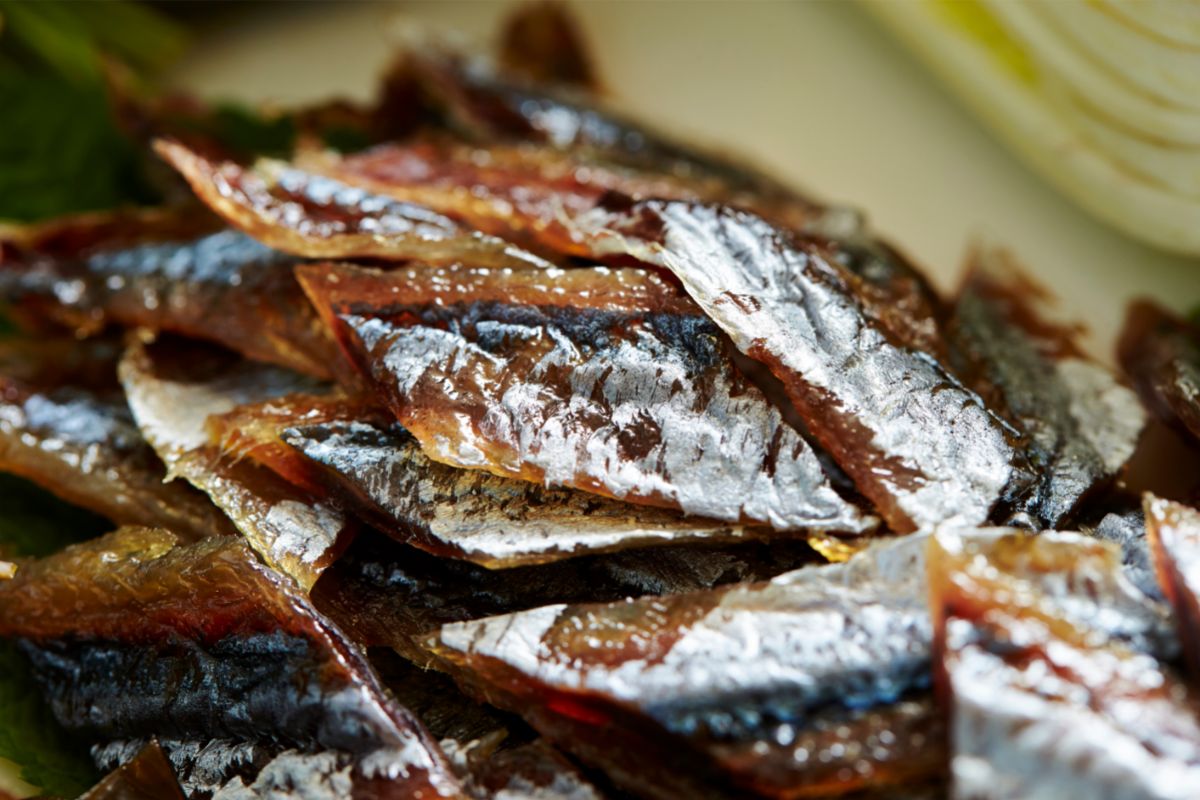
When preparing meats for dehydration, it’s crucial to trim excess fat and slice the meat into thin, uniform strips. This not only facilitates the drying process but also ensures that the meat dehydrates evenly and reduces the risk of spoilage. Marinating the meat in flavorful seasonings or a marinade of your choice before dehydration can enhance its taste and tenderness.
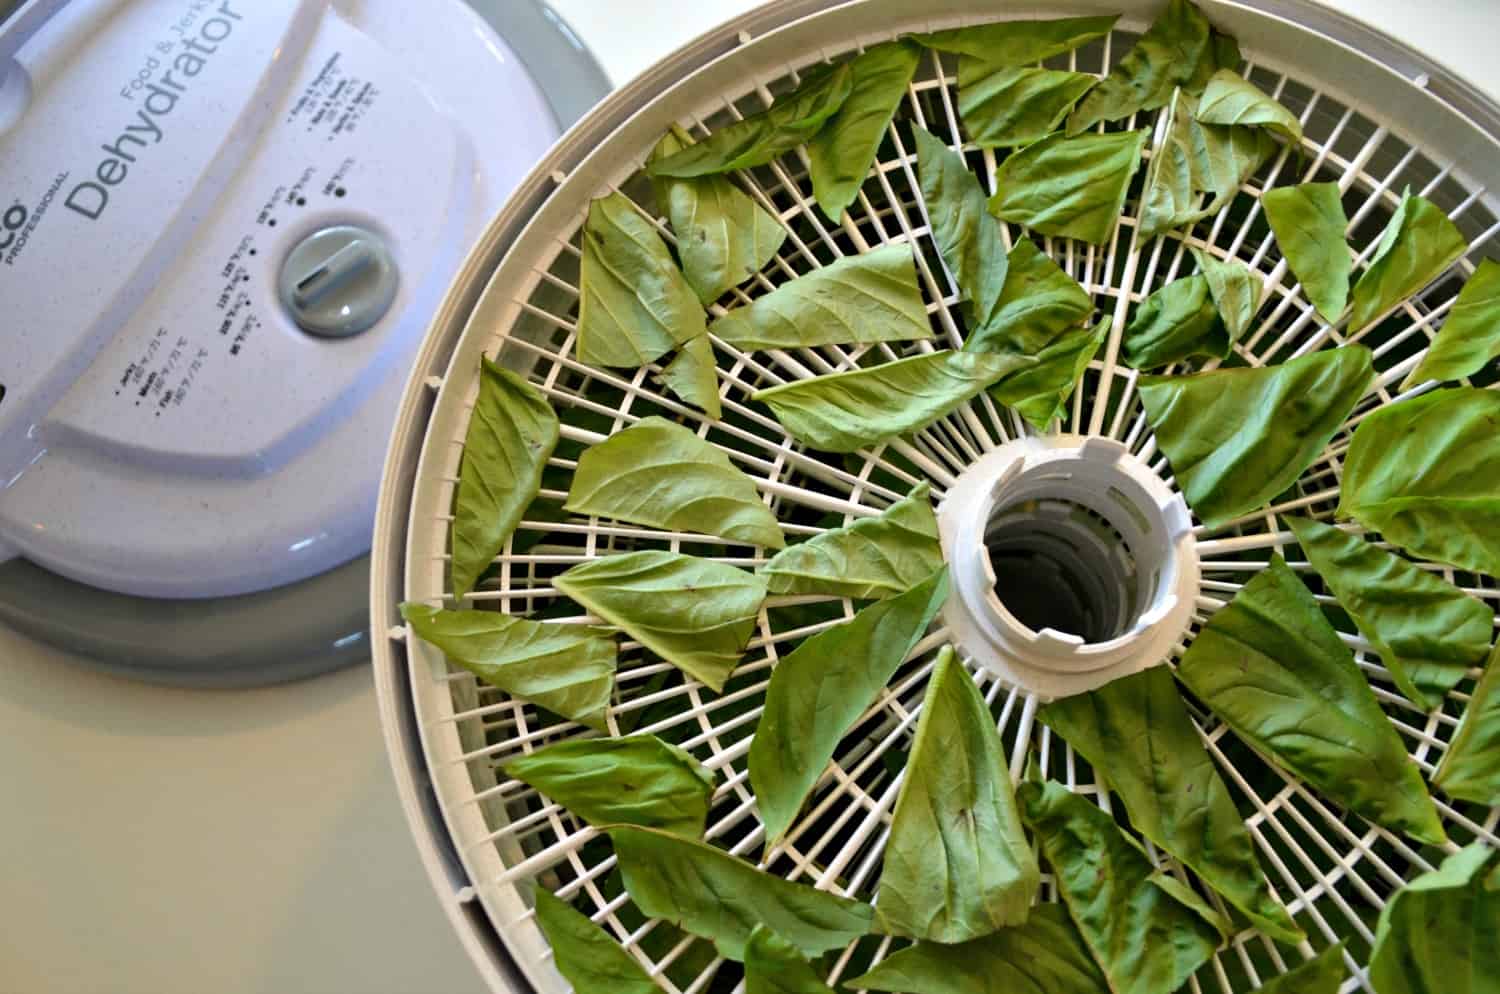
Herbs are another popular candidate for dehydration, as they can be easily dried and stored for later use. To prepare herbs for dehydration, gently wash and thoroughly dry them to remove any moisture. Bundle the herbs and secure them with twine or place them on a tray in a single layer, ready for the dehydration process.
By taking the time to properly prepare your chosen foods for dehydration, you set the stage for successful and flavorful results. Now that you’ve mastered the art of food preparation, it’s time to explore the process of dehydrating food in the oven, where we’ll uncover the essential steps for achieving perfect dehydration every time.
To use your oven as a dehydrator, set it to the lowest temperature (usually around 140-150°F), place your food on a baking sheet, prop the oven door open slightly to allow moisture to escape, and rotate the trays occasionally for even drying.
Dehydrating Food in the Oven
Now that your food items are meticulously prepared for dehydration, it’s time to harness the power of your oven to begin the drying process. Dehydrating food in the oven requires patience, attentiveness, and a keen eye for detail to ensure that the end result is a bounty of flavorful, shelf-stable provisions.
First and foremost, preheat your oven to the recommended dehydration temperature, typically between 140°F and 170°F (60°C and 75°C). It’s crucial to use an oven thermometer to verify that the temperature remains consistent throughout the dehydration process, as precise heat control is essential for successful dehydration.
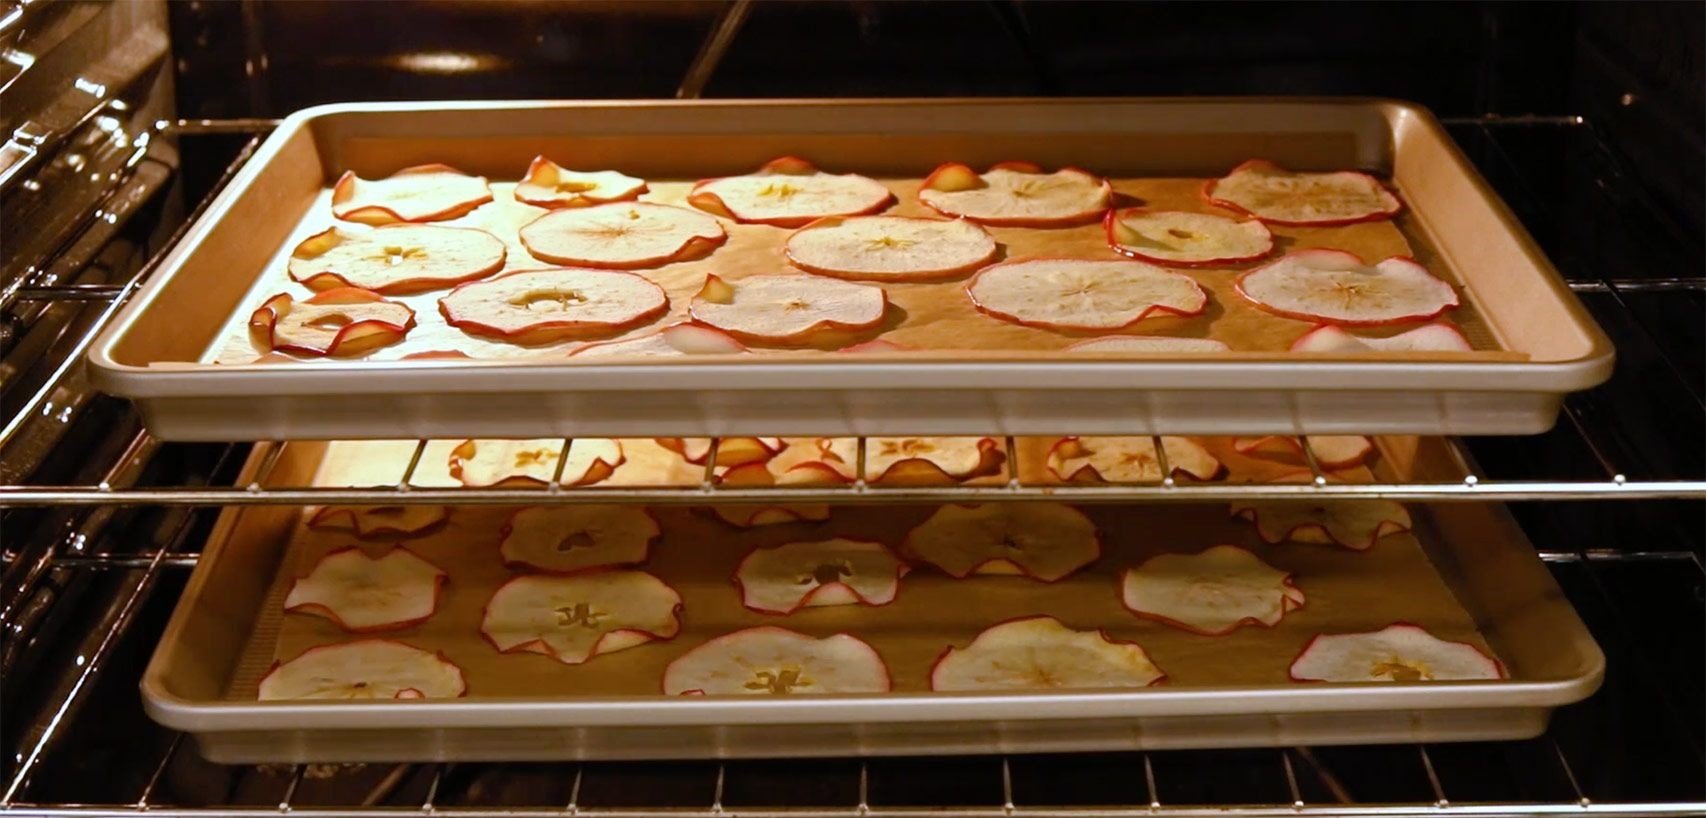
Once the oven is preheated, arrange the prepared food items on wire racks or parchment-lined baking sheets, ensuring that there is ample space between each piece for air circulation. Place the trays in the oven, making sure to prop the oven door open slightly to facilitate airflow and prevent condensation buildup.
Throughout the dehydration process, it’s important to periodically check the progress of the food items. Depending on the type of food being dehydrated, the process can take anywhere from a few hours to a full day or more. Fruits and vegetables generally require several hours, while meats and herbs may take longer to fully dehydrate.
As the food items dry, you may notice that their texture changes and they shrink in size. This is a natural part of the dehydration process, as the moisture is gradually removed, leaving behind concentrated flavors and nutrients. It’s important to rotate the trays periodically to ensure even drying, especially if your oven has uneven heat distribution.
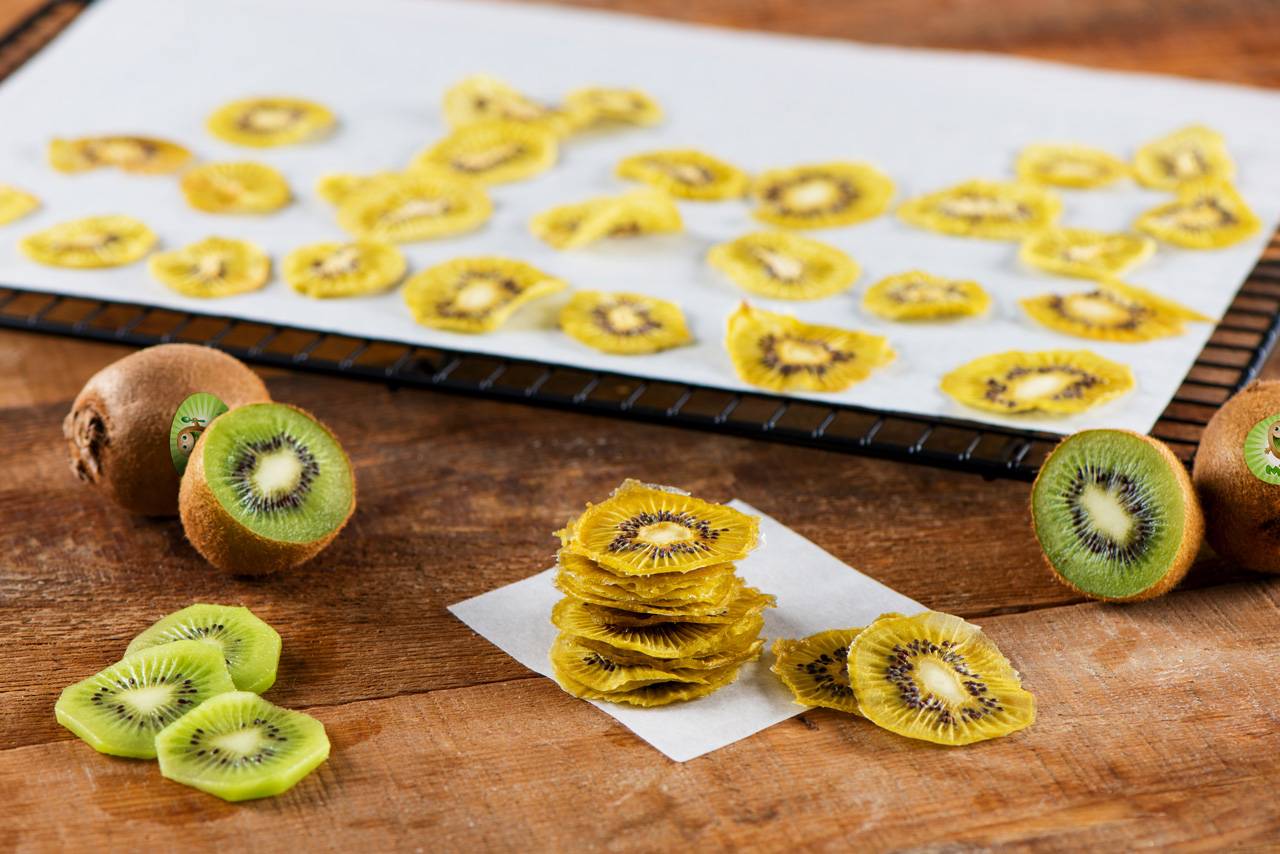
When the food items reach the desired level of dryness, they should be pliable and leathery, with no remaining moisture. Fruits should be slightly tacky to the touch, while vegetables should be brittle. Meats should be firm and dry, with no signs of moisture. Herbs should crumble easily when touched.
Once the dehydration process is complete, allow the food items to cool completely before testing for dryness. Properly dehydrated foods can be stored in airtight containers or resealable bags in a cool, dark place, ready to be enjoyed as nutritious snacks, flavorful additions to recipes, or convenient ingredients for future culinary endeavors.
With the knowledge of how to dehydrate food in your oven, you’re now equipped to explore the exciting realm of dehydrated culinary creations. As we conclude this guide, we’ll delve into the essential tips for storing your dehydrated food, ensuring that they remain fresh and delicious for extended periods.
Read more: How To Use Nesco Dehydrator
Storing Dehydrated Food
After the meticulous process of dehydrating food in your oven, it’s essential to store the fruits of your labor properly to maintain their quality and shelf life. Proper storage not only preserves the flavors and nutrients of the dehydrated food but also ensures that they remain safe for consumption over an extended period.
The key to successful storage of dehydrated food lies in protecting it from moisture, light, and oxygen, which can compromise its quality and lead to spoilage. Airtight containers, such as glass jars with tight-fitting lids or resealable plastic bags, are ideal for storing dehydrated fruits, vegetables, meats, and herbs. It’s important to fill the containers as full as possible to minimize the presence of air, which can hasten the deterioration of the food.
When storing dehydrated food, it’s crucial to keep it in a cool, dark place to prevent exposure to light and heat, which can degrade its nutritional content and flavors. A pantry, cupboard, or another area away from direct sunlight and heat sources is ideal for long-term storage of dehydrated provisions.
Labeling and dating the stored dehydrated food is a simple yet crucial step in the storage process. By clearly labeling the containers with the contents and the date of dehydration, you can easily track the freshness and ensure that older provisions are used first. This practice also helps prevent confusion and allows you to quickly identify the dehydrated foods you need for specific recipes or snacking purposes.
Properly stored dehydrated food can remain shelf-stable for several months to a few years, depending on the type of food and the storage conditions. Regularly inspect the stored provisions for any signs of moisture, spoilage, or off-odors, and discard any items that show these indicators to maintain the overall quality of your dehydrated food supply.
By following these essential storage practices, you can enjoy the fruits of your dehydrating efforts for an extended period, ensuring that you have a flavorful and nutritious supply of dehydrated foods on hand for snacking, cooking, and emergency preparedness.
With a solid understanding of how to store dehydrated food, you’ve now completed your comprehensive journey into the art of using your oven as a dehydrator. By mastering the fundamentals of dehydration, converting your oven into a makeshift dehydrator, preparing food for dehydration, dehydrating food to perfection, and storing the resulting provisions, you’ve unlocked a world of culinary creativity and sustainability right in your own kitchen.
Whether you’re crafting delicious fruit leathers, creating savory jerky, or preserving an abundance of seasonal produce, the art of dehydration offers a myriad of possibilities for enhancing your culinary repertoire. So, go forth and explore the delectable realm of dehydrated foods, and savor the flavors of your homemade provisions with every wholesome bite.
Conclusion
Congratulations on completing your journey into the art of using your oven as a dehydrator! By delving into the fundamentals of dehydration, converting your oven into a makeshift dehydrator, preparing food for dehydration, dehydrating food to perfection, and storing the resulting provisions, you’ve gained a wealth of knowledge and practical skills that will enrich your culinary pursuits for years to come.
Dehydration is not only a time-honored method of food preservation but also a gateway to a world of delicious, shelf-stable provisions that can enhance your cooking, snacking, and emergency preparedness. Whether you’re creating vibrant fruit chips, crafting savory jerky, or preserving an abundance of seasonal produce, the possibilities for dehydrated culinary creations are as diverse as they are flavorful.
By harnessing the power of your oven to dehydrate a variety of foods, you’ve embraced a sustainable and cost-effective approach to food preservation, minimizing waste and maximizing the shelf life of perishable items. The concentrated flavors, nutritional density, and lightweight, space-saving nature of dehydrated foods make them an invaluable addition to any kitchen, offering convenience, versatility, and a burst of natural goodness in every bite.
As you embark on your culinary adventures with dehydrated foods, remember the importance of patience, attentiveness, and creativity. Whether you’re experimenting with different fruits, vegetables, meats, or herbs, the art of dehydration invites you to explore new flavors, textures, and culinary possibilities, enriching your cooking repertoire and inspiring a deeper connection to the food you prepare and enjoy.
So, savor the fruits of your dehydrating endeavors, and relish the knowledge that you’ve acquired. Whether you’re snacking on nutritious fruit leathers, incorporating dehydrated vegetables into your favorite recipes, or sharing homemade jerky with friends and family, the art of using your oven as a dehydrator has empowered you to elevate your culinary experiences and embrace the bountiful world of dehydrated foods.
With the skills and insights you’ve gained, you’re well-equipped to embark on a flavorful and sustainable culinary journey, where the art of dehydration becomes a cherished ally in your kitchen. So, go forth and explore the delectable realm of dehydrated foods, and may every bite be a celebration of your newfound expertise and creativity.
Frequently Asked Questions about How To Use Oven As A Dehydrator
Was this page helpful?
At Storables.com, we guarantee accurate and reliable information. Our content, validated by Expert Board Contributors, is crafted following stringent Editorial Policies. We're committed to providing you with well-researched, expert-backed insights for all your informational needs.


0 thoughts on “How To Use Oven As A Dehydrator”