Home>Home Appliances>Kitchen Appliances>How To Dehydrate Kiwi In A Dehydrator
Kitchen Appliances
How To Dehydrate Kiwi In A Dehydrator
Published: January 4, 2024
Learn how to dehydrate kiwi in a dehydrator with our easy step-by-step guide. Discover the best kitchen appliances for perfect dehydration results. Start dehydrating today!
(Many of the links in this article redirect to a specific reviewed product. Your purchase of these products through affiliate links helps to generate commission for Storables.com, at no extra cost. Learn more)
Introduction
Dehydrating kiwi is a fantastic way to preserve this delicious and nutritious fruit while creating a convenient, long-lasting snack. Whether you're aiming to reduce food waste, enjoy a healthy treat, or add a flavorful ingredient to your culinary creations, dehydrated kiwi offers a myriad of benefits. In this comprehensive guide, we'll explore the step-by-step process of dehydrating kiwi using a dehydrator, allowing you to savor the sweet and tangy taste of kiwi all year round.
By dehydrating kiwi, you can lock in its vibrant color, intense flavor, and valuable nutrients, including vitamin C, vitamin K, and dietary fiber. Furthermore, dehydrated kiwi makes for a lightweight and easily transportable snack, perfect for on-the-go adventures, lunchboxes, or satisfying those mid-afternoon cravings at work. Additionally, dehydrated kiwi can serve as a delightful addition to granola, trail mix, or homemade fruit and nut bars, contributing a burst of natural sweetness and a pleasant chewy texture.
Not only does dehydrating kiwi offer practical benefits, but it also presents an opportunity to engage in a rewarding and mindful culinary process. From selecting the ripest kiwi to carefully arranging the slices on the dehydrator trays, each step allows you to connect with the food you consume and gain a deeper appreciation for its journey from orchard to table. As we delve into the art of dehydrating kiwi, you'll discover the simple yet transformative techniques that will empower you to create a delectable and wholesome snack with ease.
Get ready to embark on a flavorful and nutritious adventure as we embark on the journey of dehydrating kiwi in a dehydrator. Let's dive into the process of selecting, preparing, slicing, pre-treating, dehydrating, and storing this delightful fruit to ensure you have a plentiful supply of dehydrated kiwi on hand whenever the craving strikes.
Key Takeaways:
- Dehydrating kiwi in a dehydrator preserves its flavor, color, and nutrients, creating a convenient and tasty snack for on-the-go adventures or as a delightful addition to various recipes.
- Properly selecting, preparing, slicing, pre-treating, dehydrating, and storing kiwi ensures a flavorful and long-lasting supply of dehydrated kiwi slices for snacking and culinary creations.
Read more: How To Store Kiwi In The Fridge
Selecting and Preparing Kiwi
Before diving into the dehydrating process, it’s crucial to select the ripest kiwi fruits for optimal flavor and texture. When choosing kiwi, look for fruits that yield slightly to gentle pressure, indicating that they are ripe and ready to eat. Additionally, ripe kiwi should have a sweet fragrance and be free from blemishes or overly soft spots. Selecting high-quality kiwi sets the stage for a successful dehydration process, ensuring that the end result is a flavorful and satisfying snack.
Once you’ve gathered your ripe kiwi, it’s time to prepare them for the dehydrator. Start by rinsing the kiwi under cool water to remove any dirt or residue from the skin. Next, gently pat the kiwi dry with a clean kitchen towel. At this stage, you may choose to either leave the skin on for added texture and visual appeal in the dehydrated slices or peel the kiwi for a smoother, more uniform appearance. If you opt to remove the skin, a vegetable peeler or a sharp paring knife can be used to accomplish this task efficiently.
After washing and, if desired, peeling the kiwi, it’s essential to slice the fruit into uniform pieces to ensure even dehydration. The thickness of the slices can vary based on personal preference, but a thickness of around 1/4 to 1/2 inch generally yields satisfying results. As you prepare the kiwi slices, consider the final purpose of the dehydrated fruit. Thicker slices may result in a chewier texture, ideal for snacking, while thinner slices can be used as a decorative topping for desserts or incorporated into baked goods.
By carefully selecting and preparing your kiwi, you set the stage for a successful dehydrating process, allowing the natural sweetness and tangy flavor of the fruit to shine through in the finished product. With the kiwi prepped and ready, it’s time to move on to the next step: slicing the fruit in preparation for dehydration.
Slicing Kiwi
Once the kiwi is selected and prepared, the next crucial step in the dehydration process is slicing the fruit into uniform pieces. This step is essential for ensuring even drying and consistent results. When slicing kiwi for dehydration, it’s important to consider the desired texture and intended use of the dehydrated fruit.
Begin by placing the prepared kiwi on a clean cutting board. Using a sharp knife, carefully slice the kiwi into rounds or ovals, aiming for a consistent thickness of approximately 1/4 to 1/2 inch. This uniformity in slicing will promote even dehydration, preventing some pieces from becoming overly dry while others retain excess moisture.
If you prefer a chewier texture in the dehydrated kiwi, opt for slightly thicker slices. Conversely, thinner slices will yield a crisper texture. Consider experimenting with different thicknesses to discover the ideal texture that suits your taste preferences and intended uses for the dehydrated kiwi.
As you slice the kiwi, take care to remove any tough or woody portions near the stem end, ensuring that each slice consists of the flavorful and tender flesh of the fruit. Additionally, if you opted to leave the skin on the kiwi, the vibrant green color of the skin will add visual appeal to the dehydrated slices, creating an attractive and appetizing finished product.
By taking the time to slice the kiwi uniformly and thoughtfully, you set the stage for a successful dehydration process, resulting in a bounty of flavorful and visually appealing dehydrated kiwi slices. With the kiwi expertly sliced and ready for the next stage, it’s time to explore the pre-treating process, which further enhances the flavor and quality of the dehydrated fruit.
Before dehydrating kiwi in a dehydrator, make sure to slice the kiwi into uniform thickness to ensure even drying. Thicker slices will take longer to dehydrate, while thinner slices may become too dry and crispy.
Pre-Treating Kiwi
Pre-treating kiwi before dehydration can enhance the flavor, texture, and shelf life of the dehydrated fruit. While pre-treating is optional, it offers several benefits, including preserving the natural color of the kiwi, preventing discoloration, and adding a touch of sweetness or tanginess through various pre-treatment methods.
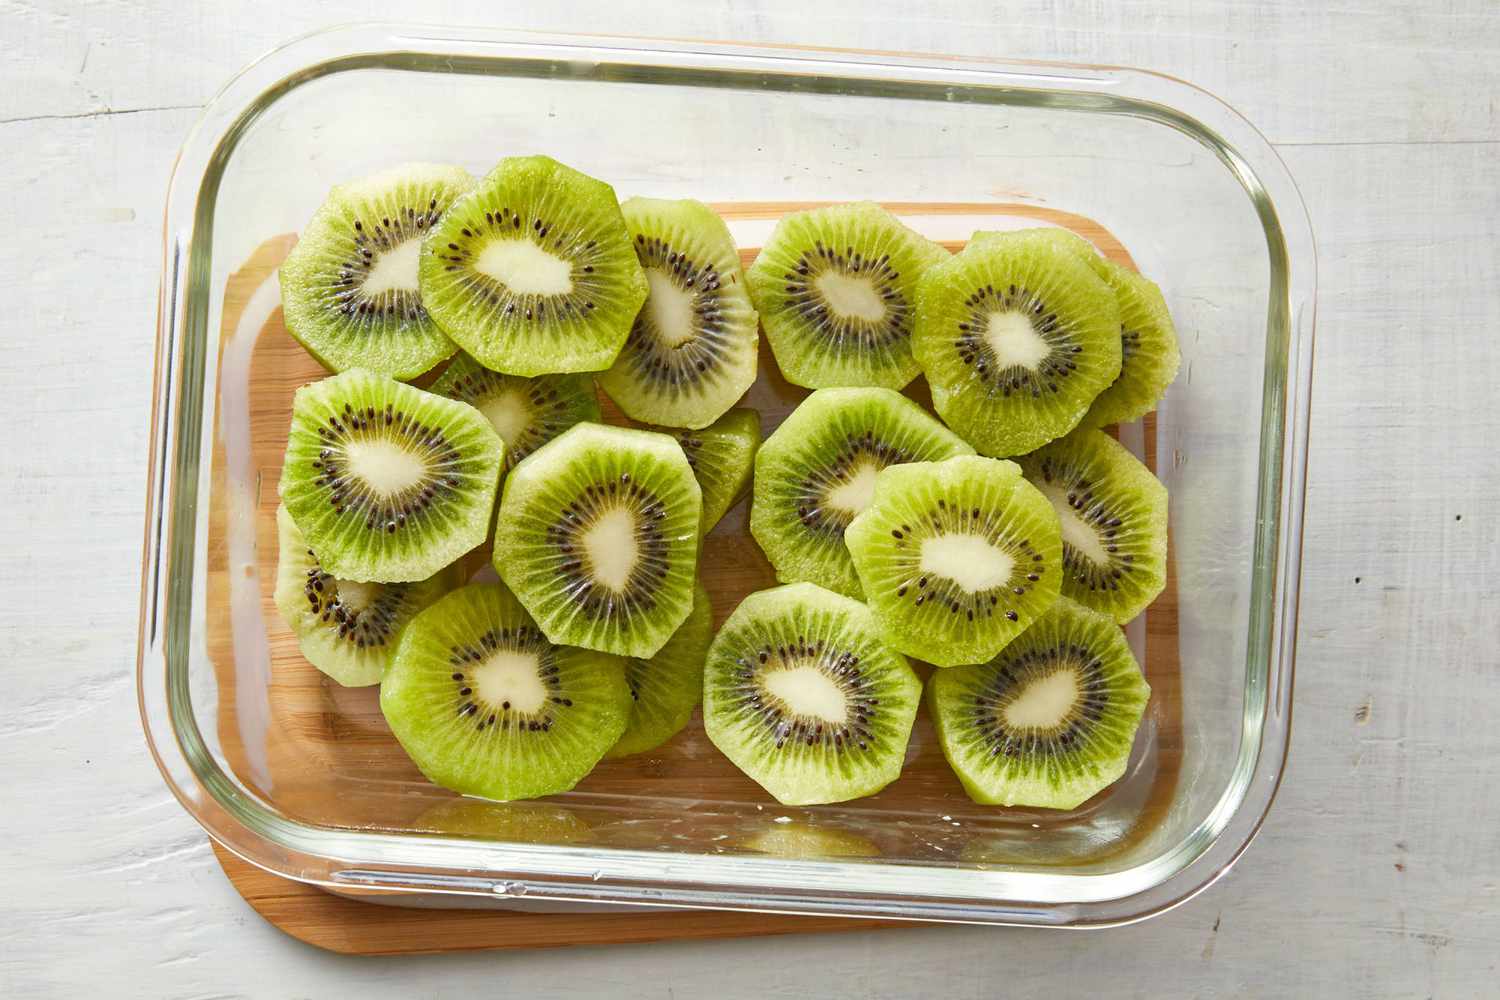
One common pre-treatment method involves immersing the kiwi slices in a solution to preserve their color and texture. A simple and effective pre-treatment solution can be made by combining water with lemon juice. The acidity of the lemon juice helps prevent the kiwi from darkening during the dehydration process, maintaining its vibrant green color. To create the pre-treatment solution, mix one part lemon juice with three parts water in a bowl or shallow dish.
After preparing the pre-treatment solution, gently submerge the kiwi slices in the mixture for a few minutes, ensuring that each slice is evenly coated. This brief immersion helps protect the kiwi from oxidation, which can lead to discoloration and loss of flavor. Once the slices have been pre-treated, carefully remove them from the solution and arrange them on the dehydrator trays, ready for the dehydration process.
Alternatively, for those seeking to infuse a touch of sweetness into the dehydrated kiwi, a light dusting of powdered sugar or a drizzle of honey can be applied before placing the slices in the dehydrator. This method not only adds a hint of sweetness but also contributes to the formation of a delicate, slightly crystallized exterior on the dehydrated kiwi, enhancing its visual appeal and texture.
By pre-treating the kiwi slices, you can elevate the overall quality of the dehydrated fruit, ensuring that it retains its natural color, flavor, and texture throughout the dehydration process. With the kiwi pre-treated and ready for the next stage, it’s time to explore the process of dehydrating the fruit to perfection.
Dehydrating Kiwi
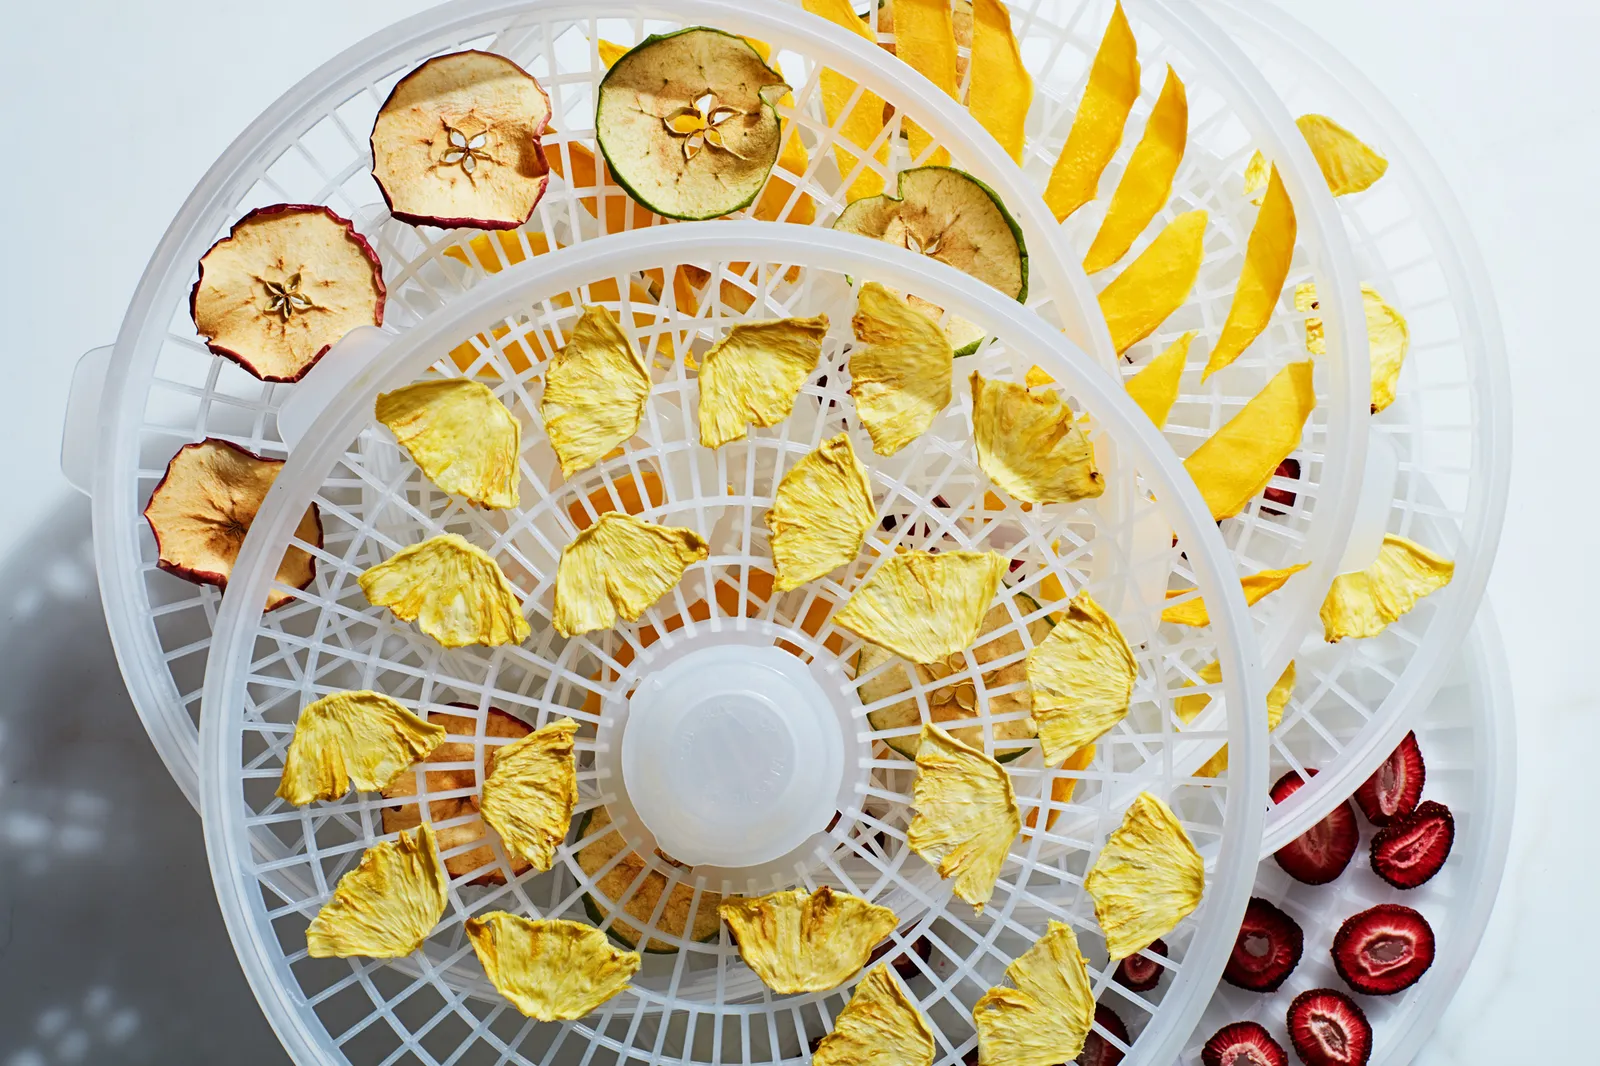
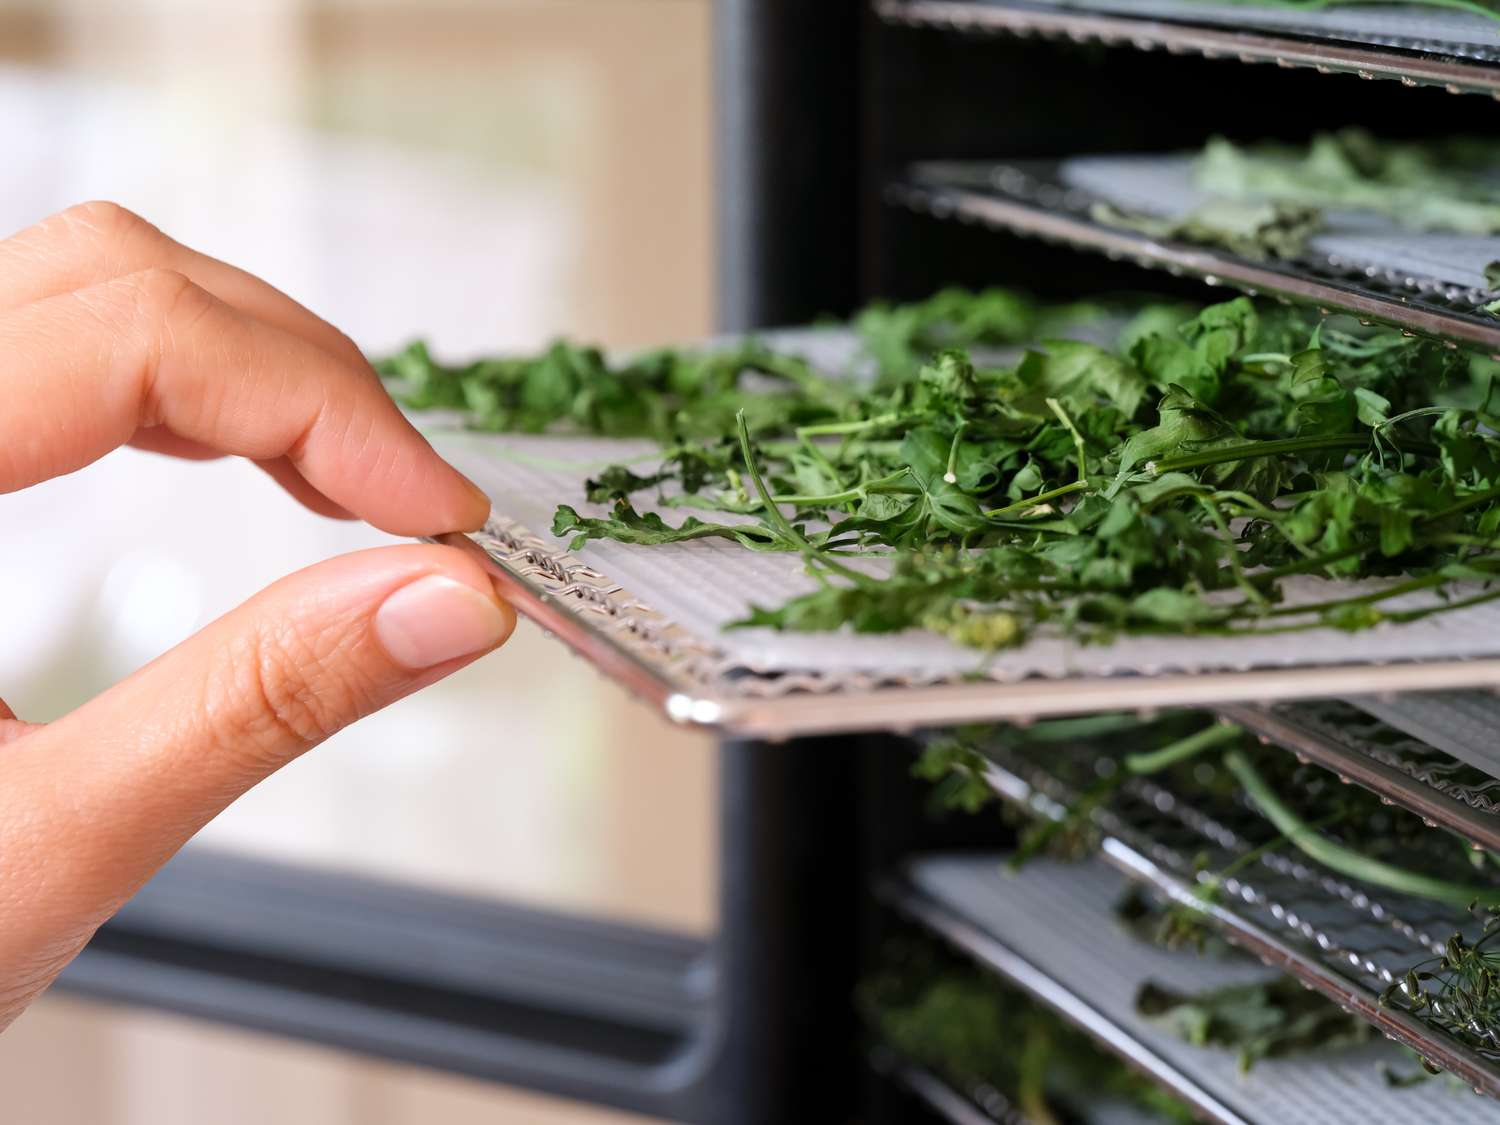
Dehydrating kiwi is a straightforward process that involves removing the moisture from the fruit to create a chewy and flavorful snack. Using a food dehydrator offers a convenient and efficient way to achieve optimal results, as it allows for precise temperature control and even airflow, ensuring that the kiwi slices dry evenly without becoming overly brittle.
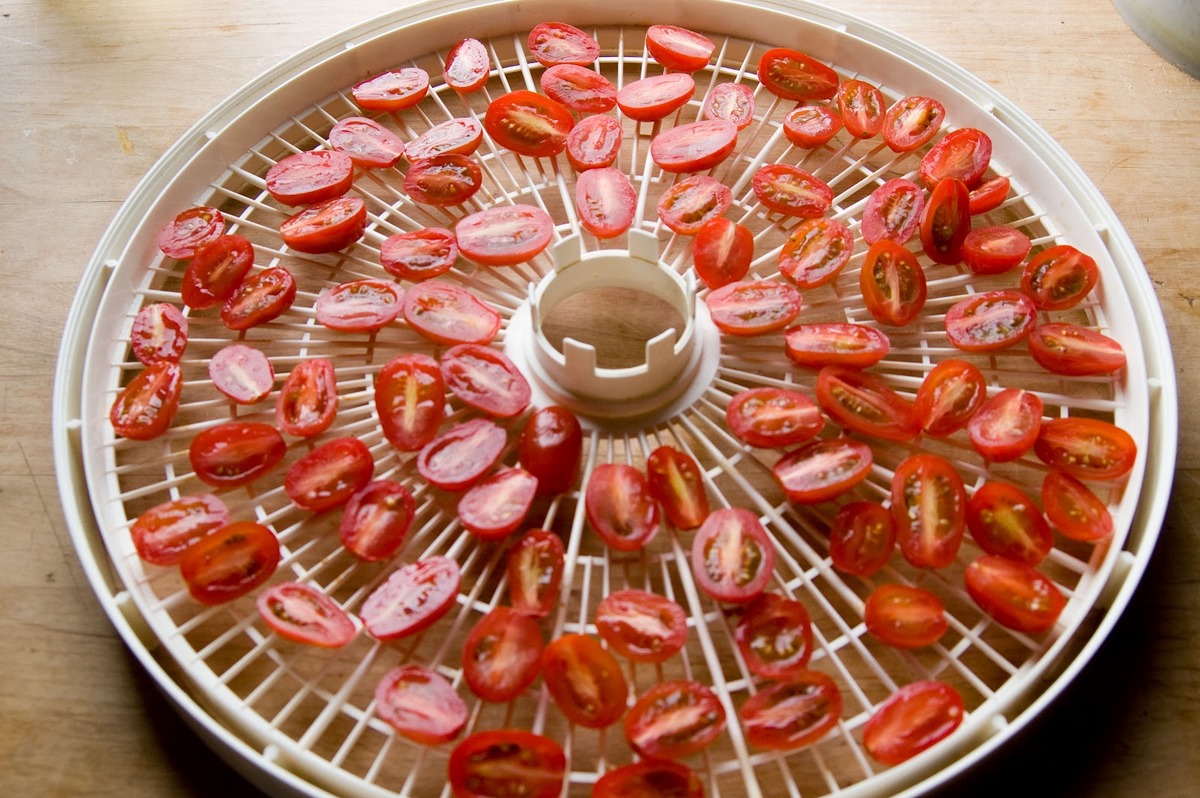
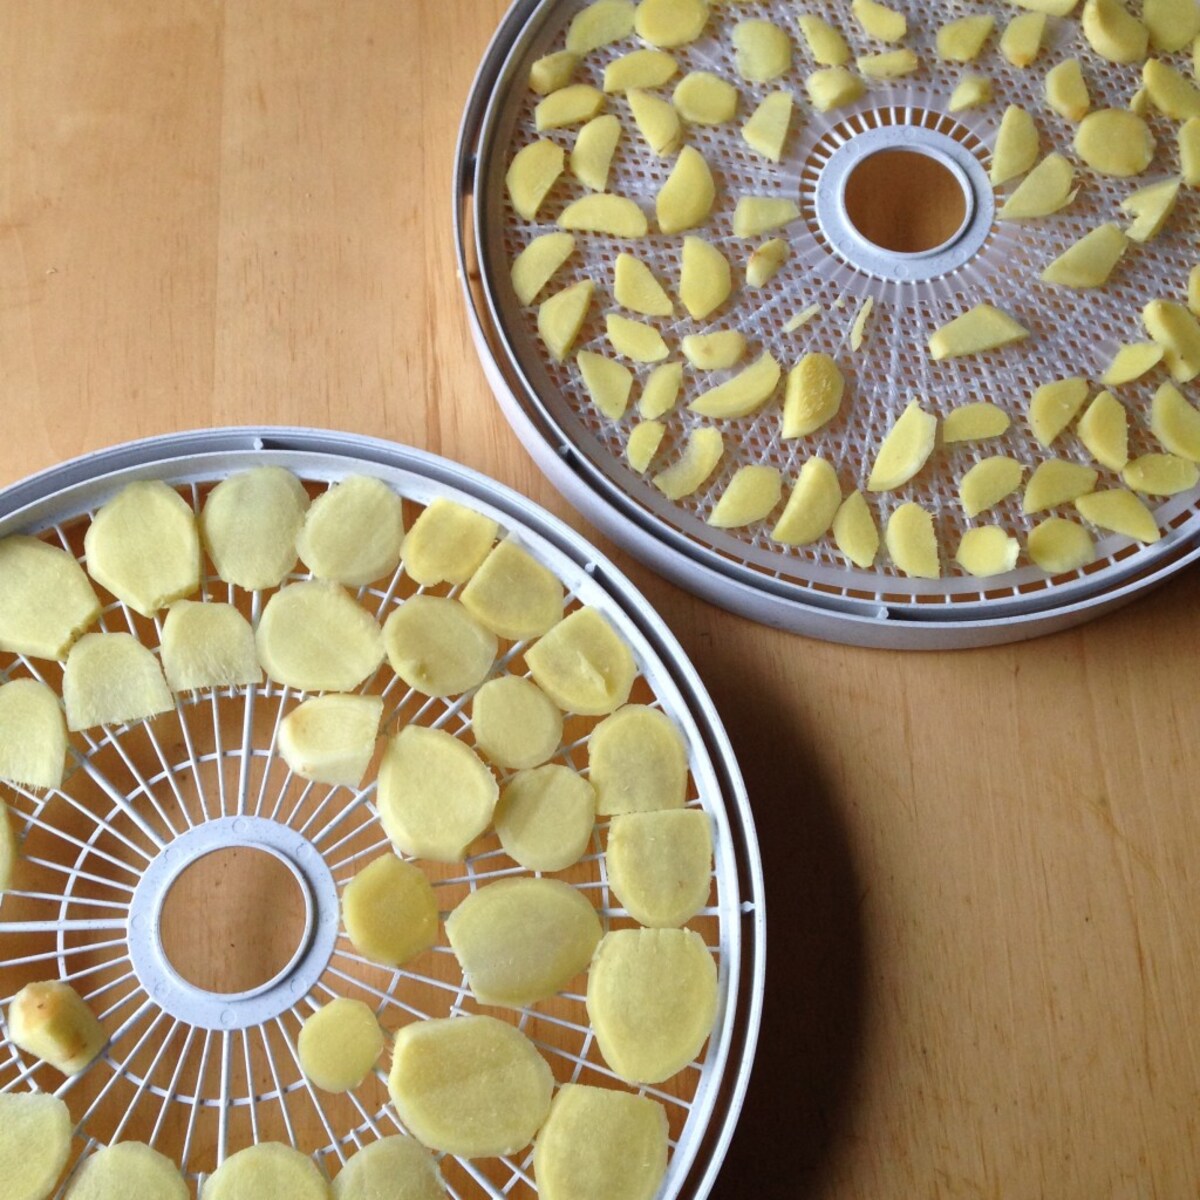
To begin the dehydration process, arrange the pre-treated kiwi slices in a single layer on the dehydrator trays, leaving space between each slice to allow for proper airflow. It’s essential to follow the manufacturer’s guidelines for your specific dehydrator model, including setting the recommended temperature and adjusting the drying time as necessary.
For most dehydrators, a temperature range of 135°F to 140°F (approximately 57°C to 60°C) is suitable for dehydrating kiwi. The low heat gently removes the moisture from the fruit while preserving its vibrant color and essential nutrients. Depending on the thickness of the kiwi slices and the moisture content of the fruit, the dehydration process typically takes between 8 to 12 hours. However, it’s essential to periodically check the progress of the kiwi slices and adjust the drying time as needed.
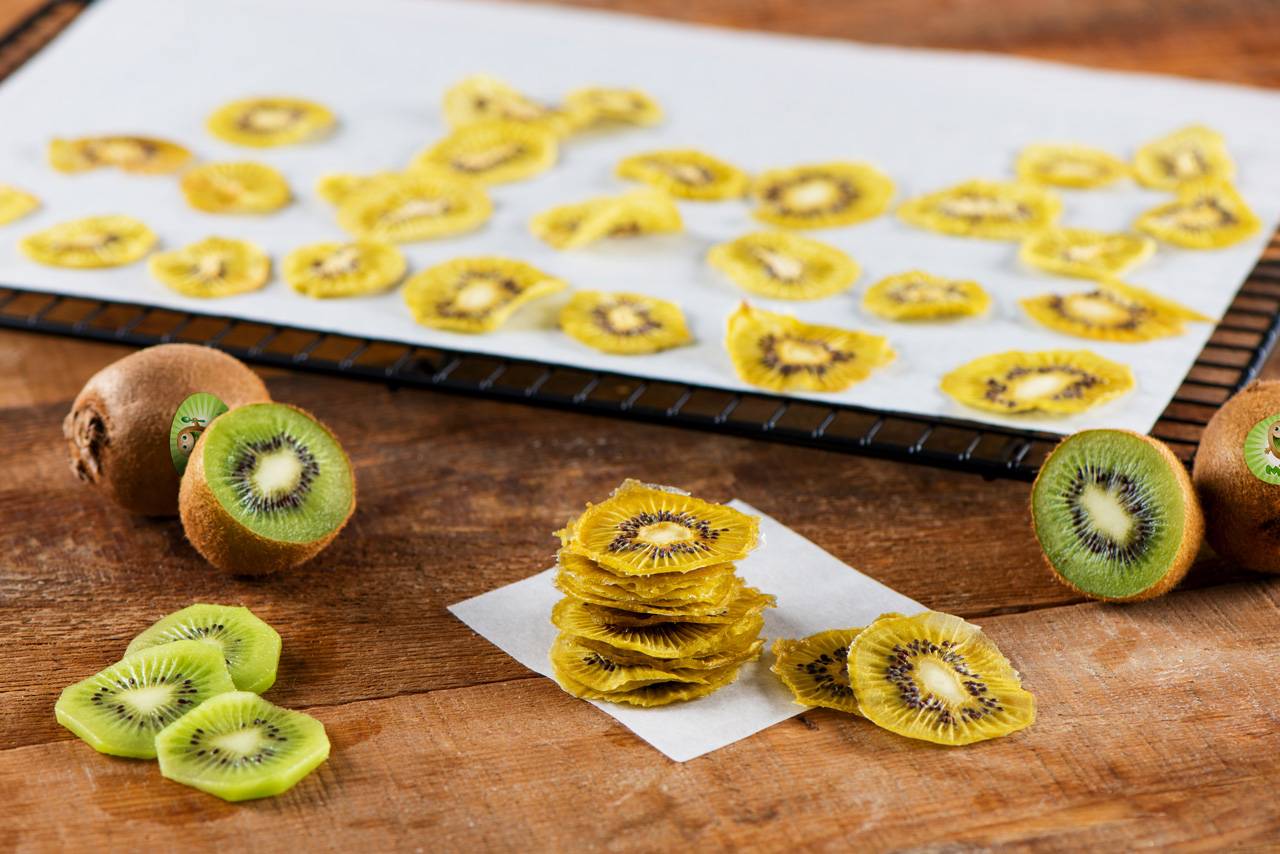
Throughout the dehydration process, the kiwi slices will gradually transform, becoming slightly shrunken, chewy, and intensely flavorful. Once the slices have reached the desired texture, remove them from the dehydrator and allow them to cool completely. At this stage, the dehydrated kiwi should be pliable with a slight tackiness, indicating that the moisture has been adequately removed.
Before enjoying the dehydrated kiwi, it’s essential to ensure that the slices have cooled to room temperature and have achieved a uniform texture. If any slices appear overly moist or have not reached the desired consistency, they can be returned to the dehydrator for additional drying time until they reach the desired chewy texture.
By following the dehydrating process diligently, you can transform fresh kiwi into a delightful and nutritious snack that can be enjoyed on its own or incorporated into a variety of culinary creations. With the kiwi successfully dehydrated, it’s time to explore the final step: storing the dehydrated fruit to maintain its quality and flavor over time.
Read more: How To Juice Kiwi In A Juicer
Storing Dehydrated Kiwi
Proper storage is crucial for preserving the flavor, texture, and nutritional quality of dehydrated kiwi over an extended period. By storing the dehydrated fruit correctly, you can ensure that it remains fresh and delicious, ready to be enjoyed as a wholesome snack or a flavorful addition to your favorite recipes.
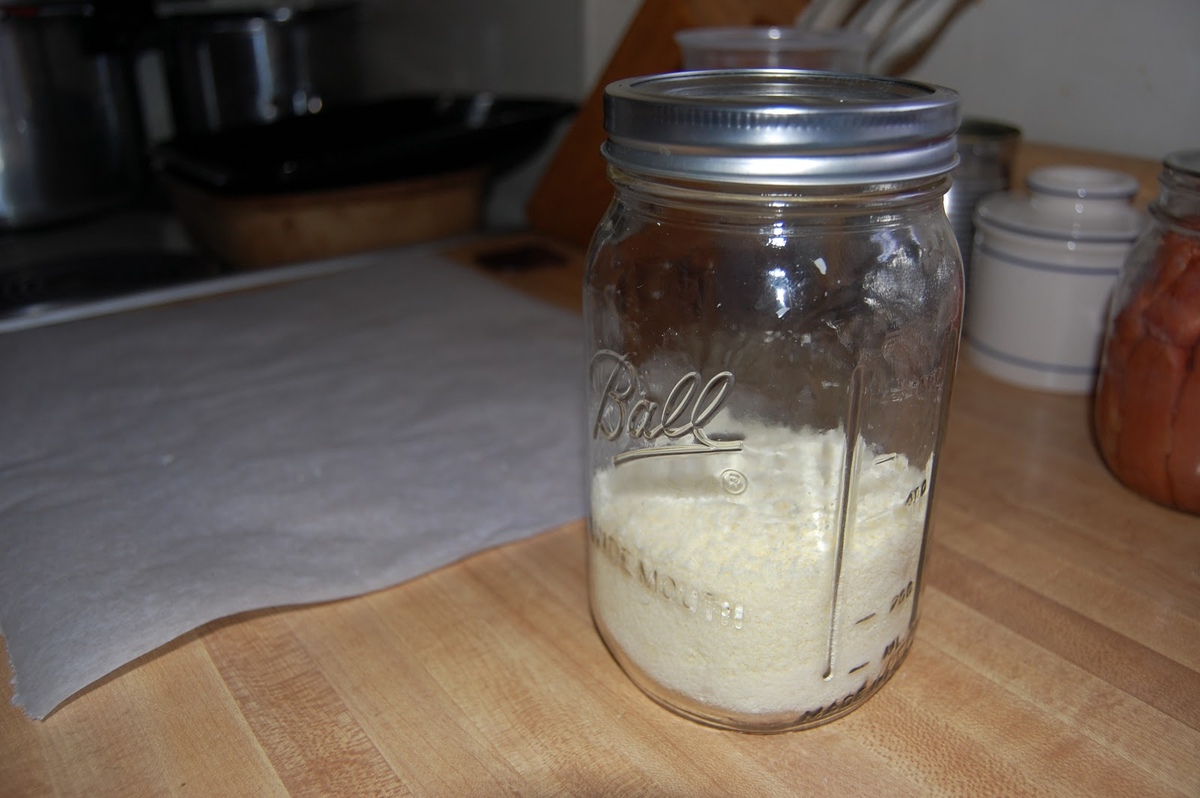
Once the dehydrated kiwi slices have cooled to room temperature and reached the desired chewy texture, it’s time to transfer them to suitable storage containers. Select airtight containers such as glass jars, resealable plastic bags, or vacuum-sealed pouches to protect the dehydrated kiwi from exposure to moisture and air, which can compromise its quality over time.
Prior to placing the dehydrated kiwi in the storage containers, it’s essential to allow any residual moisture to escape by conditioning the fruit. Conditioning involves evenly distributing any remaining moisture among the dehydrated slices to prevent the formation of condensation within the storage containers. To condition the dehydrated kiwi, place the slices in a single layer in the storage containers and seal the lids for 4 to 7 days, shaking the containers daily to redistribute any moisture. If condensation forms inside the containers during this period, return the kiwi to the dehydrator for further drying before attempting to store it again.
When selecting a storage location for the dehydrated kiwi, opt for a cool, dark, and dry environment, such as a pantry or cupboard, away from direct sunlight and heat sources. Exposure to light and heat can degrade the quality of the dehydrated fruit, leading to loss of flavor and texture over time.
When properly stored, dehydrated kiwi can maintain its quality for an extended period, with a shelf life of up to 6 to 12 months. Regularly inspect the stored kiwi for any signs of moisture, mold, or off odors, and discard any slices that show these indicators of spoilage.
By following these storage guidelines, you can ensure that your dehydrated kiwi remains fresh, flavorful, and ready to be enjoyed as a nutritious snack or a delightful ingredient in your culinary endeavors. With the dehydrated kiwi expertly stored, you can savor the sweet and tangy taste of this versatile fruit whenever the craving strikes.
Frequently Asked Questions about How To Dehydrate Kiwi In A Dehydrator
Was this page helpful?
At Storables.com, we guarantee accurate and reliable information. Our content, validated by Expert Board Contributors, is crafted following stringent Editorial Policies. We're committed to providing you with well-researched, expert-backed insights for all your informational needs.


0 thoughts on “How To Dehydrate Kiwi In A Dehydrator”