Home>Home Maintenance>How Much To Replace A Coil In An Air Conditioner
Home Maintenance
How Much To Replace A Coil In An Air Conditioner
Modified: March 7, 2024
Need to replace a coil in your air conditioner? Find out how much it will cost with our comprehensive guide to home maintenance.
(Many of the links in this article redirect to a specific reviewed product. Your purchase of these products through affiliate links helps to generate commission for Storables.com, at no extra cost. Learn more)
Introduction
Welcome to our comprehensive guide on how much it costs to replace a coil in an air conditioner. As a homeowner, maintaining your HVAC system is essential to ensure optimal performance and comfort in your home. The coil is a vital component of the air conditioner that plays a crucial role in cooling your indoor space efficiently. However, over time, coils can deteriorate and require replacement.
In this article, we will delve into the key aspects of coil replacement, including why it may be necessary, factors that affect the cost, and whether you should tackle the task yourself or hire a professional. Additionally, we’ll provide a step-by-step overview of the coil replacement process and share some maintenance tips to help you extend the lifespan of your coil.
Whether you’re a seasoned DIY enthusiast or someone curious about the inner workings of your air conditioner, this guide will equip you with the knowledge you need to make an informed decision regarding coil replacement.
So, let’s get started and explore the world of air conditioner coils!
Key Takeaways:
- Don’t DIY Coil Replacement: Hire a Pro!
Replacing a coil in your air conditioner is complex and risky. Leave it to the professionals to ensure proper installation and avoid further damage to your system. - Regular Maintenance Saves Money
By keeping your coil clean and following manufacturer guidelines, you can extend its lifespan and enjoy a more efficient and cost-effective air conditioning system.
Read more: What Is An Air Conditioner Coil
Understanding the Coil in an Air Conditioner
Before we dive into the details of coil replacement, it’s essential to understand the role of the coil within an air conditioning system. In simple terms, the coil is responsible for transferring heat between the indoor and outdoor units of the air conditioner.
There are two types of coils in an air conditioner:
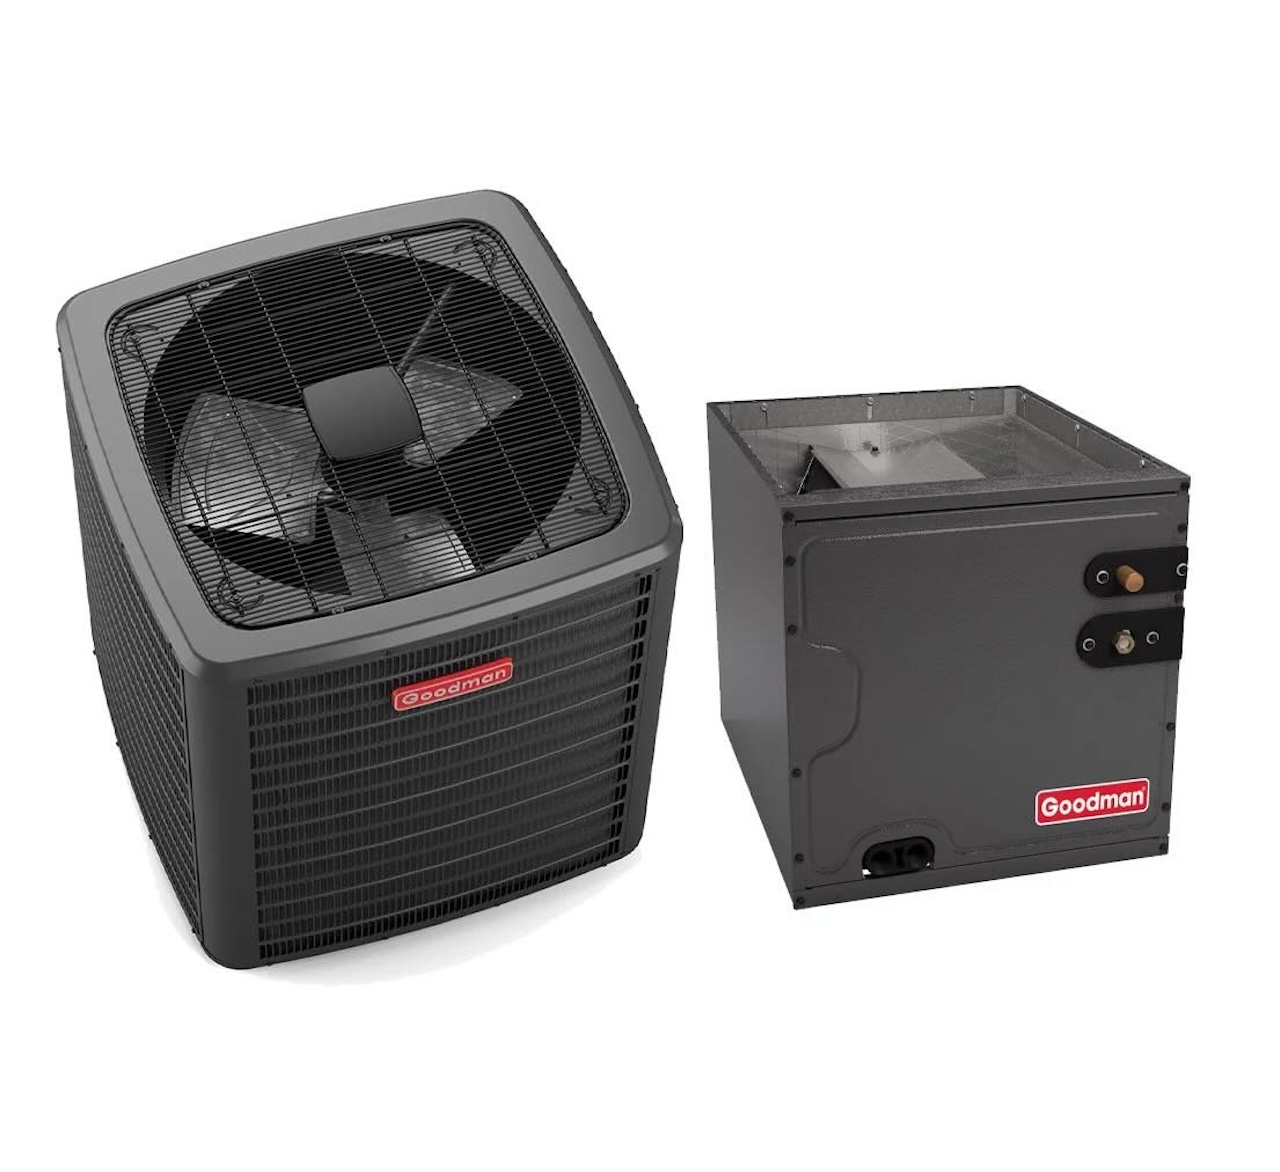
- Evaporator Coil: This coil is located inside the indoor unit and is responsible for absorbing heat from the air in your home. It plays a crucial role in the cooling process by evaporating the refrigerant, which absorbs the heat and cools the surrounding air.
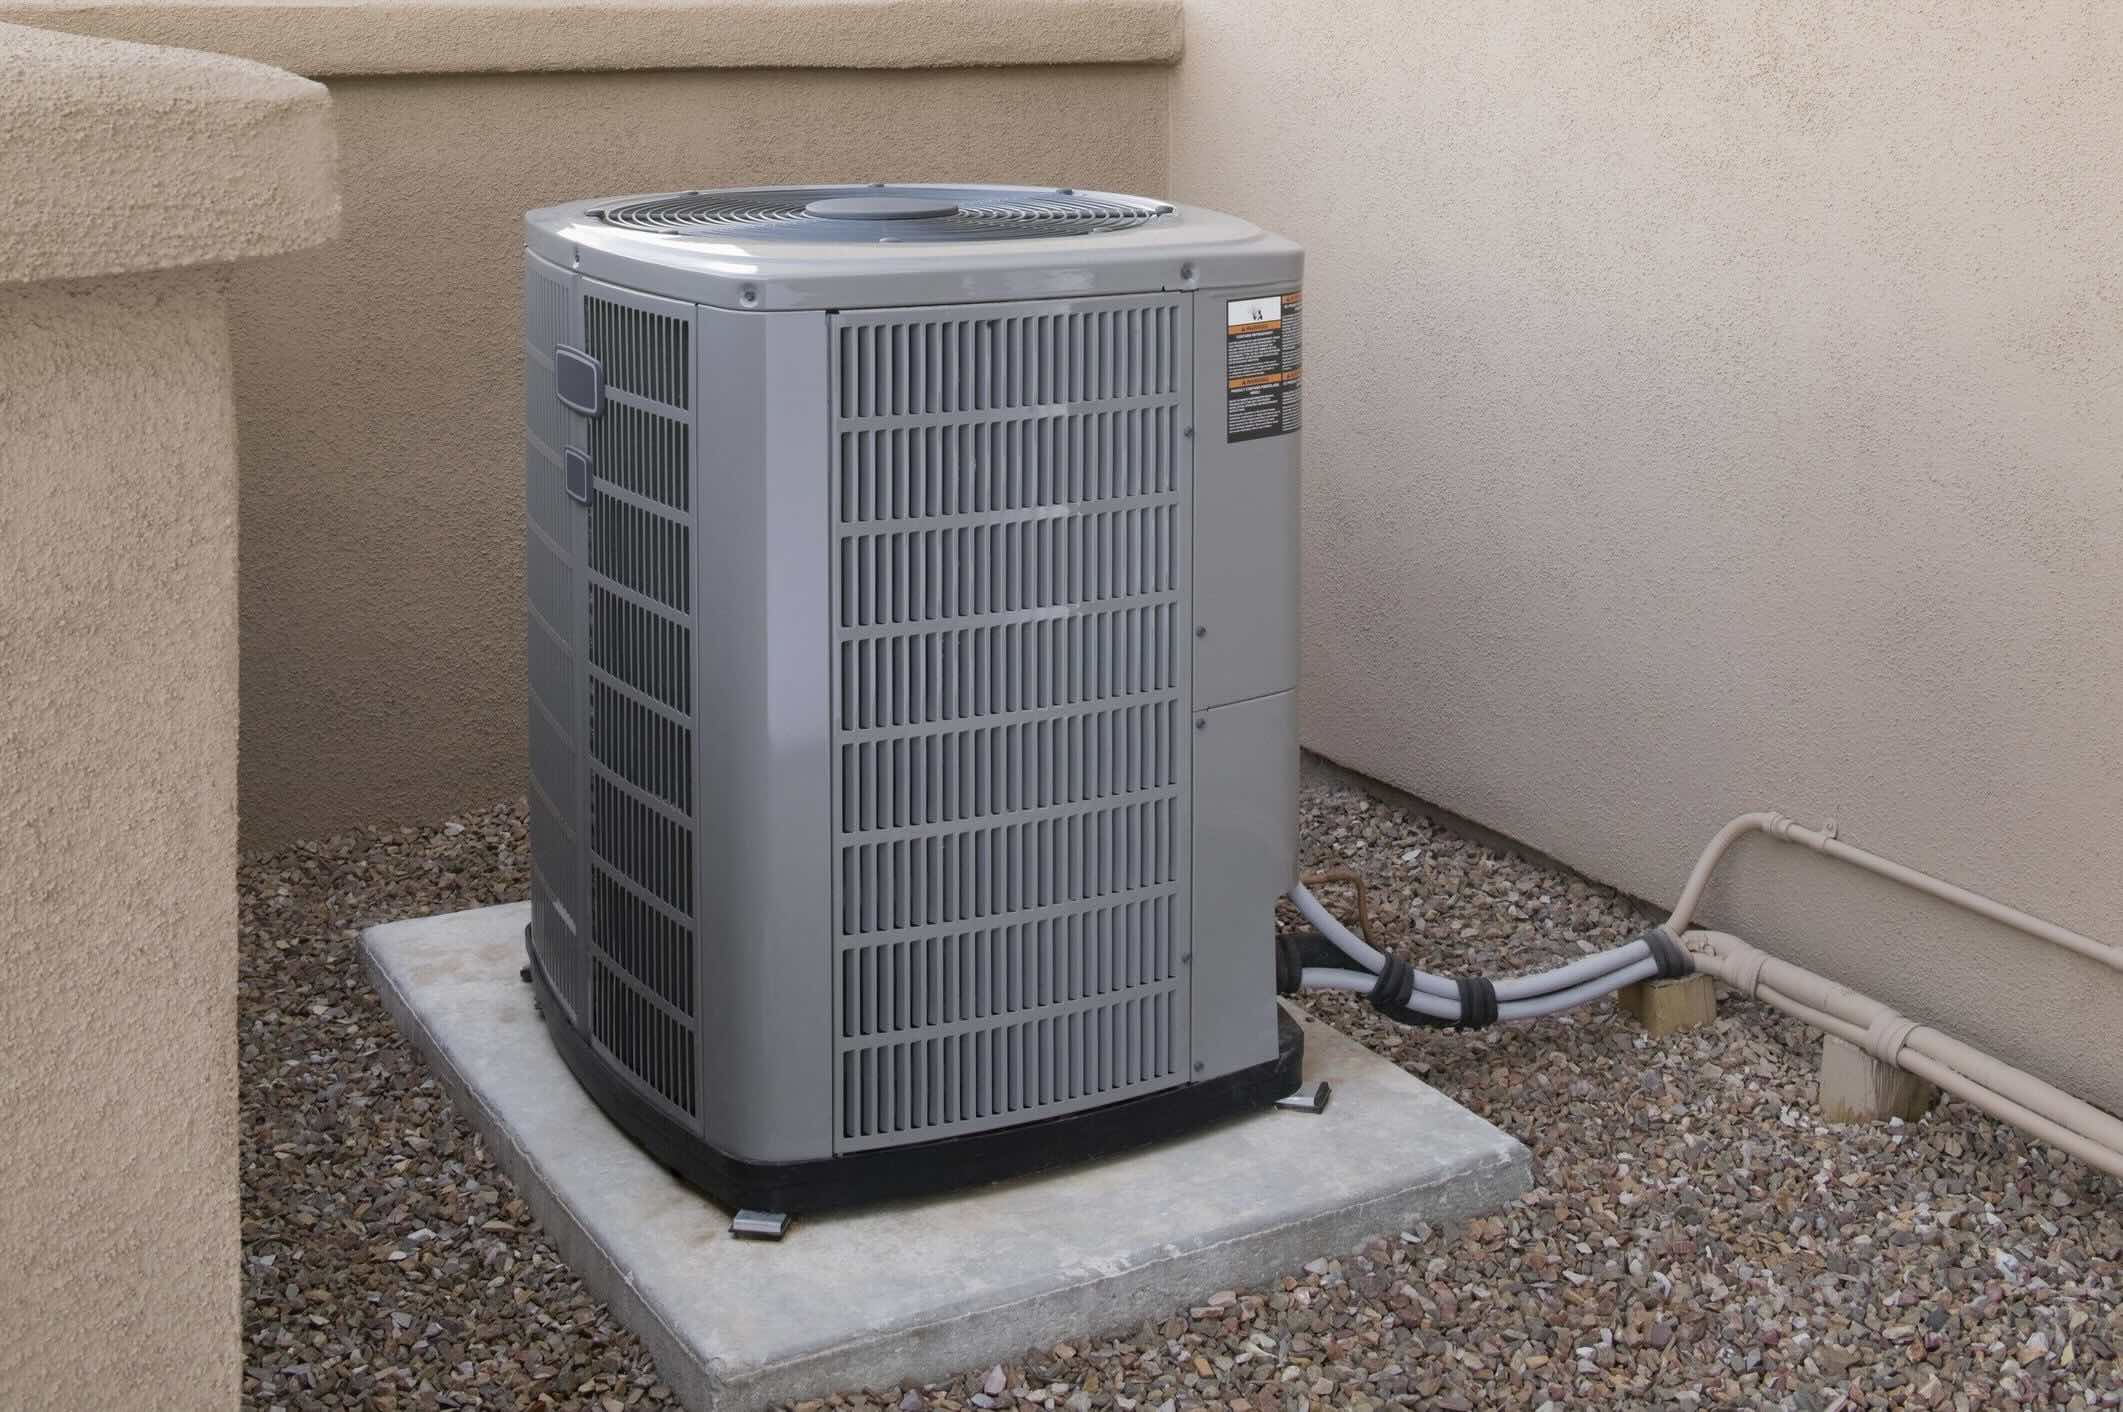
- Condenser Coil: The condenser coil is located in the outdoor unit of the air conditioner. It works in conjunction with the compressor to release heat from the system, allowing the refrigerant to cool and return to a liquid state.
Both coils are essential for the efficient functioning of your air conditioner. They work together to ensure that the hot air is removed from your home and replaced with cool air. However, over time, these coils can become dirty or damaged, affecting the performance of your air conditioning system.
Understanding the role of coils in an air conditioner helps you realize their importance and why timely maintenance or replacement is necessary. Now that we have a basic understanding of the coils, let’s explore the signs that indicate it might be time for a coil replacement.
Signs that Your Coil Needs Replacement
Recognizing the signs that your coil needs replacement is crucial to prevent further damage to your air conditioning system. Here are some common signs that indicate it may be time to replace your coils:
- Reduced Cooling Efficiency: If you notice that your air conditioner is not cooling your home as effectively as it used to, it could be a sign of a worn-out or damaged coil. Over time, coils can become dirty or corroded, hindering their ability to transfer heat efficiently. This can lead to decreased cooling performance and uneven temperature distribution in your home.
- Frequent Breakdowns: Are you experiencing frequent breakdowns or system malfunctions? This could be an indication that the coil is not functioning properly. A faulty coil can put stress on other components of the air conditioning system, leading to repeated failures and disruptions in cooling performance.
- Ice Build-up: If you notice ice forming on the coils, it could indicate a problem. Ice build-up is often caused by poor airflow or a refrigerant leak, both of which can cause the coil to become inefficient. Ignoring this issue can lead to further damage, so it’s best to address it promptly.
- Strange Noises: Unusual noises, such as hissing or bubbling sounds, coming from your air conditioner can be a sign of a refrigerant leak. Leaking refrigerant can damage the coil and hinder its ability to cool the air effectively. If you hear any strange noises, it’s essential to have your system inspected by a professional.
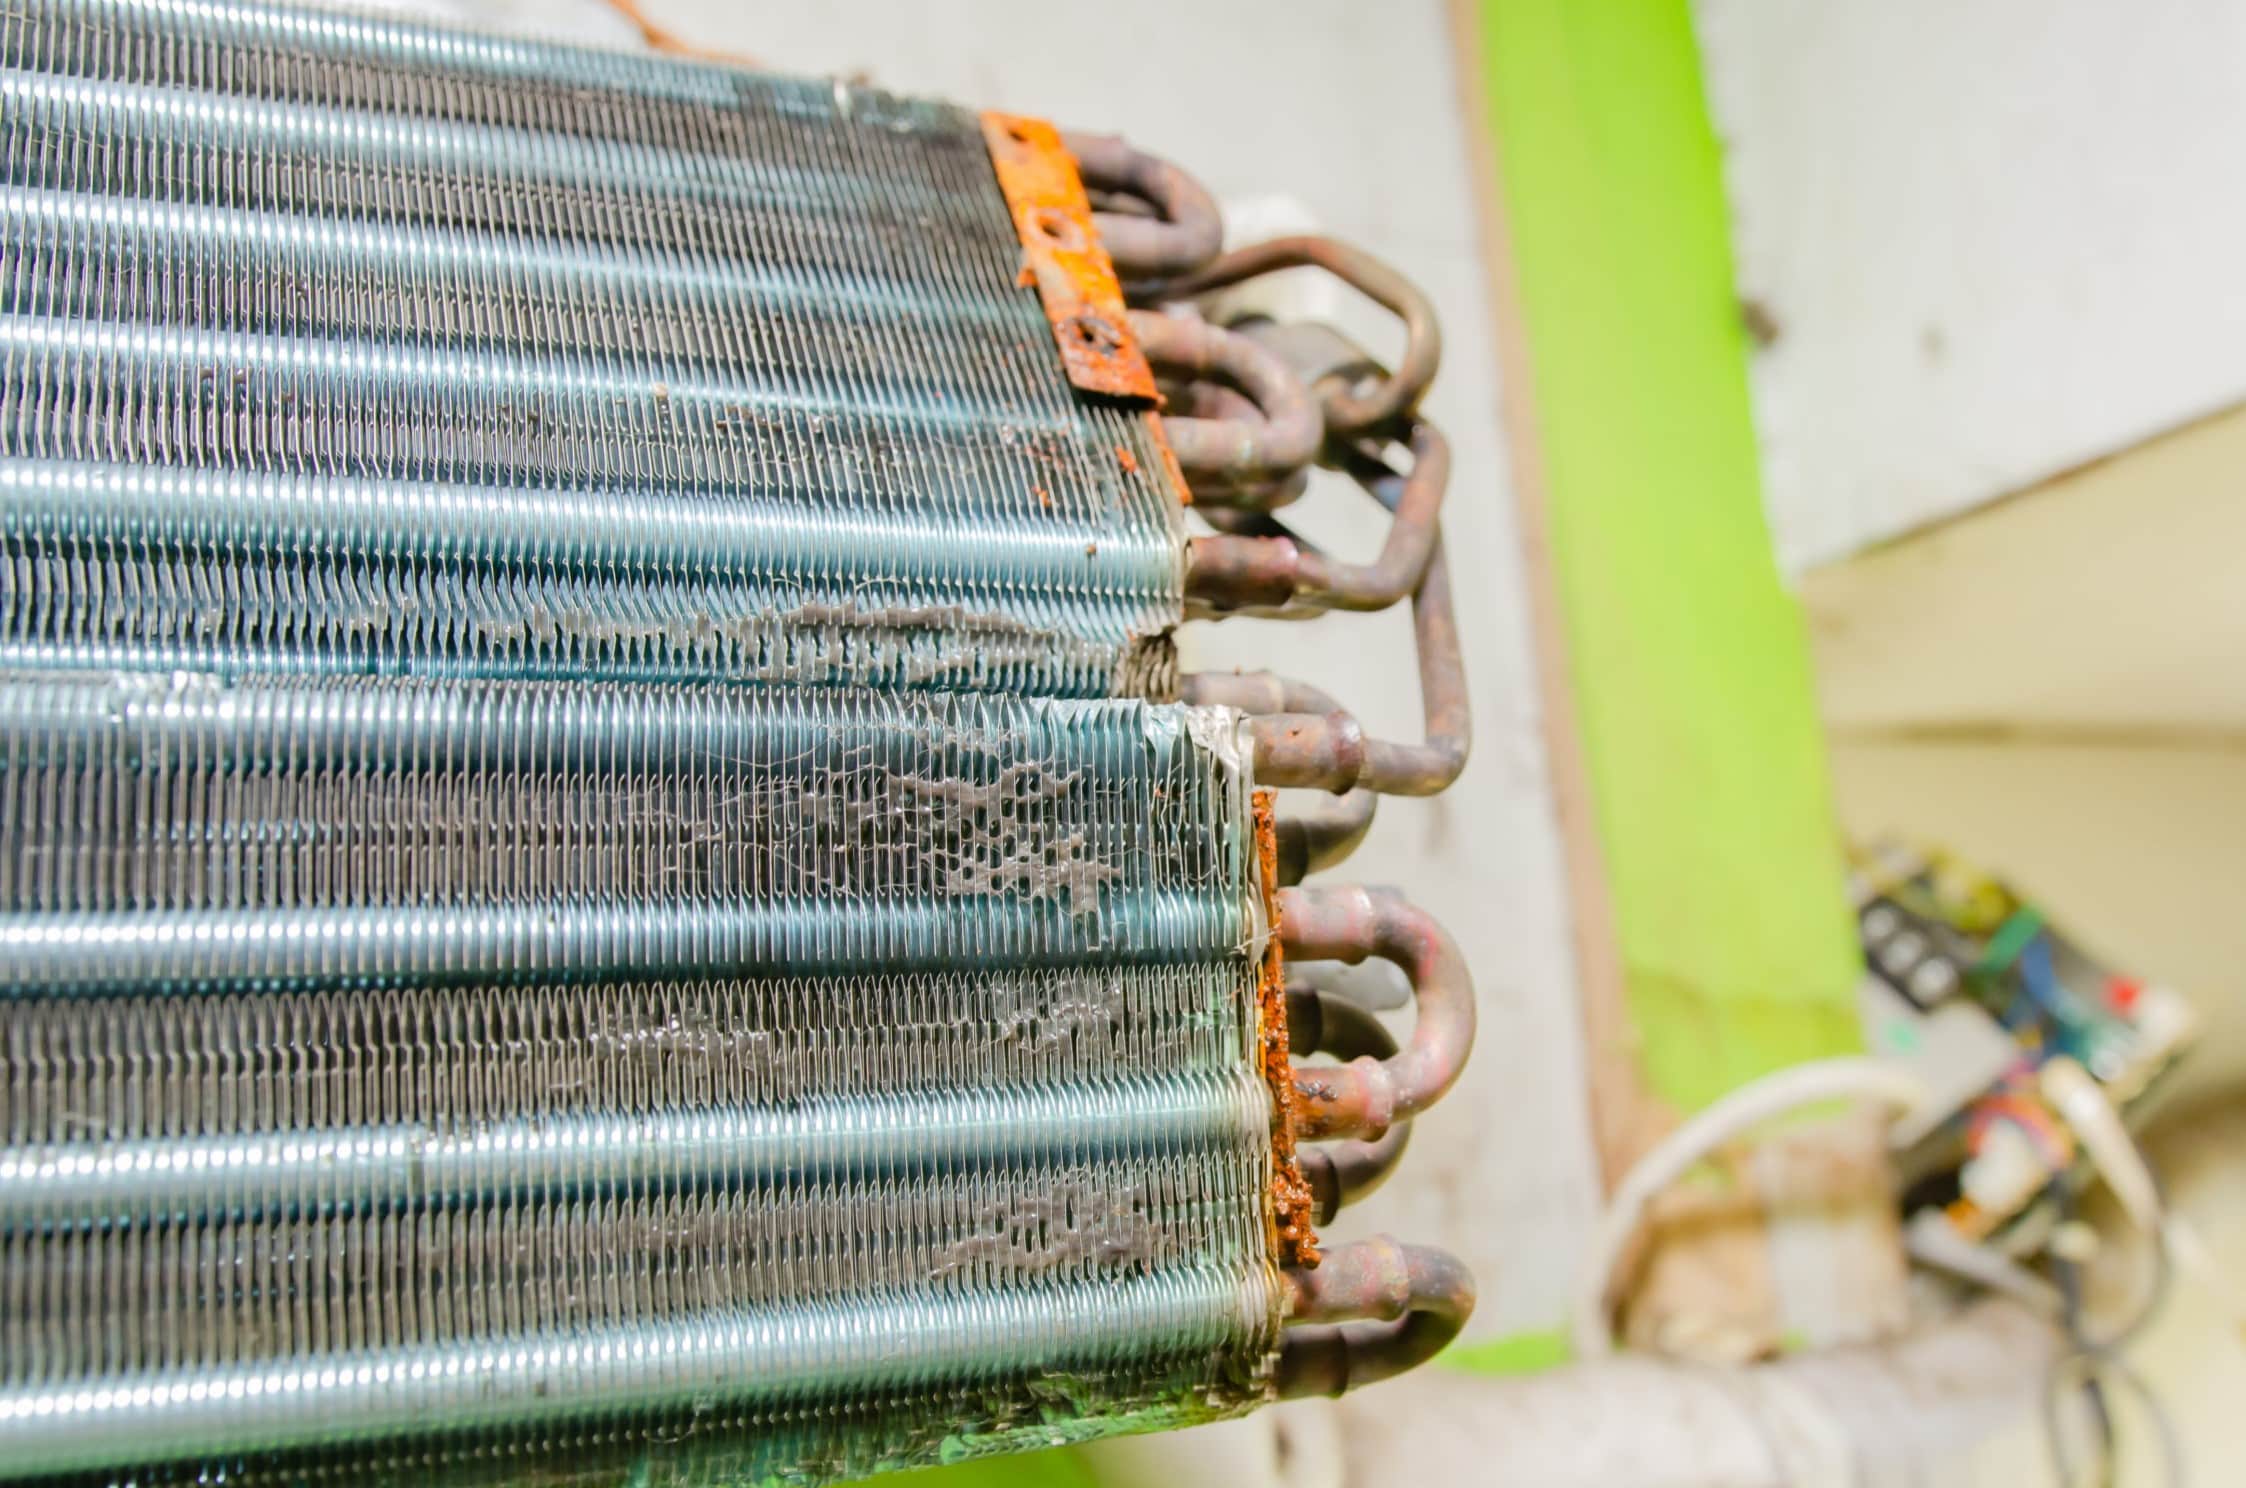
- Visible Coil Damage: Inspect your coils for any visible signs of damage, such as corrosion, rust, or bent fins. Damaged fins can restrict airflow, leading to reduced cooling efficiency. Additionally, if the coil is leaking refrigerant, you may notice oil stains or a pungent odor around the coil area.
- Age of the System: Finally, consider the age of your air conditioning system. Most coils have an average lifespan of 10-15 years. If your coil is approaching or exceeding this lifespan, it’s advisable to consider a replacement, especially if you’re experiencing any of the aforementioned issues.
If you notice any of these signs, it’s important to consult with a professional HVAC technician who can assess the condition of your coil and recommend the appropriate course of action. Next, let’s explore the various factors that can affect the cost of coil replacement.
Factors Affecting the Cost of Coil Replacement
When it comes to replacing a coil in an air conditioner, several factors can influence the overall cost. Understanding these factors can help you estimate the potential expenses involved. Here are the key factors that can affect the cost of coil replacement:
- Type of Coil: The type of coil you need to replace will significantly impact the cost. There are various types of coils available in the market, each with different features and price points. The cost can vary depending on whether you need to replace the evaporator coil or the condenser coil, as well as the brand and model you choose.
- Size and Compatibility: Air conditioners come in different sizes, and the coil replacement cost can vary based on the size and compatibility requirements of your specific unit. Ensuring the new coil fits properly and is compatible with your existing system is crucial for optimal performance and efficiency.
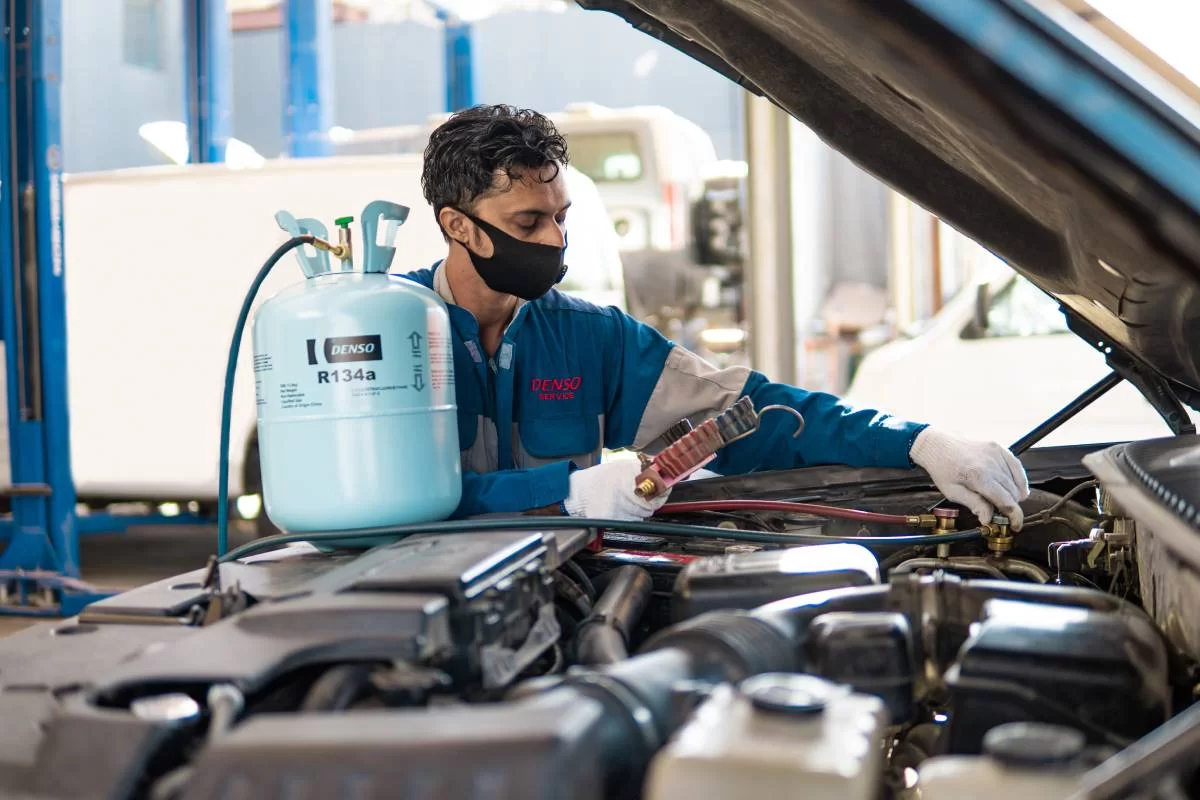
- Refrigerant Type: The type of refrigerant used in your air conditioning system can also affect the cost of coil replacement. If your system uses an older refrigerant that is being phased out, such as R-22, the cost may be higher due to the limited availability and increasing regulations surrounding the use of these refrigerants.
- Labor Costs: The cost of labor involved in coil replacement can vary depending on your location, the complexity of the job, and the HVAC contractor you hire. Labor costs may include removing the old coil, installing the new one, and testing the system for proper functionality.
- Additional Repairs: In some cases, a coil replacement may uncover other issues within your air conditioning system, such as a refrigerant leak or a malfunctioning compressor. If additional repairs are required, they can contribute to the overall cost of the service.
- Warranty Coverage: If your air conditioning system is still within its warranty period, it’s worth checking if the coil replacement is covered under the warranty. This can help offset some or all of the costs associated with the replacement.
- Emergency Service: If a coil fails unexpectedly during peak cooling season or outside normal business hours, emergency service charges may apply. It’s advisable to inquire about any extra fees for urgent coil replacement services.
Keep in mind that the actual cost of coil replacement can vary based on these factors and your specific circumstances. It’s always a good idea to consult with a reputable HVAC contractor who can provide you with an accurate estimate based on a thorough assessment of your air conditioning system.
Now that we’ve explored the factors affecting the cost, let’s dive into the estimated average cost of replacing a coil in an air conditioner.
Average Cost of Replacing a Coil in an Air Conditioner
Understanding the average cost of replacing a coil in an air conditioner can help you prepare financially and make an informed decision. However, it’s important to note that the actual cost can vary depending on the factors we discussed earlier. Here is a general guideline regarding the average cost of coil replacement:
On average, the cost of replacing a coil in an air conditioner can range from $500 to $2,500. The lower end of the range typically applies to smaller, less complex systems with a lower tonnage capacity, while larger systems or those with higher tonnage capacity can be on the higher end of the spectrum. Keep in mind that these figures are estimates and can vary based on the factors affecting the cost.
The cost breakdown for coil replacement typically includes the cost of the replacement coil itself, labor charges, and any additional repairs or materials required for a successful replacement. It’s essential to request detailed quotes from HVAC contractors to understand the breakdown of the costs involved.
As mentioned before, warranty coverage can also affect the overall cost. If your system is still under warranty, the cost of the coil replacement may be partially or fully covered by the manufacturer, reducing your out-of-pocket expenses. Alternatively, if your warranty has expired, the entire cost would be your responsibility.
Additionally, it’s crucial to consider the potential long-term savings associated with coil replacement. A new, efficient coil can improve the performance and efficiency of your air conditioner, leading to lower energy bills and reduced repair costs in the long run. It’s important to weigh the upfront cost against the potential savings and benefits of investing in a new coil.
Now that you have an idea of the average cost of coil replacement, let’s explore whether you should tackle the task yourself or hire a professional.
Regular maintenance and cleaning of your air conditioner can help prevent the need for coil replacement. Make sure to change the air filters regularly and schedule annual professional maintenance to keep your coils in good condition.
Read more: How Much To Replace AC Coil
DIY Coil Replacement vs. Hiring a Professional
When it comes to coil replacement in an air conditioner, you may be wondering whether it’s a task you can tackle on your own or if it’s best to leave it to the professionals. While DIY projects can save money, it’s crucial to consider the complexity and potential risks involved in replacing a coil. Here are some factors to consider when deciding between a DIY approach and hiring a professional:
Technical Skill and Knowledge: Coil replacement requires a certain level of technical skill and knowledge of HVAC systems. It involves handling refrigerant, electrical components, and intricate parts. If you have experience working with air conditioning systems and feel confident in your abilities, a DIY approach may be feasible. However, if you’re not familiar with HVAC systems, it’s recommended to hire a professional to ensure the job is done correctly.
Tools and Equipment: Coil replacement often requires specialized tools and equipment. While some basic tools may be available in your toolbox, other specific tools may be needed to complete the job efficiently. HVAC professionals are equipped with the necessary tools and have access to high-quality replacement coils that may not be readily accessible to homeowners.
Safety Risks: Working with an air conditioning system involves potential safety risks, such as electrical hazards or refrigerant leaks. HVAC professionals are trained to handle these risks safely and have the necessary safety equipment and certifications. If you’re unsure of the safety protocols or concerned about your personal safety, it’s best to hire a professional.
Time and Convenience: Coil replacement can be a time-consuming task, especially if you’re unfamiliar with the process. HVAC professionals have the expertise and experience to complete the replacement efficiently. Hiring a professional allows you to save time and ensure that your air conditioner is up and running as quickly as possible.
Warranty Considerations: If your air conditioning system is still under warranty, attempting a DIY coil replacement may void the warranty. Manufacturers often require professional installation and may not honor warranties for self-installed components. To safeguard your warranty, it’s best to consult with the manufacturer and hire a professional for the replacement.
Ultimately, the decision between a DIY approach or hiring a professional boils down to your comfort level, technical expertise, and the potential risks involved. While a DIY project may save money upfront, a professional installation ensures the job is done correctly and reduces the risk of further damage to your air conditioning system.
Next, let’s explore the steps involved in coil replacement to give you a better understanding of the process, should you choose to tackle it yourself or simply want to be aware of what to expect when hiring a professional.
Steps Involved in Coil Replacement
Replacing a coil in an air conditioner involves several steps to ensure a successful installation. While it’s advisable to hire a professional for this task, understanding the process can be helpful if you prefer a DIY approach or want to have a general overview of the task. Here are the typical steps involved in coil replacement:
- Turn Off Power: Before starting any work on your air conditioning system, it’s essential to turn off the power at the circuit breaker. This ensures your safety while working with electrical components.
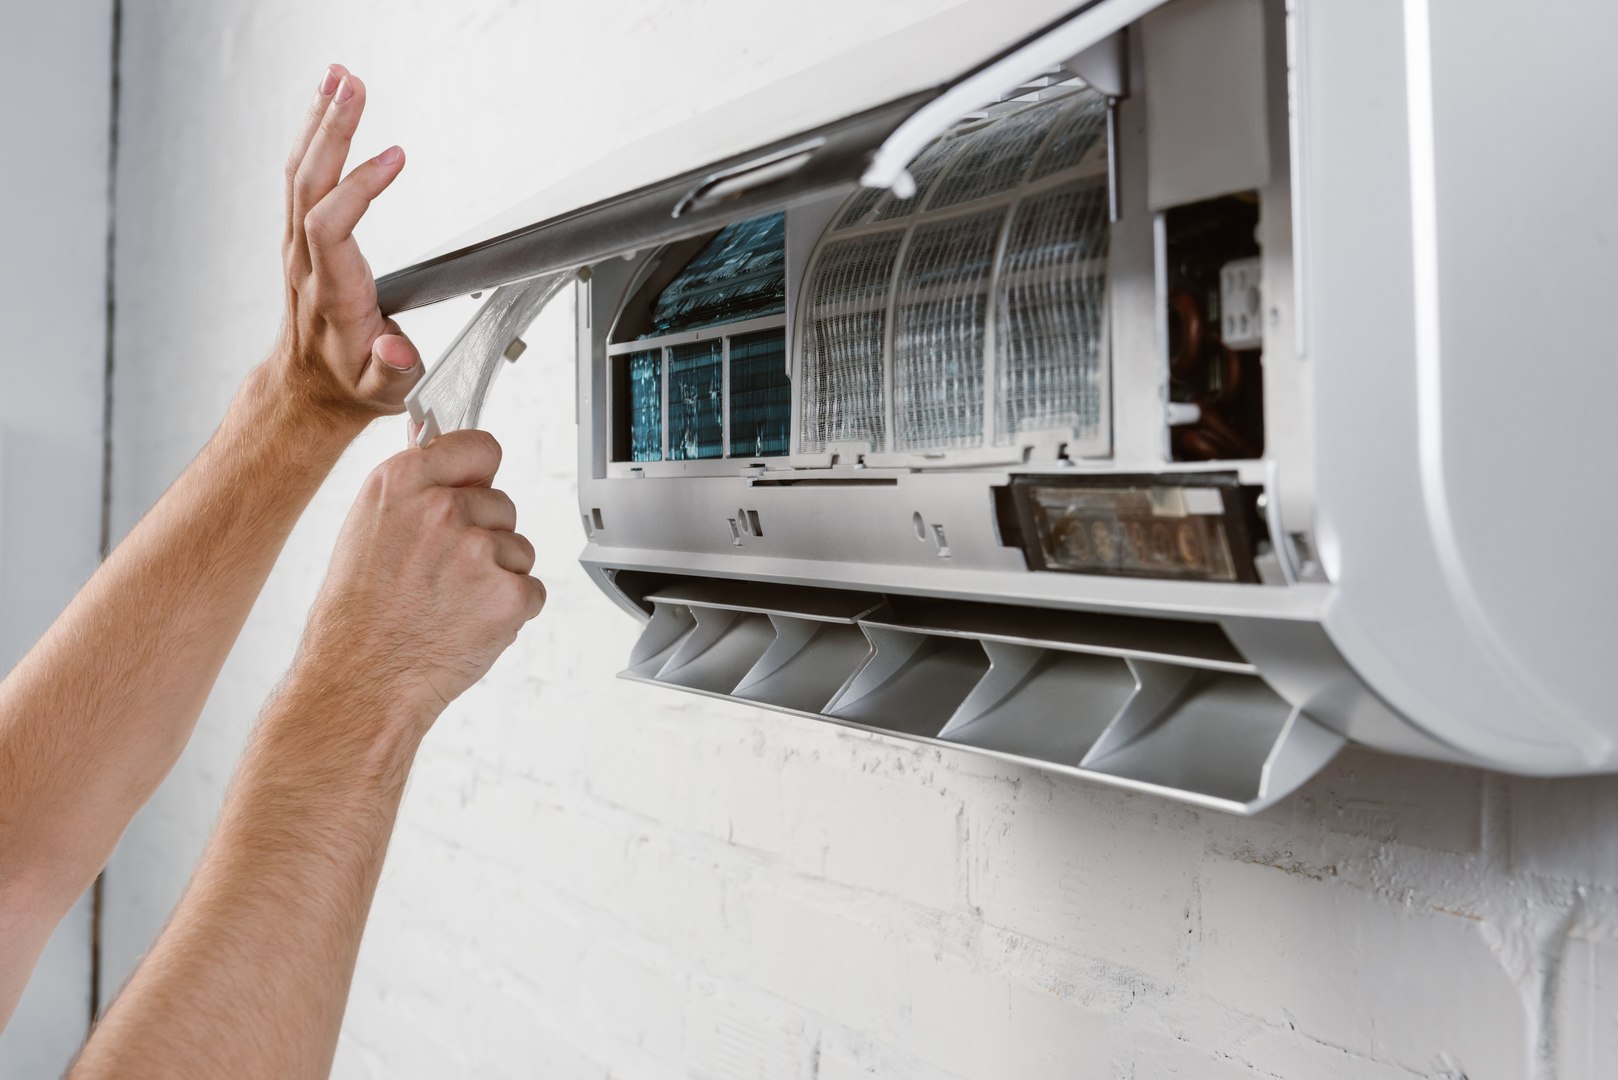
- Remove Exterior Panels: Start by removing the exterior panels of your air conditioning unit. These panels provide access to the internal components of the system.
- Disconnect Electrical Connections: Carefully disconnect the electrical connections that attach the coil to the air conditioner. Take note of the wiring configuration to ensure correct reconnection later.
- Recover Refrigerant: If your system uses refrigerant, it’s crucial to safely recover the refrigerant before proceeding with the coil replacement. This step requires specialized equipment and knowledge, so it’s recommended to leave it to a professional.
- Remove Old Coil: Remove the old coil from the air conditioning unit, carefully disconnecting any refrigerant lines or tubing. Follow manufacturer guidelines or professional instructions for proper removal.
- Prepare New Coil: Prepare the new coil for installation, ensuring it matches the specifications and compatibility requirements of your air conditioning system. Follow manufacturer instructions and use proper handling techniques to avoid damage.
- Install New Coil: Install the new coil in the air conditioner, reconnecting any refrigerant lines, tubing, and electrical connections. Pay careful attention to ensure proper alignment and secure connections.
- Recharge Refrigerant (If Applicable): If your air conditioning system uses refrigerant, recharge the system with the appropriate amount of refrigerant according to manufacturer specifications. Again, it’s best to leave this step to a professional.
- Test System: Once the new coil is installed, reassemble the exterior panels of the air conditioner. Turn on the power and test the system to ensure it’s functioning properly. Check for any potential issues or leaks.
- Clean Up: Finally, clean up the work area, ensuring it’s free from debris and properly dispose of any old parts or refrigerant in accordance with local regulations.
While these steps provide a general overview of coil replacement, it’s important to note that the process can be more complex and may vary depending on your specific air conditioner model and manufacturer guidelines. To ensure a proper and safe installation, it’s recommended to hire a professional HVAC technician with the necessary expertise and equipment.
Now that we’ve covered the steps involved in coil replacement, let’s explore some essential maintenance tips to help extend the lifespan of your coil and keep your air conditioner running smoothly.
Maintenance Tips to Extend the Lifespan of Your Coil
Proper maintenance of your air conditioner coil is essential to ensure its longevity and efficient operation. Here are some maintenance tips that can help extend the lifespan of your coil:
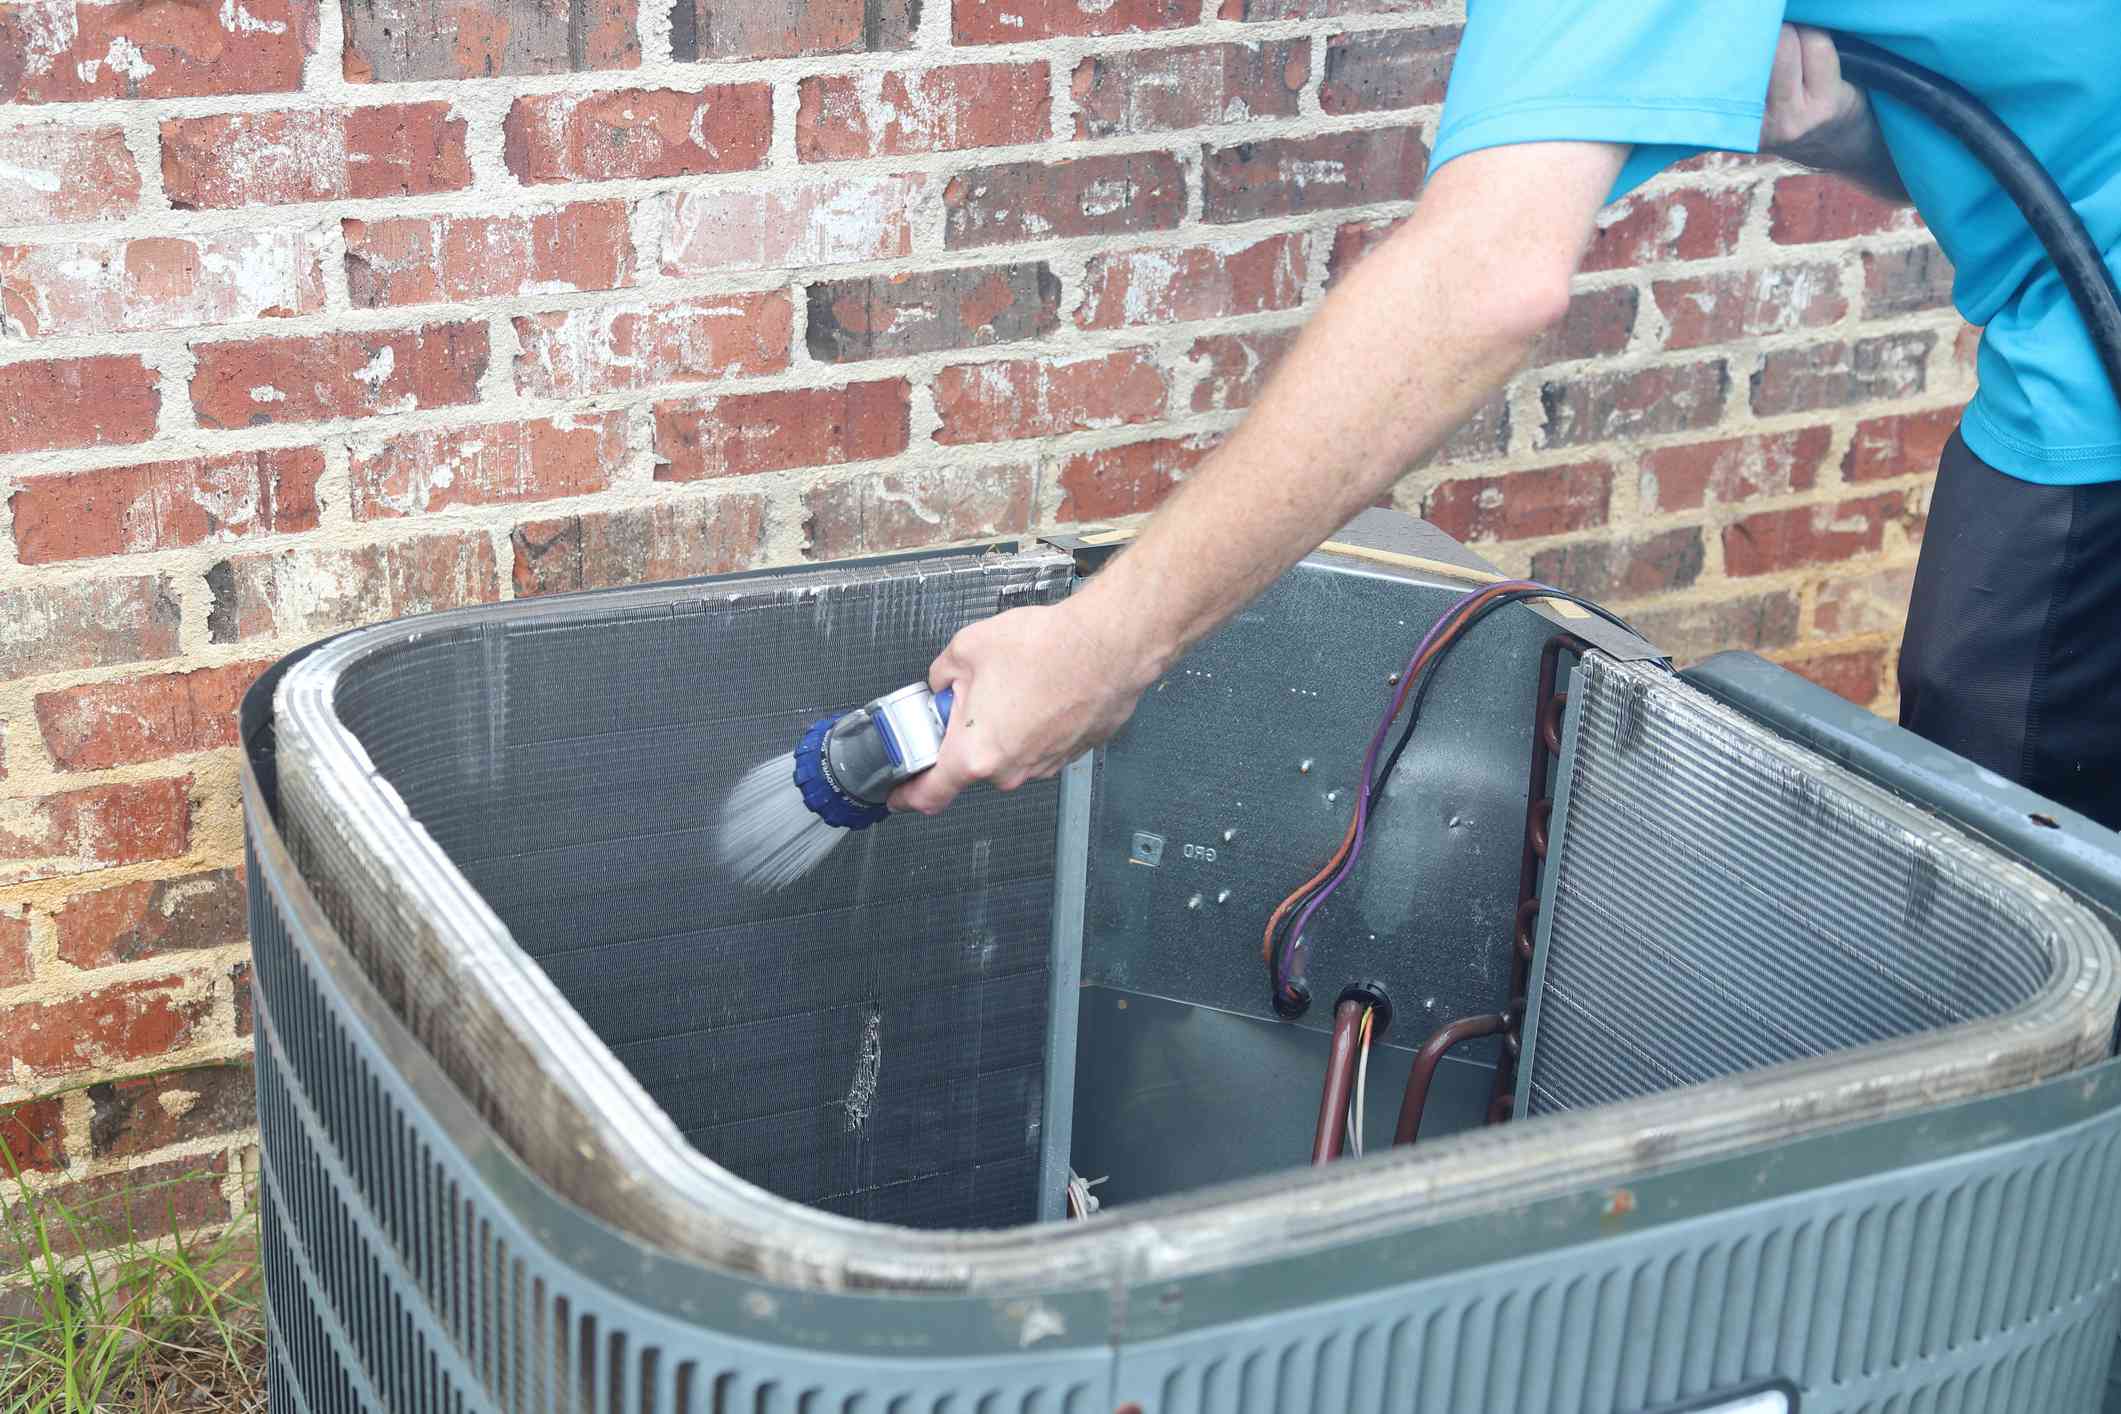
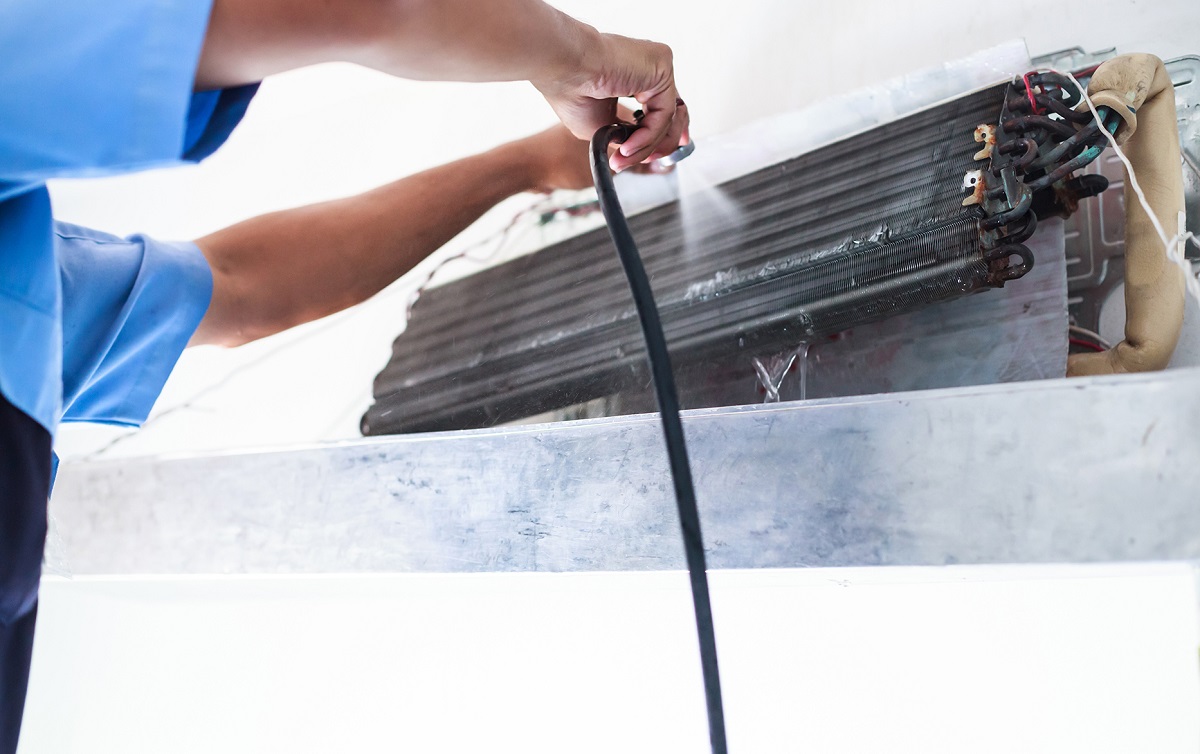
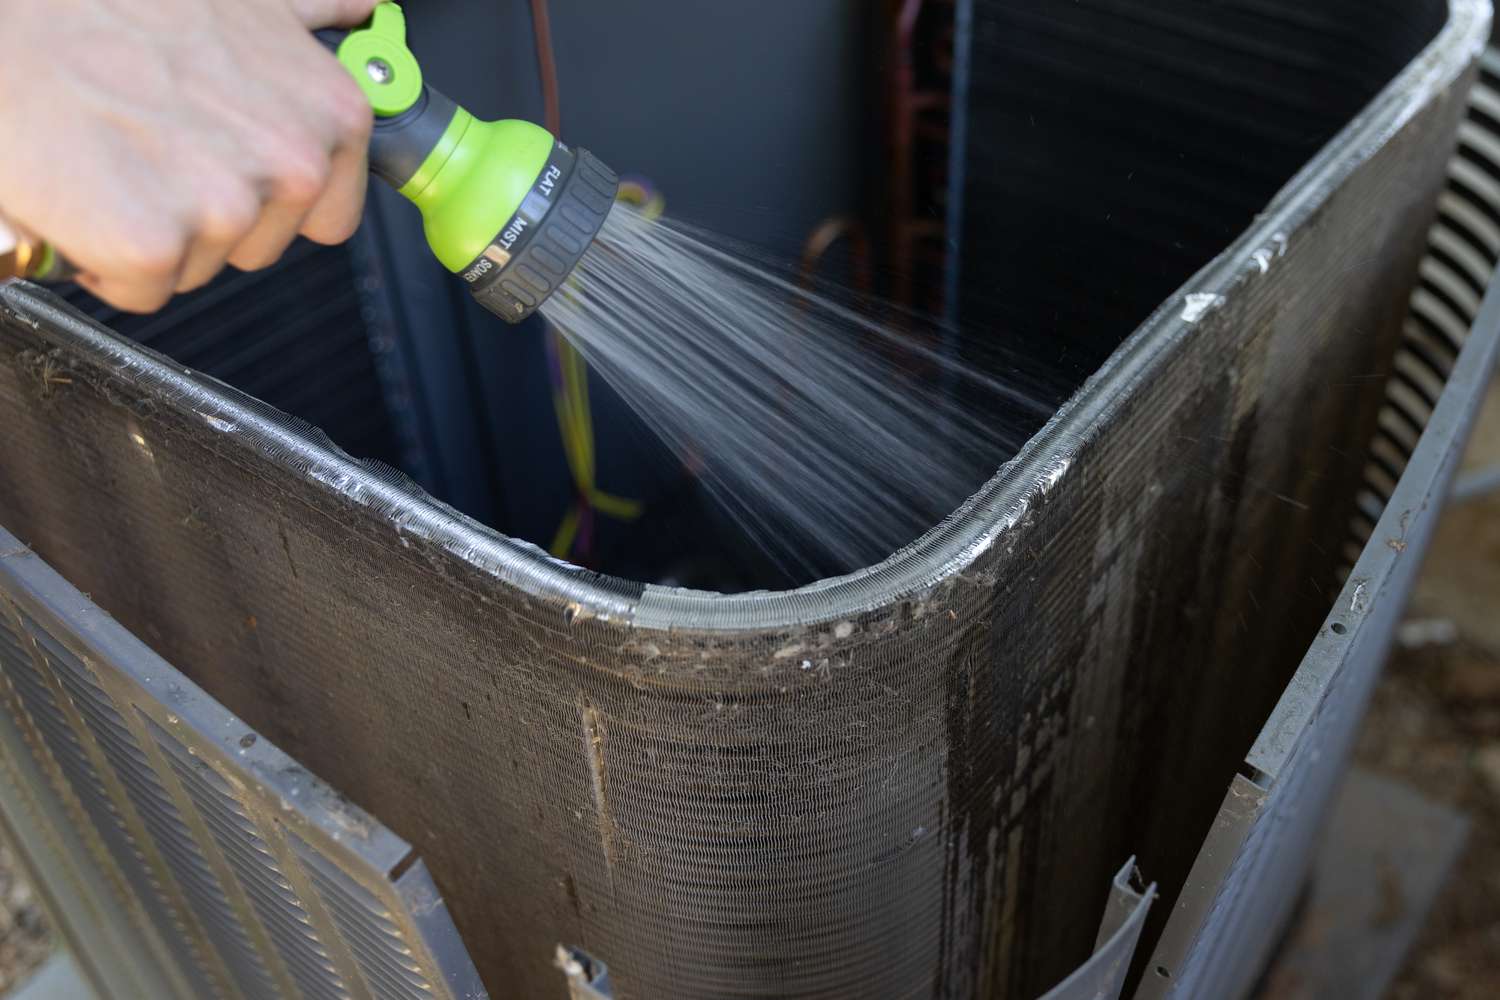
- Regular Cleaning: Keep the coil clean and free from dirt, debris, and dust. Over time, these particles can accumulate on the coil surface, obstructing airflow and reducing the coil’s heat transfer capability. Use a soft brush or vacuum cleaner to gently remove any buildup.
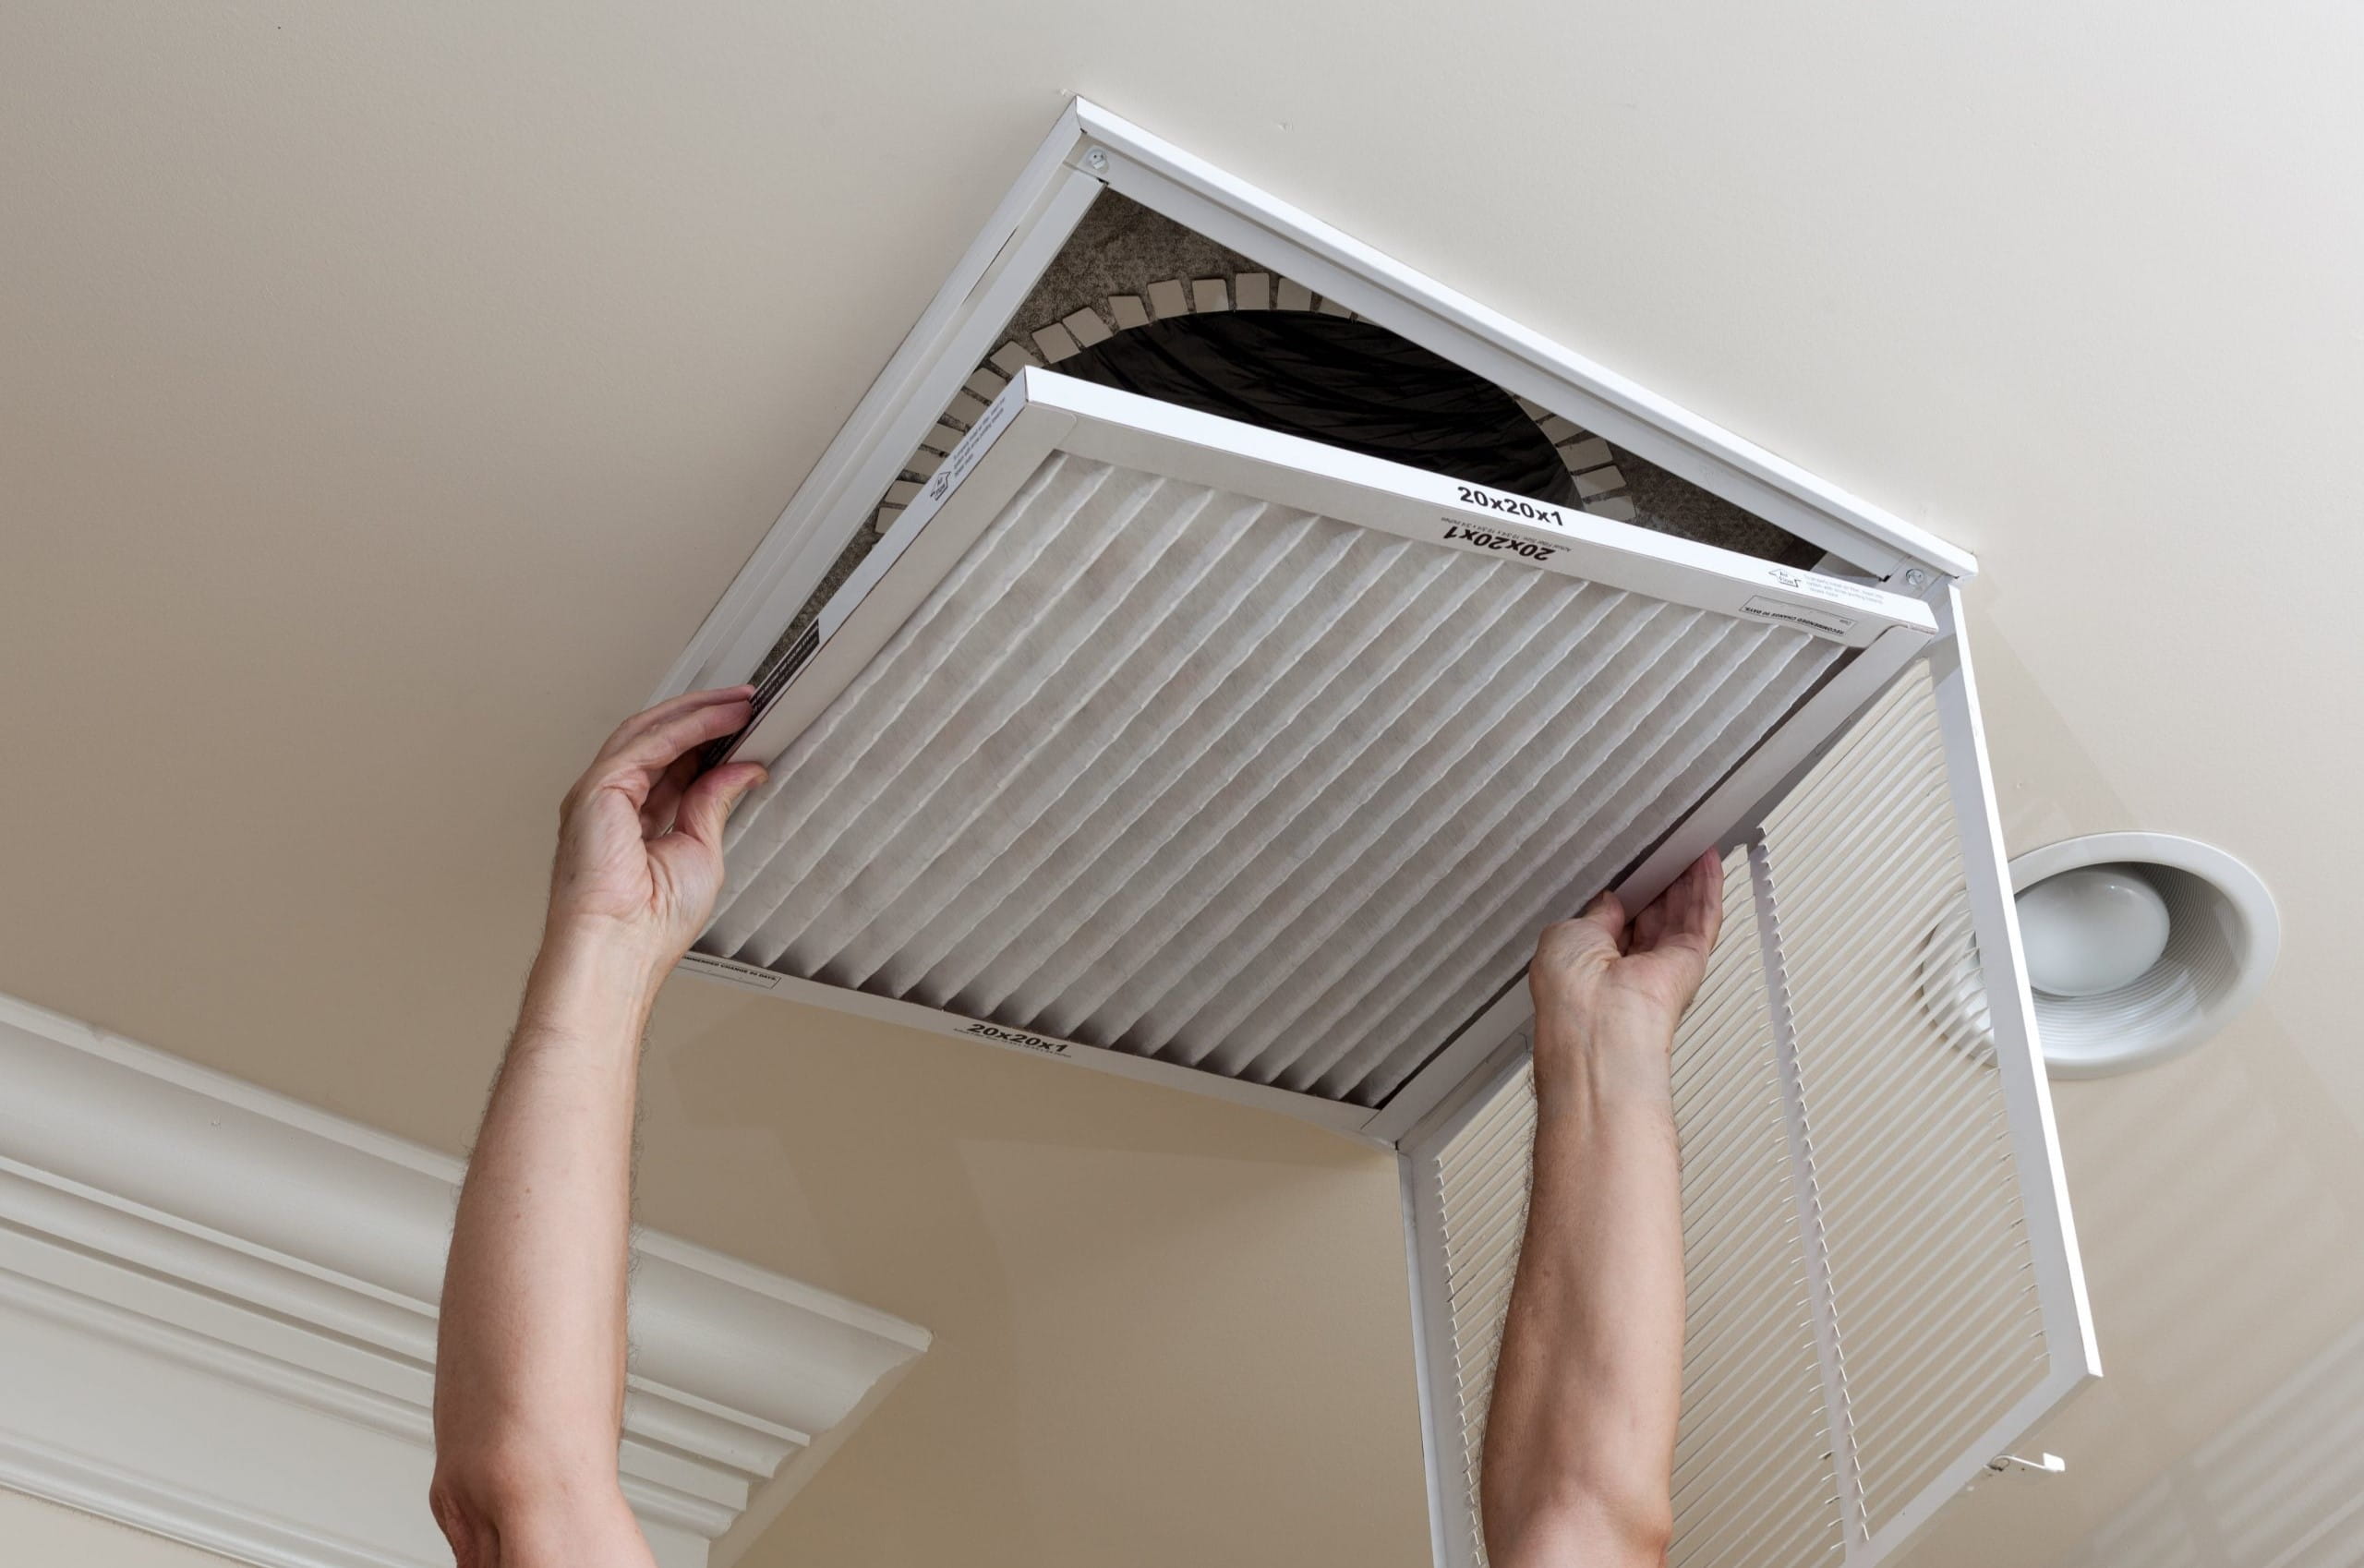
- Change Air Filters: Replace air filters regularly to prevent dust and dirt from entering the air conditioning system. Clogged filters can obstruct airflow and cause the coil to work harder, reducing its efficiency. Follow manufacturer guidelines for filter replacement frequency.
- Maintain Outdoor Unit: Ensure the outdoor unit is clear of any obstructions, such as leaves, twigs, or vegetation. Good airflow is crucial for proper coil functioning. Trim any nearby shrubs or plants that may restrict airflow and hinder heat dissipation.
- Professional Maintenance: Schedule regular maintenance visits with a professional HVAC technician. They can inspect and clean the coil, check refrigerant levels, lubricate moving parts, and identify any potential issues before they escalate into major problems.
- Monitor Refrigerant Levels: Insufficient refrigerant levels can strain the coil and decrease its efficiency. If you notice signs of refrigerant leakage, such as reduced cooling performance or ice formation on the coil, contact a professional to inspect and address the issue promptly.
- Avoid Chemical Cleaners: Use caution when cleaning the coil and avoid using harsh chemical cleaners. These cleaners can damage the coil’s fins and coatings, reducing its effectiveness. Opt for mild, water-based cleaners recommended by the manufacturer.
- Keep Surrounding Area Clean: Ensure the area around the air conditioner is clean and free from debris. This includes removing any grass clippings, leaves, or other debris that may accumulate near the outdoor unit. Keeping the surroundings clean helps prevent blockages and maintains proper airflow.
- Check for Bent Fins: Regularly inspect the coil’s fins for any bending or damage. Bent fins can restrict airflow and reduce the coil’s efficiency. If you notice any bent fins, gently straighten them using a fin comb or consult a professional for assistance.
- Balance Humidity Levels: High humidity levels can lead to condensation on the coil, promoting mold and bacterial growth. Use a dehumidifier in areas with high humidity to control moisture levels and prevent coil-related issues.
- Follow Manufacturer Guidelines: Lastly, always follow the manufacturer’s guidelines for coil maintenance and care. These guidelines are specific to your air conditioning system and can help you maximize the coil’s lifespan and performance.
By following these maintenance tips, you can significantly extend the lifespan of your coil and keep your air conditioner running smoothly for years to come. Remember to prioritize regular maintenance and address any issues promptly to avoid costly repairs or premature coil replacement.
Now that we’ve explored essential maintenance tips, let’s summarize the key points discussed in this article.
Conclusion
Replacing a coil in an air conditioner is an important maintenance task that can significantly impact the performance and efficiency of your cooling system. Understanding the signs that indicate a coil replacement is needed and knowing the factors that affect the cost can help you make informed decisions and budget accordingly.
While it may be tempting to attempt a DIY coil replacement, it’s important to consider the technical expertise, safety risks, and specialized tools involved in the process. Hiring a professional HVAC technician ensures proper installation and reduces the risk of further damage to your air conditioning system.
For those who choose the DIY route, it’s crucial to follow the recommended steps for coil replacement and take all necessary safety measures. However, keep in mind that professional help is always advised, especially with tasks like refrigerant recovery and recharge.
To maintain a healthy coil and extend its lifespan, regular maintenance is key. Cleaning the coil, changing air filters, and keeping the surrounding area clean are crucial steps to ensure optimal coil performance. Seeking professional maintenance on a regular basis is also recommended to address any potential issues and keep your air conditioner in top condition.
By following these guidelines and maintaining your coil, you can enjoy a comfortable and efficient cooling system for many years. Remember to consult with reputable HVAC professionals, follow manufacturer guidelines, and prioritize regular maintenance to optimize the lifespan of your coil and keep your air conditioner running smoothly.
We hope this comprehensive guide has provided you with valuable insights into coil replacement in air conditioners and the necessary steps to ensure an efficient and reliable cooling system in your home. Stay cool!
Frequently Asked Questions about How Much To Replace A Coil In An Air Conditioner
Was this page helpful?
At Storables.com, we guarantee accurate and reliable information. Our content, validated by Expert Board Contributors, is crafted following stringent Editorial Policies. We're committed to providing you with well-researched, expert-backed insights for all your informational needs.