Articles
How To Disconnect A Refrigerator Water Line
Modified: August 24, 2024
Learn how to disconnect a refrigerator water line with this informative article. Find step-by-step instructions and helpful tips to complete the task safely and quickly.
(Many of the links in this article redirect to a specific reviewed product. Your purchase of these products through affiliate links helps to generate commission for Storables.com, at no extra cost. Learn more)
Introduction
Having a refrigerator with a water dispenser and ice maker is a convenient feature in any home. However, there may be times when you need to disconnect the refrigerator water line. This could be due to various reasons, such as moving the refrigerator, replacing the water line, or performing maintenance on the plumbing system. Whatever the reason may be, it’s important to know the proper steps to follow to ensure a safe and hassle-free disconnection of the water line.
In this article, we will guide you through the process of disconnecting a refrigerator water line. We will provide step-by-step instructions, highlighting the tools and materials you will need, and offering helpful tips along the way.
Before we dive into the details, it’s essential to emphasize the importance of safety. Whenever working with water lines or plumbing systems, it’s crucial to take caution and follow proper safety guidelines. If you are uncertain or uncomfortable performing the disconnection yourself, it’s always a good idea to seek the help of a professional plumber.
Now, let’s get started with the step-by-step process of disconnecting a refrigerator water line.
Key Takeaways:
- Safely disconnecting a refrigerator water line requires gathering tools, shutting off the water supply, disconnecting the refrigerator, removing the water line, and storing it if necessary. Prioritize safety and take your time to ensure a hassle-free disconnection process.
- Knowing how to disconnect a refrigerator water line empowers you to handle maintenance, relocation, or replacement needs confidently. Prioritize safety, gather the necessary tools, and follow the step-by-step guide to ensure a smooth and efficient disconnection process.
Read more: How To Disconnect Water Line From Ice Maker
Step 1: Gather Your Tools and Materials
Before you begin disconnecting the refrigerator water line, it’s important to gather all the necessary tools and materials. Having everything prepared beforehand will ensure a smooth and efficient disconnection process. Here are the essential tools and materials you will need:
- Adjustable wrench
- Pliers
- Bucket or towel
- Teflon tape
- Water line cap or plug (if you want to cap the line)
The adjustable wrench is used to tighten or loosen nuts or fittings. Pliers are useful for gripping and maneuvering small parts. A bucket or towel is necessary to catch any water that may leak during the disconnection. Teflon tape is used for creating a tight seal when reconnecting the water line. Finally, the water line cap or plug is optional and can be used to close off the water line if you don’t want to reconnect it immediately.
Make sure you have all these tools and materials readily available before you proceed to the next step. It will save you time and ensure that you can complete the disconnection process efficiently.
Now that you’ve gathered your tools and materials, you’re ready to move on to step 2: shutting off the water supply.
Step 2: Shut Off the Water Supply
Before you can safely disconnect the refrigerator water line, you need to shut off the water supply. This step is crucial to prevent any water leakage or potential accidents during the disconnection process. Here’s how to shut off the water supply:
- Locate the main water shut-off valve in your home. This valve is typically located near the water meter or where the main water line enters your property.
- Turn the valve clockwise to shut off the water supply. You may need to use a wrench or pliers to grip and turn the valve if it’s difficult to move.
- Once the valve is fully closed, verify that the water supply is shut off by turning on a faucet or a different water source in your home. If no water comes out, then you have successfully shut off the water supply.
It’s important to note that shutting off the main water supply will cut off water to your entire home, not just the refrigerator. If you have other appliances or fixtures that rely on water, make sure to inform other household members or take necessary precautions to avoid any inconvenience.
After shutting off the water supply, it’s suggested to release any remaining water pressure in the refrigerator water line. You can do this by dispensing water from the refrigerator’s water dispenser until the flow stops.
Now that the water supply is turned off, you can proceed to the next step: disconnecting the refrigerator.
Step 3: Disconnect the Refrigerator
Now that you have shut off the water supply, it’s time to disconnect the refrigerator to gain access to the water line. Follow these steps to safely disconnect the refrigerator:
- Unplug the refrigerator from the power outlet. This will prevent any electrical mishaps or accidents during the disconnection process.
- Carefully pull the refrigerator away from the wall to create space to work behind it. If the refrigerator is heavy or difficult to move, you may need assistance.
- Depending on the model of your refrigerator, you may need to remove any panels, trim, or access covers to expose the water line connections. Consult the refrigerator’s manual for specific instructions on accessing the water line.
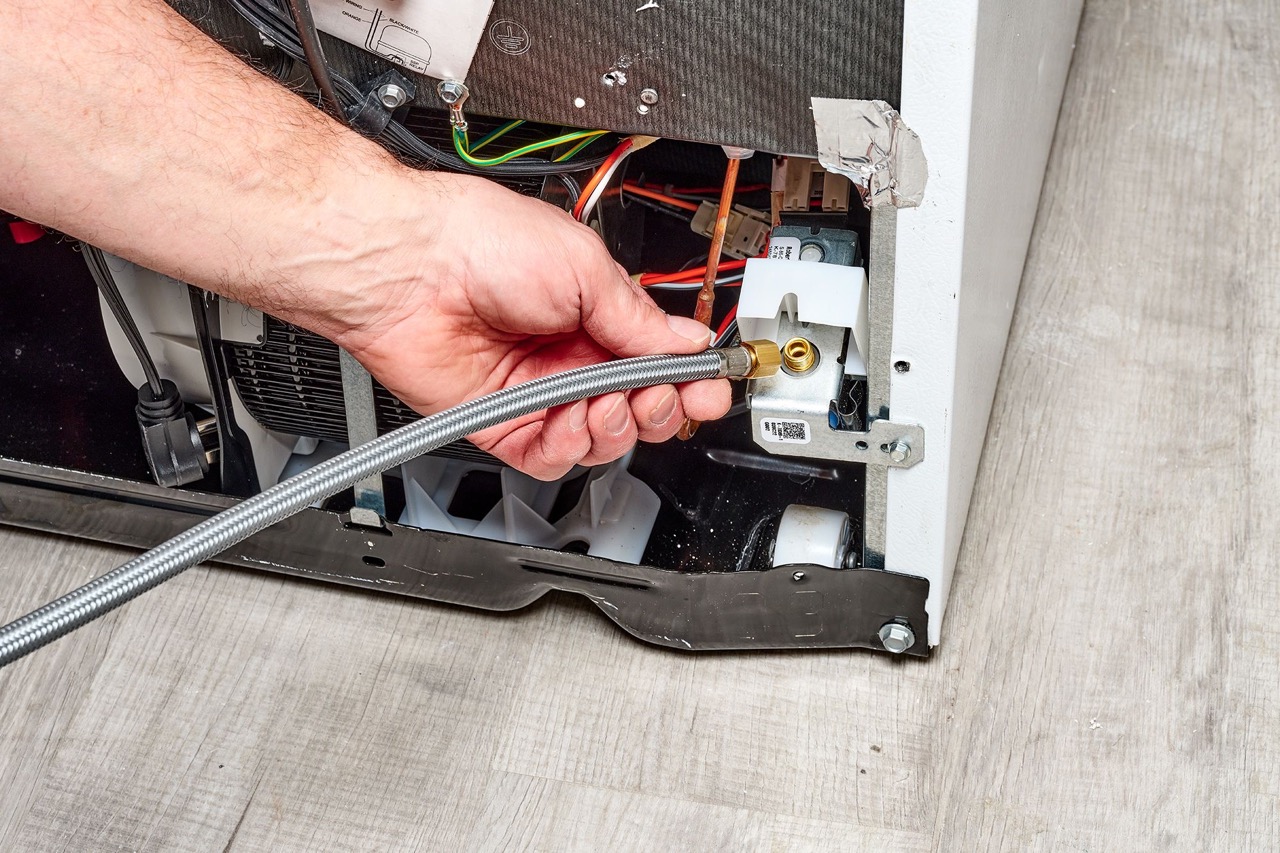
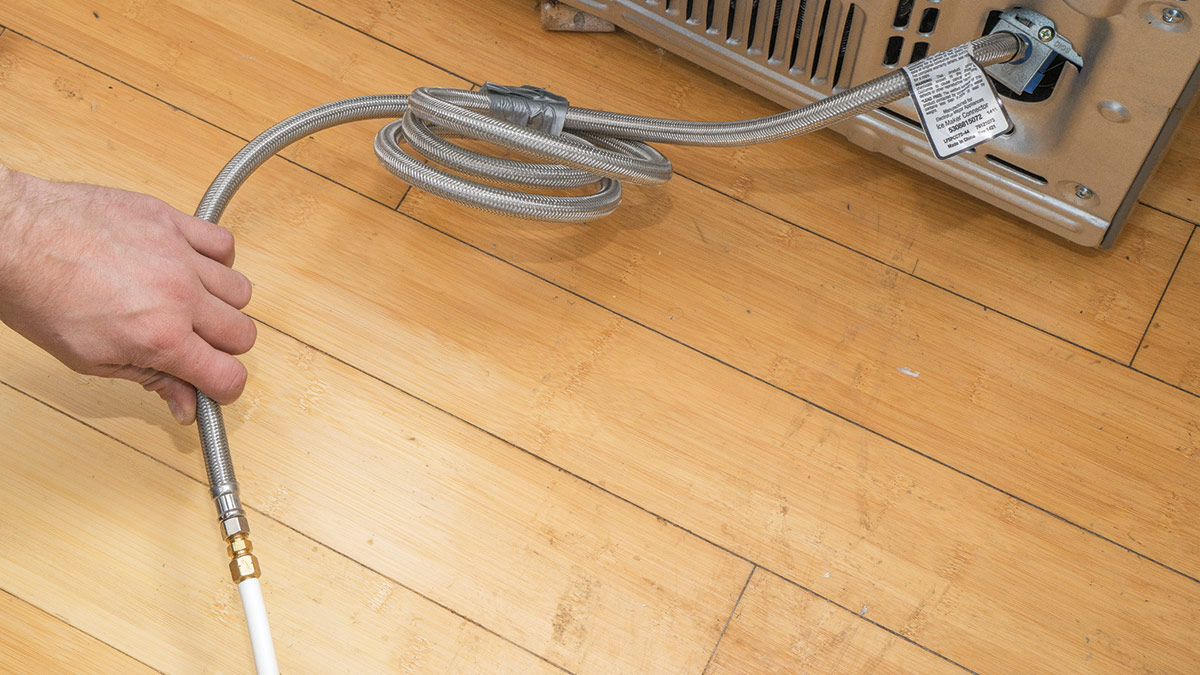
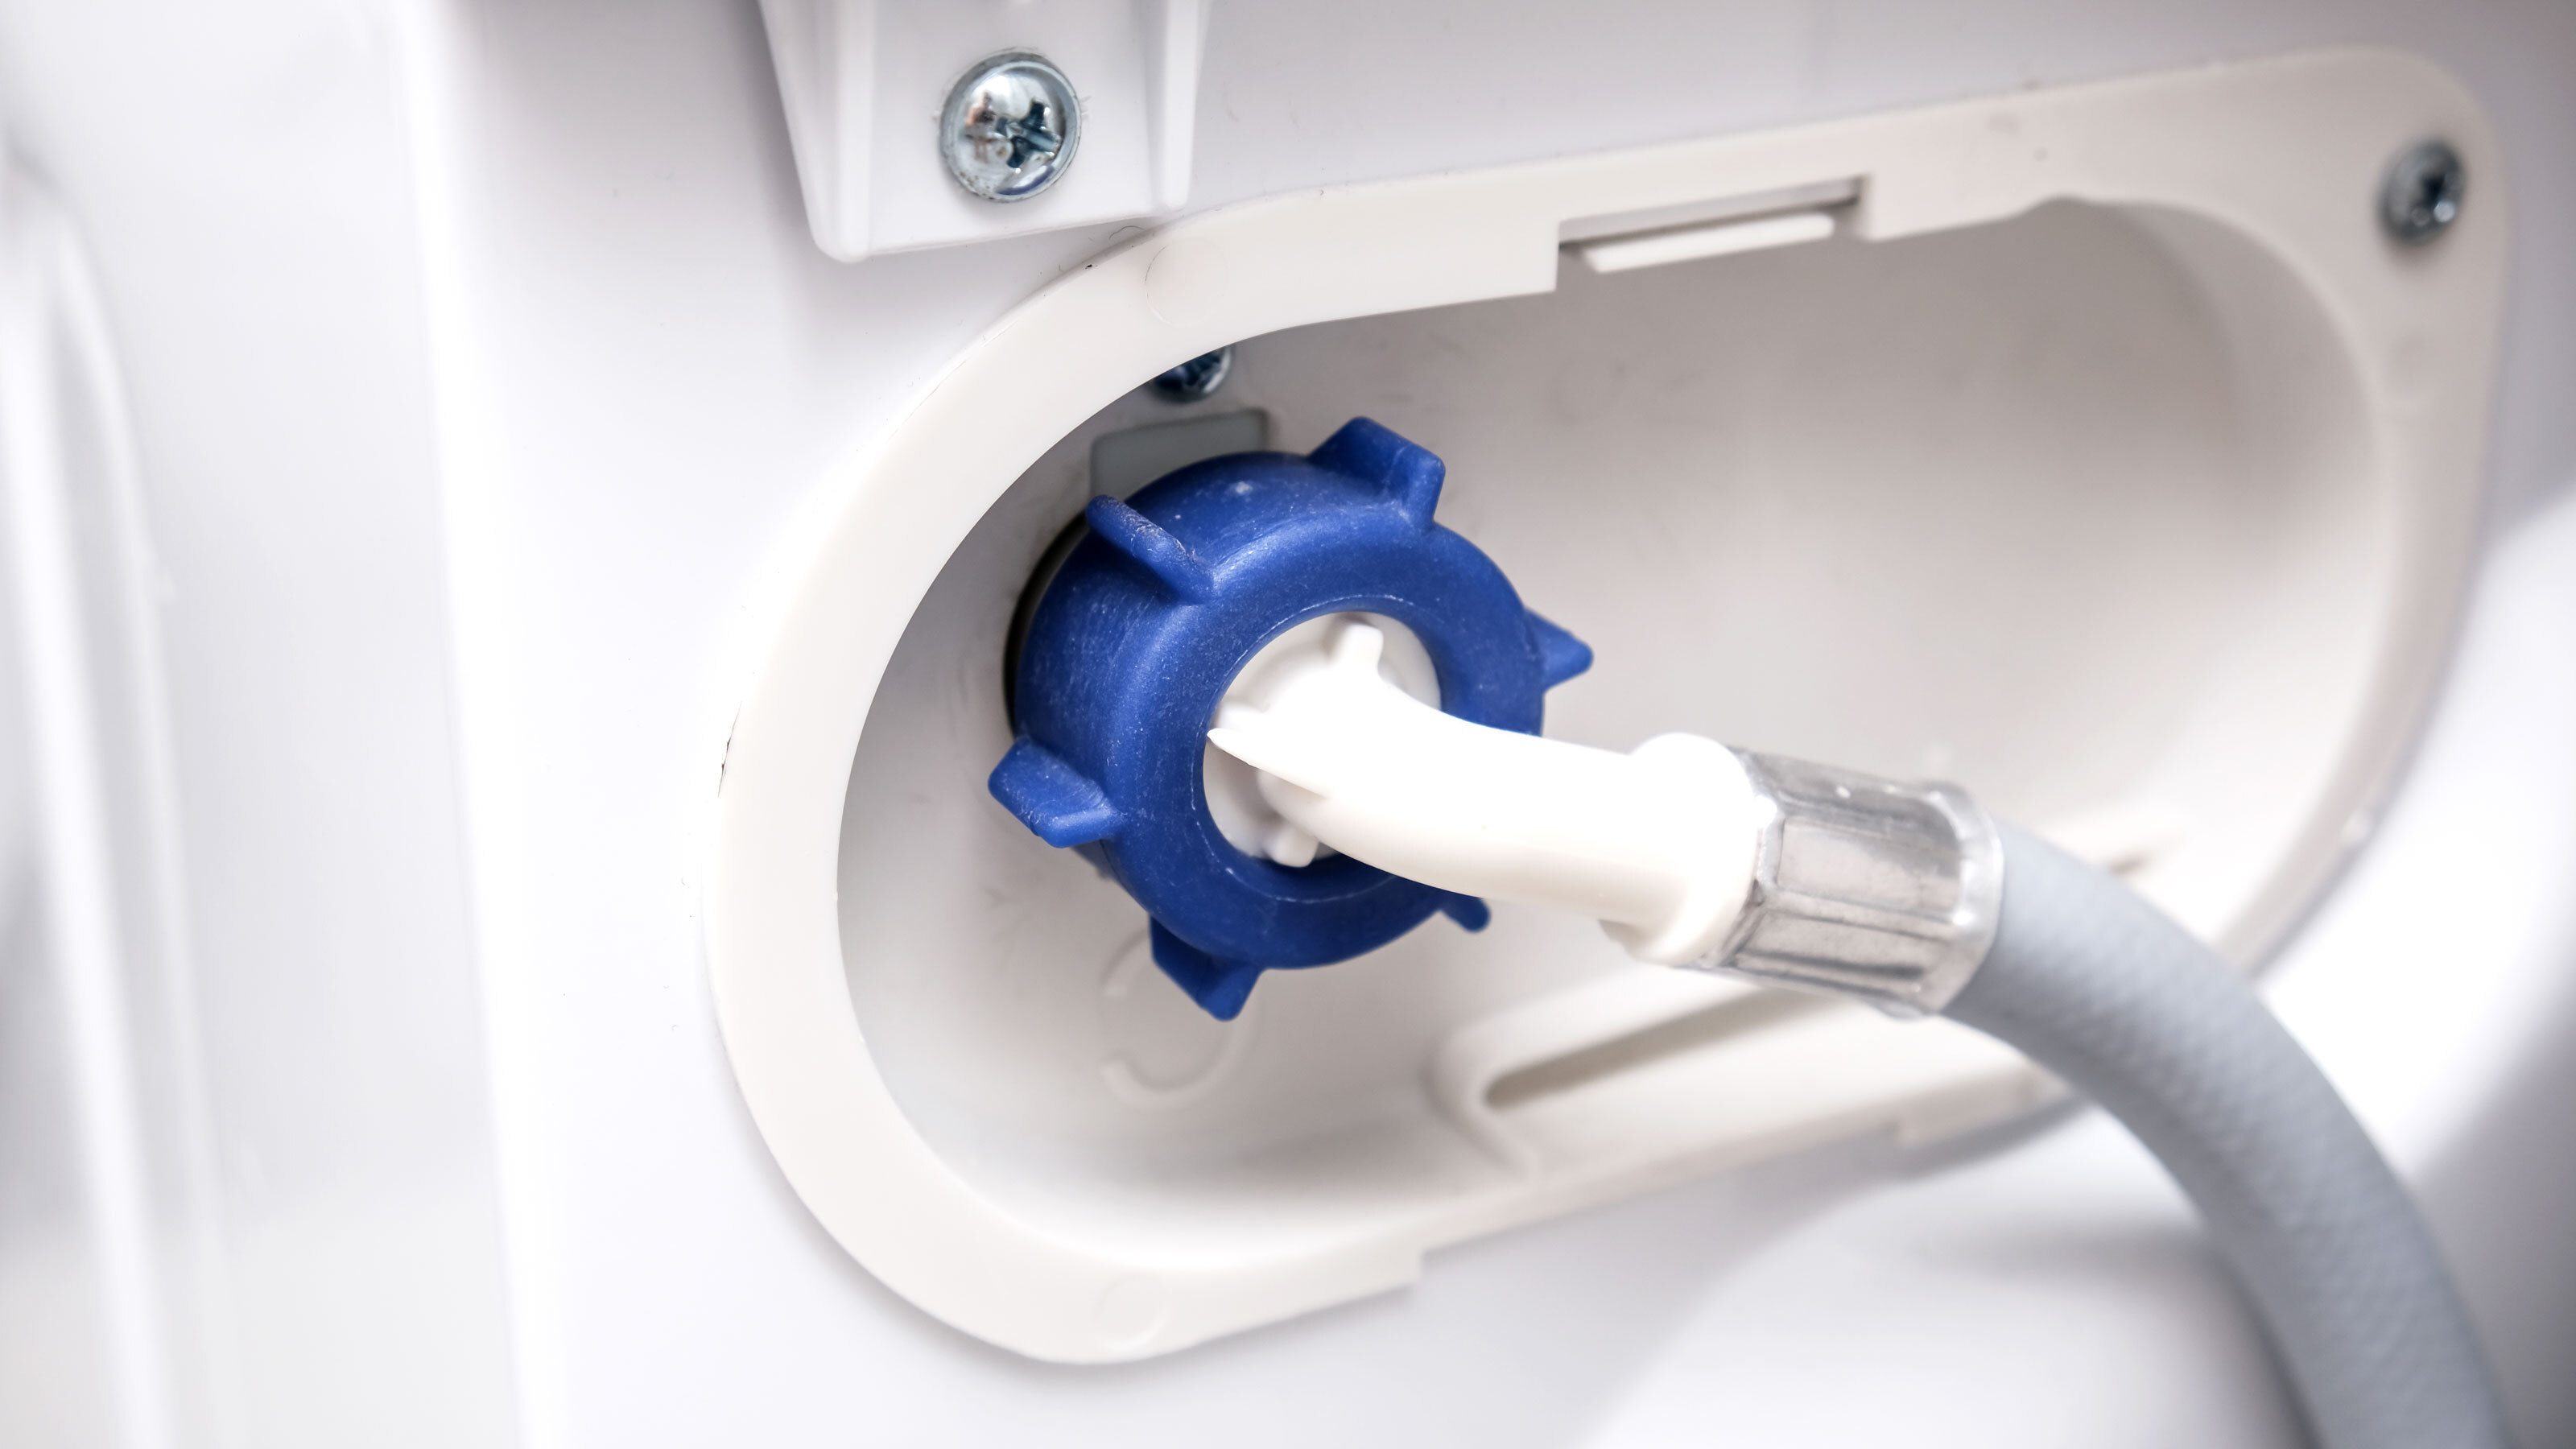
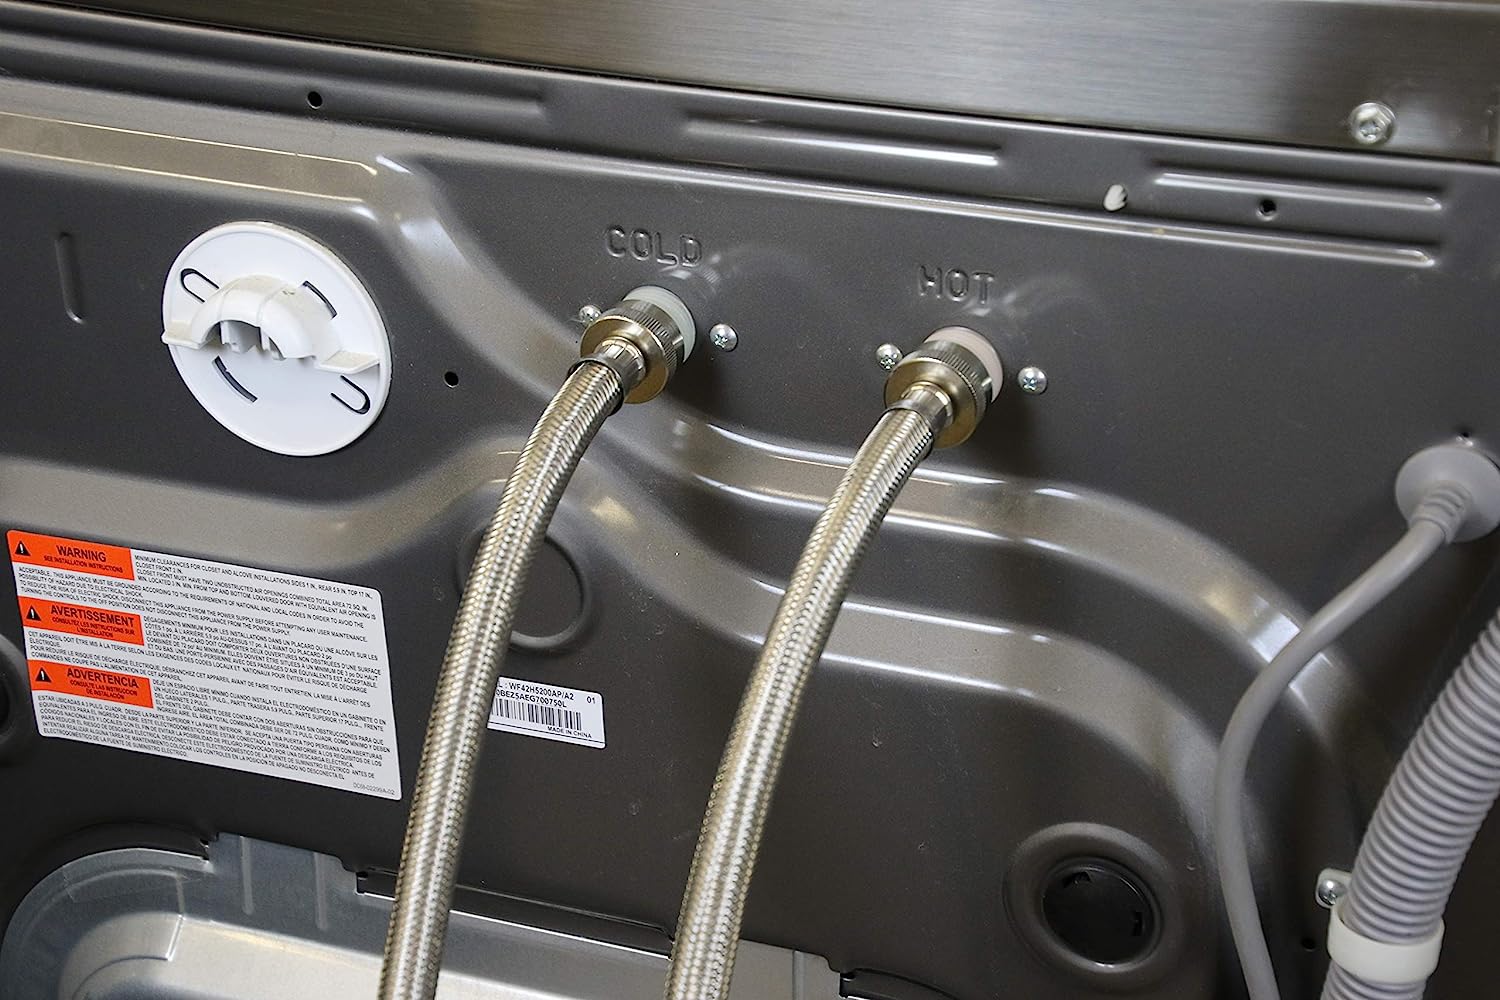
- Inspect the water line connection at the back of the refrigerator. It is often a plastic or metal nut that connects the water line to the refrigerator’s water inlet valve.
- Using an adjustable wrench or pliers, loosen the nut by turning it counterclockwise. Hold the water line in place to prevent it from twisting or moving excessively while turning the nut.
- Once the nut is loosened, carefully remove the water line from the refrigerator’s water inlet valve. Be cautious not to damage the water line or any surrounding components.
With the refrigerator disconnected, you’ve successfully completed step 3. Now, let’s move on to step 4: removing the water line from the refrigerator.
Before disconnecting the refrigerator water line, make sure to turn off the water supply to the refrigerator. Then, use a wrench to loosen the compression nut and carefully remove the water line. Be prepared for any water that may spill out during the process.
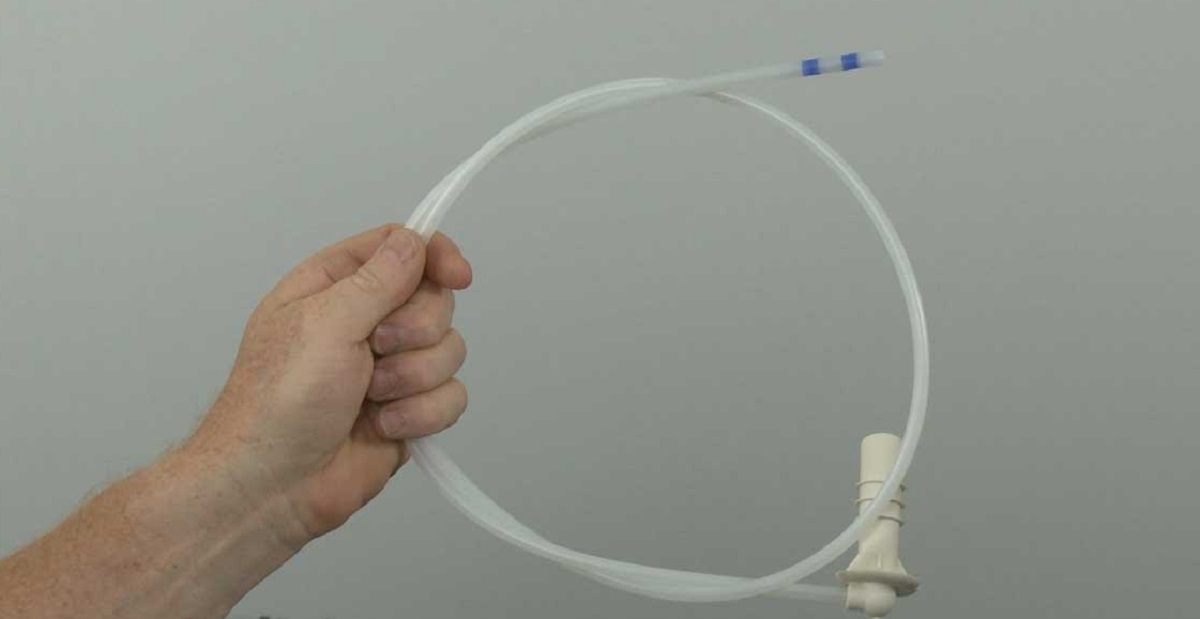
Step 4: Remove the Water Line from the Refrigerator
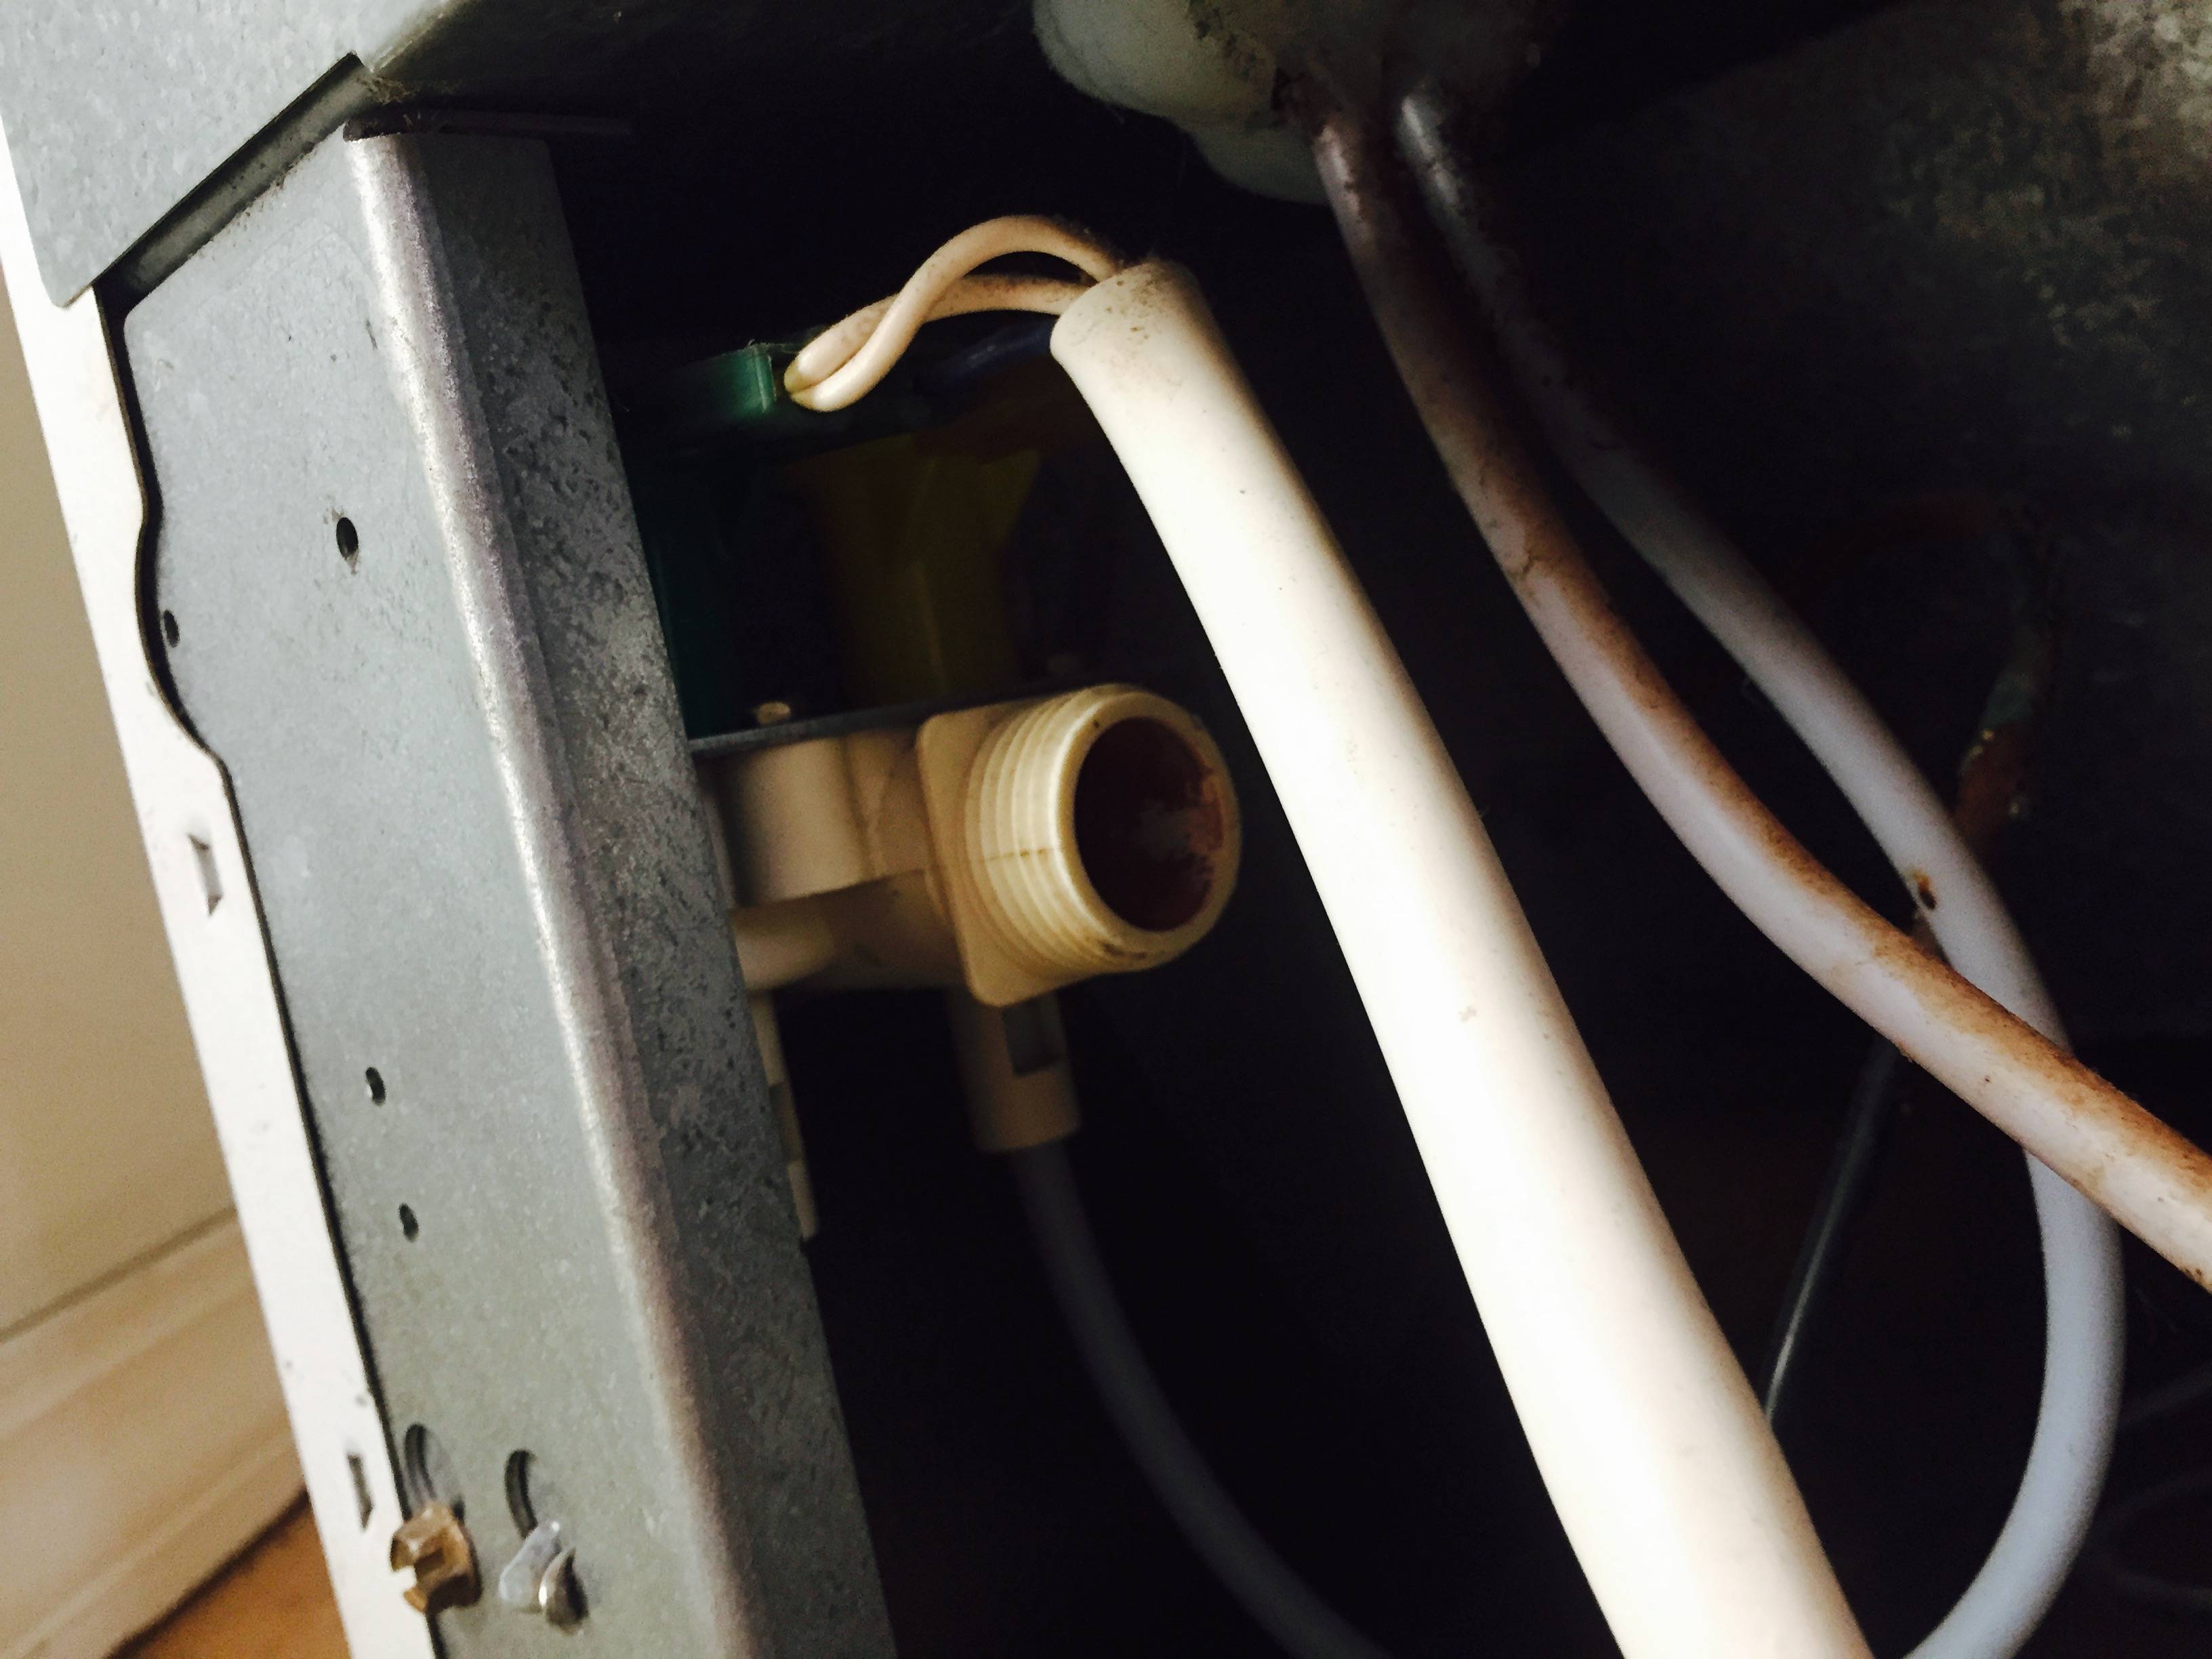
Now that the refrigerator is disconnected, it’s time to remove the water line from the refrigerator itself. Follow these steps to safely remove the water line:
- Inspect the end of the water line that was connected to the refrigerator. Look for any fittings or connectors that may be securing the water line in place.
- If there are any fittings or connectors, use pliers or an adjustable wrench to detach them from the water line. Turn them counterclockwise to loosen and remove them.
- Once the fittings or connectors are removed, gently pull the water line out of the refrigerator. Depending on the length of the water line, you may need to thread it through any holes or guides within the refrigerator.
- As you remove the water line, be careful not to bend or kink it. Kinks or bends can restrict or block the flow of water when you reconnect the line.
- Inspect the water line for any signs of damage or wear. If the water line is damaged or shows signs of deterioration, it’s recommended to replace it with a new water line before reconnecting it.
By following these steps, you have successfully removed the water line from the refrigerator. Now, let’s move on to step 5: disconnecting the water line from the shut-off valve.
Read more: How To Clean A Refrigerator Water Line
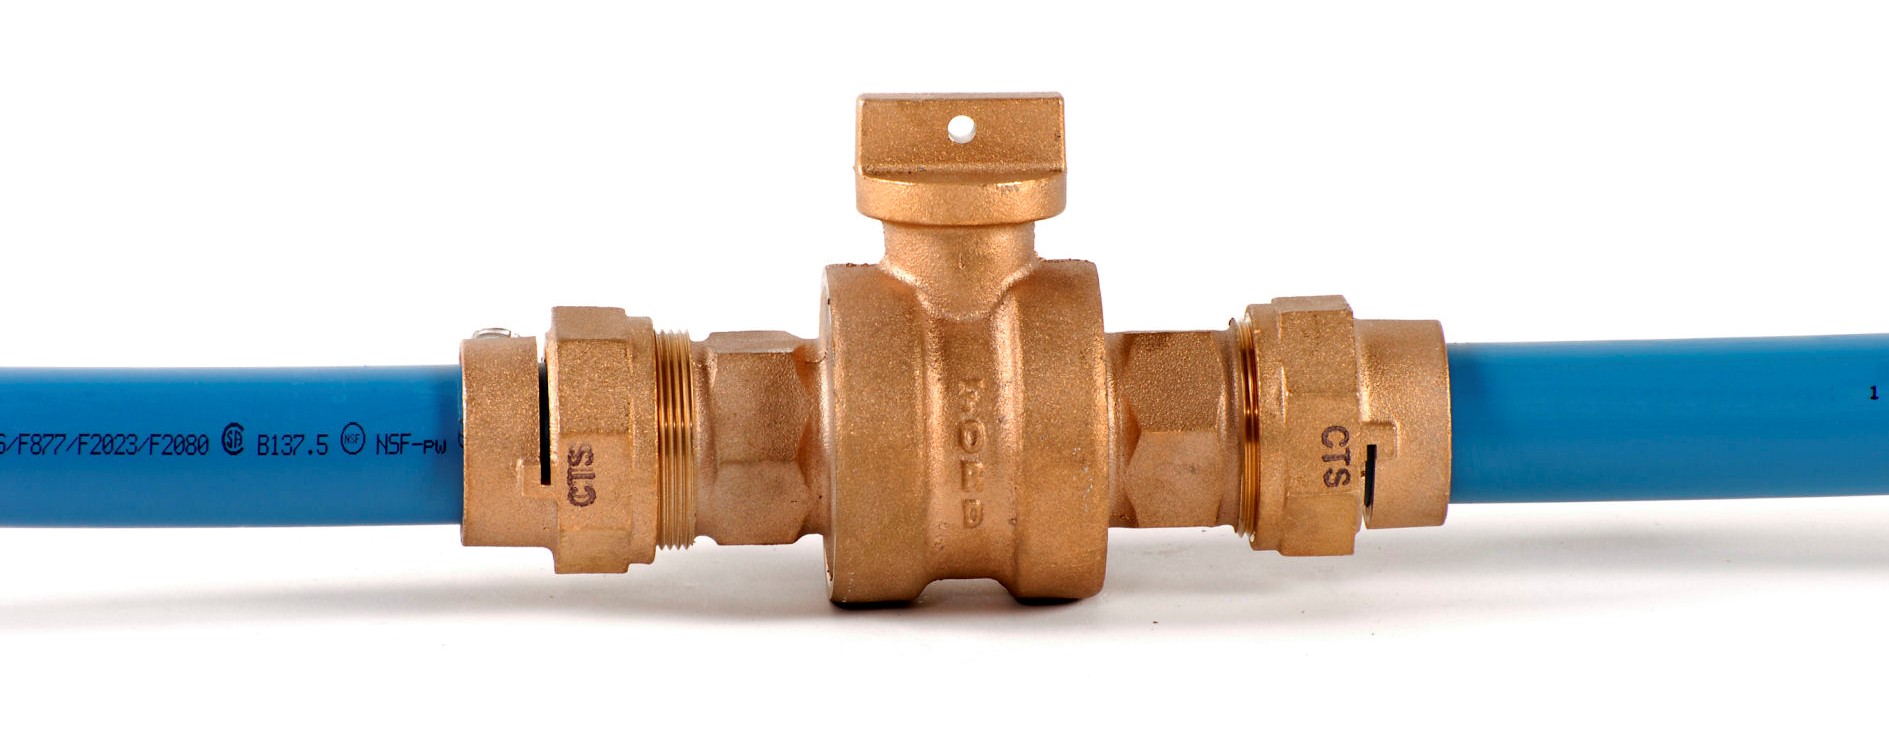
Step 5: Disconnect the Water Line from the Shut-Off Valve
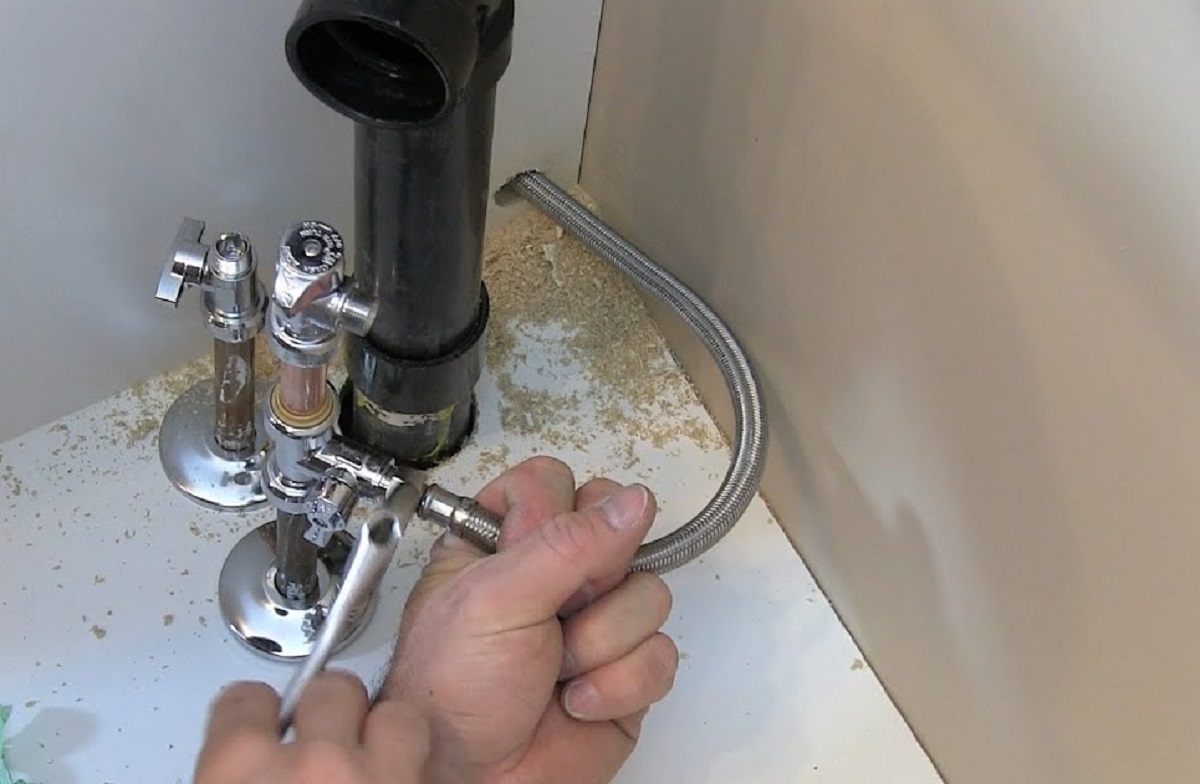
With the water line removed from the refrigerator, the next step is to disconnect it from the shut-off valve. Follow these steps to safely disconnect the water line:
- Locate the shut-off valve connected to the water line. This valve is usually found near the water supply pipe, either under the sink or in the basement.
- Using an adjustable wrench, turn the valve handle clockwise to shut off the water flow to the refrigerator line. Make sure the valve is fully closed.
- Next, inspect the connection between the water line and the shut-off valve. It is typically a compression fitting or a threaded connection.
- If it is a compression fitting, use pliers or an adjustable wrench to loosen the compression nut. Turn it counterclockwise to detach it from the shut-off valve.
- If it is a threaded connection, use two adjustable wrenches – one to hold the valve in place and the other to unscrew the water line fitting counterclockwise.
- Once the connection is loose, carefully pull the water line away from the shut-off valve. Be cautious not to damage the valve or any surrounding pipes.
With the water line disconnected from the shut-off valve, you have successfully completed step 5. Now, let’s move on to step 6: storing the water line (optional).
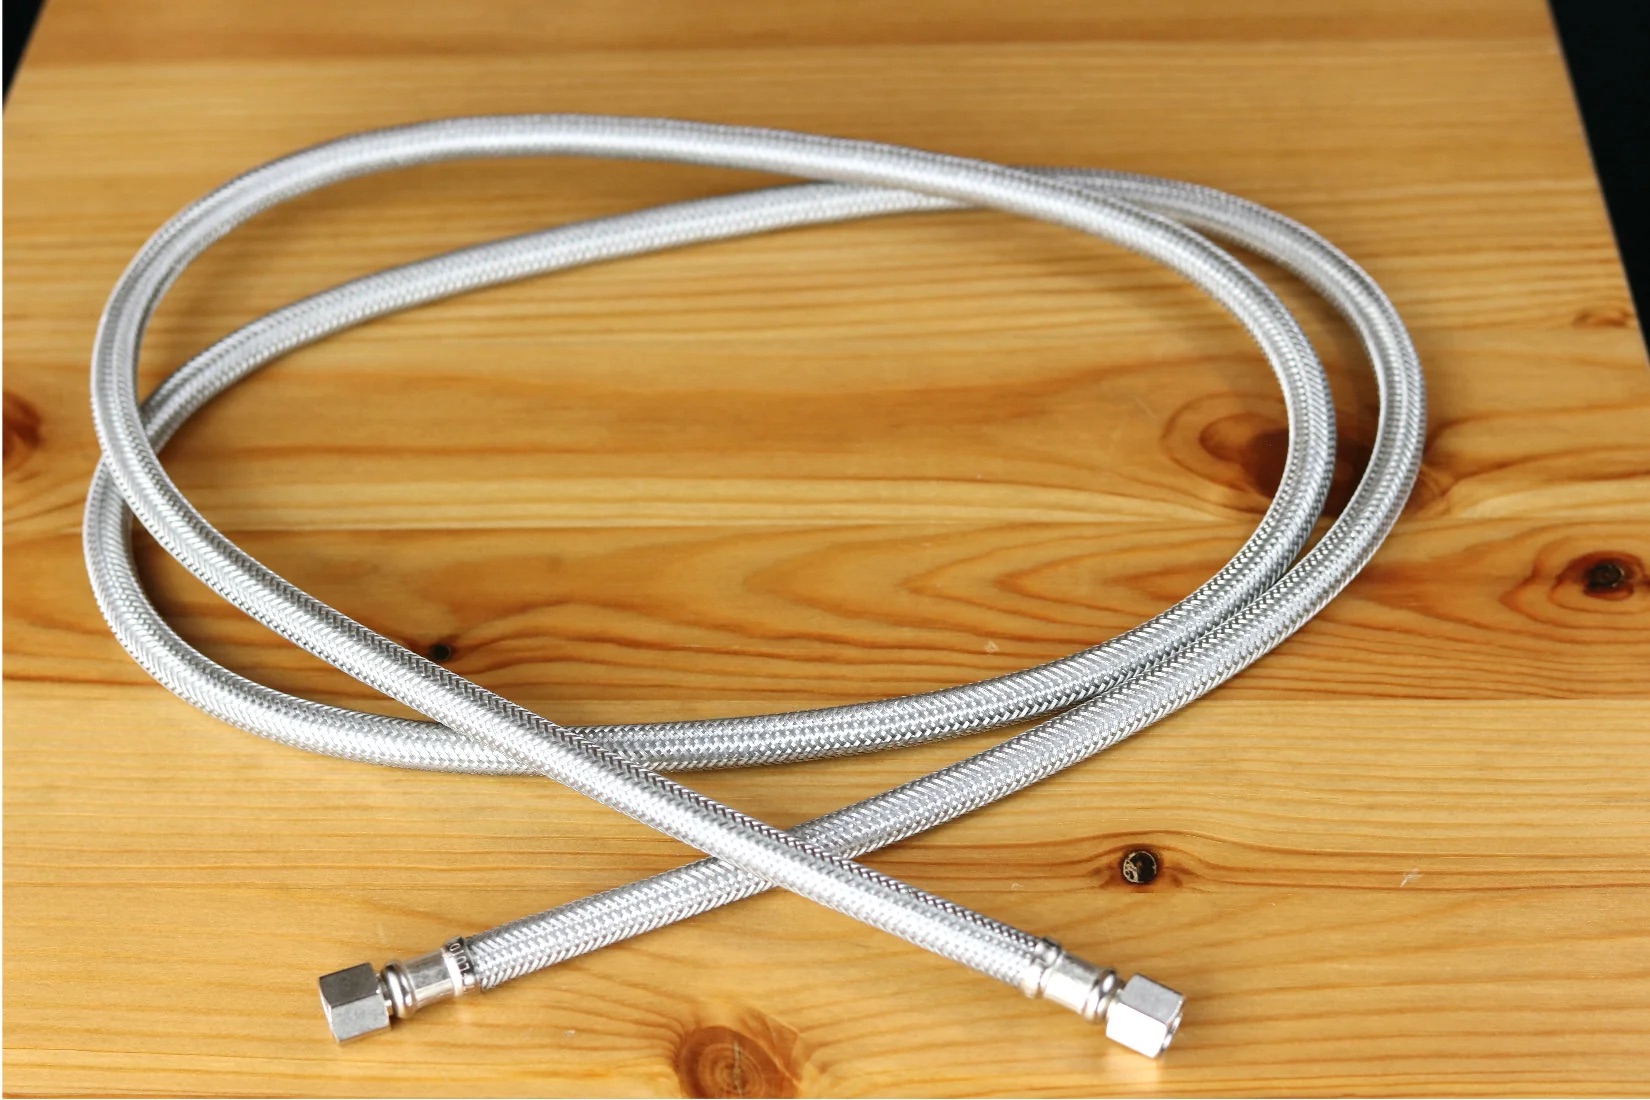
Step 6: Store the Water Line (optional)
After disconnecting the water line from the shut-off valve, you may choose to store the water line if you don’t plan on reconnecting it immediately. Storing the water line properly will help prevent damage and ensure it remains in good condition for future use. Follow these steps to store the water line:
- Inspect the water line for any signs of damage or wear. If the water line is damaged, it’s best to replace it before storing.
- Ensure the water line is clean and dry. Wipe off any moisture or debris with a clean cloth or towel.
- If the water line is long, you can coil it loosely to prevent kinks or tangles. Avoid bending it at sharp angles.
- Wrap the coiled water line with a plastic or rubber band to hold it in place.
- Find a suitable container to store the water line. A plastic bag or sealed box works well to protect it from dust and moisture.
- Label the container with the date and any relevant information to easily identify it in the future.
- Store the container in a cool, dry place away from direct sunlight or extreme temperatures.
By following these steps, you have effectively stored the water line for future use. When you’re ready to reconnect it, make sure to inspect the water line again for any signs of damage or wear.
Congratulations! You have successfully completed all the steps to disconnect a refrigerator water line. Remember, if you are not comfortable or confident in performing the disconnection process yourself, it’s always best to consult a professional plumber for assistance.
Now that you have the knowledge required, you can confidently disconnect the water line when needed. Whether you’re moving the refrigerator or undergoing plumbing maintenance, knowing how to safely disconnect the water line is an essential skill.
Conclusion
Disconnecting a refrigerator water line may seem like a daunting task, but with the right knowledge and proper steps, it can be easily accomplished. By following the step-by-step guide provided in this article, you can safely disconnect the water line from your refrigerator.
Throughout the process, it’s important to prioritize safety. Remember to shut off the water supply before disconnecting the refrigerator and use the necessary tools and materials, such as an adjustable wrench and pliers. Take your time to carefully disconnect the water line from both the refrigerator and the shut-off valve, being mindful of any potential damage to the line or surrounding components.
If you choose to store the water line for future use, make sure to clean and dry it before coiling and storing it in a container. Label the container for easy identification later on.
Remember, if you are unsure or uncomfortable performing the disconnection process, it’s always best to seek the help of a professional plumber. They have the expertise and experience to handle the task safely and efficiently.
By learning how to disconnect a refrigerator water line, you gain the ability to perform necessary maintenance, move the refrigerator, or replace the water line when needed. This knowledge empowers you to take control of your appliances and plumbing, saving you time and money in the long run.
Now that you have a better understanding of the process, you can confidently tackle the disconnection of a refrigerator water line whenever the need arises. Remember to exercise caution, follow the steps outlined in this article, and prioritize safety throughout the entire process.
Happy disconnecting!
Now that you've mastered disconnecting your refrigerator water line, why not keep the momentum going by giving your appliance's ice maker a thorough cleaning? Regular maintenance ensures optimal performance and longevity of your kitchen devices. Our guide on cleaning refrigerator ice makers covers everything needed to keep this essential appliance running smoothly. Don't miss out on simple ways to enhance your home's efficiency and cleanliness.
Frequently Asked Questions about How To Disconnect A Refrigerator Water Line
Was this page helpful?
At Storables.com, we guarantee accurate and reliable information. Our content, validated by Expert Board Contributors, is crafted following stringent Editorial Policies. We're committed to providing you with well-researched, expert-backed insights for all your informational needs.


0 thoughts on “How To Disconnect A Refrigerator Water Line”