Home>Home Maintenance>How To Replace An RV Air Conditioner
Home Maintenance
How To Replace An RV Air Conditioner
Modified: March 7, 2024
Learn how to replace an RV air conditioner with our comprehensive guide on home maintenance. Ensure your cool and comfortable travels with these easy steps.
(Many of the links in this article redirect to a specific reviewed product. Your purchase of these products through affiliate links helps to generate commission for Storables.com, at no extra cost. Learn more)
Introduction
Welcome to our comprehensive guide on how to replace an RV air conditioner. Whether you are a seasoned RVer or a newbie on the road, understanding the process of replacing your RV’s air conditioner is essential for maintaining a comfortable and enjoyable trip.
Over time, RV air conditioners can wear out or become inefficient, leading to poor cooling performance and increased energy consumption. Replacing your old air conditioner with a new one is a great way to improve the comfort and energy efficiency of your RV.
In this article, we will take you through the step-by-step process of replacing an RV air conditioner. We will cover everything you need to know, from gathering the necessary tools and materials to installing the new air conditioner and testing its functionality. So, grab your tool belt and let’s get started!
Before we dive into the details, it’s important to note that if you are not comfortable working with electricity or HVAC systems, it is always recommended to seek professional assistance. Safety should always be your top priority when working on any RV maintenance task.
Now, let’s proceed to the first step: gathering the necessary tools and materials.
Key Takeaways:
- Replacing an RV air conditioner improves comfort and energy efficiency. Prioritize safety, gather tools, follow steps, and enjoy cool RV adventures with a reliable cooling system.
- Regular maintenance and inspections prolong the lifespan of your RV air conditioner. Check for leaks, secure connections, and seek professional help if needed for a worry-free travel experience.
Read more: How To Recharge An RV Air Conditioner
Step 1: Gather Necessary Tools and Materials
Before you begin the process of replacing your RV air conditioner, you will need to gather the necessary tools and materials. Here’s a list of items you will typically need:
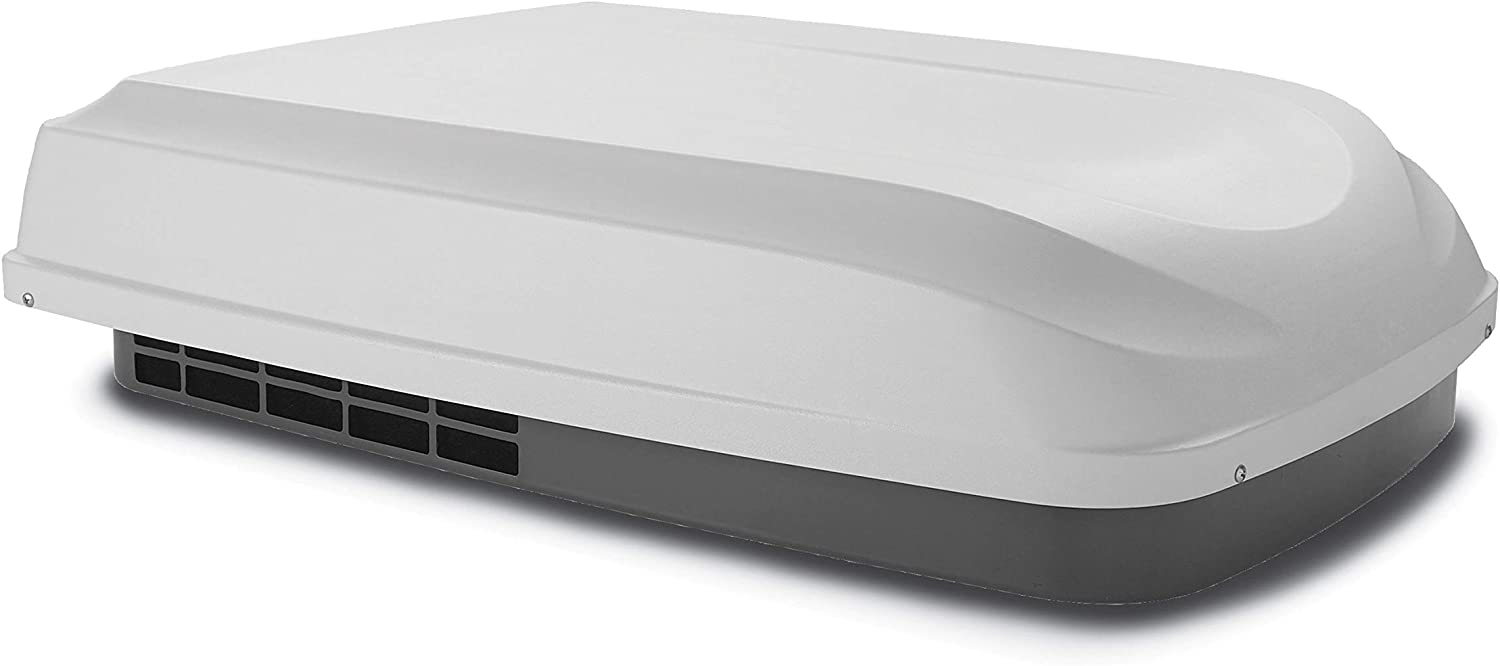
- New RV air conditioner unit: Make sure you choose an air conditioner that is compatible with your RV’s electrical system and fits the existing opening.
- Adjustable wrench: This will be used to loosen and tighten nuts and bolts during the installation process.
- Screwdrivers: You’ll need both flathead and Phillips head screwdrivers to remove and install screws.
- Wire cutters and strippers: These tools will be necessary for dealing with electrical wiring.
- Electrical tape: You’ll need this to secure and insulate any electrical connections.
- Sealant: A high-quality sealant is essential for preventing any leaks around the air conditioner unit.
- Rubber grommets or foam tape: These materials will help provide a tight seal between the air conditioner and the RV roof.
- Ratchet and socket set: These tools will come in handy for removing and installing bolts.
- Measuring tape: You may need to measure the dimensions of the existing air conditioner or the opening on the RV roof.
It’s worth mentioning that the specific tools and materials required may vary depending on your RV model and the air conditioner unit you choose. Always refer to the manufacturer’s instructions and recommendations for the most accurate information.
Once you have gathered all the necessary tools and materials, you’ll be ready to move on to the next step: turning off the power and removing the old air conditioner.
Step 2: Turn off Power and Remove Old Air Conditioner
Before you begin removing the old RV air conditioner, it is crucial to ensure that the power to the unit is turned off. This will help prevent any accidents or electrical mishaps during the removal process. Here’s how to do it:
- Start by disconnecting the RV from any external power sources, such as shore power or a generator.
- Next, locate the circuit breaker panel in your RV. It is usually found in a cabinet or compartment near the electrical system.
- Open the panel and carefully identify the circuit breaker that controls the air conditioner unit.
- Switch off the circuit breaker by flipping it to the “off” position. This will cut off power supply to the air conditioner.
- After confirming that the power is turned off, you can move on to removing the old air conditioner.
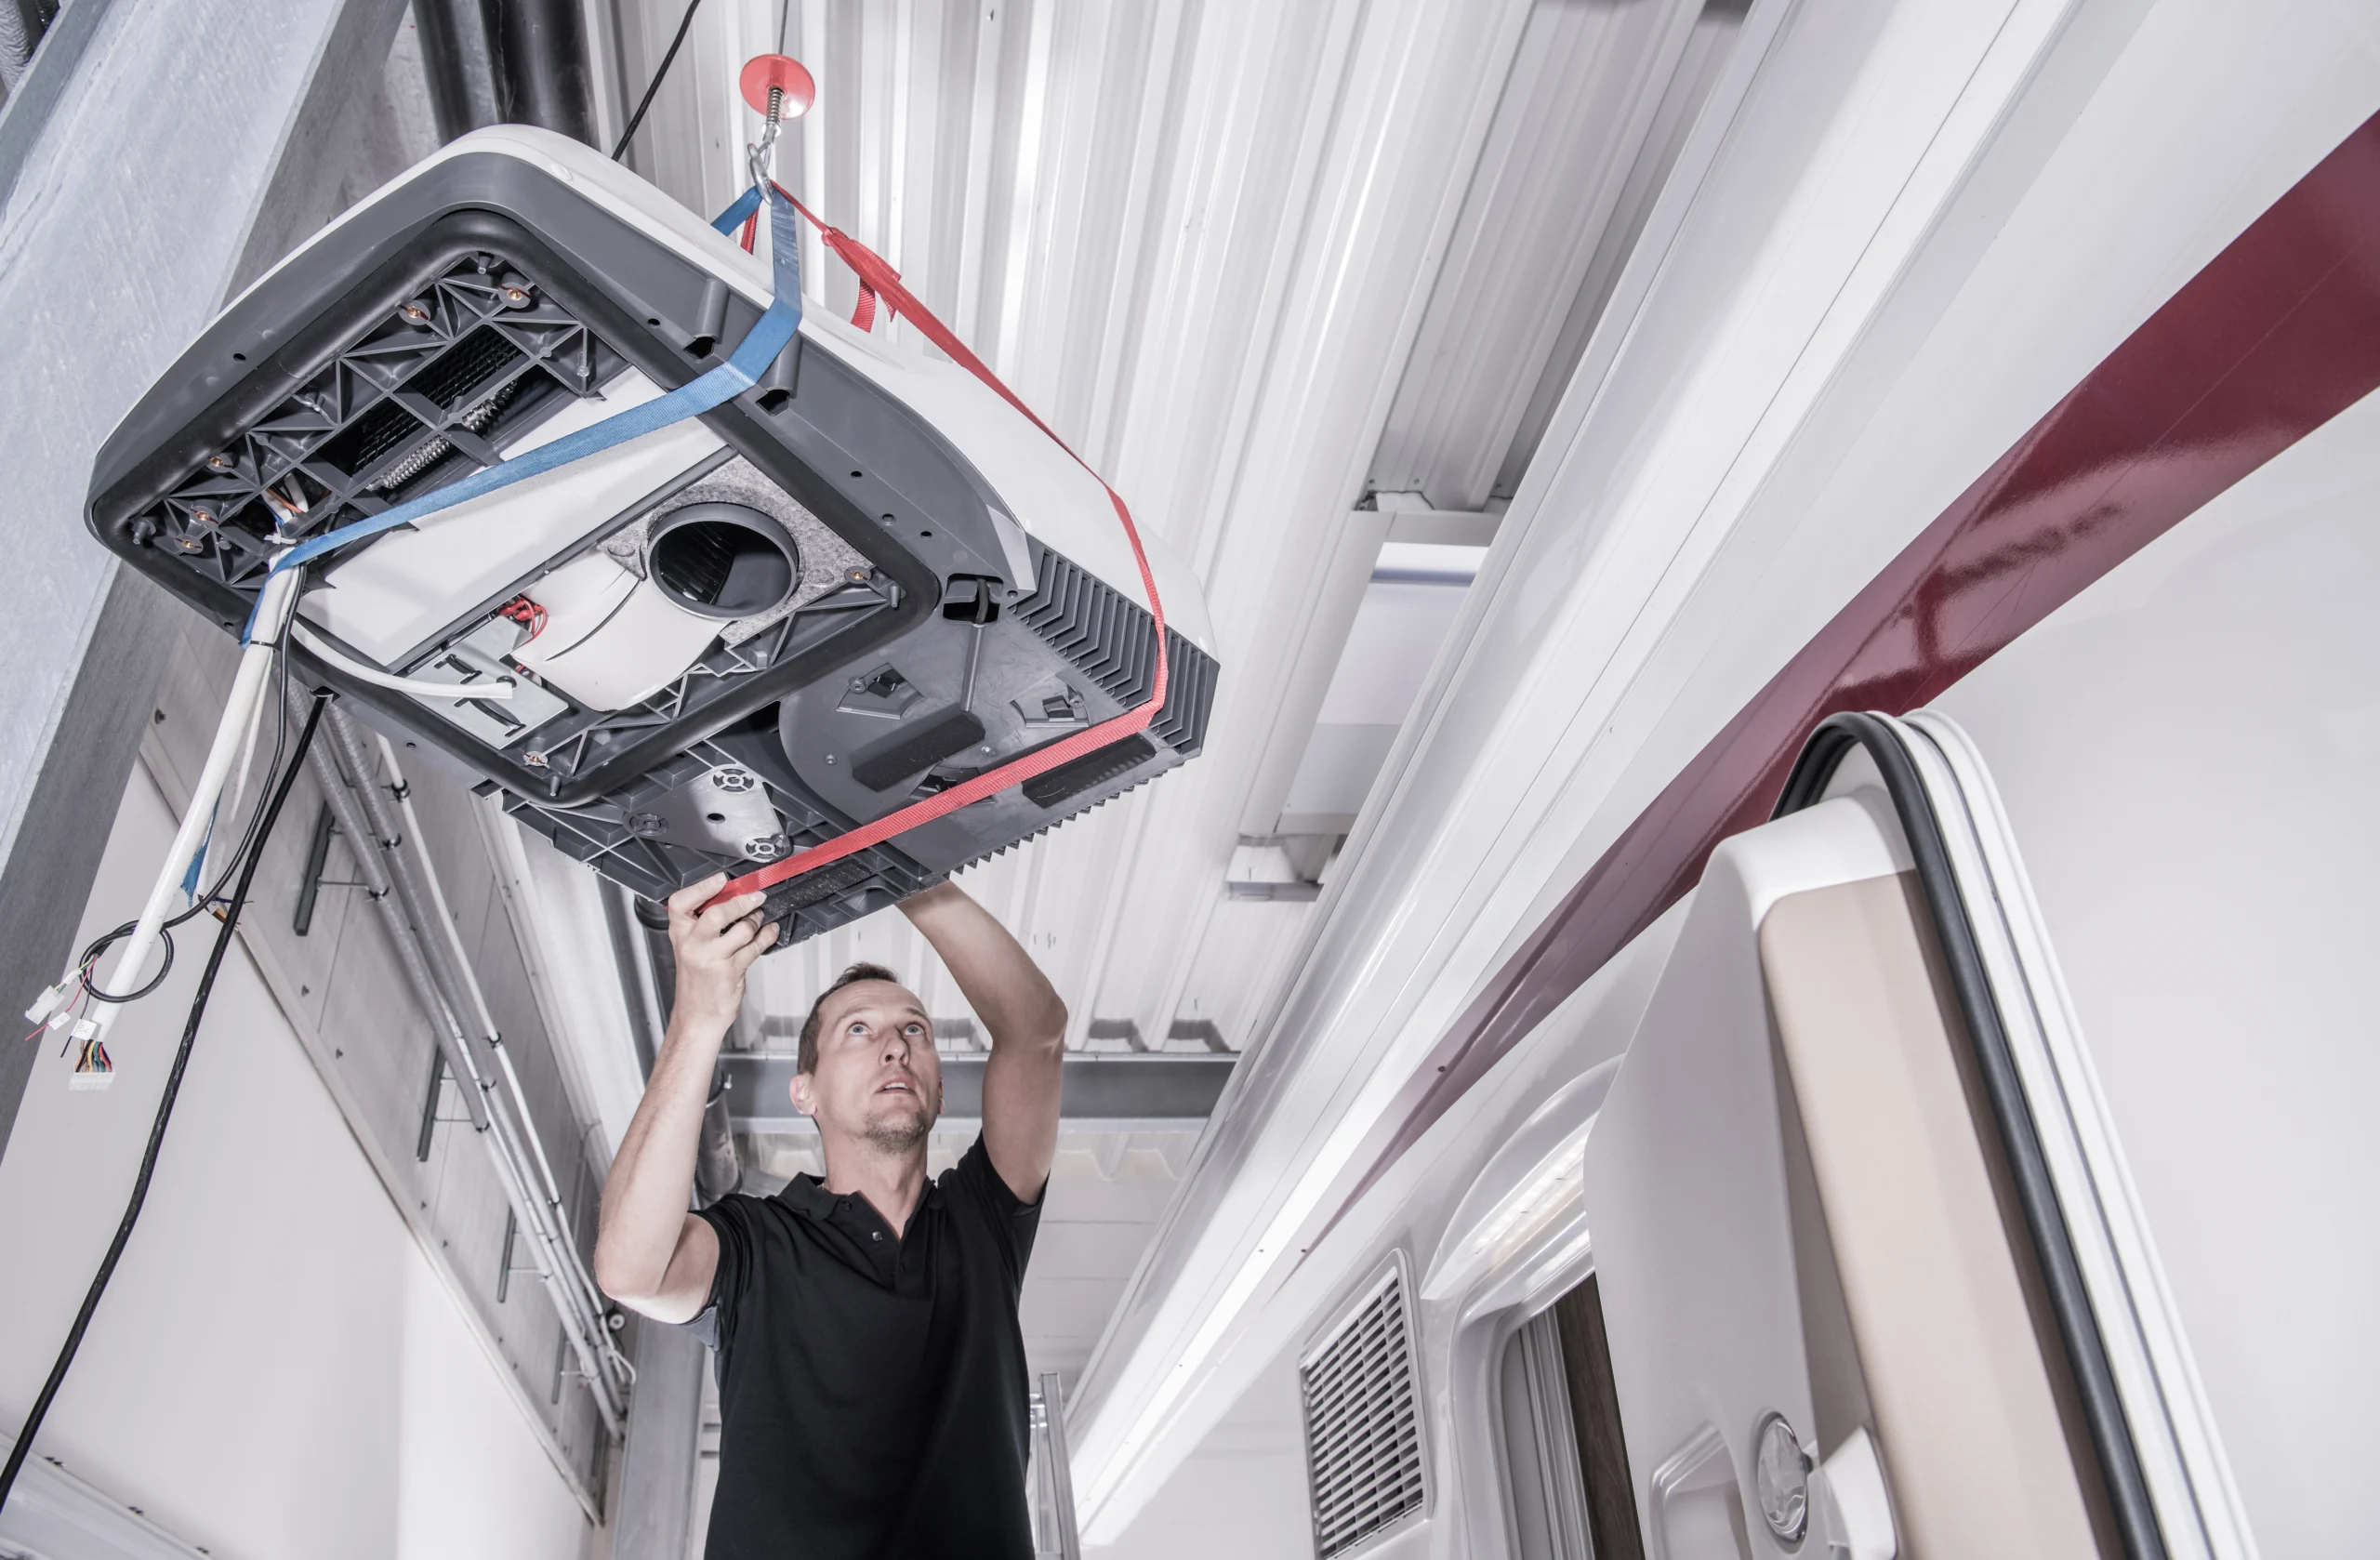
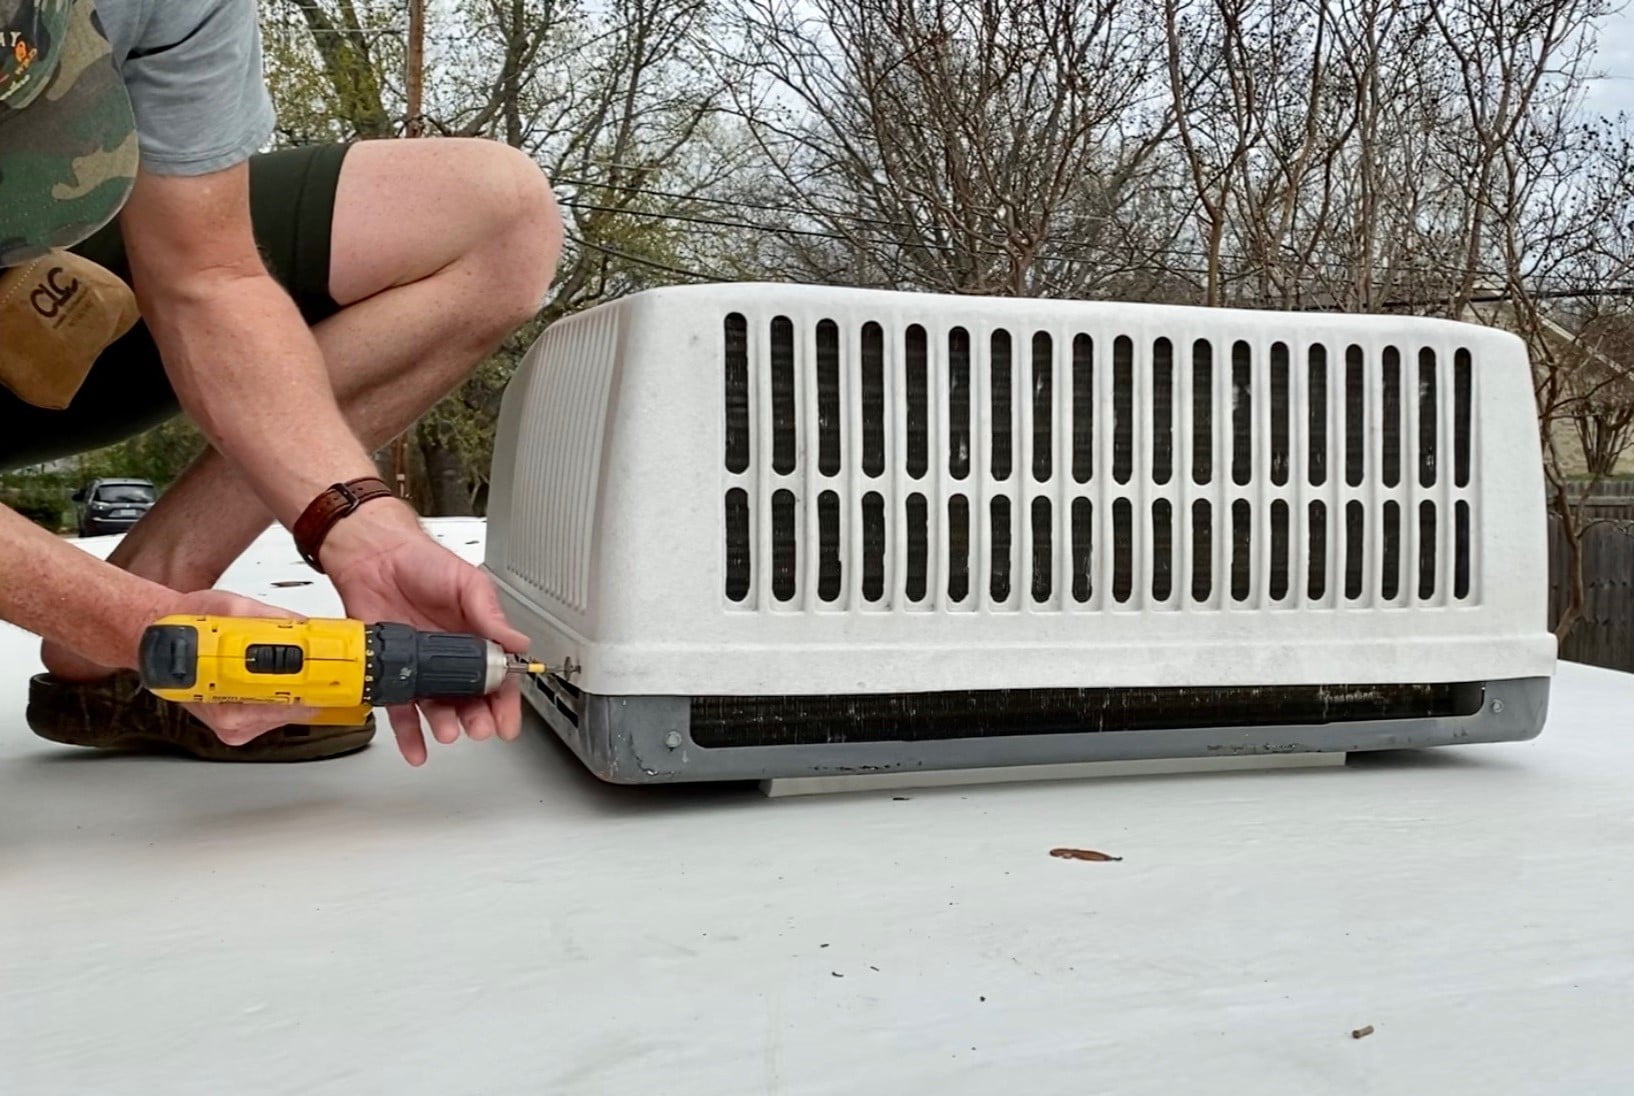
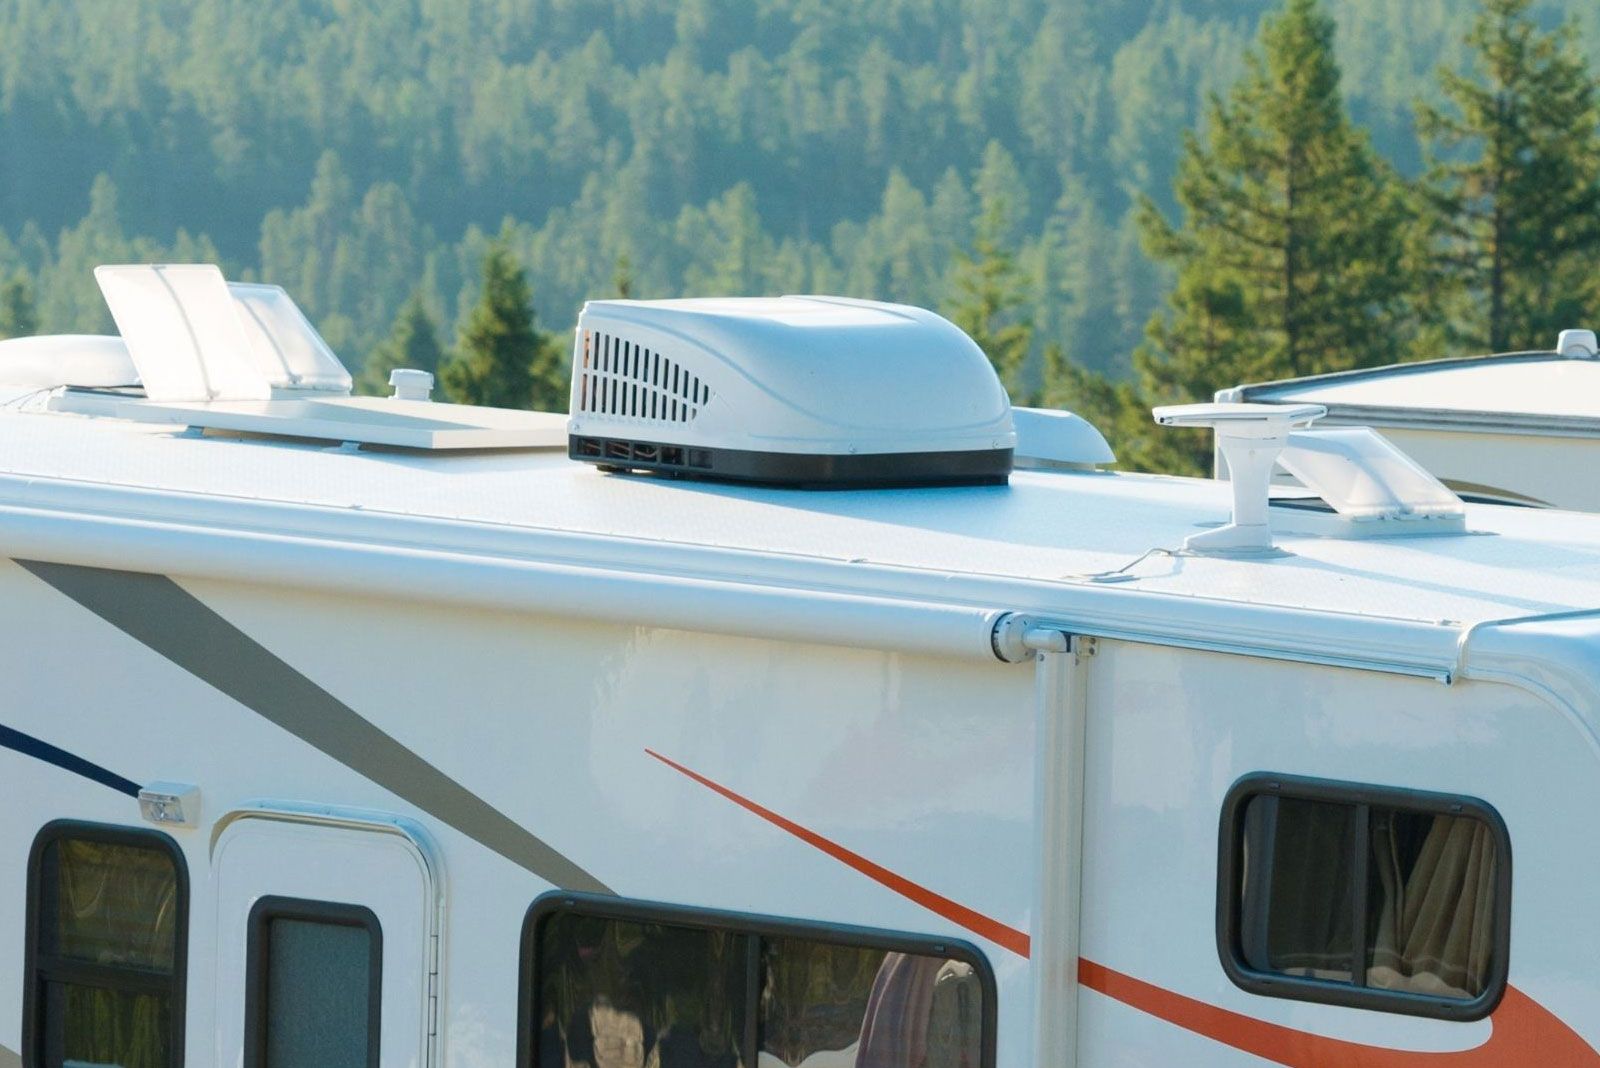
- Access the roof of your RV and locate the mounting bolts that secure the air conditioner unit.
- Using an adjustable wrench or a ratchet and socket set, carefully loosen and remove the mounting bolts.
- Once the bolts are removed, slowly lift the air conditioner unit off the roof, with the help of an assistant if needed.
- Disconnect any electrical wiring connections and the ductwork, ensuring that all connections are safely disconnected.
- Set aside the old air conditioner unit in a safe and designated location.
Removing the old RV air conditioner can be a physically demanding task, especially if the unit is heavy. It is always advisable to have someone to assist you during this step to prevent any accidents or injuries.
With the old air conditioner removed, you are now ready to move on to the next step: installing the new air conditioner.
Step 3: Install New Air Conditioner
Now that the old RV air conditioner has been safely removed, it’s time to install the new air conditioner. Here’s a step-by-step guide to help you through the installation process:
- Carefully position the new air conditioner over the opening on the roof of your RV. Ensure that it is centered and aligned properly.
- Insert the mounting bolts through the designated holes in the air conditioner and the roof. Use rubber grommets or foam tape to provide a tight seal and prevent any leaks.
- Tighten the mounting bolts with an adjustable wrench or a ratchet and socket set. Make sure they are secure but avoid overtightening to avoid damaging the air conditioner or the RV roof.
- Connect the electrical wiring of the new air conditioner to the RV’s electrical system, following the manufacturer’s instructions. Use wire connectors and electrical tape to secure and insulate the connections.
- If necessary, reattach the ductwork to the new air conditioner. Ensure a proper fit and secure any connections with clamps or tape.
- Apply a high-quality sealant around the edges of the air conditioner unit. This will prevent any water leaks and ensure a watertight seal.
- Double-check all the connections and ensure that everything is properly secured before proceeding to the next step.
It is important to follow the manufacturer’s instructions and guidelines during the installation process. Every air conditioner unit may have specific requirements and installation procedures that need to be followed for optimal performance and safety.
Once you have successfully installed the new air conditioner, you can move on to the next step: connecting the wiring and testing the functionality.
When replacing an RV air conditioner, make sure to disconnect the power supply and remove the old unit carefully to avoid damaging the roof. It’s also important to properly seal and secure the new unit to prevent leaks and ensure efficient cooling.
Step 4: Connect Wiring and Test
After successfully installing the new RV air conditioner, the next step is to connect the wiring and test its functionality. Follow the steps below to ensure proper wiring connections and test the unit:
- Refer to the manufacturer’s instructions to identify the specific wiring configuration for your new air conditioner. Different models may have different wiring requirements.
- Connect the electrical wiring of the new air conditioner to the corresponding wires in your RV. Use wire connectors and electrical tape to secure and insulate the connections.
- Double-check all the wiring connections to ensure they are secure and properly connected.
- Restore power to the air conditioner by flipping the circuit breaker that controls the unit back to the “on” position.
- Go inside your RV and set the thermostat to the desired temperature.
- Allow the new air conditioner to run for a few minutes to ensure that it is properly cooling the interior of your RV.
- During the testing phase, listen closely for any unusual noises or vibrations that may indicate an installation issue. Also, check for any air leaks around the unit.
- If you notice any problems or potential issues during the testing phase, it is advised to consult the manufacturer’s instructions or seek professional assistance to address the problem.
- Once you are satisfied with the functionality of the new air conditioner and have confirmed that it is cooling your RV effectively, you can proceed to the next step: securing the air conditioner unit.
It is important to handle electrical connections with caution and follow all safety guidelines during the wiring process. If you are unsure about any aspect of the wiring or testing, it is recommended to seek professional assistance to prevent any hazards.
Now that the wiring is connected and the new air conditioner has been tested, it’s time to move on to the next step: securing the air conditioner unit.
Read more: How To Clean An RV Air Conditioner
Step 5: Secure Air Conditioner Unit
Securing the air conditioner unit in place is an essential step to ensure stability and prevent any movement while your RV is in motion. Follow these steps to properly secure the air conditioner unit:
- Inspect the mounting bolts to ensure they are tightened securely but not overly tightened, which could damage the air conditioner or the roof of your RV.
- Check the rubber grommets or foam tape around the mounting bolts to ensure a tight seal and prevent any potential leaks.
- If necessary, apply additional sealant around the edges of the air conditioner unit to provide an extra layer of protection against water leaks.
- Examine the unit from different angles to verify that it is level and properly aligned with the roof of your RV.
- Ensure that all electrical wiring and ductwork connections are properly secured and free from any obstructions.
- If your air conditioner unit has any additional features, such as a drain tube or condenser cover, make sure they are properly installed and in their designated positions.
- Double-check all the connections and components to ensure they are secure and in proper working condition.
Once you have completed these steps, you can be confident that your new air conditioner unit is securely mounted in place and ready for your upcoming adventures.
Now that your air conditioner unit is securely installed, you can proceed to the final step: restoring power and enjoying the cool comfort of your RV.
Step 6: Restore Power and Enjoy!
Congratulations! You’ve reached the final step of replacing your RV air conditioner. It’s time to restore power and start enjoying the cool comfort of your RV. Follow these steps to complete the process:
- Go to the circuit breaker panel in your RV and flip the circuit breaker that controls the air conditioner unit back to the “on” position.
- Verify that the power has been restored by checking the lights or display on the air conditioner unit.
- Set the desired temperature on the thermostat and give the air conditioner a few minutes to reach and maintain the desired temperature.
- Listen for any unusual noises or vibrations that may indicate a problem. If you notice any issues, refer to the manufacturer’s instructions or seek professional assistance to address the problem.
- Now, sit back, relax, and enjoy the cool and refreshing air that your new RV air conditioner provides.
- As you enjoy the comfort of your RV, periodically check the air conditioner unit and its components for any signs of wear or damage. Regular maintenance and inspections will help prolong the lifespan of your air conditioner.
- Finally, make sure to keep the manufacturer’s instructions and any warranty information in a secure location for future reference.
With the power restored and your new air conditioner in full operation, you can embark on your next RV adventure knowing that you have a reliable cooling system to keep you comfortable no matter the weather.
Remember, if you ever have any concerns or issues with your RV air conditioner, it’s always best to consult the manufacturer’s instructions or seek professional assistance from an experienced RV technician.
Enjoy your travels with a cool and comfortable RV!
Conclusion
Congratulations on successfully replacing your RV air conditioner! By following the steps outlined in this guide, you have taken an important step towards improving the comfort and energy efficiency of your RV.
As you embark on your future RV adventures, it’s essential to remember a few key points. Regular maintenance and inspections of your air conditioner unit will help identify any potential issues and prolong its lifespan. Be sure to check for air leaks, ensure proper electrical connections, and keep an eye out for any signs of wear or damage.
Additionally, it’s crucial to prioritize safety when working with electrical systems. If you are not comfortable or experienced with electrical tasks, it is always recommended to seek professional assistance.
Replacing your RV air conditioner is an investment that enhances your overall RV experience. Not only will you enjoy a more comfortable living space, but you will also benefit from improved cooling performance and potentially lower energy consumption.
Remember to consult the manufacturer’s instructions specific to your air conditioner unit and RV model throughout the process. They will provide valuable information and guidelines to ensure a successful installation.
We hope this comprehensive guide has helped you understand the process of replacing an RV air conditioner. By following the steps outlined and prioritizing safety, you can confidently upgrade your RV’s cooling system and enjoy comfortable travels for years to come.
Good luck and happy RVing!
Frequently Asked Questions about How To Replace An RV Air Conditioner
Was this page helpful?
At Storables.com, we guarantee accurate and reliable information. Our content, validated by Expert Board Contributors, is crafted following stringent Editorial Policies. We're committed to providing you with well-researched, expert-backed insights for all your informational needs.