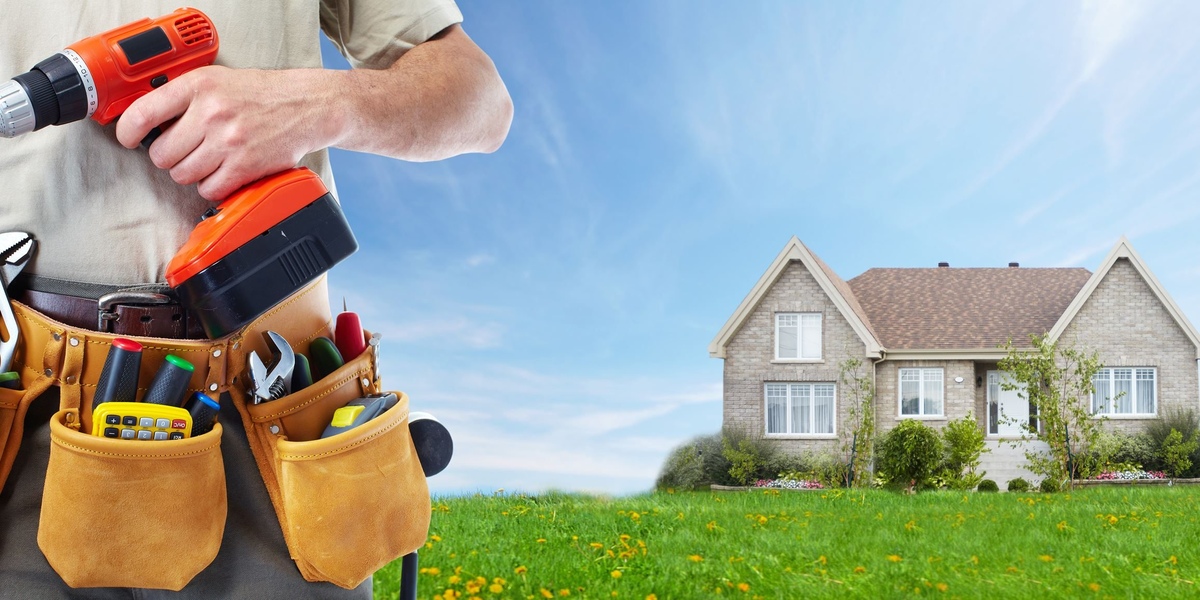
Home>Home Maintenance>How To Do A Home Inspection
Home Maintenance
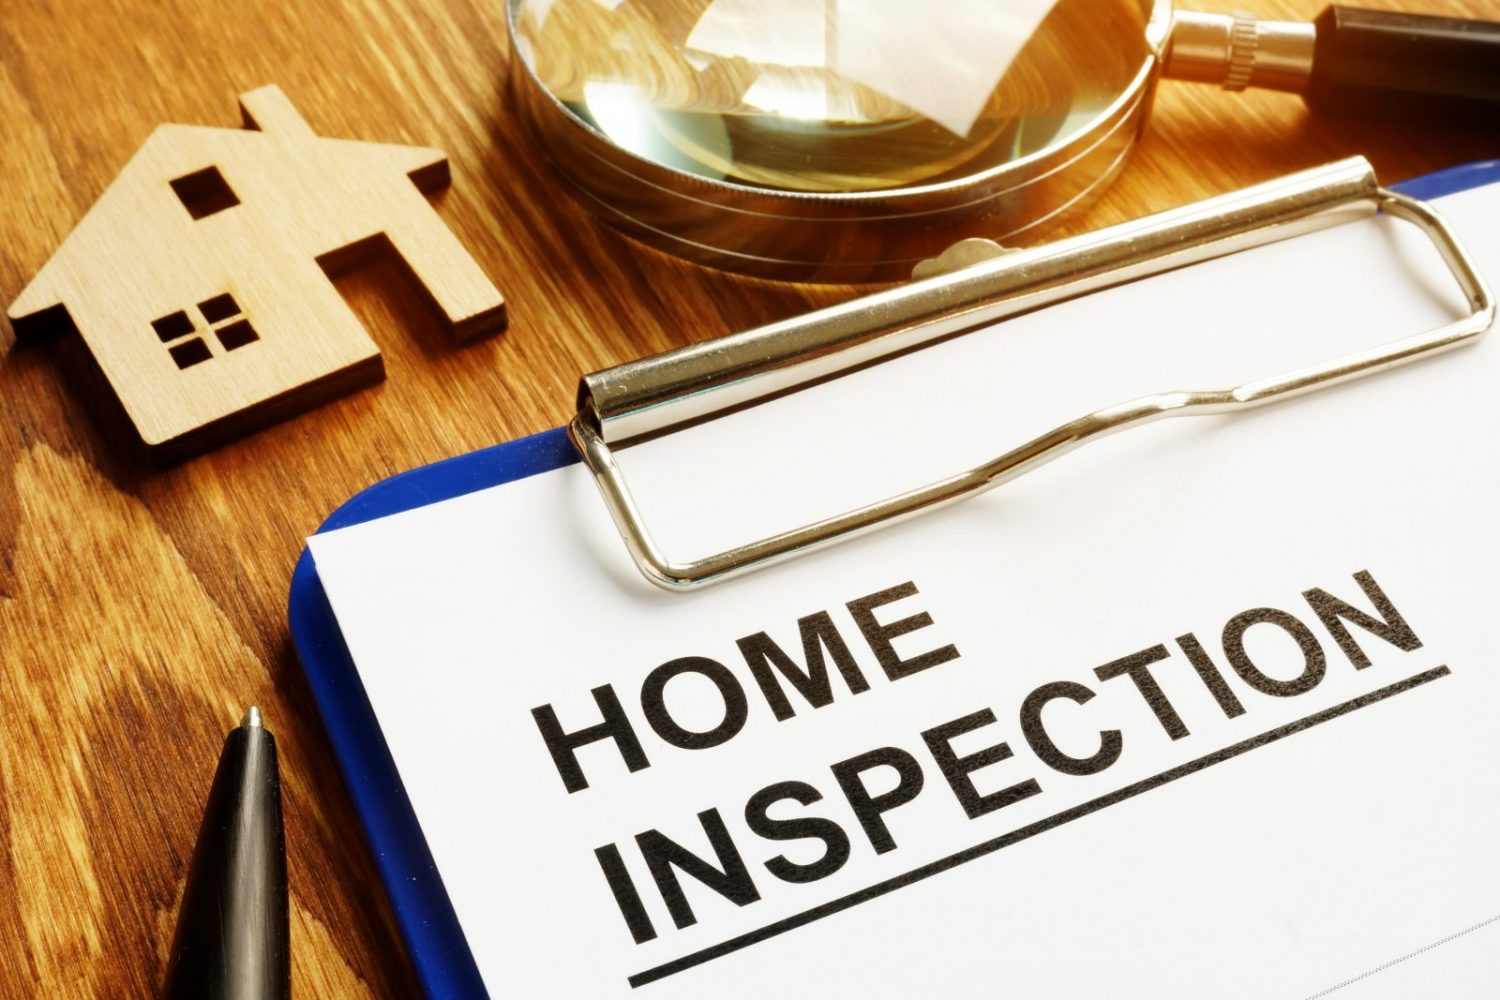
How To Do A Home Inspection
Modified: August 22, 2024
Learn how to do a comprehensive home inspection to ensure your property is in top shape. Follow our step-by-step guide for expert home maintenance.
(Many of the links in this article redirect to a specific reviewed product. Your purchase of these products through affiliate links helps to generate commission for Storables.com, at no extra cost. Learn more)
Introduction
Welcome to the comprehensive guide on how to do a home inspection. Whether you’re a homeowner looking to assess the condition of your property or a potential buyer wanting to ensure a sound investment, conducting a thorough home inspection is crucial. A home inspection helps identify potential issues, assess the overall condition of the house, and make informed decisions about necessary repairs or renovations.
While it’s always advisable to hire a professional home inspector for a detailed assessment, having some basic knowledge of the inspection process can be beneficial. This article will walk you through the steps involved in conducting a home inspection, along with essential tips and considerations along the way.
Keep in mind that a home inspection covers various aspects, including the exterior, roof, interior, electrical system, plumbing system, HVAC system, and structural components. By following this guide, you’ll be equipped with the knowledge to conduct a preliminary inspection and determine if further professional assistance is necessary.
Before we dive into the specifics, it’s important to acknowledge that safety should always be your top priority during a home inspection. Be cautious while climbing ladders, walking on roofs, or inspecting electrical panels. If you encounter any hazards or feel uncomfortable with certain areas, it’s best to consult with a professional.
With that in mind, let’s begin the journey of learning how to do a comprehensive home inspection!
Key Takeaways:
- Conducting a home inspection helps homeowners and potential buyers identify issues, prioritize repairs, and make informed decisions about their property’s condition and safety.
- Thoroughly inspecting the exterior, interior, electrical, plumbing, HVAC, and structural components of a house empowers individuals to uncover hidden problems, estimate maintenance expenses, and ensure the longevity of their home.
Read more: How To Do Home Repair
Step 1: Determine the Purpose of the Home Inspection
Before starting a home inspection, it’s important to clarify the purpose behind it. Are you conducting the inspection as a homeowner, looking to assess the condition of your property? Or are you a potential buyer, wanting to ensure that the house you’re interested in is in good shape?
By determining the purpose, you can prioritize specific areas or focus on particular aspects during the inspection process. For example, as a homeowner, you might be interested in identifying maintenance issues or potential repairs that need to be addressed. On the other hand, as a potential buyer, you may want to evaluate the overall condition of the house and identify any major issues that could affect your decision to purchase.
Once you’ve established the purpose, you can also decide if you want to conduct the inspection yourself or hire a professional home inspector. While hiring a professional is always recommended for a detailed and accurate assessment, conducting a preliminary inspection on your own can give you a basic understanding of the property’s condition.
Regardless of your role or the purpose of the inspection, it’s essential to approach the process with a thorough and objective mindset. Try to remain unbiased and focus on gathering information and identifying any potential issues. This will help you make informed decisions based on the inspection findings.
In summary, before you begin your home inspection, determine the purpose behind it. Clarify whether you’re assessing the condition of your property as a homeowner or evaluating a house you’re considering purchasing as a buyer. By understanding the purpose, you can tailor your inspection and set appropriate expectations.
Step 2: Prepare for the Home Inspection
Proper preparation is key to ensuring a smooth and effective home inspection. Before you start, take some time to gather the necessary tools and resources that will aid you in the process.
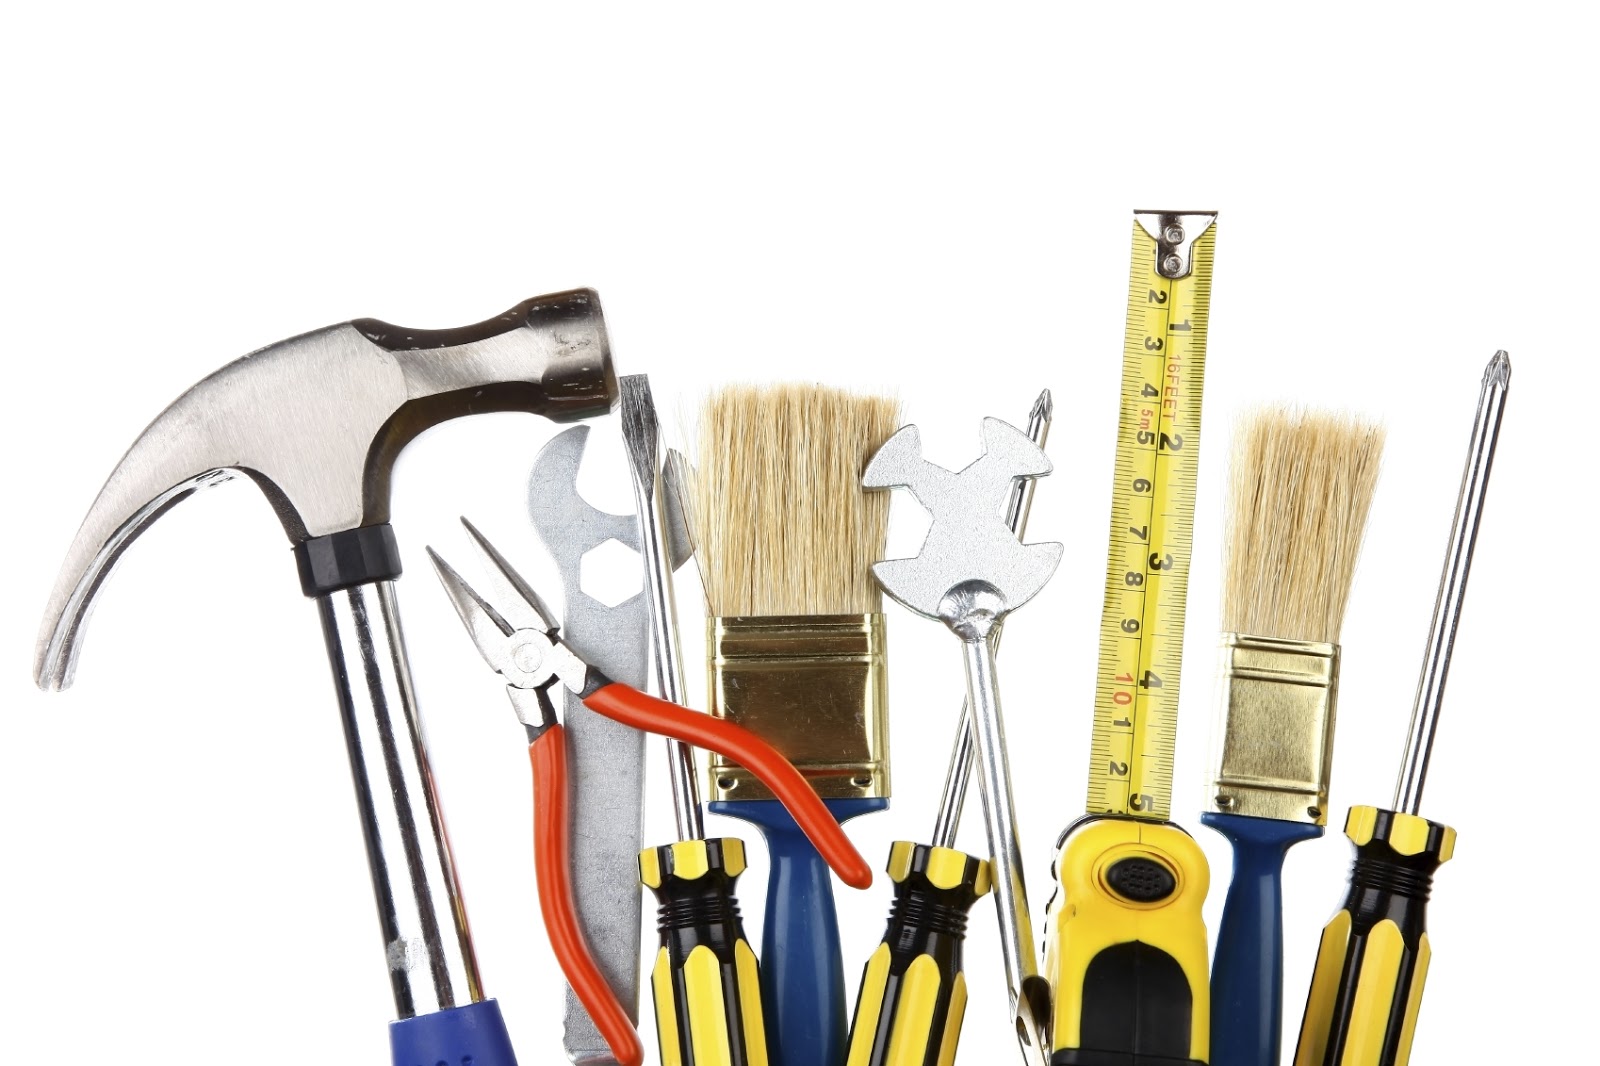
Firstly, ensure you have a flashlight, ladder, measuring tape, and a notepad to record your observations. These basic tools will be helpful in examining hard-to-reach areas, taking measurements, and jotting down any important details.
Next, gather any relevant documents or records related to the house, such as previous inspection reports, maintenance records, and manuals for appliances or systems. These documents can provide valuable insights into the history of the property and any previous issues that have been addressed.
It’s also important to familiarize yourself with the layout and features of the house. Take a walk around the property, both inside and outside, to get a general idea of its condition. Pay attention to any visible signs of damage, such as cracked walls, leaky faucets, or uneven flooring.
Additionally, make sure you allocate sufficient time for the inspection. Depending on the size and complexity of the property, a thorough inspection can take several hours. Plan accordingly so that you have enough time to inspect every aspect of the house without feeling rushed.
Lastly, if you’re not familiar with the different systems and components in a house, consider educating yourself through online resources, books, or tutorials. Understanding the basics of electrical, plumbing, heating, and cooling systems will help you conduct a more informed inspection.
By adequately preparing for the home inspection, you’ll be equipped with the necessary tools, resources, and knowledge to conduct a thorough assessment. This preparation will help ensure that the inspection process runs smoothly and efficiently.
Step 3: Exterior Inspection
The exterior of a house plays a crucial role in protecting it from the elements, so it’s essential to conduct a thorough inspection of the exterior components. Here are some key areas to focus on:
- Foundation: Start by examining the foundation for any visible cracks or signs of shifting. Look for standing water or drainage issues around the foundation, as this may indicate potential problems.
- Siding and Trim: Inspect the siding and trim for any damage, such as cracks, rot, or loose pieces. Check for signs of moisture intrusion, as this can lead to further issues.
- Windows and Doors: Inspect the windows and doors for proper alignment, functionality, and any signs of water damage or air leaks. Check that the caulking and weatherstripping are in good condition.
- Roof and Gutters: Assess the roof for missing or damaged shingles, areas of sagging or unevenness, or signs of wear. Examine the gutters for clogs, loose sections, or inadequate drainage.
- Driveway and Walkways: Inspect the driveway and walkways for cracks or uneven surfaces. Look for any areas that may pose a tripping hazard or require repair.
- Landscaping and Grading: Evaluate the landscaping around the house and ensure that the grading slopes away from the foundation to prevent water accumulation. Check for overgrown trees or shrubs that may be coming into contact with the house.
During the exterior inspection, take note of any potential issues or areas that require further attention. Pay attention to the overall condition of the exterior and how well it has been maintained.
Remember to document your findings and take photographs to supplement your inspection report. This documentation will provide a visual reference and help in addressing any concerns with professionals or as future reference.
By thoroughly inspecting the exterior of the house, you’ll be able to assess its condition and identify any potential issues that need to be addressed. This step is crucial in understanding the overall health of the property and ensuring its long-term durability.
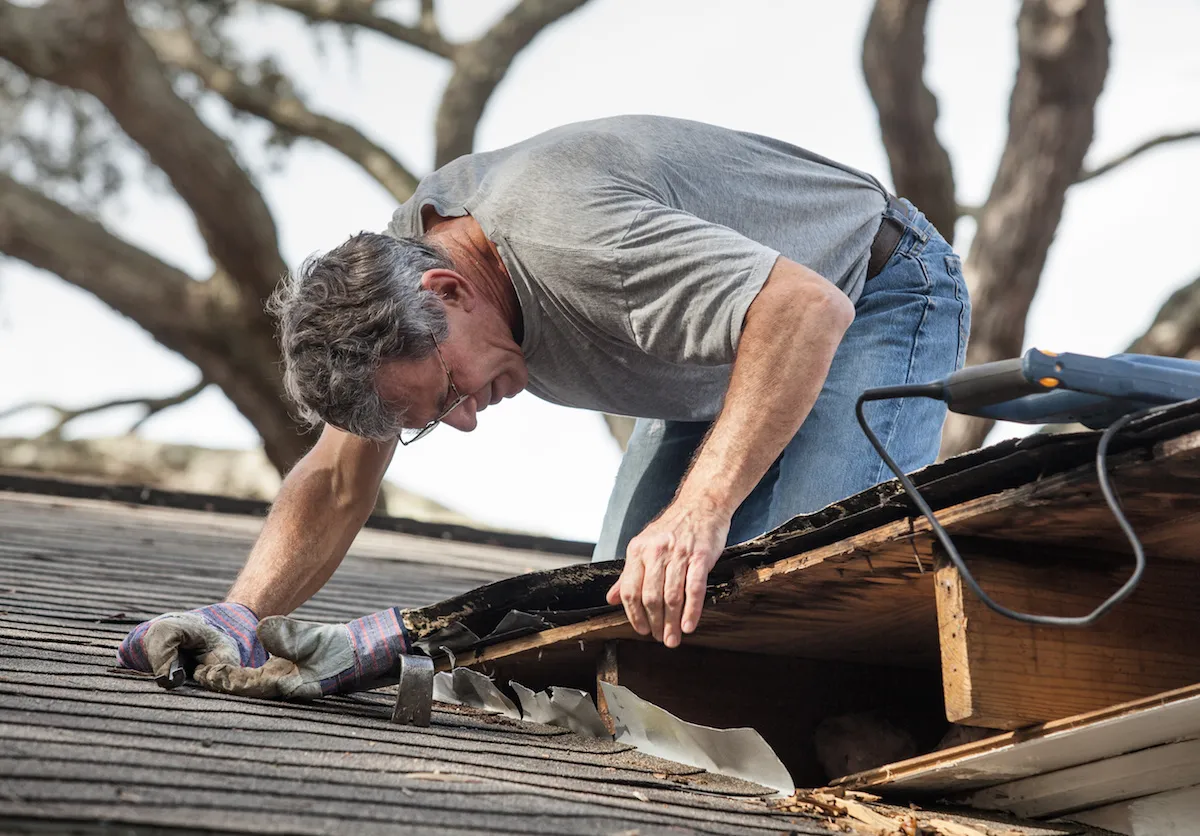
Step 4: Roof Inspection
The roof is one of the most critical components of a house, protecting it from the elements. Conducting a thorough roof inspection is essential to identify any existing or potential issues. Here are the key areas to focus on during a roof inspection:
- Roofing Material: Start by examining the roofing material, whether it’s asphalt shingles, metal, tile, or another type. Look for signs of damage, such as missing or cracked shingles, rusted metal, or broken tiles.
- Flashing and Seals: Inspect the flashing around chimneys, vents, skylights, and other roof penetrations. Check for secure attachment and signs of deterioration. Ensure that all seals are intact and properly sealed.
- Gutters and Downspouts: Examine the gutters and downspouts for clogs, sagging, or disconnection. Ensure that they are securely attached to the roof and effectively directing water away from the house.
- Roof Slope and Drainage: Assess the slope of the roof to ensure proper drainage. Look for areas where water may pool or accumulate. Proper ventilation is also important for the health of the roof, so check for signs of inadequate ventilation.
- Soffits and Fascia: Inspect the soffits and fascia for any signs of damage, rot, or deterioration. Ensure that they are securely attached and in good condition.
- Interior Inspection: In some cases, it may be necessary to conduct an interior inspection of the attic to check for signs of water damage, mold, or inadequate insulation. Look for any indications of leakage or moisture intrusion.
During the roof inspection, it’s important to exercise caution and prioritize safety. Use a sturdy ladder and take appropriate safety measures to avoid accidents. If you’re uncomfortable with heights or lack expertise in roof inspections, it’s best to consult a professional.
Document your findings, noting any areas of concern and taking photographs to support your inspection report. This documentation will be valuable for future reference or when discussing any necessary repairs or maintenance with professionals.
Remember, a well-maintained roof is essential for the overall integrity of a house. By conducting a thorough roof inspection, you can identify any issues and take appropriate actions to ensure its longevity and protection.
Read more: How To Do Home Repairs Yourself
Step 5: Interior Inspection
The interior of a house is where we spend most of our time, so it’s important to thoroughly inspect the various components that contribute to its functionality and comfort. Here are the key areas to focus on during an interior inspection:
- Walls and Ceilings: Inspect the walls and ceilings for any visible damage, such as cracks, water stains, or mold. Pay attention to areas near windows, doors, and plumbing fixtures, as they are more prone to leaks or moisture issues.
- Floors: Check the flooring for any signs of damage, such as warped wood, cracked tiles, or worn-out carpets. Pay attention to uneven surfaces or areas that feel spongy, as they may indicate underlying issues.
- Windows and Doors: Ensure that all windows and doors are in good working condition. Check for any cracks in the glass, damaged frames, or difficulty in opening and closing. Does the house have sufficient natural light and ventilation?
- Plumbing Fixtures: Inspect sinks, toilets, showers, and bathtubs for any leaks, water pressure issues, or signs of damage. Flush toilets and test faucets to ensure they are functioning properly.
- Electrical Outlets and Switches: Test electrical outlets and switches to ensure they are working properly. Check for any signs of wear or damage. Ensure that there are no exposed wires or loose connections.
- Heating and Cooling Systems: Evaluate the efficiency and functionality of the HVAC system. Turn on the heating and cooling units and check for any unusual noises or smells. Consider the age and condition of the system.
- Fire Safety: Check smoke detectors, carbon monoxide detectors, and fire extinguishers to ensure they are present and in working order. Replace batteries if needed.
During the interior inspection, pay attention to any unusual odors, signs of moisture or water damage, and the overall cleanliness and maintenance of the house. Take notes and photographs to document your findings for future reference.
If you come across any major concerns or issues that are beyond your expertise, consider consulting a professional to conduct a more detailed assessment.
By conducting a thorough interior inspection, you’ll be able to assess the condition of the house’s internal components and identify potential areas for improvement or necessary repairs. This step is crucial in determining the overall functionality and livability of the property.
When conducting a home inspection, make sure to check for any signs of water damage, such as stains on the ceiling or walls, as this could indicate potential issues with the plumbing or roof.
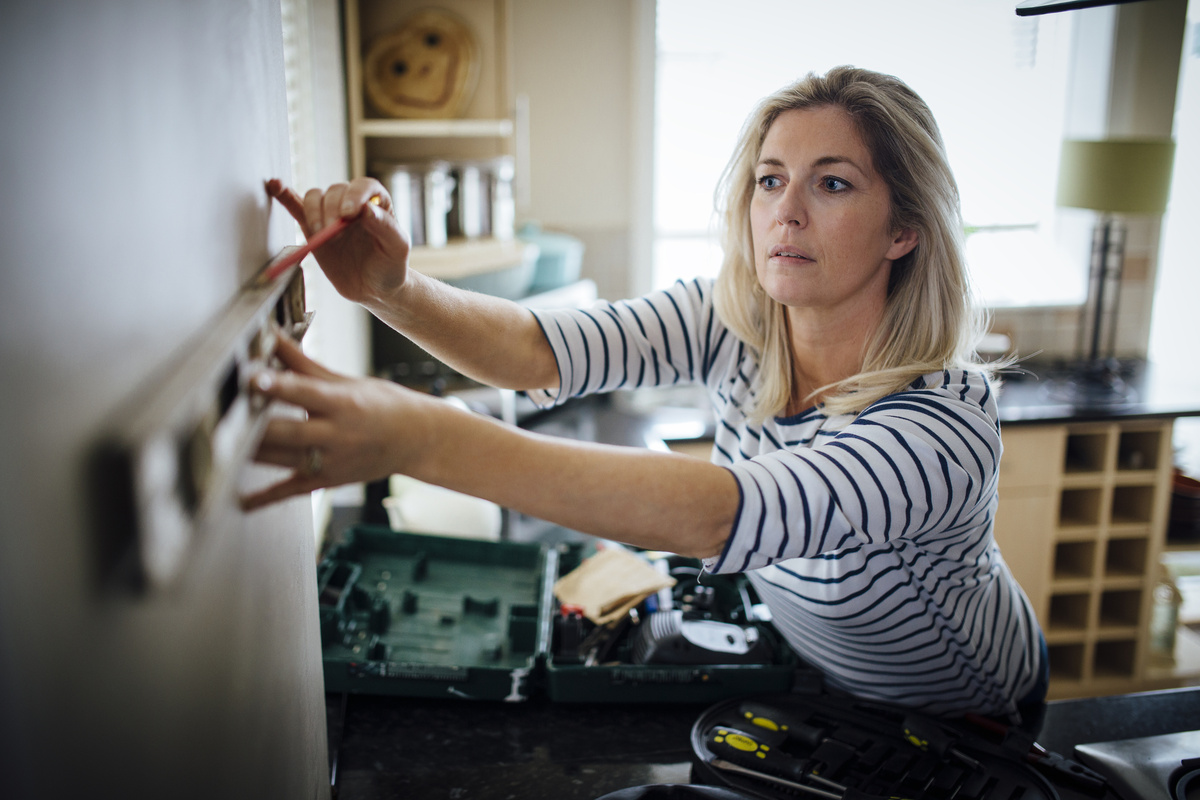
Step 6: Electrical System Inspection
The electrical system is a critical component of any home, providing power to various appliances and ensuring the safety of its occupants. Conducting a thorough electrical system inspection is essential to identify any potential hazards or issues. Here are the key areas to focus on during the electrical system inspection:
- Electrical Panels: Start by examining the electrical panels to ensure they are properly labeled and accessible. Look for signs of overheating, such as discoloration or a burning smell. Check that the circuit breakers or fuses are properly sized for the circuits they protect.
- Outlets: Inspect all outlets throughout the house for any signs of damage, loose connections, or burn marks. Test the outlets with a voltage tester to ensure they are properly grounded and functioning correctly.
- Light Fixtures: Examine light fixtures to ensure they are securely attached and in good working condition. Check for any exposed wiring or signs of overheating.
- Ground Fault Circuit Interrupters (GFCIs): Locate and test GFCIs in areas such as bathrooms, kitchens, and outdoor outlets. Press the “test” button and ensure they trip and cut off power correctly.
- Wiring: Check the condition and routing of the wiring throughout the house. Look for any exposed or frayed wires, as well as any signs of improper installations or DIY fixes.
- Smoke Detectors: Inspect smoke detectors to ensure they are present in the required locations and functioning correctly. Replace batteries if needed.
- Electrical Appliances: Test major electrical appliances, such as the refrigerator, dishwasher, and washer/dryer, to ensure they are working properly and do not pose any electrical safety hazards.
During the electrical system inspection, it’s important to exercise caution and prioritize safety. If you are unsure about any aspect of the inspection, it’s best to consult a professional electrician who can conduct a more detailed assessment.
Document your findings, noting any areas of concern and taking photographs to support your inspection report. This documentation will be valuable in addressing any necessary repairs or maintenance with electricians or as future reference.
Remember, the electrical system is a crucial aspect of the home’s functionality and safety. By conducting a thorough electrical system inspection, you can identify any issues and take appropriate actions to ensure the smooth and safe operation of the electrical system.
Step 7: Plumbing System Inspection
The plumbing system is an essential component of any home, responsible for delivering clean water and removing waste. Conducting a thorough plumbing system inspection is important to identify any existing or potential issues. Here are the key areas to focus on during the inspection:
- Pipes and Fixtures: Inspect both visible and accessible pipes for any signs of leaks, corrosion, or damage. Check faucets, sinks, showers, and toilets for proper functioning and signs of leaks.
- Water Pressure: Test the water pressure throughout the house. Low water pressure could indicate issues with the plumbing system, such as clogged pipes or faulty valves.
- Drains: Ensure that all drains are clear and draining properly. Look for any signs of slow drainage or clogs. Run water in sinks, tubs, and showers to assess their functionality.
- Water Heater: Inspect the water heater for any signs of leakage or rust. Check the temperature and pressure relief valve and ensure it is working properly.
- Sewer System: Determine the type of sewer system the property has (septic or municipal). For septic systems, inspect the tank and drain field for any signs of damage or drainage issues.
- Water Quality: Consider testing the water quality for any contaminants or impurities. This can be done through a professional water testing service or with at-home water testing kits.
- Appliances: Inspect plumbing connections to major appliances such as washing machines, dishwashers, and refrigerators. Check for any signs of leaks or improper installation.
During the plumbing system inspection, pay attention to any unusual odors, signs of water damage, or mold growth. Take note of any areas that require further attention or potential repairs.
If you come across any major concerns or issues that are beyond your expertise, it’s best to consult a professional plumber to conduct a more detailed assessment.
Document your findings, noting any areas of concern and taking photographs to support your inspection report. This documentation will be valuable for future reference or when discussing any necessary repairs or maintenance with professionals.
By conducting a thorough plumbing system inspection, you can identify any issues and take appropriate actions to ensure the proper functioning and efficiency of the plumbing system. This step is crucial in maintaining the integrity of the water supply and preventing potential water damage or health hazards.
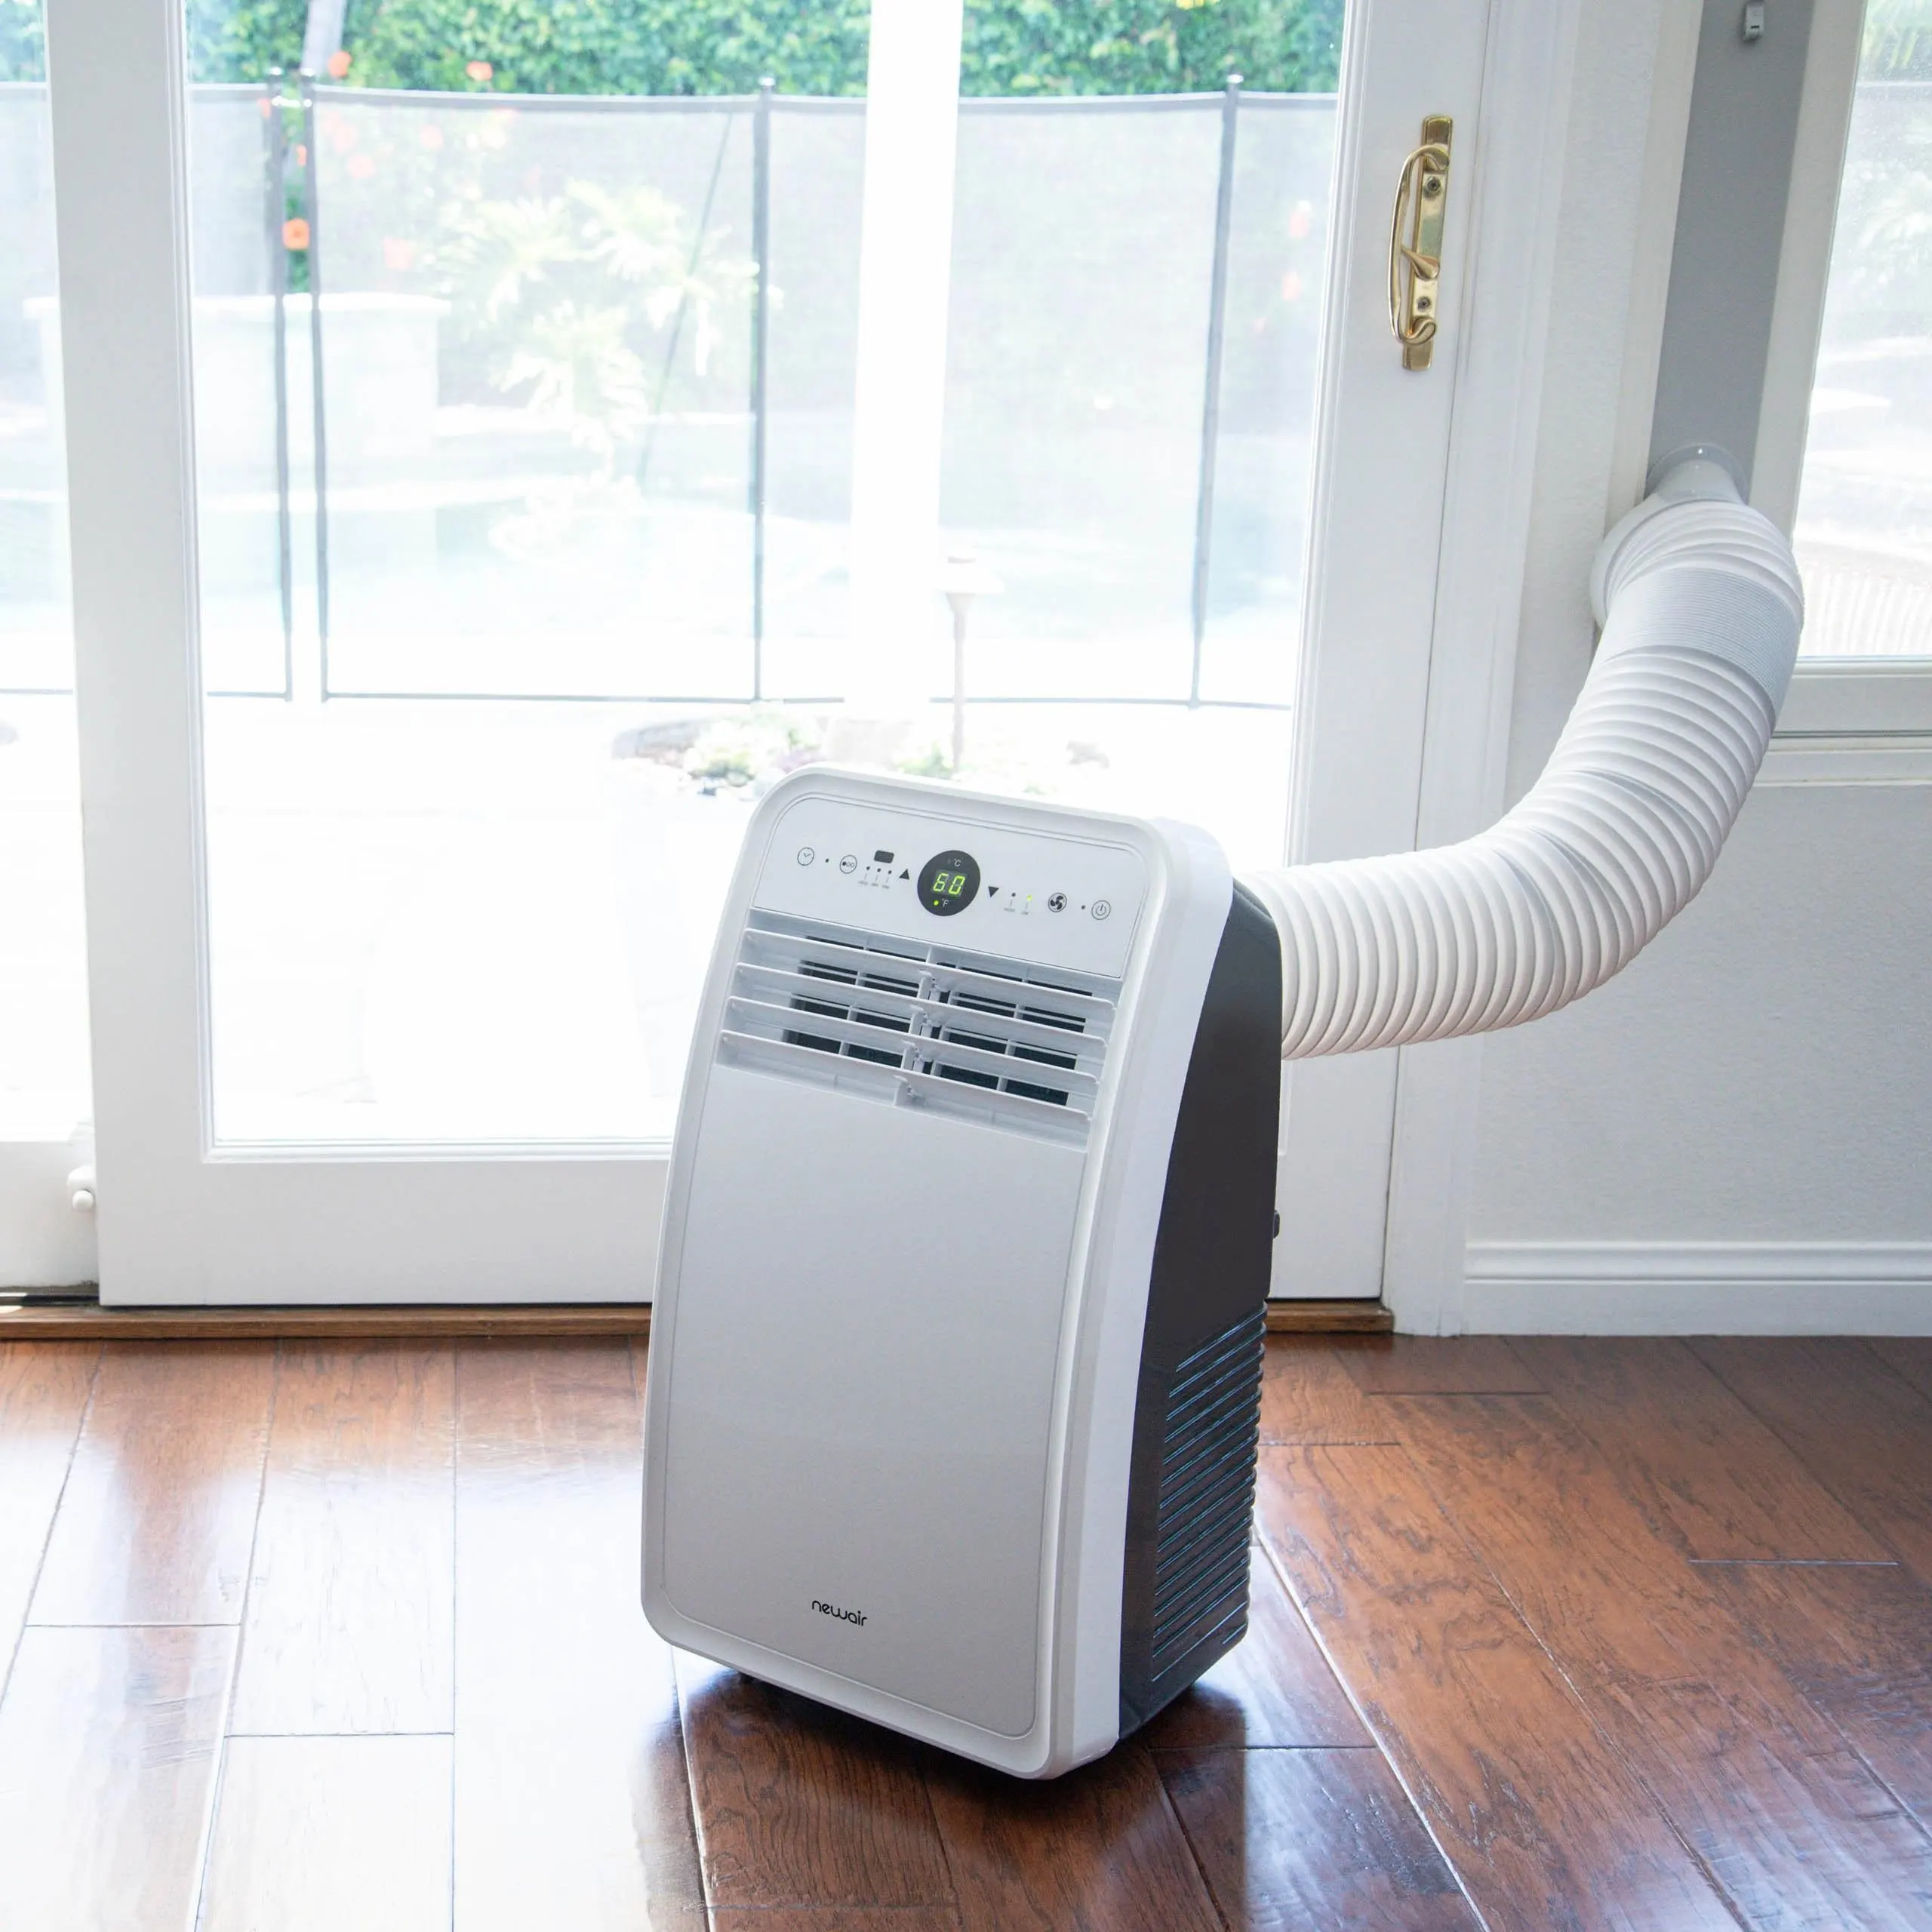
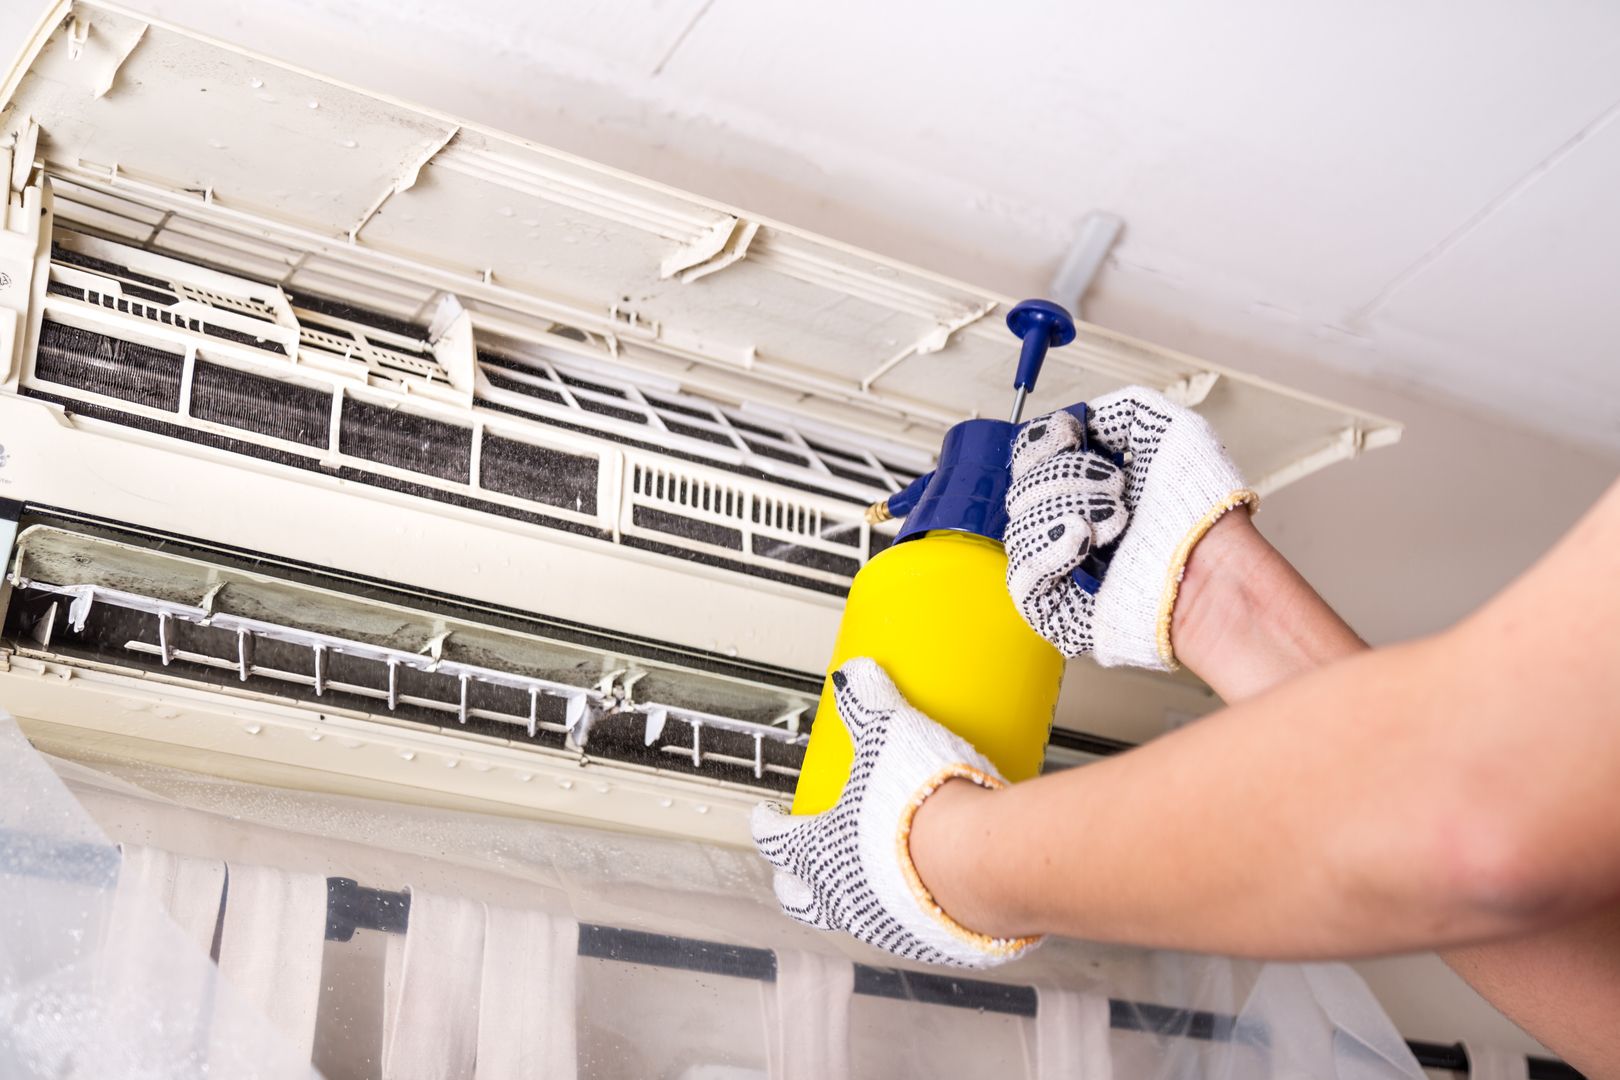
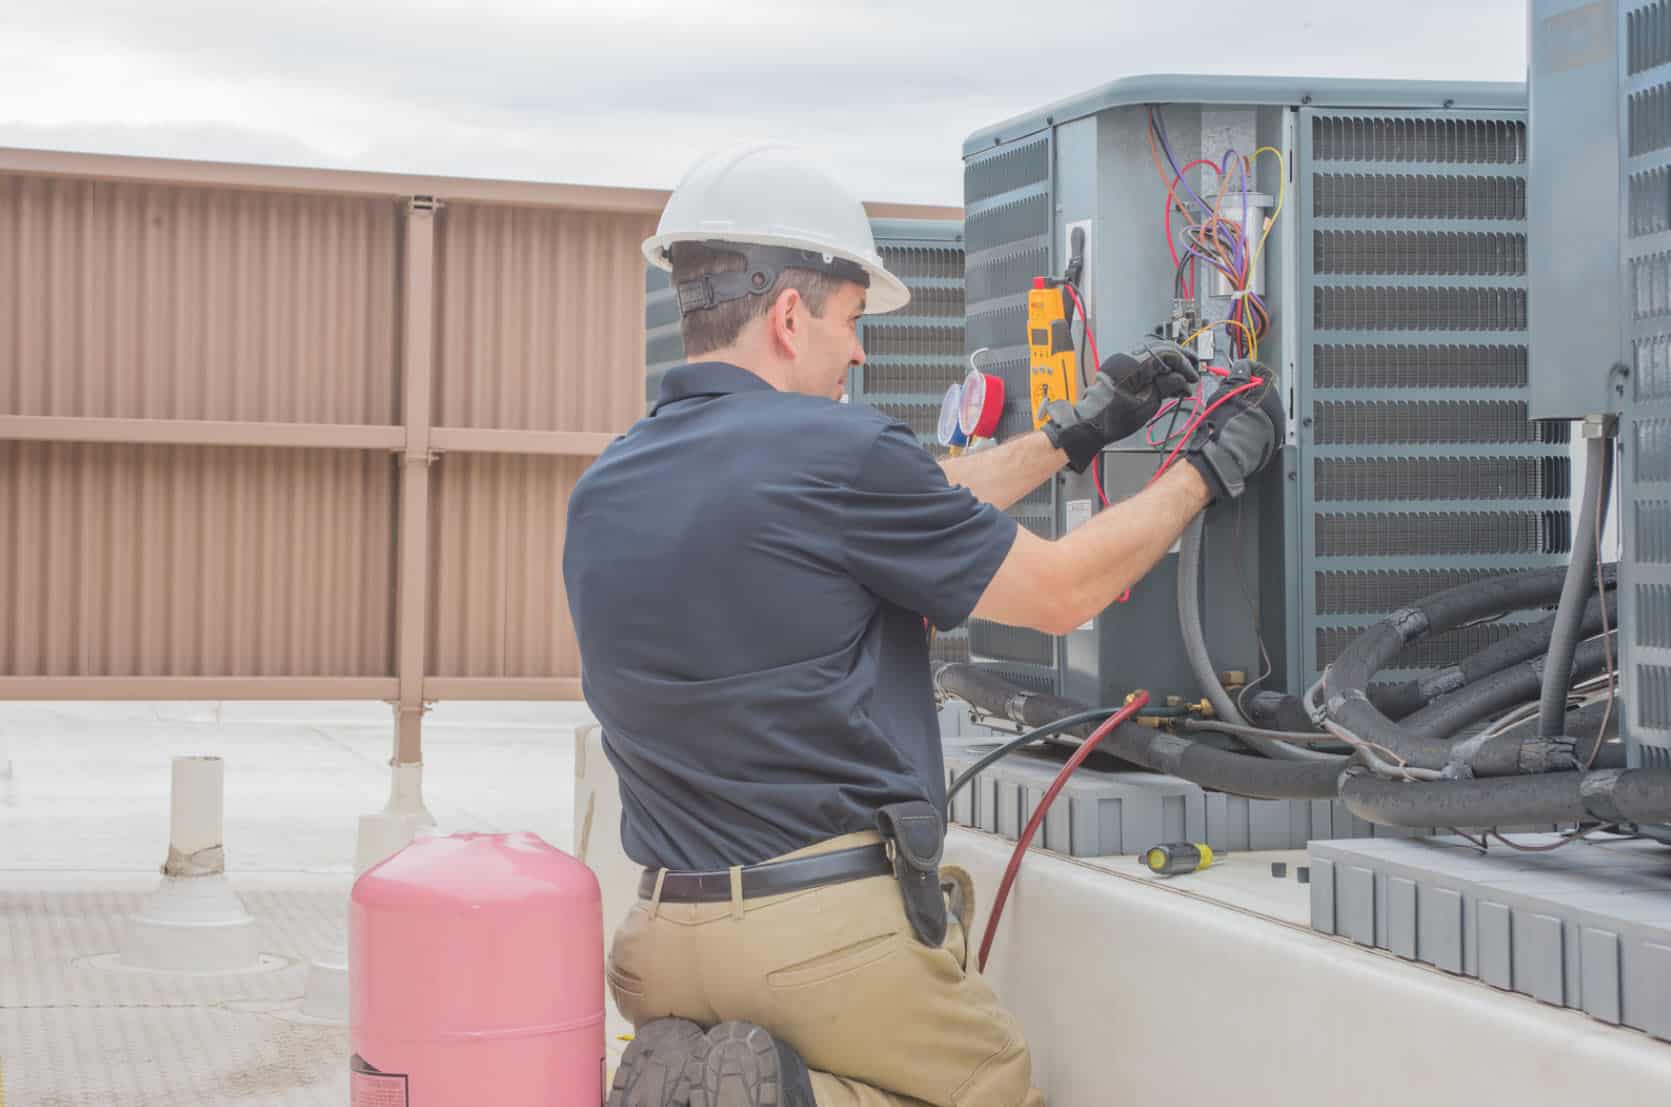
Step 8: HVAC System Inspection
The HVAC (Heating, Ventilation, and Air Conditioning) system is responsible for maintaining comfortable indoor temperatures and ensuring proper air circulation. Conducting a thorough HVAC system inspection is important to identify any potential issues and ensure its efficient operation. Here are the key areas to focus on during the inspection:
- Furnace/Heater: Inspect the furnace or heating system for any signs of damage, rust, or malfunctioning parts. Check the filters and ensure they are clean and properly installed.
- Air Conditioning Unit: Assess the air conditioning unit for any visible damage or leaks. Clean or replace the filters, if necessary, to ensure proper airflow and cooling efficiency.
- Ductwork: Inspect the ductwork for any leaks or signs of deterioration. Poorly sealed or damaged ducts can lead to energy loss and lower efficiency.
- Thermostats: Test and calibrate the thermostats to ensure they are functioning correctly and accurately controlling the temperature.
- Ventilation: Check the ventilation system, including exhaust fans and vents, to ensure proper airflow and ventilation in areas such as bathrooms, kitchens, and laundry rooms.
- Condensate Drain: Inspect and clean the condensate drain to prevent clogs and ensure proper drainage of condensation from the HVAC system.
- Insulation and Energy Efficiency: Evaluate the insulation in the home to ensure it is properly installed and sufficient for energy efficiency. Poor insulation can lead to heat loss or gain, resulting in higher energy bills.
During the HVAC system inspection, listen for any unusual noises coming from the system and observe how well it heats or cools the house. Take note of any areas that require further attention or potential repairs.
If you come across any major concerns or issues that are beyond your expertise, it’s best to consult a professional HVAC technician to conduct a more detailed assessment.
Document your findings, noting any areas of concern and taking photographs to support your inspection report. This documentation will be valuable for future reference or when discussing any necessary repairs or maintenance with professionals.
By conducting a thorough HVAC system inspection, you can identify any issues and take appropriate actions to ensure the efficient operation and longevity of the system. This step is crucial in maintaining comfort and indoor air quality in the home.
Read more: How Much Do Home Repairs Cost
Step 9: Structural Inspection
Conducting a thorough structural inspection is crucial to assess the overall stability and integrity of a house. This step helps identify any potential issues that may affect the safety and durability of the structure. Here are the key areas to focus on during the structural inspection:
- Foundation: Inspect the foundation for any signs of cracks, settlement, or shifting. Look for uneven floors, doors that stick, or gaps around windows, as these may indicate foundation issues.
- Walls and Framing: Examine the walls and framing for any signs of damage, such as cracks, bowing, or water stains. Pay attention to load-bearing walls and ensure they are properly supported.
- Roof Structure: Assess the roof structure for any signs of sagging, damaged trusses, or weakened supports. Look for signs of water damage or leaks in the attic.
- Floors and Stairs: Inspect the floors and stairs for any signs of sagging, unevenness, or loose components. Check that handrails and guardrails are secure and meet safety standards.
- Windows and Doors: Ensure that windows and doors open and close smoothly. Look for any gaps or misalignments that could indicate structural issues.
- Crawl Spaces and Basements: Evaluate crawl spaces and basements for signs of moisture, mold, or pest infestation. Look for any signs of deterioration or damage to the structural elements in these spaces.
During the structural inspection, it’s important to pay attention to both interior and exterior features of the house. Look for any signs of settlement or shifting, and note any areas that require further attention or potential repairs.
If you come across any major concerns or issues that are beyond your expertise, it’s best to consult a professional structural engineer or home inspector who can conduct a more detailed assessment.
Document your findings, noting any areas of concern and taking photographs to support your inspection report. This documentation will be valuable for future reference or when discussing any necessary repairs or maintenance with professionals.
By conducting a thorough structural inspection, you can identify any issues and take appropriate actions to ensure the safety and durability of the house. This step is crucial in understanding the overall condition and stability of the structure.
Step 10: Final Assessment and Report
After completing the comprehensive home inspection, it’s time to consolidate your findings and provide a final assessment of the property. This step involves creating a detailed report that outlines the condition of various components and any identified issues. Here’s what you should include in the final assessment and report:
- Summary: Begin the report with a summary that highlights the purpose of the inspection, the key findings, and the overall condition of the house.
- Exterior and Interior: Provide a detailed assessment of the exterior and interior components, highlighting any issues or areas that require attention. Include information on the condition of the roof, walls, floors, plumbing, electrical systems, HVAC, and structural elements.
- Major Concerns: Identify any major concerns that require immediate attention or professional evaluation. These may include safety hazards, structural issues, or significant repairs.
- Minor Issues: Mention any minor issues or maintenance recommendations that can be addressed over time. These may include cosmetic repairs, routine maintenance tasks, or general upkeep.
- Photographs and Documentation: Include photographs and detailed documentation to support your findings. This will provide visual evidence and help in communicating the identified issues more effectively.
- Recommendations: Offer recommendations based on the inspection findings. This may involve suggesting further evaluation by professionals, repairs or maintenance tasks, or suggesting the need for specialized inspections, such as termite or mold inspections.
Ensure that your report is clear, concise, and organized. Use professional language while still making it accessible and understandable for clients or homeowners. Include any relevant terms or definitions to help clarify technical terminology.
Remember, the purpose of the assessment and report is to provide a comprehensive summary of the inspection findings. It should serve as a useful tool for homeowners or potential buyers to make informed decisions about the property and prioritize necessary repairs or maintenance tasks.
By providing a thorough final assessment and report, you will empower individuals to take appropriate actions to address any identified issues and ensure the overall condition and safety of the property.
Conclusion
Congratulations on completing your comprehensive home inspection! By following the step-by-step guide outlined in this article, you have gained valuable knowledge and skills to assess the condition of a property. Conducting a thorough inspection allows you to identify potential issues, prioritize repairs, and make informed decisions about your home or potential investment.
Throughout the inspection process, you learned how to determine the purpose of the inspection, gather the necessary tools and resources, and thoroughly assess the exterior, interior, electrical system, plumbing system, HVAC system, and structural components of the house. By documenting your findings and creating a detailed report, you will be able to communicate the inspection results effectively to clients, homeowners, or yourself.
Remember, while conducting a home inspection can provide valuable insights, it is always recommended to consult professionals for specialized evaluations and repairs. Building a trusted network of experts, including home inspectors, electricians, plumbers, and structural engineers, can further enhance the accuracy and reliability of your assessments.
A well-executed home inspection helps you uncover hidden problems, estimate future maintenance expenses, and ensure the safety and longevity of your home. It provides peace of mind and empowers you to make informed decisions regarding repairs, renovations, or purchasing a property.
By dedicating time and effort to the home inspection process, you are taking a proactive approach to home maintenance and ownership. Regular inspections can help prevent small issues from becoming major problems, ultimately saving you time, money, and stress down the line.
Thank you for joining us on this comprehensive journey through the home inspection process. Remember to stay curious, continue learning, and prioritize the well-being of your home. Happy inspecting!
Frequently Asked Questions about How To Do A Home Inspection
Was this page helpful?
At Storables.com, we guarantee accurate and reliable information. Our content, validated by Expert Board Contributors, is crafted following stringent Editorial Policies. We're committed to providing you with well-researched, expert-backed insights for all your informational needs.


0 thoughts on “How To Do A Home Inspection”