Home>Ideas and Tips>Art Studio Lighting Tips to Illuminate Your Creative Space

Ideas and Tips
Art Studio Lighting Tips to Illuminate Your Creative Space
Published: September 22, 2024
Discover essential art studio lighting tips to enhance your creative space, ensuring vibrant and true-to-life artwork. Illuminate your studio effectively!
(Many of the links in this article redirect to a specific reviewed product. Your purchase of these products through affiliate links helps to generate commission for Storables.com, at no extra cost. Learn more)
Creating art requires the right environment, and lighting is a huge part of that. Proper lighting can make a big difference in the quality of your work. It affects every color decision you make and ensures your artwork looks vibrant and true to life. So, why is proper lighting so important?
Why Is Proper Lighting So Important?
Proper lighting is the single most important factor in determining the colors you see in your painting. It influences every color decision you make, and poor lighting can lead to paintings that seem too cool, warm, bright, or dull over time. This is because your eyes are incredibly good at adjusting to the surroundings, making it difficult to tell if your lighting is poorly set up while you are under that light. For instance, what may seem like normal lighting could actually be very cool, warm, bright, or dull lighting, affecting the overall appearance of your artwork.
First, Do a Quick Audit of Your Current Lighting
Before rushing out to purchase an expensive home lighting system, it is essential to do a quick audit of your current lighting. This step can save you a lot of frustration and money. Consider if you need to adjust any of the light sources you already have or if additional light sources are needed based on the information provided in this article.
For example, if you have a medium-sized window with blinds to the left of your painting and overhead fixtures, you might only need to replace the overhead light with a stronger and more color-balanced fluorescent tube. You might also need to adjust the position of your easel in relation to the light.
Angle of the Light
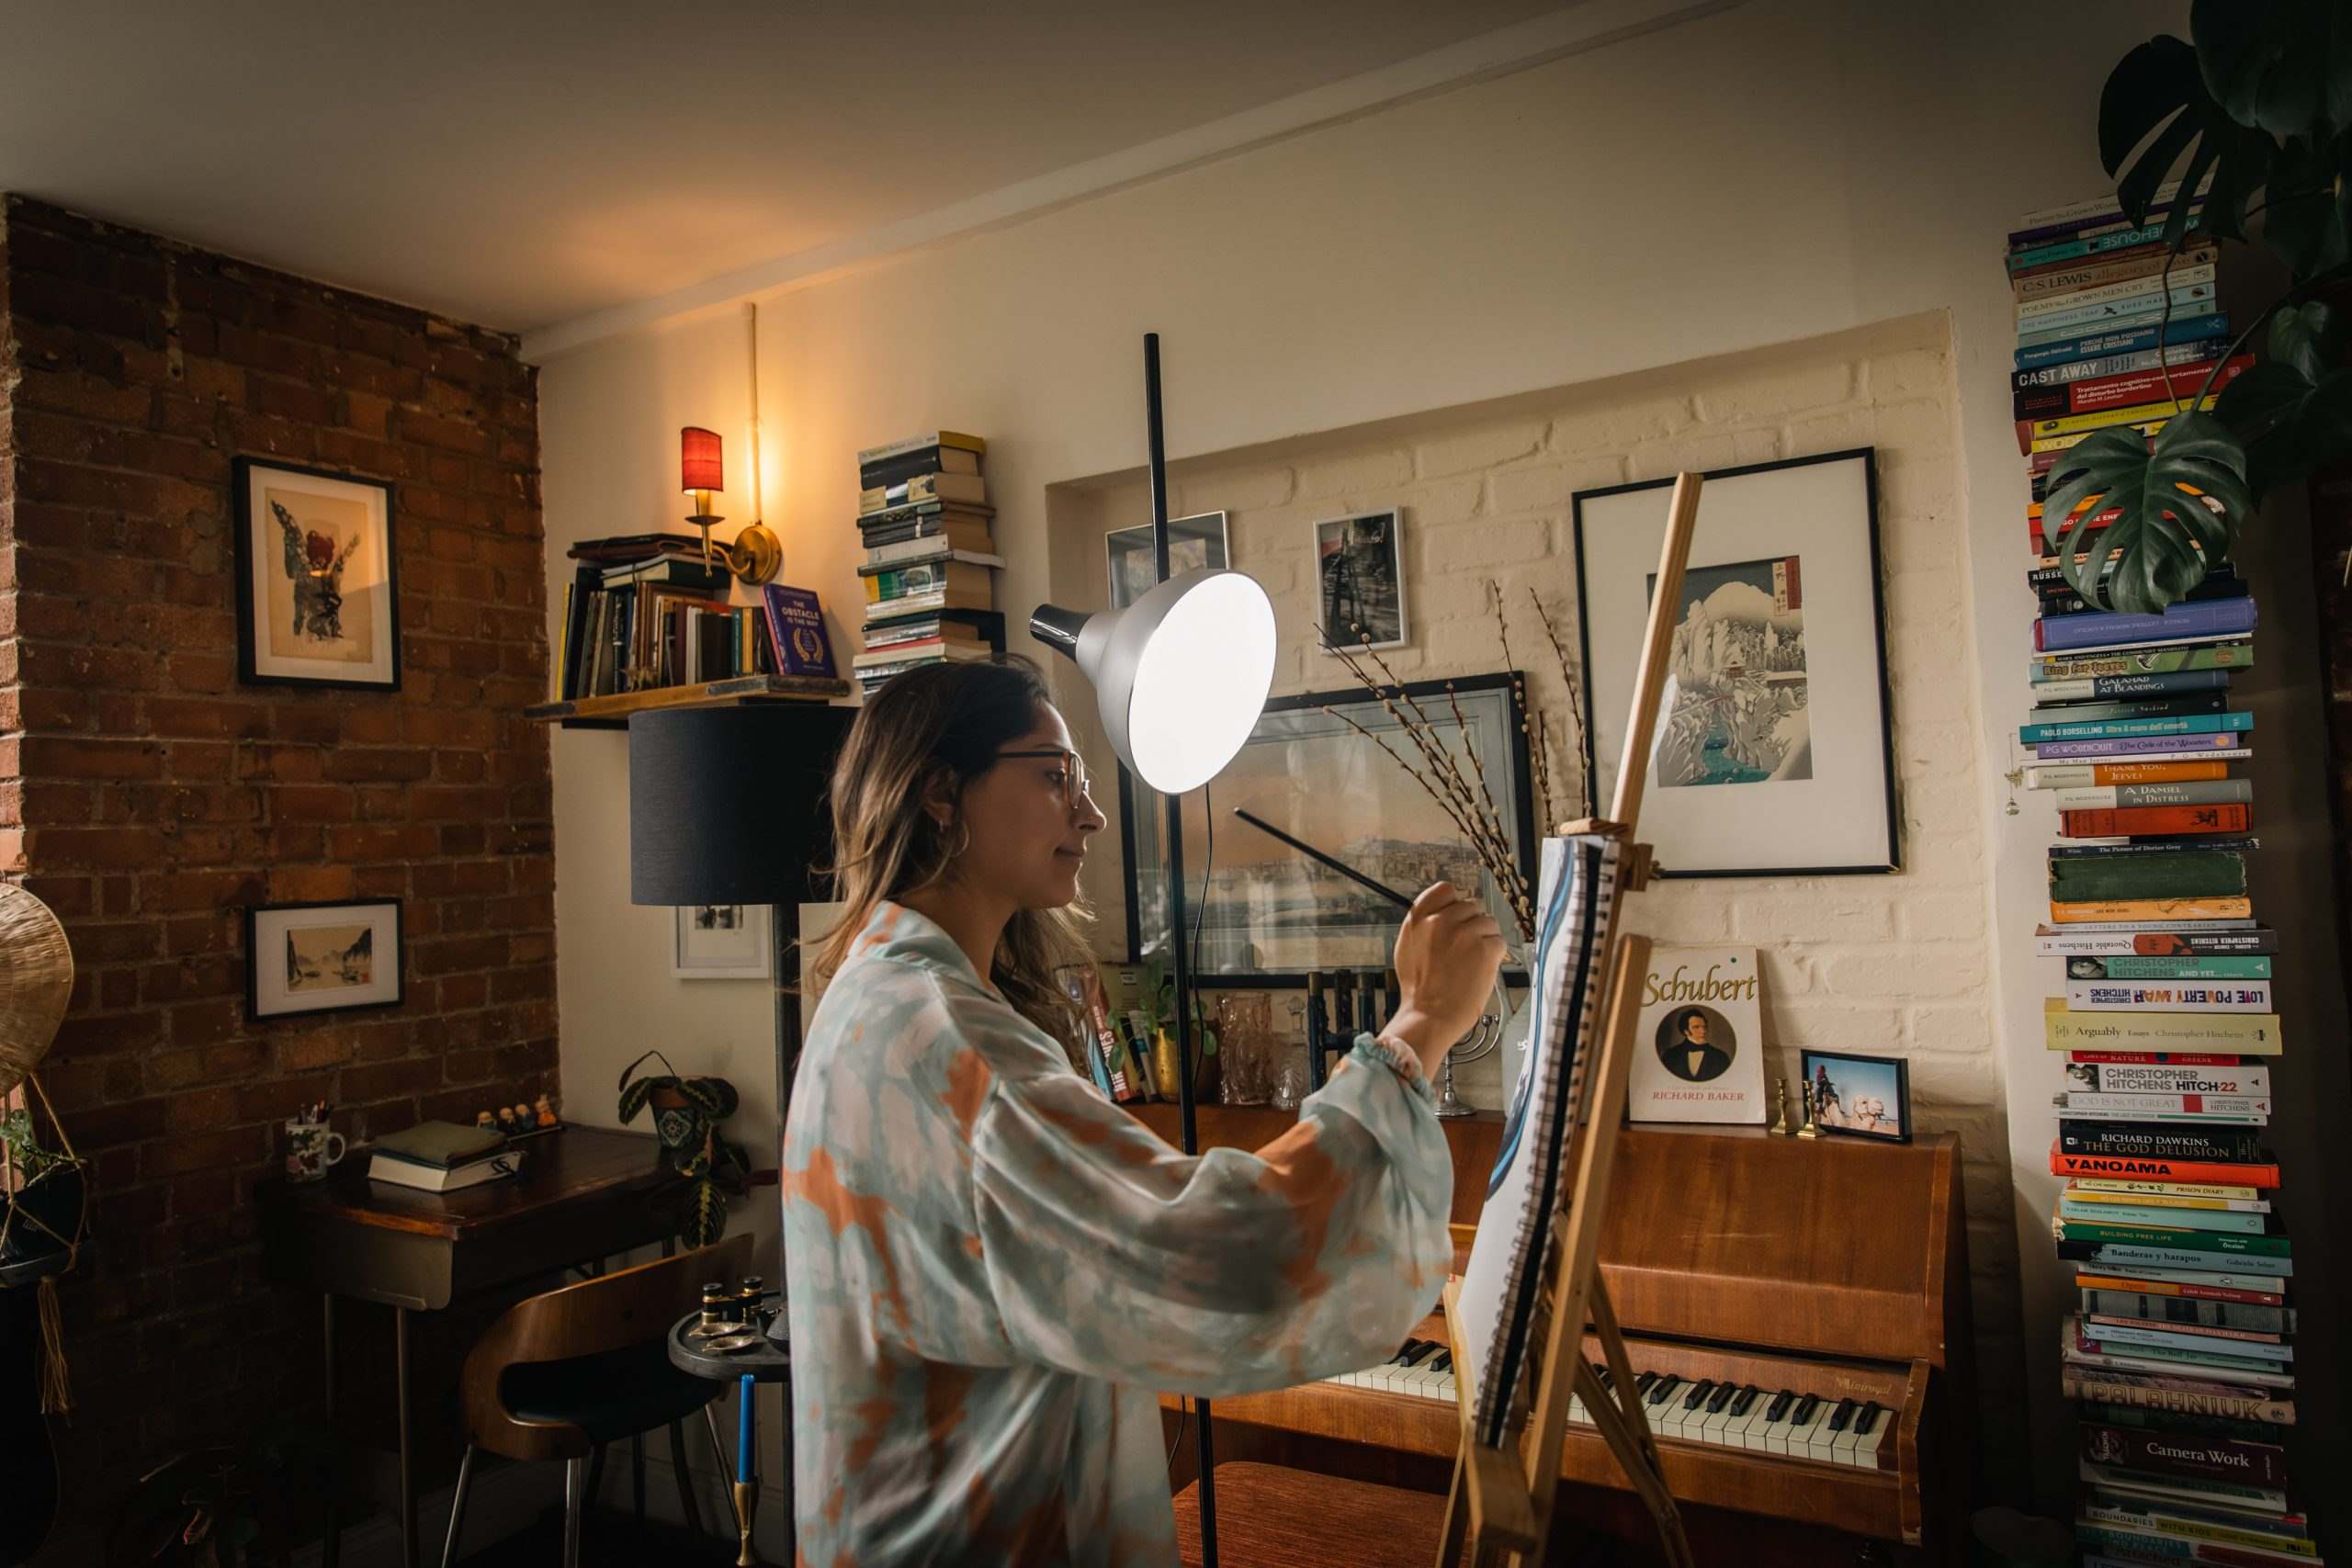
The angle of the light in relation to your painting is the first thing you should consider. Ideally, the main light source should be behind you at a 45-degree angle to the painting. This setup helps spread the light evenly over your painting, ensuring that half is not clearly lit while the other half is poorly lit. It also makes sure there is enough light on the painting and avoids glare, which is just light bouncing back at you.
If you are unable to move the light source, you can move your easel. You can even tilt your easel downward if needed. This flexibility is crucial for achieving optimal lighting conditions.
Intensity of the Light
Light brightness is measured in lumens. Having enough light intensity in your studio to see and work comfortably without straining your eyes is essential. The recommended light intensity for a medium-sized art studio is around 5,000 lumens. However, this can vary depending on personal preference and the specific tasks you are performing.
Temperature of the Light
The color temperature of light, measured in Kelvin (K), is another critical factor. Natural daylight has a color temperature of at least 5600K, while artificial lighting from household fixtures can range from 2700K to 3700K. Selecting lighting close to natural daylight is essential for accurate color representation in your artwork. A higher color temperature (e.g., 5600K) will give you a cooler light, while a lower color temperature (e.g., 2700K) will give you a warmer light.
Color Rendering Index (CRI)
The color rendering index (CRI) assesses a light source’s ability to accurately represent an object’s colors. Natural daylight has a CRI of 100, while artificial lighting can range from 80 to 98. Higher CRI is desirable for artists as it ensures accurate color representation. For instance, bulbs with a CRI of 80 to 100 are best at revealing vibrant, natural hues.
Artificial Versus Natural Light
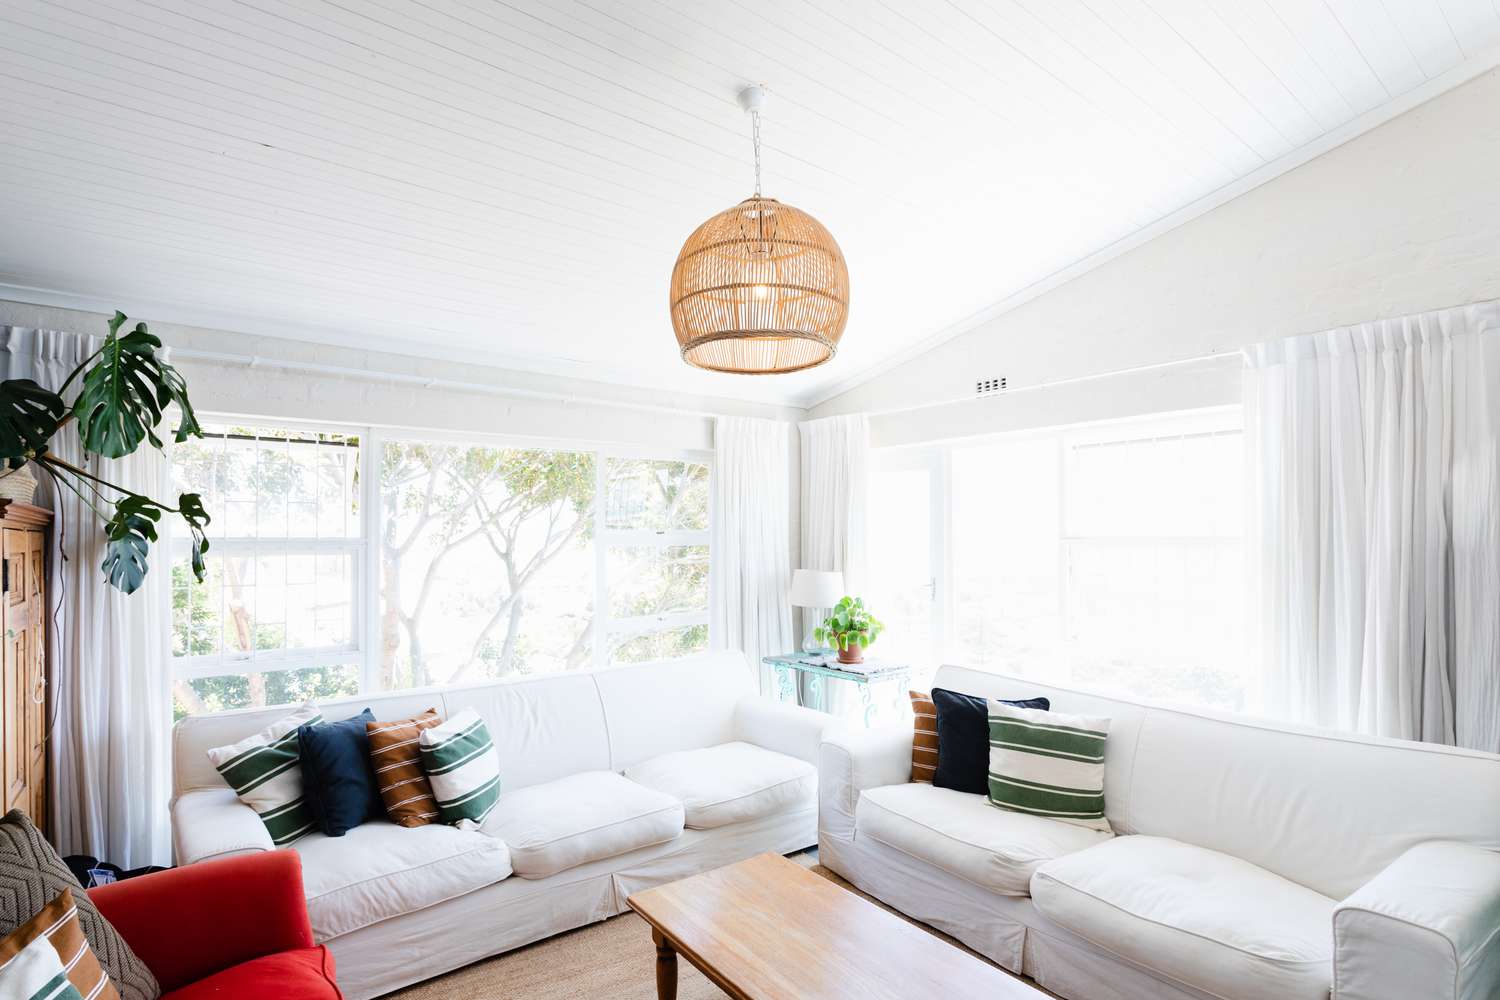
While natural light is often considered the best illumination to work under, it is not always feasible. Natural light can change throughout the day and season, making it unreliable for consistent work. However, if you are lucky enough to have a studio with natural light, consider using sheer curtains or diffusers to soften and evenly disperse the light.
For those without access to natural light or who need to work at night, artificial lighting becomes essential. When choosing artificial lighting, look for bulbs with high CRI and CCT numbers that mimic natural daylight as closely as possible. This will help ensure that your artwork looks vibrant and true to life.
Setting Up Your Studio
Once you have your lighting equipment, it’s time to set up your art studio. The first step is to establish the best location for your workspace, taking into account natural light and existing fixtures. Consider your budget and the size of your space to determine the ideal placements.
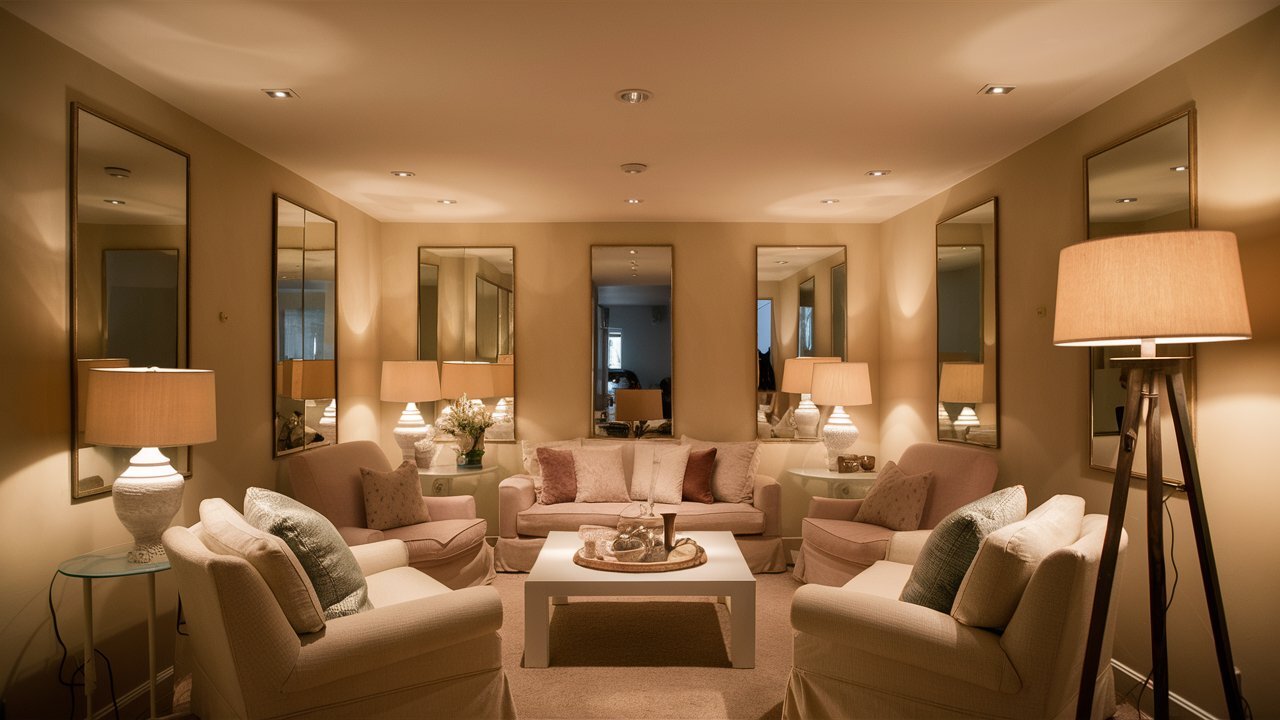
The goal is to achieve an even distribution of light throughout your studio while avoiding harsh shadows or glare on your artwork. Adjust the intensity and direction of lights as needed to find the perfect balance. For example, using mirrors to reflect light can create an illusion of a brighter and larger room, while using white foam boards or sheets can act as reflectors and bounce light onto your artwork.
Budget-Friendly Lighting Hacks
Setting up a studio or investing in professional lighting equipment can be expensive. However, there are several budget-friendly hacks to improve your art space:
- Use White Foam Boards or Sheets: These can act as reflectors and bounce light onto your artwork.
- Cover Old Lamps with Colored Gels: This creates different color effects.
- Utilize Natural Daylight: Use sheer curtains or diffusers to soften and evenly disperse the light.
- Use String or Fairy Lights: These add a warm, cozy atmosphere to your studio.
- Try Using Mirrors: Reflecting light creates an illusion of a brighter and larger room.
- DIY Your Own Lightbox: Use a clear plastic storage container and some LED lights for tracing or photographing small artworks.
- Replace Old Light Bulbs with Energy-Efficient Options: LED bulbs save money on electricity bills while providing ample light for your workspace.
Choosing the Right Lighting Equipment
When choosing the right lighting equipment for your art studio, consider the following factors:
- Type of Light: Different types of lights include incandescent, halogen, LED, fluorescent, and compact fluorescent lamp (CFL). Each type has its own characteristics and advantages.
- Watts vs Lumens: Watts measure how much power a light source uses, while lumens measure how much light is actually produced. When comparing intensity, use lumens rather than watts.
- Color Temperature: This is measured in Kelvin (K). Higher Kelvin values indicate cooler temperatures, while lower values indicate warmer temperatures.
- Color Rendering Index (CRI): A higher CRI ensures accurate color representation.
By understanding these factors and considering your specific needs, you can select the best lighting equipment for your studio.
Practical Tips for Setting Up Your Studio
- Prioritize Your Needs: Before shopping for lights, prioritize your own considerations. You might have to make some compromises where needed, but there are lots of options out there that will help you create a light, bright workspace for any working method or project.
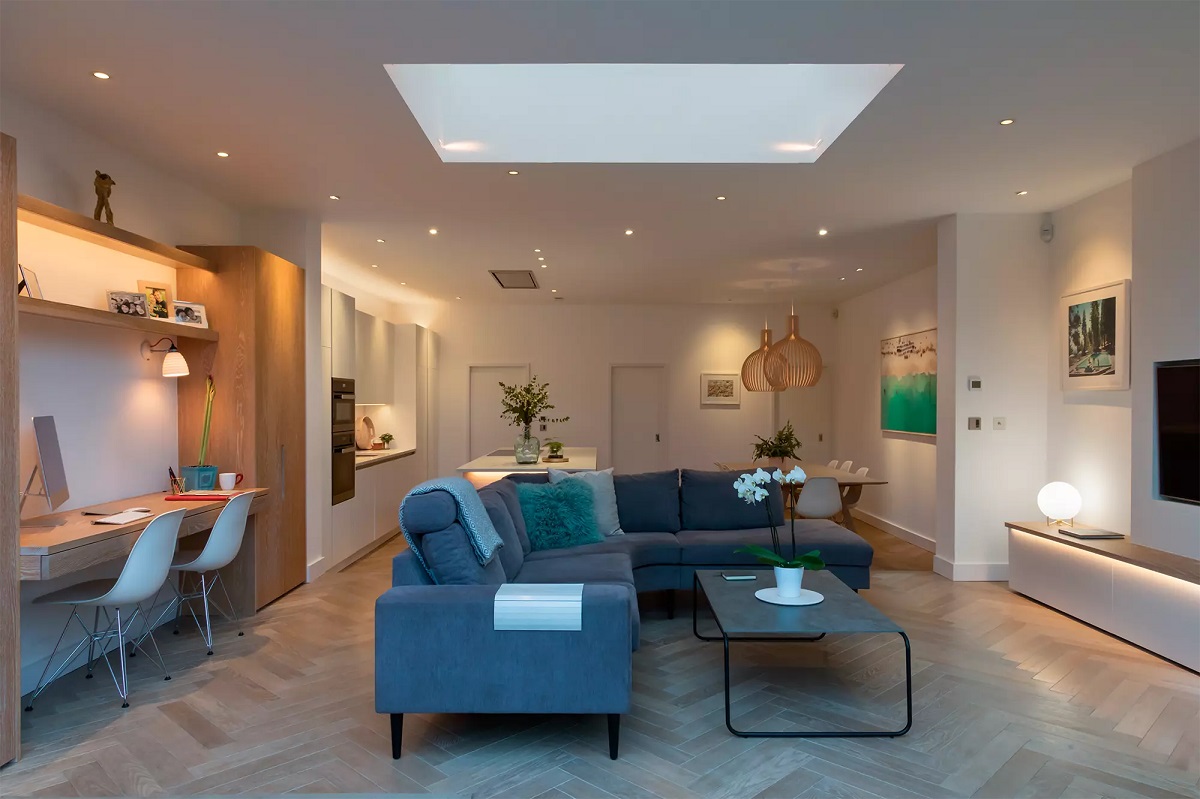
- Use Multiple Light Sources: Having multiple light sources can prevent eye strain and fatigue. Consider incorporating ambient lighting with a soft glow for breaks or when working on non-detailed tasks.
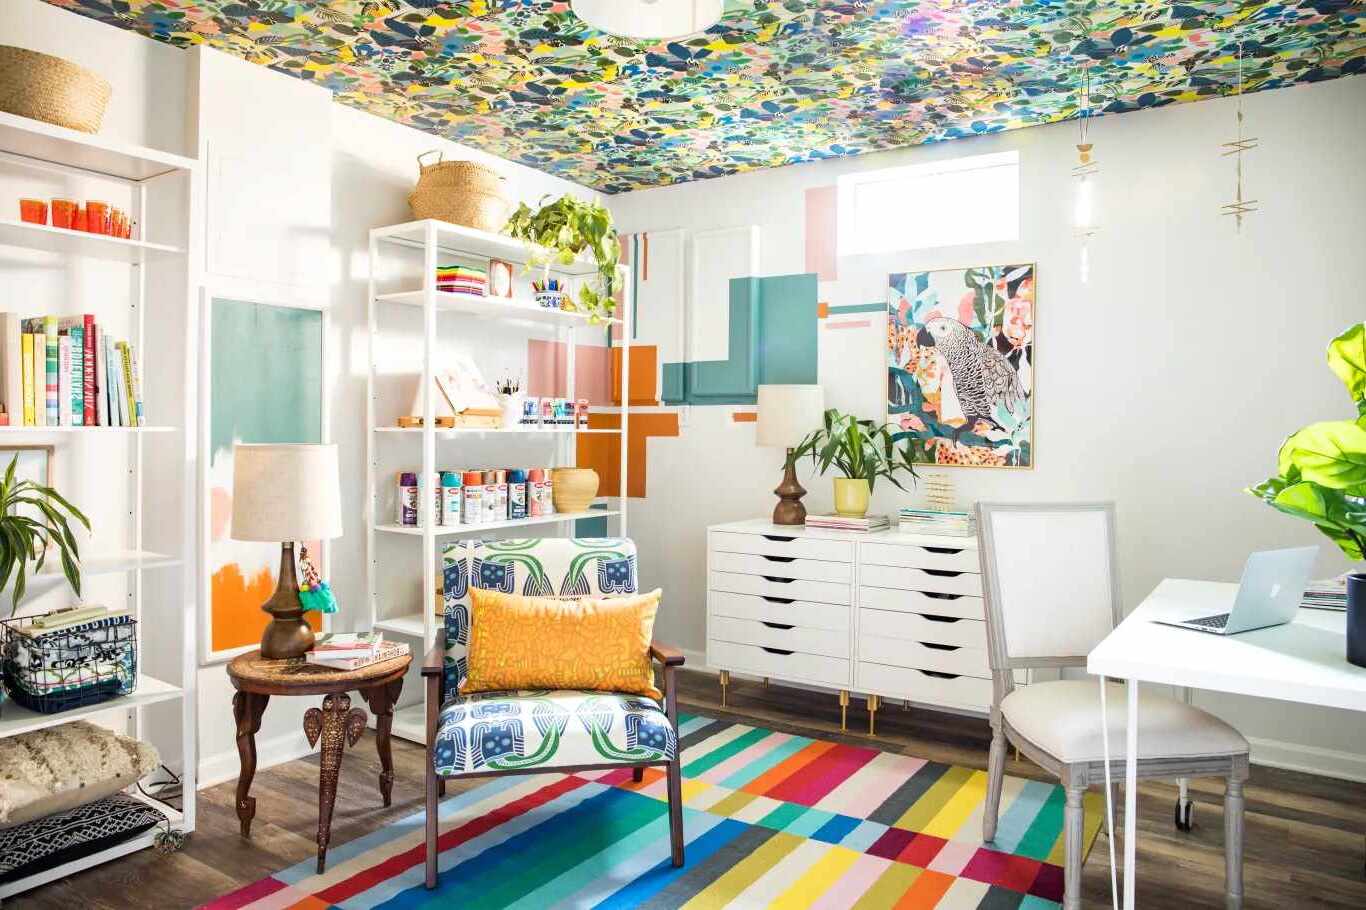
- Consider the Color of Your Walls and Surfaces: Light colors reflect more light, making them ideal for an art studio. Avoid dark colors, which can absorb too much light and create a dull working environment.
- Be Flexible with Your Setup: Be prepared to adjust your lighting setup as needed. This might involve moving your easel or adjusting the position of your light sources to achieve optimal lighting conditions.
Conclusion
Proper lighting is essential for creating high-quality artwork. By understanding the basics of studio lighting, including color temperature, CRI, intensity, and direction of light, you can set up an optimal working environment that enhances your creativity and accuracy. Whether you are working with natural light or artificial lighting, following these tips will help illuminate your creative space and ensure that your artwork looks vibrant and true to life.
Remember, while lighting is crucial for creating art, it should not limit your creativity. With the right knowledge and equipment, you can create beautiful artwork without breaking the bank. What matters most is your skill and passion for art.
By following these tips and understanding the importance of proper lighting in an art studio, you can transform your workspace into a haven where creativity flows freely. Whether you are an experienced artist or just starting out, the right lighting can make all the difference in the quality of your work. So take the time to set up your studio lighting correctly—it will be worth it in the end.
Was this page helpful?
At Storables.com, we guarantee accurate and reliable information. Our content, validated by Expert Board Contributors, is crafted following stringent Editorial Policies. We're committed to providing you with well-researched, expert-backed insights for all your informational needs.


0 thoughts on “Art Studio Lighting Tips to Illuminate Your Creative Space”