Articles
How To Light Up Wall Art
Modified: January 19, 2024
Discover the best techniques for lighting up your wall art with our comprehensive articles. Enhance the beauty and ambiance of your space with these illuminating tips.
(Many of the links in this article redirect to a specific reviewed product. Your purchase of these products through affiliate links helps to generate commission for Storables.com, at no extra cost. Learn more)
Introduction
Wall art is a powerful way to add personality, style, and character to any space. It serves as both a form of self-expression and a means of enhancing the aesthetic appeal of a room. Whether it’s a vibrant painting, a captivating photograph, or a unique sculpture, wall art has the ability to transform a plain wall into a focal point that demands attention.
However, simply hanging wall art on a blank wall is not enough to ensure it truly shines. The right lighting is crucial in highlighting the features, colors, and intricate details of the artwork. Properly lighting wall art can create a stunning visual impact, drawing focus to the piece and enhancing its overall effect on the space.
In this article, we will explore various types of wall art and delve into the different options for lighting them. We will discuss the importance of choosing the right lighting fixtures and positioning them strategically to achieve the desired effect. Additionally, we will cover installation tips and techniques for adjusting and perfecting the lighting to highlight the artwork’s finest details.
Whether you’re an art enthusiast or simply looking to enhance the ambiance of your living space, understanding how to properly light up wall art is essential. So, let’s dive into the world of wall art lighting and discover the techniques that will help you showcase your beloved masterpieces in the best possible light.
Key Takeaways:
- Proper lighting is essential to showcase the beauty of wall art, enhancing its impact and creating a captivating display that evokes emotions and adds sophistication to any space.
- Understanding the specific lighting needs of different types of wall art and taking the time to position, adjust, and perfect the lighting can transform artwork into a focal point that captures attention and inspires admiration.
Read more: How To Hang Up Wall Art
Types of Wall Art
When it comes to wall art, the possibilities are endless. From paintings and prints to photographs, tapestries, and sculptures, there is a wide variety of options available to suit every taste and style. Let’s explore some of the most popular types of wall art and how they can be effectively illuminated.
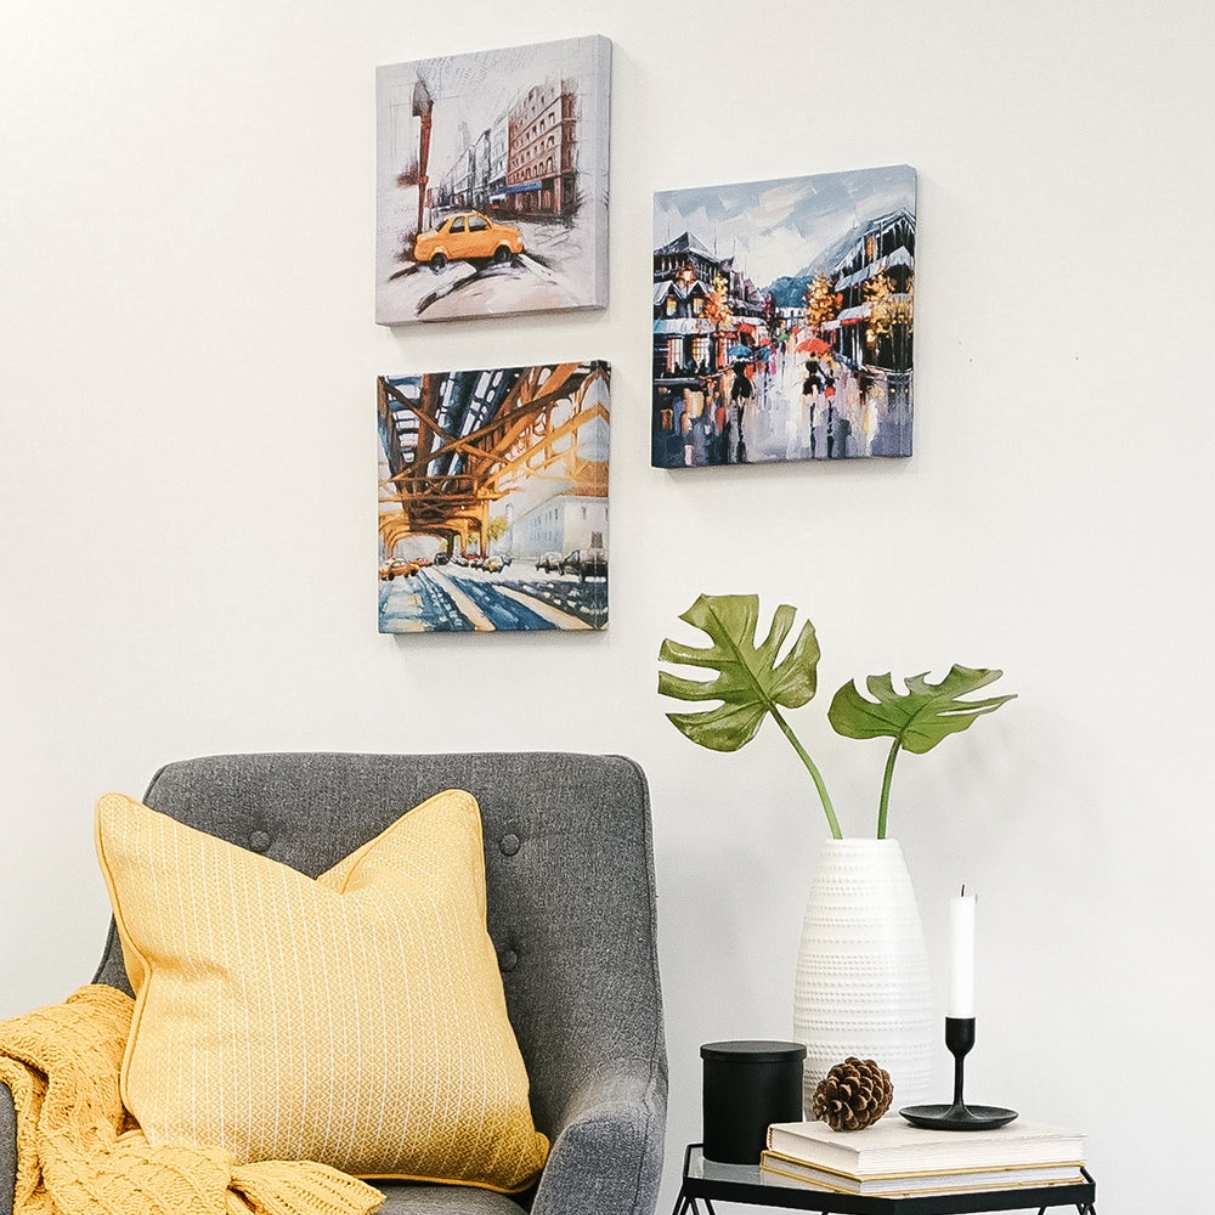
Paintings and Prints
Paintings and prints are perhaps the most traditional and iconic forms of wall art. Whether it’s an oil painting, watercolor, or a reproduction of a famous work, paintings and prints have the ability to create a visual impact and evoke emotions. When lighting paintings and prints, it’s important to choose fixtures with adjustable features to control the direction and intensity of light. This allows you to highlight specific areas of the artwork and accentuate its colors and brushwork.
Photographs
Photographs offer a unique way to capture special memories, stunning landscapes, or captivating moments. Lighting photographs correctly can enhance their depth, clarity, and visual impact. Adjustable track lighting or wall-mounted fixtures with adjustable heads are ideal for illuminating photographs. By focusing the light directly on the photograph, you can bring out the details, textures, and colors, creating a captivating display.
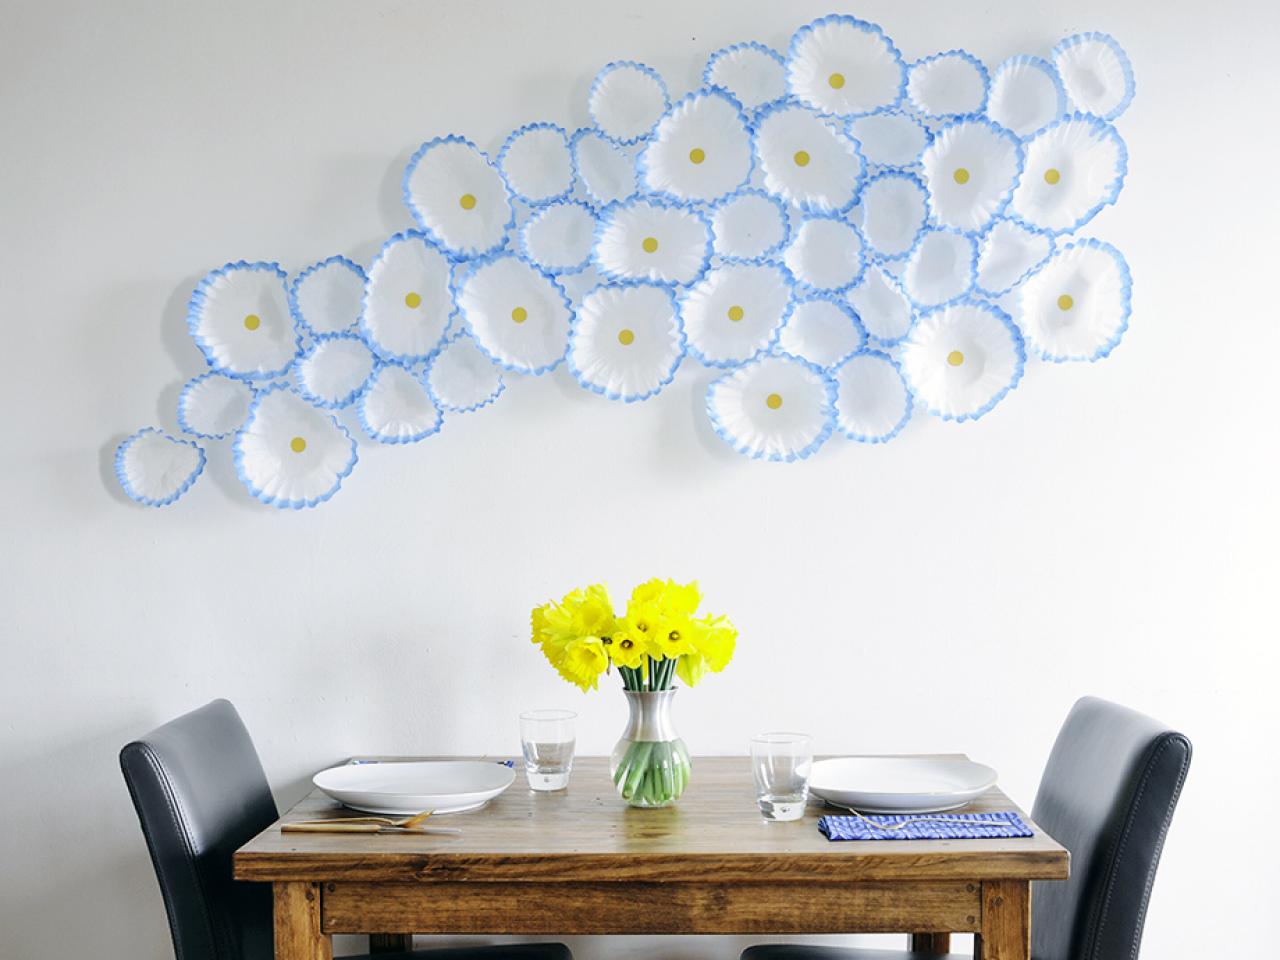
Tapestries and Textiles
Tapestries and textiles add a touch of texture and warmth to any space. Whether it’s a woven wall hanging or an intricately embroidered piece, these artworks deserve special attention. Choose lighting fixtures that provide even and gentle illumination to prevent shadows or glare. Soft, diffuse lighting helps bring out the intricate details and vibrant colors of these decorative textiles.
Read more: How To Blow Up Photos For Wall Art
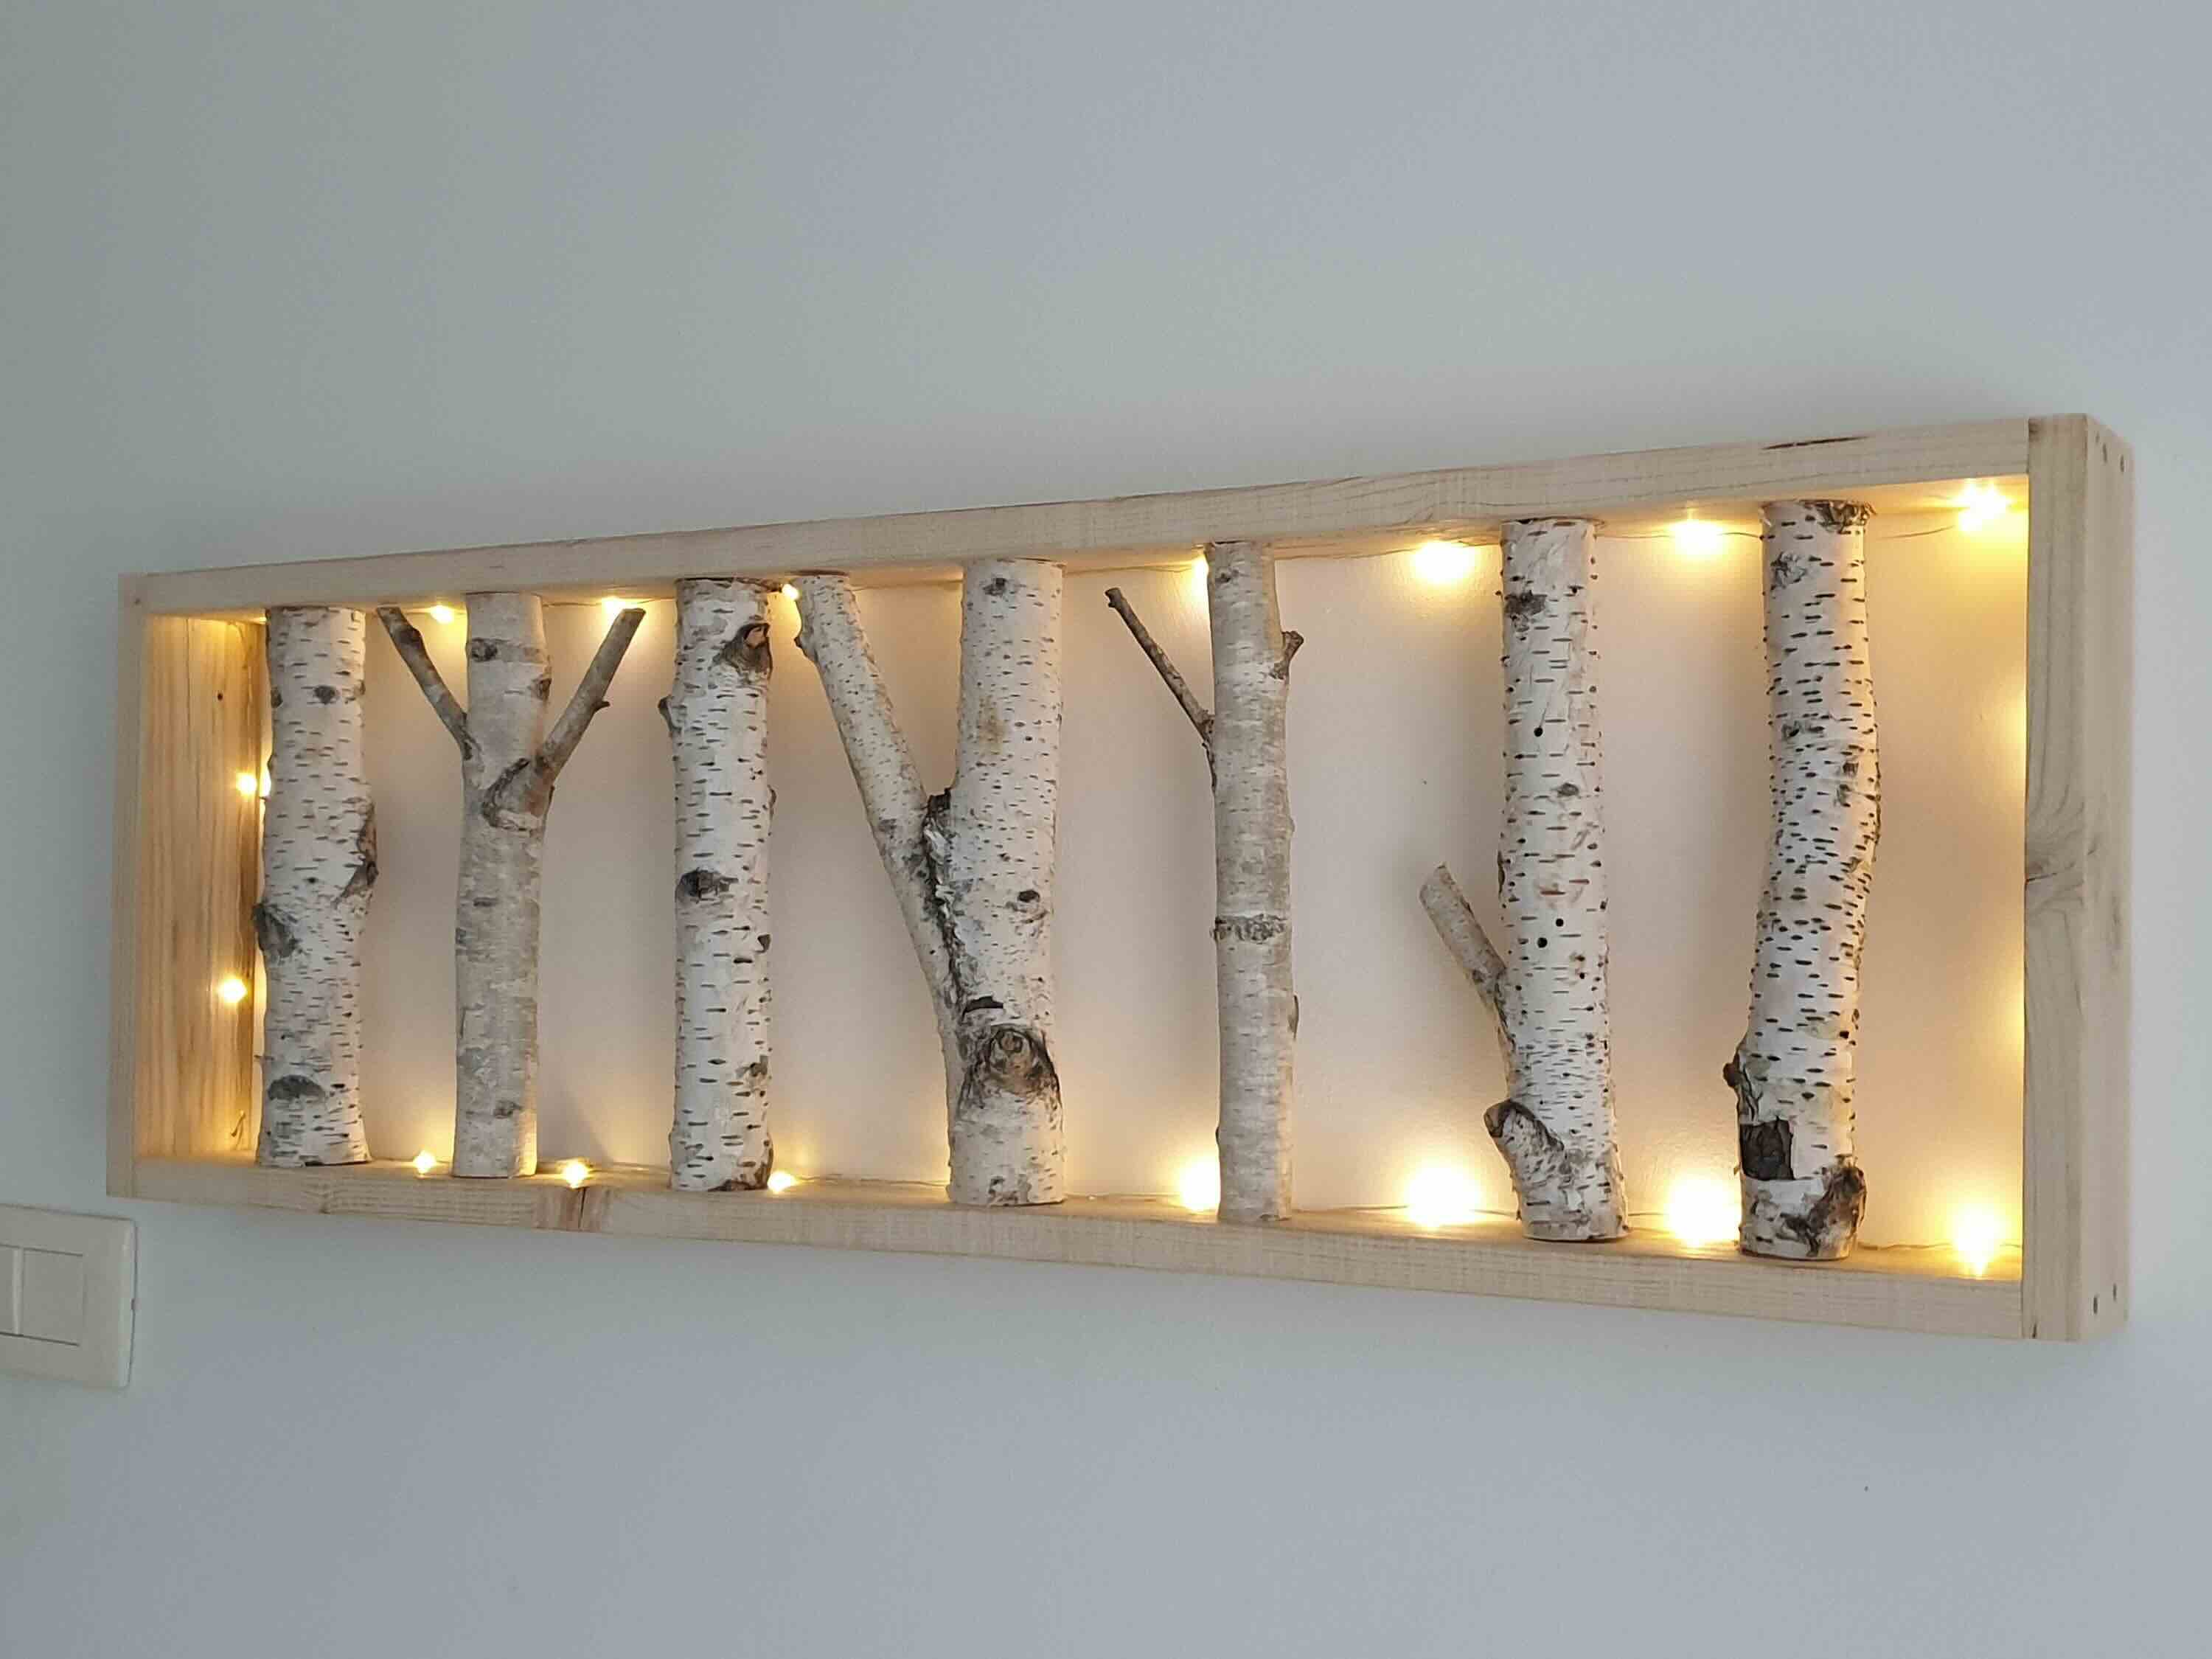
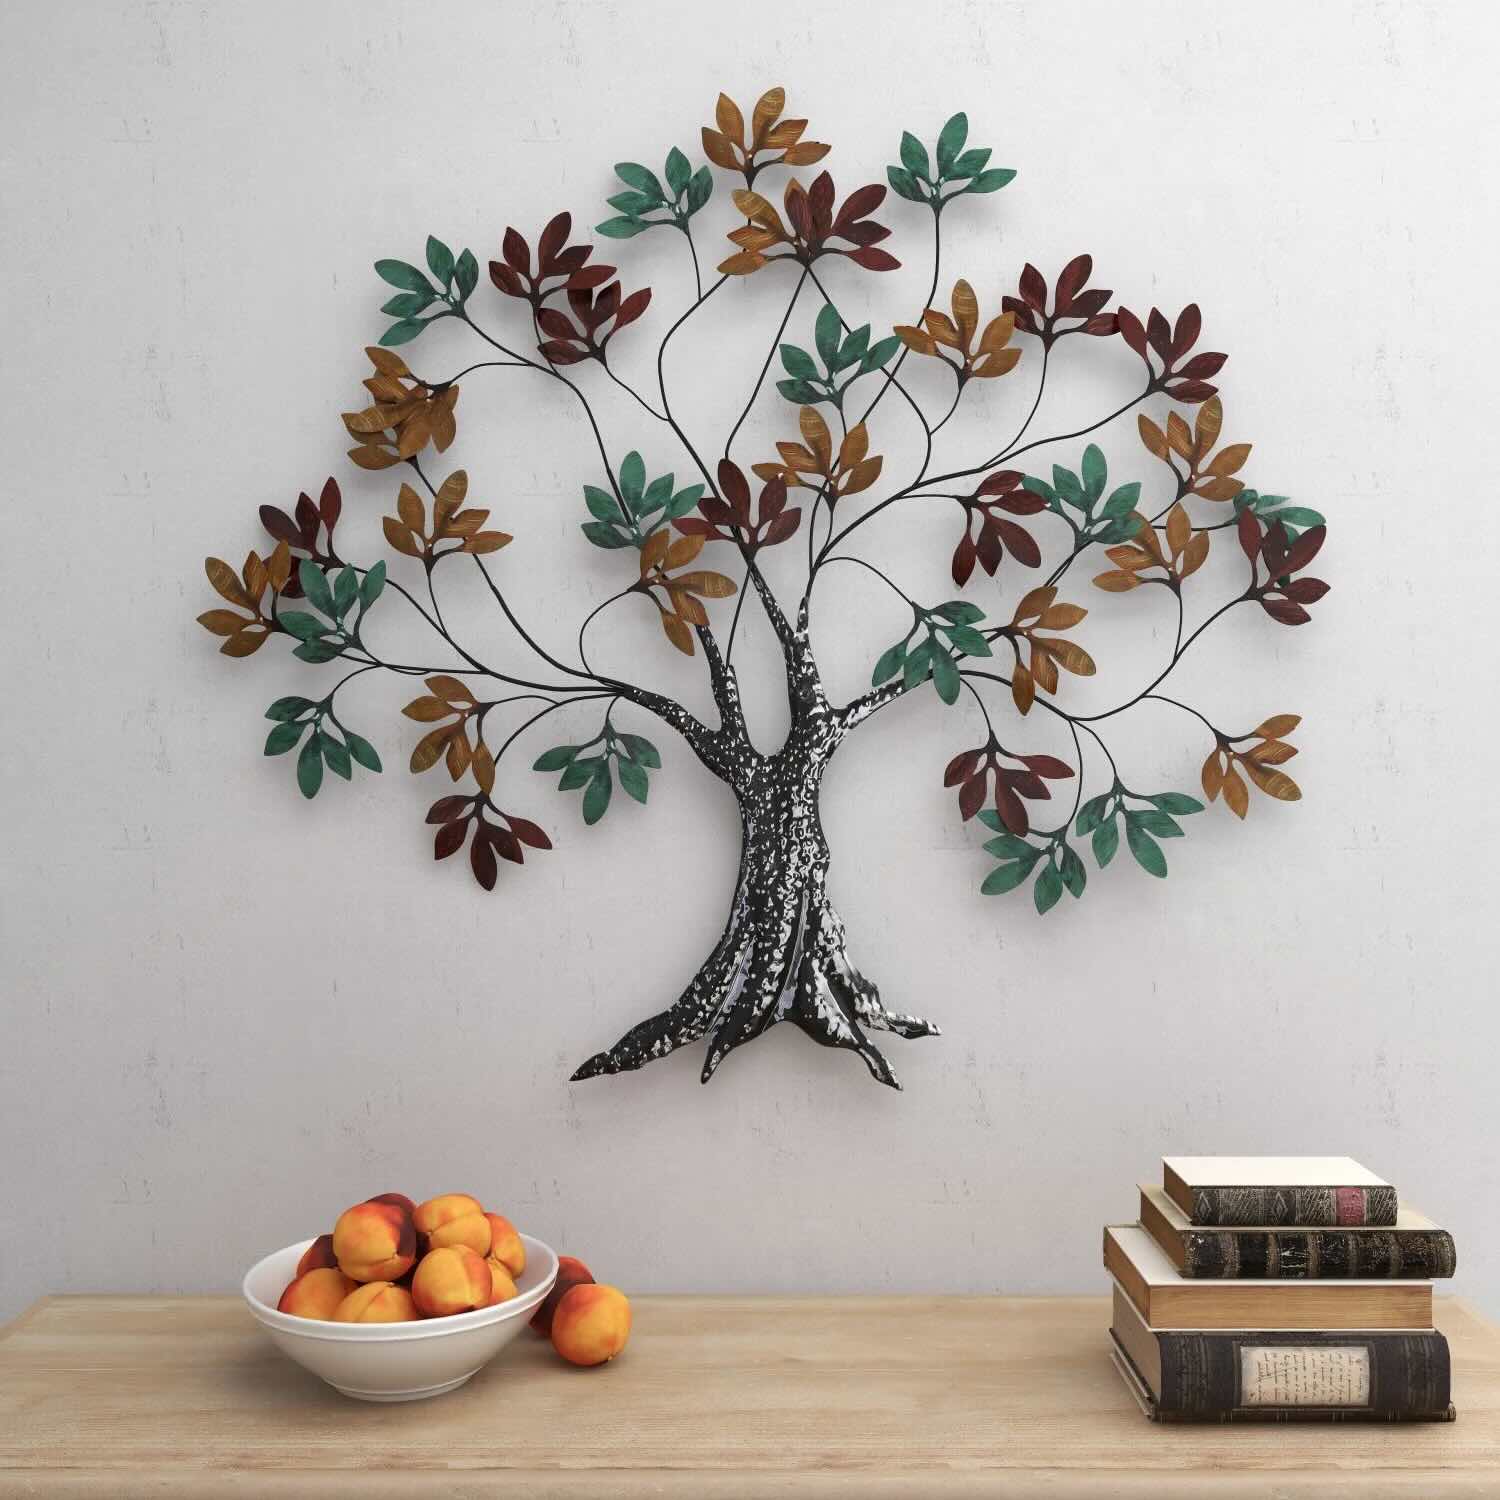
Sculptures and 3D Art
Sculptures and three-dimensional art pieces add a unique dimension to any wall. The right lighting can help bring these artworks to life, highlighting their shapes, contours, and textures. Consider using directional accent lighting to cast shadows and create dramatic effects. This can add depth and create intriguing patterns on the wall, enhancing the overall visual impact of the sculpture.
These are just a few examples of the various types of wall art that can be found. Each type requires different lighting techniques to truly elevate its beauty. By understanding the characteristics of each art form, you can make informed decisions when it comes to choosing the lighting that will best enhance its features. Now that we have explored the types of wall art, let’s move on to understanding the importance of selecting the right lighting for your artwork.
Choosing the Right Lighting for Wall Art
Selecting the right lighting for your wall art is essential in showcasing its beauty and maximizing its impact. The lighting you choose should complement the artwork while providing adequate illumination. Here are some key factors to consider when selecting the right lighting for your wall art.
1. Light Type
There are various types of lighting to choose from, including natural light, incandescent bulbs, halogen bulbs, fluorescent lights, and LED lights. Each type has its own qualities and effects on the artwork. Natural light can provide a soft and even illumination, but it may be inconsistent throughout the day. LED lights are energy-efficient and emit little to no heat, making them an excellent choice for preserving the integrity of your artwork.
2. Color Temperature
Color temperature refers to the warmth or coolness of the light. It is measured in Kelvin (K). For wall art, a color temperature between 2700K and 3500K is recommended. This range provides a warm, inviting glow that enhances the colors of the artwork without distorting them.
Read more: How To Arrange Wall Art
3. Light Intensity
The intensity of light is an important factor to consider when choosing lighting for your wall art. It should be bright enough to illuminate the artwork effectively without creating harsh glares or shadows. Adjustable lighting fixtures allow you to control the intensity and direct the light precisely where it is needed.
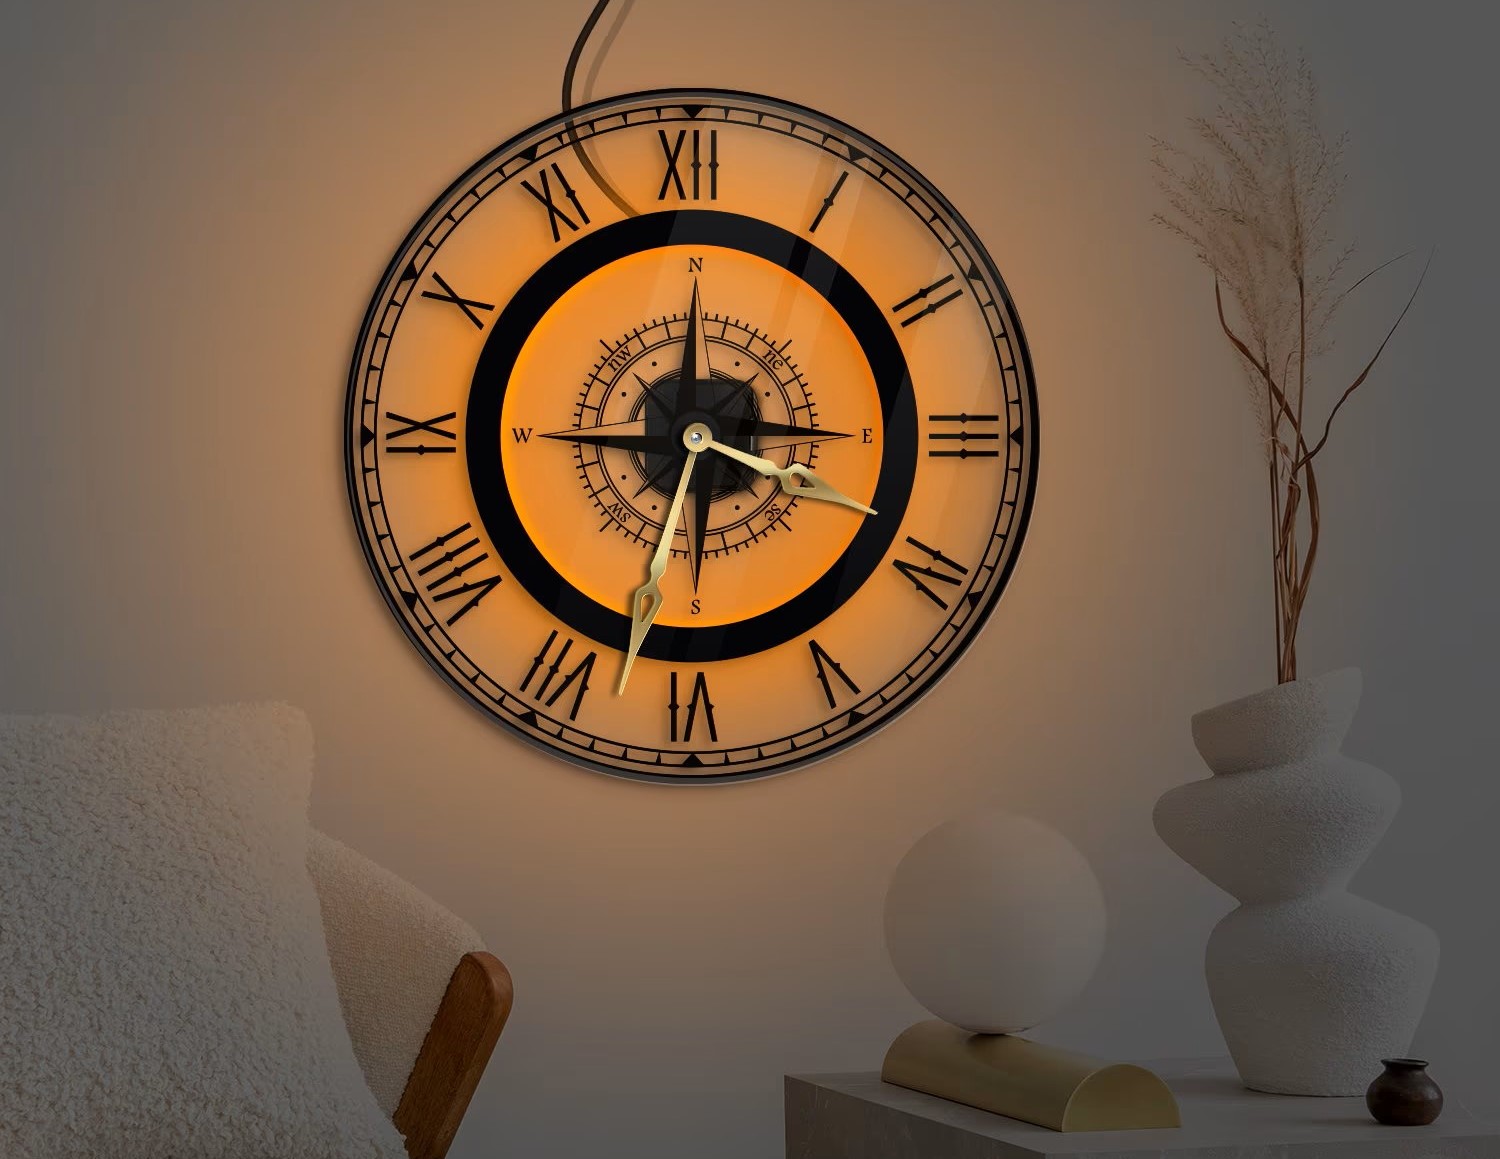
4. Lighting Fixtures
The type of lighting fixture you choose can greatly impact the overall look and feel of your wall art. Track lighting, picture lights, and recessed spotlights are popular choices. Picture lights are placed directly above the artwork, providing focused illumination, while recessed spotlights can be angled to highlight specific areas of the piece. Consider the size and style of your wall art when selecting the appropriate lighting fixture.
5. Power Source and Wiring
If you are installing new lighting fixtures, it’s important to consider the power source and the required wiring. Consider whether you want a hardwired installation or prefer wireless options. Ensure that the available power source is suitable for the lighting fixtures you choose.
By taking these factors into account, you can choose the right lighting that will enhance the colors, texture, and overall impact of your wall art. Lighting plays a vital role in bringing out the beauty of your artwork and ensuring that it becomes a focal point in your space. In the next section, we will explore the importance of positioning the lights correctly for optimal effect.
Positioning the Lights
Proper positioning of the lights is crucial in highlighting the artwork and creating a visually appealing display. The positioning will depend on the size, shape, and orientation of the artwork. Here are some tips to help you position the lights effectively.
Read more: How To Make Plaster Wall Art
1. Centered Placement
For a single artwork or a group of artworks arranged in a symmetrical pattern, centering the lights is a good starting point. Place the lights above the artwork and ensure they are evenly spaced, keeping the focus on the center of the piece.
2. Off-Center Placement
For asymmetrical arrangements or larger artworks, consider positioning the lights slightly off-center to create visual interest. This technique can add dimension and depth to the artwork while enhancing its overall impact.
3. Angled Placement
Experiment with different angles when positioning the lights. Angling the lights can create shadows and highlights, adding depth and creating a dramatic effect. Adjust the angle of the lights to bring out different aspects of the artwork and emphasize its textures and contours.
4. Distance from the Wall
Consider the distance between the artwork and the wall when positioning the lights. For artworks with a lot of texture or depth, you may need to position the lights further away to cast shadows and enhance their three-dimensional qualities. For flat artworks, placing the lights closer to the wall can help illuminate them evenly.
Read more: How To Choose Wall Art For Home
5. Avoiding Glare and Shadows
When positioning the lights, be mindful of glare and shadows. Glare can distract from the artwork and make it difficult to appreciate the details. Position the lights in a way that minimizes glare and ensures that the artwork is evenly lit. Test different angles and adjust the lights as needed to eliminate unwanted shadows.
Experiment with different positioning techniques to find the arrangement that best enhances the aesthetics of your wall art. Remember that the goal is to create a visually pleasing and balanced display that draws attention to the artwork without overpowering it. In the next section, we will discuss the installation process for the lighting fixtures.
Installing the Lighting Fixtures
Once you have determined the optimal positioning for your lighting fixtures, it’s time to proceed with their installation. While the process may vary depending on the type of fixture and the specific requirements of your space, here are some general steps to help you install your lighting fixtures for wall art.
1. Gather the Necessary Tools
Before you begin, gather all the necessary tools and equipment for the installation. These may include a drill, screws, screwdriver, measuring tape, wire strippers, and a ladder or step stool.
2. Mark the Placement of the Fixtures
Use a measuring tape or a level to mark the exact placement of the lighting fixtures on the wall. This will help ensure that they are evenly spaced and aligned.
Read more: How To Turn A Puzzle Into Wall Art
3. Prepare the Wiring
If your lighting fixtures require wiring, make sure the power is turned off before you proceed. Carefully follow the manufacturer’s instructions for wiring the fixtures. If you are unsure or uncomfortable with electrical work, it may be best to consult a professional electrician.
4. Secure the Fixtures
Using a drill and screws, secure the lighting fixtures in place according to the marked positions. Make sure they are tightly fastened and stable.
5. Connect the Wiring
If your lighting fixtures require wiring, carefully connect the wires according to the manufacturer’s instructions. Use wire connectors or wire nuts to secure the connections. Double-check that all connections are secure before proceeding.
6. Test the Lights
After the installation is complete, turn on the power and test the lights. Ensure that they are functioning properly and illuminating the artwork as desired. Make any necessary adjustments to the positioning or angle of the lights if required.
Read more: How To Frame Large Wall Art
7. Conceal the Wiring (if applicable)
If you have exposed wiring, you may want to consider concealing it for a cleaner and more polished look. This can be done using wire covers or by routing the wiring through the wall.
Remember to follow all safety guidelines and instructions provided by the manufacturer throughout the installation process. It’s important to ensure that your lighting fixtures are installed correctly to prevent any hazards or issues. In the next section, we will discuss how to adjust and perfect the lighting to create the desired impact on your wall art.
Adjusting and Perfecting the Lighting
After installing the lighting fixtures for your wall art, it’s time to refine the lighting to achieve the desired effect. Here are some tips to help you adjust and perfect the lighting for your artwork.
1. Test Different Angles and Positions
Experiment with different angles and positions of the lights to find the best configuration. Move the lights closer or further away from the artwork, tilt them up or down, or shift them left or right to see how it impacts the illumination. Take the time to observe the artwork from various viewpoints to ensure that the lighting enhances its overall appearance.
2. Light Intensity and Direction
Adjust the intensity of the lighting to create the desired ambiance. Increase the intensity to add drama and make the artwork stand out in a bold way, or lower the intensity for a softer, more subtle effect. Additionally, consider the direction of the light. Experiment with casting shadows or illuminating specific areas to create depth and enhance the texture of the artwork.
Read more: How To Mount Ceramic Wall Art
3. Dimmer Controls
Consider installing dimmer controls for your lighting fixtures. Dimmers allow you to adjust the brightness of the lights to create different moods and atmospheres. This provides flexibility in illuminating your wall art and allows you to tailor the lighting to suit different occasions and preferences.
4. Color Rendering
Pay attention to how the lighting affects the colors of your wall art. Different light sources can alter the perception of color. Ensure that the lighting accurately renders the colors of the artwork, allowing it to be seen in its true form.
5. Maintenance and Cleaning
Regularly clean your lighting fixtures to remove dust and dirt that may accumulate over time. This ensures that the lights remain bright and clear, maximizing their effect on the wall art. Additionally, check the bulbs regularly and replace any that have burned out to maintain consistent illumination.
By adjusting and perfecting the lighting for your wall art, you can create a stunning display that captivates the viewer and enhances the overall ambiance of the space. Take the time to fine-tune the lighting to bring out the best features of your artwork. In the next section, we will conclude our journey into the world of lighting for wall art.
Conclusion
In conclusion, proper lighting can make a significant difference in how your wall art is perceived. By choosing the right lighting fixtures, positioning them strategically, and adjusting them to perfection, you can create a captivating and visually appealing display that showcases the beauty of your artwork.
It is important to consider the type of wall art you have and select lighting fixtures that complement its characteristics. Whether you have paintings, prints, photographs, tapestries, or sculptures, each type requires a unique approach to lighting. By understanding the specific needs of your wall art, you can choose the appropriate lighting fixtures and techniques that will enhance its features and evoke an emotional response.
When installing the lighting fixtures, be sure to follow the proper procedures and consider the power source and wiring requirements. Take the time to position the lights correctly, considering factors such as centered or off-center placement, angles, and distance from the wall. Make adjustments as necessary to eliminate glare and shadows, ensuring that the artwork is illuminated evenly and beautifully.
Remember, the journey doesn’t end with installation. Take the opportunity to adjust and perfect the lighting to achieve the desired effect. Test different angles, light intensities, and directions, and consider using dimmer controls for added flexibility. Regular maintenance and cleaning of the lighting fixtures will ensure they remain in optimal condition, preserving the impact of your wall art.
In the end, lighting up your wall art is more than just a technical task; it’s a form of art in itself. It requires careful consideration, experimentation, and attention to detail. When done right, the proper lighting can transform your wall art into a focal point that captures attention, evokes emotions, and adds a touch of sophistication to your space.
So, whether you are a passionate art collector, a proud homeowner, or simply someone who appreciates the beauty of wall art, take the time to light it up and let it shine. Your artwork deserves to be showcased in the best possible light, and by implementing the tips and techniques discussed in this article, you can create a stunning display that truly captivates and inspires.
Frequently Asked Questions about How To Light Up Wall Art
Was this page helpful?
At Storables.com, we guarantee accurate and reliable information. Our content, validated by Expert Board Contributors, is crafted following stringent Editorial Policies. We're committed to providing you with well-researched, expert-backed insights for all your informational needs.


0 thoughts on “How To Light Up Wall Art”