Home>Ideas and Tips>Backyard Drip Irrigation System DIY Water-Saving Garden Tech

Ideas and Tips
Backyard Drip Irrigation System DIY Water-Saving Garden Tech
Published: September 4, 2024
Save water and boost plant health with a DIY backyard drip irrigation system. Learn step-by-step installation and benefits in our comprehensive guide.
(Many of the links in this article redirect to a specific reviewed product. Your purchase of these products through affiliate links helps to generate commission for Storables.com, at no extra cost. Learn more)
Introduction
In today's world, where water conservation is increasingly important, a backyard drip irrigation system is an excellent DIY project for any gardener. These systems not only save time and effort but also ensure that your plants receive the right amount of water, reducing waste and the risk of overwatering. In this article, we will guide you through the process of installing a drip irrigation system in your backyard, highlighting the benefits, materials needed, and step-by-step installation instructions.
Benefits of Drip Irrigation
Drip irrigation systems have become a popular choice among gardeners due to their numerous benefits. Here are some of the key advantages:
- Water Conservation: Drip irrigation delivers water directly to the roots of plants, reducing evaporation and runoff. This method ensures that the water is used efficiently, saving you money on your water bill.
- Reduced Water Waste: Unlike traditional sprinkler systems, drip irrigation systems do not spray water into the air, reducing the amount of water lost to evaporation and runoff.
- Improved Plant Health: By providing plants with the right amount of water at their roots, drip irrigation systems help prevent fungal diseases and promote healthy plant growth.
- Increased Efficiency: These systems allow you to customize the watering schedule based on your plants' specific needs, ensuring that each plant receives the right amount of water.
- Ease of Installation: Drip irrigation systems are relatively easy to install, requiring minimal tools and materials. They can be set up in various configurations to suit different garden layouts.
Materials Needed
To install a drip irrigation system, you will need the following materials:
- Poly Tubing: This is the main tubing that connects to your water source and distributes water throughout your garden. Common sizes include 1/2-inch and 1/4-inch polyethylene tubing.
- Adapter: An adapter is used to connect the poly tubing to your water source, such as a hose bib or outdoor faucet.
- Backflow Preventer: This device prevents dirty garden water from flowing back into your household water lines, ensuring a safe and clean water supply.
- Barbed Fittings: These fittings connect the poly tubing to the emitters or sprinklers, ensuring a secure and leak-free connection.
- Filter: A filter traps particles that could clog the emitters, ensuring that the water flows smoothly and efficiently.
- Pressure Regulator: This component regulates the water pressure to ensure that it is within the optimal range for your drip irrigation system (typically between 10 to 30 psi).
- Small Stakes: These stakes are used to secure the tubing in place, preventing it from being damaged or disturbed.
- Watering Devices (Emitters/Sprinklers): These devices distribute the water to the plants. Emitters are small nozzles that release water slowly into the soil, while sprinklers provide a broader coverage area.
- Timer (Optional): A timer allows you to automate the watering schedule, ensuring that your plants receive water at the right times.
Overview of the Drip System
A drip irrigation system is a network of plastic tubing and low-volume drippers or sprinklers that deliver water directly to the root zones of plants. This method of irrigation takes the hassle out of watering by providing a consistent and efficient way to deliver water to your plants.
Planning Your Drip Irrigation System
Before you start installing your drip irrigation system, it's essential to plan it carefully. Here are some steps to help you plan your system:
- Measure Your Garden: Measure the area of your garden to determine how much tubing and emitters you will need.
- Choose Watering Devices: Select the type and flow rate of the watering devices based on your soil type and the plants' water needs.
- Determine Tubing Route: Draw a simple sketch of your garden and mark the tubing route to connect the emitters or sprinklers.
- Start Small: If this is your first venture into micro irrigation, start small and experiment to get a feel for how the system works.
- Customize Your System: Add a few extra emitters or sprinklers to your system so that you can adjust it as needed.
Step-by-Step Installation Instructions
Step 1: Prepare Your Materials
Before you begin installing your drip irrigation system, make sure you have all the necessary materials. Lay out all the components on a flat surface to ensure that you have everything you need.
Step 2: Connect to Water Source
Connect the poly tubing to your water source using an adapter. If you are using a hose bib, you can attach a hose splitter or four-way manifold to handle multiple attachments.
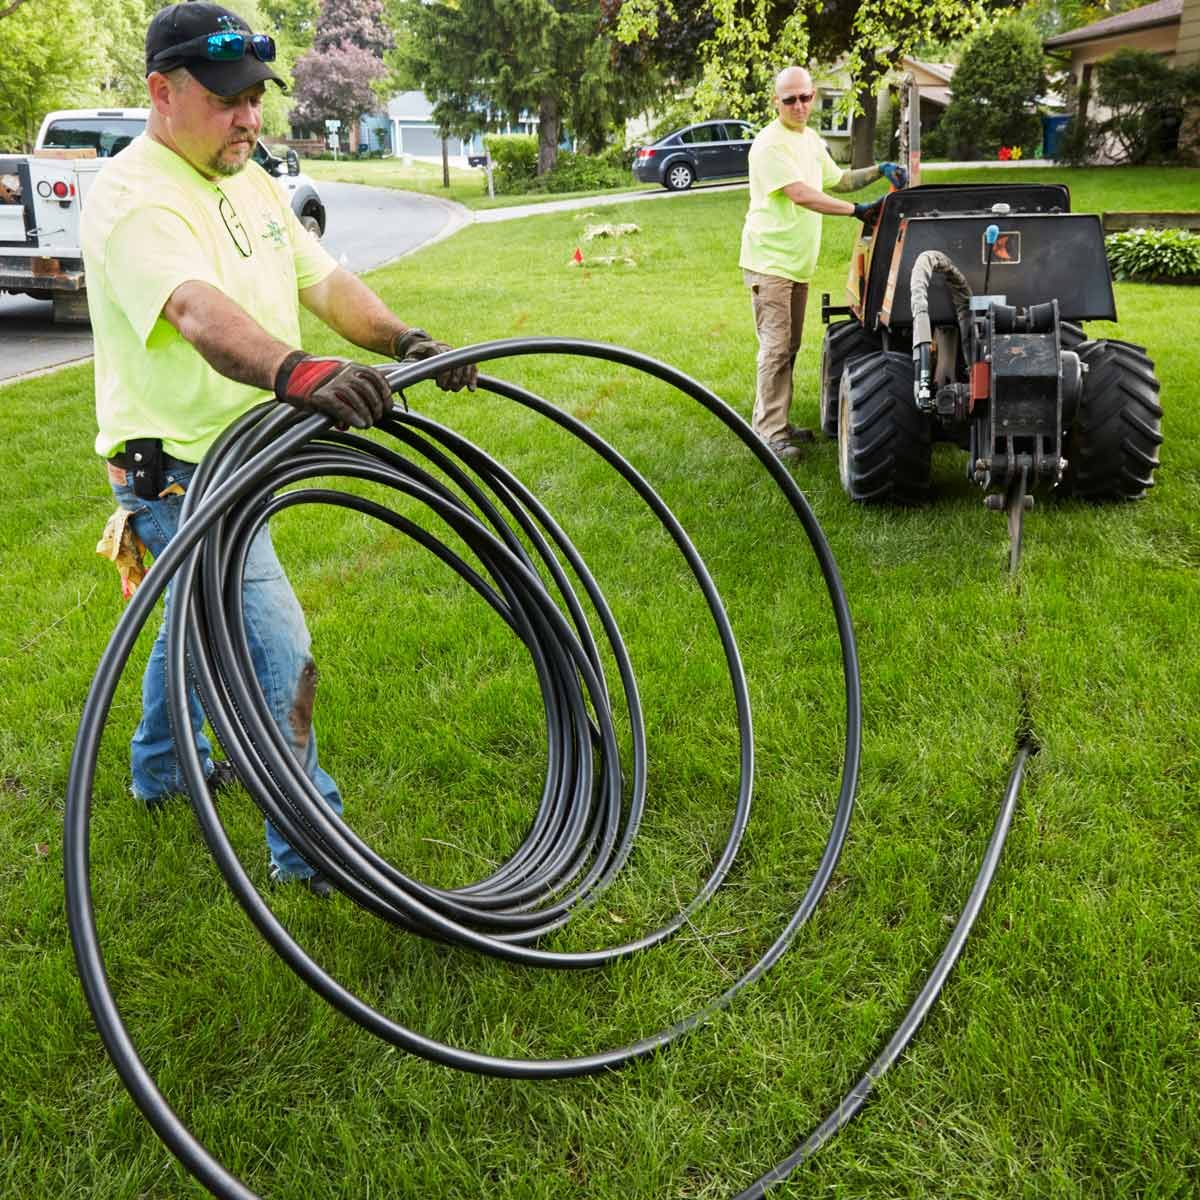
Step 3: Lay Out Tubing
Lay out the poly tubing along the edge of your garden bed or lawn. Use small stakes to secure the tubing in place, ensuring that it does not get damaged or disturbed.
Step 4: Connect Emitters/Sprinklers
Connect the barbed fittings to the emitters or sprinklers and attach them to the poly tubing. Make sure that the emitters are spaced evenly and that they are not clogged with debris.
Step 5: Add Filter and Pressure Regulator
Add a filter to trap particles that could clog the emitters and a pressure regulator to ensure that the water pressure is within the optimal range for your system.
Step 6: Test Your System
Turn on the water and test your system to ensure that it is working properly. Check for leaks and adjust the emitters or sprinklers as needed.
Step 7: Automate Your System (Optional)
If you want to automate your watering schedule, attach a timer to your system. This will ensure that your plants receive water at the right times, even when you are not around.
Types of Drip Irrigation Systems
There are several types of drip irrigation systems available, each with its own benefits and applications:
Soaker Hoses
Soaker hoses are hoses with holes spaced evenly along their length. They can be placed alongside row crops, hedges, shrub lines, lawns, or vegetable gardens. These hoses seep water slowly into the soil along their length and are flexible and easy to use. However, they are not suitable for use on slopes and may not be the best choice for food crops due to some varieties being made of recycled rubber.
Emitter Systems
Emitter systems are becoming more popular due to their efficiency and ease of use. These systems consist of small hoses with evenly-spaced nozzles (or "emitters") that slowly drip water into the soil. They are excellent for keeping small shrubs (such as roses) or trees watered efficiently throughout your landscape. Emitter systems are useful during long periods of summer drought and can be set up in various configurations to suit different garden layouts.
Drip Tape
Drip tape is the most economical option among drip irrigation systems. It is easy to install and use but only works when set up in straight lines. This system is an excellent choice for annuals and vegetable gardens as it can be buried or covered with mulch. Drip tape is flexible and can be adjusted as needed, making it a versatile option for gardeners.
Micro-Misting Systems
Micro-misting systems are devices that can be attached to your irrigation hose system. They are ideal for large trees on your property and can also be used for flower beds, ground cover areas, hillsides, and slopes. These devices disperse water slowly and evenly over root zones, benefiting shallow-rooted shrubs like rhododendrons, azaleas, and hydrangeas.
Pros and Cons of Drip Irrigation Systems
While drip irrigation systems offer numerous benefits, there are also some drawbacks to consider:
Pros
- Saves Hours of Watering Time: Drip irrigation systems automate the watering process, saving you hours of time every season.
- Conserves Energy: By eliminating the need to physically move sprinklers or hoses, these systems conserve energy and reduce manual labor.
- Saves Water: Drip irrigation systems reduce water waste by delivering water directly to the roots of plants.
- Even and Precise Watering: These systems ensure that your garden and lawn are watered evenly and precisely, promoting healthy plant growth.
- Cost-Effective: While the initial cost may seem high, drip irrigation systems can save you money in the long run by reducing water bills and extending the life of your plants.
Cons
- Initial Cost: The initial cost of setting up a drip irrigation system can be higher than traditional watering methods.
- Requires Equipment: Drip irrigation systems require specialized equipment, which may not be DIY-friendly for everyone.
- Tripping Hazards: The hoses can be tripping hazards, especially if they are not properly secured.
- Cumbersome to Mow Over: Sprinkler heads can be cumbersome to mow over, requiring careful planning to avoid damage.
Installing and Maintaining a Drip Irrigation System
Installing a drip irrigation system requires some effort, but the benefits make it well worth the investment. Here are some tips for installing and maintaining your system:
Installation
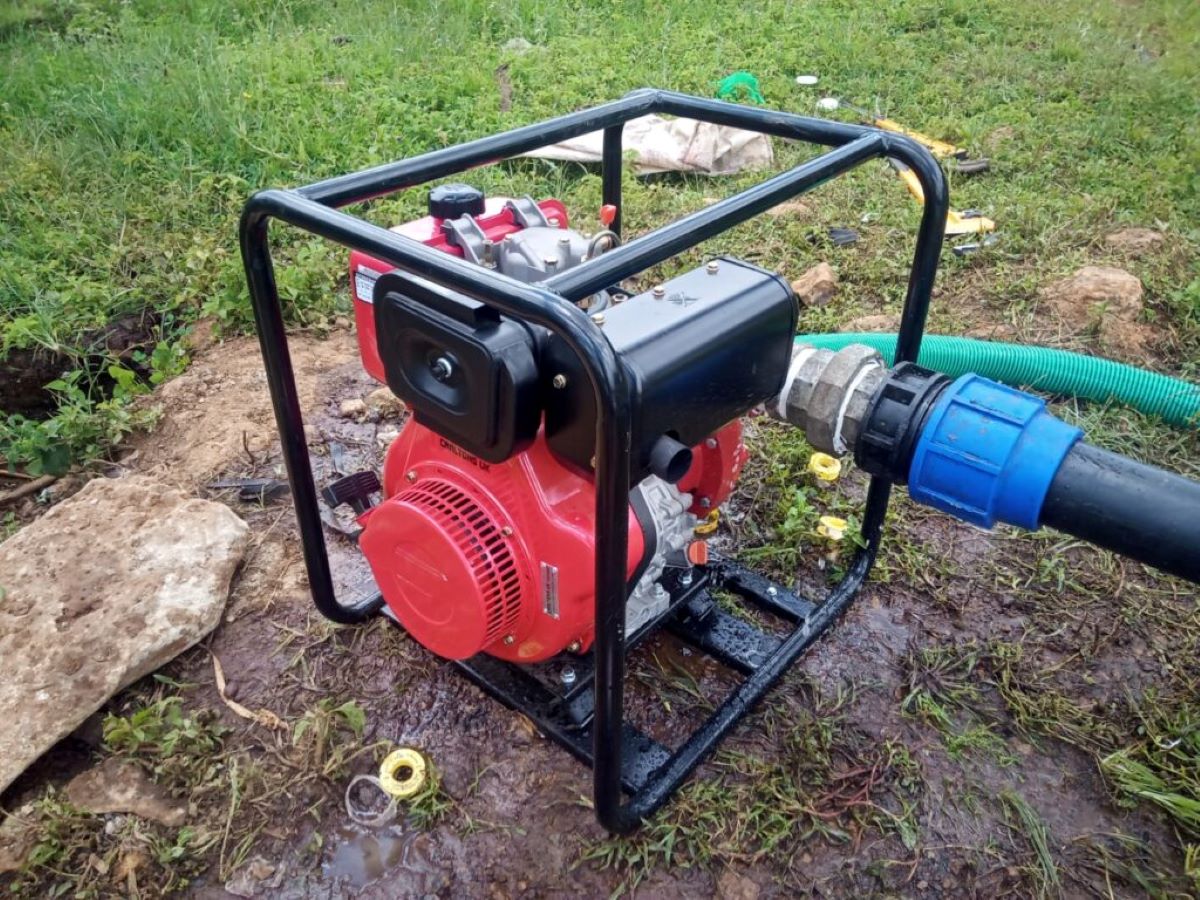
Some drip irrigation systems may require a water pump, while others may need careful installation to ensure proper function. For example, drip tape only works when set up in straight lines, so you need to plan your garden layout accordingly. Always ensure that the water holes face upwards to prevent clogging with soil.
Ongoing Maintenance
Ongoing maintenance is crucial to ensure that your drip irrigation system continues to function efficiently. Here are some tips:
- Inspect Regularly: Periodically inspect your system to ensure that it is functioning properly.
- Replace Damaged Parts: Replace or repair any worn-out or damaged parts to prevent leaks and ensure optimal performance.
- Overwinter Your System: If you live in an area where it freezes in winter, disconnect the line from the spigot in the fall and take the backflow preventer, pressure regulator, and filter inside. Tie plastic wrap over the end of the submain to protect it from freezing.
Key Considerations
Before choosing and installing a drip irrigation system, keep these key considerations in mind:
- Understand Terrain: Understand the terrain you're watering, including slopes and uneven areas.
- Determine Watering Frequency: Determine the watering frequency needs based on your plants' specific requirements.
- Evaluate Setup Costs: Evaluate both the setup costs and ongoing maintenance costs to ensure that the system is cost-effective for your needs.
Conclusion
A backyard drip irrigation system is an excellent DIY project for any gardener looking to save time and water. By following these steps and considering the various types of drip irrigation systems available, you can create an efficient and effective watering system that promotes healthy plant growth while conserving water. Remember to plan carefully, inspect regularly, and maintain your system properly to ensure optimal performance over time.
By implementing a drip irrigation system in your backyard, you not only contribute to water conservation but also enhance the overall health and productivity of your garden. Whether you're a seasoned gardener or just starting out, this DIY project offers numerous benefits that make it well worth the effort.
Was this page helpful?
At Storables.com, we guarantee accurate and reliable information. Our content, validated by Expert Board Contributors, is crafted following stringent Editorial Policies. We're committed to providing you with well-researched, expert-backed insights for all your informational needs.



0 thoughts on “Backyard Drip Irrigation System DIY Water-Saving Garden Tech”