Articles
How To Install A DIY Irrigation System
Modified: October 20, 2024
Learn how to install your own DIY irrigation system with this comprehensive guide. Our articles provide step-by-step instructions and expert tips for a successful installation.
(Many of the links in this article redirect to a specific reviewed product. Your purchase of these products through affiliate links helps to generate commission for Storables.com, at no extra cost. Learn more)
Introduction
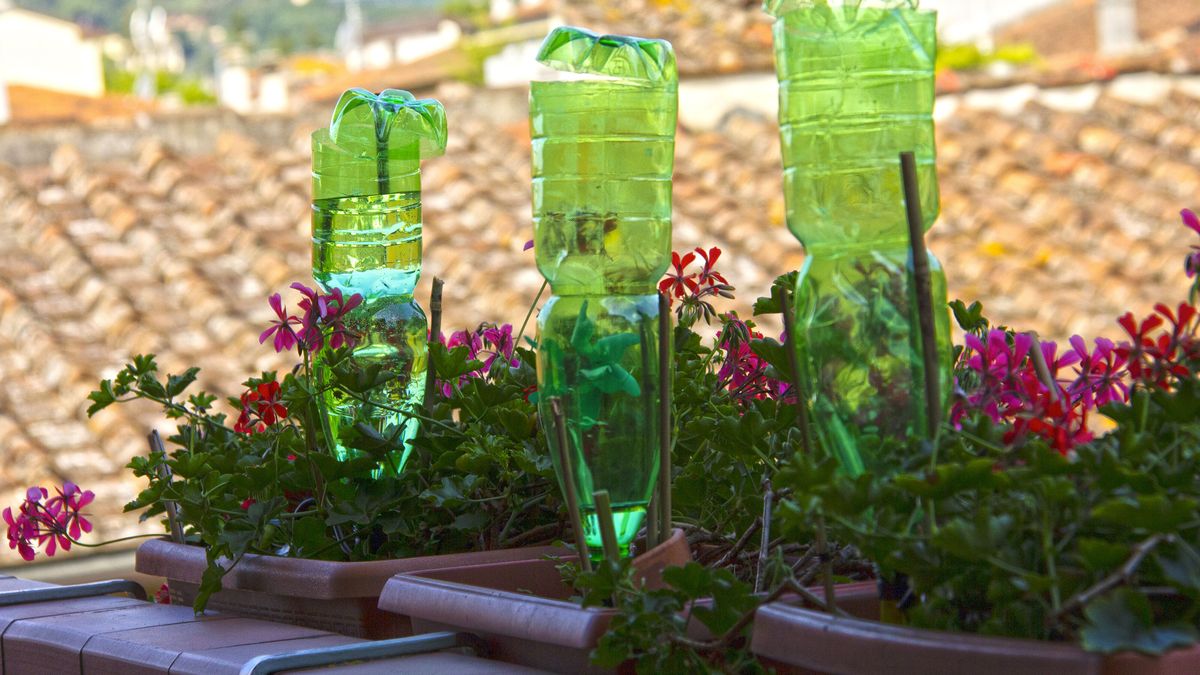
Welcome to the world of DIY irrigation systems! If you’re tired of spending hours lugging around a garden hose or trying to remember to water your plants manually, then installing an irrigation system can be a game-changer. Not only will it save you time and effort, but it will also ensure that your plants receive the right amount of water at the right time, leading to healthier and more vibrant gardens.
In this article, we will guide you through the process of installing your very own irrigation system. Whether you have a small backyard garden or a sprawling landscape, we will cover the steps you need to take to design, install, and maintain your DIY irrigation system.
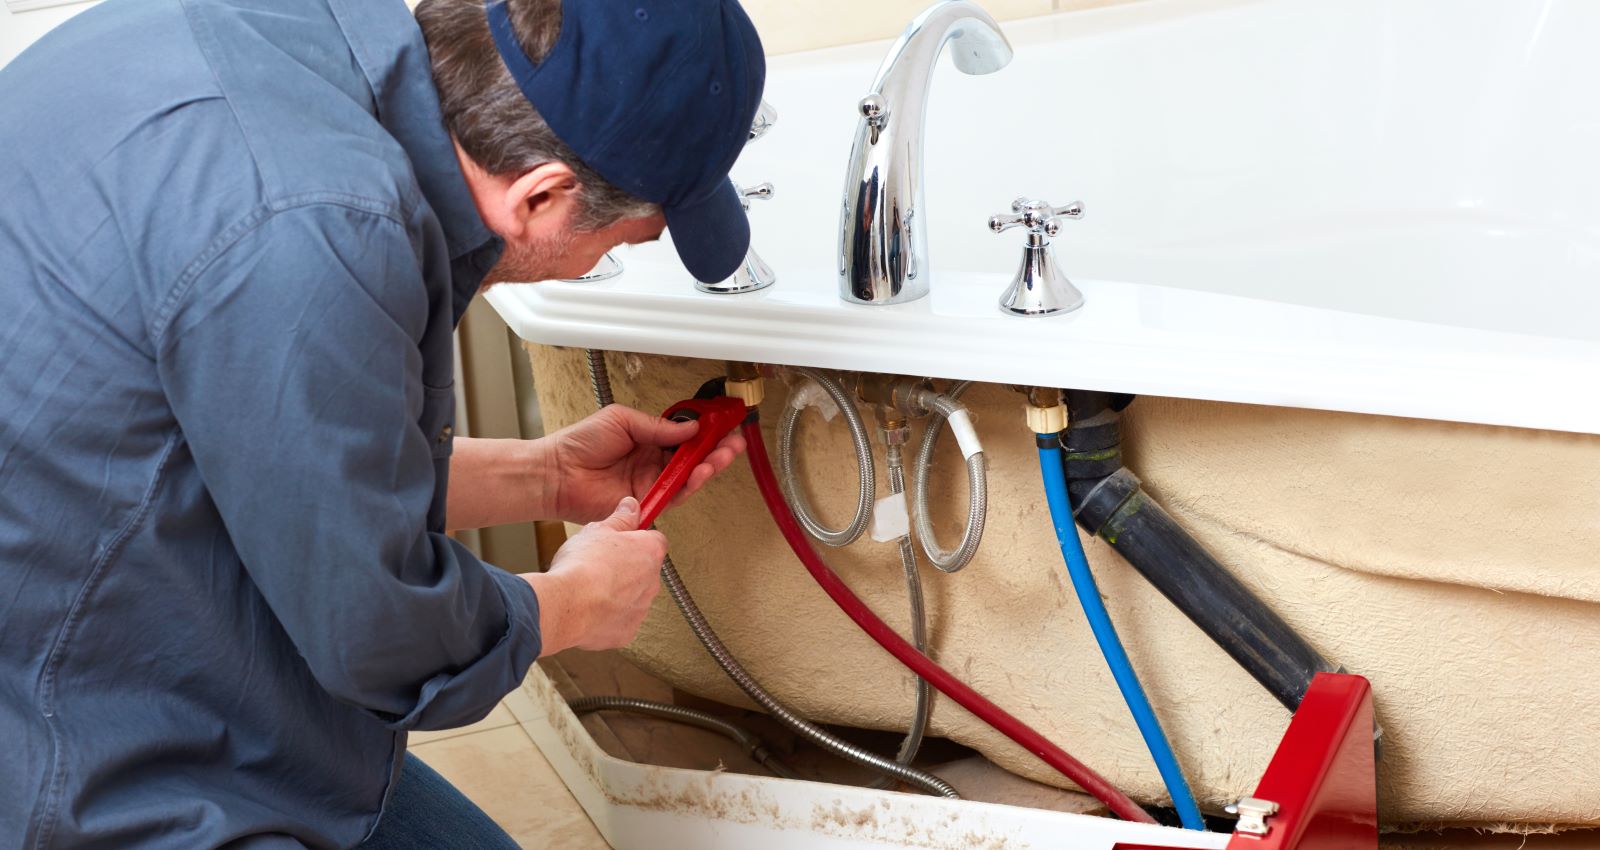
Before we dive into the details, it’s important to highlight that installing an irrigation system requires some basic knowledge of plumbing and electrical work. If you’re not comfortable with these tasks, it’s advisable to consult a professional for assistance. Safety should always be a top priority.
Now, let’s get started with Step 1: Planning and Designing the System.
Key Takeaways:
- Planning and Design are Crucial
Proper planning and design are essential for a successful DIY irrigation system. Consider water source, zone requirements, layout, and professional input for an efficient and effective design. - Regular Maintenance is Key
Regular maintenance is crucial for the longevity of your irrigation system. From testing and adjusting to winterizing and record-keeping, staying vigilant ensures optimal performance and a flourishing garden.
Step 1: Planning and Designing the System
Before you start digging trenches and laying pipes, it’s essential to create a well-thought-out plan for your irrigation system. Proper planning will ensure that you cover all the necessary areas and optimize water usage.
The first step in planning your irrigation system is to determine the water source. You need to have access to a water supply, whether it’s from a well, public water system, or rainwater harvesting system. Ensure that the water pressure is adequate for your needs.
Next, assess the area you want to irrigate. Take measurements of your garden or landscape and map it out on graph paper or using online design tools. Identify the different zones or areas with similar watering requirements, such as flowerbeds, lawn, or shrubs.
Consider factors like the type of plants you have, their water needs, sun exposure, slope, and soil type. These factors will help determine the type of irrigation system you’ll use, whether it’s sprinklers, drip emitters, or a combination of both.
Once you have the zones defined, calculate the water requirements for each zone. This will depend on the type of plants and their water needs. It’s essential to provide the right amount of water to avoid under or overwatering.
Now it’s time to decide on the layout of the irrigation system. Determine where the main water line will enter the garden and how it will connect to the different zones. Plan the location of control valves, which will allow you to control the water flow to each zone independently. It’s advisable to install the control valves in a convenient location with easy access.
Consider any obstacles in your garden, such as trees, fences, or structures, and plan the path of the irrigation pipes accordingly. It’s important to avoid sharp bends and excessive pipe lengths to maintain water pressure.
Additionally, think about the watering schedule. Will you manually control the system or invest in an automatic timer? An automatic timer will allow you to set specific watering durations and frequencies, providing convenience while conserving water.
Once you’ve finalized your plan, it’s a good idea to consult with an irrigation professional or knowledgeable gardeners to get feedback and suggestions. They can offer valuable insights and help ensure that your design is efficient and effective.
With the planning and design stage complete, you’re now ready to move on to Step 2: Gathering Materials and Tools.
Step 2: Gathering Materials and Tools
Now that you have a solid plan for your irrigation system, it’s time to gather all the necessary materials and tools. Having everything ready before you begin installation will ensure a smooth and efficient process.
Here is a list of materials and tools you may need:
- Irrigation pipes: PVC pipes or flexible polyethylene pipes, depending on your system design.
- Fittings: Elbows, tees, couplers, and connectors to join the pipes together.
- Sprinkler heads or drip emitters: Select the appropriate type and quantity based on your watering needs.
- Control valves: Install one control valve for each zone to regulate water flow.
- Backflow preventer: A device that prevents water from flowing back into the water supply, ensuring the water remains clean and safe.
- Main water line connection: Depending on your water source, you may need a connection kit or adapter.
- Automatic timer: If you opt for automated irrigation, choose a timer with the desired features.
- Shovels and trenching tools: For digging trenches to lay the pipes.
- Pipe cutters or hacksaw: To cut the pipes to the desired lengths.
- PVC primer and cement: If you’re using PVC pipes, you’ll need these to securely join the fittings and pipes.
- Measuring tape and markers: For accurate measurements and marking the pipe layout.
- Wire strippers and connectors: If you’re connecting a timer or control valves, you may need these tools.
- Plumbing tape and sealant: For sealing threaded connections to prevent leaks.
Remember to choose high-quality materials and tools to ensure the longevity and efficiency of your irrigation system. It’s worth investing in durable components to avoid any potential issues down the line.
Once you have gathered all the materials and tools, take a moment to double-check that you have everything you need. This will save you time and hassle during the installation process.
With Step 2 completed, you’re ready to move on to Step 3: Preparing the Site.
Step 3: Preparing the Site
Before you start installing your irrigation system, it’s important to prepare the site to ensure a smooth installation process and long-lasting results. Proper site preparation will minimize the risk of damage to existing structures, plants, or utilities.
Here are the key steps to follow when preparing the site:
- Clear the area: Remove any obstacles, debris, or vegetation from the area where you’ll be installing the irrigation system. This includes rocks, roots, weeds, or any other obstructions that may interfere with the installation process.
- Locate utilities: Before digging, it’s crucial to identify the location of any underground utilities, such as gas lines, electrical lines, or water pipes. Contact your local utility companies to mark the location of these utilities to prevent accidental damage.
- Mark the layout: Use markers or spray paint to mark the layout of the irrigation system according to your plan. This will help guide you during the installation process, ensuring that pipes and sprinkler heads are installed in the correct positions.
- Dig trenches: Use a shovel or trenching tool to dig trenches along the marked layout. The depth and width of the trenches will depend on the size of the pipes and the recommended depth for your specific irrigation system. Remember to slope the trenches slightly to allow for proper drainage.
- Remove excess soil: As you dig the trenches, pile the excavated soil away from the trenches. This will make it easier to backfill the trenches later on.
- Inspect and repair the soil: Take the time to inspect the soil in the area where the system will be installed. Remove any rocks, roots, or weeds that may hinder the proper installation of the irrigation system. Additionally, amend the soil if necessary to improve its drainage or water retention.
- Test the water source: Before connecting the main water line, check the water source for any issues. Ensure that the water pressure is within the recommended range and that the water is clear and free from any contaminants. If needed, install a filtration system or water conditioner to improve the water quality.
By following these steps, you’ll create a clean and well-prepared site for installing your irrigation system. Taking the time to prepare the site properly will greatly contribute to the overall success and efficiency of your system.
With Step 3 completed, you’re now ready to move on to Step 4: Installing the Main Water Line.
Step 4: Installing the Main Water Line
The main water line is the backbone of your irrigation system, responsible for delivering water to all the different zones or areas. Proper installation of the main water line is crucial for the overall functionality and efficiency of your system.
Follow these steps to install the main water line:
- Locate the water source: Depending on your setup, the water source could be a well, a tap on your property, or a rainwater harvesting system. Identify the location of the water source and ensure you have the necessary connectors or adapter to connect the main water line.
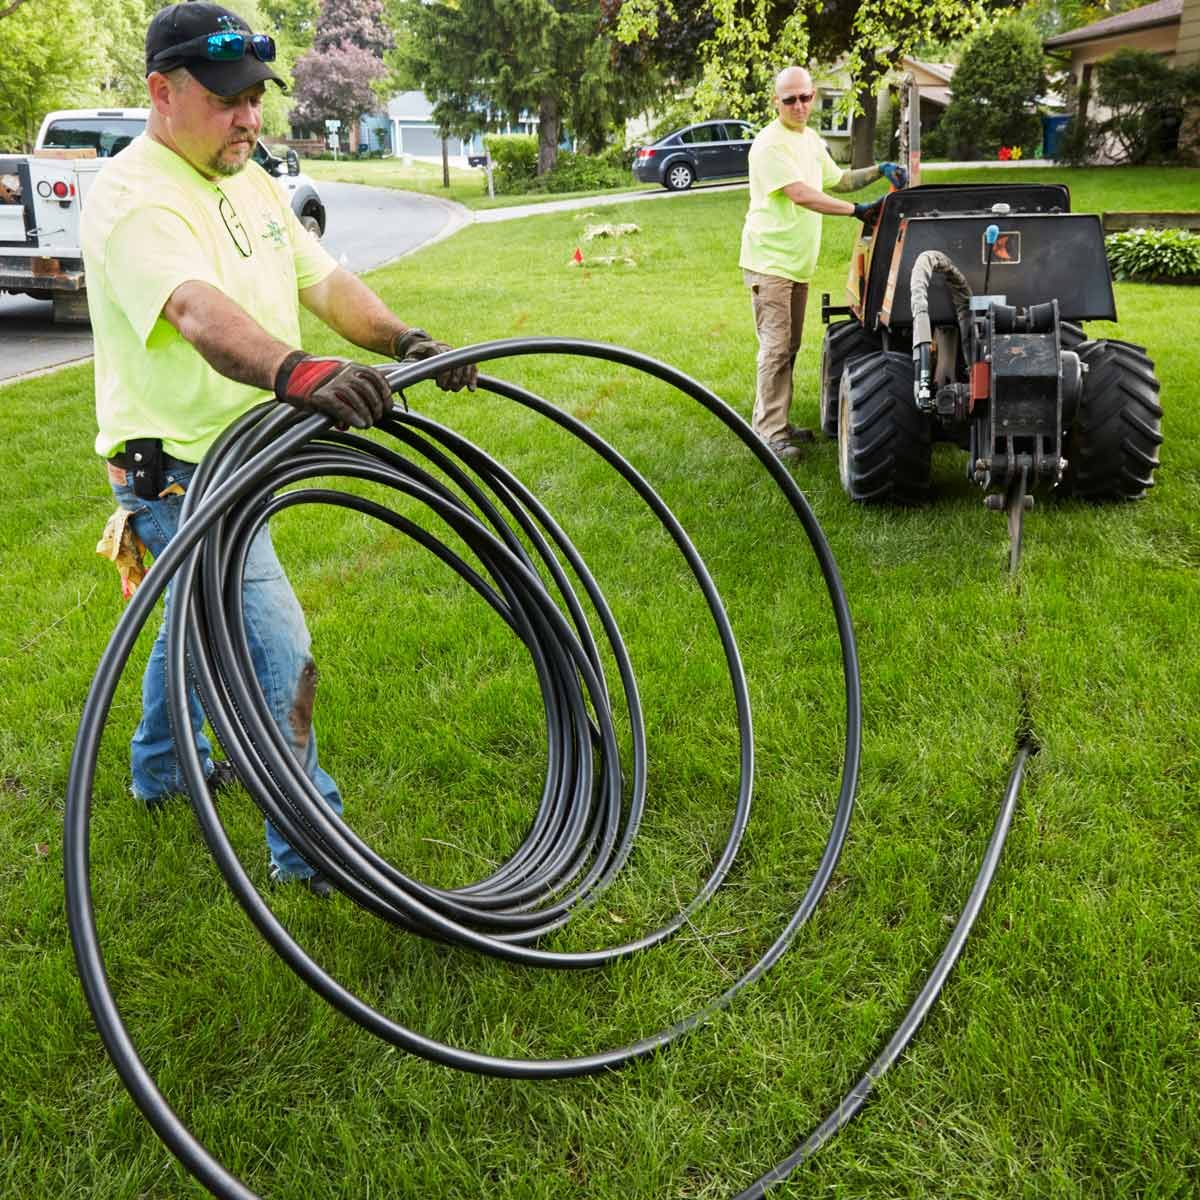
- Measure and cut the PVC or polyethylene pipe: Determine the length of pipe needed to reach from the water source to the first control valve. Use a measuring tape or pipe cutter to cut the pipe to the appropriate size.
- Connect the pipe to the water source: Apply PVC primer and cement to the end of the pipe and the fitting or adapter that will connect it to the water source. Insert the pipe into the fitting, holding it in place for a few seconds to allow it to set.
- Continue installing the main water line: Repeat the previous steps to connect additional sections of pipe as needed to reach each control valve. Ensure that the pipe is properly aligned and securely connected at each joint. Use fittings, elbows, and tees as necessary to navigate around obstacles or change directions.
- Bury the main water line: Once the main water line is installed, carefully backfill the trenches, ensuring that the pipe remains straight and level. Take care not to damage or kink the pipe as you fill in the soil.
It’s important to note that if you’re using a flexible polyethylene pipe, the installation process may differ slightly. Refer to the manufacturer’s instructions for specific guidelines and considerations.
After installing the main water line, it’s recommended to perform a pressure test. Close all control valves and check for any leaks or pressure issues. Adjust or repair any problems before proceeding to the next steps.
With Step 4 completed, you’re now ready to move on to Step 5: Installing the Control Valves.
Step 5: Installing the Control Valves
The control valves are an essential component of your irrigation system as they allow you to regulate the water flow to different zones or areas. Proper installation of the control valves ensures efficient water distribution and customization of watering schedules.
Follow these steps to install the control valves:
- Determine the number of control valves needed: Refer to your initial plan and identify the number of control valves required based on the different zones or areas in your irrigation system.
- Select the type of control valves: There are different types of control valves available, including electric valves and manual valves. Choose the type that aligns with your preference and irrigation system requirements.
- Locate the control valve placement: Decide on the optimal location for each control valve. Consider factors such as accessibility, protection from weather elements, and proximity to the zones they will serve.
- Prepare the area for installation: Clear any debris or vegetation around the chosen control valve locations. Ensure that the ground is level and stable for installing the valves.
- Dig a hole for each control valve: Use a shovel or trenching tool to dig a hole that is deep enough to accommodate the control valve and allow for proper connections. The size of the hole will depend on the specific control valve you’re using.
- Install the control valves: Follow the manufacturer’s instructions to connect the control valves to the main water line. This may involve cutting the main water line and attaching the control valve using fittings, elbows, and tees. Ensure all connections are secure and leak-free.
- Wire the control valves (if necessary): If you’re using electric control valves, you’ll need to wire them to a power source or an irrigation controller. Consult the manufacturer’s instructions or seek professional assistance to properly wire the control valves.
- Test the control valves: Once the control valves are installed, open the main water supply and test each control valve individually. Ensure that water flows to the desired zones and that there are no leaks or malfunctions.
By following these steps, you’ll successfully install the control valves in your irrigation system. The control valves allow you to have precise control over when and where water is distributed, ultimately leading to a healthier and more efficient irrigation system.
With Step 5 completed, you’re now ready to move on to Step 6: Laying Out the Irrigation Pipes.
When installing a DIY irrigation system, make sure to carefully plan the layout and measure the water pressure to ensure even distribution to all areas of your garden.
Step 6: Laying Out the Irrigation Pipes
Once you have installed the control valves, it’s time to lay out the irrigation pipes, which will deliver water to your plants or designated areas. Proper installation of the pipes ensures efficient water distribution and minimizes the risk of leaks or blockages.
Follow these steps to lay out the irrigation pipes:
- Refer to your initial plan: Review your plan to determine the layout and path of the irrigation pipes. Identify the starting point and the direction in which the pipes will be laid.
- Measure and cut the pipes: Use a measuring tape or pipe cutter to measure and cut the pipes according to your designated layout. Ensure that the cuts are straight and free from any burrs or rough edges.
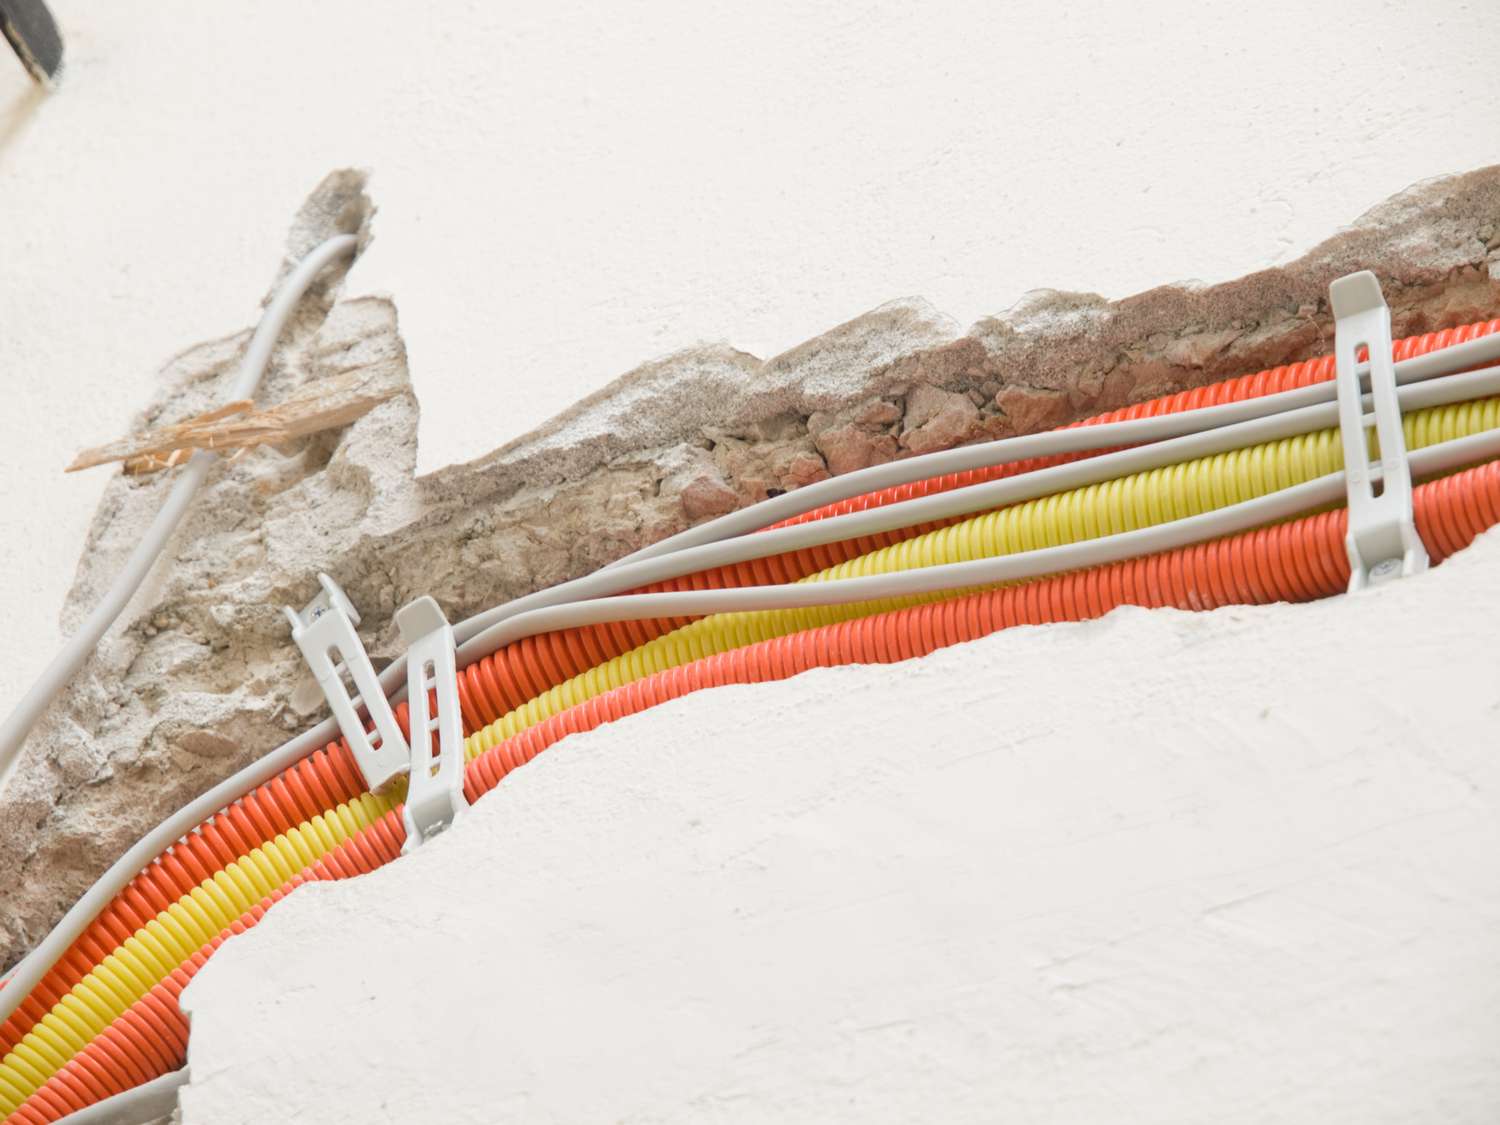
- Connect the pipes using fittings: Connect the pipes using appropriate fittings, such as elbows or tees, to create the desired configuration and navigate around obstacles. Use PVC primer and cement to securely join the fittings and pipes.
- Secure the pipes in place: Use stakes or clamps to secure the pipes in place, especially if you’re installing above-ground sprinkler systems. This will prevent the pipes from shifting or moving while in use.
- Add the necessary connectors: If you have branches or extensions in your irrigation system, such as additional sprinkler heads or drip emitters, add the necessary connectors and fittings to connect them to the main pipes.
- Consider elevation changes: If your landscape has slopes or uneven areas, plan accordingly to ensure that the pipes are laid with adequate downhill flow and proper drainage.
- Test the piping system: Before burying the pipes or covering them with soil, perform a test to check for any leaks or blockages. Open the control valves and run water through the system, allowing it to flow freely. Inspect all connections and joints for leaks.
- Make any necessary adjustments: If you notice any leaks or issues during the testing phase, make the necessary adjustments and repairs. This may involve resealing joints or adjusting the pipe layout to achieve optimal water flow.
Take your time to ensure that the pipes are laid out properly and securely connected. This will contribute to a well-functioning irrigation system that effectively waters your plants and maintains a healthy garden.
With Step 6 completed, you’re now ready to move on to Step 7: Connecting the Sprinkler Heads or Drip Emitters.
Step 7: Connecting the Sprinkler Heads or Drip Emitters
With the irrigation pipes laid out, it’s time to connect the sprinkler heads or drip emitters to deliver water directly to your plants or designated areas. This step is crucial in ensuring targeted and efficient watering.
Follow these steps to connect the sprinkler heads or drip emitters:
- Determine the type of irrigation method: Consider the specific needs of your plants and the layout of your garden or landscape. Decide whether you will be using sprinkler heads, drip emitters, or a combination of both.
- Choose the appropriate sprinkler heads or drip emitters: Select the type of sprinkler heads or drip emitters that best suit your plants and watering requirements. Consider factors such as coverage area, water distribution patterns, and flow rates.
- Identify the desired locations for the sprinkler heads or drip emitters: Based on your initial plan and the layout of your garden, mark the locations where you will install the sprinkler heads or drip emitters. Ensure that they are placed strategically to cover the desired areas effectively.
- Prepare the installation area: Clear any debris or vegetation around the marked locations. Create a small hole or trench where the sprinkler head or drip emitter will be inserted.
- Install the sprinkler heads or drip emitters: Follow the manufacturer’s instructions to properly install the sprinkler heads or drip emitters. This may involve cutting the irrigation pipe and attaching the appropriate fittings to connect the sprinkler heads or drip emitters to the pipe.
- Secure the sprinkler heads or drip emitters: Use stakes or mounts to secure the sprinkler heads or drip emitters in place. This will ensure that they remain stable and provide consistent water distribution.
- Check for proper functionality: Turn on the water supply and test each sprinkler head or drip emitter to ensure it is functioning correctly. Adjust the direction, angle, or flow rate as needed.
- Make any necessary adjustments: Observe the water coverage and make any necessary adjustments to ensure that all plants or designated areas are receiving adequate water. This may involve repositioning or adding sprinkler heads or drip emitters.
It’s important to note that different plants may have specific watering requirements. Take this into consideration when determining the spacing of sprinkler heads or drip emitters to ensure that the water is evenly distributed to all plants.
With Step 7 completed, you’re now ready to move on to Step 8: Installing a Backflow Preventer.
Step 8: Installing a Backflow Preventer
A backflow preventer is a crucial component of your irrigation system that helps to protect your water supply from contamination. It prevents water from flowing backward and potentially contaminating the potable water source.
Here are the steps to install a backflow preventer:
- Understand the purpose of a backflow preventer: A backflow preventer prevents contaminated water from flowing back into the main water supply. It is typically required by local plumbing codes to protect public health.
- Determine the appropriate type of backflow preventer: Different jurisdictions may have specific regulations regarding the type of backflow preventer required. Check with your local authorities or consult a plumbing professional to determine the suitable type for your irrigation system.
- Select a high-quality backflow preventer: Choose a backflow preventer that meets the necessary standards and requirements. Look for one that is made of durable materials and has proper certification to ensure reliability and effective backflow prevention.
- Locate the installation point: Identify the appropriate location for installing the backflow preventer. It should be placed after the point where the main water line leaves your property and before it enters the irrigation system.
- Prepare the installation area: Clear any debris around the installation area and create a level space for the backflow preventer.
- Install the backflow preventer: Follow the manufacturer’s instructions to properly install the backflow preventer. This may involve cutting the main water line and attaching the backflow preventer using appropriate fittings and connectors.
- Secure the backflow preventer and make connections: Ensure that the backflow preventer is securely mounted and stable. Make sure all connections to the main water line are tight and properly sealed to prevent leaks.
- Test the backflow preventer: Once installed, you should have the backflow preventer tested and certified by a qualified professional. This ensures that it is functioning correctly and providing the necessary protection against backflow contamination.
- Maintain the backflow preventer: Regularly inspect the backflow preventer for any signs of damage or wear. Follow manufacturer’s recommendations for maintenance and testing intervals to ensure continued functionality.
Installing a backflow preventer is essential for the safety and integrity of your water supply. By taking the necessary precautions, you can protect yourself, your community, and the environment from potential contaminants.
With Step 8 completed, you’re now ready to move on to Step 9: Testing and Adjusting the System.
Step 9: Testing and Adjusting the System
Testing and adjusting your irrigation system is a crucial step to ensure its proper functioning and efficiency. By conducting thorough testing and making necessary adjustments, you can fine-tune the system to meet the specific needs of your garden or landscape.
Follow these steps to test and adjust your irrigation system:
- Turn on the water supply: Open the control valves to allow water to flow through the irrigation system.
- Inspect for leaks: Check all connections, joints, and sprinkler heads/drip emitters for leaks. Repair any leaks promptly to avoid water wastage and ensure efficient water distribution.
- Verify coverage: Observe the water coverage from the sprinkler heads or drip emitters to ensure that all desired areas are receiving adequate water. Make adjustments to the sprinkler heads or drip emitters as needed to achieve uniform coverage.
- Check for overspray or runoff: Ensure that water from sprinkler heads is not overspraying onto sidewalks, driveways, or other non-landscaped areas. Adjust the sprinkler heads or install appropriate barriers to prevent water waste and runoff.
- Ensure proper pressure: Verify that the water pressure is within the recommended range for your specific irrigation system. Low pressure can result in inadequate water distribution, while high pressure can cause damage to the system. Make necessary adjustments to pressure regulators or install pressure-reducing valves if needed.
- Set watering schedules: If you’re using an automatic timer, program the watering schedule based on the water requirements of your plants and the local climate. Consider factors such as sun exposure, soil type, and the specific needs of different zones.
- Monitor water usage: Keep track of your water usage to ensure that you’re not over or under watering. This can be done by monitoring your water meter or using water monitoring devices.
- Make necessary adjustments over time: As your plants grow and the landscape changes, you may need to adjust the irrigation system accordingly. Regularly assess the performance of the system and make necessary modifications to optimize water usage and plant health.
Testing and adjusting your irrigation system may require some trial and error to find the perfect settings for your specific garden or landscape. By staying proactive and responsive to the needs of your plants, you can maintain a healthy and efficient irrigation system.
With Step 9 completed, you’re now ready to move on to Step 10: Finishing Touches and Maintenance Tips.
Step 10: Finishing Touches and Maintenance Tips
Congratulations on successfully installing your DIY irrigation system! Now, it’s time to add the finishing touches and learn some maintenance tips to ensure the longevity and optimal performance of your system.
Follow these steps for the final touches and maintenance tips:
- Bury the irrigation pipes: If you haven’t done so already, carefully backfill the trenches and bury the irrigation pipes. Ensure that the pipes are covered with soil to protect them from exposure to sunlight, extreme temperatures, and accidental damage.
- Restore the site: Replace any vegetation or landscaping elements that were temporarily removed during the installation process. Restore the site to its original condition or make any desired improvements to enhance the overall appearance.
- Mulch the area: Apply a layer of mulch around your plants and in flowerbeds to help retain moisture and reduce weed growth. Mulch also helps to regulate soil temperature and adds a polished look to your landscape.
- Maintain the system regularly: Regular maintenance is crucial for the continued functionality of your irrigation system. Inspect the system periodically for leaks, clogs, or any signs of damage. Repair or replace any faulty components promptly.
- Adjust watering schedules: As the seasons change, adjust your watering schedules accordingly. Consider the specific water needs of different plants in different weather conditions. Avoid overwatering by monitoring the moisture levels of the soil.
- Winterize the system: If you live in a region with freezing temperatures, it’s important to winterize your irrigation system to prevent damage. Drain the water from the pipes, shut off the water supply, and protect exposed components from frost.
- Regularly check the backflow preventer: Inspect and test the backflow preventer annually to ensure it is functioning correctly and meeting local codes and regulations. Consult a professional if you’re unsure about the proper maintenance of the backflow preventer.
- Keep records: Maintain a record of the system’s installation, including the layout, components used, and any modifications made. This will be helpful for future reference and troubleshooting.
- Stay vigilant: Keep an eye out for any changes in your plants’ health or signs of water stress. Adjust the irrigation system as necessary to meet the evolving needs of your garden or landscape.
By following these steps and implementing regular maintenance practices, you can ensure that your DIY irrigation system remains efficient and functional for years to come. Enjoy the convenience of automated watering and the satisfaction of a flourishing garden!
With Step 10 completed, you have successfully completed the installation and maintenance of your DIY irrigation system. Remember to regularly monitor and adjust your system as needed to ensure optimal performance. Happy gardening!
Conclusion
Congratulations on completing the installation of your DIY irrigation system! By following the steps outlined in this guide, you have taken a significant step towards achieving a more efficient and convenient way to water your plants and maintain a healthy garden or landscape.
An irrigation system not only saves you time and effort but also ensures that your plants receive the right amount of water at the right time, leading to lusher, healthier, and more vibrant surroundings.
From the initial planning and design stage to the final touches and maintenance tips, each step has been carefully outlined to enable you to successfully install and maintain your irrigation system. Remember that safety should always be a top priority, so if you encounter any challenges during the process, don’t hesitate to seek the assistance of a professional.
As you enjoy the benefits of your new irrigation system, it’s essential to periodically evaluate its performance. Check for leaks, adjust watering schedules based on plant needs and weather conditions, and perform regular maintenance to ensure optimal functionality. With time, you’ll become more familiar with the specific needs of your garden or landscape and develop a routine that best suits your unique circumstances.
Remember to stay vigilant and responsive, making adjustments to your system as needed. As your garden evolves, your irrigation system can be modified to accommodate changes in plant growth, landscape layout, and environmental conditions.
By harnessing the power of technology and your own creativity, you have transformed your garden into a thriving oasis. Enjoy the beauty and benefits of a well-maintained landscape, and take pride in your accomplishment as you conserve water and promote sustainability.
Thank you for taking the time to learn and implement these steps for installing your DIY irrigation system. Here’s to a bountiful and flourishing garden!
Frequently Asked Questions about How To Install A DIY Irrigation System
Was this page helpful?
At Storables.com, we guarantee accurate and reliable information. Our content, validated by Expert Board Contributors, is crafted following stringent Editorial Policies. We're committed to providing you with well-researched, expert-backed insights for all your informational needs.


0 thoughts on “How To Install A DIY Irrigation System”