Home>Ideas and Tips>Backyard Hammock Stand Construction for a Relaxation Station DIY

Ideas and Tips
Backyard Hammock Stand Construction for a Relaxation Station DIY
Modified: November 1, 2024
Learn how to build a durable and customizable backyard hammock stand with our step-by-step DIY guide for the ultimate relaxation station.
(Many of the links in this article redirect to a specific reviewed product. Your purchase of these products through affiliate links helps to generate commission for Storables.com, at no extra cost. Learn more)
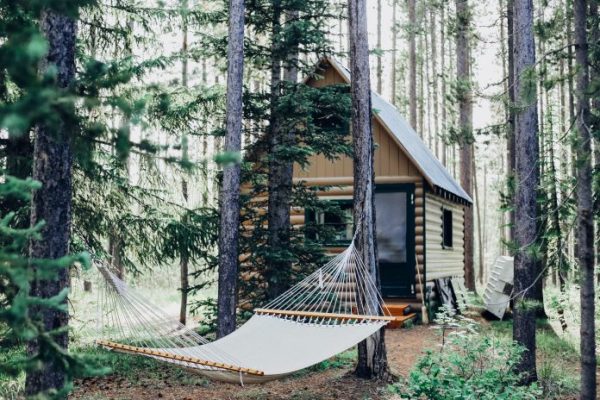
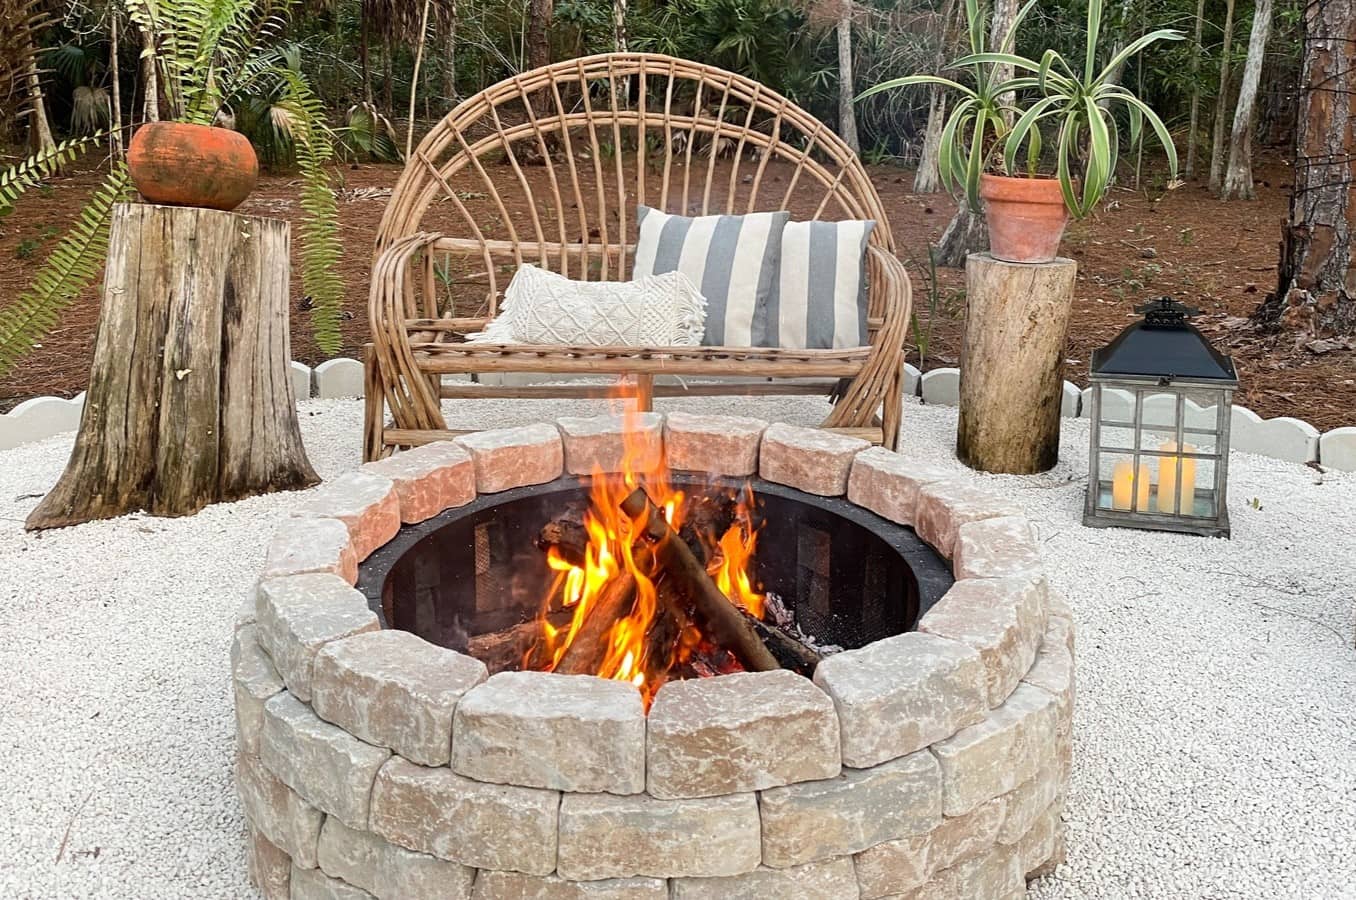
Creating a backyard hammock stand is an excellent way to enhance your outdoor space and provide a serene relaxation area. Whether you have trees in your yard or not, a freestanding hammock stand can be a perfect solution. In this article, we will guide you through the process of building a DIY hammock stand, from selecting the materials to assembling the structure.
Why Build a Hammock Stand?
Building a hammock stand in your backyard is a fantastic idea for several reasons. First off, it offers a relaxation and leisure spot. Imagine lounging in a hammock, reading a book, or just soaking up the sun. Sounds dreamy, right? A hammock stand can transform your backyard into a mini oasis where you can unwind after a long day.
1. Relaxation and Leisure
A hammock stand offers a comfortable and cozy spot to relax, read a book, or simply enjoy the fresh air. It provides an ideal place to unwind after a long day, making your backyard a more inviting and peaceful space.
2. Versatility
Hammock stands can be designed to fit various backyard layouts. Whether you have a small yard or a large one, there are different designs that can accommodate different sizes and shapes of hammocks.
3. Durability
Unlike metal hammock frames that can rust over time, a well-built wooden hammock stand is durable and long-lasting. With proper maintenance, it can withstand the elements and provide years of service.
4. Customization
One of the best things about building a DIY hammock stand is that you can customize it according to your preferences. You can choose the type of wood, the design, and even add personal touches like decorative elements or additional seating areas.
Read more: How To Relax In A Hammock
Materials Needed
To build a hammock stand, you will need the following materials:
- Lumber: Depending on the design, you may need 4×4 or 6×6 posts for the base and 2×6 or 2×8 boards for the crossbeams.
- Screws: Exterior wood screws are recommended for durability.
- Eye Hooks: Stainless steel eye hooks are essential for hanging the hammock.
- Timberlok Screws: These are used for assembling the frame.
- Concrete Form Tubes: For securing the posts in the ground.
- Concrete: To set the posts firmly in place.
- Washers: To secure the eye hooks.
- Quick Links: For attaching the hammock to the eye hooks.
- Stain or Paint: To protect the wood and enhance its appearance.
Tools Needed
Here are the tools you'll need to build your hammock stand:
- Circular Saw: For cutting lumber to the required length.
- Square: To ensure accurate cuts and assembly.
- Drill: For drilling holes for screws and eye hooks.
- Post Hole Digger: For digging holes for the posts.
- Shovel: For backfilling the holes with dirt.
- Level: To ensure the posts are plumb (perfectly straight up and down).
- Battery Operated Circular Saw: Convenient for cutting wood in place.
Step-by-Step Instructions
Step 1: Plan Your Design
Before starting the project, plan your design carefully. Consider the size of your hammock, the space available in your backyard, and the type of wood you want to use. You can find various designs online or create your own based on your preferences.
Step 2: Cut Your Boards to Length
Using a circular saw, cut your lumber to the required length. Make sure to follow the cut diagram provided in the plans you are using. All angles should be 25º as specified in some plans.
Step 3: Assemble the Two Arms
Use the yellow and red pieces to create the arms of your hammock stand. Sandwich these boards together using Timberlok screws.
Step 4: Assemble the Frame
Use color-coded diagrams to help with the assembly of your frame. Apply more 4.5" Timberlok screws to secure all parts together.
Step 5: Add the Feet
Flip over the frame and add your two feet, ensuring they are centered on the frame.
Step 6: Add Supports
Eye-ball a good angle and screw in place any additional supports needed for stability. Ensure each side looks symmetrical.
Step 7: Add Eye Screws
Pre-drill holes for stainless steel eye screws and screw them in place. These will be used to hang your hammock.
Step 8: Dig Holes for Posts
Using a post hole digger, dig holes for your posts about 30% of their depth into the ground. This ensures stability and prevents wobbling.
Step 9: Set Posts in Place
Place concrete form tubes around each post before setting them into their holes. This helps encase the wood post entirely in concrete, extending its lifespan.
Step 10: Add Braces for Stability
Attach temporary braces made of scrap wood to keep posts straight while concrete sets. Use a level to ensure posts are plumb before attaching these braces.
Step 11: Pour Concrete
Mix concrete using a wheelbarrow, shovel, and water. Pour it into the holes around each post, ensuring that cardboard tubes are filled with concrete as well.
Step 12: Backfill Holes with Dirt
Backfill any remaining holes with dirt after concrete has dried completely.
Step 13: Attach Hammock
Finally, attach your hammock using quick links and eye hooks. Hang it securely so that it doesn’t swing too much or fall off.
Tips and Variations
Using Different Types of Wood
You can use various types of wood depending on your preference and budget. Redwood is often recommended for its durability and aesthetic appeal.
Adding Decorative Elements
Consider adding decorative elements like arch details or rounded cut-out designs on crossbeams to give your hammock stand a unique look.
Incorporating Additional Seating Areas
If you have enough space, you can incorporate additional seating areas like benches or chairs near your hammock stand for a more inviting outdoor space.
Read more: How To Build A Hammock Chair Stand
Conclusion
Building a backyard hammock stand is an excellent DIY project that can enhance your outdoor living space significantly. With these steps and tips, you can create a durable, customizable, and relaxing spot in your yard. Whether you're looking to unwind after a long day or enjoy quality time with family and friends, a well-built hammock stand is sure to provide years of enjoyment.
Related Projects
If you enjoyed building this hammock stand, here are some related projects you might consider:
- DIY Garden Arbor: Create an arbor with garden boxes to add more greenery and beauty to your backyard.
- Butterfly Garden Project: Use heavy-duty garden border edging to create a colorful and durable garden border.
- Coastal Rope Garden Border Project: Add a coastal touch to your garden with rope border edging.
By following these steps and tips, you'll be able to create not just a hammock stand but an entire relaxation station in your backyard that you'll cherish for years to come.
Was this page helpful?
At Storables.com, we guarantee accurate and reliable information. Our content, validated by Expert Board Contributors, is crafted following stringent Editorial Policies. We're committed to providing you with well-researched, expert-backed insights for all your informational needs.


0 thoughts on “Backyard Hammock Stand Construction for a Relaxation Station DIY”