Home>Furniture>Outdoor Furniture>How To Make A DIY Hammock
Outdoor Furniture
How To Make A DIY Hammock
Modified: April 22, 2024
Learn how to make your own DIY hammock for your outdoor space. Create a comfortable and stylish outdoor furniture piece with just a few simple steps.
(Many of the links in this article redirect to a specific reviewed product. Your purchase of these products through affiliate links helps to generate commission for Storables.com, at no extra cost. Learn more)
Introduction
Welcome to the world of outdoor relaxation! There’s nothing quite like lounging in a hammock, gently swaying under the warm sun or the twinkling stars. If you’re looking to create your own little haven of tranquility, then this DIY hammock guide is perfect for you. Whether you have a spacious backyard or a cozy balcony, making your own hammock allows you to customize it to your style and preferences, while also saving you some money.
In this article, we will walk you through the step-by-step process of making a DIY hammock. We’ll cover everything from choosing the right fabric to attaching the suspension system. So grab your crafting tools and let’s dive in!
Before we begin, let’s talk about why hammocks are such a popular choice for outdoor furniture. Not only do they provide a comfortable place to relax and unwind, but they also offer a variety of health benefits. Hammocks are known to reduce stress, improve sleep quality, and even alleviate back pain. They are also great for socializing, as they create a laid-back and friendly atmosphere for gatherings with family and friends.
Now that we’ve established the many benefits of having a hammock, let’s move on to the materials you will need for this DIY project.
Key Takeaways:
- Create your own personalized outdoor oasis with a DIY hammock, saving money and customizing the fabric and design to suit your style and needs.
- Enjoy the unmatched comfort and tranquility of a DIY hammock, perfect for relaxation, unwinding, and escaping the hectic pace of daily life.
Read more: How To Make A Rat Hammock
Materials Needed
Before you get started on your DIY hammock project, make sure you have the following materials ready:
- Strong fabric: Choose a fabric that is durable and able to support your weight. Ideal options include canvas, nylon, or polyester.
- Thread: Make sure you have a strong thread that can withstand outdoor conditions.
- Scissors: You’ll need a pair of sharp scissors to cut the fabric.
- Measuring tape: This will help you accurately measure and cut the fabric.
- Sewing machine: If you have access to a sewing machine, it will make the process much easier. However, you can also hand sew the hammock if needed.
- Webbing or rope: This will be used to create the suspension system for your hammock.
- Carabiners or hooks: These will be used to attach the hammock to the suspension system.
- Sturdy poles or trees: Depending on where you plan to hang your hammock, make sure you have a secure anchor point.
Once you have gathered all the necessary materials, you’re ready to move on to the next step – choosing the right fabric.
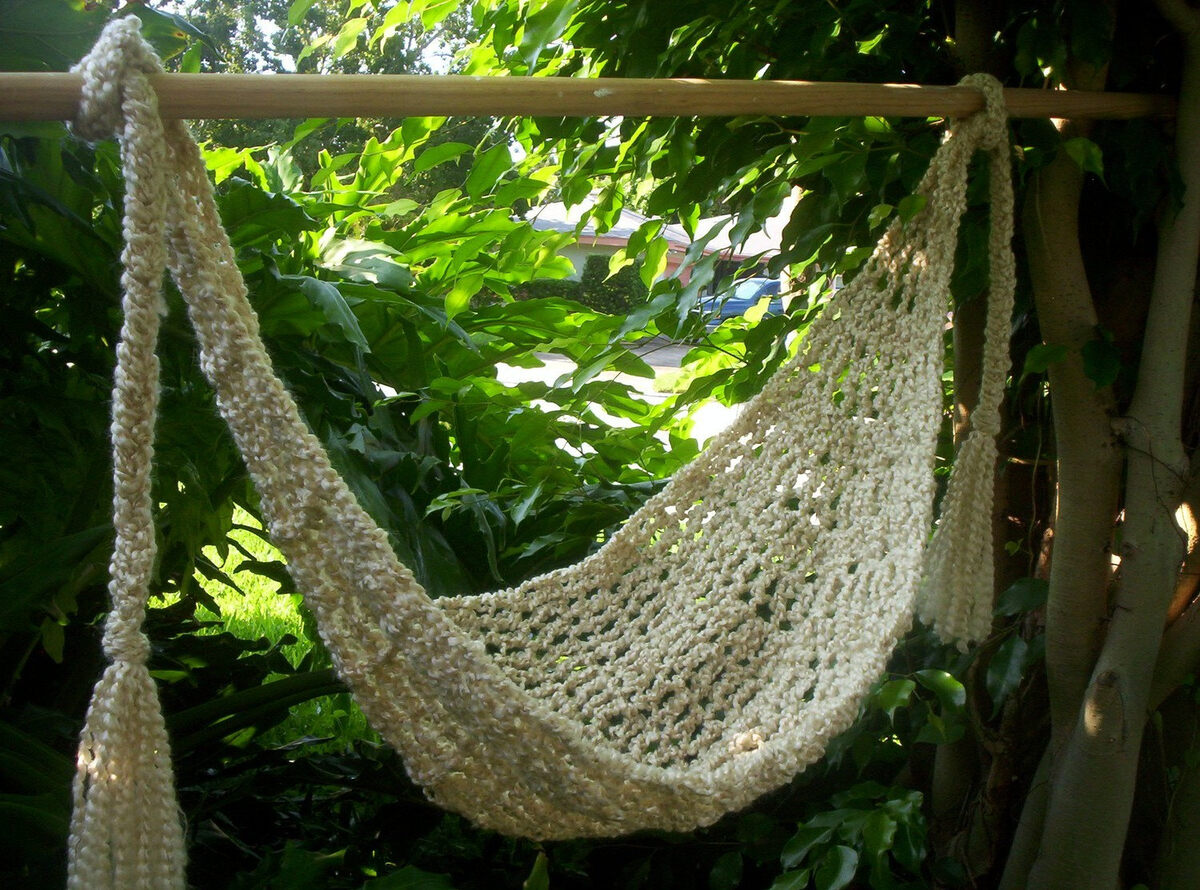
Step 1: Choosing the Right Fabric
The fabric you choose for your hammock is crucial for both comfort and durability. It needs to be strong enough to support your weight and withstand outdoor conditions. Here are a few things to consider when selecting the right fabric:
- Durability: Look for fabrics that are specifically designed for outdoor use. Canvas, nylon, and polyester are popular choices as they are known for their strength and ability to withstand wear and tear.
- Breathability: Opt for a fabric that allows for airflow to keep you cool and comfortable, especially during hot summer days. Avoid fabrics that are too thick or trap moisture.
- Weight capacity: Check the weight capacity of the fabric to ensure it can support your body weight. It’s important to choose a fabric that has a higher weight capacity than your own weight.
- UV resistance: If your hammock will be exposed to direct sunlight, consider choosing a fabric that has UV-resistant properties. This will help prevent color fading and damage from prolonged sun exposure.
- Color and design: While not directly related to the performance of the hammock, the color and design of the fabric can add a touch of personal style to your outdoor space. Choose a fabric that complements your overall aesthetic.
Once you have chosen the right fabric, it’s time to move on to the next step – measuring and cutting the fabric.
Step 2: Measuring and Cutting the Fabric
Now that you have your chosen fabric, it’s time to measure and cut it to the desired size for your hammock. Here’s a step-by-step guide:
- Measure the desired length: Decide how long you want your hammock to be. The standard hammock length is around 10-12 feet, but you can adjust it based on your preference and available space.
- Cut the fabric: Use sharp scissors to cut the fabric according to the desired length, leaving some allowance for hemming. Make sure the edges are straight and even.
- Measure the desired width: The ideal width for a single hammock is around 4-5 feet. If you prefer a wider hammock, you can increase the width accordingly.
- Cut the fabric: Cut the fabric to the desired width, again leaving some allowance for hemming.
Keep in mind that the measurements provided are just guidelines. Feel free to adjust them based on your personal preference and available space. It’s always a good idea to take some measurements and visualize how the hammock will fit in your outdoor area before cutting the fabric.
Once you have cut the fabric to the desired size, it’s time to move on to the next step – sewing the edges.
When making a DIY hammock, make sure to use strong and durable materials such as nylon or polyester for the fabric, and strong ropes or straps for hanging. This will ensure that your hammock is safe and long-lasting.
Step 3: Sewing the Edges
Now that you have your fabric cut to the desired size, it’s time to sew the edges to prevent fraying and add strength to your hammock. Follow these steps to sew the edges:
- Fold and press the edges: Take each side of the fabric and fold it over by about ½ inch towards the backside. Use an iron to press the folded edges, which will help maintain the fold while sewing.
- Sew the folded edges: Using a sewing machine or a needle and thread, stitch along the folded edges of the fabric. Use a strong thread and a straight stitch to ensure the edges are securely sewn.
- Backstitch at the ends: When you reach the end of each side, make sure to backstitch a few stitches to anchor the thread and prevent it from unraveling.
- Repeat for all sides: Repeat the folding and sewing process for all four sides of the fabric, creating neat and secure edges.
Once you have sewn all the edges, give your hammock a gentle shake to ensure the stitches hold strong. Trim any excess threads for a clean finish. Your fabric is now ready for the next step – attaching the suspension system.
Before moving on, make sure to double-check the quality of your stitching. Reinforce any weak spots and make sure all edges are securely sewn. This will ensure the longevity and safety of your DIY hammock.
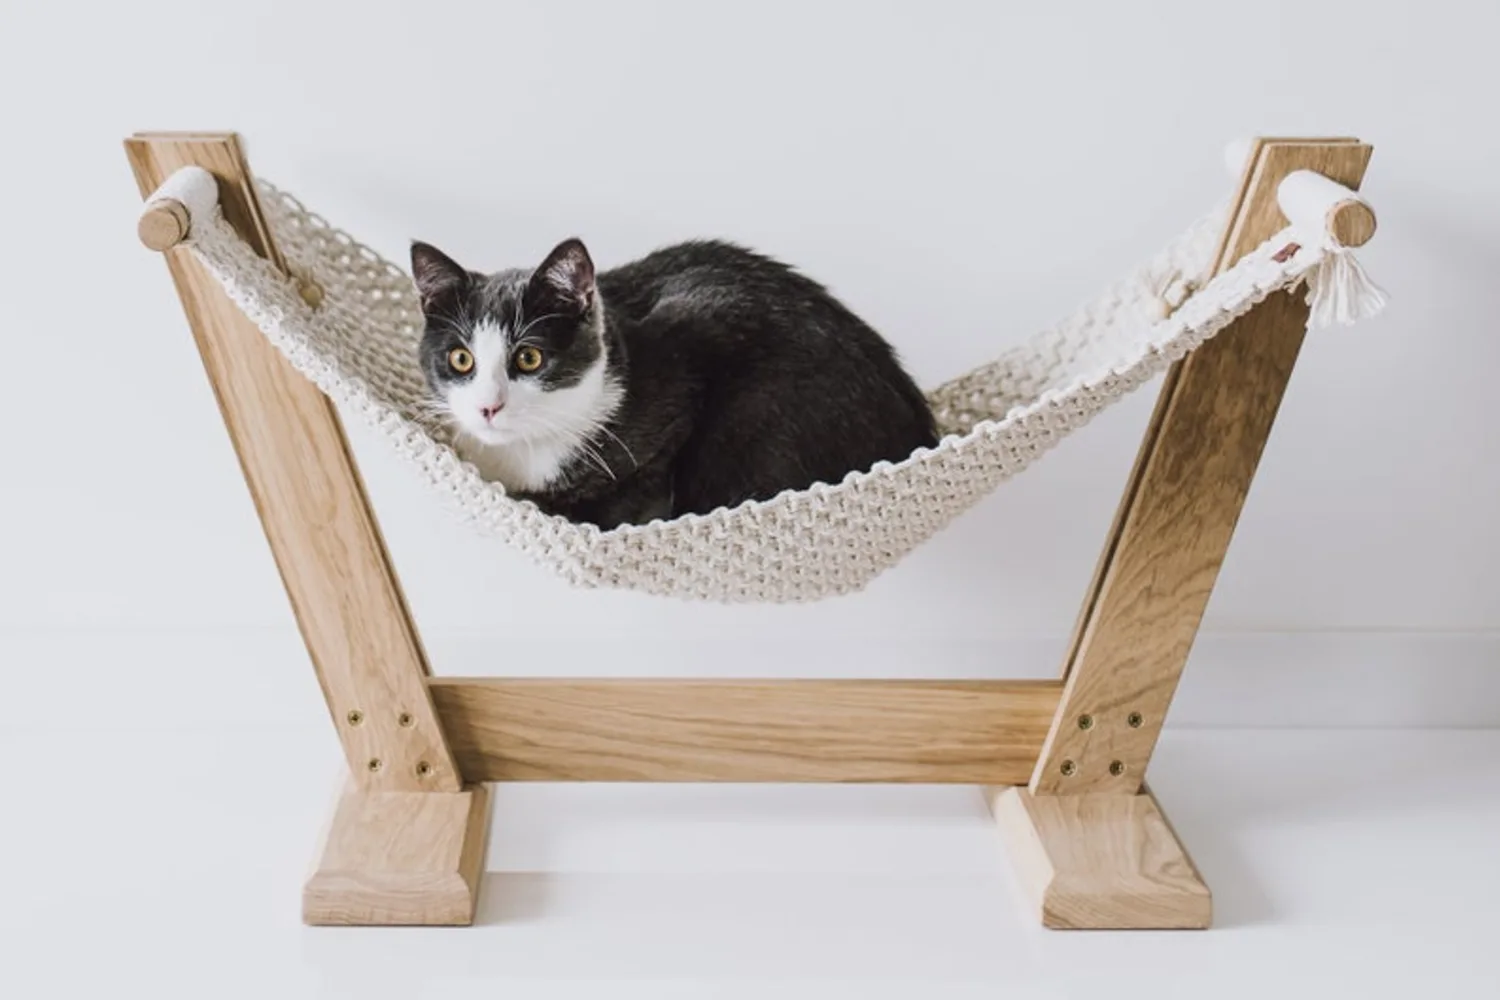
Read more: How To Make A Cat Hammock
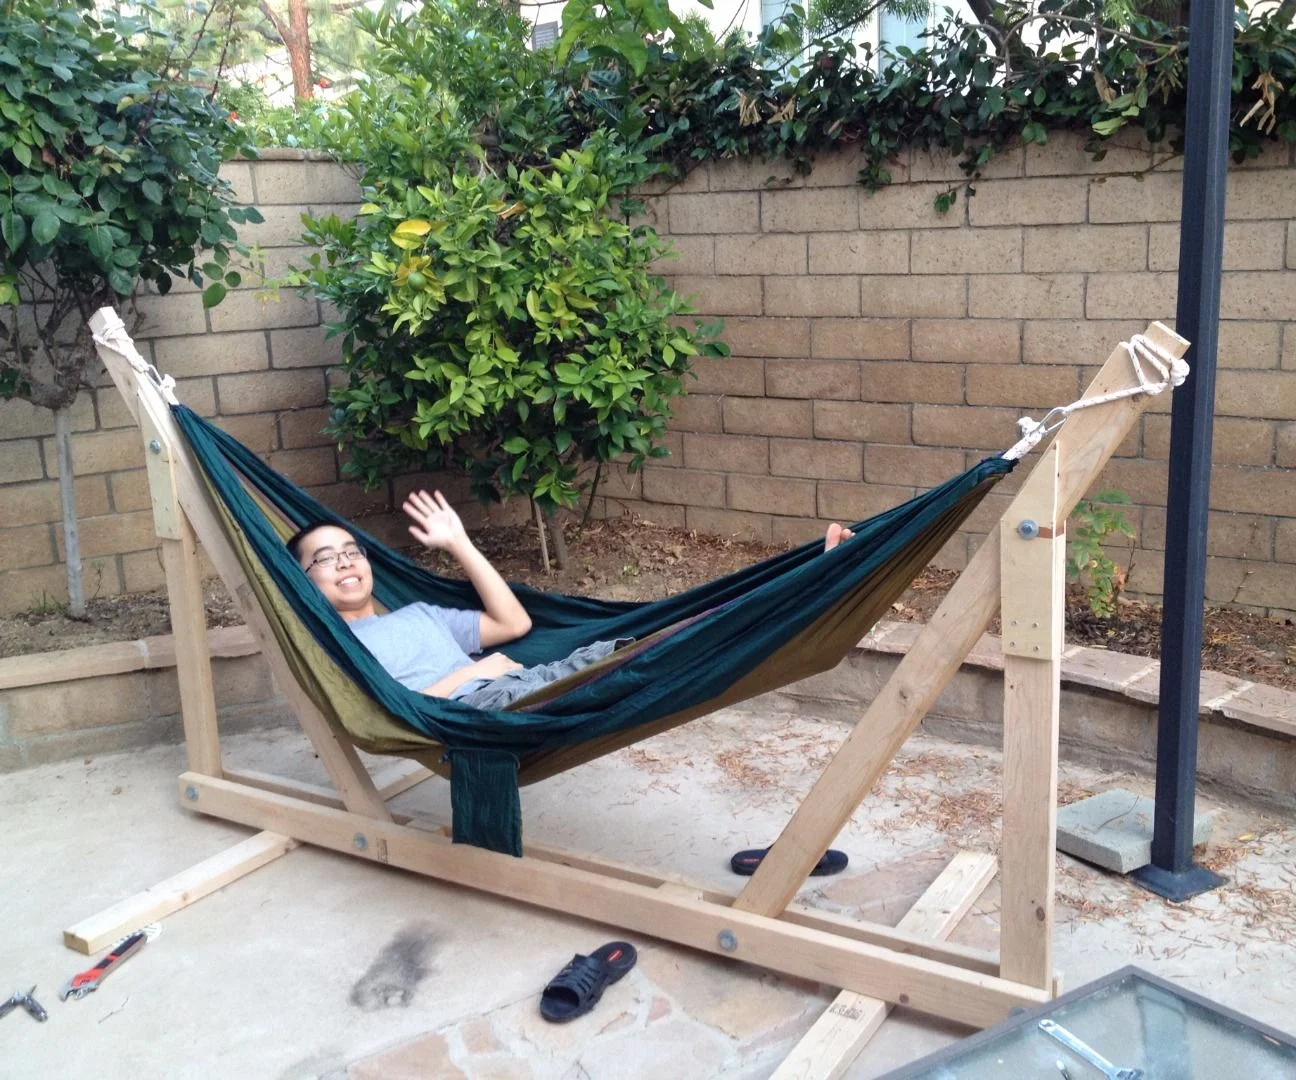
Step 4: Attaching the Suspension System
Now that your fabric is prepared, it’s time to attach the suspension system to your hammock. The suspension system connects the hammock to the anchor points, whether it’s sturdy poles or trees. Here’s how to proceed:
- Choose your suspension method: There are various options for the suspension system, including webbing straps and ropes. Webbing straps are recommended as they are durable and gentle on trees.
- Measure and cut the suspension system: Measure the distance between your chosen anchor points and cut the webbing or rope to the appropriate length, leaving some extra length for adjustment.
- Attach one end of the suspension system: Secure one end of the webbing strap or rope to the anchor point using a carabiner, hook, or knot. Ensure it is tightly secured to guarantee your safety.
- Thread the other end through the hammock: Take the other end of the suspension system and thread it through the loops or grommets at each end of the hammock fabric.
- Adjust the height and tension: Once the suspension system is threaded through the hammock, adjust the height and tension by pulling on the suspension system and securing it to the other anchor point.
- Test the stability: Carefully test the stability of the hammock by gently sitting or lying in it. Make sure it feels secure and balanced. If needed, adjust the suspension system for better comfort.
It’s essential to choose a stable and secure anchor point to hang your hammock, ensuring it can bear the weight and movement. If using trees, use protective tree straps to prevent damage to the bark.
With the suspension system attached, it’s time for the final step – testing and adjusting your DIY hammock.
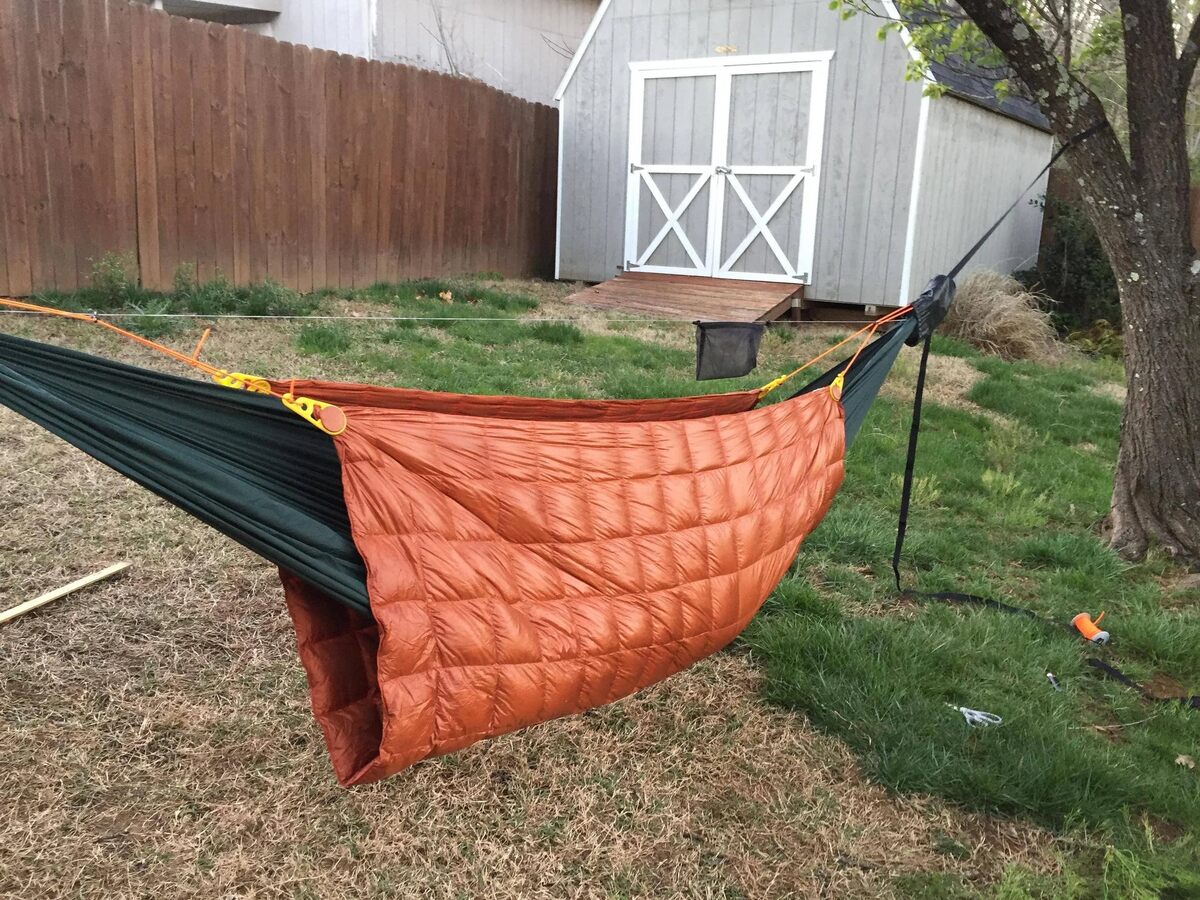
Step 5: Testing and Adjusting the Hammock
Now that your DIY hammock is fully assembled, it’s time to put it to the test and make any necessary adjustments for optimal comfort. Follow these steps to ensure your hammock is set up correctly:
- Test the stability: Gently sit or lie in the hammock to check its stability and balance. Ensure that the suspension system is securely attached and that the hammock is level.
- Adjust the height: If the hammock feels too low or too high, adjust the height by either lengthening or shortening the suspension system. You can do this by repositioning the attachment points or using adjustable straps.
- Test the comfort: Lie down in various positions to test the comfort of the hammock. Make sure it provides adequate support and that the fabric is taut but not overly tight.
- Make adjustments: Depending on your preference, you may need to make adjustments to the suspension system’s tension or the position of the anchor points. This will allow you to find the perfect balance and comfort level.
- Enjoy your hammock: Once you have made any necessary adjustments, it’s time to relax and enjoy your DIY hammock! Whether it’s reading a book, taking a nap, or simply soaking up the serenity of nature, let your hammock become your personal oasis of relaxation.
Keep in mind that it may take a bit of trial and error to find the ideal setup for your hammock. Experiment with different heights, positions, and tension levels until you achieve the most comfortable and secure configuration.
Remember, safety should always be a priority when using a hammock. Double-check the suspension system and fabric regularly for any signs of wear and tear. It’s also important to follow weight capacity guidelines and never exceed the recommended limit.
Now that you have successfully created your DIY hammock and made any necessary adjustments, it’s time to sit back, unwind, and enjoy the blissful comfort of your own handmade outdoor retreat.
Conclusion
Congratulations on successfully completing your DIY hammock! By following the steps outlined in this guide, you’ve created a personalized outdoor oasis that’s perfect for relaxation and unwinding. Not only did you save money by making your own hammock, but you also had the freedom to choose the fabric, design, and suspension system that best suits your needs and style.
Hammocks provide an incredible way to enjoy the great outdoors, whether it’s in your backyard, on a camping trip, or even on a balcony. The comfort, support, and tranquility that a hammock offers are unmatched, allowing you to escape from the hectic pace of daily life and find peace in nature.
Remember, safety is paramount when using a hammock. Always double-check the stability of the anchor points and ensure that the suspension system is securely attached. Regularly inspect the fabric and stitching for any signs of wear and tear. By taking these precautions, you can enjoy your DIY hammock for years to come.
Now that you have your very own hammock, it’s time to make the most of it. Take the opportunity to relax, read a book, enjoy a nap, or simply bask in the beauty of the great outdoors. Share your newfound oasis with friends and family, creating lasting memories and moments of pure serenity.
Don’t forget to maintain your hammock properly. Clean it regularly, especially if it’s exposed to the elements, to prevent mold or mildew. Store it in a dry place when not in use to prolong its lifespan.
We hope that this DIY hammock guide has inspired you to embark on your own creative projects and embrace the joy of outdoor relaxation. Remember, the possibilities are endless when it comes to DIY projects, so don’t hesitate to let your imagination soar and create your own outdoor haven.
Enjoy the blissful comfort and soothing sway of your DIY hammock, and may it become a cherished addition to your outdoor furniture collection!
Frequently Asked Questions about How To Make A DIY Hammock
Was this page helpful?
At Storables.com, we guarantee accurate and reliable information. Our content, validated by Expert Board Contributors, is crafted following stringent Editorial Policies. We're committed to providing you with well-researched, expert-backed insights for all your informational needs.


0 thoughts on “How To Make A DIY Hammock”