Home>Ideas and Tips>Backyard Rain Barrel Installation and Collect Water for Gardens

Ideas and Tips
Backyard Rain Barrel Installation and Collect Water for Gardens
Modified: October 20, 2024
Learn how to install a rain barrel in your backyard to collect rainwater for your garden, conserve water, and promote sustainable gardening practices.
(Many of the links in this article redirect to a specific reviewed product. Your purchase of these products through affiliate links helps to generate commission for Storables.com, at no extra cost. Learn more)
Introduction
In the pursuit of sustainable gardening practices, one of the most effective and eco-friendly methods is to install a rain barrel system. Rain barrels are vessels designed to collect and store rainwater from your home's gutter system, providing a natural and chemical-free source of water for your plants and lawn. This article will guide you through the process of installing a rain barrel system, highlighting the benefits, necessary materials, and step-by-step instructions to ensure a successful installation.
Read also: 14 Best Rain Water Storage Barrel For 2025
Benefits of Using Rain Barrels
Water Conservation: One of the primary benefits of using rain barrels is water conservation. By collecting rainwater, you can significantly reduce your reliance on municipal water supplies, thereby saving money on your water bill.
Chemical-Free Water: Rainwater is naturally free from the minerals, chlorine, fluoride, and other chemicals found in municipal water. This makes it an ideal choice for watering plants and maintaining a healthy garden ecosystem.
Reduced Carbon Footprint: By harvesting rainwater, you are reducing the amount of stormwater that enters the drainage system, which can lead to erosion and pollution. This helps in lessening your lawn's carbon footprint.
Improved Plant Health: Plants thrive on rainwater because it is rich in oxygen and lacks the harsh chemicals present in tap water. This can lead to healthier plants and a more vibrant garden.
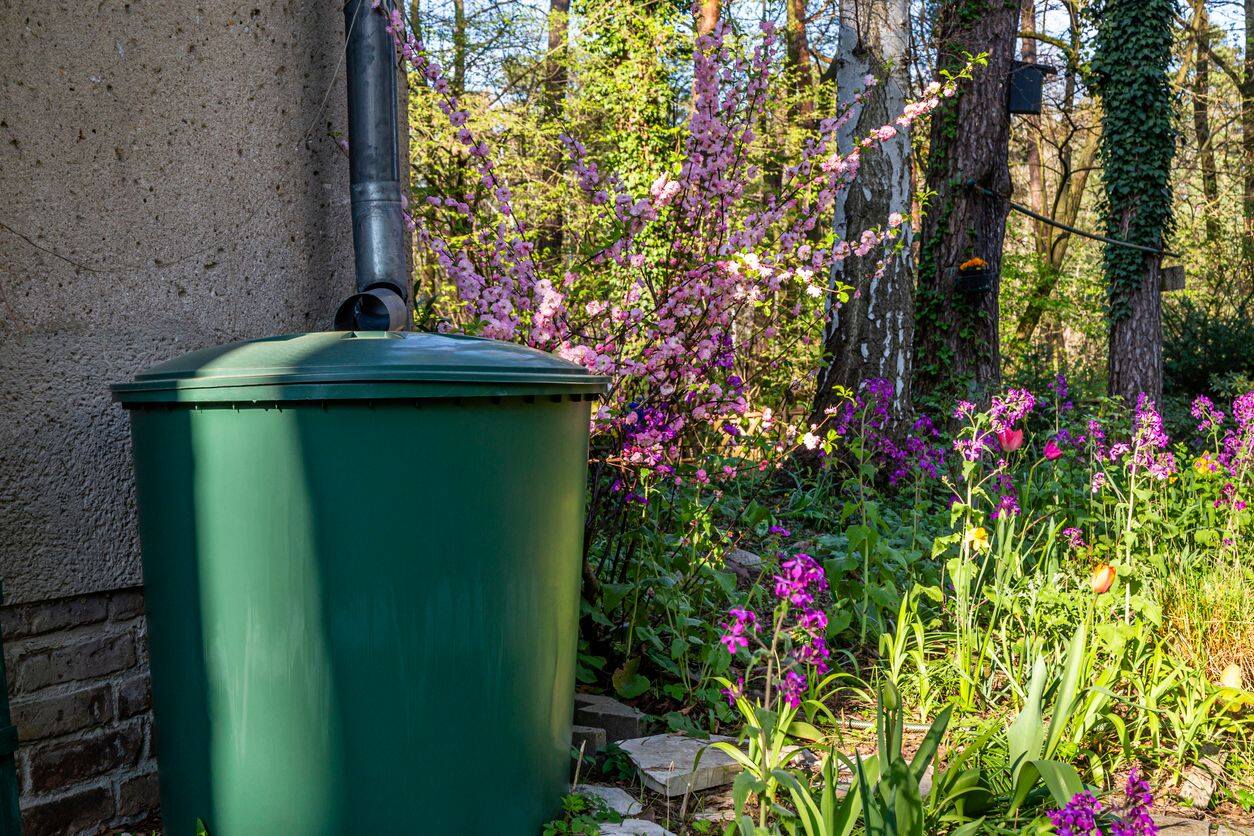
Aesthetic Appeal: Rain barrels come in various styles and sizes, making them a decorative addition to your backyard. They can be placed under downspouts or integrated into a rain garden system for an aesthetically pleasing setup.
Materials Needed
To install a rain barrel system, you will need the following materials:
-
Rain Barrel: This is the primary container for collecting and storing rainwater. You can purchase a pre-made rain barrel from a hardware store or garden center or opt for a DIY approach using a large plastic drum or container.
-
Downspout Elbow: This is used to redirect the flow of water from the downspout into the rain barrel. It helps in ensuring that the water flows smoothly into the barrel without any obstructions.
-
Hacksaw: A hacksaw is necessary for cutting any metal parts or downspouts to fit your rain barrel system.
-
Safety Glasses and Gloves: Protective gear is crucial when working with sharp objects and potentially heavy materials.
-
Cinder Blocks or Concrete Tiles: These are used to create a stable base for the rain barrel, ensuring it does not tip over and remains level.
-
Optional Downspout Diverter: If you have multiple downspouts, a downspout diverter can help direct the water from multiple sources into a single rain barrel.
Step-by-Step Installation Guide
Step 1: Choose the Perfect Spot
The first step in installing a rain barrel system is to choose the perfect spot. Your rain barrel should be placed right beneath one of your home's gutter downspouts. Ensure that the area is flat and even to prevent the barrel from tipping over. If you plan to irrigate your lawn or garden with the water from your rain barrel, choose the downspout closest to the area that needs water.
Step 2: Lay the Foundation
Once you've determined where to place your rain barrel, you have two options for preparing the site:
Elevated Platform
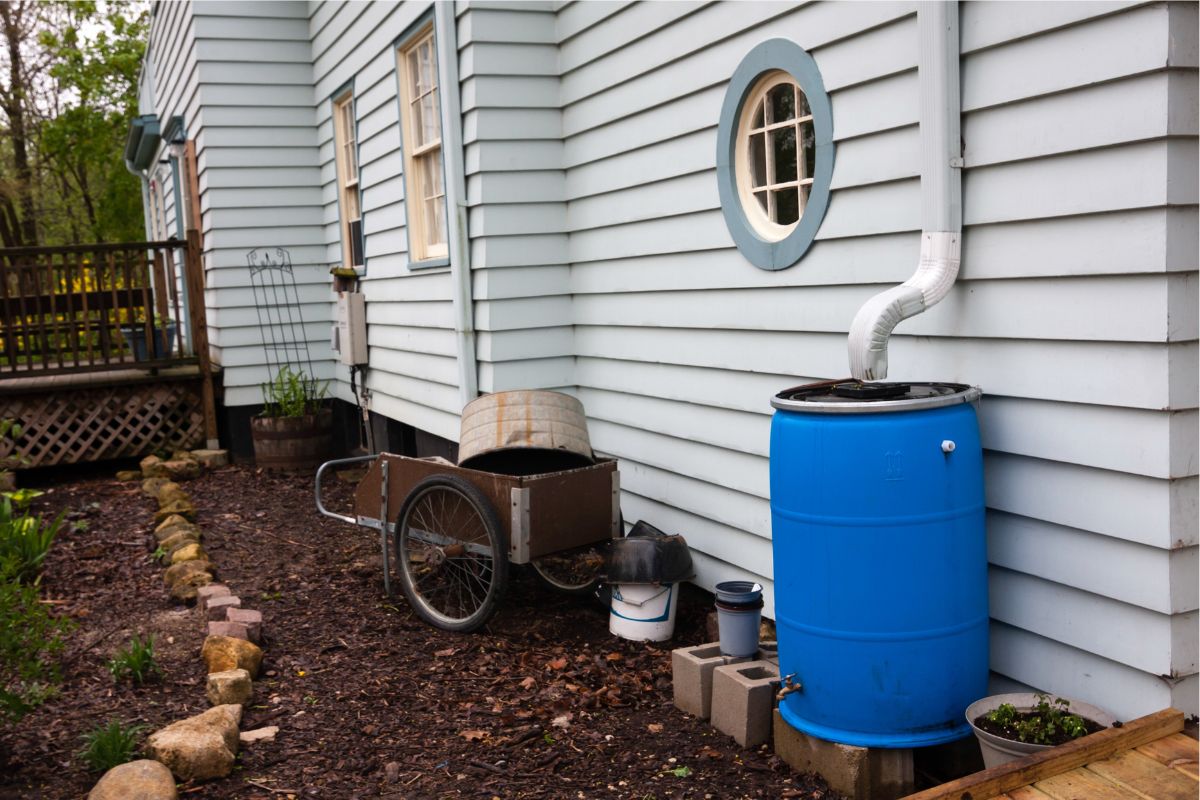
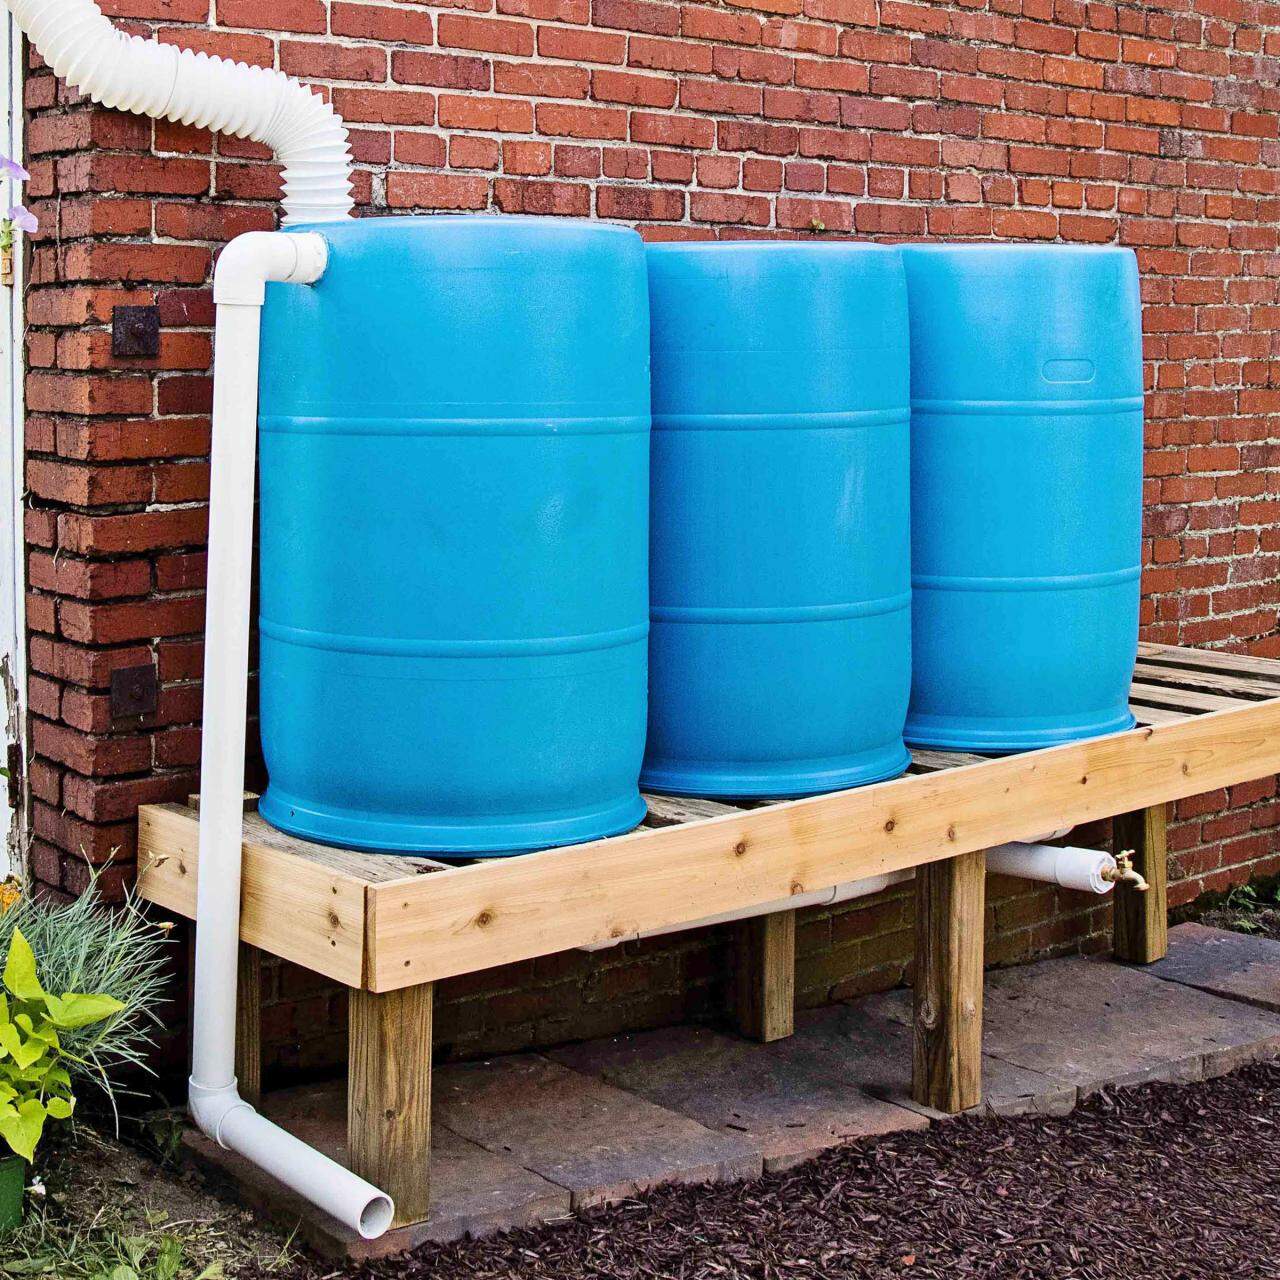
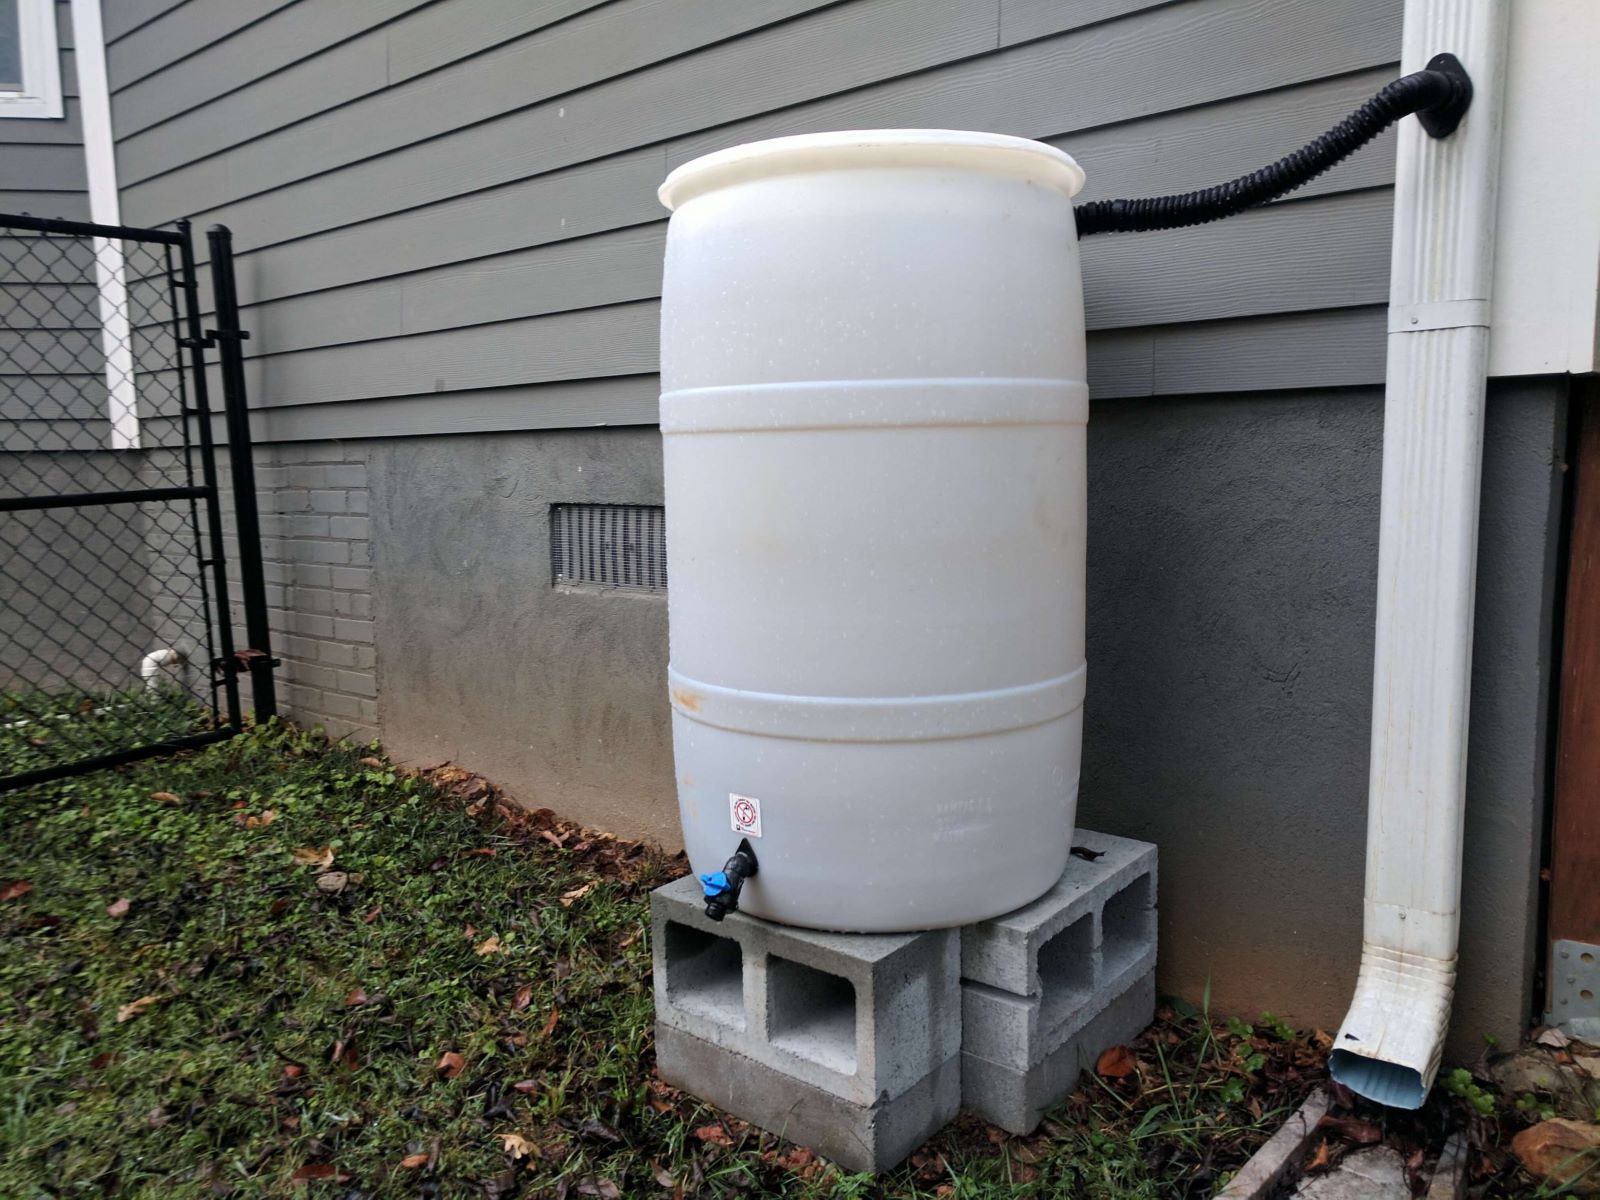
Elevating your rain barrel a few inches off the ground will increase the natural water pressure and flow rate. Use a platform that can hold the barrel’s weight when it’s full of water—around 300 pounds. You can purchase a plastic rain barrel stand or use 2 to 4 concrete cinder blocks (depending on the size of the barrel).
Gravel or Sand Pit
In lieu of a platform, dig a pit 2 to 3 inches deep. Fill the pit with gravel or sand and smooth the top to create a flat, level surface on which to place the barrel.
Step 3: Face the Spigot and Overflow Valve Away from the House
Place your rain barrel on top of the foundation you just installed. The spigot and overflow valve should face away from the house for easy access to the spigot. This also ensures that excess stormwater is carried away from your home’s foundation.
The overflow pipe or hose should deposit excess water in an appropriate drainage spot that is:
- At least 10 feet from the house
- Away from your lawn
- Preferably into a rain garden or storm drain
Step 4: Connect the Downspout Elbow
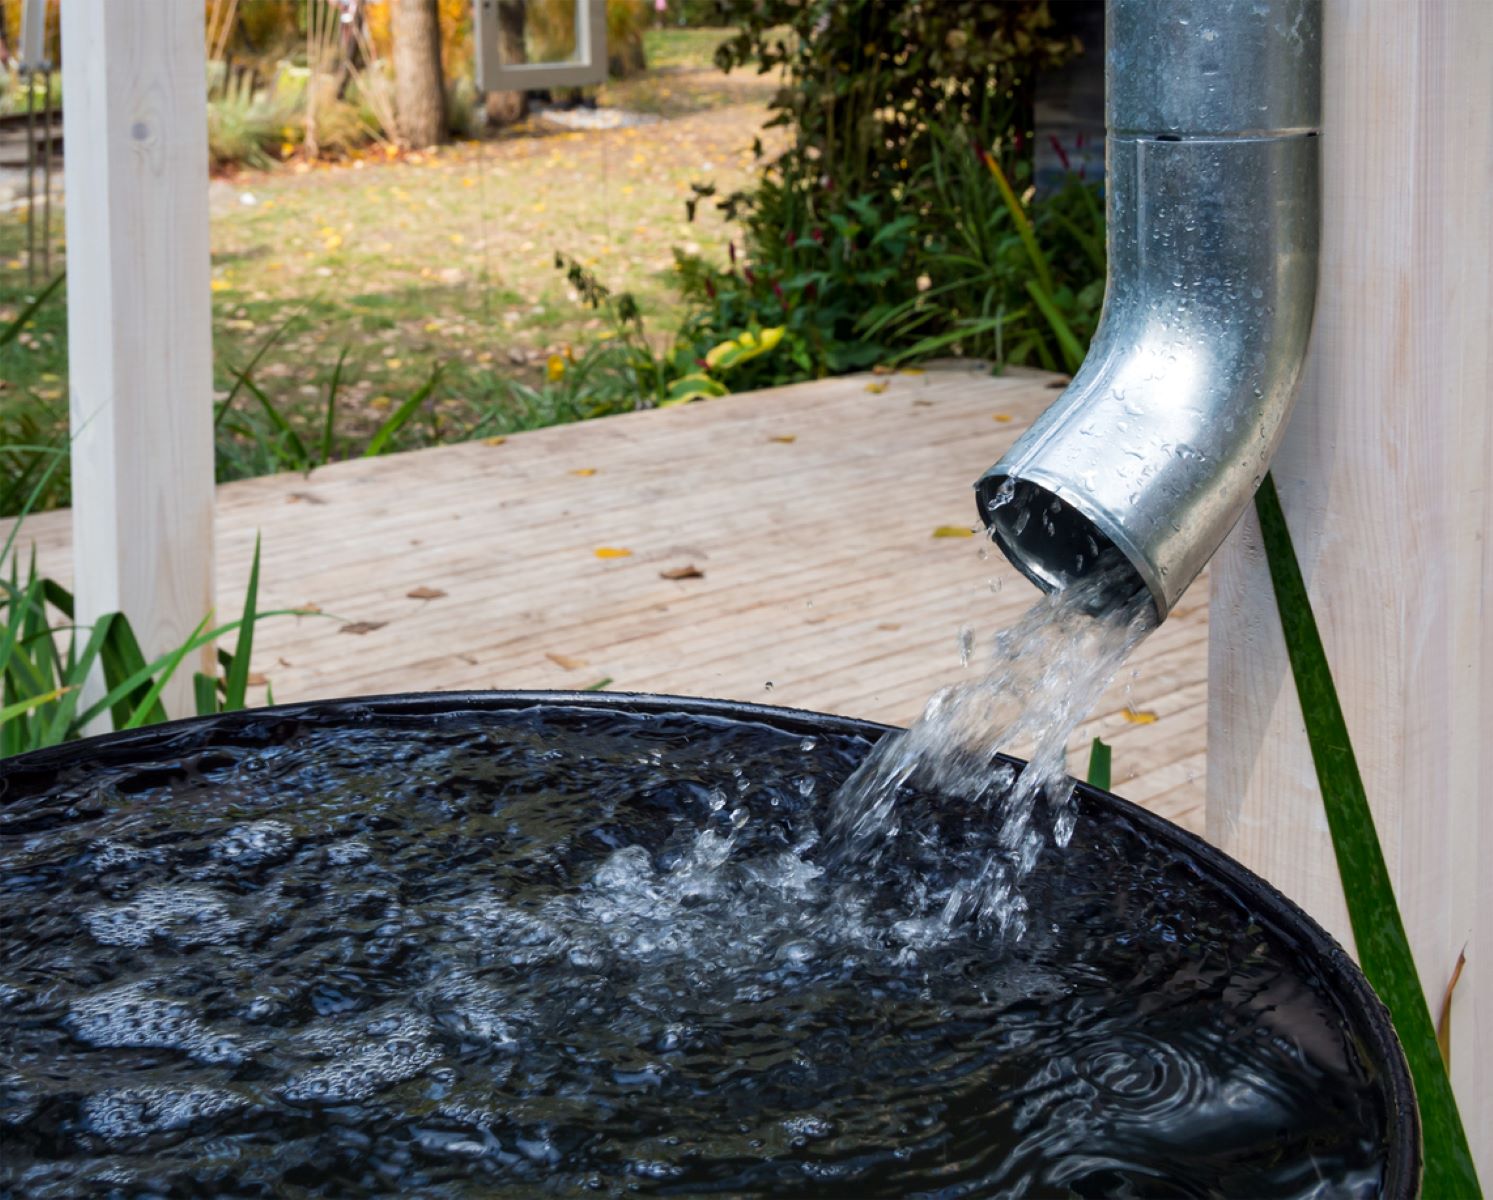
Attach the downspout elbow to your home's gutter downspout. This will redirect the flow of water into your rain barrel. Make sure it is securely attached to prevent any leaks or water loss.
Step 5: Install the Overflow Valve
Install an overflow valve on your rain barrel so that when it gets full, excess water can flow out into an appropriate drainage spot. This valve should be positioned in a way that allows for easy access for maintenance.
Read more: How To Collect Rain Water Without Gutters
Step 6: Add a Spigot for Easy Watering
Attach a spigot to the bottom of your rain barrel so that you can easily attach a hose or watering can. This makes it convenient for watering plants without having to lift heavy buckets of water.
Step 7: Secure the Rain Barrel
Ensure that your rain barrel is securely placed on its foundation. Use nuts and bolts if necessary to keep it stable and prevent it from tipping over.
Additional Tips for Maintenance
Regular Cleaning: Check rain barrels regularly to ensure intakes and overflows aren’t blocked with leaves or other debris that could limit collection or delivery. Disassemble your rain barrel periodically and remove any debris that may build up in the pipes or barrel.
Debris Management: Investing in a filter or screen can help keep your rain barrel clean longer by preventing large particles from entering the system.
Mosquito Control: Standing water in a rain barrel makes attractive real estate for mosquitoes. Adding a filter can prevent mosquitoes from entering your rain barrel and laying eggs. If you already see mosquitoes in or around the barrel, consider using a mosquito donut/dunk—a Bti pesticide—that kills larvae but leaves water safe to use in your garden.
Roofing Materials: When using your home's roof as the rainwater catchment area, select roofing materials carefully. Stainless steel and galvanized steel with a baked-on enamel finish are good choices because they’re smooth, impervious, and not treated with chemicals that will leach into the water. Avoid organic materials like wood shakes or clay tiles because they support algae and mold growth.
Local Regulations: Check local laws regarding rainwater harvesting before starting this project. While it’s legal in some form in all 50 states, individual states may have restrictions on how much water you can collect and what you can use it for.
Integrating Rain Barrels into a Rain Garden System
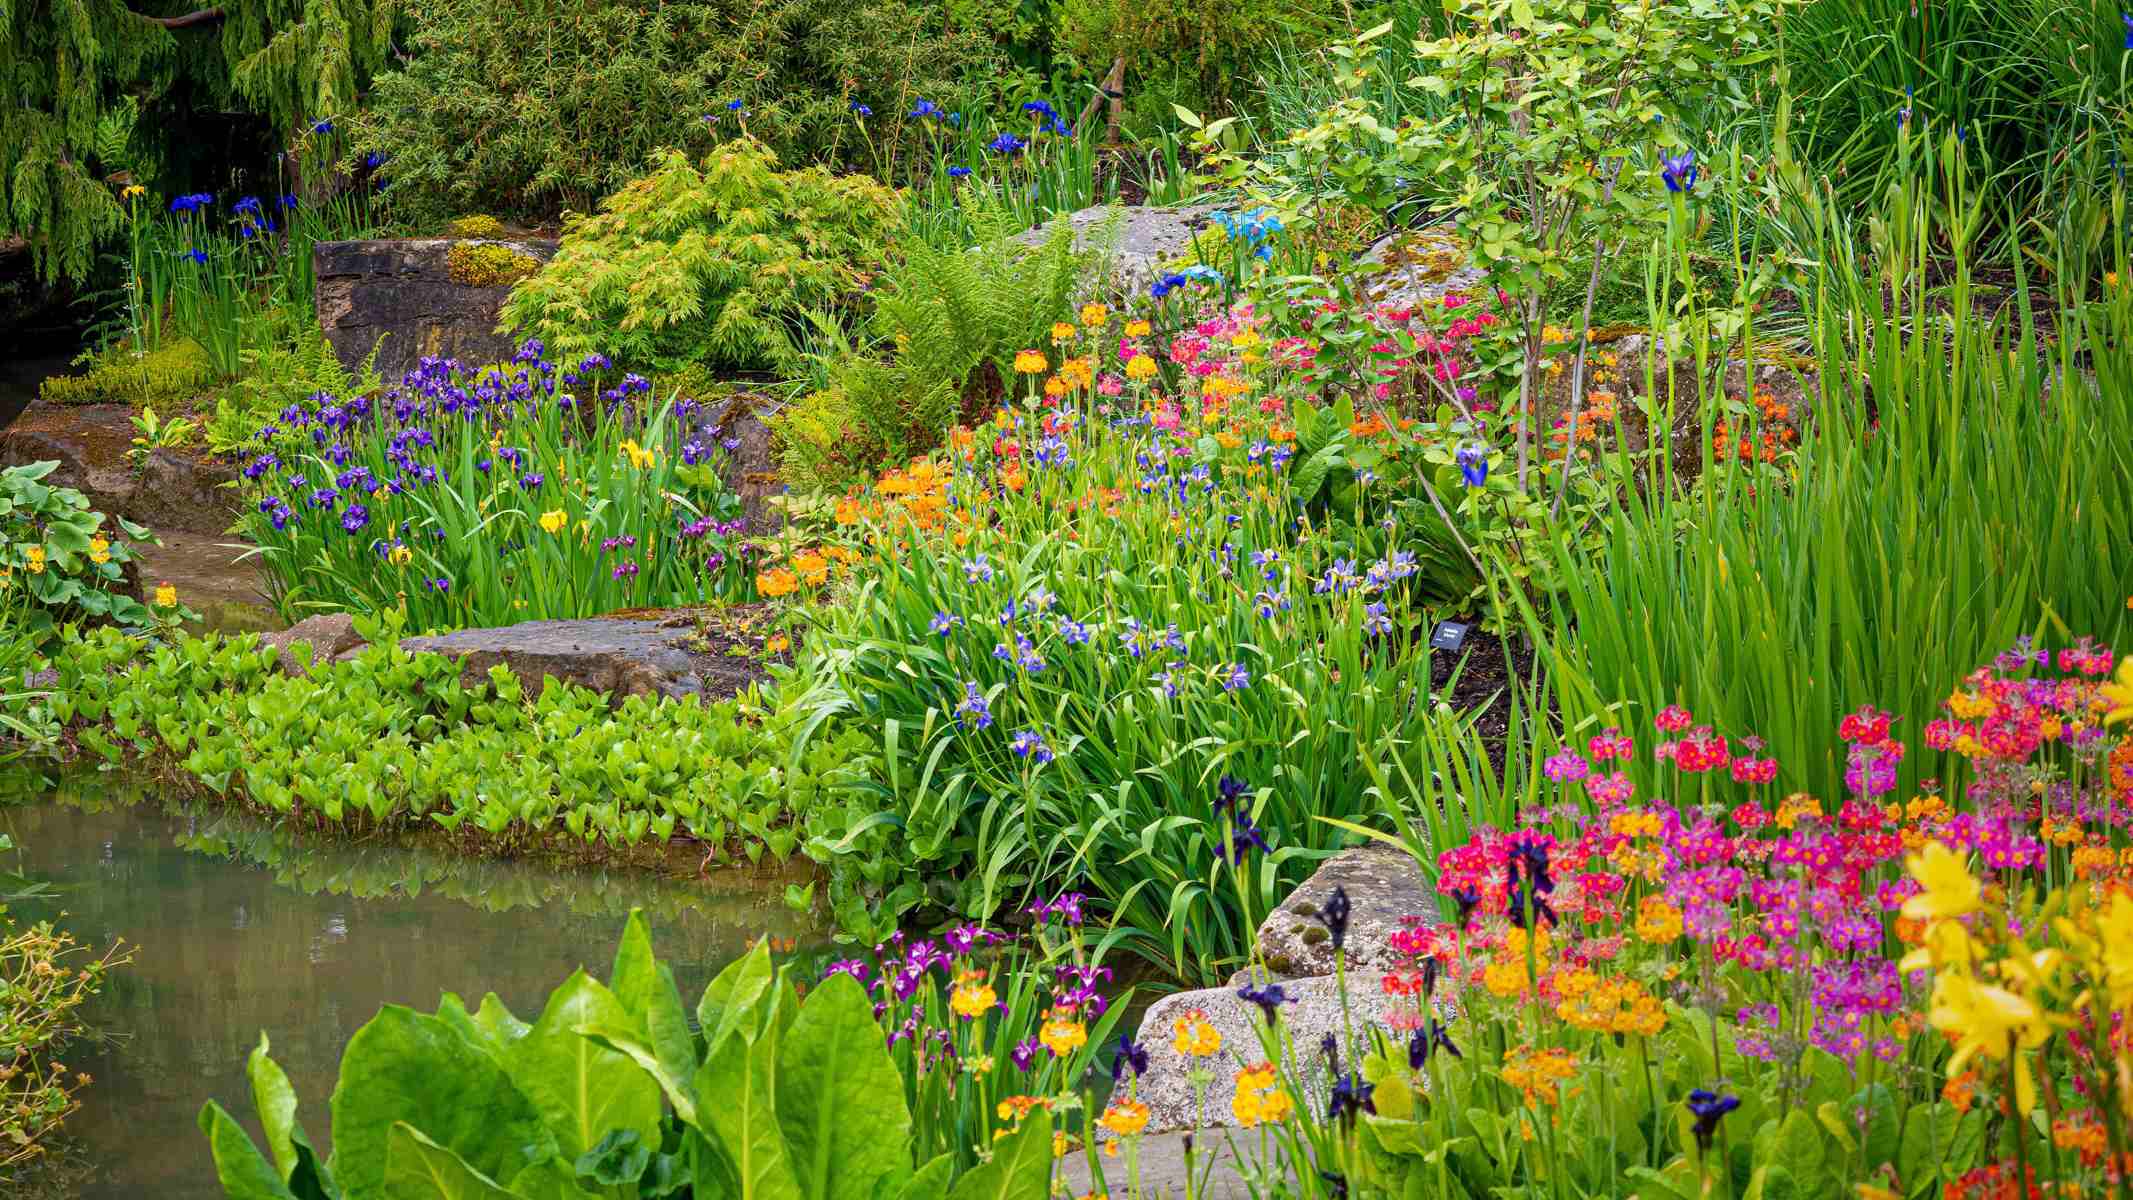
Connecting rain barrels to a rain garden system can maximize water harvesting for irrigation purposes. Here’s how you can do it:
Burying Overflow Pipes: Burying overflow pipes prevents them from attracting mosquitoes and ensures that excess water flows into the rain garden without creating an attractive breeding site for pests.
Creating a Walkable Creek Bed: You can create a long, narrow walkable creek bed that absorbs overflow and directs excess water to gardens on lower patio levels. Use weedblocker and place rocks in the creek bed area to prevent erosion.
Drought-Tolerant Plantings: Choose drought-tolerant plantings around the walkway to ensure that even during heavy rains, the plants assist in water absorption without requiring excessive maintenance.
Waterfall Feature: Add a waterfall feature as an extra precaution during heavy rains when the rain garden becomes fully saturated. This not only adds aesthetic appeal but also helps in directing excess water away from the garden.
Read more: How To Store Water In Barrels
Conclusion
Installing a rain barrel system is an excellent way to conserve water, reduce your carbon footprint, and maintain healthy plants without using chemical-laden tap water. By following these steps and tips, you can create an efficient rainwater harvesting system that benefits both your garden and the environment. Whether you choose to integrate your rain barrels into a rain garden or simply use them for direct watering, this sustainable practice is sure to make a positive impact on your gardening endeavors.
Additional Resources
For more detailed instructions and tips on installing and maintaining rain barrels, consider the following resources:
- YouTube Videos: Channels like The Patio Gardeners and Mississippi Watershed Management Organization offer comprehensive guides on installing rain barrels.
- Lawn Love Blog: Provides practical guides on how to install rain barrels and maintain them effectively.
- HGTV: Offers DIY tutorials on building rain barrel systems with wooden stands.
By combining these resources with the step-by-step guide provided here, you'll be well-equipped to create an efficient rainwater harvesting system that enhances your gardening experience while contributing to environmental sustainability.
Was this page helpful?
At Storables.com, we guarantee accurate and reliable information. Our content, validated by Expert Board Contributors, is crafted following stringent Editorial Policies. We're committed to providing you with well-researched, expert-backed insights for all your informational needs.



0 thoughts on “Backyard Rain Barrel Installation and Collect Water for Gardens”