Home>Ideas and Tips>Backyard Rock Climbing Wall: DIY Bouldering at Home
Ideas and Tips
Backyard Rock Climbing Wall: DIY Bouldering at Home
Published: September 3, 2024
Build a backyard rock climbing wall with our DIY guide. Perfect for kids and adults, enjoy endless fun and exercise at home.
(Many of the links in this article redirect to a specific reviewed product. Your purchase of these products through affiliate links helps to generate commission for Storables.com, at no extra cost. Learn more)
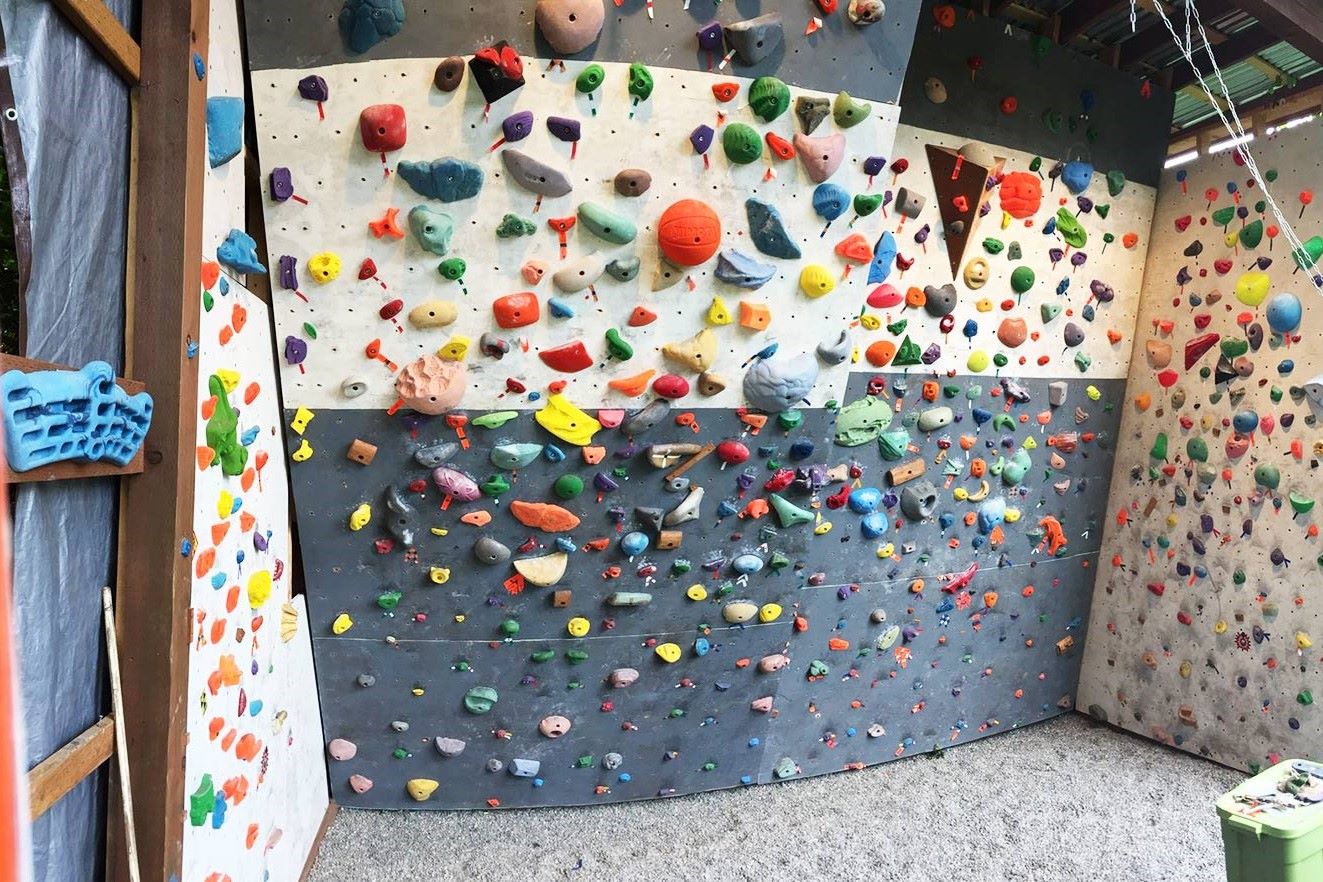
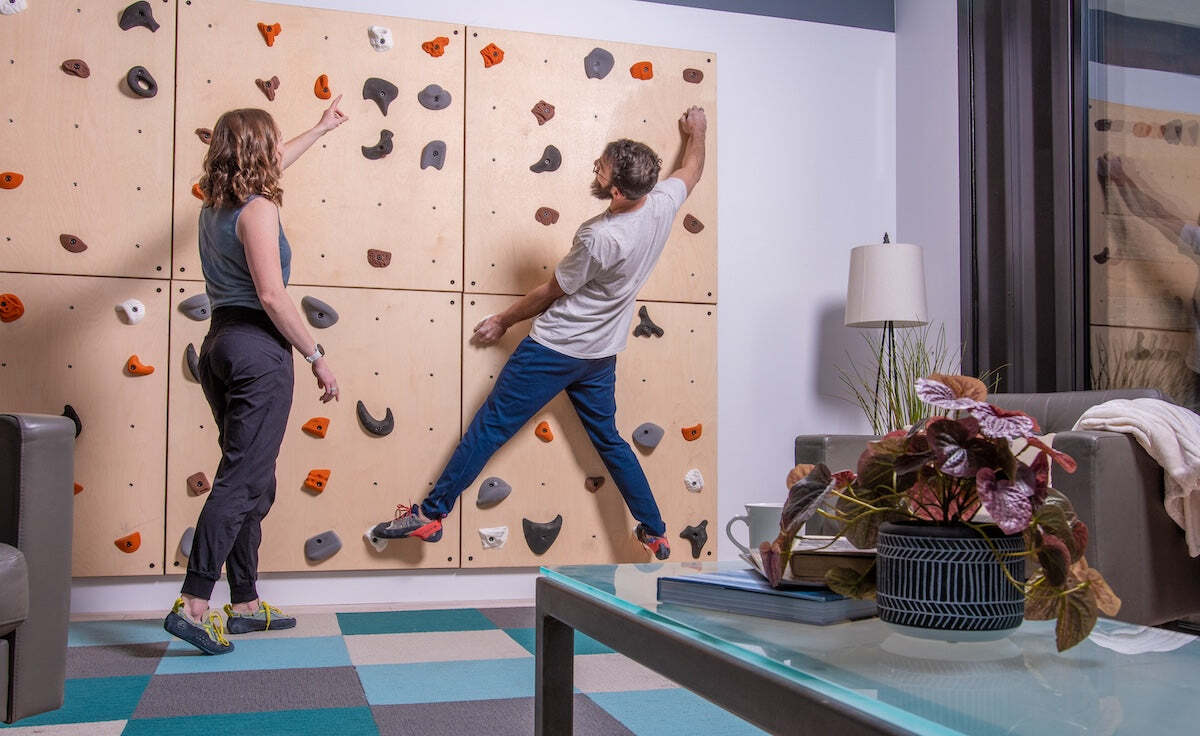
Building a backyard rock climbing wall is an exciting project that can provide endless fun and exercise for both kids and adults. Whether you're looking to create a challenging bouldering wall for serious climbers or a kid-friendly climbing area, this guide will walk you through the steps to build a DIY backyard rock climbing wall.
Planning Your Climbing Wall
Before you start building, it's essential to plan out your project thoroughly. Here are some key considerations to keep in mind:
Research and Inspiration
Start by researching different types of climbing walls and their designs. Look at various blogs, social media, and YouTube videos to get an idea of what is possible and ideal in your space. This will help you develop an understanding of what you want and what you need to achieve your goals.
Primary Use
Determine the primary use of your climbing wall. Will it be for casual home exercise, kid-friendly entertainment, or goal-oriented training? This will help you decide on the features and specifications of your wall.
Angle
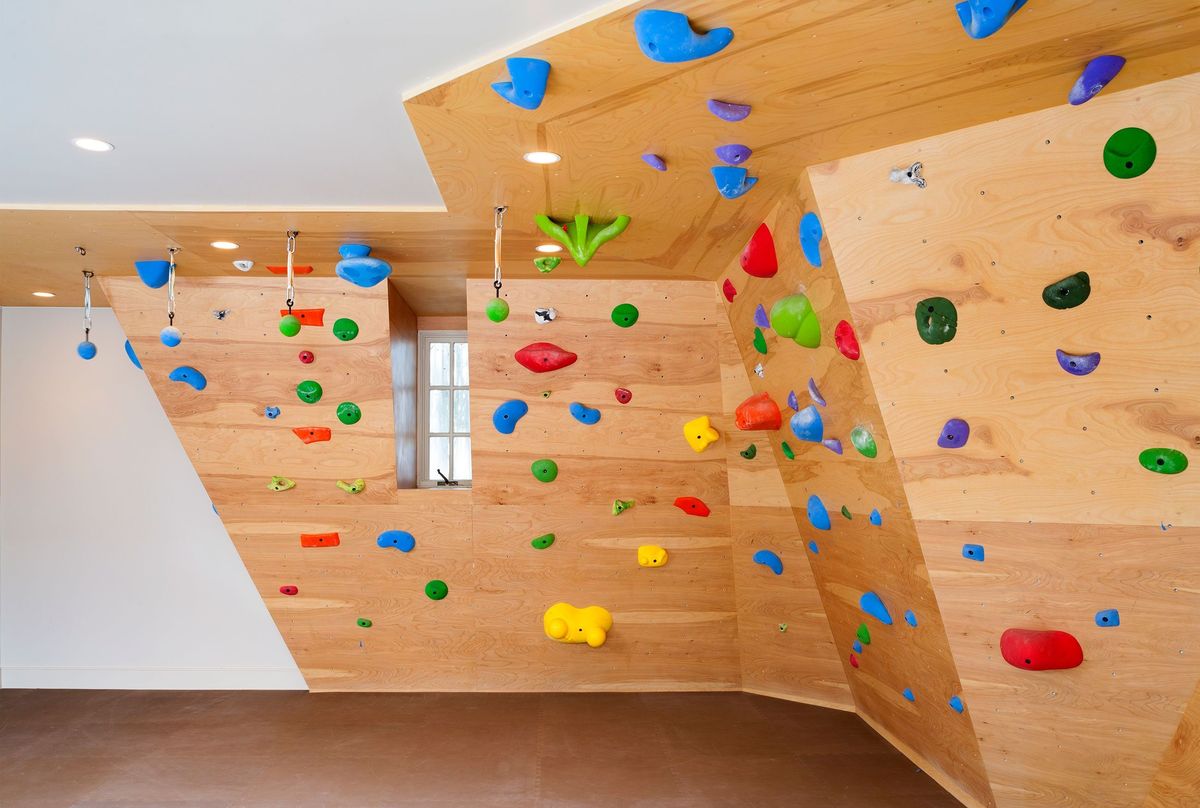
One of the most important design features is the angle of your climbing wall. A vertical wall is easier to climb on than a steep (overhung) one, but an overhung wall can provide a more challenging and engaging climb. Consider what angle will best suit your needs and the skill level of the users.
Logistics
Think about the logistics of building and maintaining your climbing wall. If you're building an outdoor wall, consider weatherproofing measures to ensure it can withstand various weather conditions. For indoor walls, think about space constraints and how the wall will fit into your home.
Budget
Set a budget for your project and stick to it. While it's tempting to go all out with expensive materials, you can build a functional and fun climbing wall on a budget. Here’s a breakdown of estimated costs for a basic backyard rock climbing wall:
- 2 x (4’x8′) 1″ Plywood: $80.00
- 1 PT (2″x6″) 8′ baseboard: $5.00
- 6- 1/2′ screws to attach baseboard to studs: $3.00
- 5/8″ Bolt, Nut, Washers (3 bolts, 6 washers): $5.00
- 2 x 10″ Rebar (cut to size): (Cost varies)
- 3 x 12′ (2×4): $25.00
- Optional paint to match the house: $10.00
- Climbing holds: $43
Total estimated cost: $170
Gathering Materials
Once you have a clear plan, it's time to gather your materials. Here’s a list of what you'll need:
Lumber
- 2×4 studs: For framing and supports.
- 1″ Plywood sheets: For the climbing surface.
- PT (2″x6″) 8′ baseboard: For the base of the wall.
- Rebar: For securing the baseboard to the ground.
- 2×10 lumber (cut to size): For additional support if needed.
Hardware
- 3” construction screws: For assembling the frame.
- ⅜” T-nuts: For attaching climbing holds.
- ½” drill bit: For drilling holes for T-nuts.
- Framing square: For ensuring accurate framing.
- Level: For ensuring the wall is level.
Climbing Holds
- Climbing hold kits: These come with mounting hardware and can be purchased from hardware stores or online.
Tools
- Circular saw: For cutting lumber.
- Drill driver combo: For drilling holes and driving screws.
- Orbital sander: For sanding plywood.
- Jigsaw: For cutting curves if needed.
- Speed square: For measuring and marking lumber accurately.
- Digital angle gauge: For measuring and marking odd angles on plywood.
Step-by-Step Instructions
Step 1: Measure Your Space
Measure the area where you plan to build your climbing wall. This will help you determine the size of your materials and ensure that everything fits perfectly.
Step 2: Prepare Your Plywood
Sand and paint your plywood sheets if desired. Let them fully dry before proceeding with the next steps. This step is crucial as it ensures that your climbing surface is smooth and durable.
Step 3: Secure the Baseboard
Secure your 8′ baseboard to the ground using Rebar. Pound the Rebar into the baseboard until it is flush with it. This provides a solid foundation for your climbing wall.
Step 4: Frame the Climbing Wall
Secure your three 12′ 2x4s to the baseboard and roof using brackets. Start from the exact middle of the baseboard for your first 12′ 2×4 and measure out evenly from the sides to match the roof boards for the other two 12′ boards. If desired, paint these 2x4s to match your house color for a seamless look.
Step 5: Add Climbing Holds
Add climbing holds to the painted plywood sheets. Space them depending on the level of difficulty you prefer. If your kids are small, make sure to use enough large holds so they can climb comfortably. For more challenging sections, you can use smaller or more intricate holds.
Step 6: Attach Climbing Holds
Secure the bottom plywood with climbing holds attached to 2x4s using screws. Start your climbing wall 8″ off the ground for safety reasons. Use T-nuts to attach climbing holds securely without having to access the backside of the plywood.
Step 7: Assemble Panels
Secure the top piece of plywood by snapping it into place along with other panels if necessary. Use screws along the 2x4s to secure all panels in place. If desired, use putty to fill screw holes and paint over them for a smooth finish.
Step 8: Add Weatherproofing (If Outdoor)
If you're building an outdoor climbing wall, consider adding weatherproofing measures such as sealing any exposed wood or adding a tarp for protection during harsh weather conditions.
Step 9: Add Soft Landing Mat
Cover the baseboard with gravel or other materials for traction and add a soft landing mat underneath for any falls. This will provide extra safety and comfort for users.
Tips and Variations
Customizing Your Wall
One of the best things about building a DIY climbing wall is that you can customize it according to your needs and preferences. Here are some tips:
- Unique Holds: Use oddly shaped scrap wood pieces or create unique holds using various materials like metal or plastic.
- Angled Faces: Cut sections of plywood at odd angles for more challenging climbs.
- Color Scheme: Paint your wall in colors that match your home decor or add fun colors like neon lights for kids.
Safety Considerations
Safety should always be your top priority when building a climbing wall. Here are some safety considerations:
- Soft Landing Mat: Always have a soft landing mat underneath your climbing wall.
- Climbing Holds Placement: Ensure that climbing holds are placed at safe distances from each other.
- Age Restrictions: Set age restrictions based on the difficulty level of your wall.
Conclusion
Building a backyard rock climbing wall is an exciting project that can provide endless fun and exercise for both kids and adults. By following these steps and considering your needs carefully, you can create a functional and fun climbing wall that fits perfectly into your backyard or home. Whether you're looking to create a challenging bouldering wall or a kid-friendly climbing area, this guide has provided you with all the necessary information to get started.
Remember, safety should always be your top priority when building any structure, especially one that involves climbing. With proper planning, execution, and maintenance, your DIY backyard rock climbing wall will become a beloved addition to your home or backyard for years to come.
Read more: How To Build An Outdoor Climbing Wall
Additional Resources
For more detailed instructions or inspiration, consider checking out the following resources:
- DIY Rock Climbing Wall for Kids or Adults by The Handyman's Daughter: This tutorial provides a comprehensive guide on building an indoor climbing wall from framing to bolt holes, texture, paint, and assembly.
- Backyard Climbing Wall by Make Magazine: This article discusses building an outdoor climbing wall with various types of work involved and interesting challenges to work around.
- Making a Backyard Climbing Wall by I Like To Make Stuff: This guide shows how to make an awesome backyard climbing wall using construction lumber and outdoor plywood.
By following these resources and tips outlined in this article, you'll be well on your way to creating an amazing backyard rock climbing wall that everyone will love
Was this page helpful?
At Storables.com, we guarantee accurate and reliable information. Our content, validated by Expert Board Contributors, is crafted following stringent Editorial Policies. We're committed to providing you with well-researched, expert-backed insights for all your informational needs.
0 thoughts on “Backyard Rock Climbing Wall: DIY Bouldering at Home”