Home>Ideas and Tips>Crafting A DIY Spring Wreath For Your Front Door

Ideas and Tips
Crafting A DIY Spring Wreath For Your Front Door
Published: November 4, 2024
Create a vibrant DIY spring wreath for your front door with our step-by-step guide. Add a personal touch to your home decor this season!
(Many of the links in this article redirect to a specific reviewed product. Your purchase of these products through affiliate links helps to generate commission for Storables.com, at no extra cost. Learn more)
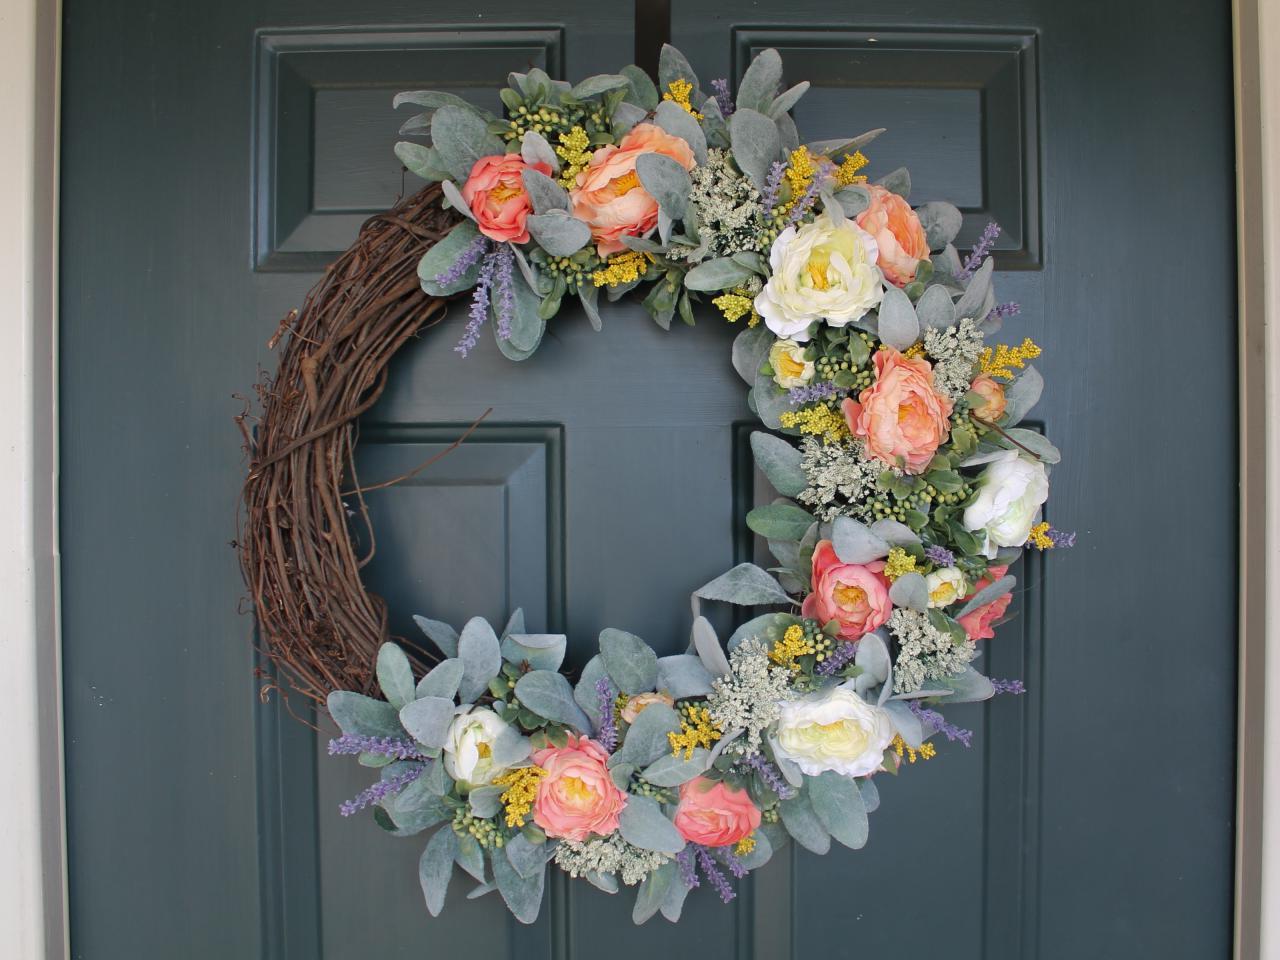
As the seasons change and spring arrives, there's no better way to welcome the new season than with a beautiful and vibrant DIY spring wreath on your front door. Not only does it add a touch of elegance and charm to your home's exterior, but it also serves as a delightful greeting for visitors and neighbors. In this article, we'll guide you through the process of creating a stunning DIY spring wreath using various materials and techniques. Whether you're a seasoned crafter or a beginner, this project is perfect for anyone looking to add some seasonal flair to their home.
Why Create a DIY Spring Wreath?
Creating a DIY spring wreath is a wonderful idea for several reasons. First off, it allows you to add a personal touch to your home's decor. You get to choose the colors, flowers, and materials that best reflect your style and preferences. This means your wreath will be unique, just like you. Plus, making your own wreath can be very cost-effective. Many of the materials needed can be found at local craft stores or even in your own garden, saving you a trip to the store and some cash.
Another great reason is that a wreath is perfect for seasonal decor. Spring is a time for renewal and growth, and a beautiful floral wreath captures this essence perfectly. It's an excellent way to celebrate the season without breaking the bank. Lastly, crafting a DIY wreath is an excellent way to express your creativity. You can experiment with different textures, colors, and designs to create something truly unique. So, let's get started on making your very own DIY spring wreath!
Materials Needed
To get started, you'll need some basic materials. Here’s a list of what you'll need:
- Grapevine Wreath: This serves as the base of your wreath. You can find grapevine wreaths at most craft stores or online.
- Greenery: Choose fresh or artificial greenery like boxwood, eucalyptus, ferns, or lambs ear. These will provide the foundation for your wreath.
- Flowers: Select seasonal flowers such as tulips, peonies, hydrangeas, and baby's breath. You can use fresh or artificial flowers depending on your preference.
- Floral Wire: This is used to secure the greenery and flowers to the wreath.
- Hot Glue Gun: For attaching any loose ends or securing the stems.
- Ribbon or Bowdabra: For adding a bow to finish off your wreath.
- Decorative Items (Optional): Consider adding decorative items like butterflies, chinoiserie eggs, or other spring-themed embellishments.
Step-by-Step Guide
Now that we have our materials ready, let's move on to the step-by-step guide on how to create your DIY spring wreath:
Step 1: Prepare Your Grapevine Wreath
- Trim Loose Pieces: Using wire cutters, trim any loose pieces from your grapevine wreath. This will help create a smooth surface for attaching your greenery and flowers.
- Clean the Wreath: If necessary, gently clean the grapevine wreath with a damp cloth to remove any dirt or debris.
Step 2: Arrange Your Greenery
- Layer Greenery: Start by arranging your greenery on the wreath. Begin with one type of greenery and then add another type to create layers. For example, you might start with boxwood and then add ferns or lambs ear.
- Secure Greenery: Use floral wire to secure each piece of greenery into the wreath. Make sure to tuck the wire stem into the wreath and secure it with hot glue for added stability.
Read more: How To Hang A Wreath On A Glass Door
Step 3: Add Flowers
- Separate Flowers: Separate each flower bunch from its stem, leaving at least a couple of inches of wire stem intact.
- Arrange Flowers: Arrange your flowers on the wreath in a way that creates visual interest. Start with larger flowers and then fill in with smaller ones.
- Secure Flowers: Use floral wire to secure each flower into place within the wreath. Make sure not to overcrowd; leave some space for visual appeal.
Step 4: Add Decorative Items (Optional)
- Butterflies & Eggs: If using butterflies or chinoiserie eggs, attach them using floral wire or hot glue.
- Other Embellishments: Consider adding other spring-themed embellishments like ribbons, bows, or small decorative items.
Step 5: Finish with a Bow
- Choose Ribbon/Bowdabra: Select a ribbon or use a Bowdabra kit for creating a bow.
- Attach Bow: Tie a loop on the back of your wreath using jute or another sturdy material for hanging purposes.
- Secure Bow: Attach your bow using floral wire or hot glue, ensuring it's securely fastened.
Hanging Your Wreath
Once your wreath is complete, it's time to hang it on your front door:
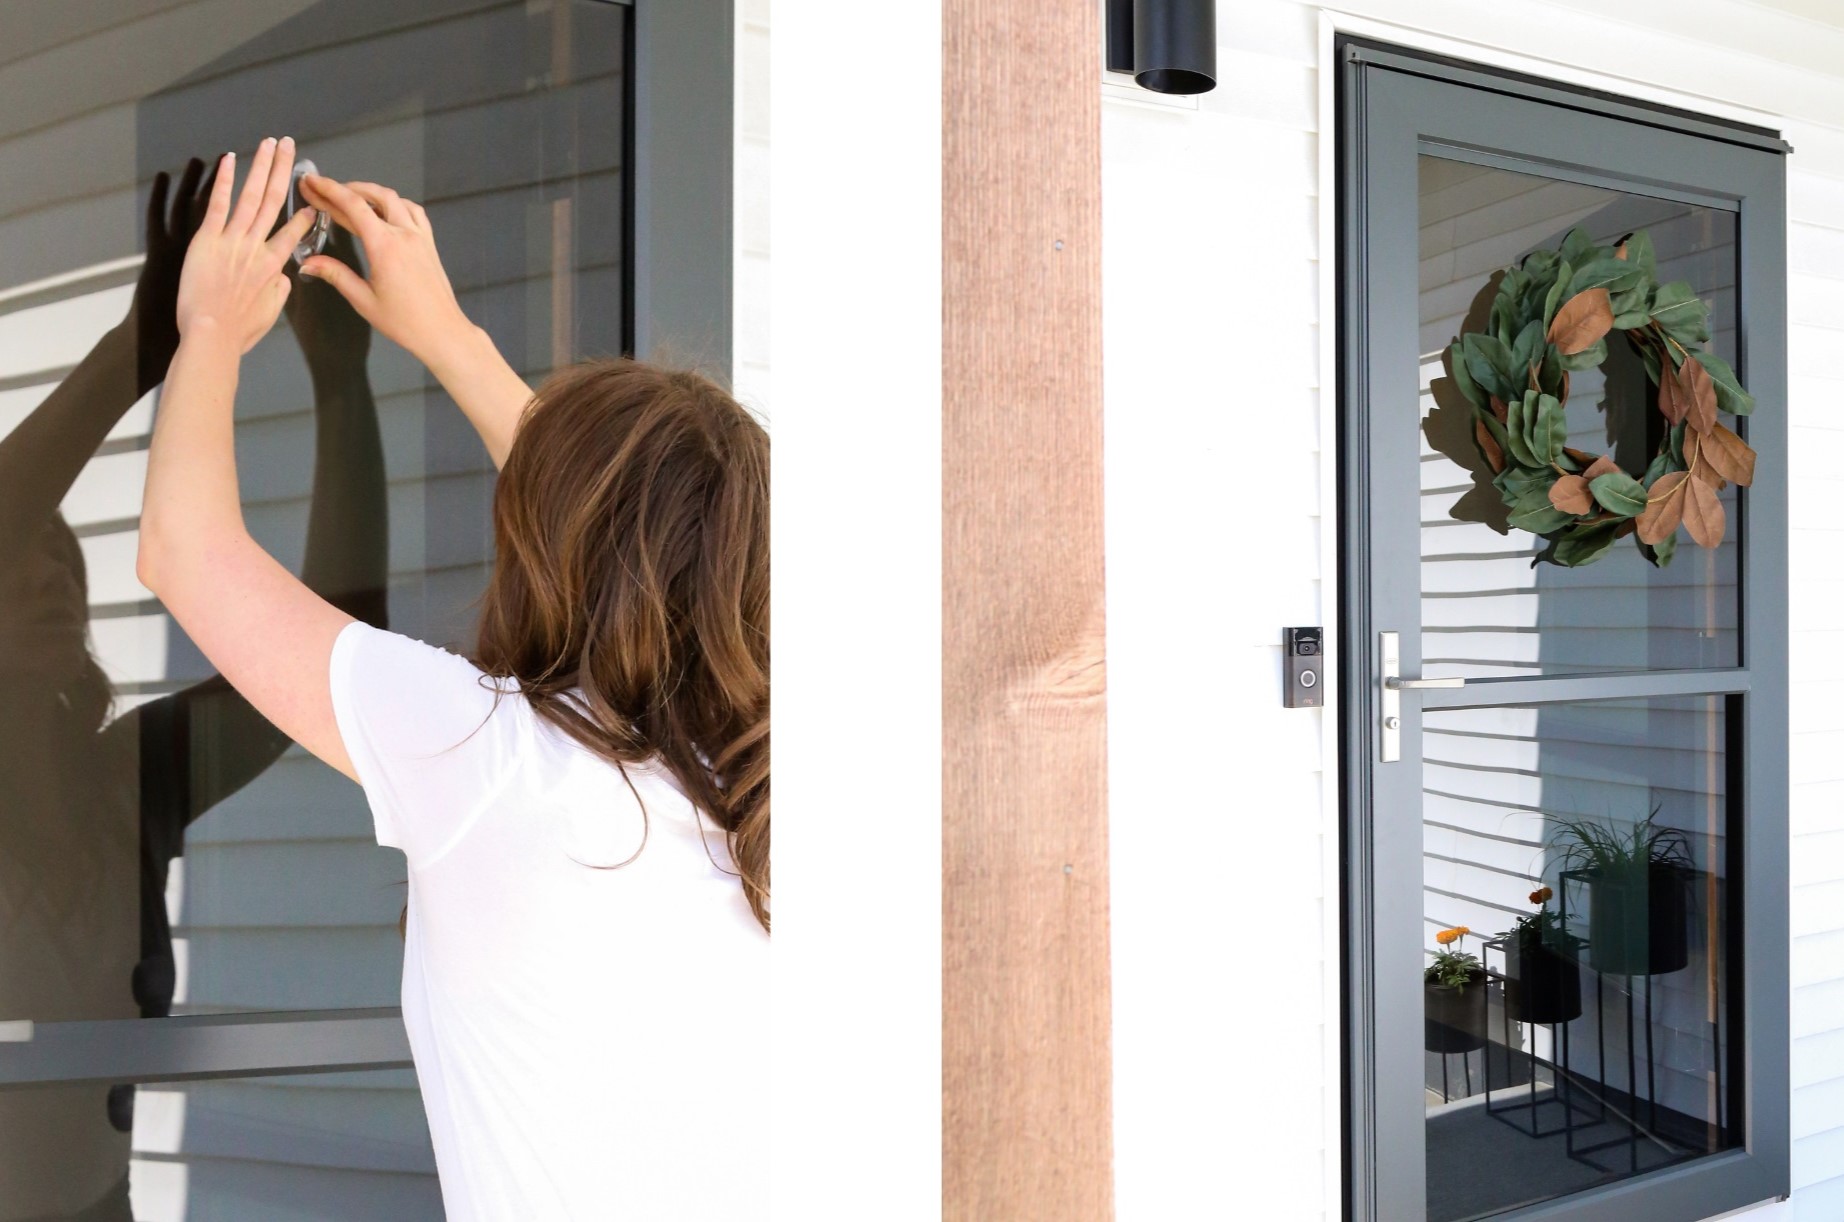
- Use Suction Cup Hook: For exterior doors, use a large suction cup with a hook for hanging your wreath without damaging the door.
- Command Strip Hooks: Alternatively, use Command Strip hooks which work well on both interior and exterior doors without leaving residue behind.
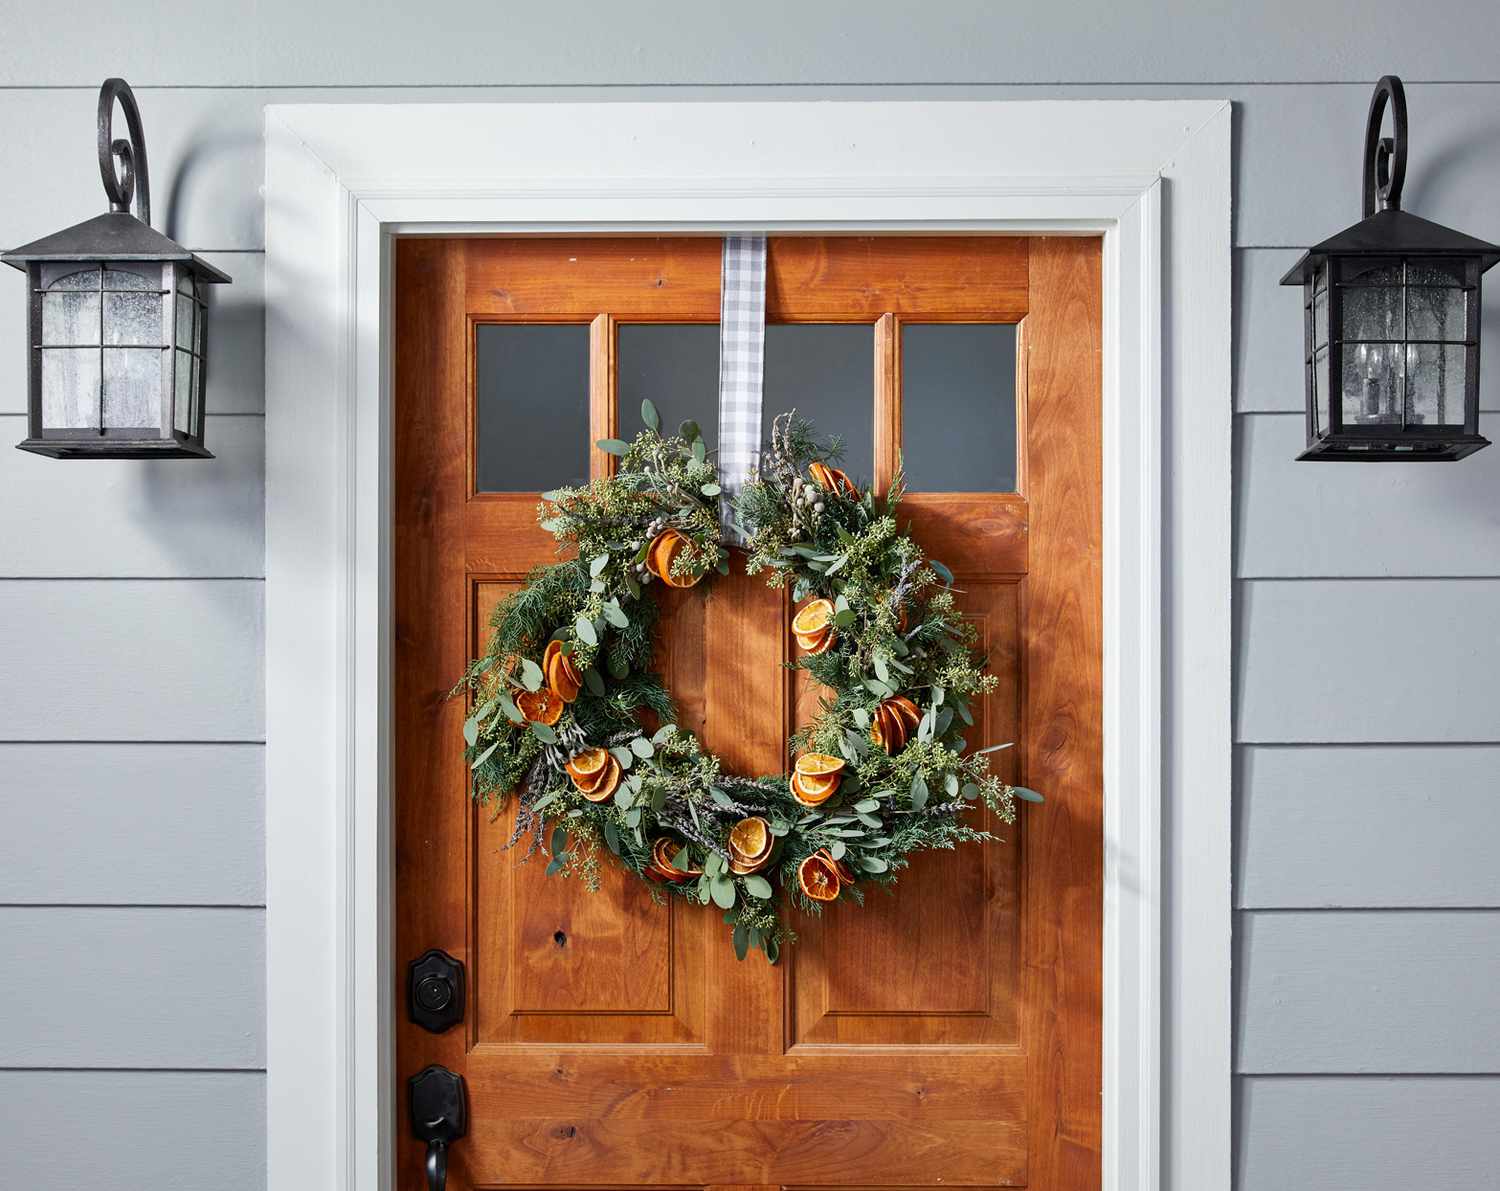
- Jute Loop: If you prefer not to use hooks, tie a loop on the back of your wreath using jute and hang it from a nail or hook.
Read more: How To Decorate Front Porch For Spring
Tips & Variations
Here are some additional tips and variations to make your DIY spring wreath even more special:
Tips:
- Mix Textures & Colors: Combine different textures like smooth leaves with bumpy flowers for added depth.
- Use Seasonal Elements: Incorporate seasonal elements like tulips for spring or poinsettias for Christmas.
- Experiment with Shapes: Try using non-traditional shapes like hula hoops or tires as bases for your wreath.
Variations:
- Garden-Inspired Look: Use artificial flowers and a craft wood watering can on top of a grapevine wreath for a garden-inspired look.
- Romantic Bloom Wreath: Feature peonies, cabbage roses, and anemones with striped herringbone ribbon for an elegant touch.
- Moss Purse Wreath: Create a moss purse brimming with spring florals and gingham ribbon for a charming twist.
Conclusion
Crafting a DIY spring wreath is not only fun but also rewarding. It allows you to express your creativity while adding a beautiful touch to your home's exterior. Whether you're looking for a simple yet elegant design or something more elaborate with various embellishments, this guide has provided you with all the necessary steps and tips to create your perfect spring wreath.
So why not give it a try? Gather your materials, follow these steps, and welcome spring into your home with a stunning DIY floral wreath that will surely impress both you and your visitors!
Read more: DIY Wreaths From Foraged Flowers And Foliage
Additional Resources
For more inspiration and detailed tutorials on making various types of spring wreaths, consider checking out these resources:
- My Family Thyme: Learn how to make a simple spring floral wreath using ranunculus flowers and greenery.
- The Pioneer Woman: Explore 35 DIY spring wreath ideas ranging from garden-inspired looks to romantic blooms.
- Jenny's W Boutique: Watch a YouTube video featuring six different spring floral wreath tutorials using various materials like eucalyptus and ferns.
- The Happy Housie: Discover how to create a high-end looking full floral DIY spring wreath on a low-end budget using dollar store florals.
By following these steps and tips, you'll be able to craft a beautiful DIY spring wreath that not only enhances your home's decor but also adds a personal touch that reflects your unique style and creativity. Happy crafting!
Was this page helpful?
At Storables.com, we guarantee accurate and reliable information. Our content, validated by Expert Board Contributors, is crafted following stringent Editorial Policies. We're committed to providing you with well-researched, expert-backed insights for all your informational needs.




0 thoughts on “Crafting A DIY Spring Wreath For Your Front Door”