Articles
How To Build Exterior Door Framing
Modified: August 27, 2024
Learn how to build exterior door framing with our informative articles. Find step-by-step instructions and helpful tips for a successful project.
(Many of the links in this article redirect to a specific reviewed product. Your purchase of these products through affiliate links helps to generate commission for Storables.com, at no extra cost. Learn more)
Introduction
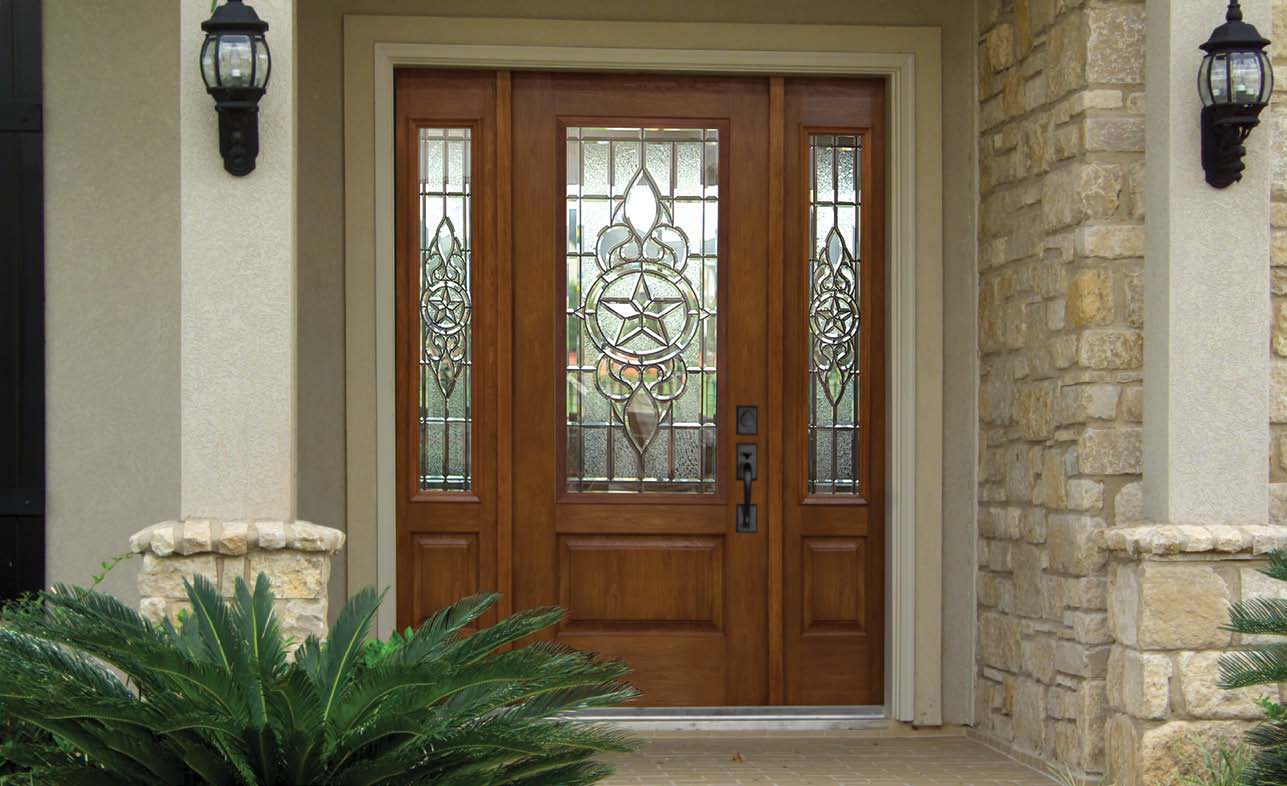
Welcome to our comprehensive guide on how to build exterior door framing. Whether you’re a DIY enthusiast or a professional contractor, understanding the process of constructing a sturdy and weather-resistant door frame is essential for any exterior door installation project. A proper door frame not only provides structural support but also helps to seal and protect your home from the elements.
In this article, we will walk you through each step of the door framing process, from planning and measuring to cutting and assembling the frame. We will also cover the installation of the door frame and share tips on sealing and weatherproofing to ensure a long-lasting and secure entryway.
Before we dive into the details, let’s take a look at the tools and materials you will need for this project.
Key Takeaways:
- Building a sturdy and weather-resistant exterior door frame requires precise planning, accurate measurements, and secure assembly. Proper sealing and weatherproofing are essential for long-lasting protection against the elements.
- From cutting and preparing lumber to installing the door frame, attention to detail and alignment are crucial. Following safety protocols and using suitable materials ensure a successful exterior door framing project.
Tools and Materials
Before you begin building your exterior door framing, gather the following tools and materials:
Tools:
- Tape measure
- Pencil
- Circular saw or miter saw
- Chisel
- Hammer
- Cordless drill
- Screwdriver
- Level
- Square
- Clamps
- Nail gun
- Caulking gun
Materials:
- Pressure-treated lumber (2×4 or 2×6)
- Wood screws
- Door hinges
- Shims
- Insulation foam
- Weatherstripping
- Exterior door
Make sure to choose materials that are suitable for exterior use and can withstand the elements.
Now that you have gathered your tools and materials, let’s move on to the next step in the process: planning and measuring.
Planning and Measuring
Before you start cutting and assembling the door frame, it’s crucial to plan and measure the opening where the door will be installed. Proper planning ensures that your door frame will fit correctly and function properly.
Here’s what you need to do:
- Measure the height and width of the opening where the door will be installed. Take precise measurements, accounting for any flooring materials that may be added later.
- Consider the thickness of the door itself. The door frame should be slightly larger than the door to provide a proper fit. Consult the manufacturer’s instructions for the door’s thickness.
- Determine the desired gap between the door and the frame for clearance and ease of operation. Usually, a 1/8-inch to 1/4-inch gap is sufficient.
- Check the levelness and plumbness of the opening. Use a level and a square to ensure that the sides and top of the opening are square and plumb. If necessary, use shims to correct any irregularities.
- Take note of any obstructions or uneven surfaces within the opening that may affect the installation of the door frame. Make a plan for how to address these issues.
By carefully planning and measuring, you can ensure that your door frame will fit perfectly and function smoothly. Once you have completed this step, you’re ready to move on to cutting and preparing the lumber.
Read more: How To Frame Exterior Walls
Cutting and Preparing the Lumber
With your measurements in hand, it’s time to cut and prepare the lumber for your exterior door frame. Here’s how to do it:
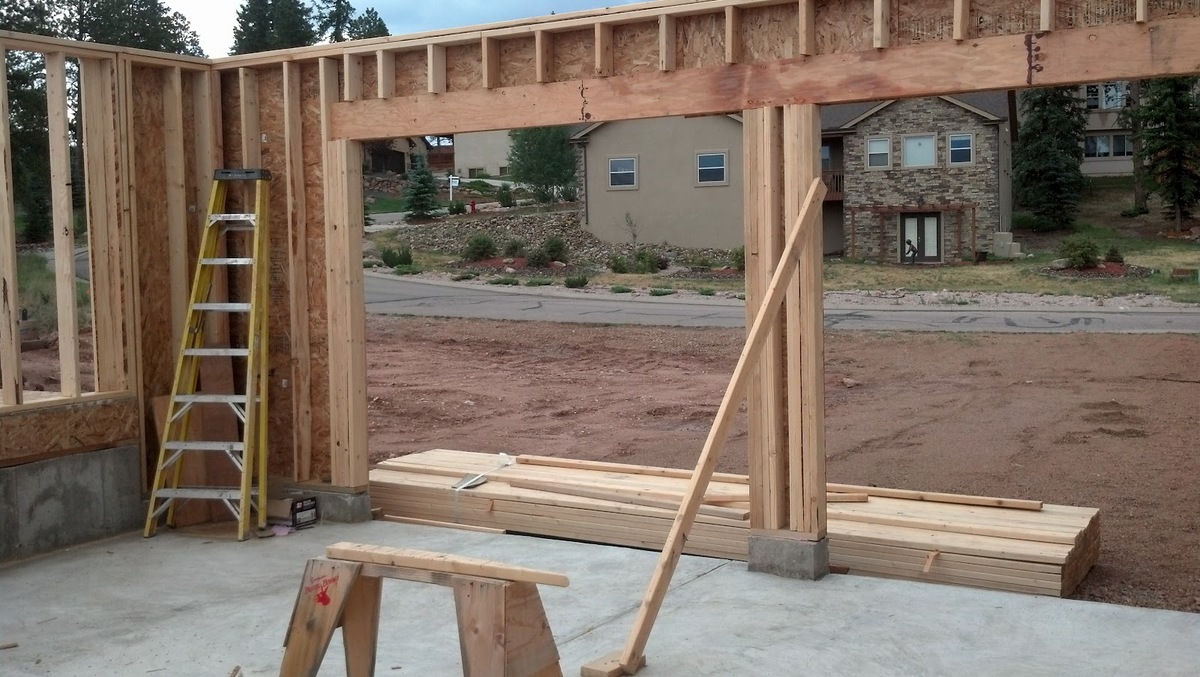
- Using a circular saw or miter saw, cut the pressure-treated lumber into pieces based on your measurements. You will need two vertical pieces (called “jack studs”) for the sides of the frame and one horizontal piece (called the “header”) for the top of the frame. Cut these pieces to match the height and width of the opening, plus the additional thickness of the door and the desired gap.
- Next, cut two additional pieces of lumber to serve as the “king studs” for the sides of the frame. These should be the same height as the jack studs.
- Depending on your door’s width, you may need to cut a piece of lumber to act as a “king board” that spans the top of the frame and connects the two king studs. This will provide additional stability and support.
- Using a chisel, create notches in the jack and king studs for the header and king board to fit into. This will help to secure the pieces together.
- Lastly, ensure that all the cut lumber is smooth and free of any rough edges or splinters. Sand any rough areas if necessary.
Once you have cut and prepared the lumber, you’re ready to move on to the next step: assembling the door frame.
Assembling the Door Frame
Now that you have cut and prepared the lumber, it’s time to assemble the door frame. This process involves joining the various pieces of lumber to create a sturdy and stable frame. Follow these steps:
- Start by placing the jack studs on either side of the opening. Ensure that they are plumb and level, using a level to check their alignment.
- Next, insert the header piece into the notches on top of the jack studs. Make sure it is level.
- If you are using a king board, place it on top of the king studs and align it with the header piece.
- Secure the frame by driving wood screws through the jack studs and into the header and king studs. Use clamps to hold the pieces in place while you drill and screw.
- Check the frame for squareness using a square. Adjust as necessary by tapping the pieces with a hammer until they are square.
- Once the frame is securely assembled and square, reinforce the joints with additional screws or nails for added strength.
After assembling the door frame, double-check its plumbness and levelness. Make any necessary adjustments by tapping the lumber or adding shims. A properly assembled and aligned frame will ensure a smooth installation process.
With the door frame assembled, it’s time to move on to the next step: installing the door frame.
When building exterior door framing, make sure to use pressure-treated or rot-resistant lumber to prevent water damage and rot. Properly seal all joints and edges to ensure a tight and weatherproof fit.
Installing the Door Frame
Now that the door frame is assembled, it’s time to install it into the opening. Proper installation ensures that the door frame is secure and aligned. Follow these steps:
- Carefully lift the assembled door frame and position it within the opening. Ensure that it fits snugly and aligns with the surrounding walls.
- Use shims to adjust the position of the frame until it is plumb and level. Insert shims at the bottom, top, and sides of the frame as needed.
- Check the frame for proper clearance and operation by temporarily placing the door into the frame. Ensure that there is even spacing between the door and frame on all sides, allowing for smooth opening and closing.
- Secure the door frame in place by driving wood screws through the frame and into the surrounding wall studs. Place screws at regular intervals along the sides, top, and bottom of the frame.
- Double-check the frame’s stability and alignment by giving it a gentle shake and making any necessary adjustments.
Once the door frame is securely installed, it’s time to move on to the final step: sealing and weatherproofing.
Sealing and Weatherproofing
Sealing and weatherproofing your exterior door frame is crucial to protect it from moisture, drafts, and other external elements. Follow these steps to ensure a secure and watertight seal:
- Apply a bead of silicone sealant along the inner edges of the door frame where it meets the surrounding walls. This will create a waterproof barrier and prevent water from seeping in.
- Install weatherstripping along the sides and top of the door frame. This will help to seal any gaps and prevent drafts.
- Apply a layer of insulation foam around the perimeter of the frame, between the frame and the surrounding wall. This will provide additional insulation and improve energy efficiency.
- Inspect the exterior of the frame for any gaps or cracks. Fill in these gaps with exterior-grade caulk to ensure a tight seal.
- Check the threshold of the door for proper alignment and weather sealing. Adjust or replace the threshold if necessary.
- Finally, apply a coat of paint or stain to the door frame to protect it from the elements and enhance its appearance.
By properly sealing and weatherproofing your door frame, you can enhance its durability and prolong its lifespan. This will not only keep your home well-insulated but also help prevent damage from moisture and drafts.
With the sealing and weatherproofing complete, your exterior door frame is now ready for the final step: installing the exterior door.
Read more: How To Build An Awning Frame
Conclusion
Congratulations! You have successfully learned how to build exterior door framing. By following the steps outlined in this guide, you now have the knowledge and skills to construct a sturdy and weather-resistant door frame for your home. A properly constructed door frame not only provides structural support but also helps to seal and protect your home from the elements.
Remember to always measure accurately, cut and prepare the lumber with precision, and assemble the door frame securely. Ensure that the frame is plumb, level, and aligned before installing it into the opening. Don’t forget to seal and weatherproof the frame to ensure optimal insulation and protection.
Keep in mind that safety should always be a priority when undertaking any construction project. Use appropriate safety gear and tools, and follow proper procedures to prevent accidents and injury.
Now that you have completed the process of building and installing an exterior door frame, you can enjoy the satisfaction of a job well done. Your new door frame will provide a strong foundation for your exterior door, offering security, energy efficiency, and a beautiful entrance to your home.
We hope this guide has been helpful and that you are now confident in your ability to tackle this project. Whether you’re a DIY enthusiast or a professional contractor, building an exterior door frame is a valuable skill that will enhance your home improvement capabilities. So, grab your tools, gather your materials, and get ready to build a perfect door frame for your home!
Frequently Asked Questions about How To Build Exterior Door Framing
Was this page helpful?
At Storables.com, we guarantee accurate and reliable information. Our content, validated by Expert Board Contributors, is crafted following stringent Editorial Policies. We're committed to providing you with well-researched, expert-backed insights for all your informational needs.


0 thoughts on “How To Build Exterior Door Framing”