
Articles
How To Rewind A Garage Door Spring
Modified: February 23, 2024
Learn how to safely and effectively rewind a garage door spring with our informative articles. Gain the knowledge you need to tackle this essential maintenance task.
(Many of the links in this article redirect to a specific reviewed product. Your purchase of these products through affiliate links helps to generate commission for Storables.com, at no extra cost. Learn more)
Introduction
Garage doors are an essential component of any residential or commercial property. They provide security, convenience, and protection for your vehicles and belongings. A crucial part of the garage door mechanism is the spring system.
Garage door springs play a vital role in counterbalancing the weight of the door, allowing for easy opening and closing. Over time, however, these springs can wear out or break, causing the garage door to malfunction. Rewinding a garage door spring is a task that can save you time and money on professional repairs.
In this article, we will guide you through the process of rewinding a garage door spring. Before we dive into the steps, it’s important to understand the different types of garage door springs and the safety precautions you need to take.
Key Takeaways:
- Safety First!
Before attempting to rewind a garage door spring, prioritize safety by disconnecting power, wearing protective gear, using proper tools, and seeking professional help if unsure. - Test and Troubleshoot
After rewinding, test the spring tension and troubleshoot common issues like uneven movement, noisy operation, and door reversal to ensure smooth and safe garage door operation.
Read more: How To Tension A Garage Door Spring
Understanding Garage Door Springs
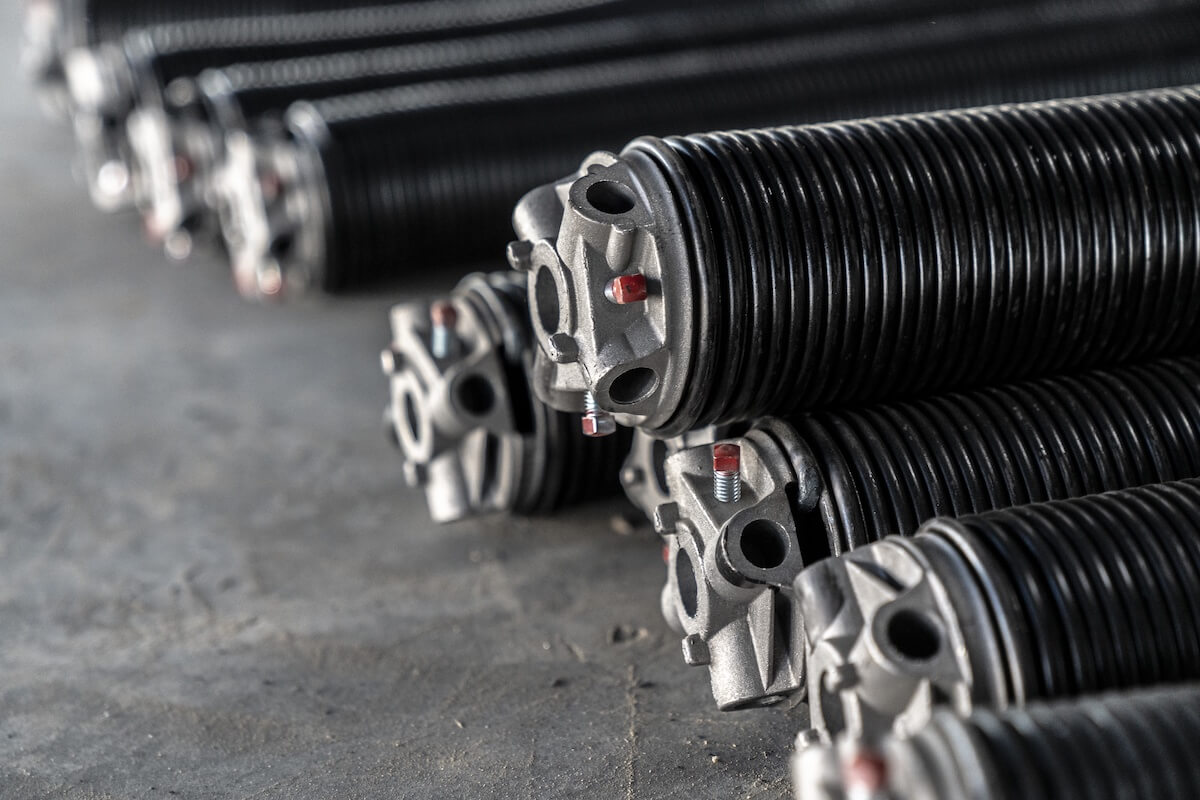
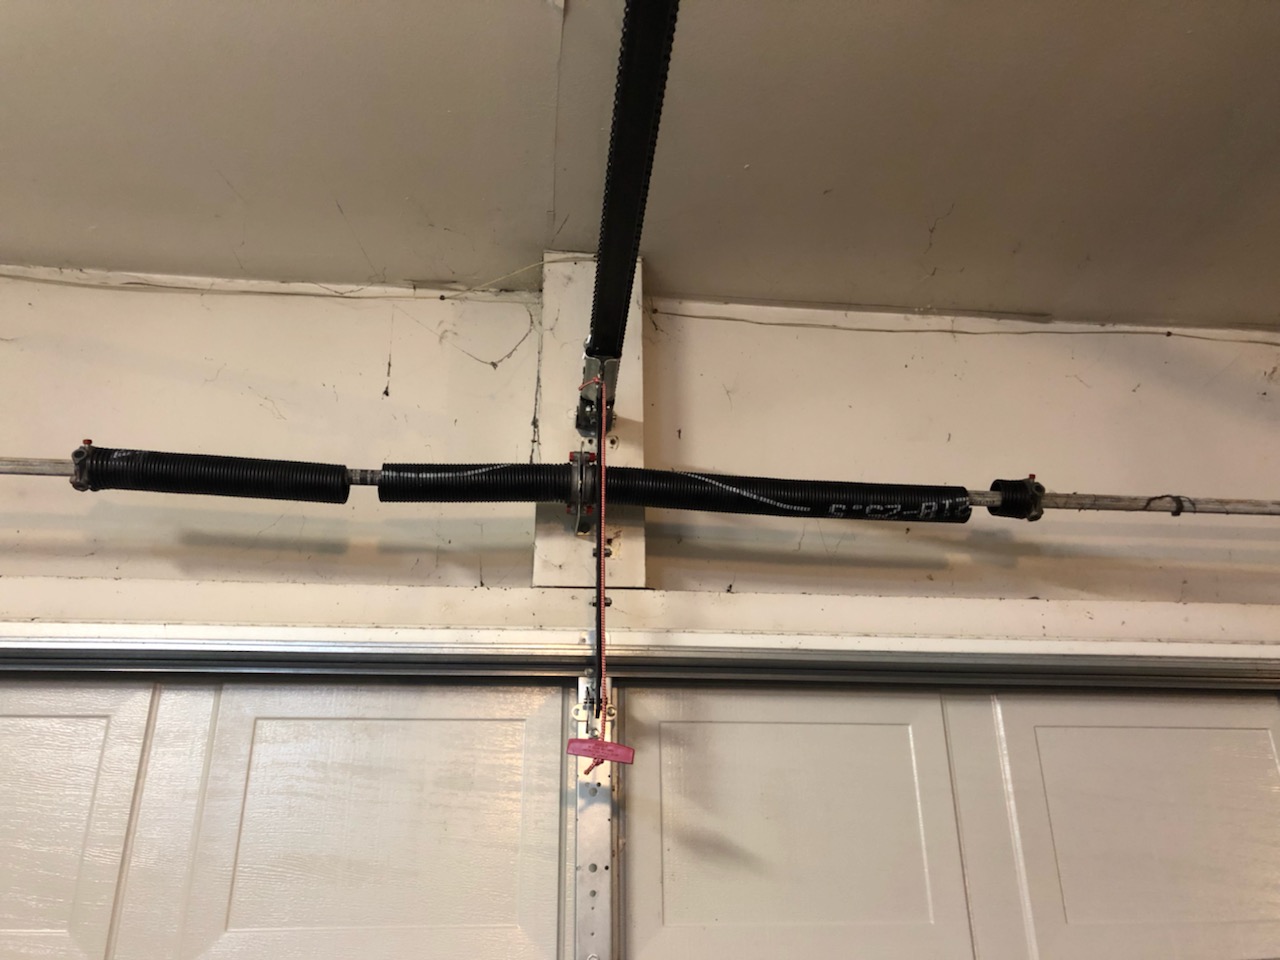
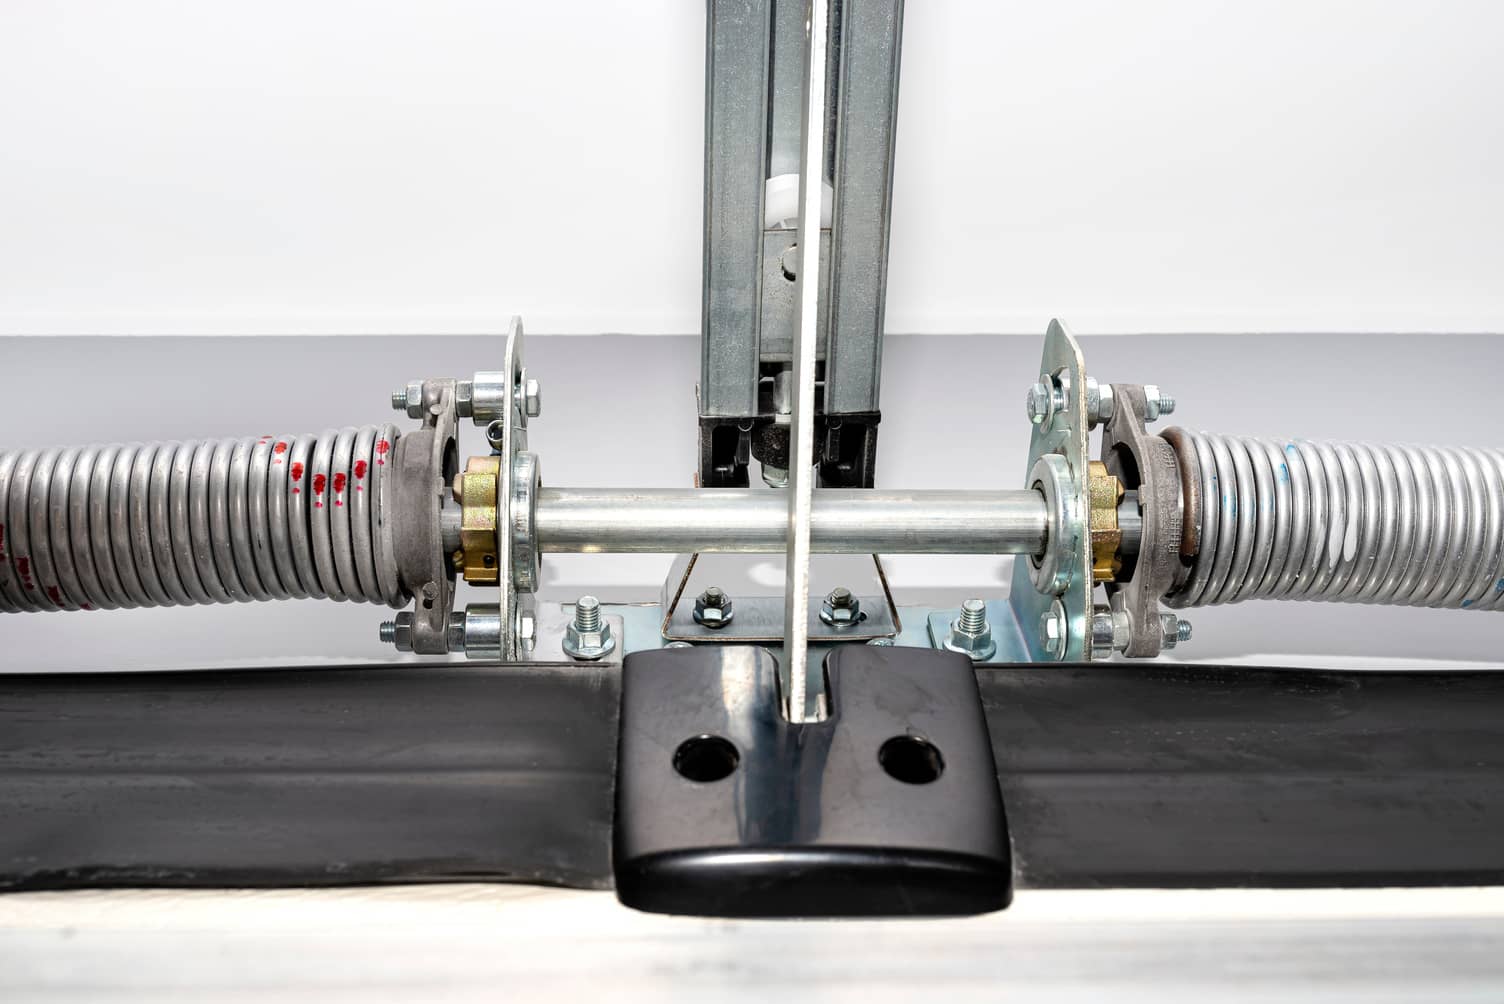
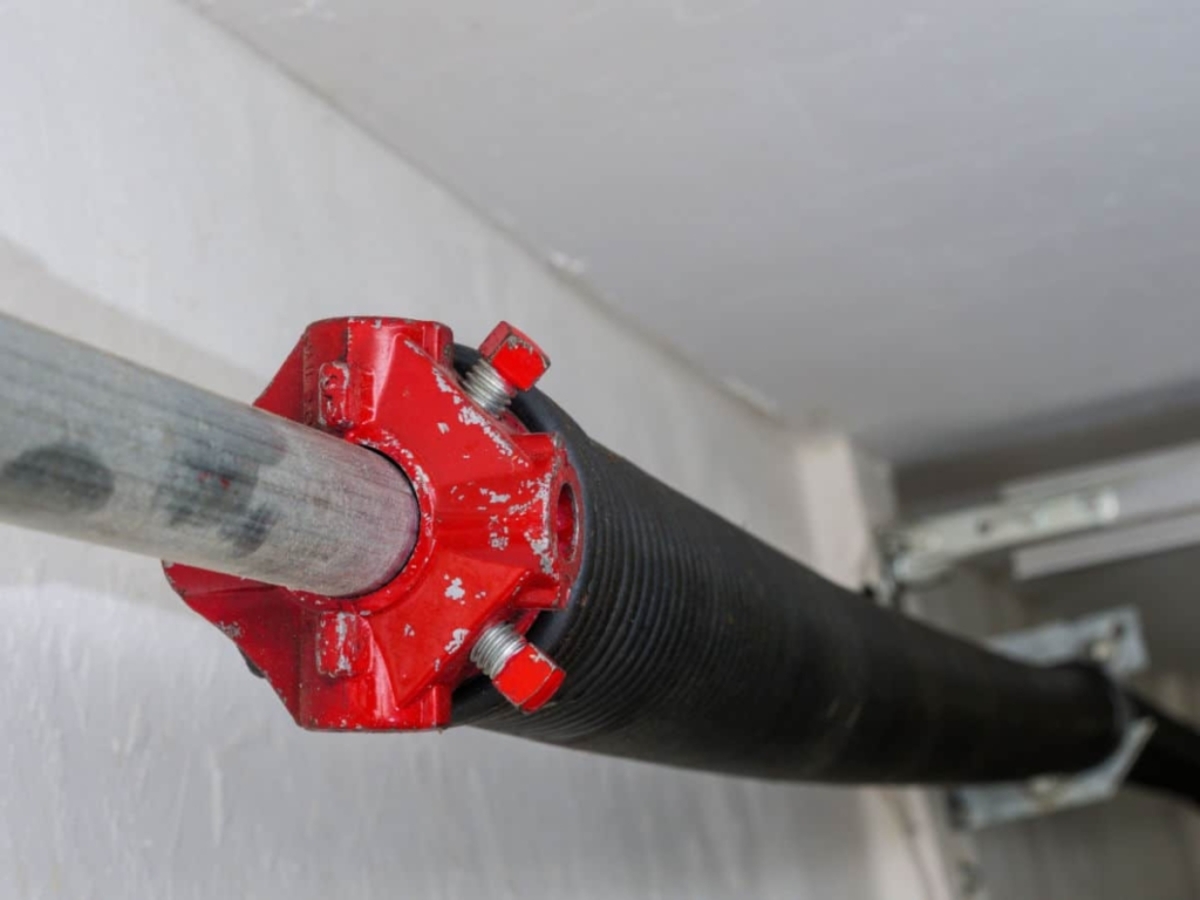
Garage door springs come in two main types: torsion springs and extension springs. Torsion springs are usually found on overhead garage doors and are mounted horizontally above the door opening. Extension springs, on the other hand, are typically found on garage doors that open vertically.
Torsion springs work by twisting or coiling tightly to store energy when the door is closed. When you open the door, the stored energy is released, helping to lift the door. Torsion springs are known for their durability and stability, making them a popular choice for residential and commercial garage doors.
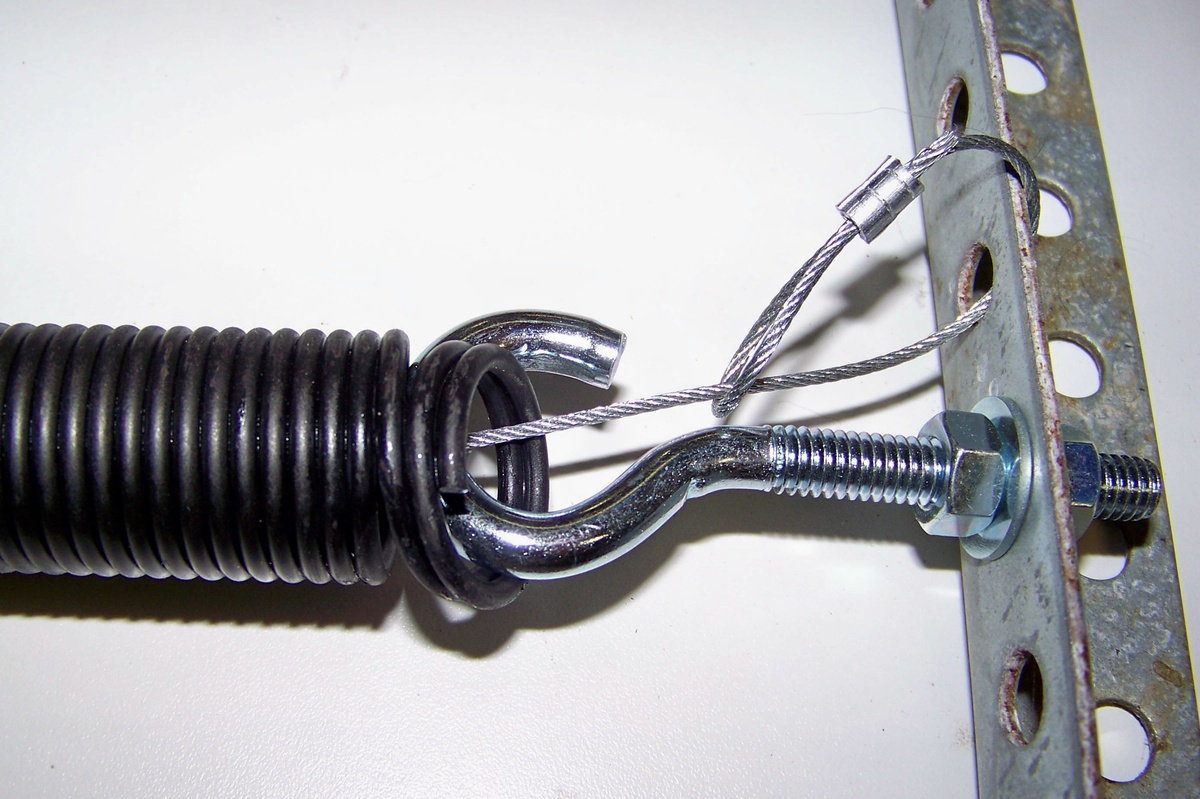
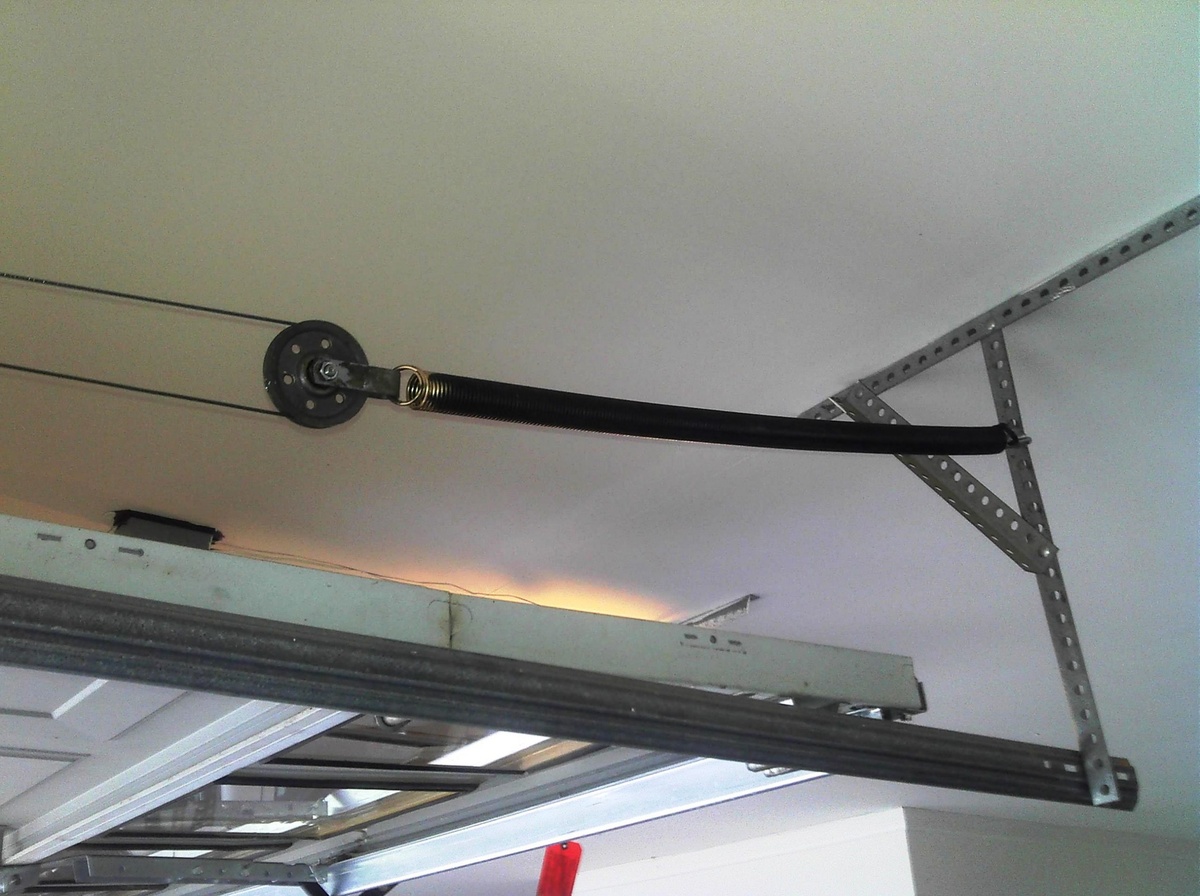
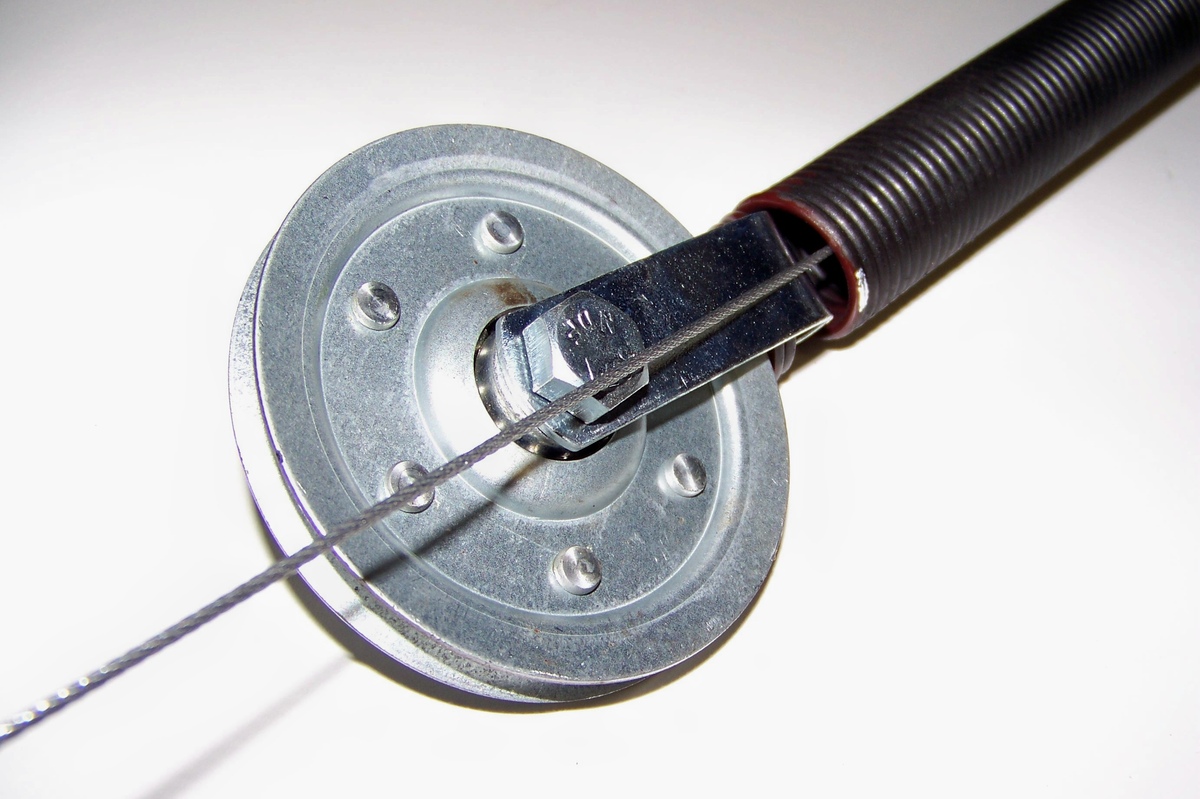
Extension springs, on the other hand, function by extending and contracting to create the necessary force to lift the door. These springs are mounted on either side of the door and are connected to the tracks. Extension springs are prone to wear and tear over time and may need to be replaced more frequently.
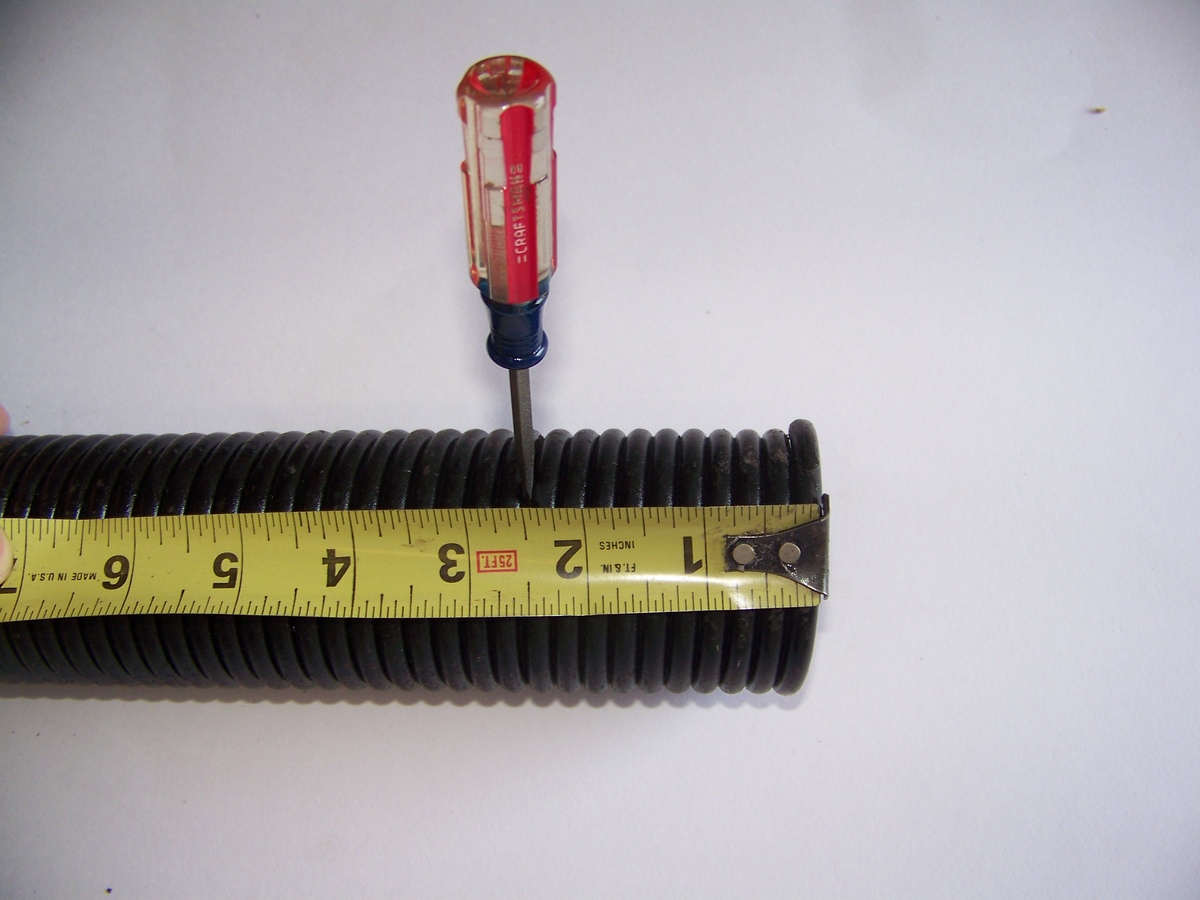
When rewinding or replacing garage door springs, it’s crucial to identify the type and size of the spring you need. This information can usually be found on the existing springs or in the manufacturer’s manual. Using the wrong type or size of spring can lead to safety hazards and dysfunctional operation of the garage door.
It’s important to note that garage door springs are under immense tension and can cause serious injuries if mishandled. It is highly recommended to seek professional assistance if you are unsure or uncomfortable with performing the rewinding process yourself.
Safety Precautions
Before attempting to rewind a garage door spring, it’s crucial to prioritize safety. Here are some important safety precautions to keep in mind:
- Disconnect the power: Before working on the garage door or its springs, make sure to disconnect the power supply to avoid any accidental operation of the door.
- Wear protective gear: Always wear safety goggles, gloves, and durable clothing to protect yourself from any potential injuries. Garage door springs are under high tension and can snap or break, causing severe harm.
- Use proper tools: Ensure that you have the correct tools for the job, including winding bars, a ladder, and pliers. Using improper tools can lead to accidents and damage the springs or other components of the garage door.
- Work with a partner: Rewinding a garage door spring can be a challenging task. Having a partner assist you can make the process safer and more manageable. They can help hold the tension while you work on the springs.
- Keep children and pets away: Garage door springs and the rewinding process can be dangerous. Make sure to keep children and pets at a safe distance to avoid any accidents or injuries.
- Follow manufacturer’s instructions: Different garage door brands and models may have specific guidelines for spring maintenance and rewinding. Always refer to the manufacturer’s instructions for the proper procedures and precautions.
- If in doubt, seek professional help: If you are unsure about your abilities or lack the necessary tools and experience, it’s best to leave the rewinding of garage door springs to a professional technician. They have the knowledge and expertise to ensure the job is done safely and efficiently.
By following these safety precautions, you can minimize the risks associated with rewinding a garage door spring and protect yourself from potential injuries.
Tools and Materials Needed
Before you begin rewinding a garage door spring, it’s important to gather the necessary tools and materials to ensure a smooth and successful process. Here are the tools and materials you will need:
- Winding bars: These are essential for applying and releasing tension on the garage door spring. Make sure to choose the appropriate size of winding bars that match the diameter of your springs.
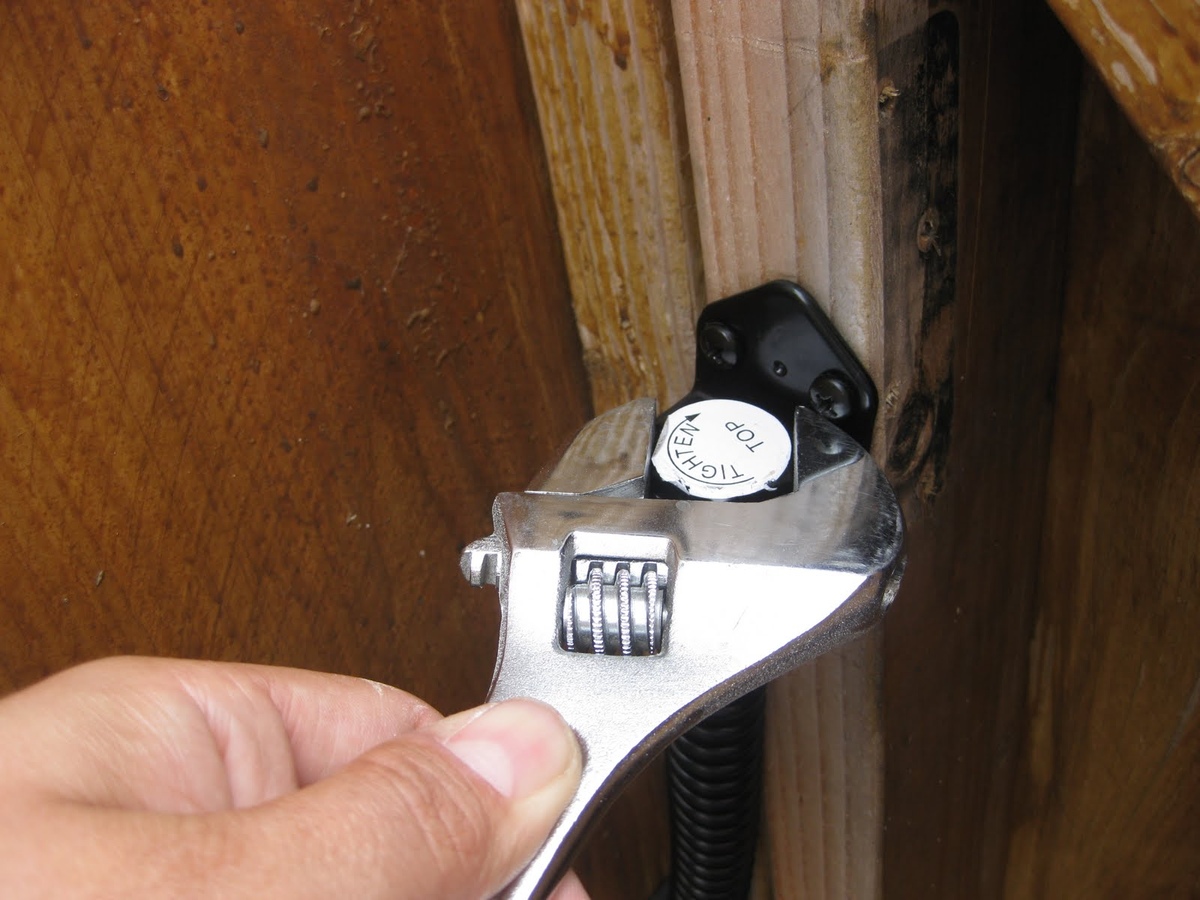
- Adjustable wrench: You’ll need an adjustable wrench to loosen and tighten nuts and bolts during the process.
- Vice grips or pliers: These are useful for securing the winding bars and keeping them in place while you work with the springs.
- Socket wrench: A socket wrench comes in handy for removing and installing screws and nuts on the garage door mechanism.
- Ladder: Depending on the height of your garage door, a ladder may be necessary to reach the springs and perform the rewinding process safely.
- Safety goggles and gloves: Protecting your eyes and hands is crucial when working with garage door springs. Wear safety goggles to shield your eyes from any potential debris, and use gloves to prevent injuries and provide a better grip.
- Rag or towel: Keep a rag or towel nearby to wipe away any dirt, grease, or debris that may accumulate during the rewinding process.
- Lubricant: It’s beneficial to have a lubricant specifically designed for garage door springs. This will help reduce friction and prolong the lifespan of the springs.
- Replacement springs (if necessary): If the existing garage door springs are damaged or worn out beyond repair, you may need to purchase replacement springs. Make sure to match the size, type, and weight capacity of the original springs.
By having these tools and materials on hand, you’ll be well-prepared to tackle the task of rewinding your garage door spring efficiently and safely.
Always release tension from the spring before attempting to rewind it. Use the proper tools and follow safety precautions to avoid injury.
Step-by-Step Guide to Rewind a Garage Door Spring
Before you begin the process of rewinding a garage door spring, make sure you have taken all necessary safety precautions. Now, let’s dive into the step-by-step guide:
- Disconnect the power: Ensure that the power to the garage door opener is disconnected to prevent any accidental movement of the door during the rewinding process.
- Identify the type and size of the spring: Determine whether you have torsion or extension springs, and locate the spring or springs that need to be rewound.
- Secure the door in the open position: Use a ladder or support device to hold the garage door securely in the open position to relieve tension on the springs.
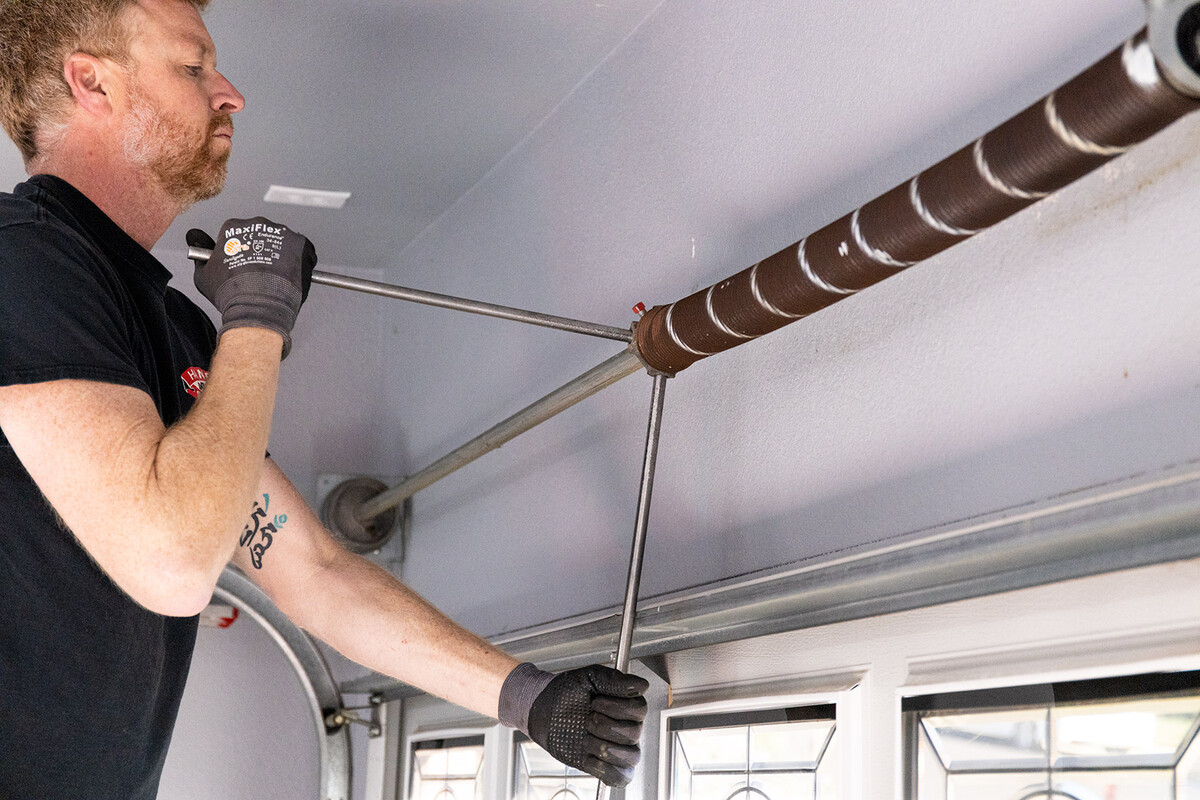
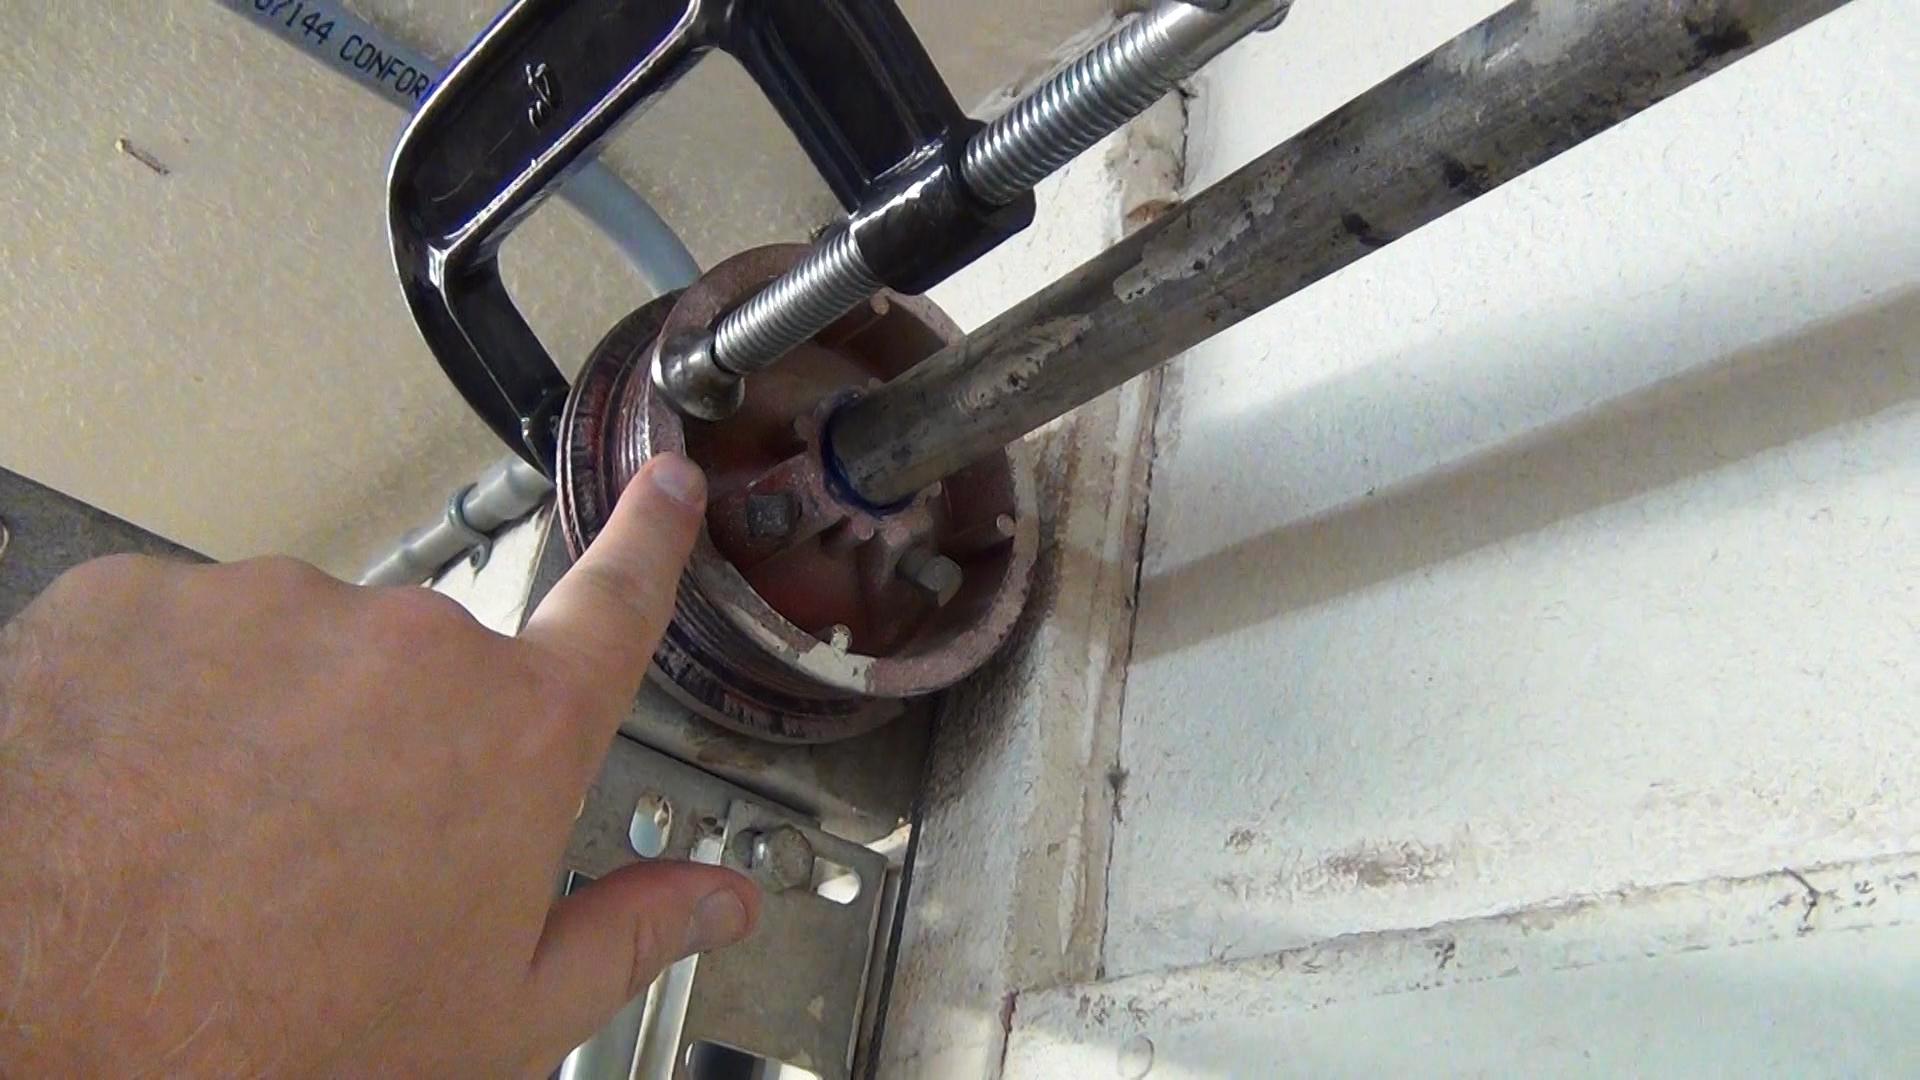
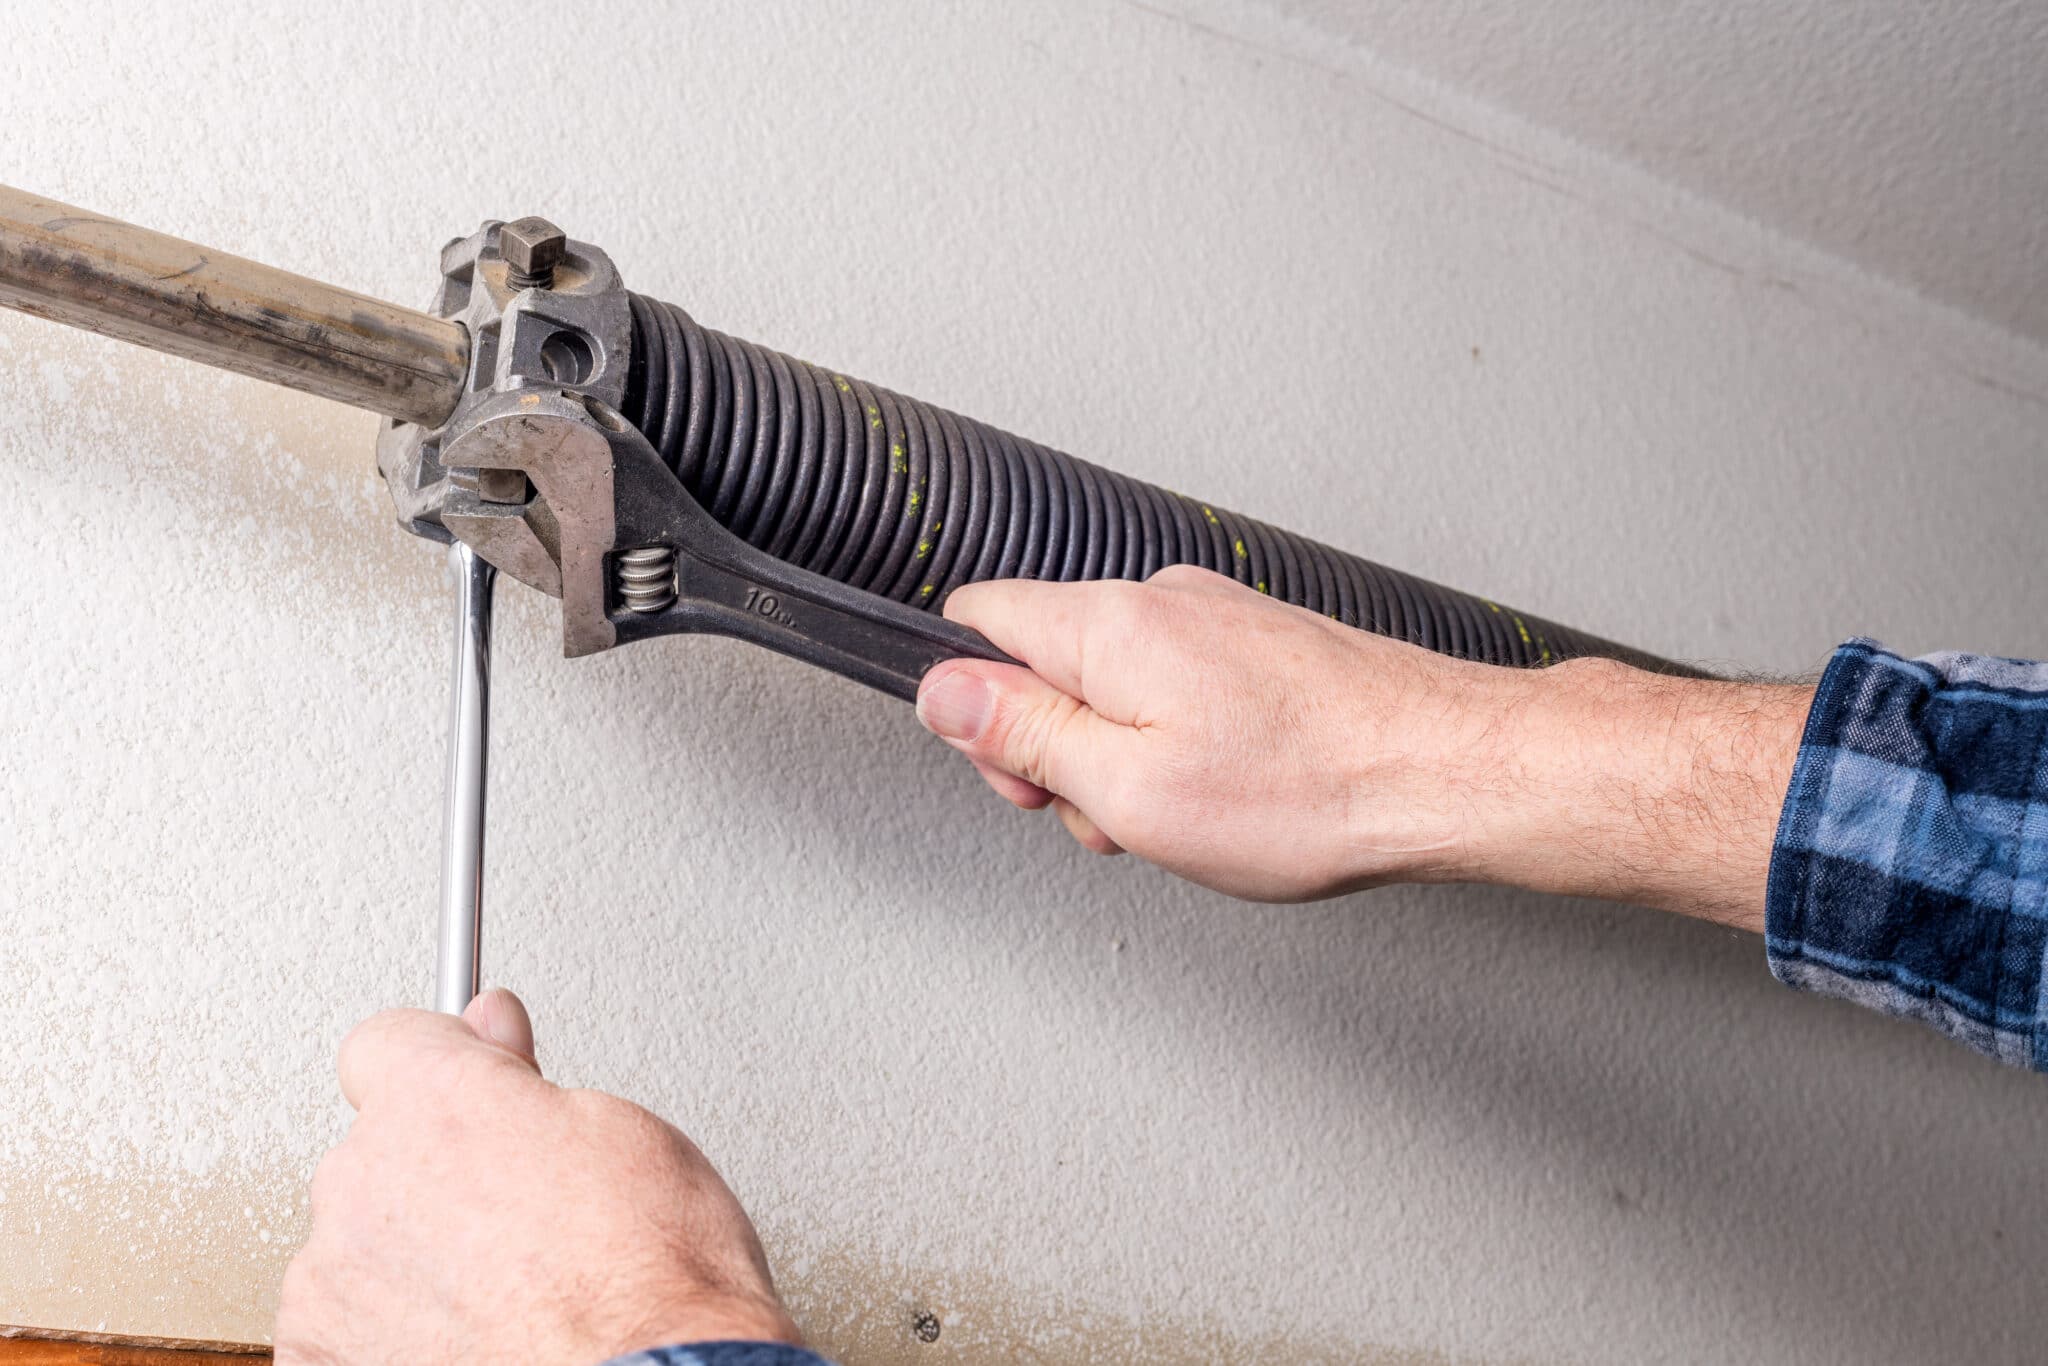
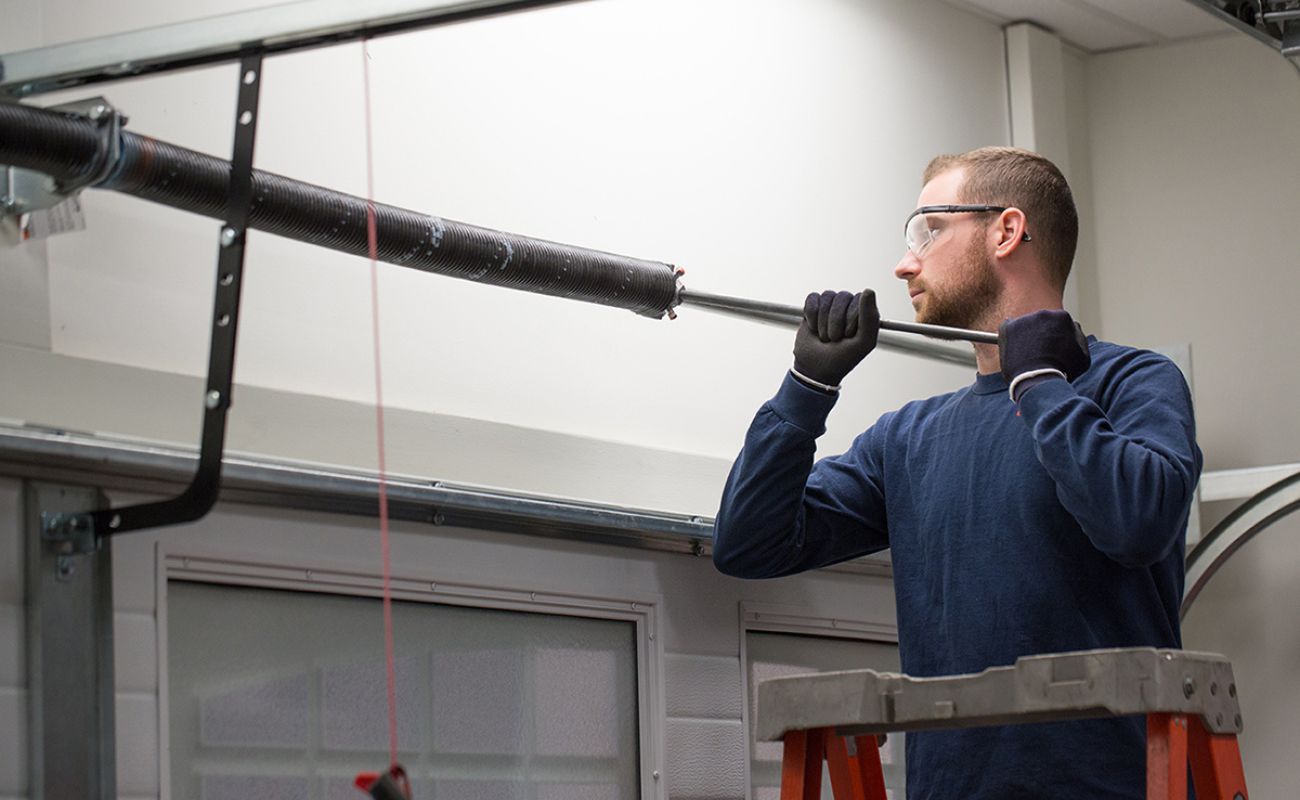
- Release tension from the old spring: Using the appropriate winding bars, insert them into the winding cone of the spring and slowly unwind the spring tension by turning the winding cone counterclockwise. Make sure to do this gradually and with control to prevent sudden release of tension.
- Remove the old spring: Once the tension is fully released, carefully detach the old spring from its mounting brackets using the necessary tools.
- Install the new spring: Position the new spring in the mounting brackets and secure it in place using the appropriate hardware according to the manufacturer’s instructions.
- Apply tension to the new spring: To apply tension to the new spring, use the winding bars and turn the winding cone in a clockwise direction. Again, do this gradually and with control to avoid potential accidents or damage.
- Test the tension: Once the new spring is properly tensioned, carefully lower the garage door to the closed position and then raise it halfway. The door should remain balanced and stay in place without any signs of imbalance or issues. If the door isn’t functioning correctly, you may need to adjust the tension further.
- Double-check all connections: Ensure that all nuts, bolts, and brackets are tightly secured, and there are no loose or damaged components.
- Lubricate the springs: Apply a recommended garage door spring lubricant to both ends of the spring to reduce friction and promote smooth operation.
- Reconnect the power: Once you’ve completed the rewinding process and are satisfied with the door’s performance, reconnect the power to the garage door opener.
Remember, rewinding a garage door spring can be a challenging task, and it’s highly recommended to seek professional assistance if you’re unsure or uncomfortable with performing the process yourself.
Read more: How To Replace Garage Door Spring
Testing the Spring Tension
After rewinding a garage door spring, it’s crucial to test the tension to ensure that the door operates smoothly and safely. Here are the steps to test the spring tension:
- Close the garage door: Lower the garage door fully using the opener or manual operation.
- Disconnect the opener: Once the door is closed, disconnect the garage door opener from the power source. This step is important to avoid any accidental movements while testing the spring tension.
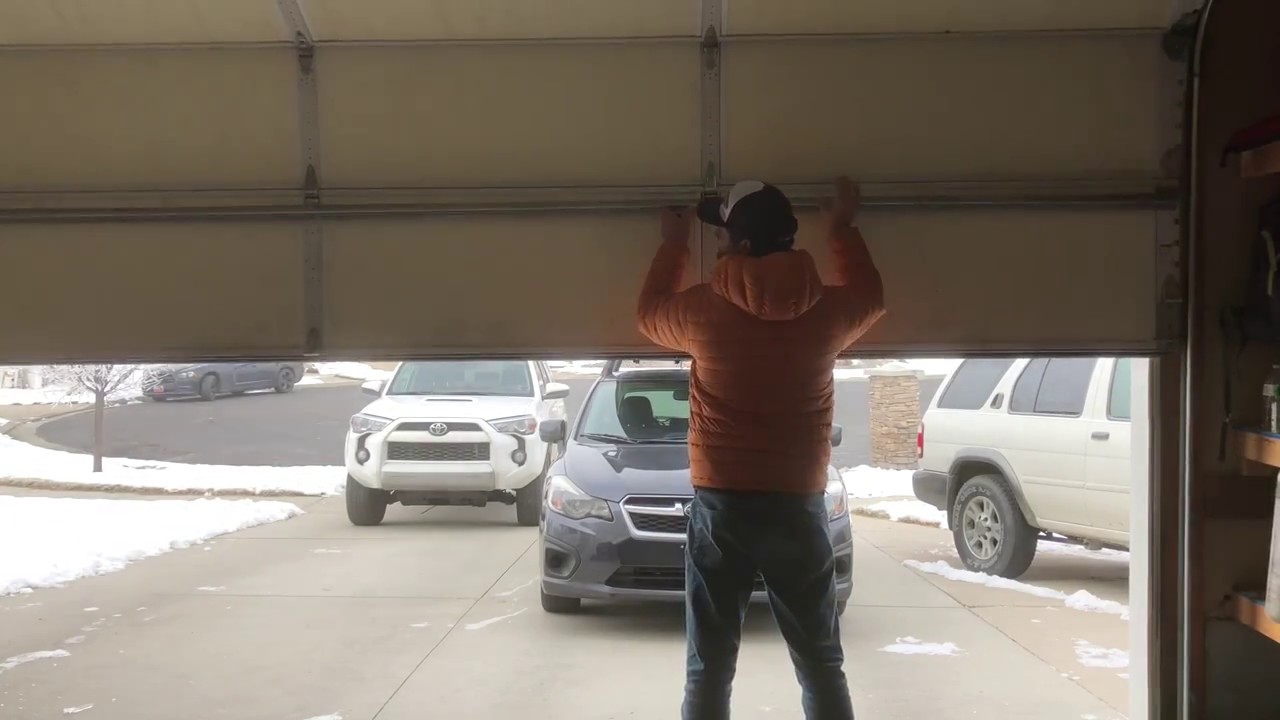
- Manually open the door halfway: Carefully lift the garage door manually to the halfway point. It should move smoothly and remain in position without any significant effort or resistance.
- Release the door: Let go of the door while it’s in the halfway position, allowing it to rest and balance itself. The door should stay in place without slowly rising or falling. If the door moves up or down, it’s an indication that the spring tension needs adjustment.
- Adjust the tension if necessary: If the door doesn’t stay in balance, you may need to adjust the tension of the springs. Consult the manufacturer’s guidelines or seek professional assistance to make the necessary adjustments.
- Repeat the test: After adjusting the tension, repeat the test by manually opening the door halfway and releasing it. Ensure that the door remains balanced and doesn’t move on its own.
- Check the overall door performance: Test the garage door to see if it opens and closes smoothly and without any excessive noise or jerking. If there are any issues, such as door misalignment or unusual movements, you may need to further adjust the spring tension or seek professional help.
Regularly testing the spring tension is important to maintain a properly functioning garage door. If you experience any difficulties or concerns during the testing process or if the door does not stay balanced, it’s recommended to consult a professional technician for assistance. Remember, working with garage door springs can be dangerous, so prioritize safety at all times.
Troubleshooting Tips
While rewinding a garage door spring can solve many issues, there may be times when you encounter problems or have concerns about the operation of your garage door. Here are some troubleshooting tips to help address common issues:
- Uneven door movement: If your garage door moves unevenly or appears to be crooked when opening or closing, it could indicate an issue with the spring tension or misalignment. Inspect the springs and brackets for any signs of damage or wear. It’s recommended to consult a professional to adjust the tension or realign the door properly.
- Noisy operation: If your garage door makes loud squeaking, grinding, or clanking noises during operation, it may be due to lack of lubrication. Apply a recommended garage door lubricant to the springs, hinges, and other moving parts to reduce friction and noise. If the noise persists, consider scheduling a maintenance check with a professional to inspect and potentially replace any worn-out components.
- Inconsistent door balance: If your garage door doesn’t stay balanced or tends to close or open too quickly, it may be a sign of incorrect spring tension. Check the tension of the springs and adjust them accordingly. If you’re unsure about the adjustment process or experience recurring balance issues, it’s best to seek professional assistance to avoid potential safety hazards.
- Door reversal or bouncing back: If your garage door reverses or bounces back up after attempting to close, it could mean that the garage door opener’s safety sensors are detecting an obstruction. Inspect the area around the door for any objects, debris, or misaligned safety sensors. Clear any obstructions and realign the sensors if necessary. If the problem persists, consult the garage door opener’s manual or contact a professional for further assistance.
- Door jerking or moving too slowly: If your garage door jerks or moves slowly during operation, it may indicate a problem with the track alignment, worn-out rollers, or an issue with the garage door opener. Inspect the tracks for any debris or obstructions and clean them if needed. Consider lubricating the rollers and hinges as well. If the problem persists, it’s advisable to contact a professional to diagnose and resolve the issue.
These troubleshooting tips can help address common issues with garage door operation. However, it’s important to remember that garage door springs are under high tension and can be dangerous to work with. If you’re unable to troubleshoot the problem or have concerns about the safety of your garage door, it’s best to consult a professional technician for assistance.
Conclusion
Rewinding a garage door spring is a task that can save you time and money on professional repairs. However, it’s important to approach this task with caution and prioritize safety at all times. Understanding the different types of garage door springs, taking necessary safety precautions, and having the right tools and materials are essential for a successful rewinding process.
By following the step-by-step guide and testing the spring tension, you can ensure that your garage door operates smoothly and safely. Remember to troubleshoot any issues that may arise and seek professional assistance if needed.
It’s worth mentioning that working with garage door springs can be dangerous, especially if you’re not familiar with the process or lack the necessary skills and tools. If you’re unsure or uncomfortable with performing the rewinding process yourself, it’s always best to seek professional help. They have the knowledge, experience, and equipment to handle the task safely and efficiently.
Regular maintenance and periodic inspections of your garage door can help prevent issues and prolong its lifespan. Simple tasks like lubricating the springs and other moving parts, keeping the tracks clean, and performing visual inspections can go a long way in ensuring the smooth operation of your garage door.
By understanding the importance of garage door springs, taking the necessary precautions, and being proactive in maintenance and repairs, you can enjoy a functional garage door that provides safety, security, and convenience for your property.
Frequently Asked Questions about How To Rewind A Garage Door Spring
Was this page helpful?
At Storables.com, we guarantee accurate and reliable information. Our content, validated by Expert Board Contributors, is crafted following stringent Editorial Policies. We're committed to providing you with well-researched, expert-backed insights for all your informational needs.


0 thoughts on “How To Rewind A Garage Door Spring”