Home>Ideas and Tips>Creating A Functional Mudroom In A Front Porch

Ideas and Tips
Creating A Functional Mudroom In A Front Porch
Published: September 19, 2024
Transform your front porch into a functional mudroom with our guide. Discover design tips, storage solutions, and steps for a stylish, organized entryway.
(Many of the links in this article redirect to a specific reviewed product. Your purchase of these products through affiliate links helps to generate commission for Storables.com, at no extra cost. Learn more)
Transforming a front porch into a functional mudroom is an excellent way to enhance your home's entryway and create a practical space for storing outdoor gear and essentials. This project not only improves the aesthetic appeal of your home but also provides a comfortable and organized area for family members and guests. In this article, we will guide you through the process of converting a front porch into a mudroom, highlighting key considerations, design elements, and practical tips to ensure your project is both functional and stylish.
Understanding the Concept of a Mudroom
A mudroom is a designated space where family members and guests can remove and store their outdoor clothing, shoes, accessories, and other items. It serves as a "drop zone" for these items, preventing them from cluttering up the rest of the house. A well-designed mudroom should include proper storage solutions to keep everything organized and easily accessible.
Read more: Creating A Functional Mudroom In A Garage
Assessing Your Front Porch
Before starting your project, it's crucial to assess your front porch. Consider the following factors:
- Size and Layout: Measure the dimensions of your porch to determine how much space you have available for conversion. Think about the layout and how you want to use the space.
- Condition of the Porch: Evaluate the condition of your porch. Check for any structural issues, such as hollow posts or voids in load-carrying beams, which may need to be addressed before proceeding with the conversion.
- Natural Light: Assess the amount of natural light entering the porch. This will help you decide on window treatments and placement of storage solutions.
Designing Your Mudroom
Designing a functional mudroom involves several key elements:
Storage Solutions
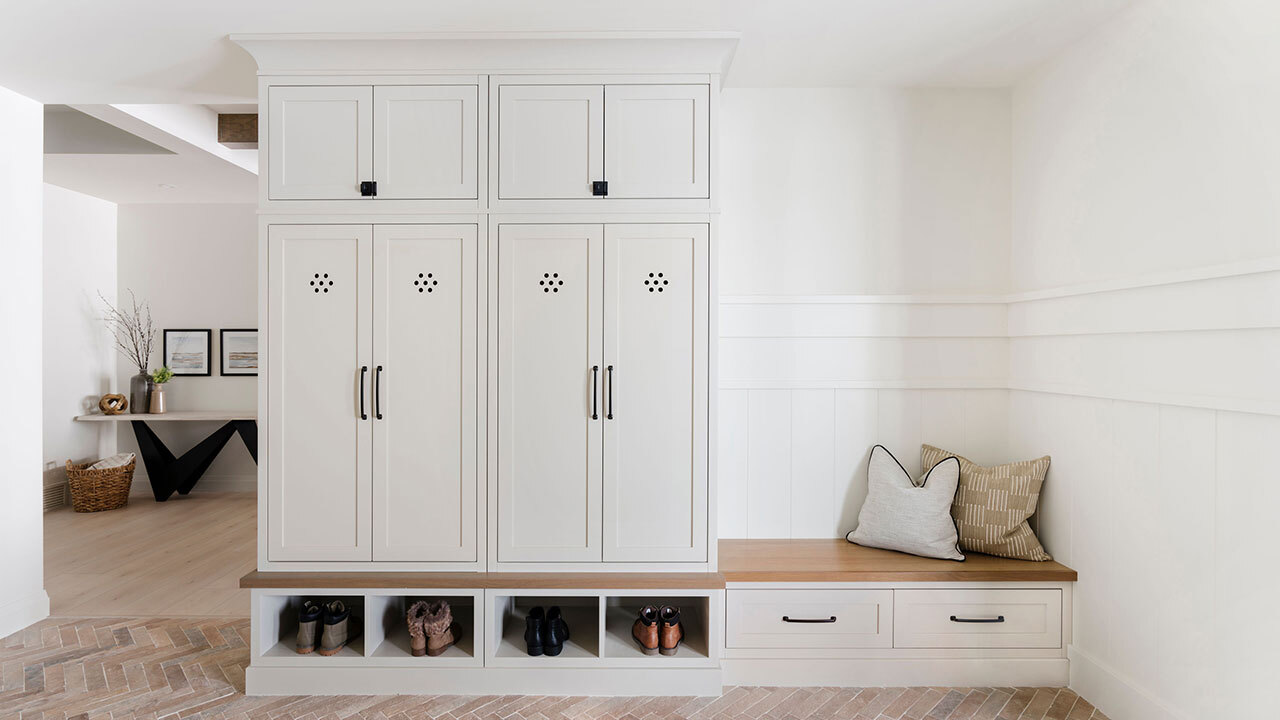
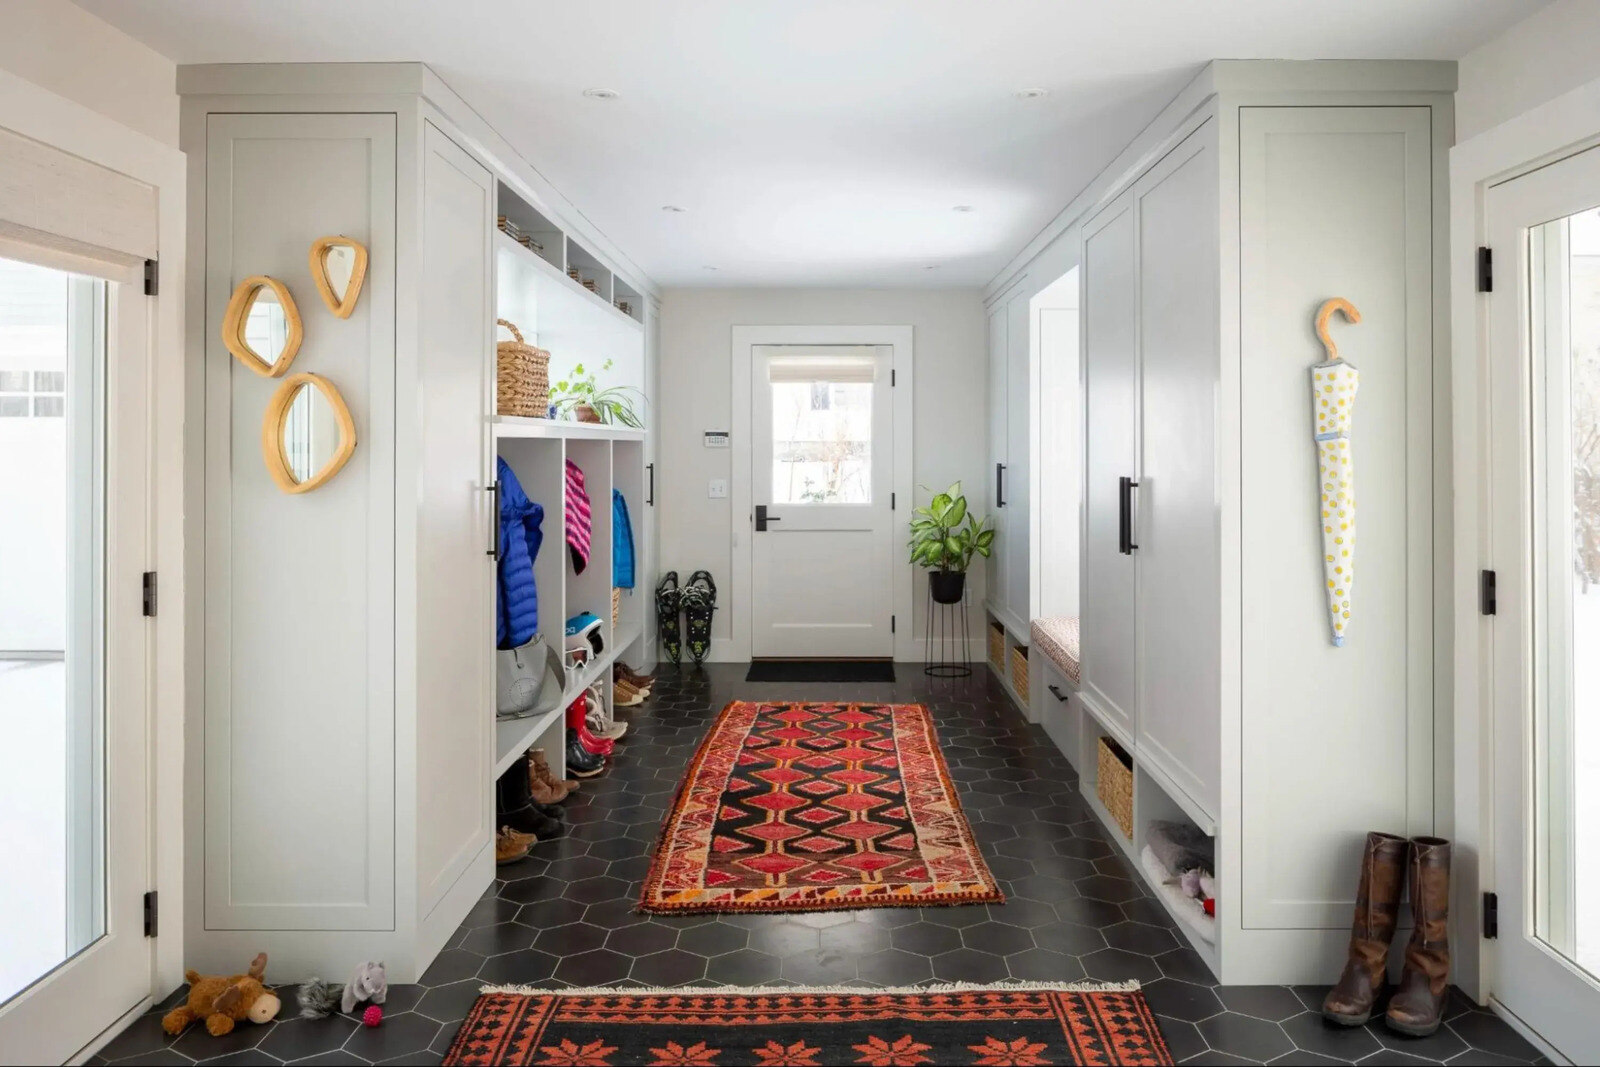
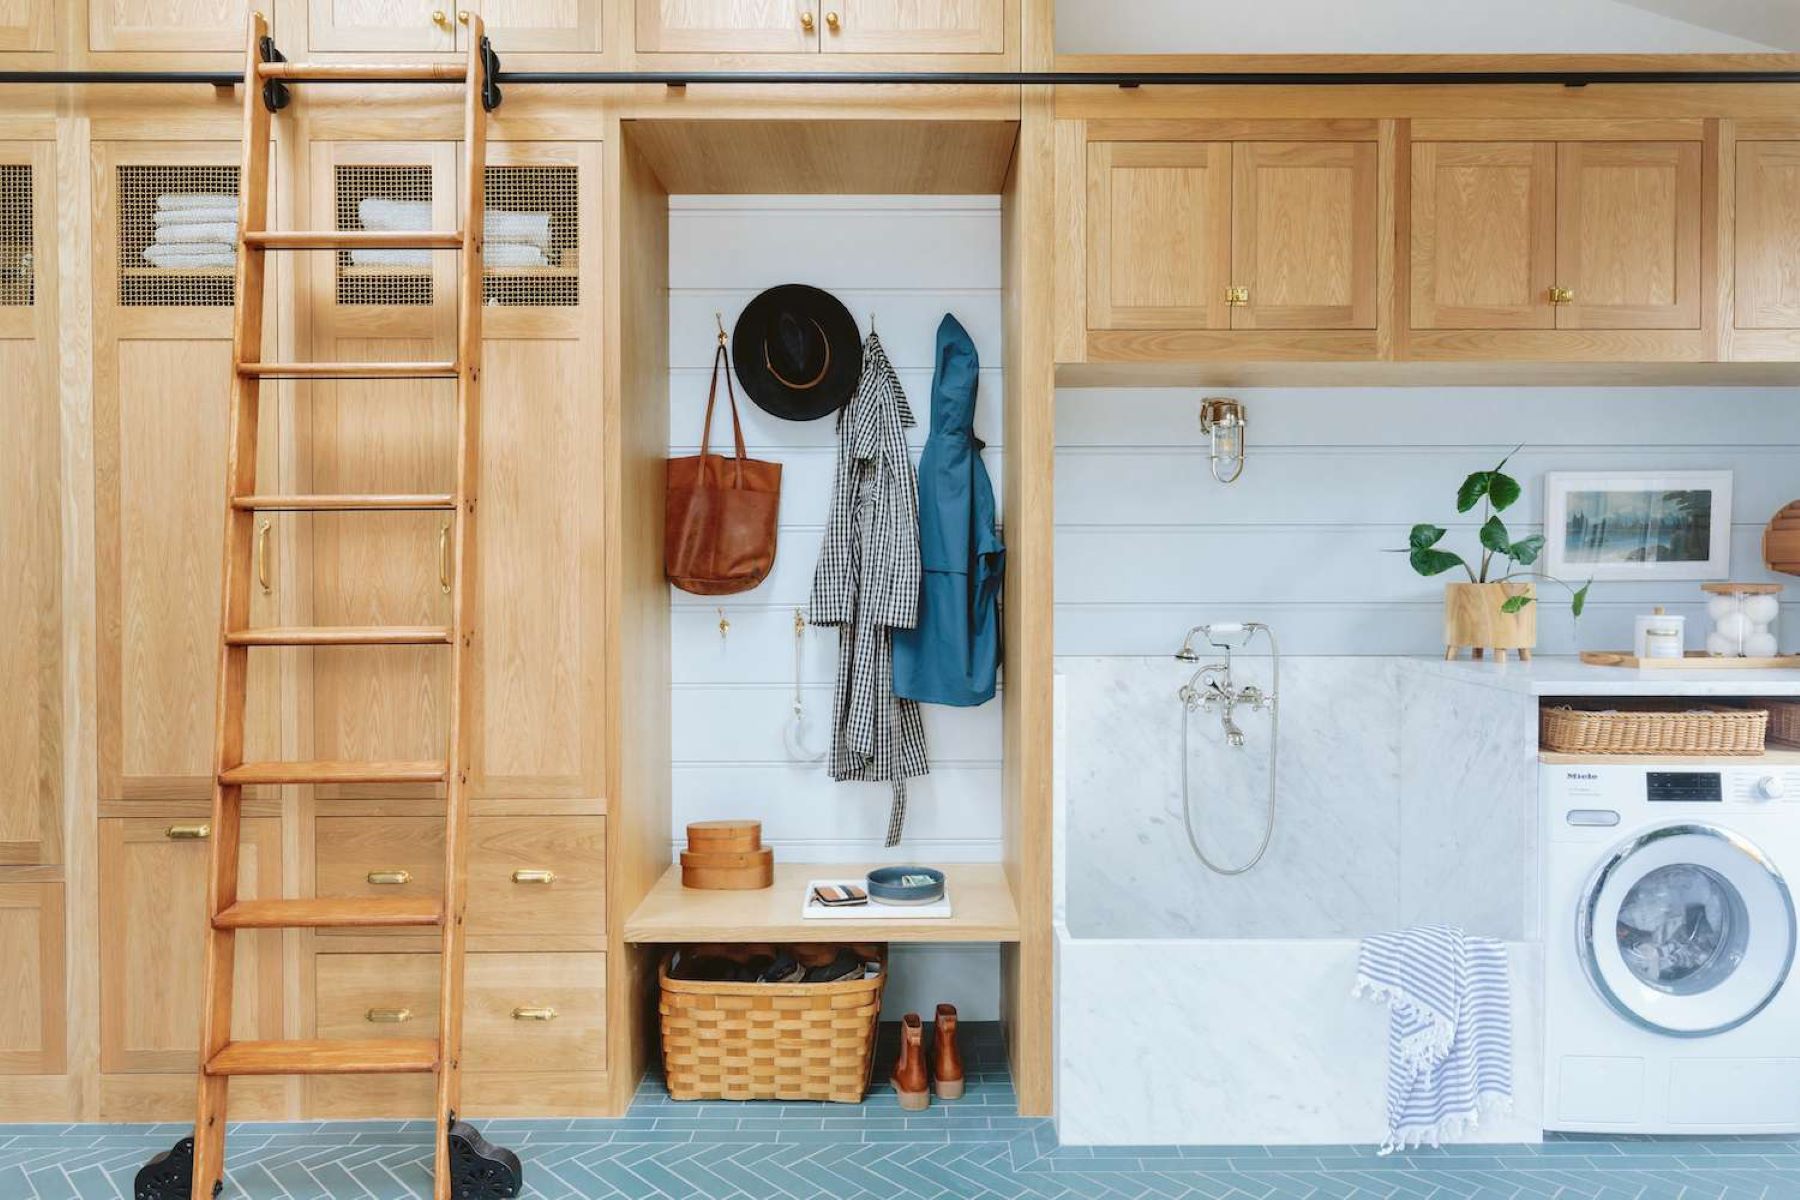
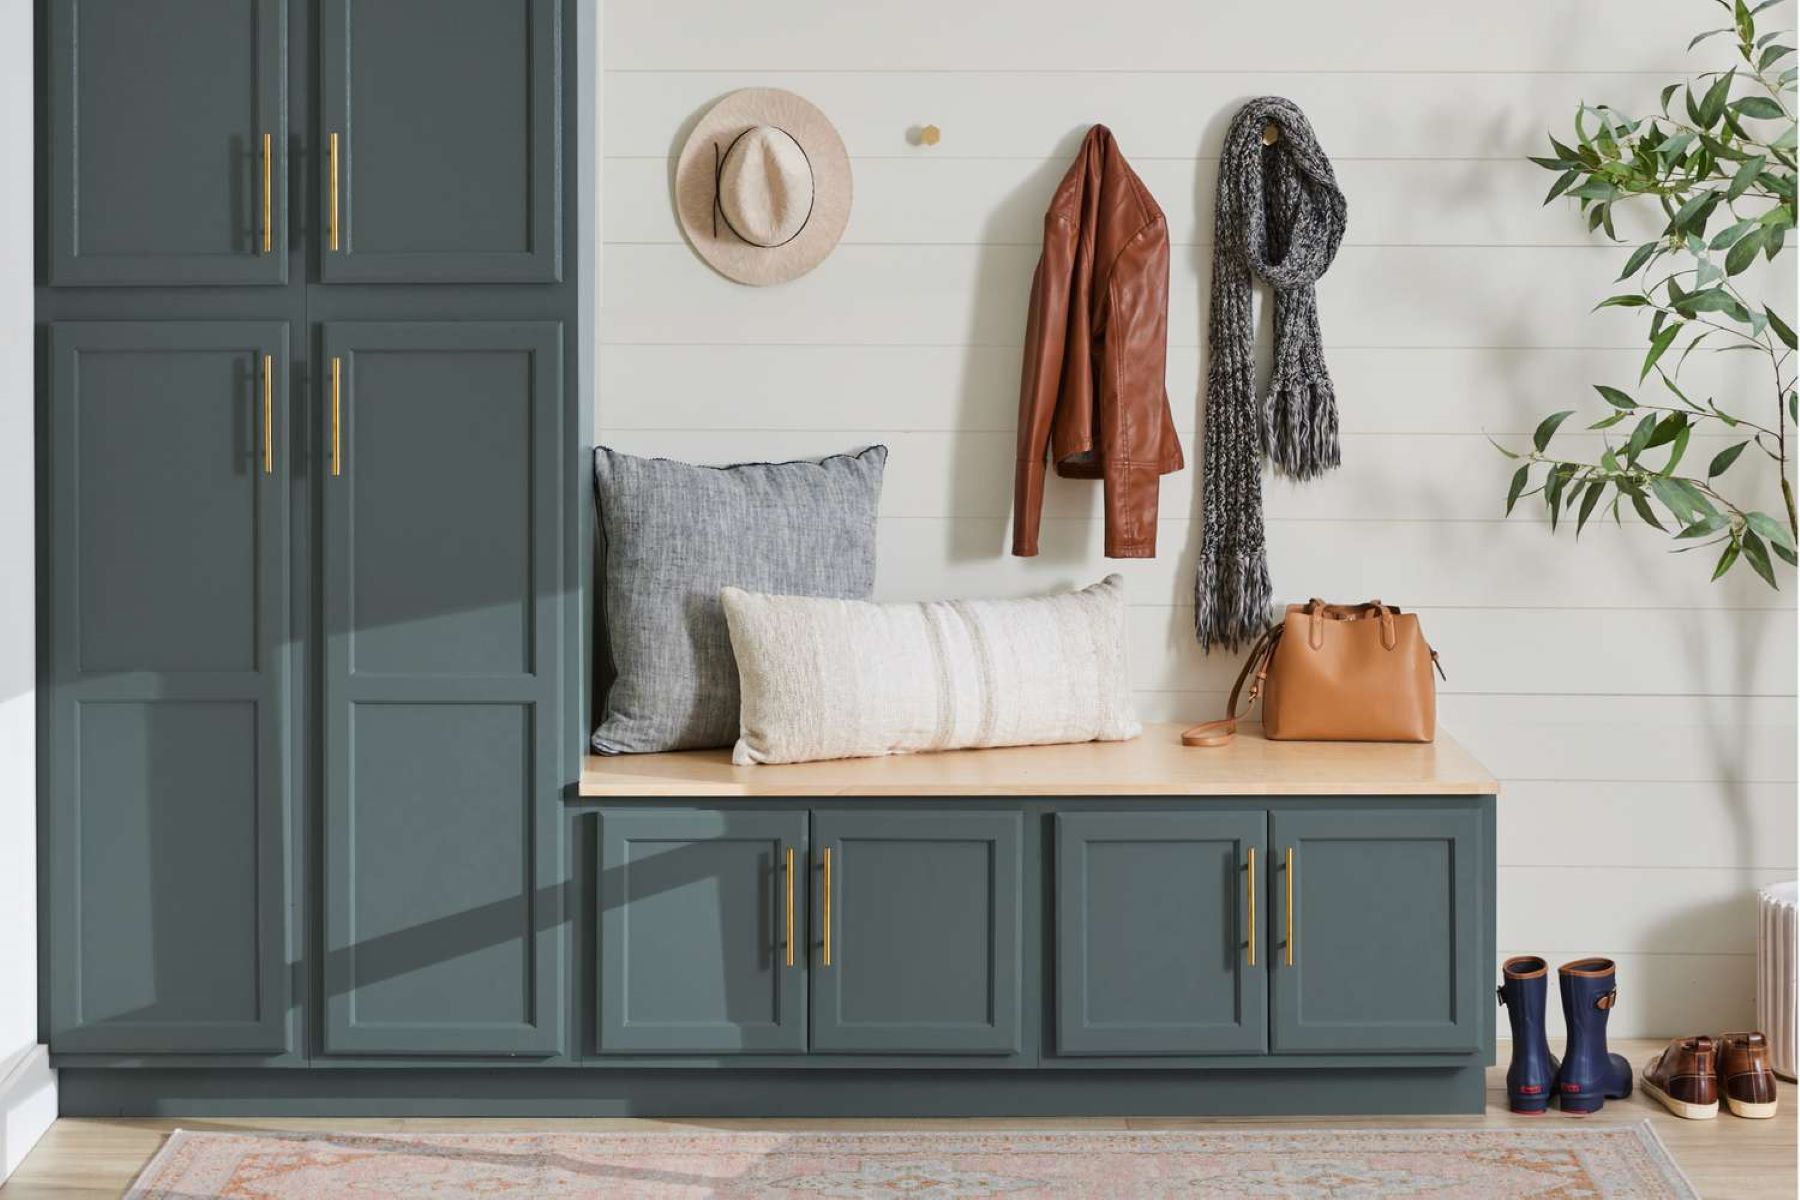
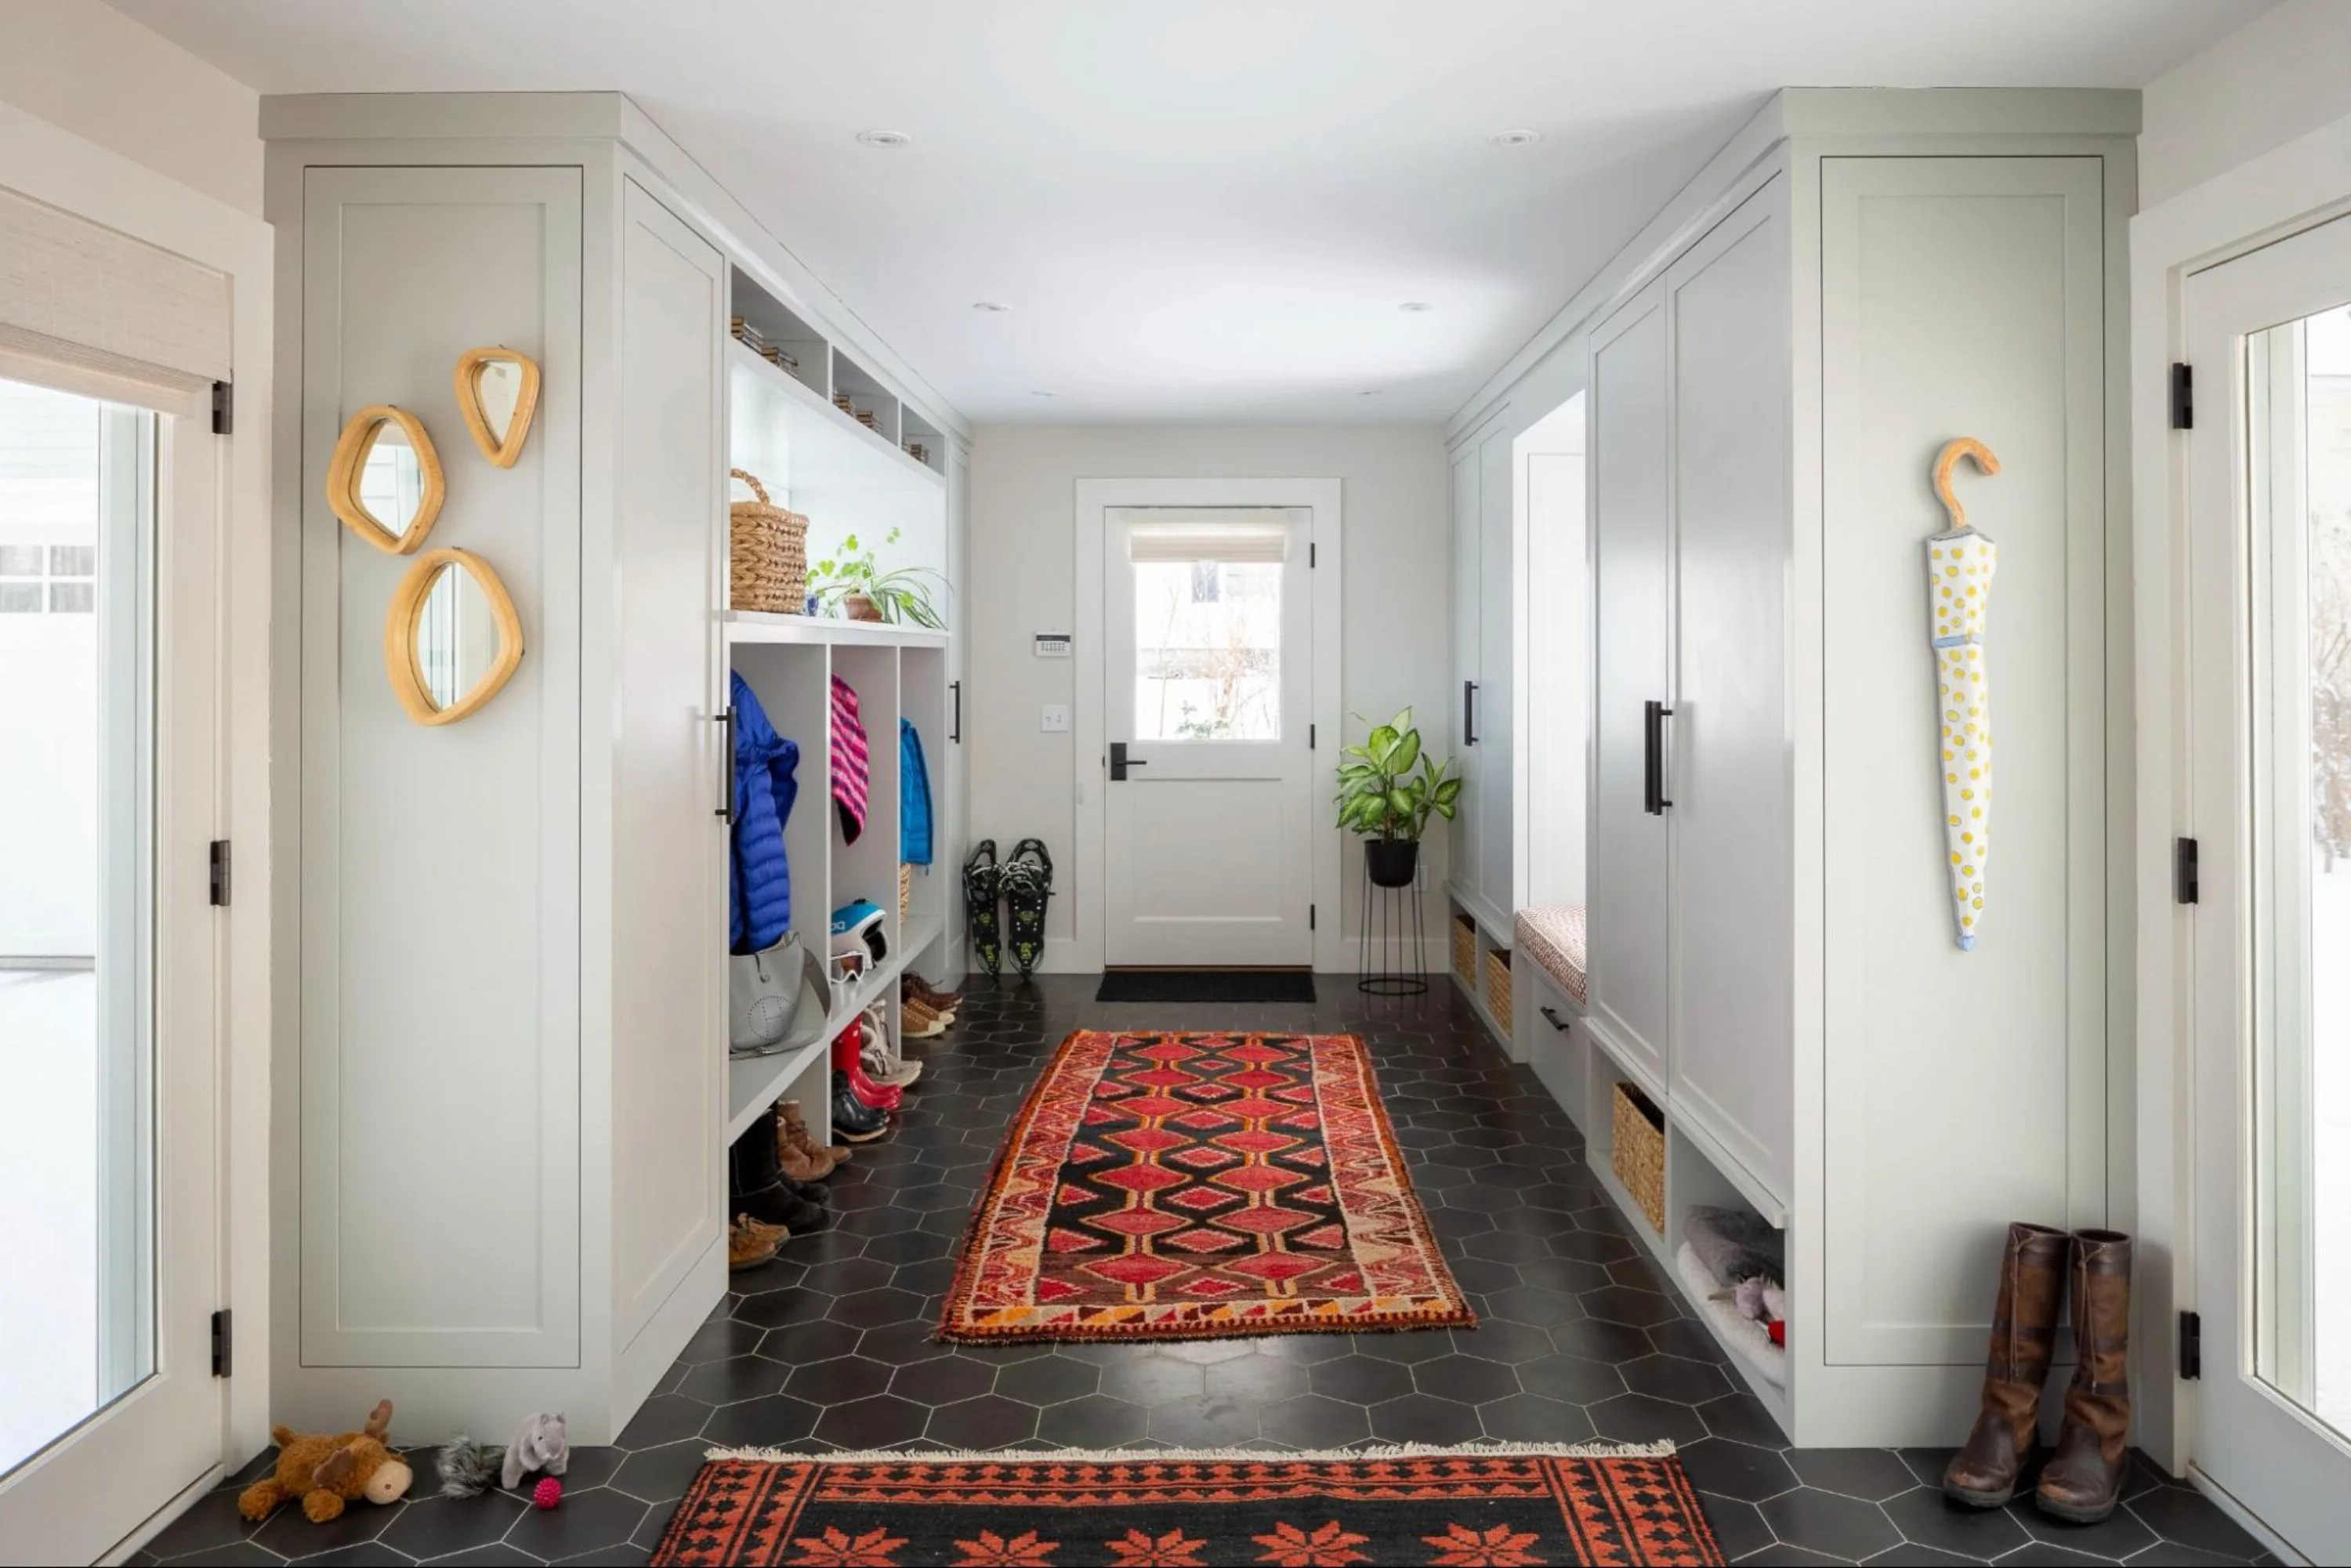
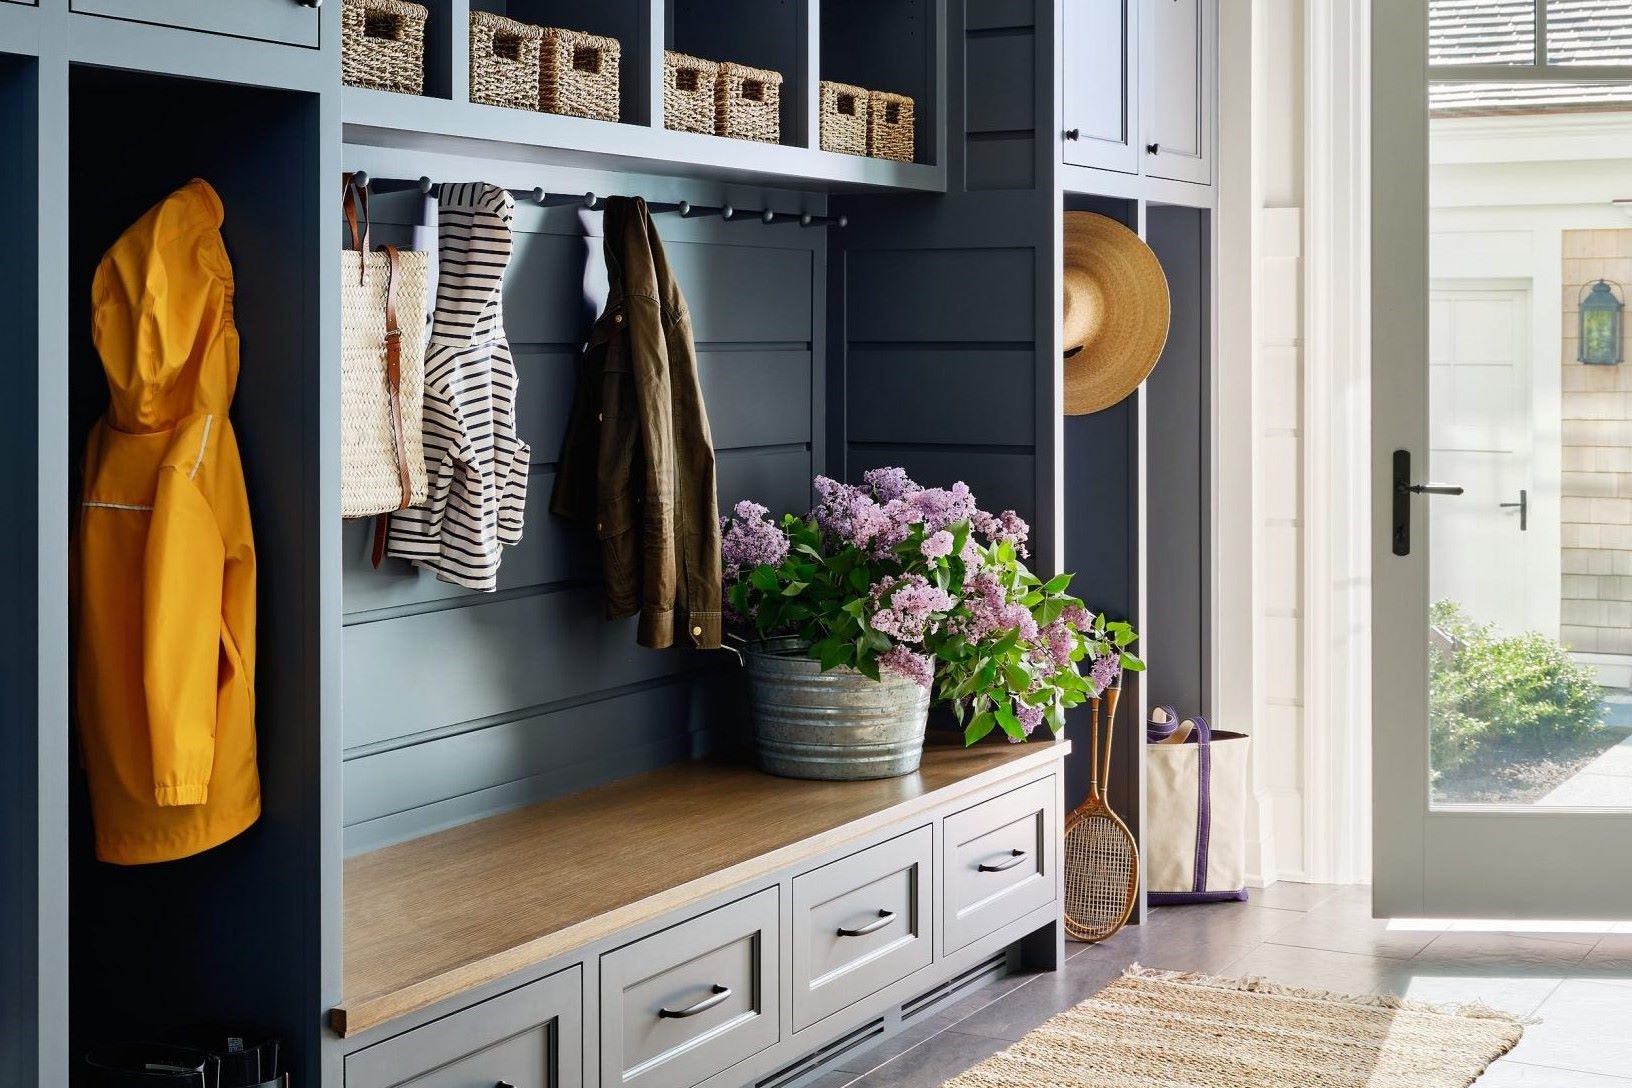
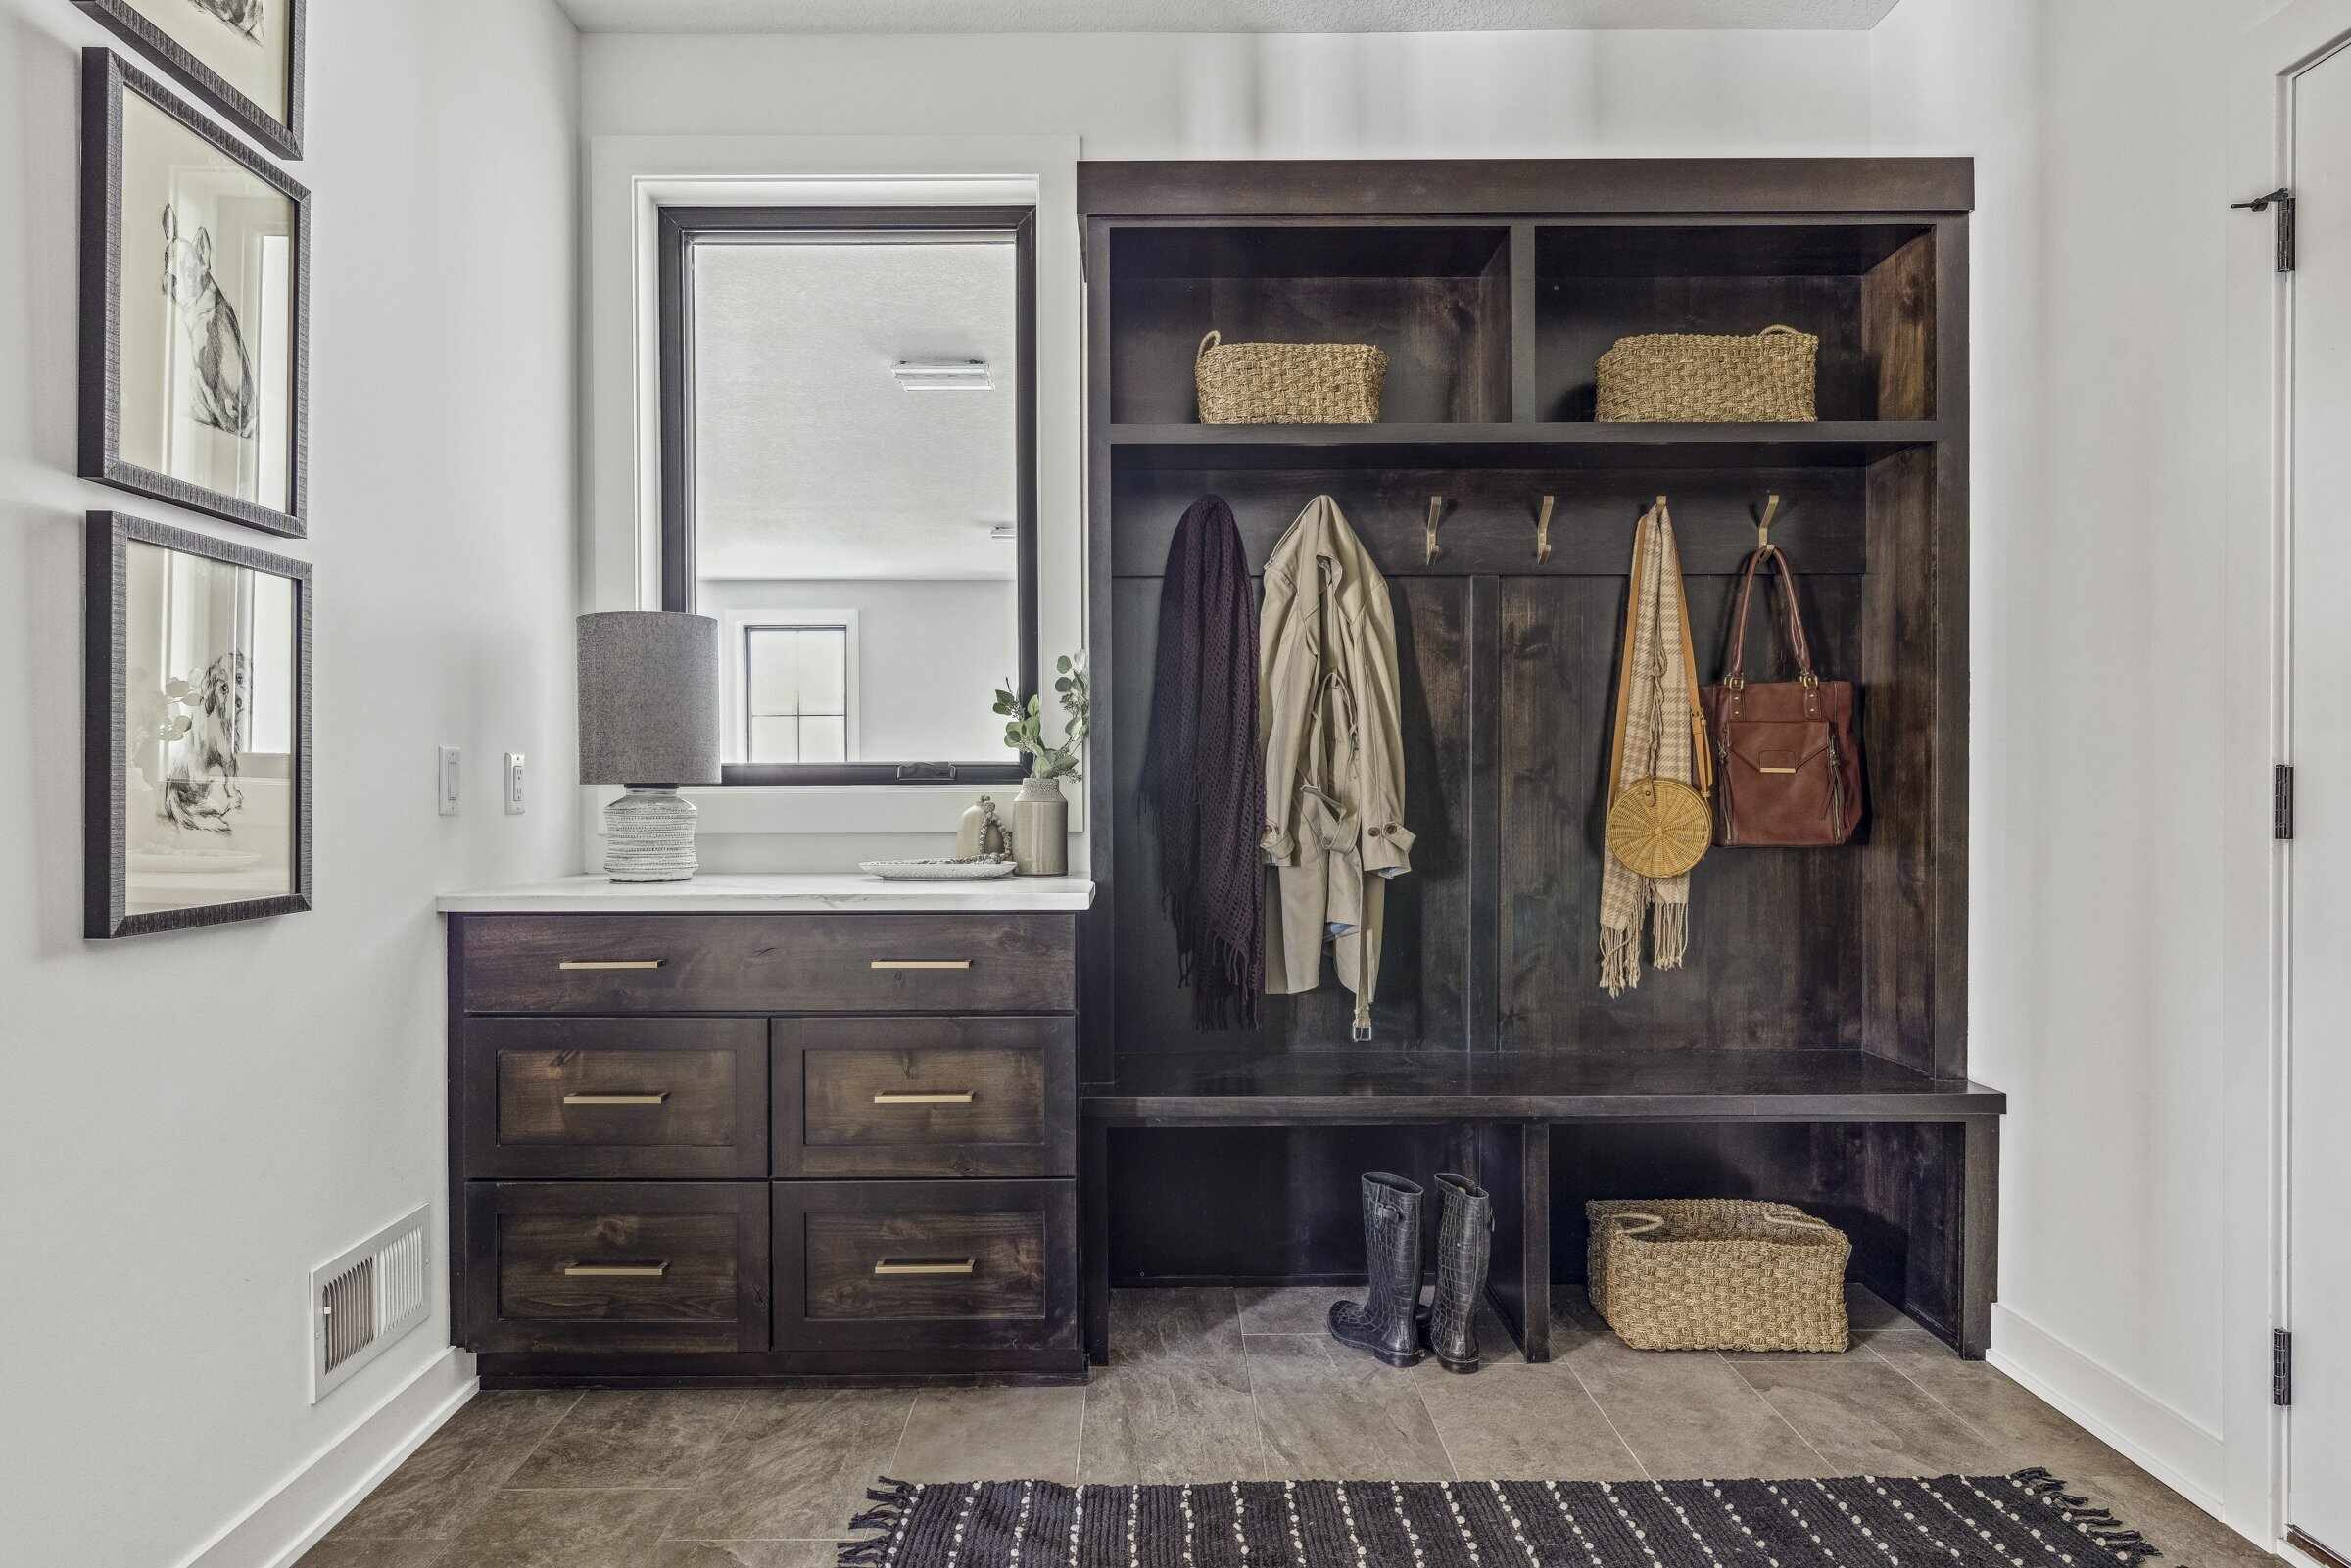
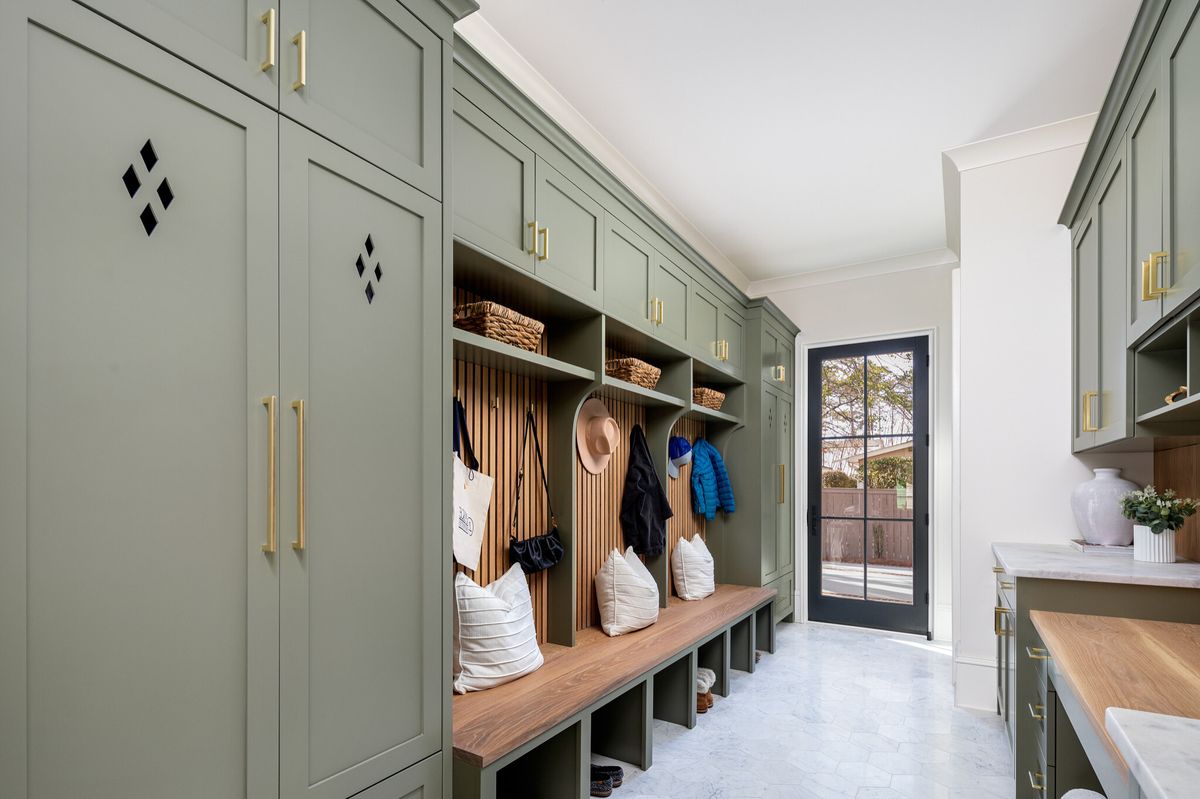
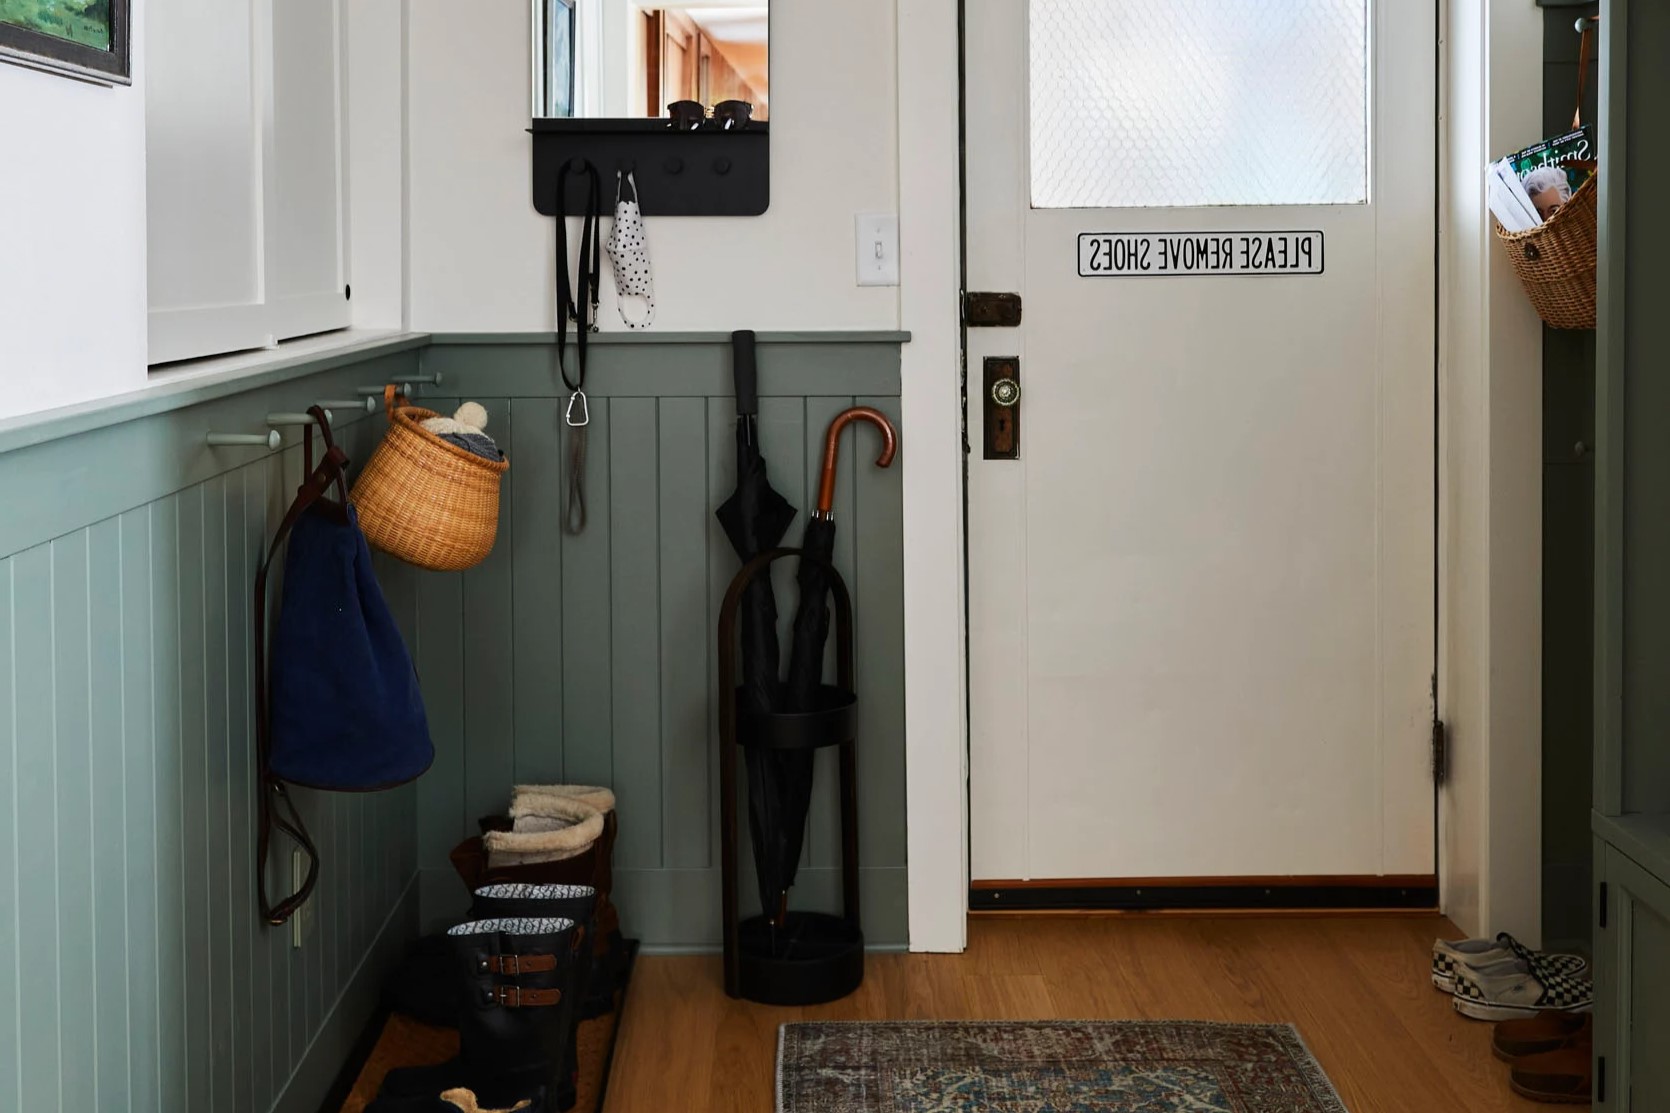
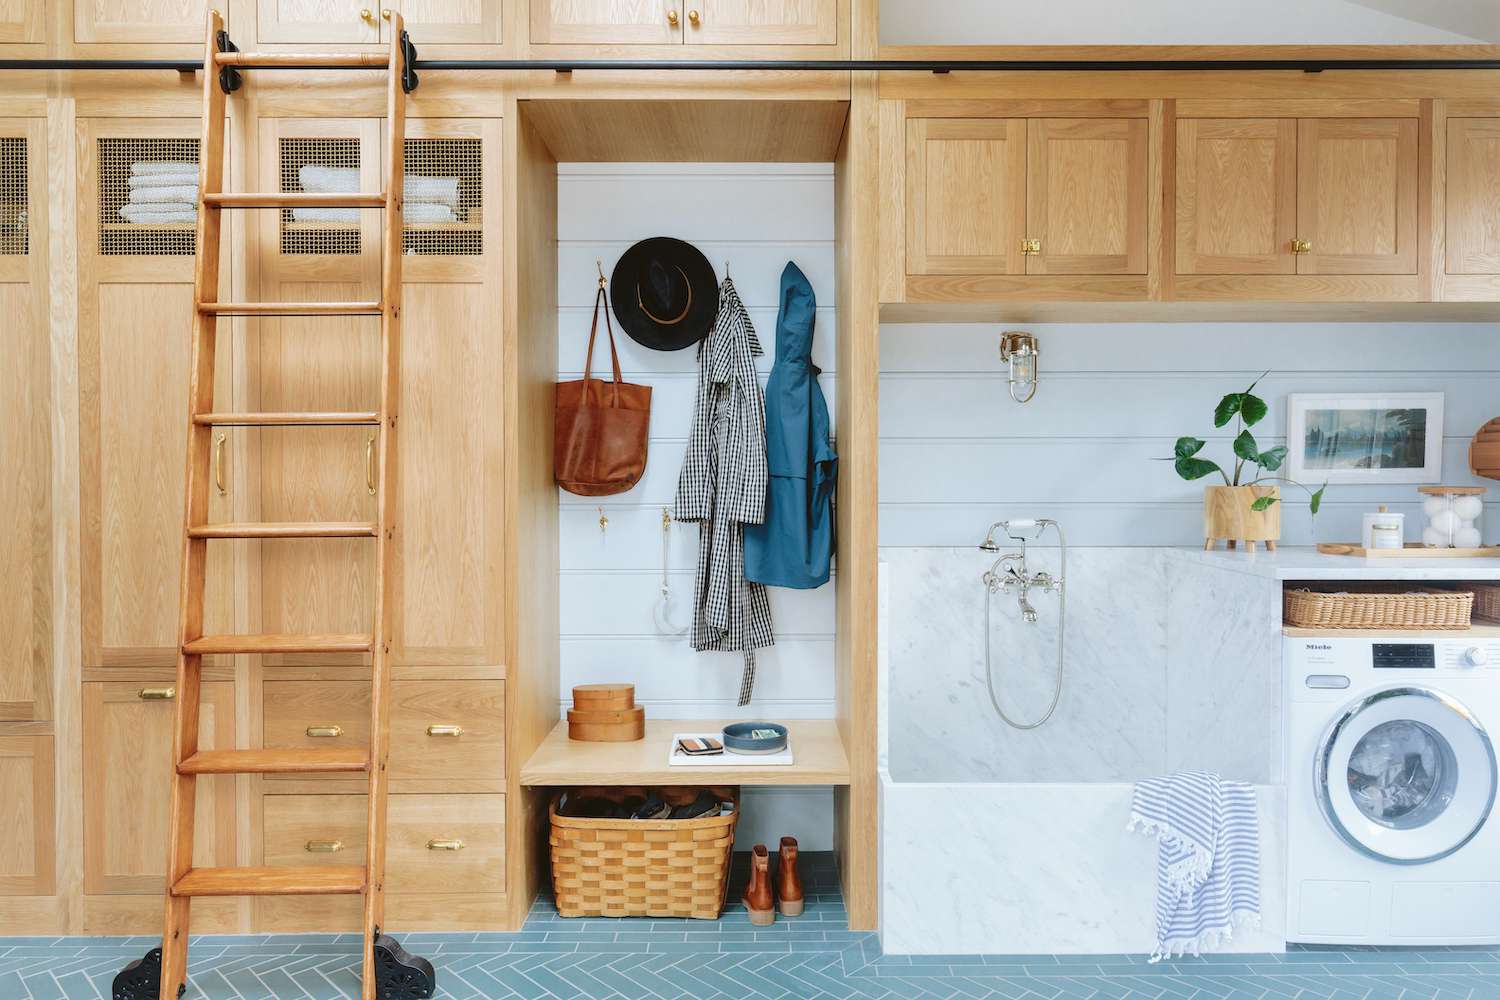
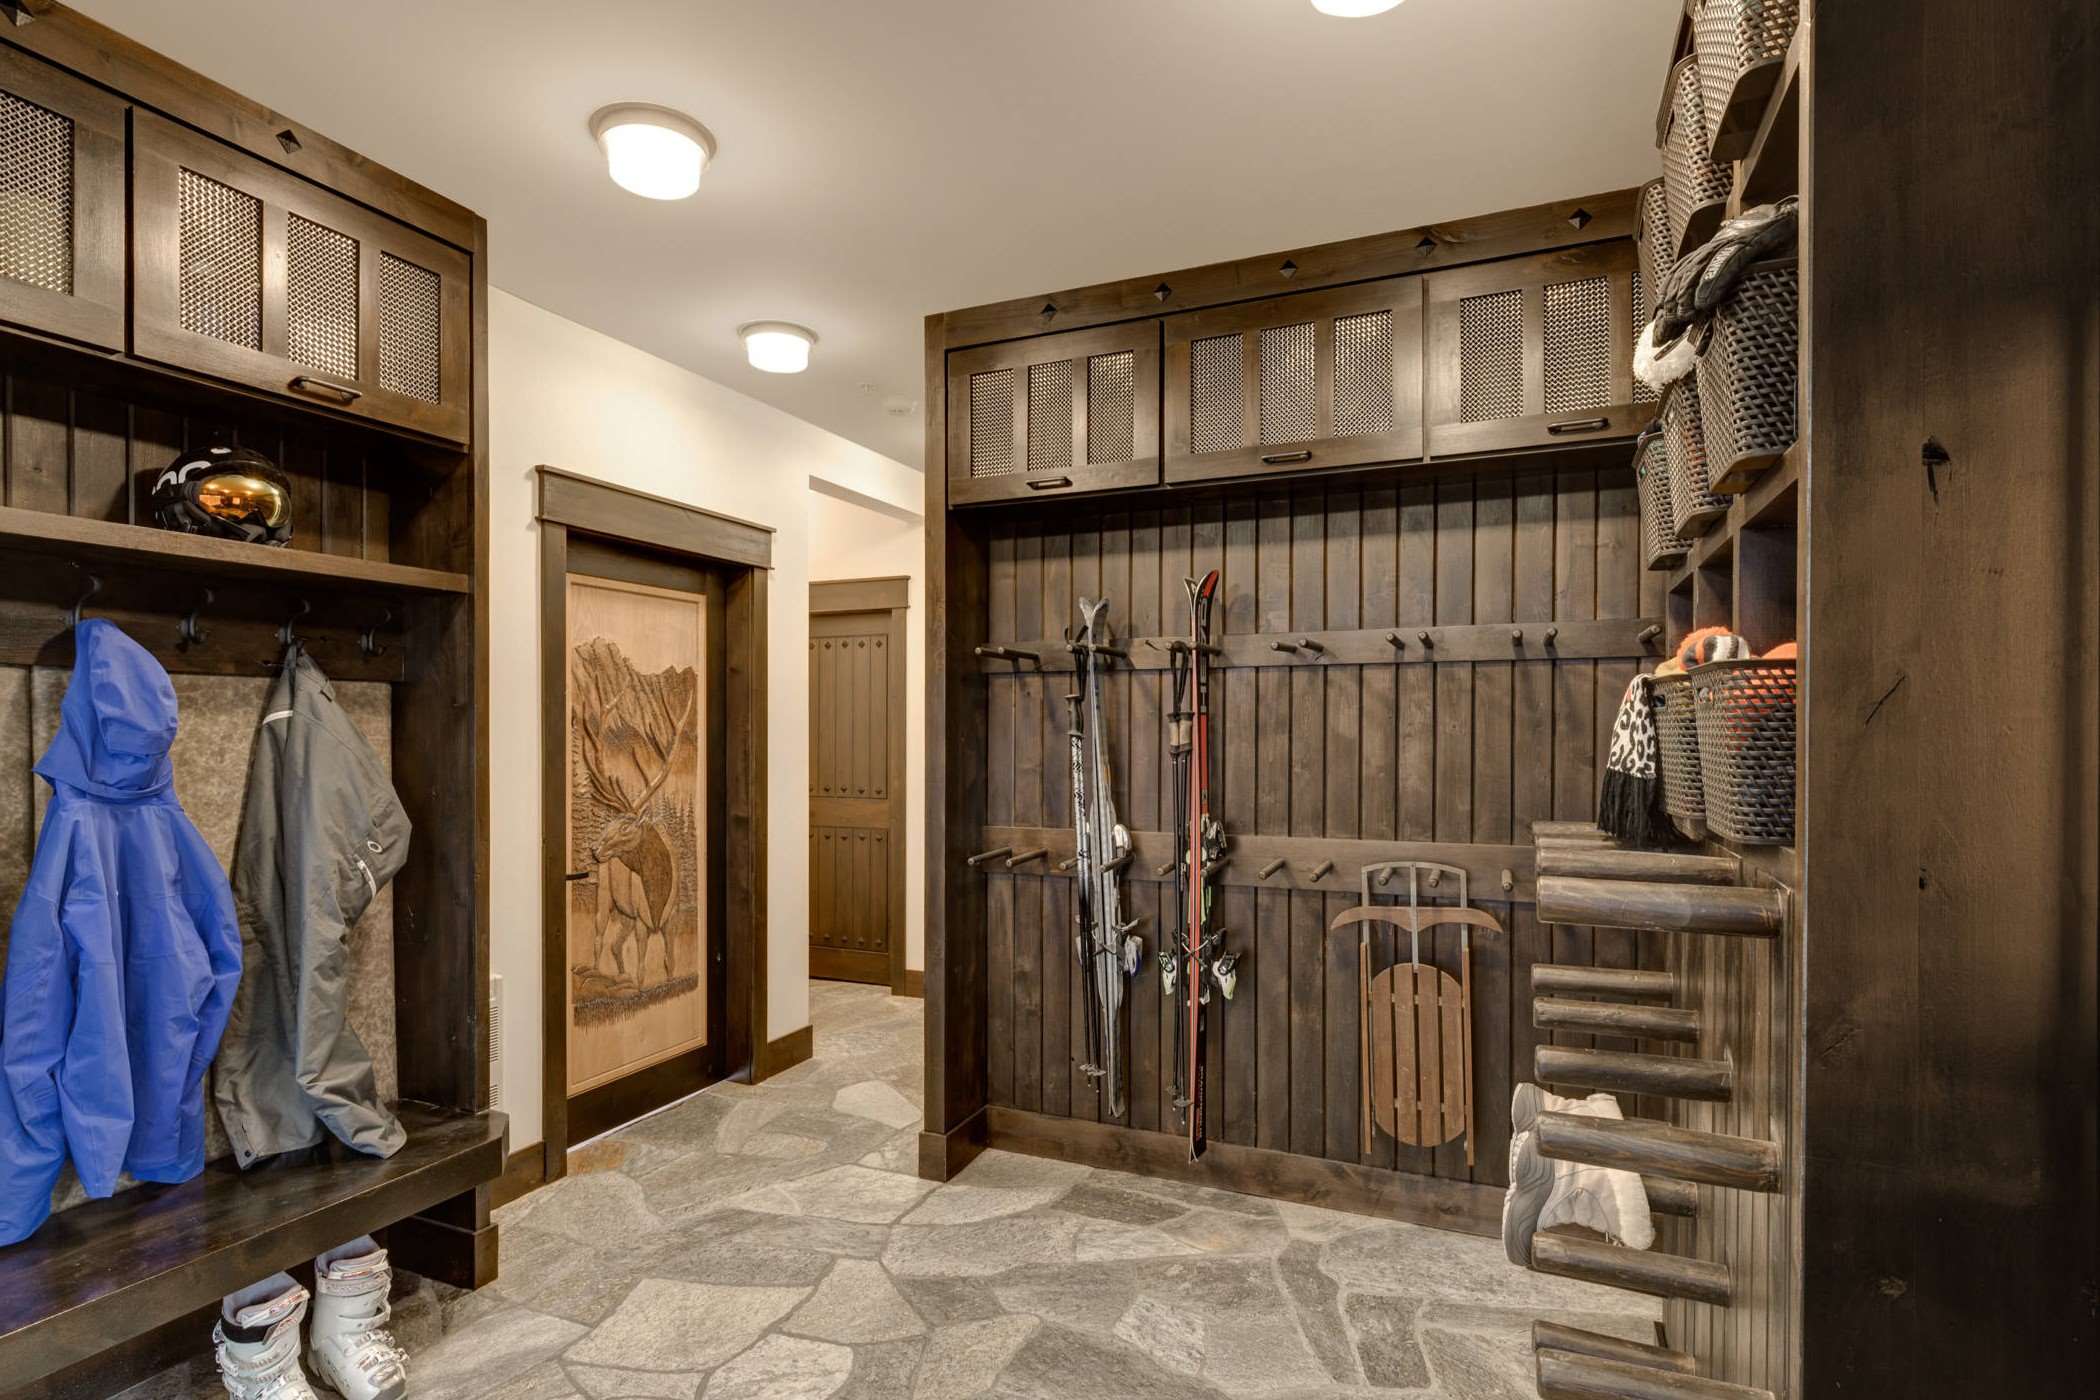
- Hooks and Racks: Install strong wall hooks for hanging coats, hats, backpacks, school bags, and purses. Shoe racks or baskets are essential for storing shoes and boots.
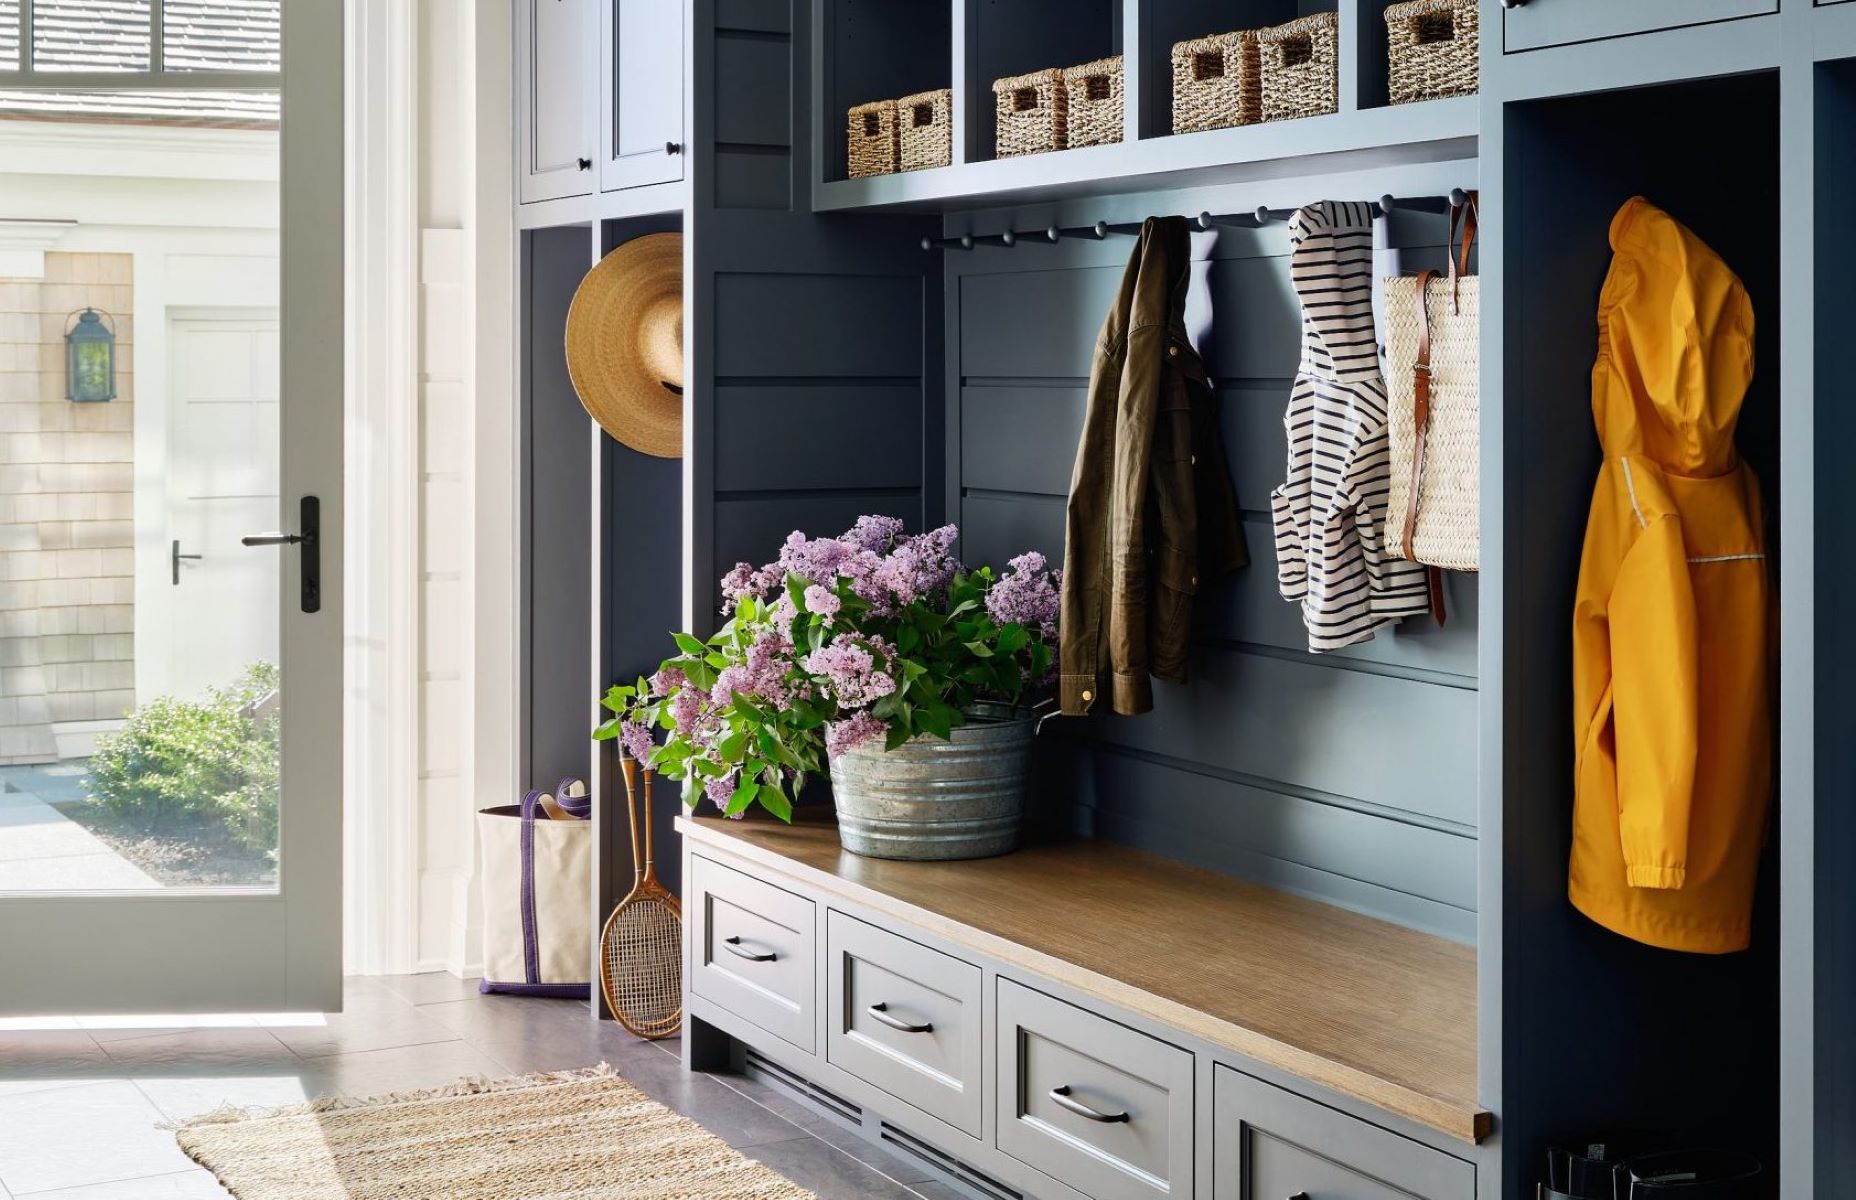
- Shelves and Cubbies: Include open shelves for basket storage and consider built-in cubbies for additional storage.
- Cabinets: A small cabinet can be used for car and house keys, and another for storing smaller items like hats, keys, etc.
- Drying Mat: A drying mat is necessary for wet shoes, muddy boots, and other sports equipment.
Comfortable Seating
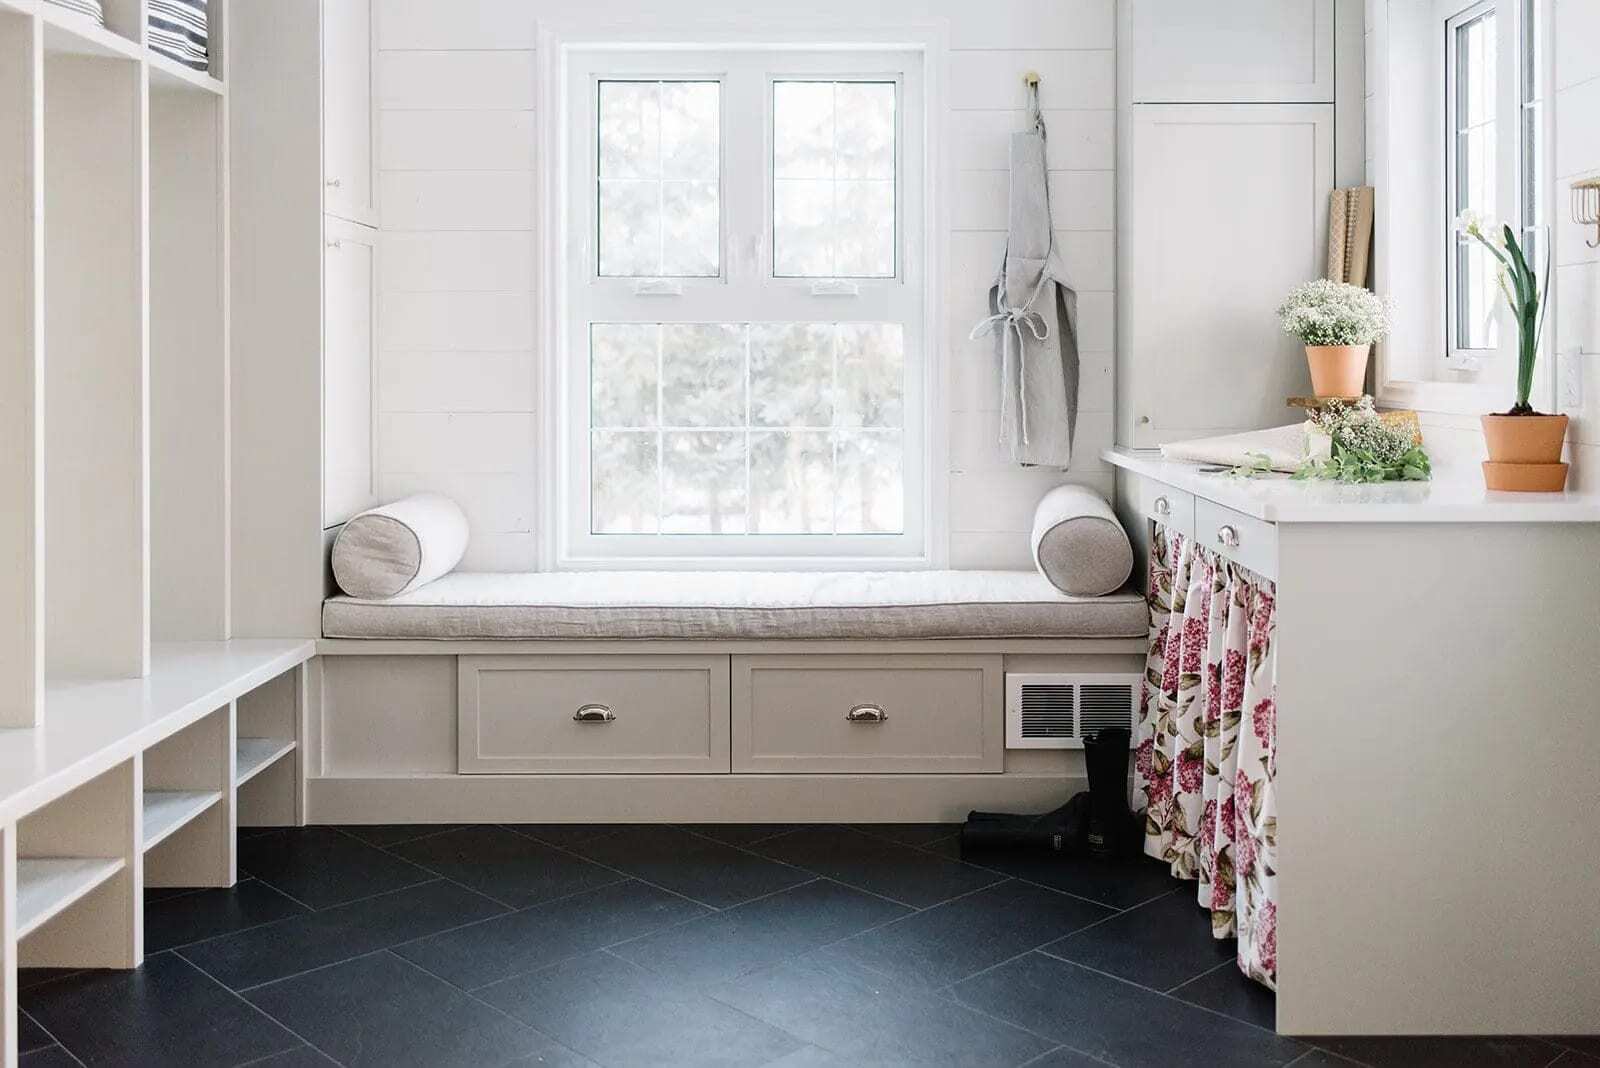
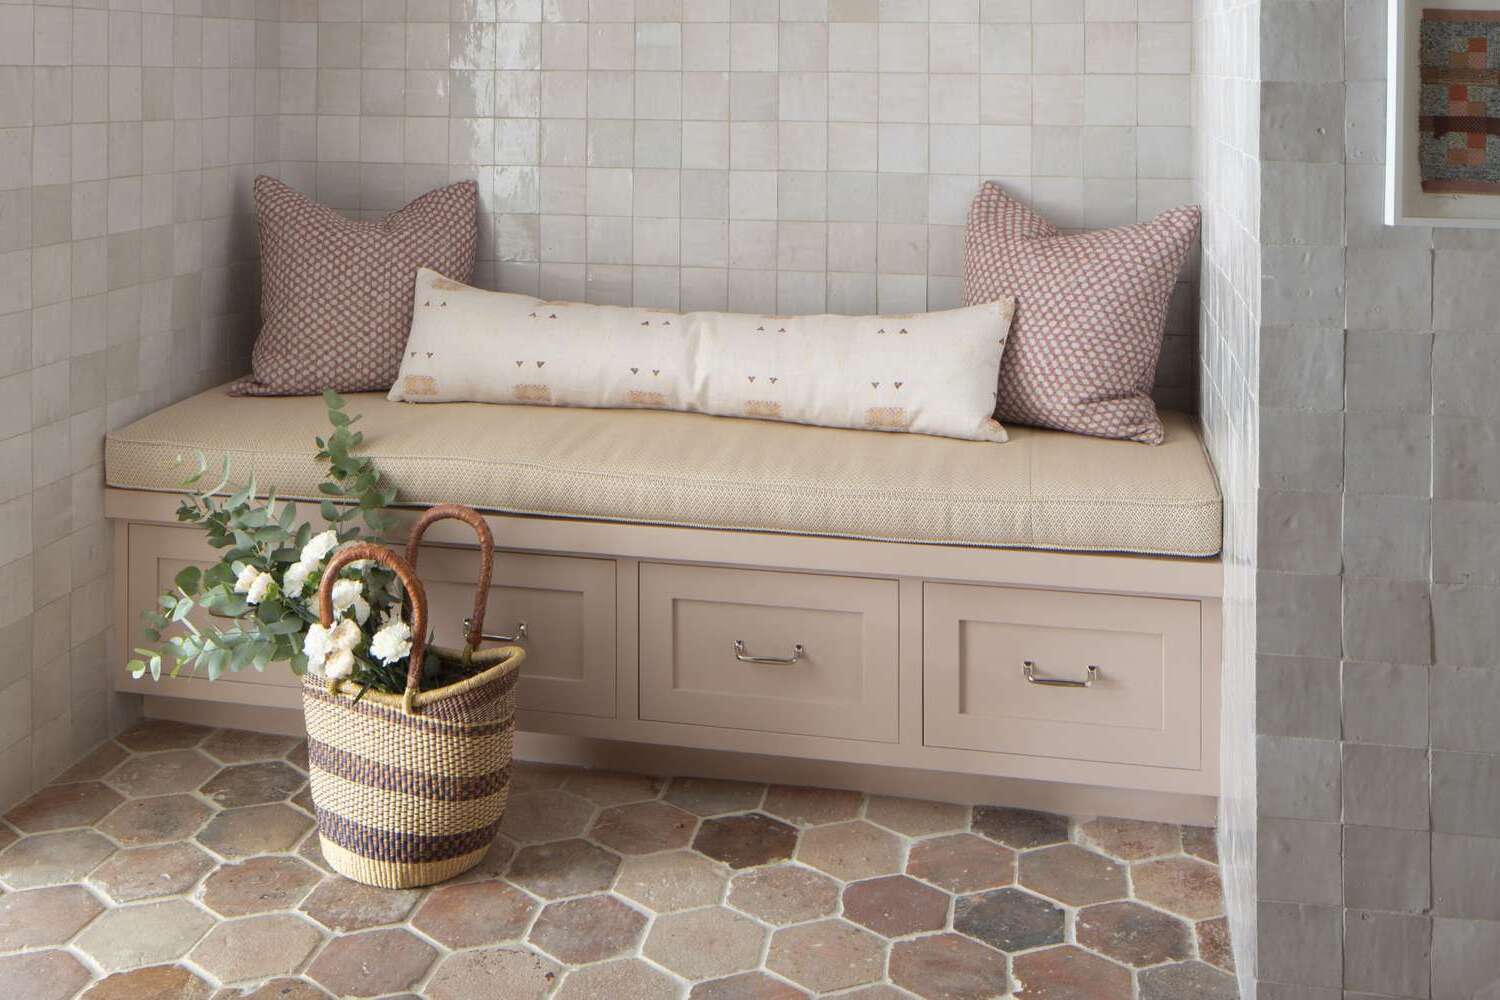
- Bench or Chair: A built-in bench or free-standing bench makes taking off and putting on shoes easier.
- Full-Length Mirror: A full-length mirror helps ensure you are looking just right before heading out the door.
Flooring
- Durable Flooring: Choose durable flooring such as tile or natural stone that can withstand mud, water, snow, and sand carried in on shoes.
- Easy Cleanup: Consider tile flooring for easy cleanup from wet or muddy shoes.
Decorative Elements
- Personalized Baskets: Add personalized baskets with white cotton inserts for the upper cubbies to provide nice storage and add visual interest.
- Color and Wallpaper: Incorporate elements that add visual interest, style, and comfort by using personalized baskets, color, or even wallpaper.
Steps to Convert Your Front Porch into a Mudroom
Step 1: Plan and Design
- Measure Your Space: Measure the dimensions of your porch to determine how much space you have available for conversion.
- Sketch Your Design: Sketch out your design, considering the elements mentioned above.
- Consult Professionals: If needed, consult with a design/build firm or an architect to ensure your design meets your needs and local building codes.
Step 2: Prepare the Space
- Remove Existing Furniture: Clear out any existing furniture or items from the porch.
- Assess Structural Integrity: Check for any structural issues such as hollow posts or voids in load-carrying beams.
- Demolition: If necessary, perform exploratory demolition to identify any structural deficiencies.
Step 3: Insulate and Air-Seal
- Install Insulation: Install insulation in the floor assembly to keep the space comfortable. For example, use 2-in.-thick XPS rigid insulation ripped to fit between joists with mineral-wool batts on top.
- Air-Seal Perimeter: Seal around the perimeter with canned spray foam to create an air barrier below the mineral wool.
Step 4: Frame New Floor System
- Raise Floor System: Raise the floor system so that it is on the same level as the rest of the house.
- Install New Flooring: Install durable flooring such as tile or natural stone that can withstand mud, water, snow, and sand carried in on shoes.
Step 5: Install Walls and Doors
- Use Insulated Sheathing: Use insulated sheathing like Zip System R-sheathing (R-6.6) for exterior walls.
- Add Mineral-Wool Batts: Add R-15 mineral-wool batts to achieve an overall wall assembly R-value of approximately R-21.
- Trim Out Entry Door: Trim out the entry door and windows to match your home’s interior design.
Step 6: Add Storage Solutions
- Install Hooks and Racks: Install strong wall hooks for hanging coats, hats, backpacks, school bags, and purses.
- Add Shoe Racks or Baskets: Include shoe racks or baskets for shoe storage.
- Install Drying Mat: Place a drying mat for wet shoes, muddy boots, and other sports equipment.
Step 7: Incorporate Comfortable Seating
- Install Bench or Chair: Install a built-in bench or free-standing bench to make taking off and putting on shoes easier.
- Add Full-Length Mirror: Hang a full-length mirror to ensure you are looking just right before heading out the door.
Step 8: Add Decorative Elements
- Use Personalized Baskets: Add personalized baskets with white cotton inserts for the upper cubbies to provide nice storage and add visual interest.
- Incorporate Color and Wallpaper: Incorporate elements that add visual interest, style, and comfort by using personalized baskets, color, or even wallpaper.
Budget Considerations
Converting a front porch into a mudroom can be budget-friendly if you plan carefully:
- DIY Elements: Consider DIY elements such as finishing drywall, installing vinyl flooring, and trimming out entry doors yourself to save costs.
- Repurpose Materials: Repurpose materials from other parts of your house for repairs or use salvaged pieces from other parts of the house for interior wall finishes.
- Professional Help: If necessary, hire professionals for tasks that require specialized skills like electrical work or structural repairs.
Read more: Creating A Functional Mudroom In An Entryway
Conclusion
Creating a functional mudroom in your front porch is an excellent way to enhance your home's entryway while providing practical storage solutions for outdoor gear and essentials. By following these steps and considering key design elements such as durable flooring, comfortable seating, and decorative elements like personalized baskets and color schemes, you can create a space that is both functional and stylish. Remember to assess your porch's condition carefully before starting your project and consider consulting professionals if needed to ensure your design meets local building codes and your family's needs.
By transforming your front porch into a mudroom, you will not only improve the aesthetic appeal of your home but also create a comfortable and organized area that keeps your family's belongings tidy and easily accessible.
Was this page helpful?
At Storables.com, we guarantee accurate and reliable information. Our content, validated by Expert Board Contributors, is crafted following stringent Editorial Policies. We're committed to providing you with well-researched, expert-backed insights for all your informational needs.

0 thoughts on “Creating A Functional Mudroom In A Front Porch”