Home>Furniture & Design>Outdoor Furniture>How To Ground An Outdoor Antenna
Outdoor Furniture
How To Ground An Outdoor Antenna
Modified: February 23, 2024
Learn the best methods for grounding an outdoor antenna to ensure optimal performance and safety. Get expert tips on outdoor furniture, design, and more.
(Many of the links in this article redirect to a specific reviewed product. Your purchase of these products through affiliate links helps to generate commission for Storables.com, at no extra cost. Learn more)
Introduction
Welcome to the world of outdoor antennas, where the airwaves come alive with the magic of broadcast signals and the allure of crystal-clear reception. Whether you're a seasoned antenna aficionado or a novice venturing into the realm of outdoor antenna installation, understanding how to properly ground your outdoor antenna is crucial for optimal performance and safety.
In the digital age, outdoor antennas have made a remarkable resurgence, offering access to a plethora of high-definition channels and digital content without the burden of monthly subscription fees. However, to fully harness the potential of your outdoor antenna, grounding it effectively is paramount. Not only does proper grounding enhance the antenna's performance, but it also safeguards your electronic equipment and, more importantly, the occupants of your home, from potential electrical hazards.
In this comprehensive guide, we will delve into the intricacies of grounding an outdoor antenna, equipping you with the knowledge and expertise to embark on this endeavor with confidence. From understanding the nuances of outdoor antennas to selecting the optimal location for grounding and executing the grounding process, we will navigate through each step together. So, fasten your seatbelt, and let's embark on this enlightening journey to unlock the full potential of your outdoor antenna system.
Key Takeaways:
- Safely and effectively grounding your outdoor antenna ensures optimal performance and protects against electrical hazards, allowing you to enjoy high-definition channels and crystal-clear reception without worries.
- By understanding outdoor antennas, selecting the right grounding location, and using the necessary tools, you can confidently establish a robust grounding system, ensuring safety and longevity for your outdoor antenna.
Read more: How To Point An Outdoor Antenna
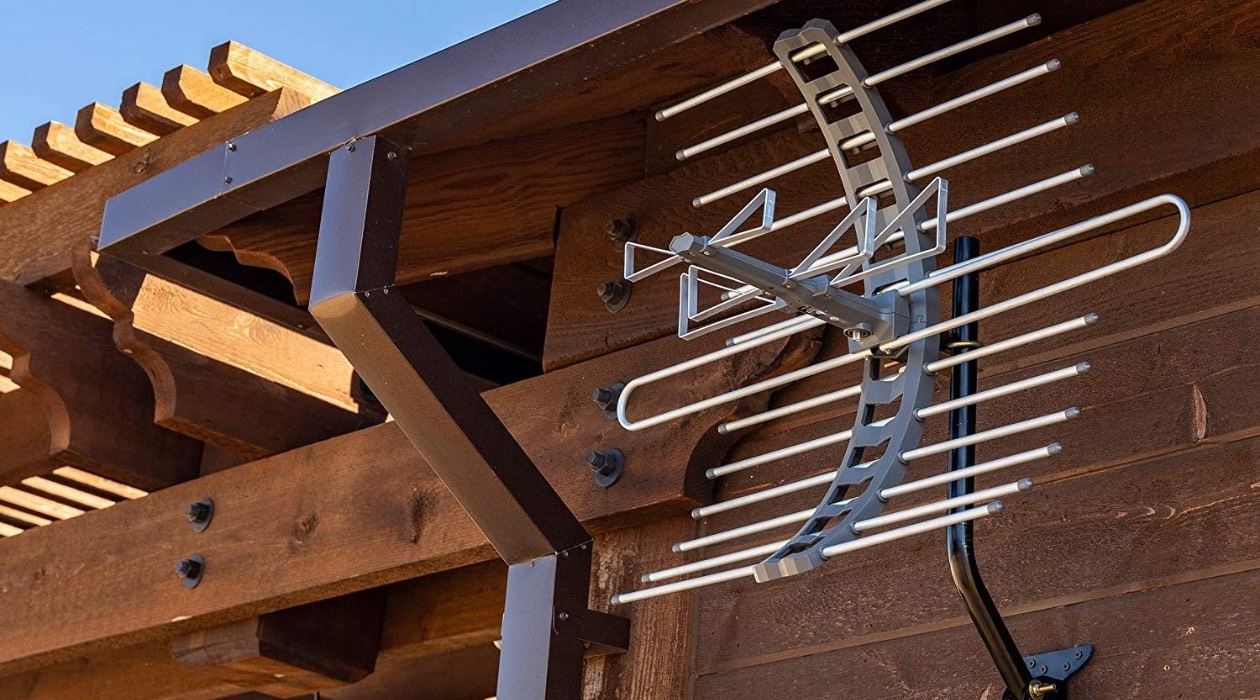
Understanding Outdoor Antennas
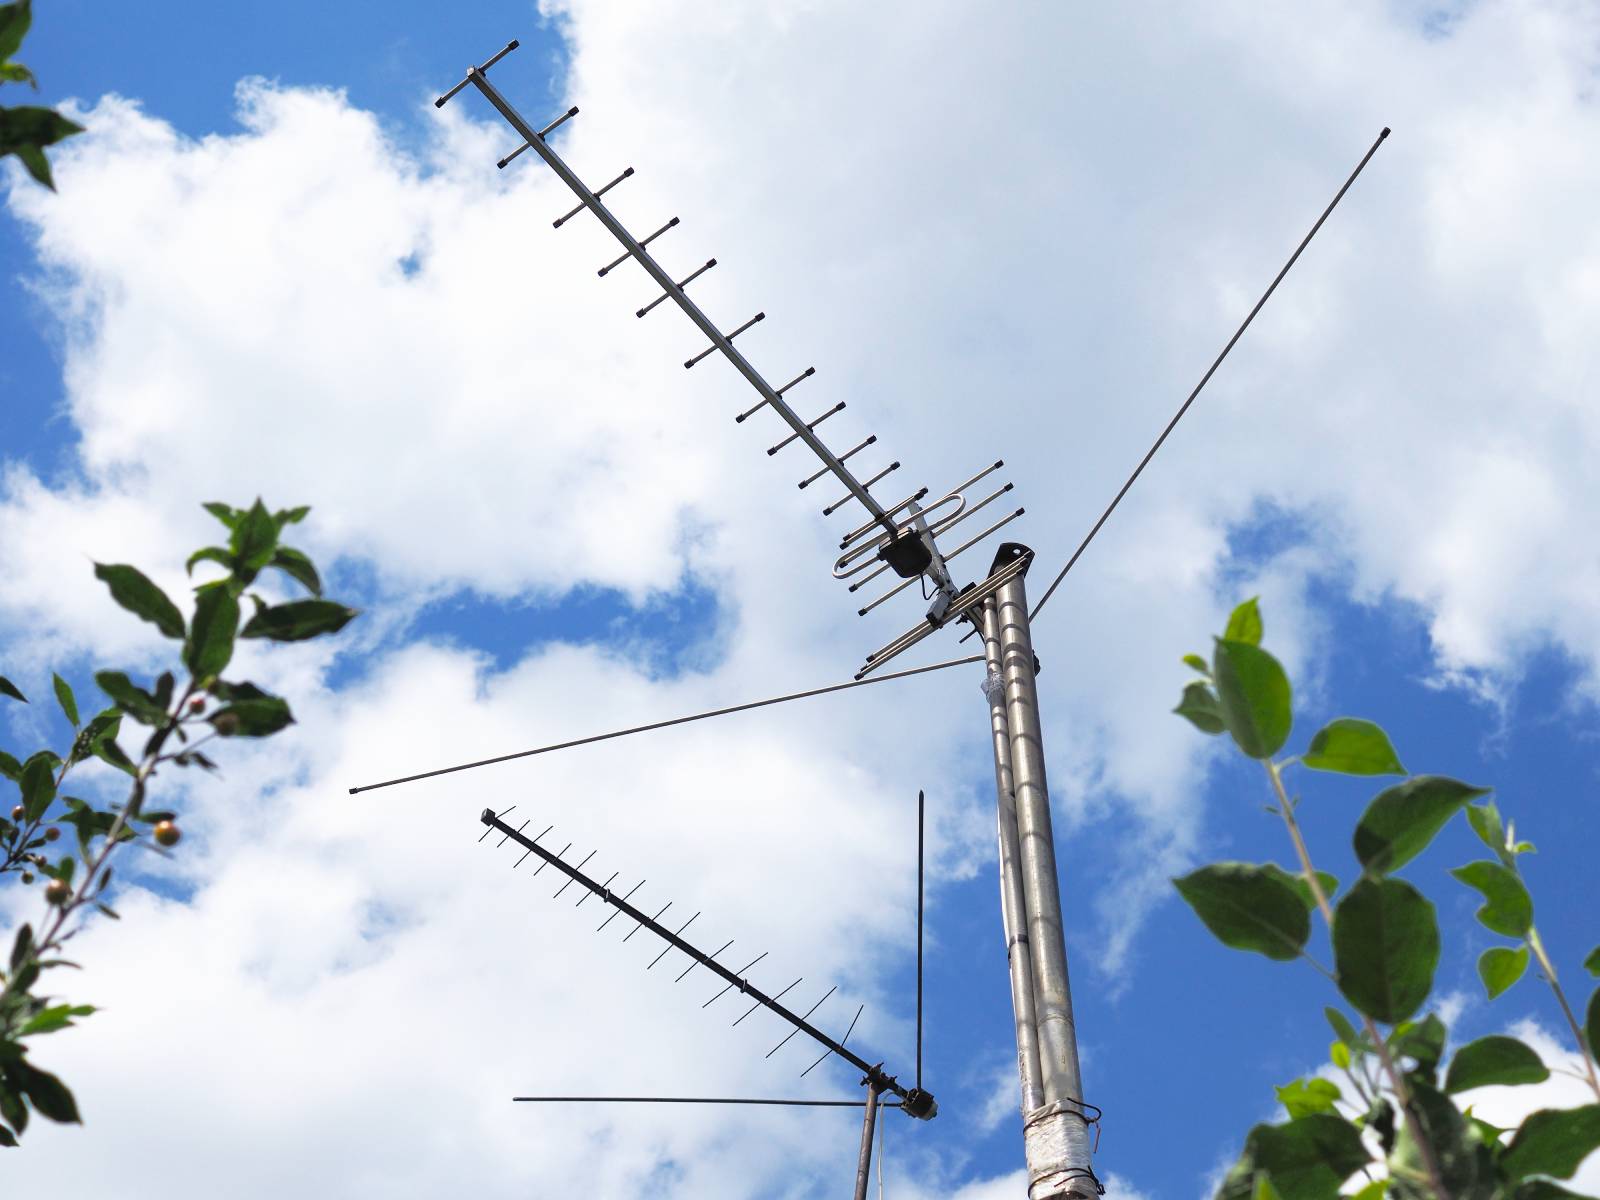
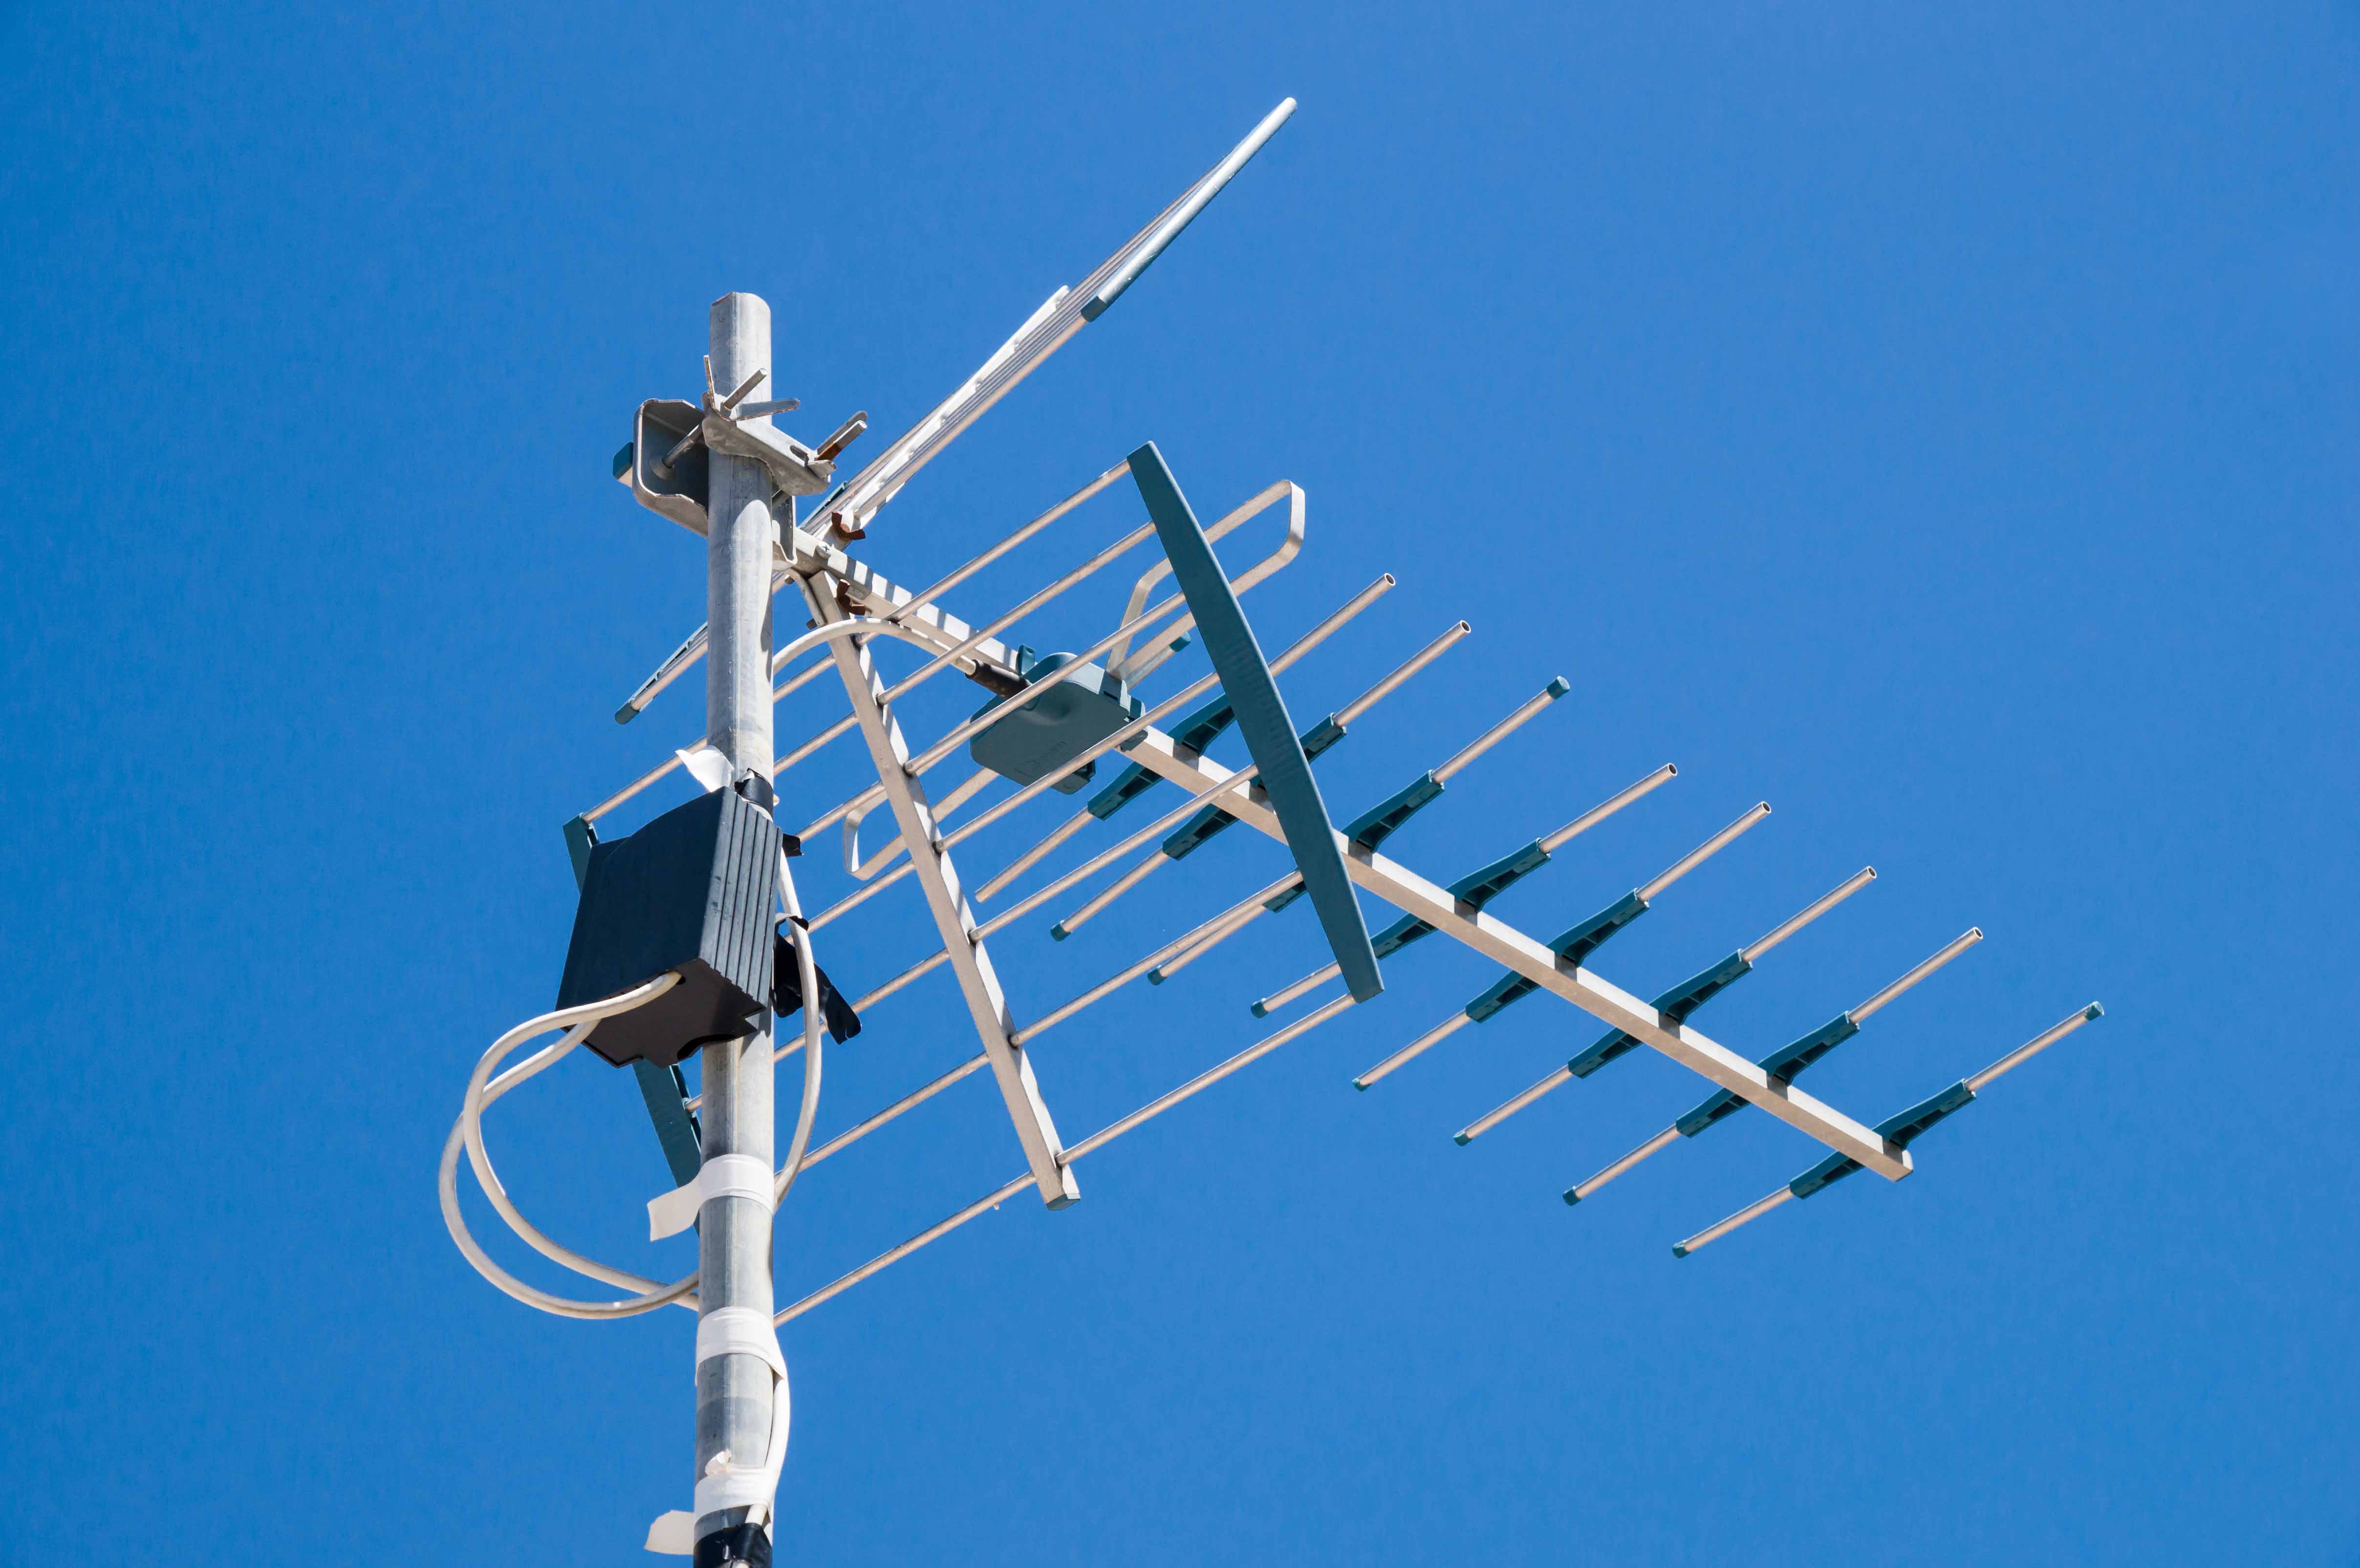
Before delving into the art of grounding an outdoor antenna, it’s essential to grasp the fundamental role that outdoor antennas play in capturing broadcast signals. Outdoor antennas, also known as aerials, are designed to intercept electromagnetic waves carrying television, radio, or other communication signals. These signals, transmitted by broadcasting stations, propagate through the air and are captured by the antenna’s elements, subsequently converted into electrical signals for your viewing or listening pleasure.
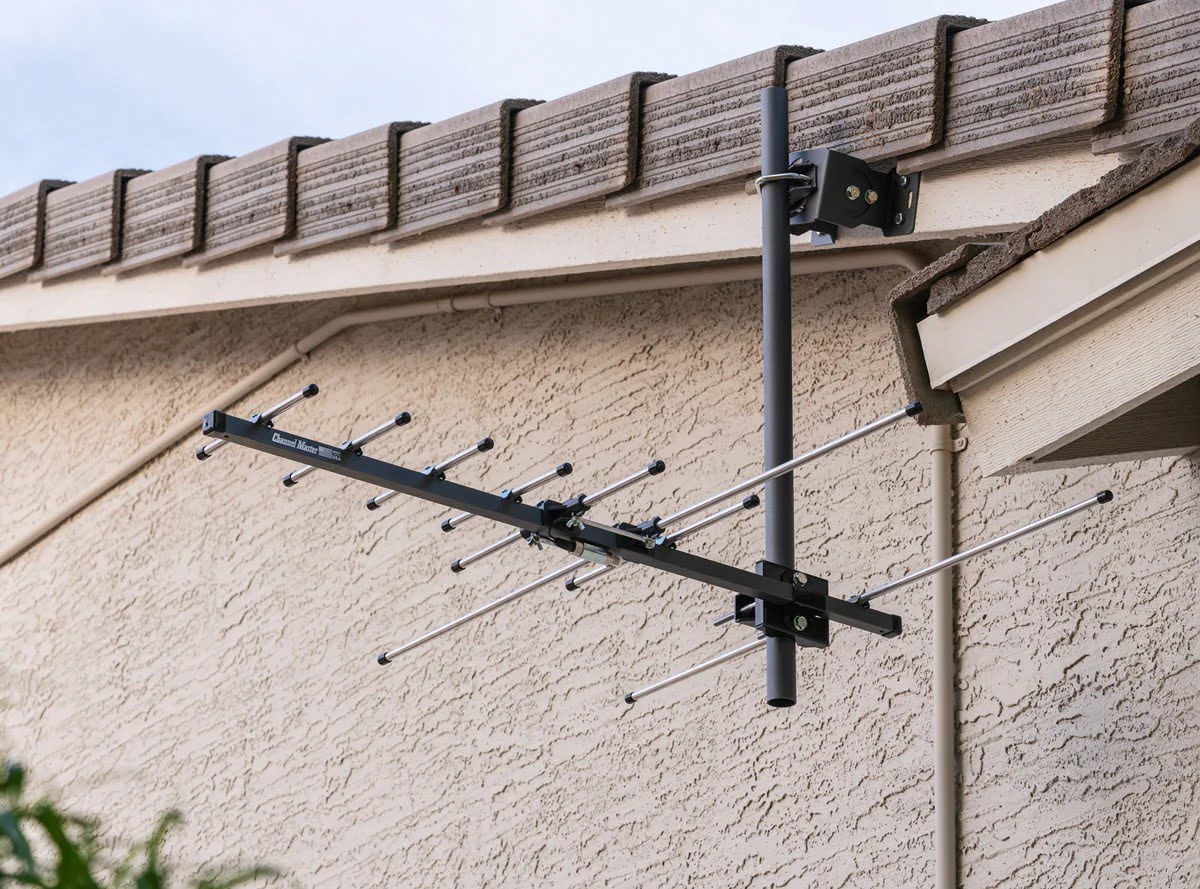
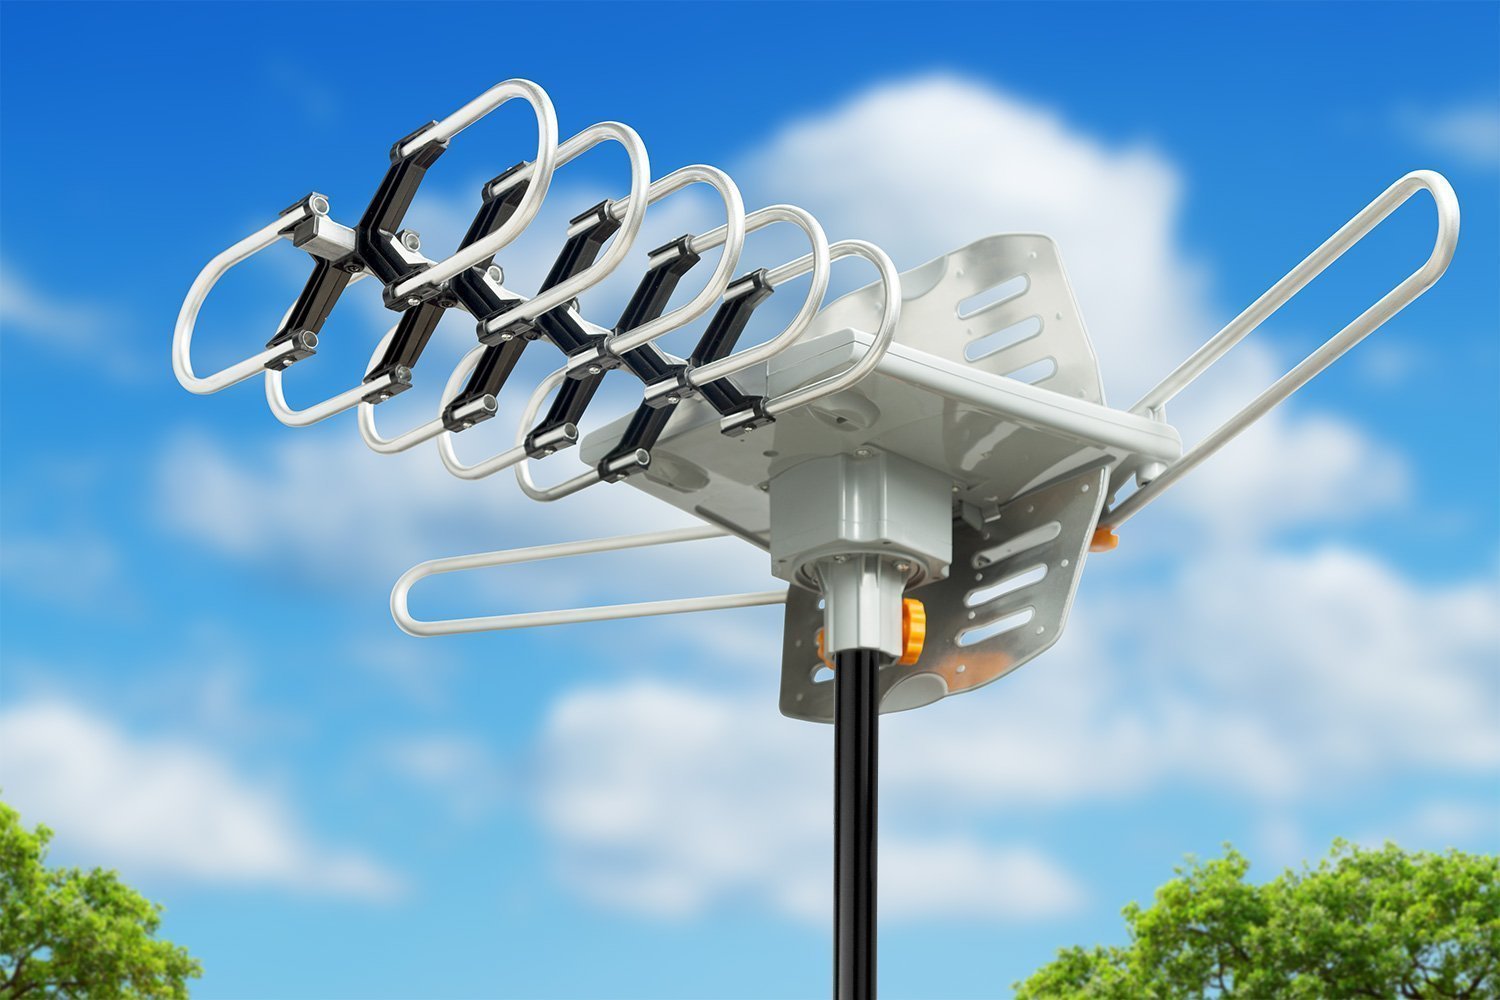
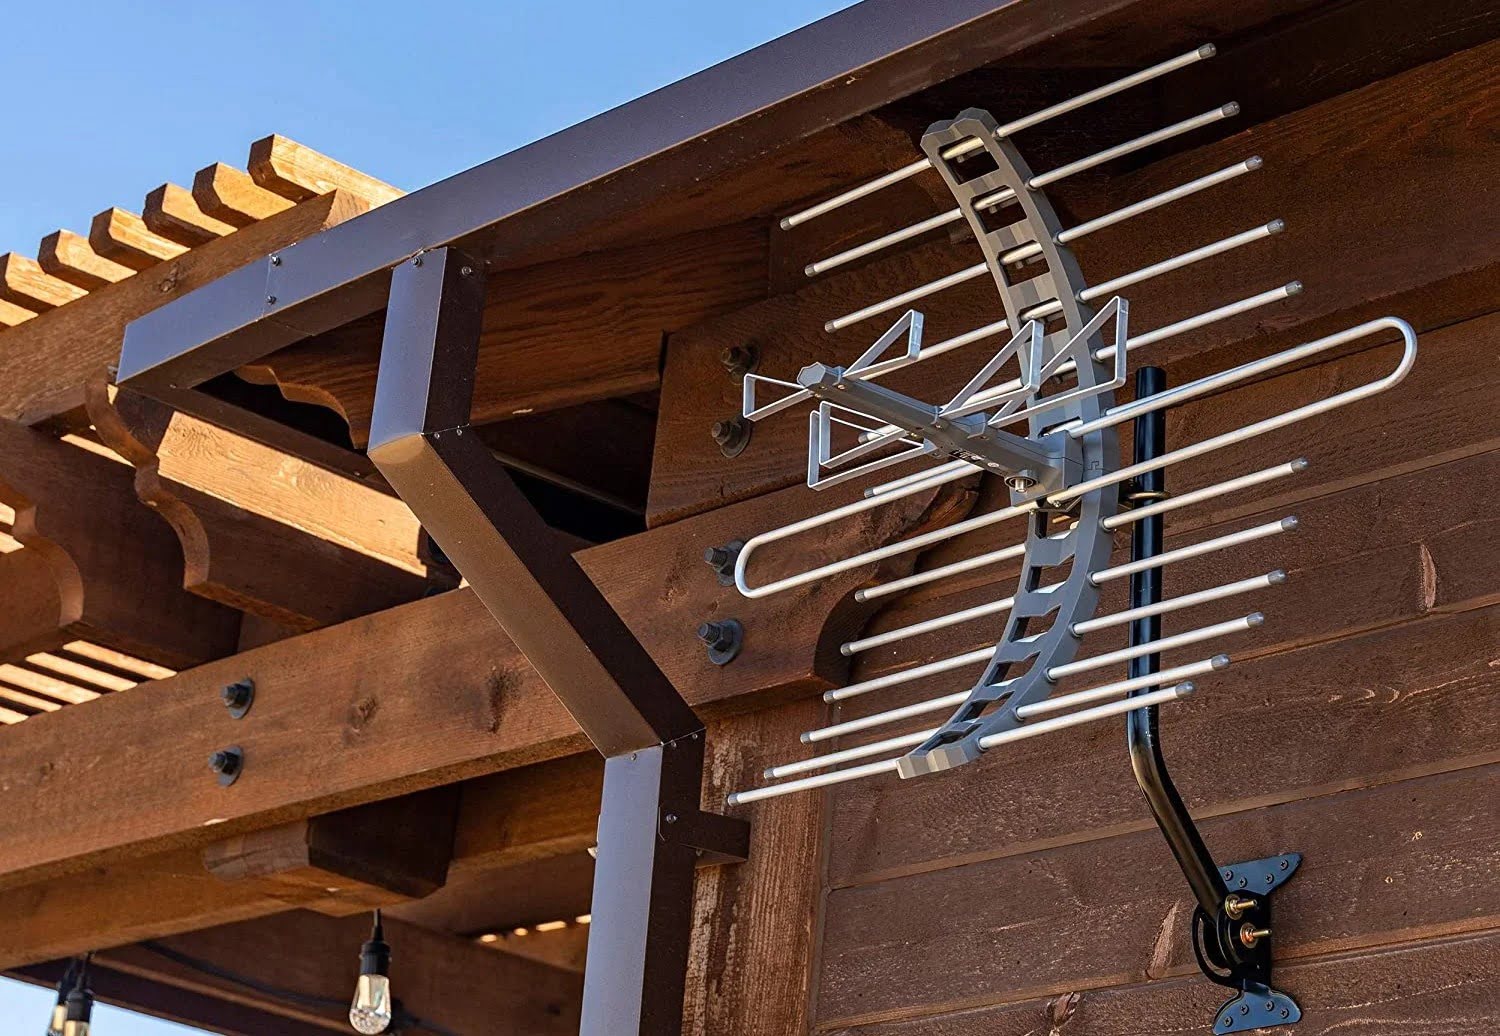
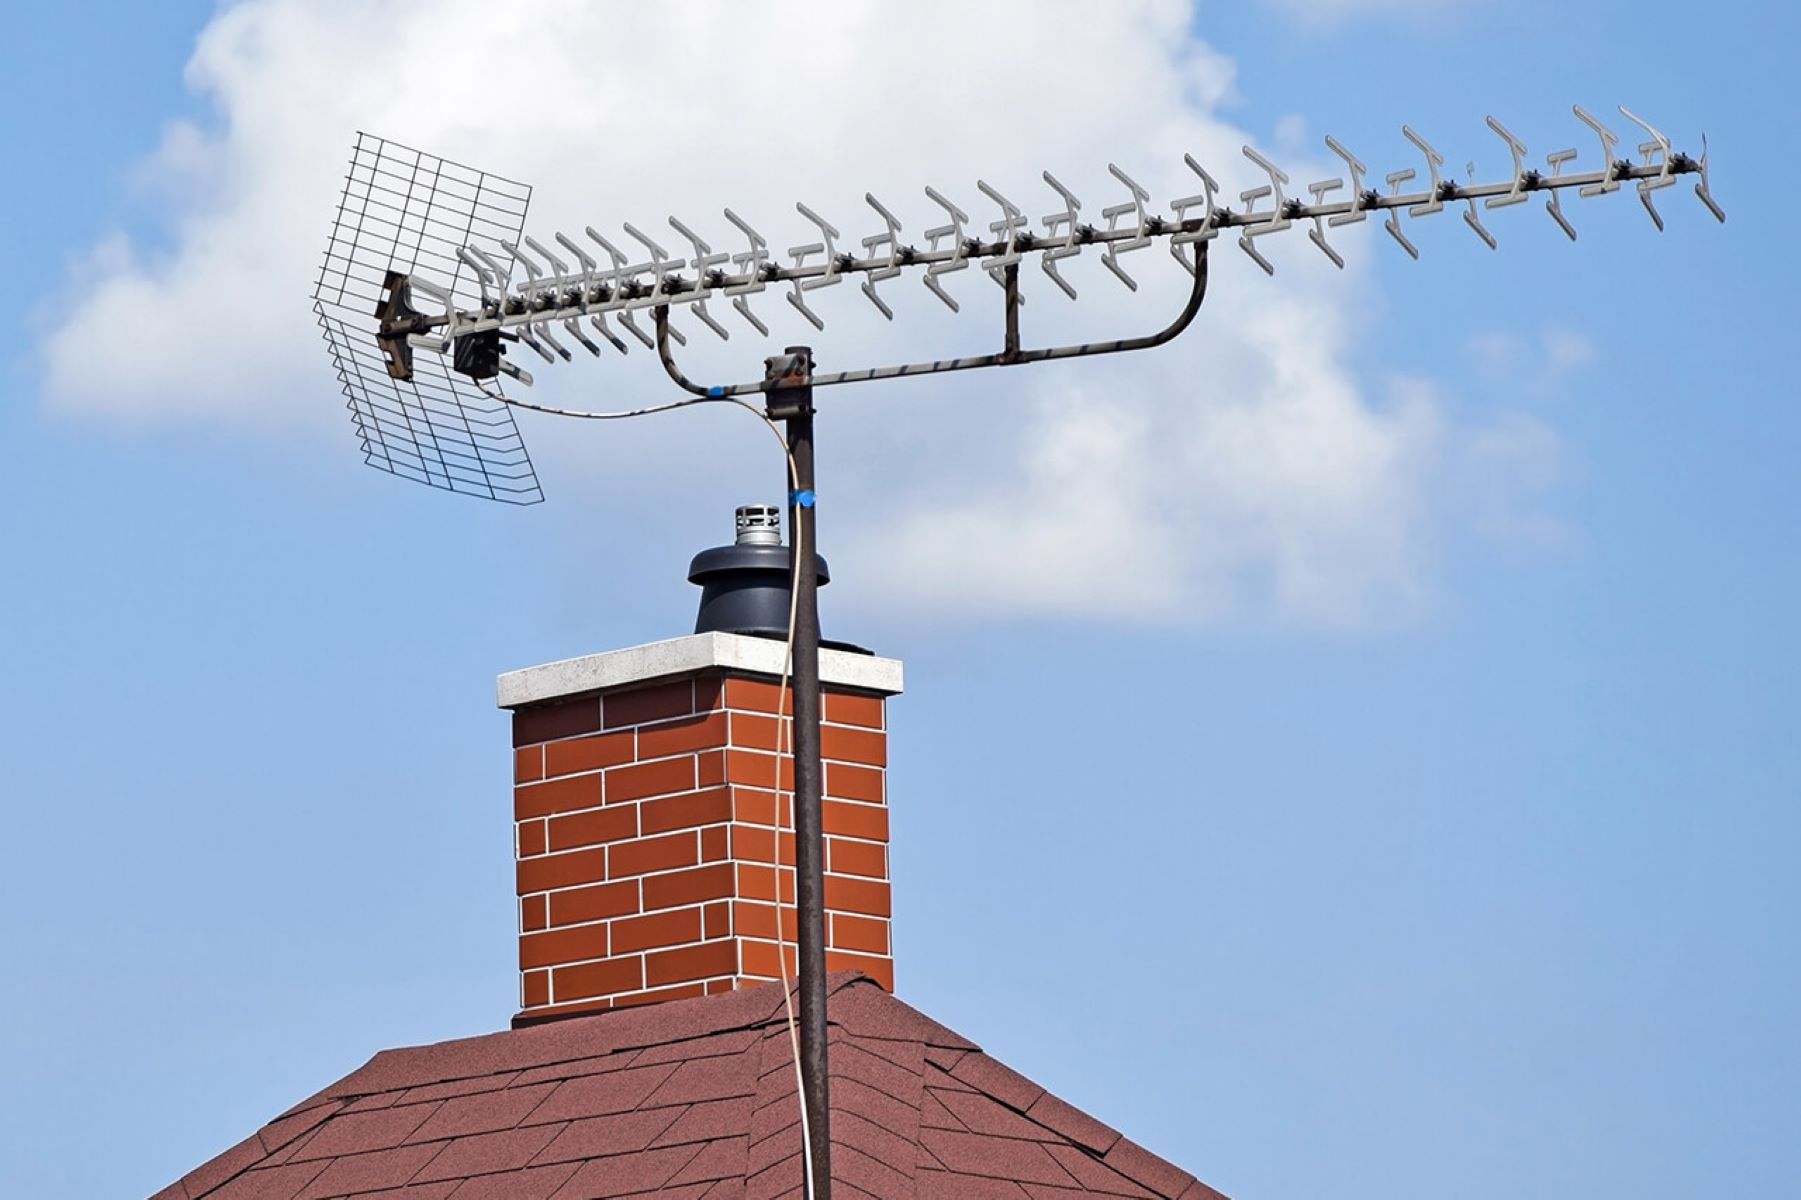
Outdoor antennas come in various designs, including Yagi, log-periodic, and parabolic, each tailored to specific frequency bands and signal strengths. The selection of an outdoor antenna is contingent upon factors such as the distance from broadcasting towers, surrounding terrain, and the desired channels or frequencies to be received.
When considering an outdoor antenna, it’s imperative to evaluate its gain, which determines the antenna’s ability to amplify received signals. Additionally, the antenna’s directivity, or its capacity to receive signals from a specific direction while rejecting interference from other directions, is a crucial aspect to contemplate.
Understanding the characteristics of outdoor antennas is pivotal in optimizing their performance. Factors such as antenna height, orientation, and the absence of obstructions in the signal path significantly influence the quality of received signals. Moreover, the type of cable used to connect the antenna to the receiving equipment, such as coaxial cable, plays a pivotal role in minimizing signal loss.
By comprehending the intricacies of outdoor antennas and their interaction with electromagnetic waves, you lay the groundwork for a successful antenna installation. With this knowledge as our foundation, we can now proceed to the next step: selecting the right location for grounding the outdoor antenna.
Choosing the Right Location for Grounding
When it comes to grounding an outdoor antenna, the location plays a pivotal role in ensuring the effectiveness of the grounding system. The primary objective of grounding an outdoor antenna is to provide a path for the dissipation of electrical surges, thereby safeguarding the antenna and associated equipment from damage due to lightning strikes or power surges.
First and foremost, it’s imperative to identify a suitable spot for grounding that is in close proximity to the base of the outdoor antenna. This location should be easily accessible and devoid of any obstructions to facilitate the installation and maintenance of the grounding system. Additionally, the chosen spot should be in an area where the soil is moist and conductive, as dry or rocky terrain can impede the proper dissipation of electrical charges.
Furthermore, the grounding location should be situated away from any utility lines, water pipes, or gas lines to prevent interference and ensure the safety of the grounding system. It’s essential to adhere to local building codes and regulations regarding grounding to guarantee compliance with safety standards and prevent any potential hazards.
Another crucial consideration when selecting the grounding location is the routing of the grounding conductor to the earth electrode. The path should be as direct as possible, minimizing bends and avoiding sharp angles to reduce resistance and ensure an efficient grounding connection.
Moreover, the grounding location should be shielded from potential physical damage, such as accidental excavation or vehicular impact. Placing the grounding system in a discreet yet accessible location helps mitigate the risk of unintended disturbance or impairment.
By meticulously evaluating and selecting the right location for grounding the outdoor antenna, you lay the groundwork for a robust and reliable grounding system. With the optimal location identified, we can now proceed to the next step: gathering the necessary tools and materials for grounding the antenna.
Gathering the Necessary Tools and Materials
Before embarking on the grounding process for your outdoor antenna, it’s essential to assemble the requisite tools and materials to ensure a seamless and efficient installation. Equipping yourself with the right gear not only streamlines the grounding procedure but also contributes to the overall safety and effectiveness of the grounding system.
The following is a comprehensive list of tools and materials you will need to ground your outdoor antenna:
- Grounding Conductor: A durable and corrosion-resistant copper wire, typically of 10 AWG (American Wire Gauge) or larger, serves as the primary conductor for establishing the grounding connection.
- Grounding Electrode: This includes a copper-clad steel or solid copper grounding rod, designed to be driven into the earth to create a reliable electrical connection with the ground.
- Clamps and Connectors: Stainless steel or copper clamps and connectors are essential for securing the grounding conductor to the outdoor antenna mast and the grounding electrode, ensuring a robust and enduring connection.
- Hammer and Drill: A hammer is necessary for driving the grounding rod into the ground, while a drill with masonry bits facilitates the installation of the grounding rod in rocky terrain or concrete surfaces.
- Wire Strippers and Cutters: These tools are indispensable for preparing and trimming the grounding conductor to the required length, enabling a precise and secure connection.
- Grounding Plate or Hub: A grounding plate or hub provides a convenient and secure point for connecting multiple grounding conductors, ensuring a unified grounding system for the outdoor antenna and associated equipment.
- Protective Gear: Safety glasses, work gloves, and appropriate footwear are essential for personal protection during the installation process, safeguarding against potential hazards and ensuring a secure working environment.
By gathering these essential tools and materials, you are poised to embark on the grounding process with confidence and precision. With the groundwork laid and the necessary gear at your disposal, we can now proceed to the pivotal step of grounding the antenna, ushering in a new realm of safety and performance for your outdoor antenna system.
When grounding an outdoor antenna, make sure to use a copper grounding rod driven at least 8 feet into the ground. Connect the antenna’s grounding wire to the rod using a grounding clamp to prevent electrical hazards.
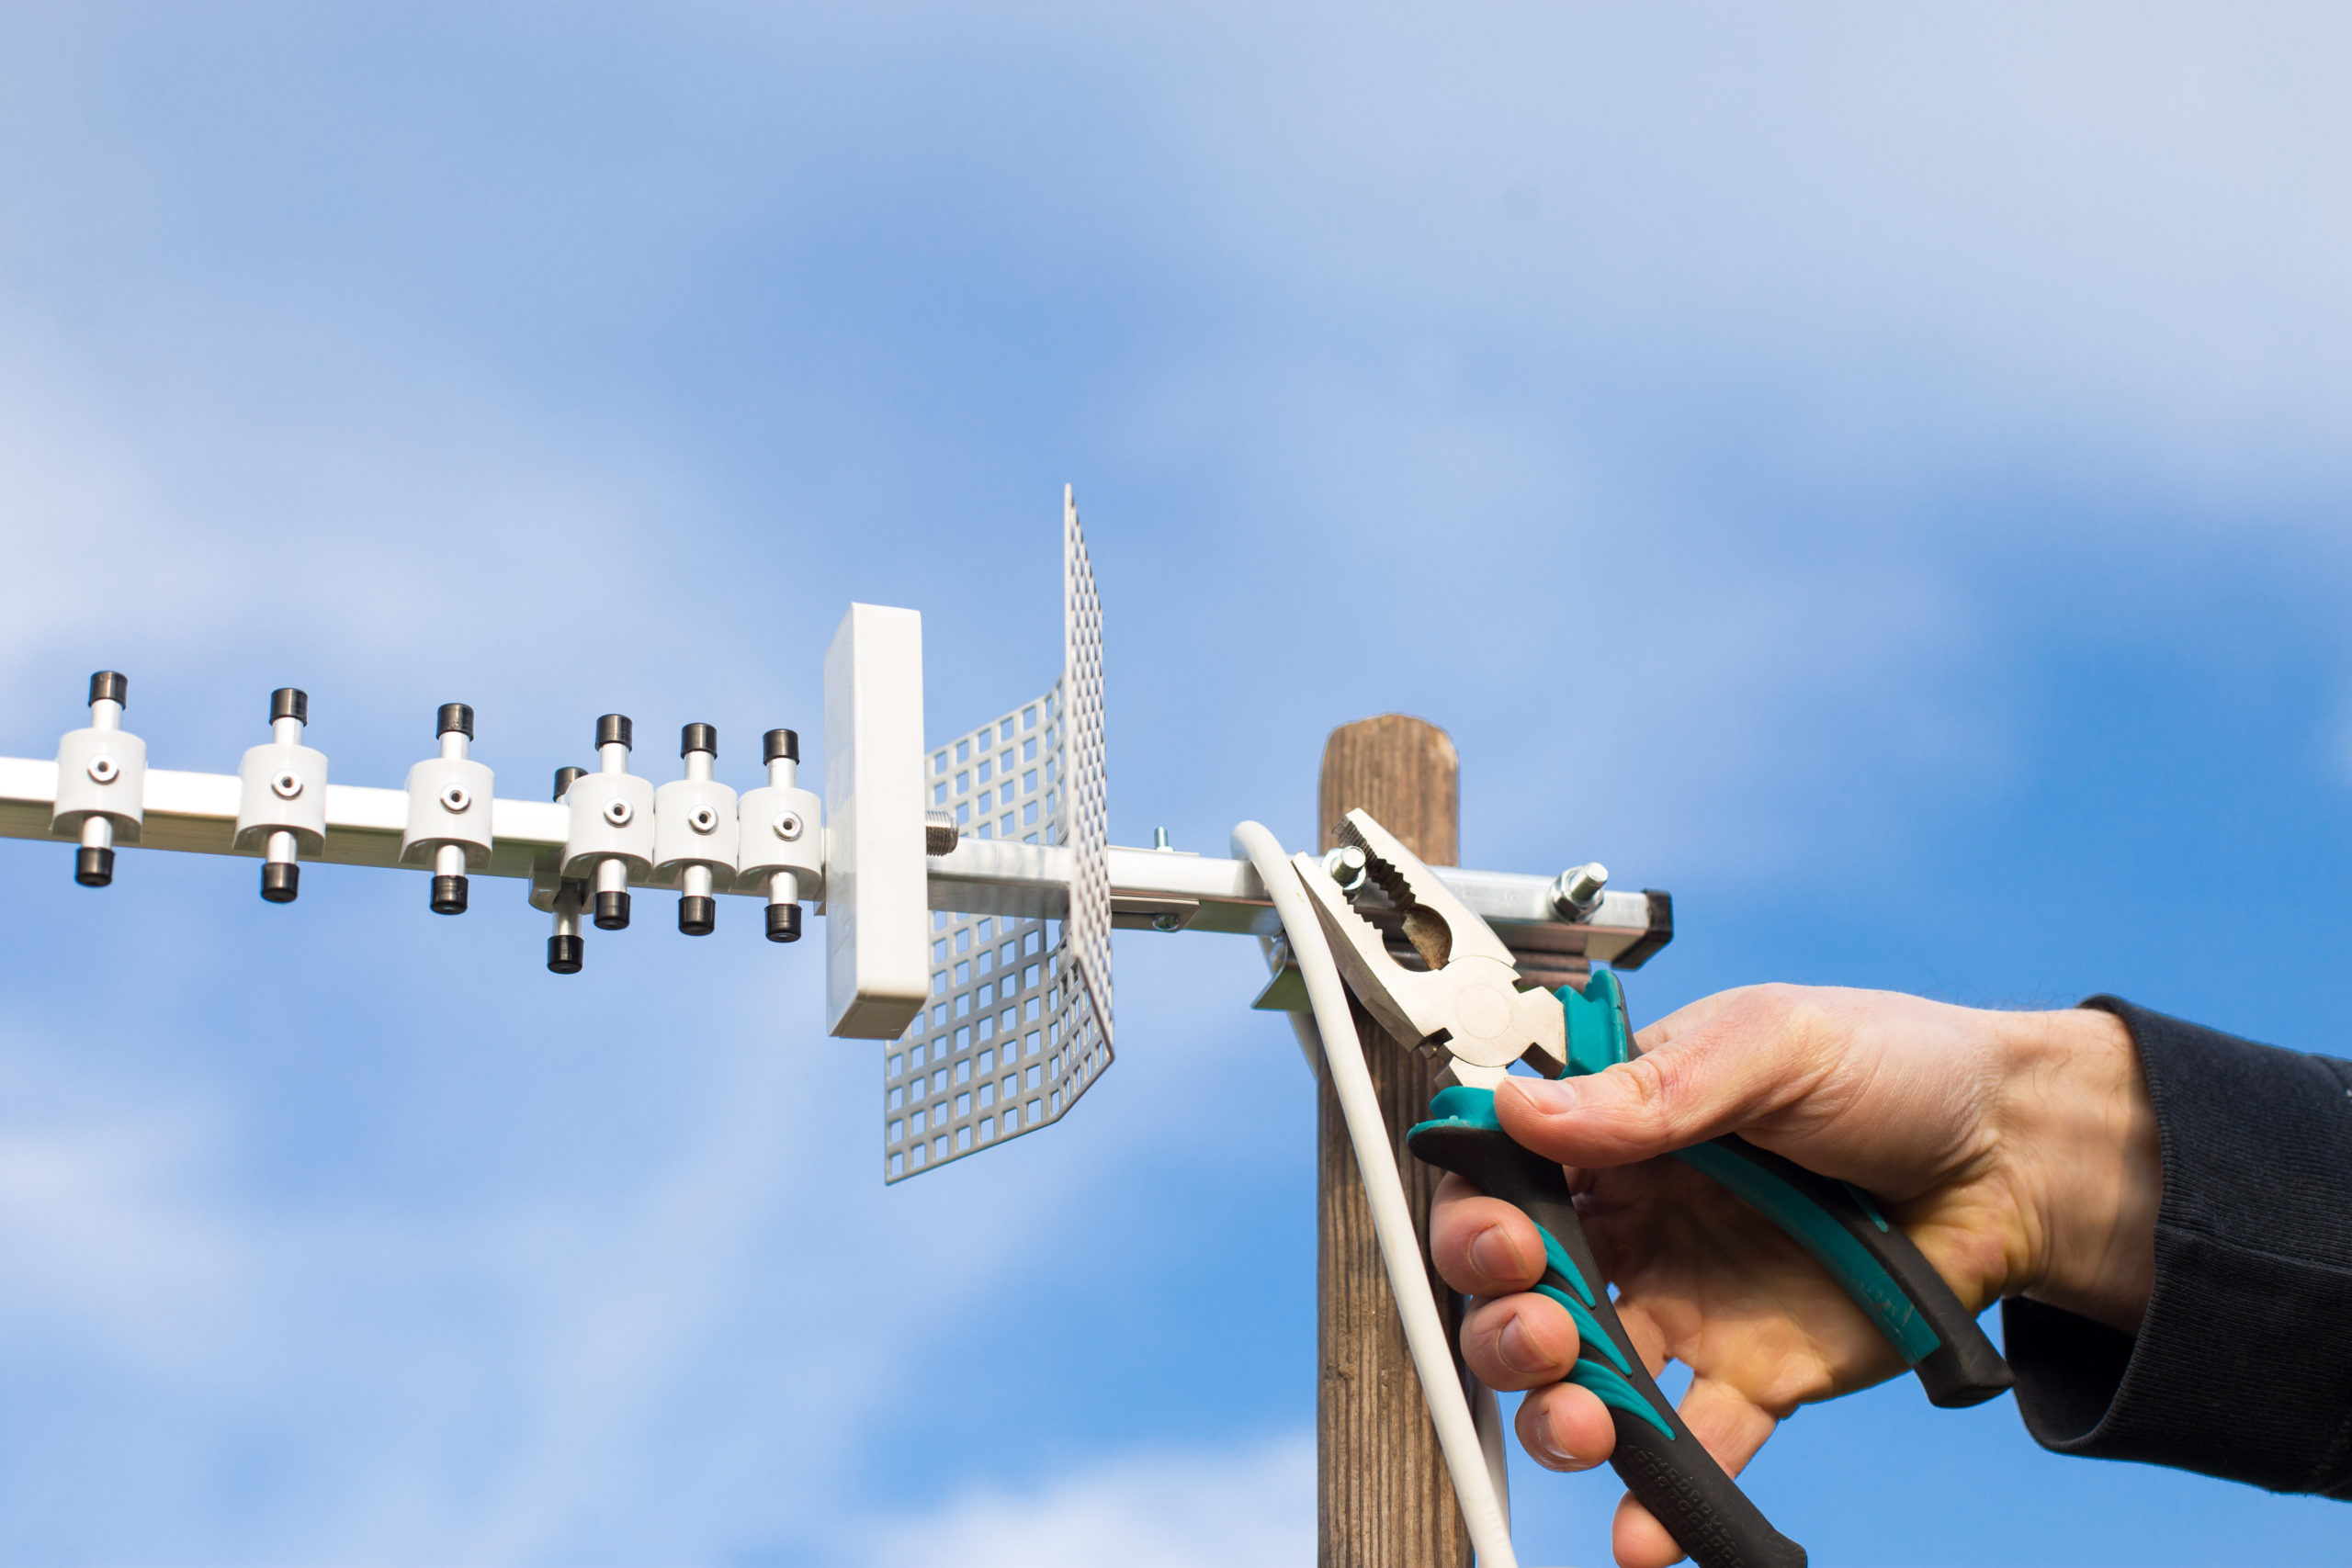
Grounding the Antenna
With the groundwork laid and the necessary tools and materials at your disposal, it’s time to embark on the pivotal step of grounding your outdoor antenna. Grounding an antenna is a critical safety measure that protects against electrical surges and ensures the optimal performance and longevity of the antenna system.
The following steps outline the process of grounding your outdoor antenna:
- Prepare the Grounding Conductor: Begin by cutting the grounding conductor to the required length, allowing for a direct and unobstructed connection between the outdoor antenna mast and the grounding electrode. Strip the insulation from the ends of the conductor to expose the bare copper wire for a secure connection.
- Secure the Grounding Conductor to the Antenna Mast: Utilizing stainless steel or copper clamps, affix the grounding conductor to the base of the outdoor antenna mast, ensuring a tight and durable connection that facilitates the dissipation of electrical charges.
- Install the Grounding Electrode: Using a hammer or drill, drive the grounding rod into the earth at the predetermined location, ensuring that it penetrates moist and conductive soil to establish a reliable electrical connection with the ground.
- Connect the Grounding Conductor to the Grounding Electrode: Securely fasten the opposite end of the grounding conductor to the grounding rod using clamps or connectors, creating a low-resistance pathway for the dissipation of electrical surges.
- Verify the Integrity of the Grounding System: Inspect the grounding connections to ensure they are securely fastened and free from corrosion or damage. Additionally, measure the resistance of the grounding system using a multimeter to confirm its effectiveness in providing a low-impedance path to the ground.
- Grounding Plate or Hub Installation (If Applicable): If multiple grounding conductors are required for the outdoor antenna system and associated equipment, install a grounding plate or hub to consolidate and interconnect the grounding conductors, ensuring a unified and comprehensive grounding system.
By meticulously executing these steps, you establish a robust and reliable grounding system for your outdoor antenna, fortifying it against electrical hazards and enhancing its performance. With the antenna securely grounded, we can now proceed to the final step: testing the grounding system to validate its efficacy.
Read more: How To Build An Outdoor Antenna
Testing the Grounding System
With the outdoor antenna securely grounded, it’s imperative to validate the efficacy of the grounding system through comprehensive testing. Testing the grounding system ensures that it provides a low-impedance path to the ground, effectively dissipating electrical surges and safeguarding the antenna and associated equipment from potential damage.
The following steps outline the process of testing the grounding system for your outdoor antenna:
- Resistance Measurement: Utilize a multimeter set to measure resistance to assess the integrity of the grounding system. Connect one probe of the multimeter to the grounding electrode, and the other probe to the grounding conductor attached to the outdoor antenna mast. A low resistance reading indicates a robust grounding connection, while a high resistance reading warrants further inspection or adjustments.
- Visual Inspection: Thoroughly examine the grounding connections, including the clamps, connectors, and grounding electrode, to ensure they are securely fastened and free from corrosion or damage. Any signs of deterioration or looseness should be promptly addressed to maintain the effectiveness of the grounding system.
- Surge Protection Verification: If your outdoor antenna system incorporates surge protection devices, such as gas discharge tubes or surge arrestors, verify their functionality and integrity to mitigate the impact of transient voltage surges on the antenna and associated equipment.
- Continuity Testing: Conduct continuity testing to confirm that the grounding conductor provides a continuous and unobstructed path from the outdoor antenna mast to the grounding electrode. Any interruptions or discontinuities in the path should be rectified to ensure seamless dissipation of electrical charges.
- Compliance with Local Regulations: Ensure that the grounding system aligns with local building codes and regulations governing outdoor antenna installations. Compliance with established standards is essential to guarantee the safety and efficacy of the grounding system.
By meticulously testing the grounding system, you validate its effectiveness in providing a secure and reliable pathway for dissipating electrical surges, thereby fortifying the outdoor antenna system against potential hazards. With the grounding system verified and validated, you can revel in the assurance of a robust and resilient outdoor antenna installation.
Conclusion
Congratulations on successfully grounding your outdoor antenna and fortifying it against electrical hazards, paving the way for a safe and optimal antenna system. By embarking on this enlightening journey, you have not only enhanced the performance and longevity of your outdoor antenna but also prioritized the safety of your home and electronic equipment.
Understanding the nuances of outdoor antennas and selecting the right location for grounding set the stage for a seamless and effective grounding process. By gathering the necessary tools and materials, you equipped yourself with the essential gear to execute the grounding procedure with precision and confidence.
Grounding the antenna, a pivotal step in the installation process, involved meticulous attention to detail, ensuring a robust and enduring connection between the outdoor antenna mast and the grounding electrode. By adhering to best practices and industry standards, you have established a reliable grounding system that provides a low-impedance path to the ground, safeguarding your antenna and associated equipment from potential electrical surges.
Testing the grounding system served as the final assurance of its efficacy, validating its ability to dissipate electrical charges and mitigate the impact of transient voltage surges. By conducting comprehensive resistance measurements, visual inspections, and continuity testing, you have fortified the grounding system, ensuring its compliance with local regulations and safety standards.
With the grounding system verified and validated, you can now revel in the peace of mind that comes with a secure and resilient outdoor antenna installation. As you bask in the array of high-definition channels and crystal-clear reception brought to life by your outdoor antenna, take pride in the knowledge that you have empowered yourself with the expertise to safeguard and optimize your antenna system.
So, raise your antenna high, tune in to your favorite channels, and relish the seamless reception made possible by your diligently grounded outdoor antenna. Here’s to a world of captivating broadcasts and uninterrupted signals, all made possible by your commitment to a safe and robust outdoor antenna installation.
Frequently Asked Questions about How To Ground An Outdoor Antenna
Was this page helpful?
At Storables.com, we guarantee accurate and reliable information. Our content, validated by Expert Board Contributors, is crafted following stringent Editorial Policies. We're committed to providing you with well-researched, expert-backed insights for all your informational needs.


0 thoughts on “How To Ground An Outdoor Antenna”