Home>Ideas and Tips>DIY Guide: Installing A Kitchen Backsplash

Ideas and Tips
DIY Guide: Installing A Kitchen Backsplash
Modified: October 19, 2024
Learn how to install a kitchen backsplash with our step-by-step DIY guide. Transform your kitchen with ease and achieve professional results.
(Many of the links in this article redirect to a specific reviewed product. Your purchase of these products through affiliate links helps to generate commission for Storables.com, at no extra cost. Learn more)
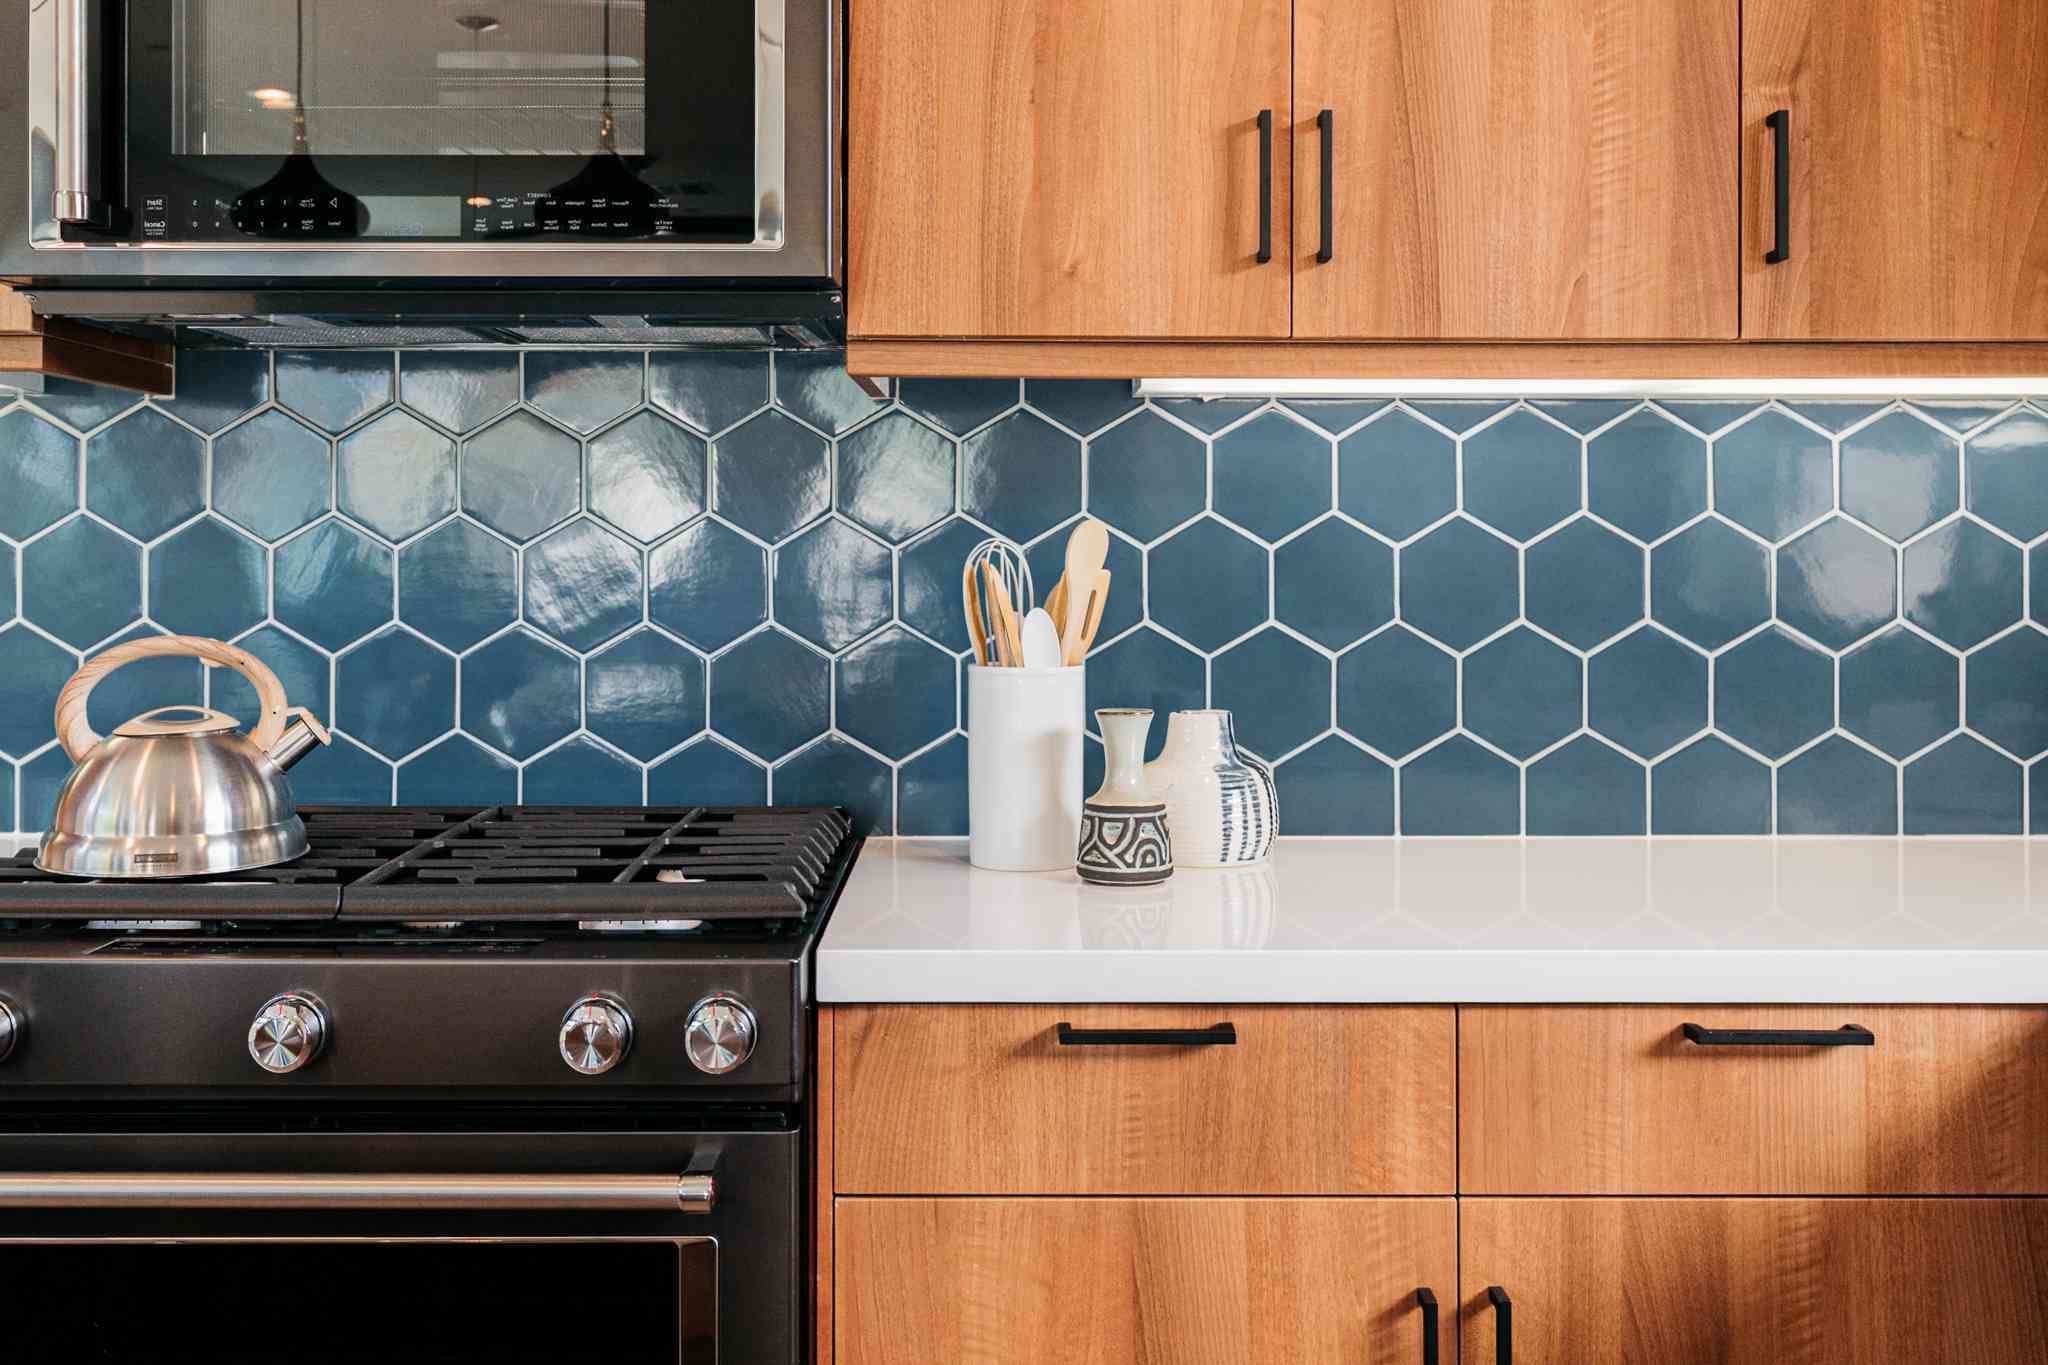
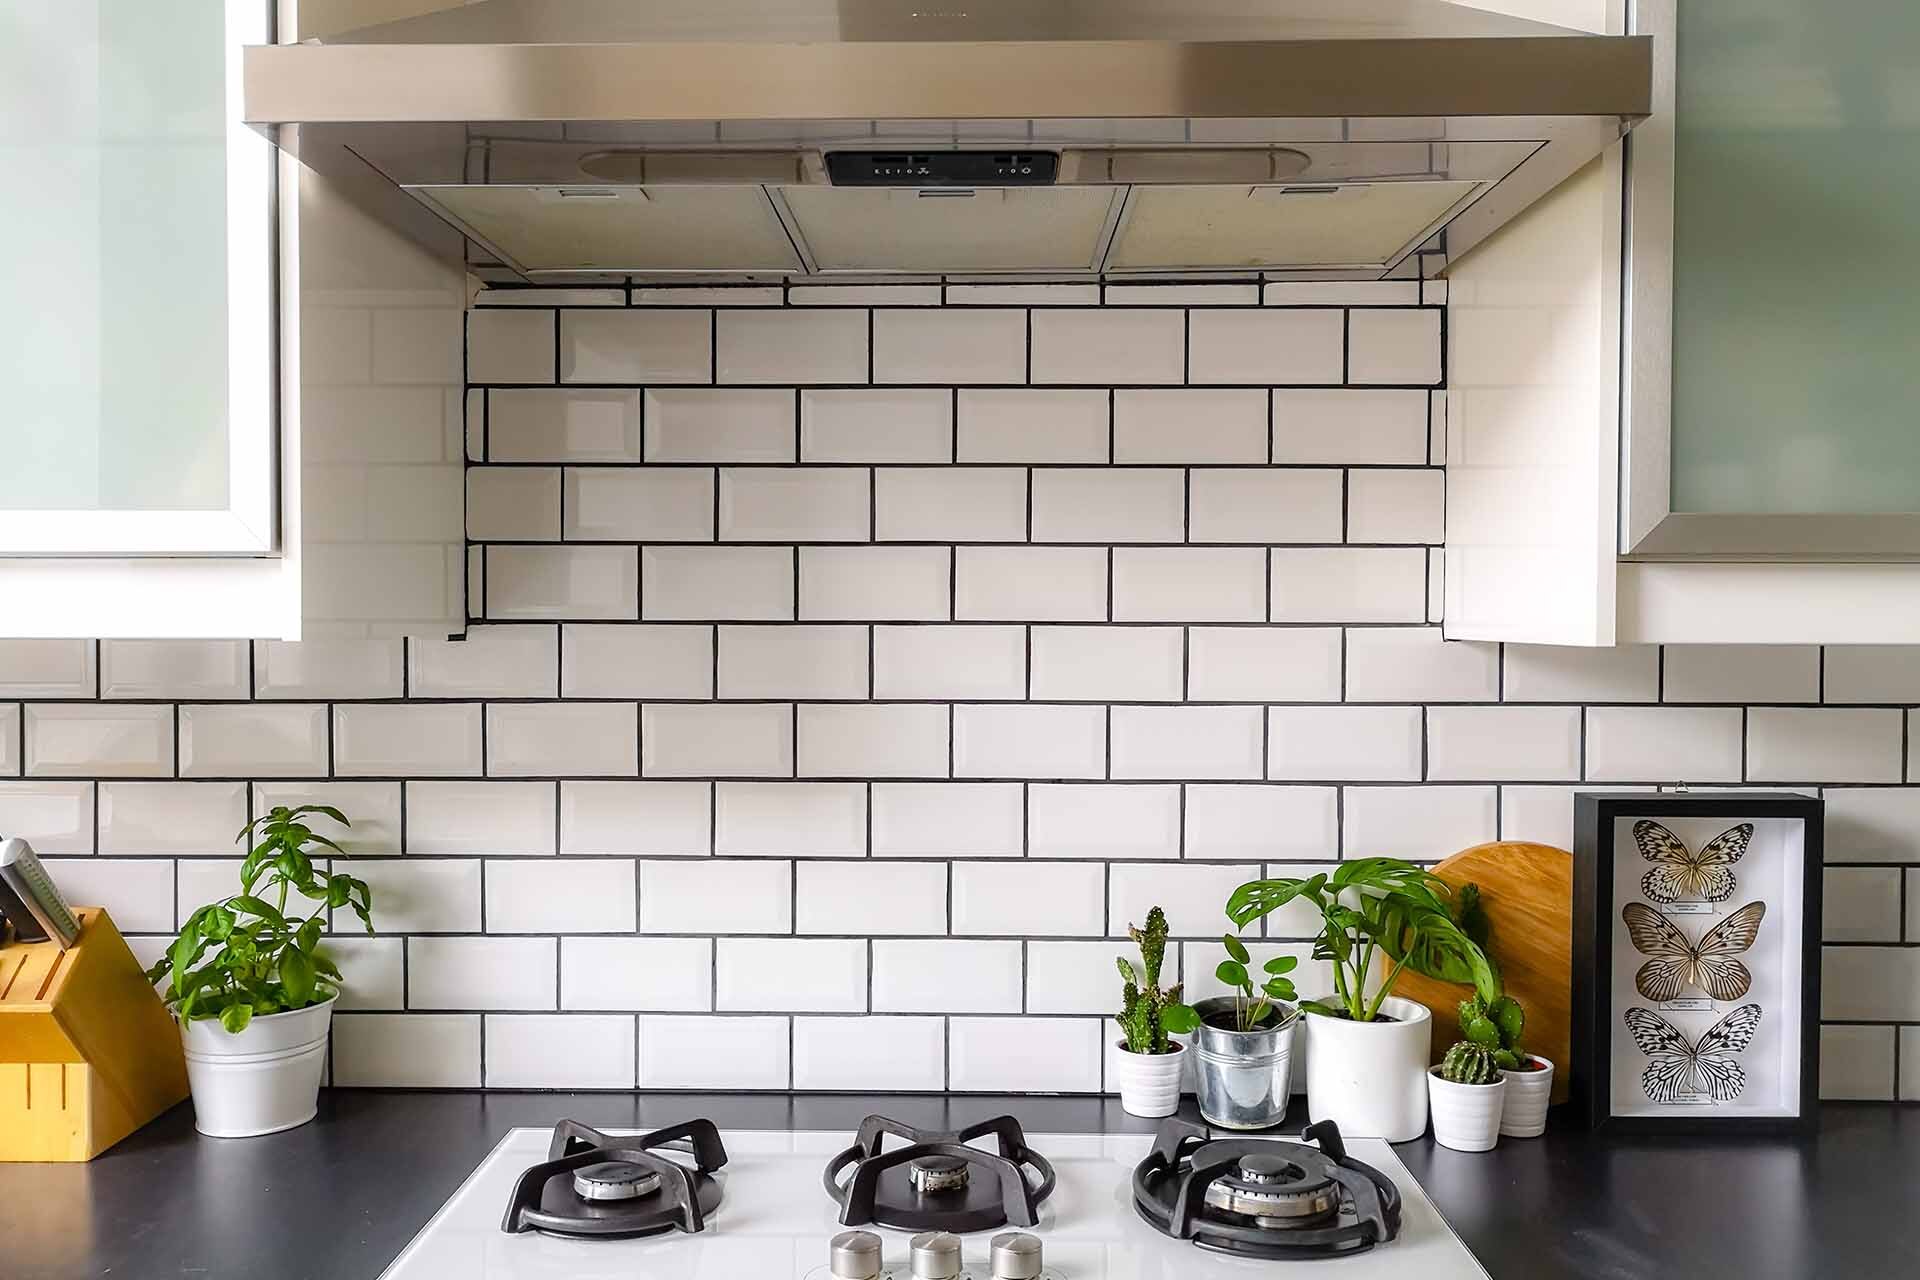
Installing a kitchen backsplash is one of the most rewarding DIY projects you can undertake. Not only does it add a touch of elegance and sophistication to your kitchen, but it also provides a functional barrier against splashes and spills. In this comprehensive guide, we will walk you through each step of the process, from preparation to completion, ensuring that you have all the information you need to achieve professional-looking results.
Why Install a Kitchen Backsplash?
Before we dive into the nitty-gritty of installation, let's explore why a kitchen backsplash is an essential element in any kitchen renovation. Here are some compelling reasons:
-
Aesthetic Appeal: A backsplash can dramatically change the look and feel of your kitchen. It provides an opportunity to introduce new colors, textures, and patterns that can tie in perfectly with your existing decor or create a bold statement.
-
Functional Benefits: The primary function of a backsplash is to protect your walls from splashes and spills. This is particularly important around sinks, stoves, and refrigerators where moisture can accumulate.
-
Durability: A well-installed backsplash can withstand the rigors of daily kitchen activity, including exposure to heat, moisture, and cleaning products.
-
Easy Maintenance: Unlike painted walls, a tile backsplash is easy to clean and maintain. Simply wipe down the surface with a damp cloth or mild detergent solution.
Materials Needed
Before you start your project, it's crucial to gather all the necessary materials. Here’s a list of what you’ll need:
- Tile of Your Choosing: This could be ceramic, glass, marble mosaic tiles on mesh backing, or any other type of tile that suits your design preferences.
- Level: Ensures that your tiles are perfectly aligned and level.
- Measuring Tape: For accurate measurements of your wall space.
- Tile Saw or Manual Tile Cutter and Tile Nippers: For cutting tiles to fit around outlets or switches.
- MusselBound Tile Adhesive: Also known as mastic, this is used to adhere the tiles to the wall.
- Utility Knife: For cutting mesh backing on mosaic tiles or any other adjustments needed during installation.
- Grout (and Grout Sealer): Grout fills in the gaps between tiles while grout sealer protects it from stains.
- Sponge: For mixing and applying grout.
- Bucket: For mixing grout.
- Grout Float: A tool used to spread and smooth out grout between tiles.
- Tile Spacers (1/16 inch spacers): These ensure even spacing between tiles.
- Caulk: For sealing gaps between tiles and countertops or cabinets.
- Painter's Tape & Plastic or Paper: To protect surfaces from grout stains.
Preparing the Walls for Tile
Before you begin laying tiles, it’s essential to prepare the walls properly. Here’s how:
-
Clear the Space:
- Move all appliances, cookware, and furniture away from the area where you will be working.
-
Repair Any Drywall Damage:
- If there are any holes or gouges in your drywall, repair them now. This will ensure a smooth surface for your tiles.
-
Clean the Walls:
- Thoroughly clean the walls to remove any grease splatters or dirt that could interfere with tile adhesion.
-
Remove Outlet Covers and Switch Plates:
- Turn off power to the outlets in the area and remove their covers. This will give you clear access to the wall behind them.
-
Protect Surfaces:
- Use painter’s tape and plastic or paper to protect countertops, cabinets, and any other surfaces you don’t want to get grout on.
Checking for Level and Installing a Ledger Board
If your countertop is not perfectly level, you may need to install a ledger board to support your backsplash tiles until they cure.
-
Check for Level:
- Use a level to determine if your countertop is level. If it’s not, you can either draw a level line on the wall or attach a ledger board.
-
Install a Ledger Board:
- A ledger board is simply a thin strip of wood attached to the wall to provide temporary support for your tiles until they set.
Planning Your Tile Layout
Planning your tile layout is crucial for achieving a professional-looking backsplash.
-
Measure the Backsplash Area:
- Measure the width and height of your backsplash area accurately using a measuring tape.
-
Draw Out the Area:
- Draw out this area on a piece of scrap wood to visualize how your tiles will fit together.
-
Find the Center:
- Mark a vertical line in the center of this area since many tile patterns look best when centered.
-
Dry Lay Your Tiles:
- Start by dry laying your tiles vertically using spacers to ensure even spacing between them.
-
Adjust Your Layout:
- Confirm that your vertical layout will work without leaving any tiny slivers of tile anywhere.
-
Dry Lay Horizontally:
- Next, dry lay your tiles horizontally again using spacers and check if any pieces need to be cut too narrow for proper fitment.
Applying Adhesive to the Wall
Once you have planned out your tile layout, it’s time to apply adhesive (mastic) to the wall.
-
Mix Mastic According to Instructions:
- Follow the manufacturer’s instructions for mixing mastic with water or other additives if required.
-
Apply Mastic:
- Use a notched trowel to apply mastic evenly across the wall area where you will be laying tiles.
-
Spread Mastic Smoothly:
- Hold the trowel at an angle (about 45 degrees) and spread it smoothly across the surface ensuring no air pockets remain which could weaken adhesion over time.
Laying Tiles
Now it’s time for laying down your tiles!
-
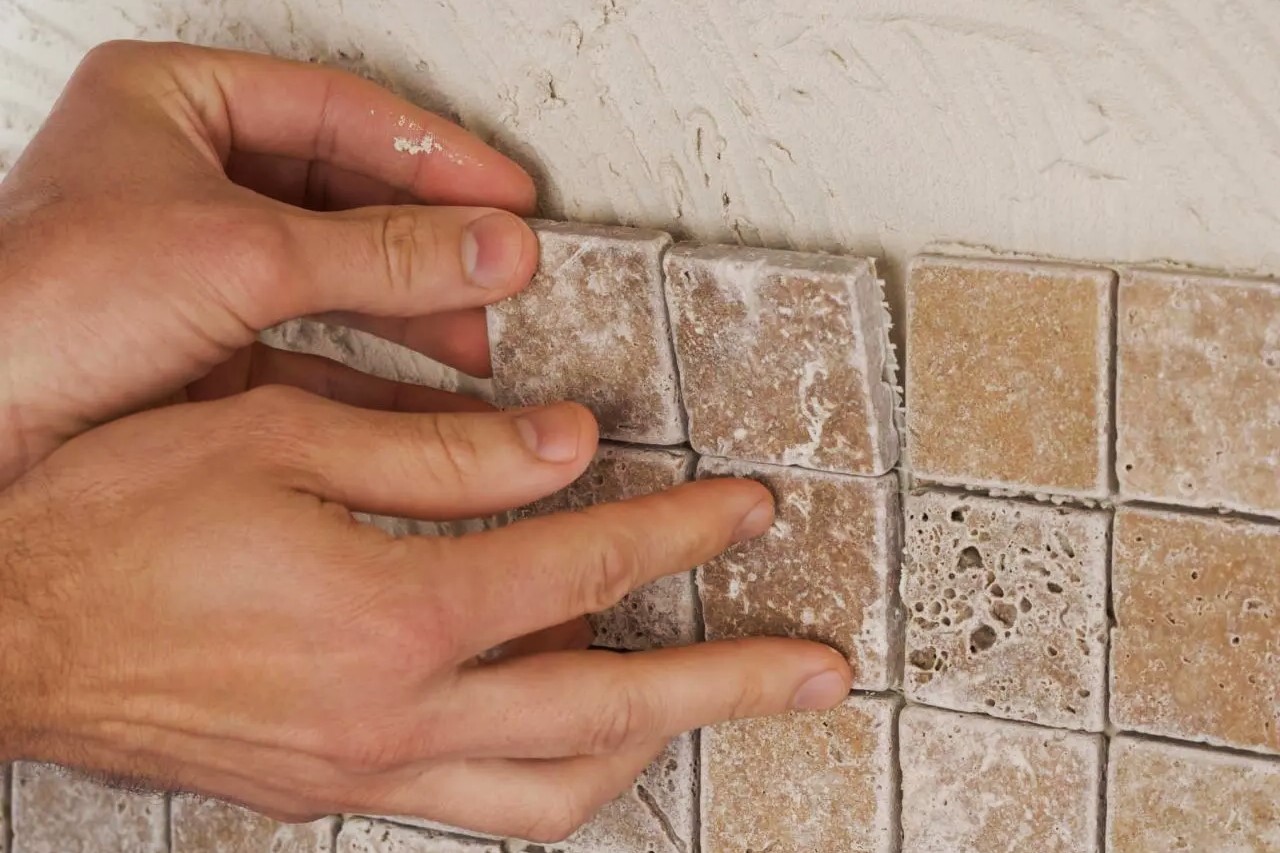
Start from Center Line:
Begin by placing your first tile along that center line ensuring it’s perfectly aligned both horizontally and vertically using spacers between them if necessary. -
Work Outward:
Continue placing subsequent tiles working outward from center line ensuring each piece fits snugly against previous one without gaps forming between them due improper spacing during installation process itself! -
Cut Tiles as Needed:
Use tile saw or manual cutter nippers cutting tiles around outlets switches etc., making sure edges fit flush against surrounding surfaces without any visible gaps left behind! -
Tap Tiles Gently:
Use rubber mallet tapping gently onto each piece ensuring they’re securely fastened place without shifting position mid-installation phase itself!
Letting Mortar Dry & Pre-Sealing Tiles
After laying all tiles down carefully ensuring they’re evenly spaced against each other without any gaps forming between them due improper spacing during installation phase itself!
-
Allow Mortar Dry Completely:
Let mortar dry completely according manufacturer’s instructions usually ranging between several hours up several days depending type used specifically! -
Pre-Seal Tiles Before Grouting:
Apply pre-sealer protecting tiles from stains spills etc., making maintenance easier down line future years come!
Preparing Grout & Grouting Tiles
Grouting process involves filling gaps between tiles using specialized grout mixture available various brands markets today!
-
Mix Grout According Instructions:
Follow manufacturer’s instructions mixing grout mixture water creating smooth consistent paste free lumps bubbles present initially mixing process itself! -
Apply Grout Using Float Tool:
Use float tool spreading grout evenly between gaps left behind after laying tiles down carefully ensuring complete coverage area desired without leaving behind any uneven patches visible upon completion phase itself! -
Wipe Away Excess Grout Immediately After Application Phase Itself
Use damp sponge wiping away excess grout immediately after application phase itself preventing formation unsightly stains patches visible upon completion phase itself! -
Allow Grout Dry Completely Before Sealing
Allow grout dry completely according manufacturer’s instructions usually ranging between several hours up several days depending type used specifically before sealing final step installation process itself!
Sealing Grout & Final Touches
Sealing grout final step installation process itself protecting it from stains spills etc., making maintenance easier down line future years come!
-
Apply Grout Sealer According Instructions Provided Manufacturer Specifically
Follow manufacturer’s instructions applying grout sealer protecting grout from stains spills etc., making maintenance easier down line future years come! -
Add Latex Caulk Between Backsplash Countertop/Cabinets If Necessary
Add latex caulk between backsplash countertop/cabinets if necessary sealing gaps left behind after installation phase itself preventing moisture entry causing damage over time come! -
Restore Power Electrical Outlets Disconnect During Installation Phase Itself
Restore power electrical outlets disconnect during installation phase itself ensuring safety while working around electrical components present kitchen area specifically! -
Wipe Down Occasionally Non-Acidic Kitchen/Glass Cleaner Maintaining Cleanliness Long-Term Basis Possible
By following these steps carefully ensuring each phase completed successfully without any hiccups along way possible achieving professional-looking results DIY-style without breaking bank hiring professional contractor instead opting hands-on approach yourself personally involved throughout entire process itself from start finish end result desired ultimately achieved successfully long-term basis possible indeed!
In conclusion installing kitchen backsplash rewarding DIY project anyone undertake regardless skill level involved ultimately achieving desired results long-term basis possible indeed So go ahead take plunge today transforming kitchen space into beautiful functional area everyone enjoys spending time together family/friends alike without hesitation whatsoever possible indeed
Was this page helpful?
At Storables.com, we guarantee accurate and reliable information. Our content, validated by Expert Board Contributors, is crafted following stringent Editorial Policies. We're committed to providing you with well-researched, expert-backed insights for all your informational needs.

0 thoughts on “DIY Guide: Installing A Kitchen Backsplash”