Home>Ideas and Tips>DIY Guide To Installing A Barn Door


Ideas and Tips
DIY Guide To Installing A Barn Door
Published: August 31, 2024
Learn how to install a sliding barn door with our comprehensive DIY guide. Perfect for adding rustic charm and functionality to your home.
(Many of the links in this article redirect to a specific reviewed product. Your purchase of these products through affiliate links helps to generate commission for Storables.com, at no extra cost. Learn more)
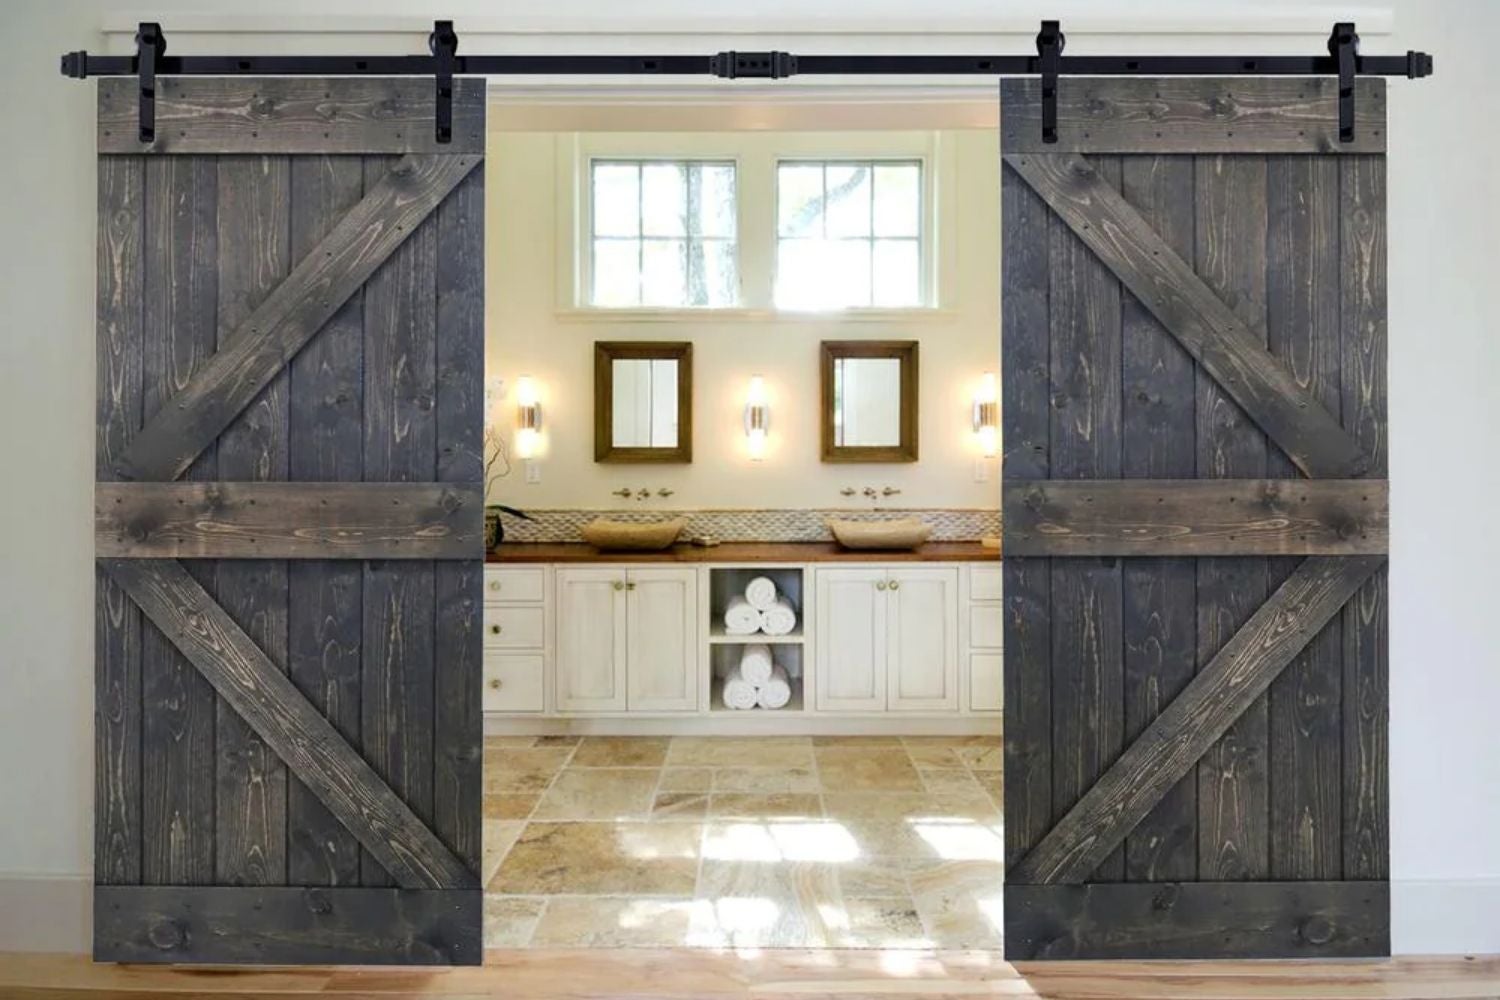
Installing a barn door can be a fantastic way to add rustic charm and functionality to any home, especially in tight spaces where traditional swinging doors may not be suitable. This DIY project allows you to customize your door’s appearance and size while cutting down on installation costs. In this comprehensive guide, we will walk you through the steps involved in building and installing a sliding barn door, covering everything from planning and materials to the final touches.
Planning Your Project
Before you start, it’s essential to plan your project carefully. Here are some key considerations:
-
Measure the Opening:
- Measure the width of the door from the outside edges of the casing. This will help you determine the size of your barn door and ensure it fits perfectly in the opening.
-
Choose Your Materials:
- Decide on the type of wood you want to use for your barn door. Popular options include pine, cedar, and reclaimed wood. Each type of wood has its own unique characteristics and can affect the final appearance of your door.
-
Select Hardware:
- Choose high-quality sliding barn door hardware. This includes the track, rollers, and any additional hardware needed for the handle or lock.
-
Set a Budget:
- Estimate the cost of materials and tools. A typical sliding barn door project can cost anywhere from $1,500 to $3,000, depending on the materials and hardware you choose.
-
Plan for Time:
- Installing a sliding barn door typically takes two days to complete. Day one is for building the door, and day two is for hanging it.
Read more: DIY Guide To Installing A French Door
Tools and Materials Needed
To build and install a sliding barn door, you will need the following tools and materials:
Tools
- Bar Clamps and Speed Clamps: For holding pieces of wood together while gluing.
- Combination Square: For ensuring accurate measurements and square cuts.
- Drill/Driver: For drilling pilot holes and driving screws.
- Level: To ensure the door is properly aligned.
- Miter Saw: For making precise angled cuts in wood.
- Pneumatic Nailer: For nailing pieces of wood together quickly.
- Pocket Hole Jig: For creating strong joints in wood.
- Random Orbit Sander: For smoothing out the surface of the wood.
- Stud Finder: To locate studs in the wall for hanging the door.
- Tape Measure: For measuring various parts of the door.
- Woodworking Hammer: For tapping pieces into place.
Materials
- 1×3 Strapping for Blocking: Used to create a stable base for the door.
- 1×4 Pine for Mounting Rail: Used to attach the door to the track.
- 1×5 Pine for Filler Strips: Used to fill gaps between panels.
- 1×6 Cedar for Face Frame: Used to create the outer frame of the door.
- Pallet Boards or Reclaimed Wood: Used to create the door panels.
- Paste Wax for Finishing: Used to protect and finish the wood.
- Rolling Hardware for Barn Doors: Essential for creating a smooth sliding motion.
- Screws (Deck Screws and Pocket Hole Screws): Used to assemble the door.
- Sliding Barn Door Hardware Kit: Includes all necessary components for hanging the door.
Step-by-Step Guide to Building a Sliding Barn Door
Read more: DIY Guide To Installing A Glass Shower Door
Day 1: Building the Door
-
Cut List:
- Create a cut list based on your measurements. For example, if you are building a door that measures 38 1/2 inches wide by 2 1/4 inches thick by 83 1/2 inches tall, you will need:
- 1×6 pine boards for the back (cut half inch shorter than the height of the opening).
- 1×3 strapping for blocking (cut to the width of the work surface).
- 1×5 pine for filler strips (cut three rails and four stiles).
- Pallet boards or reclaimed wood (assemble at least 60 boards, mitered to parallel 45-degree angles).
- 1×6 cedar for face frame (cut two stiles and four rails).
- Create a cut list based on your measurements. For example, if you are building a door that measures 38 1/2 inches wide by 2 1/4 inches thick by 83 1/2 inches tall, you will need:
-
Assemble the Back Panel:
- Cut the 1×6 pine boards to size and assemble them using wood glue and nails.
-
Create Filler Strips:
- Cut three rails and four stiles from the 1×5 pine. These will be used to fill gaps between panels.
-
Attach Filler Strips:
- Glue and nail the filler strips to the back panel, ensuring they are evenly spaced.
-
Assemble Pallet Boards:
- Miter the pallet boards to parallel 45-degree angles and assemble them into panels.
-
Attach Panels to Back Panel:
- Use wood glue and nails to attach the pallet board panels to the back panel.
-
Create Face Frame:
- Cut two stiles and four rails from the 1×6 cedar. Edge-glue and clamp two of those rails together to make the bottom rail.
-
Attach Face Frame:
- Glue and nail the face frame to the back panel, ensuring it is evenly spaced.
-
Add Blocking:
- Cut sections of 1×3 strapping to fit between the face frame and back panel, then nail them in place.
-
Sand and Finish:
- Sand all surfaces of the door to smooth out any rough edges or splinters.
- Apply paste wax or stain to protect and finish the wood.
Day 2: Hanging the Door
-
Measure Track Length:
- Measure the length of your track and cut it accordingly. For example, if your track is 77 inches long, cut it to match this measurement.
-
Attach Mounting Rail:
- Cut a section of 1×4 pine to match the track length and attach it using screws.
-
Install Track:
- Follow the manufacturer’s instructions to install the track on your wall, ensuring it is level and secure.
-
Attach Door Rollers:
- Center the rolling hardware on the width of the door and attach it using screws.
-
Hang Door:
- Carefully lift the door and slide it onto the track. Ensure it is properly aligned and secure.
-
Add Handle or Lock:
- Install a handle or lock according to the manufacturer’s instructions, ensuring it is securely attached to both sides of the door.
-
Test Operation:
- Test the door to ensure it slides smoothly and evenly. Make any necessary adjustments before finishing.
Additional Considerations
-
Finishing Options:
- Beyond paste wax, you can stain or paint the door to match your interior decor. This adds an extra layer of customization and personalization.
-
Hardware Quality:
- Invest in good-quality sliding mechanisms. Cheap hardware can affect the door’s performance and longevity.
-
Measurement Accuracy:
- Double-check all measurements to ensure smooth assembly and operation. Inaccurate measurements can lead to a poorly functioning door.
-
Safety First:
- Always wear safety goggles and ear protection when using power tools. This ensures your safety during the installation process.
-
Wood Selection:
- Choose high-quality wood to ensure durability and a polished final appearance. Different types of wood have varying levels of stability and resistance to warping or cracking.
Conclusion
Installing a sliding barn door is a rewarding DIY project that can add both functionality and aesthetic appeal to your home. By following these steps carefully and considering the additional factors mentioned above, you can create a beautiful and functional barn door that complements your interior design perfectly. Whether you're looking to add a rustic touch or simply improve the flow of your space, this guide provides everything you need to get started on your project today.
References:
- This Old House: How To Build a Sliding Barn Door
- Making It With Abby: How To Build A Modern and Simple Barn Door
- The DIY Playbook: How to Build a DIY Barn Door – Step 3
By following this comprehensive guide, you'll be well on your way to creating a stunning sliding barn door that enhances both the functionality and charm of your home. Happy building
Was this page helpful?
At Storables.com, we guarantee accurate and reliable information. Our content, validated by Expert Board Contributors, is crafted following stringent Editorial Policies. We're committed to providing you with well-researched, expert-backed insights for all your informational needs.





0 thoughts on “DIY Guide To Installing A Barn Door”