Home>Ideas and Tips>DIY Guide To Installing A Bathroom Shower Curtain Rod
Ideas and Tips
DIY Guide To Installing A Bathroom Shower Curtain Rod
Modified: October 19, 2024
Learn how to install a bathroom shower curtain rod with our step-by-step DIY guide. Perfect for both fixed and tension rods.
(Many of the links in this article redirect to a specific reviewed product. Your purchase of these products through affiliate links helps to generate commission for Storables.com, at no extra cost. Learn more)
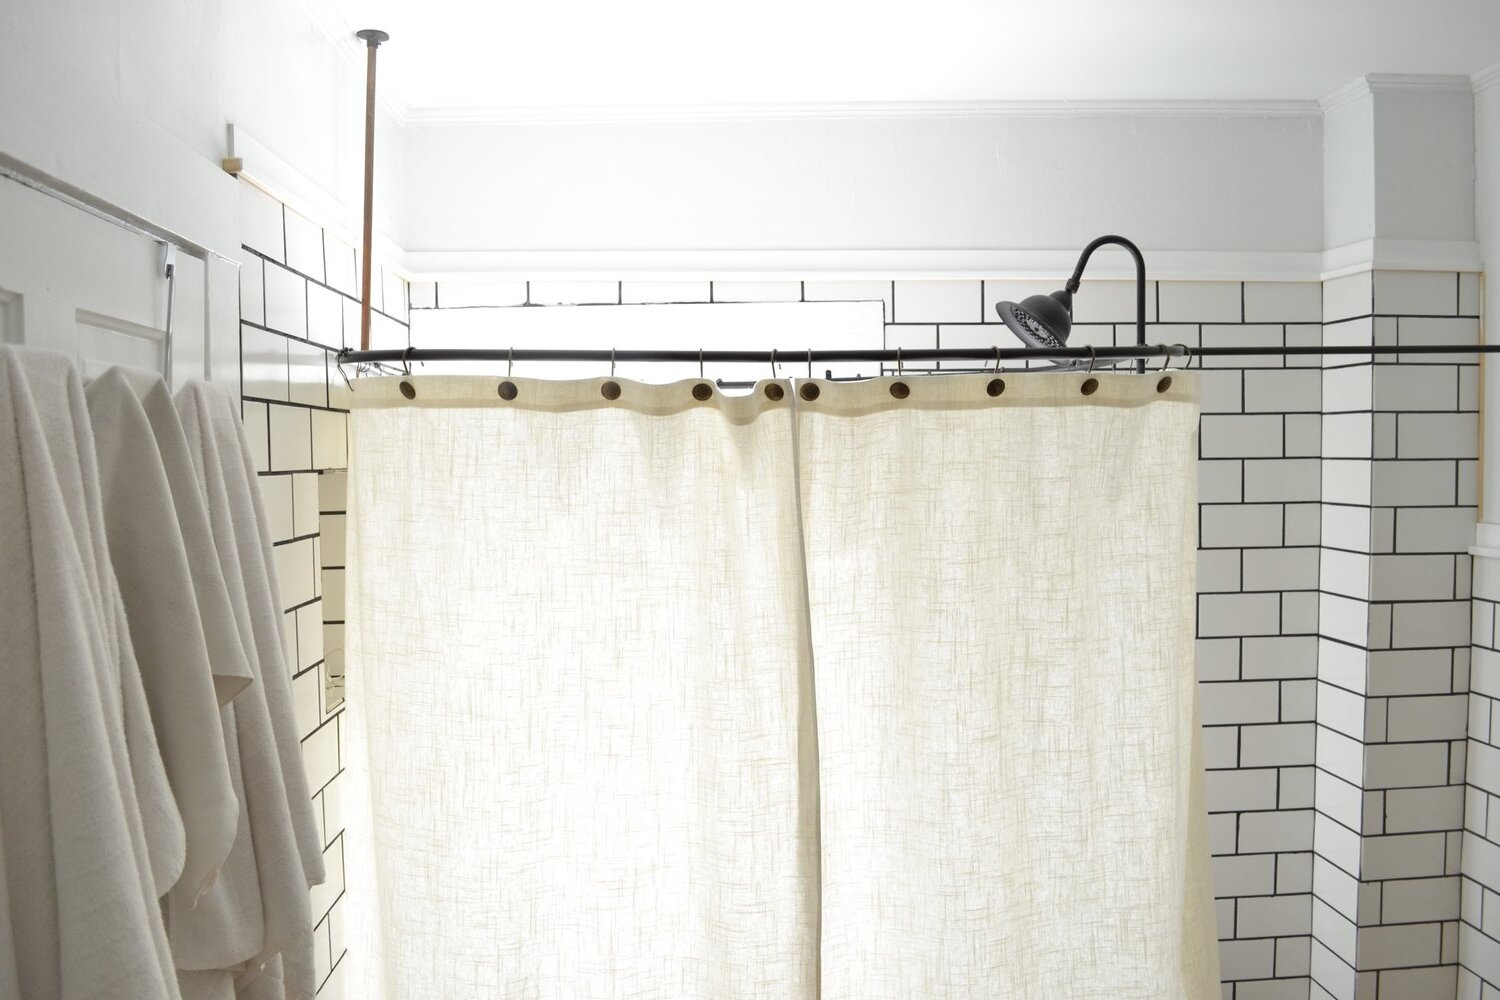
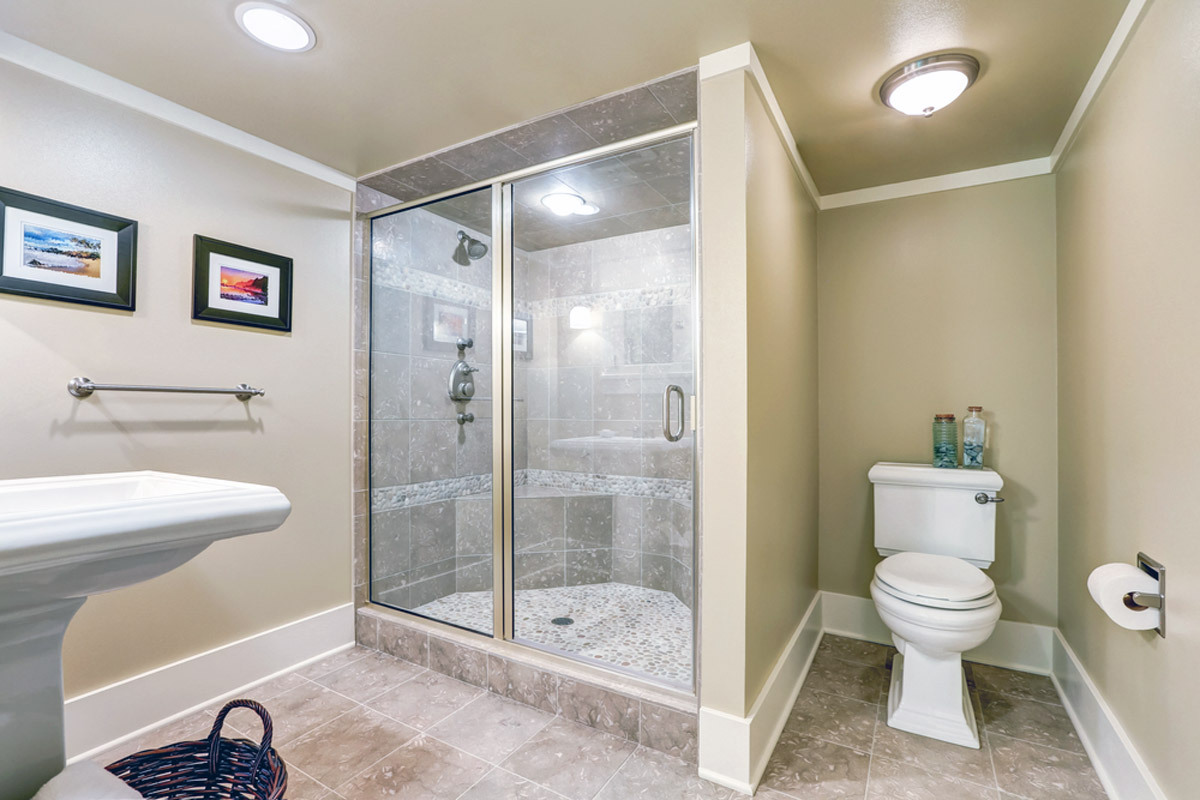
Installing a shower curtain rod in your bathroom can be a straightforward DIY project, requiring minimal tools and effort. Whether you're looking to replace an old rod or install a new one, this guide will walk you through the steps for both fixed and tension shower curtain rods. By following these instructions, you'll be able to hang your shower curtain in no time, enhancing both the functionality and aesthetic appeal of your bathroom.
Choosing the Right Type of Shower Curtain Rod
Before diving into the installation process, it's essential to understand the different types of shower curtain rods available. Each type has its unique benefits and installation requirements.
Read more: How To Install A Curved Shower Curtain Rod
Fixed Shower Curtain Rods
Fixed shower curtain rods are the most popular choice due to their stability and durability. Once installed, these rods stay in place even when you use a heavy curtain or tug on it occasionally. They come in various styles and are permanently fastened to the wall using mounting brackets and screws.
Tension Shower Curtain Rods
Tension rods are a great option for those who want a quick and easy installation process. These rods do not require any hardware for installation and can be hung between the shower walls without any tools. However, they can be prone to dislodging or damaging drywall, so it's crucial to handle them carefully.
Curved Shower Curtain Rods
Curved shower curtain rods have a horizontal arch that provides more room in the shower, especially in cramped spaces. They are nearly always fixed rods and are useful for tubs or showers with curves. Multi-positional shower rods, which rotate, are also available for small bathrooms, offering flexibility in terms of space usage.
Multi-Positional Shower Curtain Rods
Multi-positional shower curtain rods are designed to rotate, allowing you to flip them outward when showering and inward when finished. This feature is ideal for small bathrooms where space is limited.
Read more: How To Install A Shower Curtain Rod On Tile
Gathering Tools and Materials
To start your DIY project, you'll need the following tools and materials:
Tools:
- Tape Measure: For measuring the width and height of your shower or tub.
- Pencil: For marking the spots where you'll install the rod's mounting brackets.
- Long Level: To ensure that your rod is installed straight.
- Drill: For drilling holes in the walls.
- Drill Bits: For making pilot holes in drywall or tile.
- Screwdriver: For screwing the mounting brackets into place.
- Safety Glasses: For protecting your eyes while drilling.
- Stepladder: For reaching high areas without straining.
Materials:
- Screws: Included with most shower curtain rod kits.
- Mounting Brackets: Also included with most kits, these brackets secure the rod to the wall.
- Shower Curtain Rod: The main component of your installation.
- Shower Curtain Hooks or Rings: These attach to the rod and hold your shower curtain in place.
- Shower Curtain: The final piece that completes your bathroom setup.
Measuring and Identifying the Location
The first step in installing a shower curtain rod is to measure and identify the location where you'll hang it. Here’s how you can do it:
- Measure the Width: Use a tape measure to determine how far apart the walls of your shower or tub are. This measurement will help you choose the right size for your rod.
- Determine the Height: Typically, the shower curtain rod should be installed about 15cm higher than the curtain itself. You can also hold up the rod to an ideal height to identify where to hang it.
- Mark the Spots: With a pencil or dry-erase marker, mark the chosen spot on either side of the shower walls. Bring the rod up to these marked spots and use a level to ensure that your rod will be installed straight.
Drilling Holes for the Shower Curtain Rod
Once you've marked the spots, it's time to drill holes for the mounting brackets. Here’s what you need to do:
- Check for Studs: Use a stud finder to locate studs behind the drywall. Areas with studs are ideal since they can hold screws better.
- Drill Pilot Holes: If there are no studs, pre-drill holes and screw hollow drywall anchors into them. For tile, use a special glass and tile drill bit and place painter's tape over the area to be drilled to help keep the bit in place.
- Drill Through Grout: If possible, drill through a grout seam rather than through a tile. This makes it easier to start the bit in grout and grout can be repaired easily if needed later.
Placing Screws into Wall
After drilling holes, screw the mounting brackets into place using screws provided with most shower curtain rod kits. Position each bracket so that it will be able to hold the shower curtain rod securely.
Ensuring Level Installation
When placing screws into wall, make sure that each bracket is levelly aligned with each other using a long level. This ensures that your shower curtain rod hangs perfectly straight.
Attaching Shower Curtain Hooks or Rings
Once you've placed screws into wall and ensured level installation, attach shower curtain hooks or rings onto the rod according to manufacturer’s instructions or personal preference for style.
Read more: DIY Guide To Installing A Tile Shower
Attaching Shower Curtain
Finally attach your shower curtain onto hooks or rings on rod by unfolding it first if necessary then hanging onto hooks/rings provided by manufacturer’s kit instructions provided earlier during installation process above mentioned steps here today folks!
Installing Tension Shower Curtain Rods
Installing tension shower curtain rods is quick easy process requiring no tools whatsoever Here’s how:
- Measure Tub Length: Determine how long your tub is using tape measure then mark point where tension rod needs go using pencil/painters tape if needed!
- Adjust Length: Pull out flexible tension rod until tight between walls twisting ends together until secure place plastic clip provided by manufacturer’s kit instructions provided earlier during installation process above mentioned steps here today folks!
- Check Level: Ensure level installation using level tool provided by manufacturer’s kit instructions provided earlier during installation process above mentioned steps here today folks!
- Hang Curtain: Hang up new shower curtain after ensuring proper tension achieved above mentioned steps here today folks!
Tips and Considerations
Here are some additional tips considerations when installing shower curtain rod:
- Avoid Drilling into Tiles: If possible avoid drilling directly into tiles instead opt drilling through grout seams which easier repair later if needed!
- Use Proper Anchors: Use proper anchors hollow drywall anchors when no studs found behind drywall ensure secure hold screws place correctly avoid damage surrounding areas!
- Tighten Regularly: Regularly tighten tension rods during day-to-day use ensure stability prevent slipping damage surrounding areas over time!
By following these steps guidelines outlined above today folks should able successfully install own bathroom shower curtain rod enhancing both functionality aesthetic appeal space overall Remember always refer manufacturer’s kit instructions provided earlier during installation process above mentioned steps here today folks ensure proper installation achieved safely efficiently possible
Was this page helpful?
At Storables.com, we guarantee accurate and reliable information. Our content, validated by Expert Board Contributors, is crafted following stringent Editorial Policies. We're committed to providing you with well-researched, expert-backed insights for all your informational needs.


0 thoughts on “DIY Guide To Installing A Bathroom Shower Curtain Rod”