Home>Furniture & Design>Bathroom Accessories>How To Install A Curved Shower Curtain Rod
Bathroom Accessories
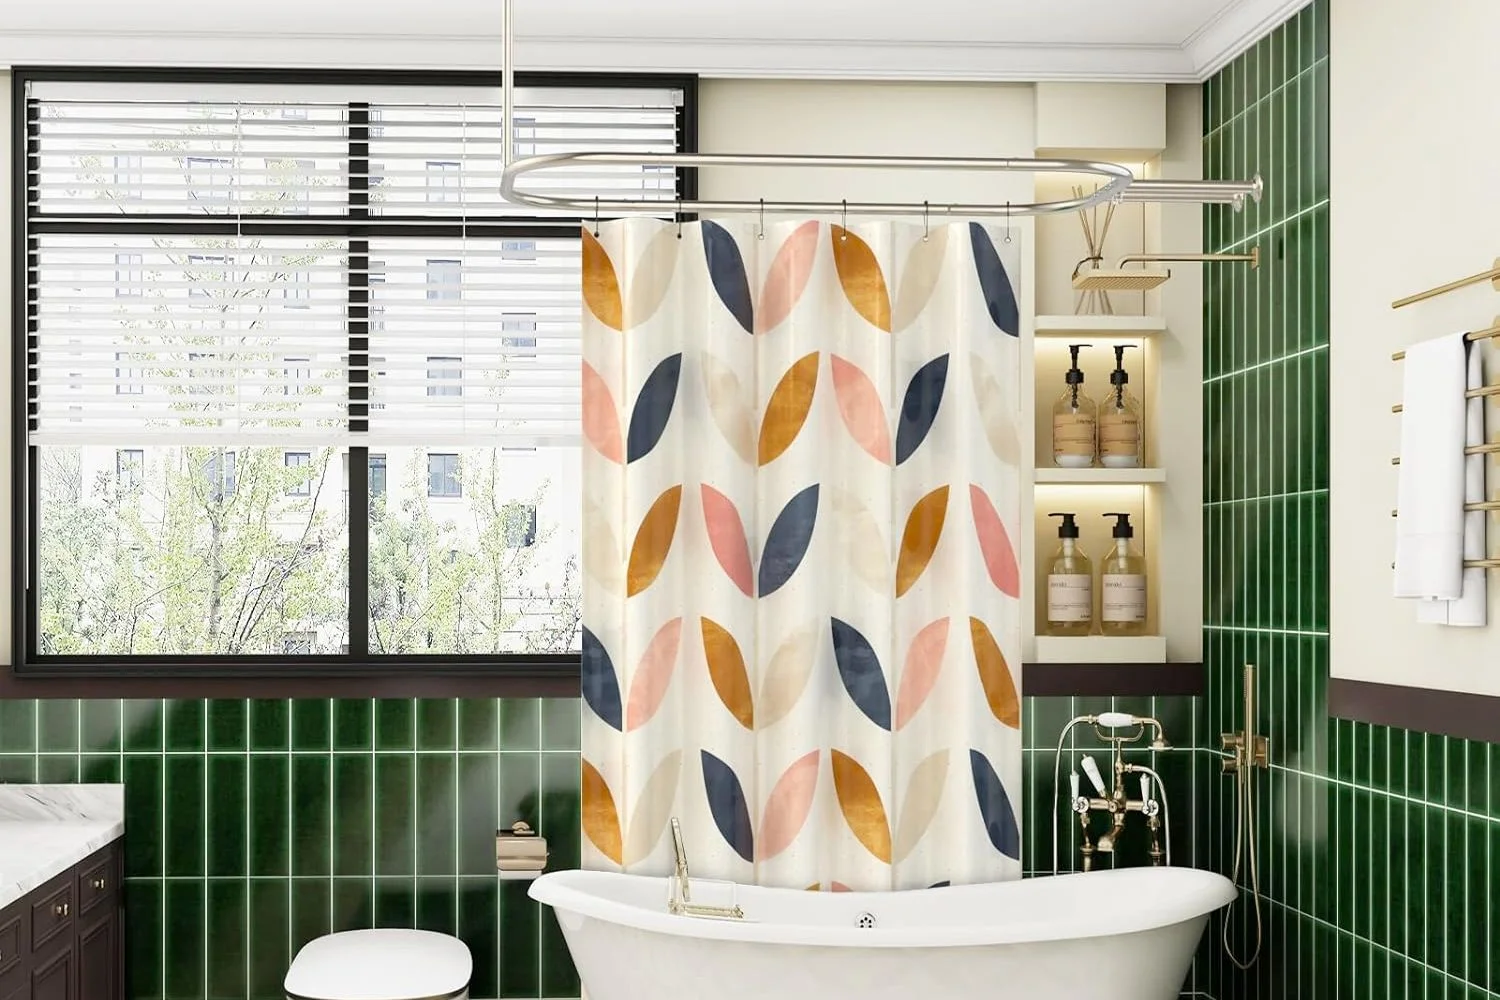
How To Install A Curved Shower Curtain Rod
Modified: February 18, 2024
Learn how to easily install a curved shower curtain rod to enhance your bathroom with this step-by-step guide. Find the perfect bathroom accessories for your space.
(Many of the links in this article redirect to a specific reviewed product. Your purchase of these products through affiliate links helps to generate commission for Storables.com, at no extra cost. Learn more)
Introduction
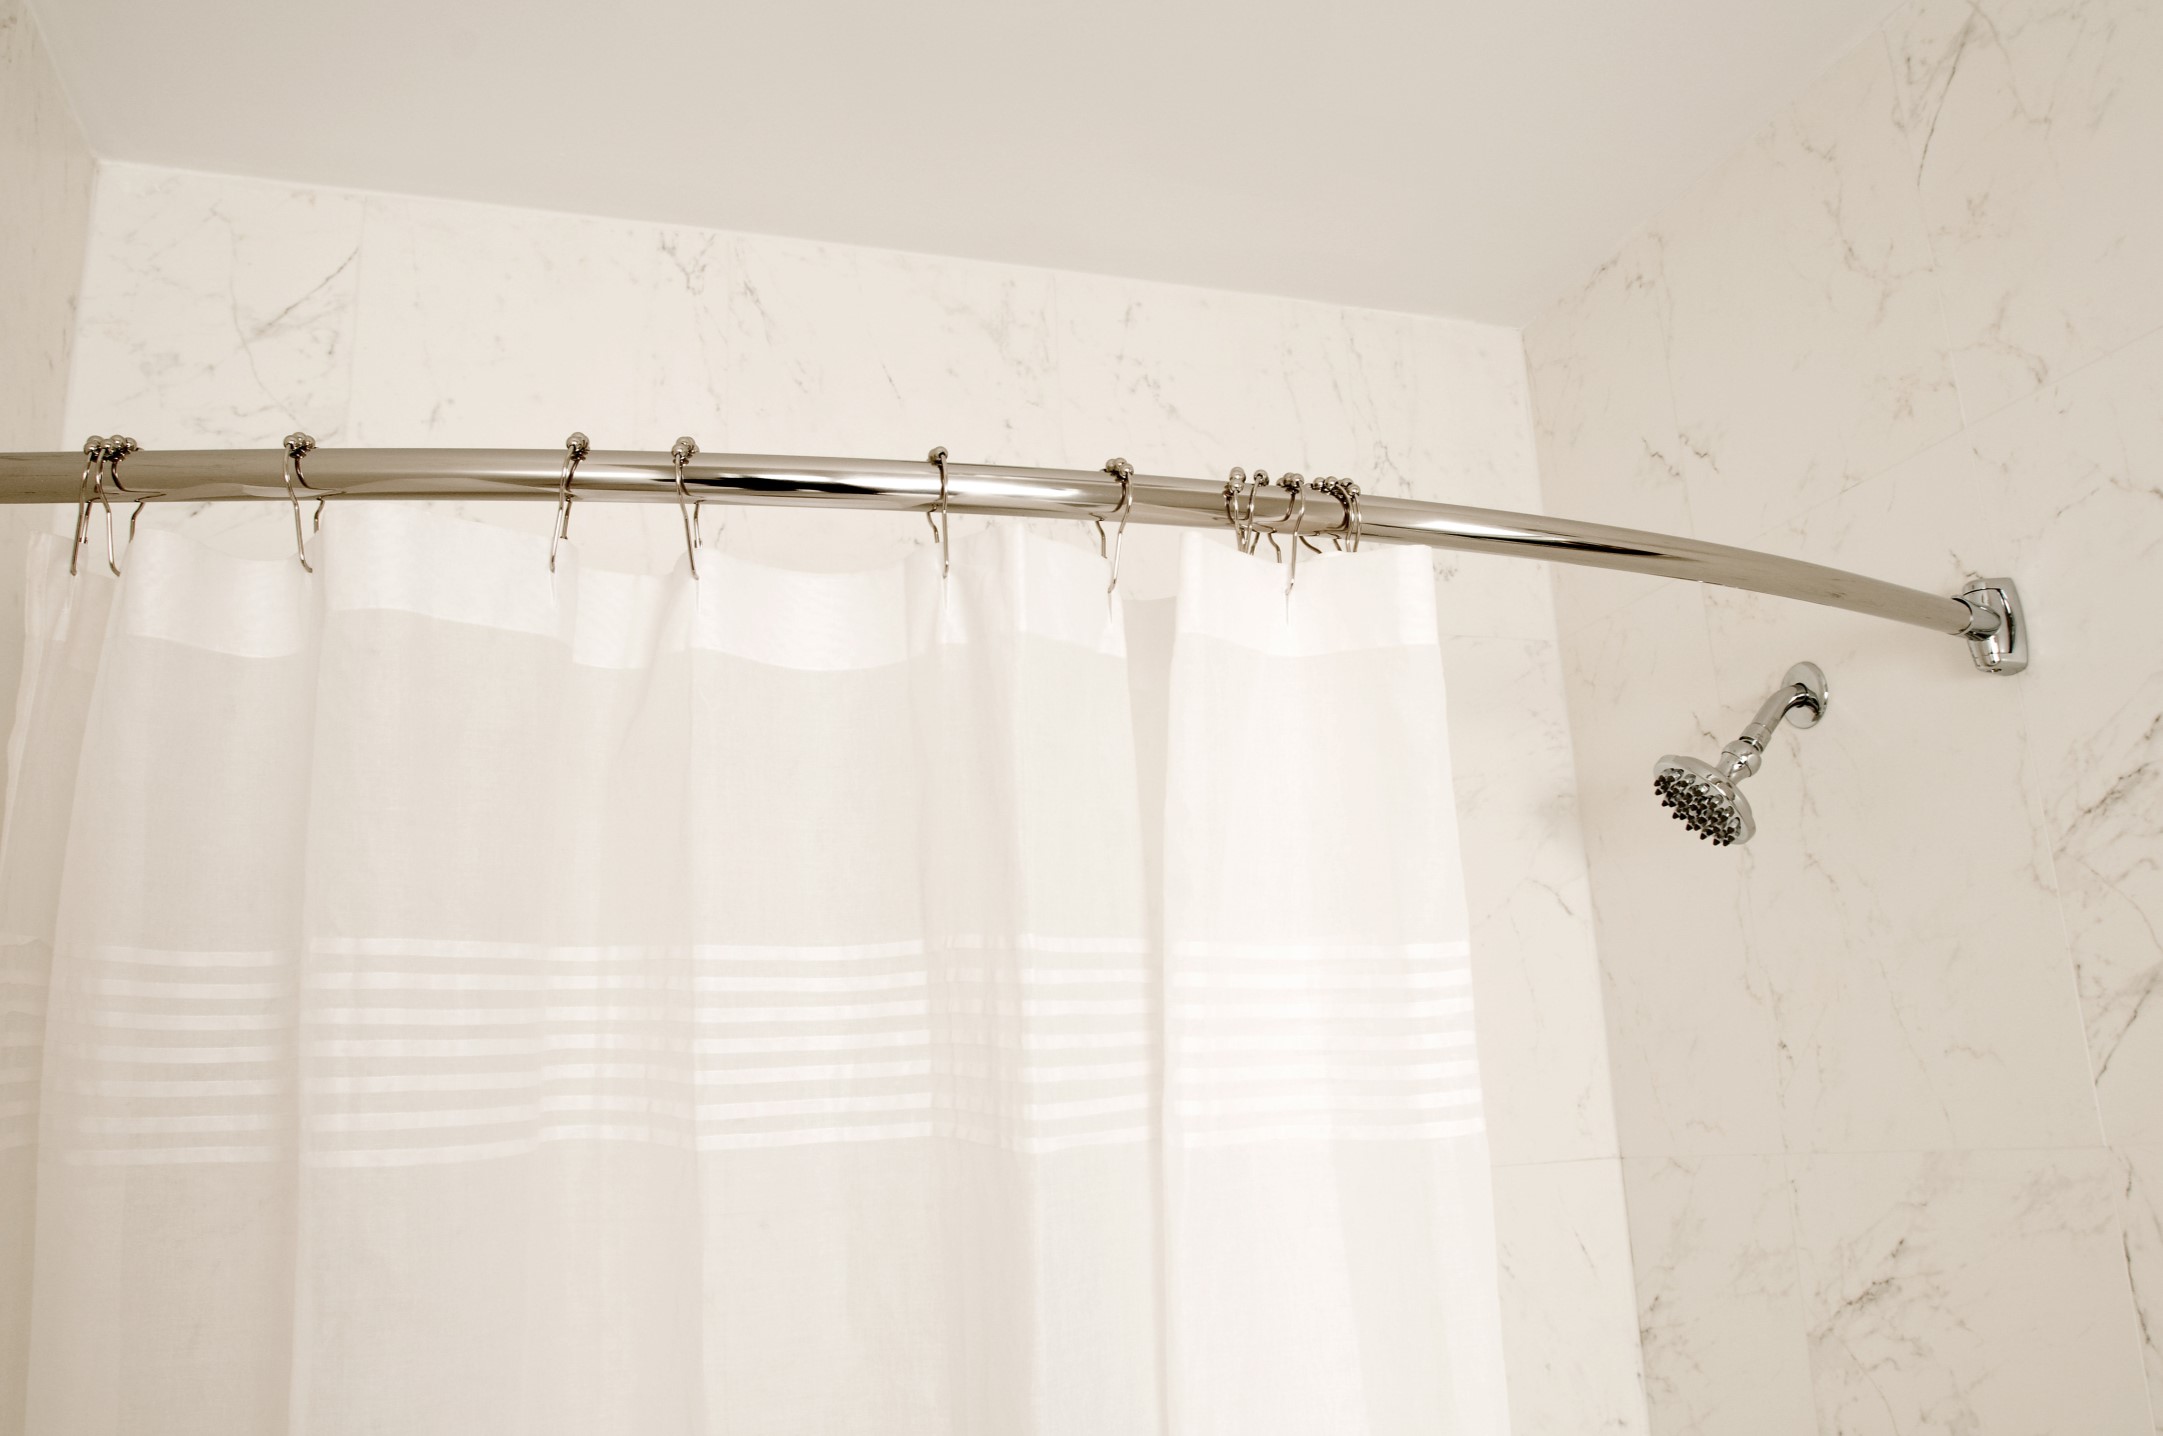
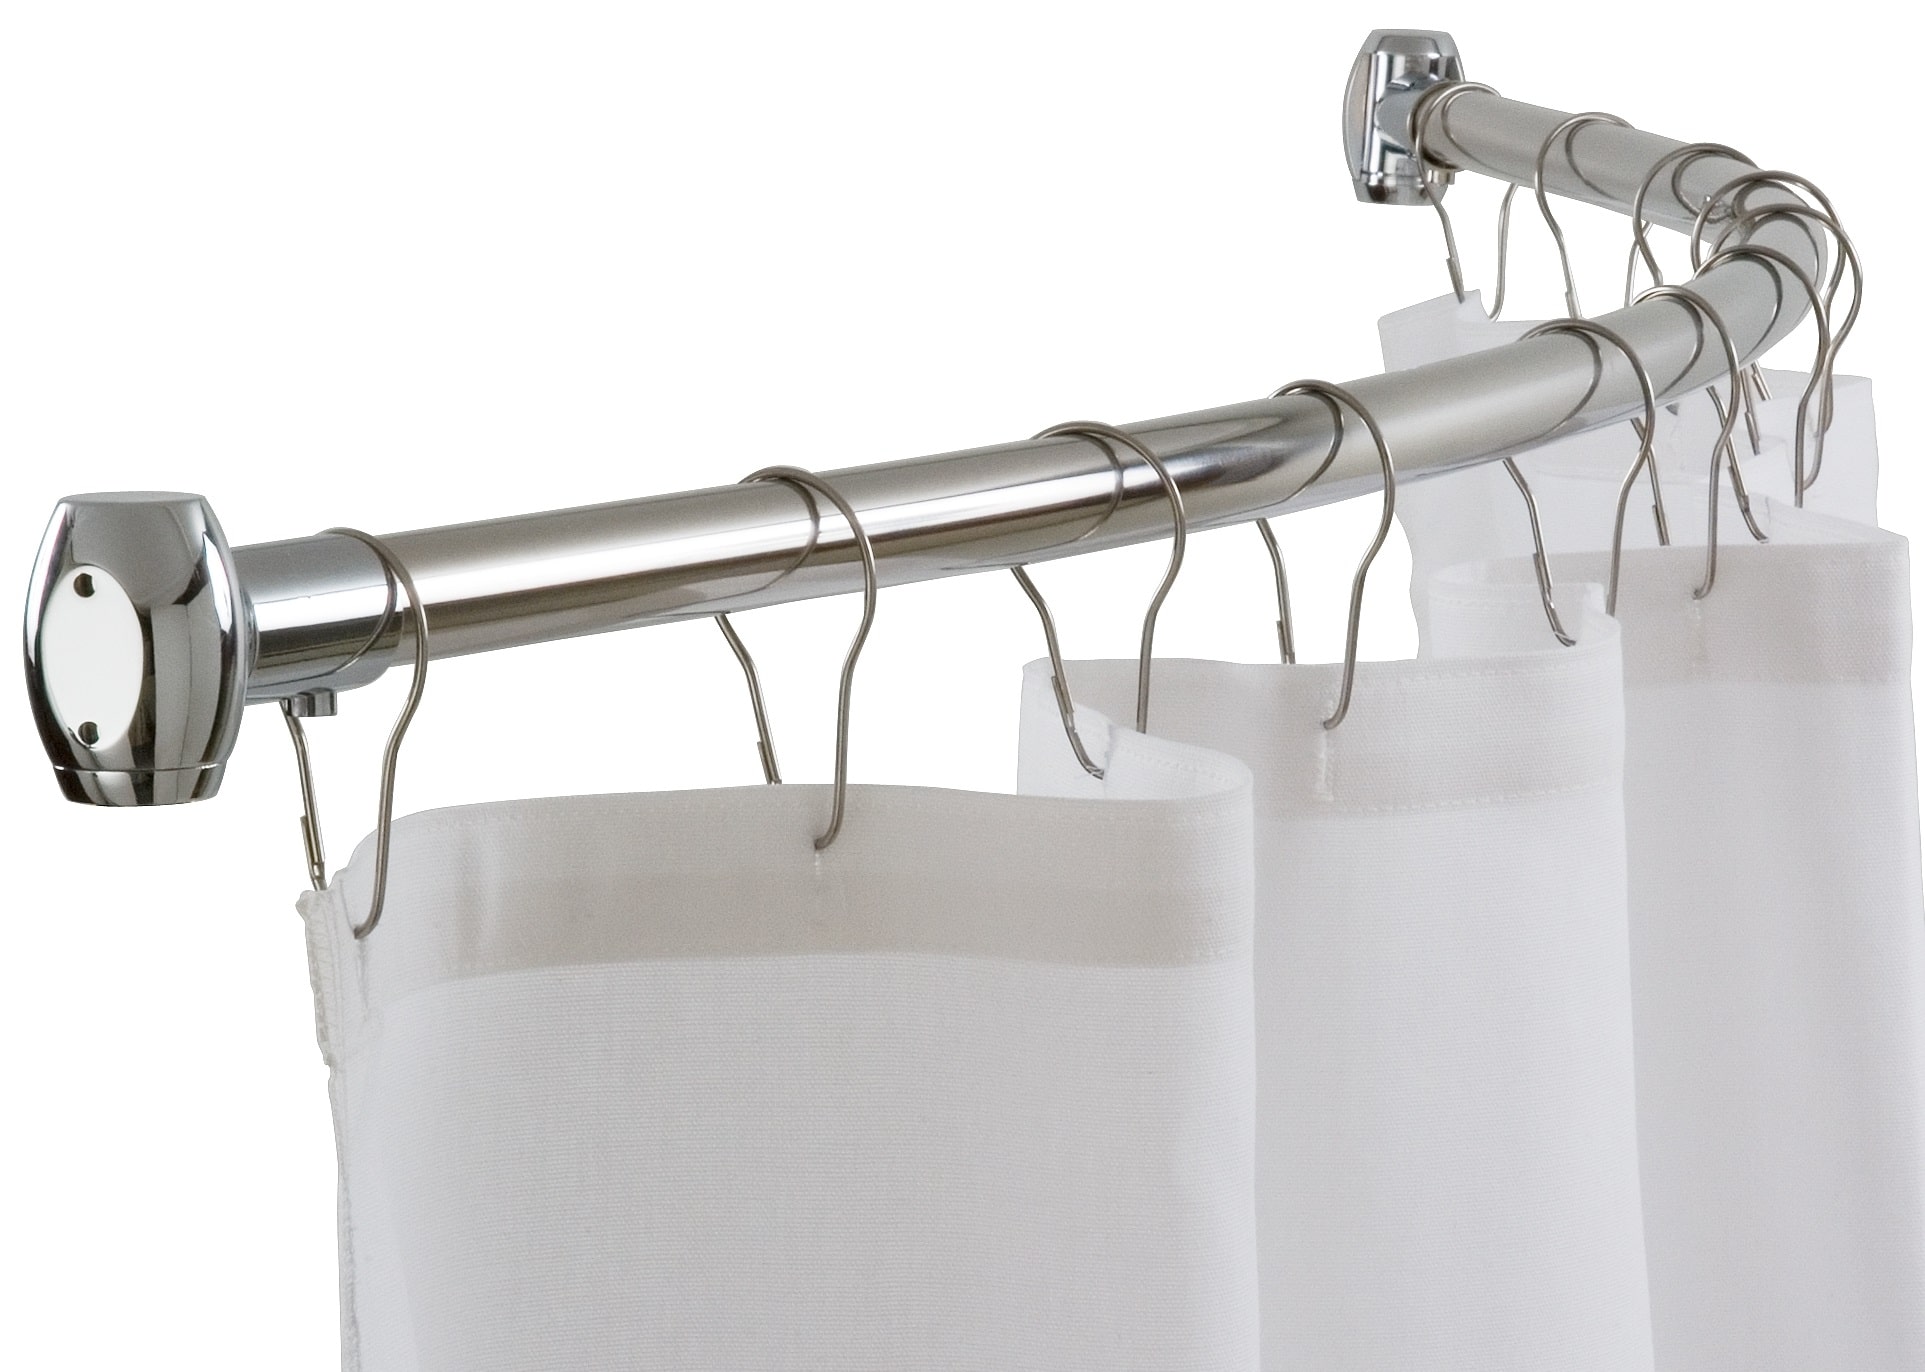
Installing a curved shower curtain rod can be a simple yet effective way to upgrade the look and functionality of your bathroom. This innovative addition not only enhances the aesthetic appeal of the space but also provides practical benefits such as increased shower space and improved water containment. Whether you're a seasoned DIY enthusiast or a novice looking to embark on your first home improvement project, installing a curved shower curtain rod is a manageable task that can yield impressive results.
By opting for a curved shower curtain rod, you can create a more spacious and luxurious shower experience. The gentle curve of the rod adds extra elbow room inside the shower, making it ideal for individuals who prefer a more open and airy bathing environment. Additionally, the curvature of the rod helps to keep the shower curtain further away from the body, reducing the likelihood of it clinging while showering. This not only enhances comfort but also minimizes the potential for water to escape onto the bathroom floor.
Moreover, the installation of a curved shower curtain rod can significantly elevate the visual appeal of your bathroom. The sleek and modern design of the curved rod adds a touch of elegance to the space, instantly transforming the ambiance of the shower area. Whether you're aiming for a contemporary, minimalist look or a more traditional aesthetic, a curved shower curtain rod can complement a wide range of bathroom styles, making it a versatile and practical addition to any home.
In this comprehensive guide, we will walk you through the step-by-step process of installing a curved shower curtain rod. From measuring and marking to attaching the rod and hanging the curtain, we will cover all the essential details to ensure a successful installation. By following these instructions and using the recommended tools and materials, you can achieve a professional-looking result while enhancing the functionality and visual appeal of your bathroom. So, let's roll up our sleeves and embark on this rewarding home improvement project together.
Key Takeaways:
- Upgrade your bathroom with a curved shower curtain rod for a more spacious and luxurious shower experience. Enjoy increased elbow room and minimized water splashing for a comfortable and enjoyable bathing environment.
- Transform your bathroom with a sleek and modern curved shower curtain rod. Enhance the visual appeal, minimize water splashing, and enjoy a cleaner and drier bathroom environment with this simple yet impactful addition.
Read more: What Size Shower Curtain For A Curved Rod
Tools and Materials Needed
Before embarking on the installation of a curved shower curtain rod, it's essential to gather the necessary tools and materials to ensure a smooth and efficient process. Here's a comprehensive list of items you'll need to have on hand:
Tools:
-
Measuring Tape: A reliable measuring tape is crucial for accurately determining the dimensions of the shower area and identifying the placement of the rod.
-
Pencil: A pencil will be used for marking the precise locations for drilling and mounting the wall brackets.
-
Level: To ensure that the rod is installed perfectly straight, a level is indispensable for achieving a professional and visually appealing result.
-
Power Drill: A power drill equipped with the appropriate drill bits will be used to create holes for mounting the wall brackets securely.
-
Screwdriver: Depending on the type of screws provided with the curved shower curtain rod, a screwdriver may be required for fastening the wall brackets and attaching the rod.
-
Stud Finder (Optional): If you are mounting the rod on a wall with wooden studs, a stud finder can be helpful in locating the optimal positions for securing the brackets.
Materials:
-
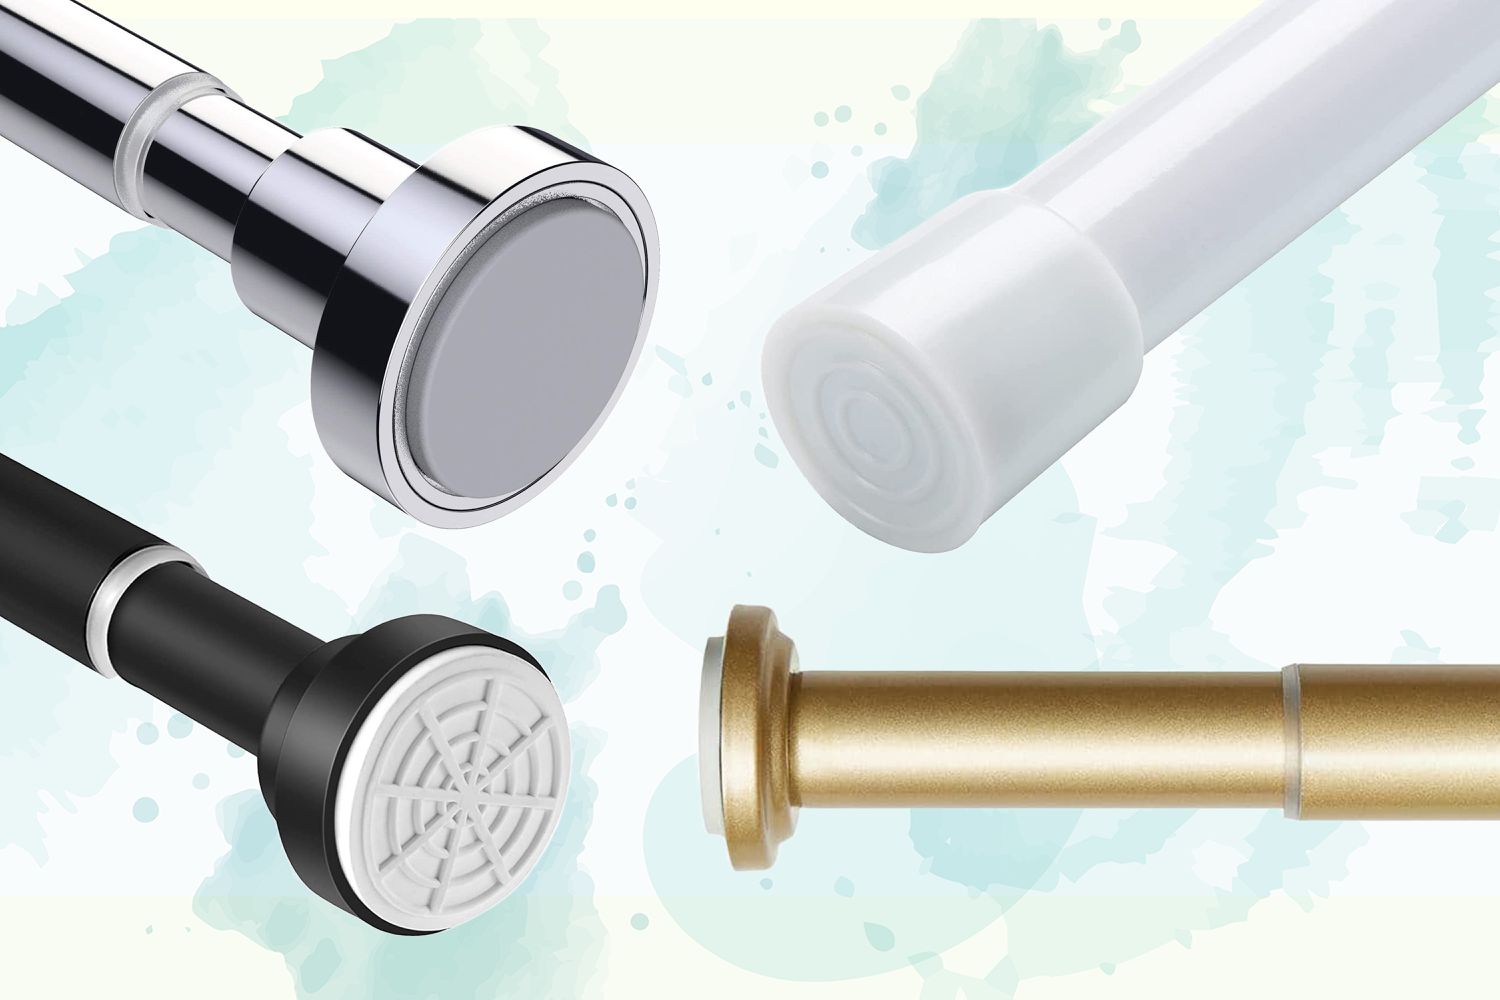
Curved Shower Curtain Rod: Select a high-quality curved shower curtain rod that complements the design and dimensions of your shower space. These rods are available in various finishes, such as chrome, brushed nickel, and oil-rubbed bronze, allowing you to choose one that harmonizes with your bathroom decor.
-
Wall Brackets and Mounting Hardware: Ensure that the curved shower curtain rod comes with sturdy wall brackets and the necessary mounting hardware for secure installation.
-
Shower Curtain Rings or Hooks: Depending on your preference, choose shower curtain rings or hooks that will be compatible with the curved rod and the type of shower curtain you plan to use.
-
Shower Curtain: Select a shower curtain that coordinates with the overall aesthetic of your bathroom and complements the design of the curved rod. Consider the length and width of the curtain to ensure adequate coverage and functionality.
-
Anchors (if necessary): If you are mounting the rod on a tiled or drywall surface, anchors may be required to provide additional support and stability.
By ensuring that you have all the necessary tools and materials at your disposal, you can proceed with confidence, knowing that you are well-equipped to complete the installation of the curved shower curtain rod with precision and ease.
Step 1: Measure and Mark
The initial step in installing a curved shower curtain rod is to accurately measure the dimensions of the shower area and mark the precise locations for mounting the wall brackets. This critical phase sets the foundation for a successful installation, ensuring that the rod is positioned correctly and aligned with the shower space.
Begin by measuring the length of the area where the curved shower curtain rod will be installed. Using a measuring tape, determine the distance between the two walls or the designated mounting points. It's essential to measure both the straight section and the curved section of the rod to ensure that it fits seamlessly within the available space.
Once the measurements are obtained, mark the positions for the wall brackets using a pencil. Ensure that the marks are level and aligned with each other to maintain the straightness of the rod. If the shower area has a sloped ceiling, take this into account when marking the positions to ensure that the rod will be parallel to the floor when installed.
Using a level, double-check the accuracy of the marked positions to guarantee that the rod will be installed evenly and without any slant. This step is crucial for achieving a professional and visually appealing result, as a properly aligned curved shower curtain rod enhances the overall aesthetic of the bathroom.
If you are mounting the rod on a tiled or drywall surface, it's important to consider the presence of studs or the need for anchors to provide additional support. In such cases, a stud finder can be used to locate the optimal positions for securing the wall brackets, ensuring that they are firmly anchored for long-term stability.
By meticulously measuring and marking the installation points, you lay the groundwork for a seamless and secure installation of the curved shower curtain rod. This attention to detail at the outset of the process sets the stage for a visually pleasing and functional enhancement to your bathroom space.
Read more: How To Remove A Curved Shower Curtain Rod
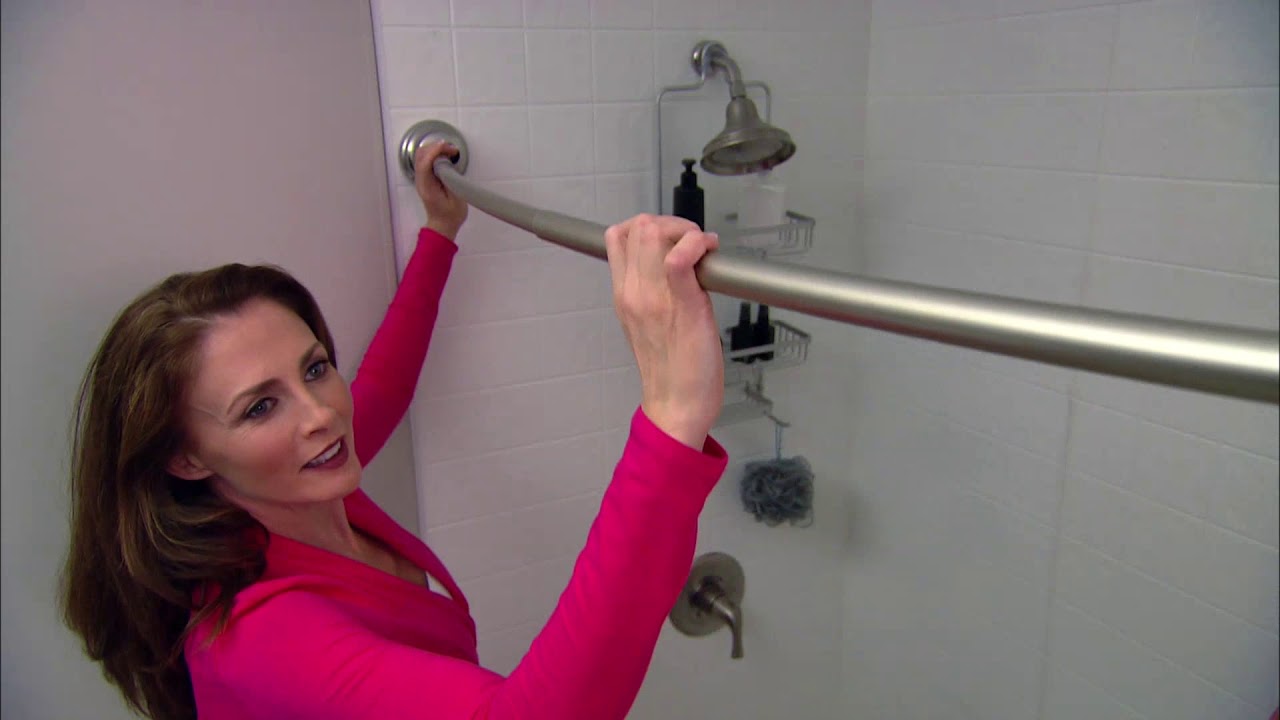
Step 2: Install Wall Brackets
With the precise measurements and markings in place, the next crucial step in the installation of a curved shower curtain rod is to install the wall brackets securely. The wall brackets serve as the primary support for the rod, ensuring its stability and longevity. Proper installation of the brackets is essential for achieving a professional and polished result.
Using a power drill equipped with the appropriate drill bit, carefully create holes at the marked positions for the wall brackets. If you are mounting the rod on a tiled or drywall surface, it's important to use anchors to provide additional support and stability. Ensure that the holes are drilled at the correct depth to accommodate the mounting hardware.
Once the holes are prepared, align the wall brackets with the drilled holes and attach them using the provided mounting hardware. If the curved shower curtain rod comes with adjustable brackets, make any necessary adjustments to ensure that they are level and aligned with each other. A level can be used to verify the horizontal alignment of the brackets, guaranteeing a straight and visually appealing installation.
If the installation requires anchoring the brackets to wooden studs, ensure that the screws are driven securely into the studs to provide robust support for the curved shower curtain rod. For added reassurance, consider using longer screws that penetrate the studs deeply, enhancing the stability of the installation.
After the wall brackets are firmly secured, double-check their alignment and stability to confirm that they can adequately support the weight of the curved shower curtain rod and the shower curtain. By meticulously installing the wall brackets with precision and attention to detail, you lay the foundation for a durable and visually pleasing enhancement to your bathroom space.
With the wall brackets securely in place, the stage is set for the next phase of the installation process, which involves attaching the curved shower curtain rod to the mounted brackets. This pivotal step brings you closer to completing the installation and enjoying the functional and aesthetic benefits of the curved shower curtain rod in your bathroom.
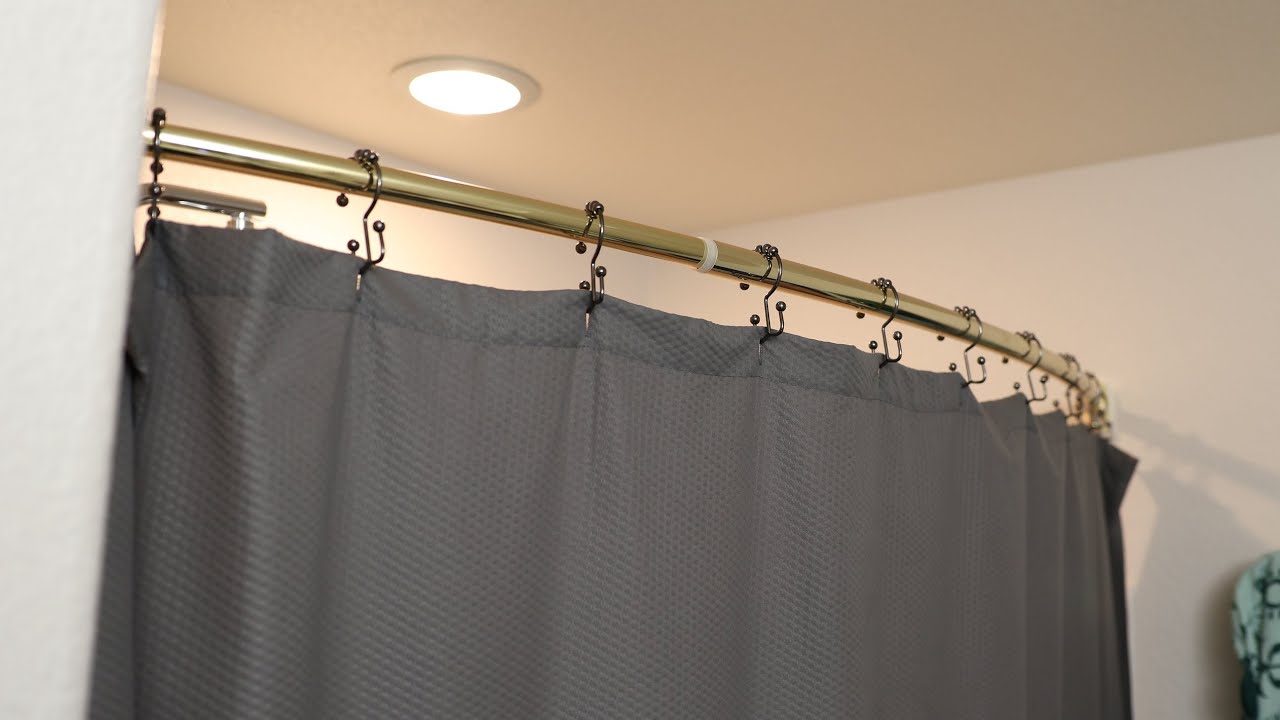
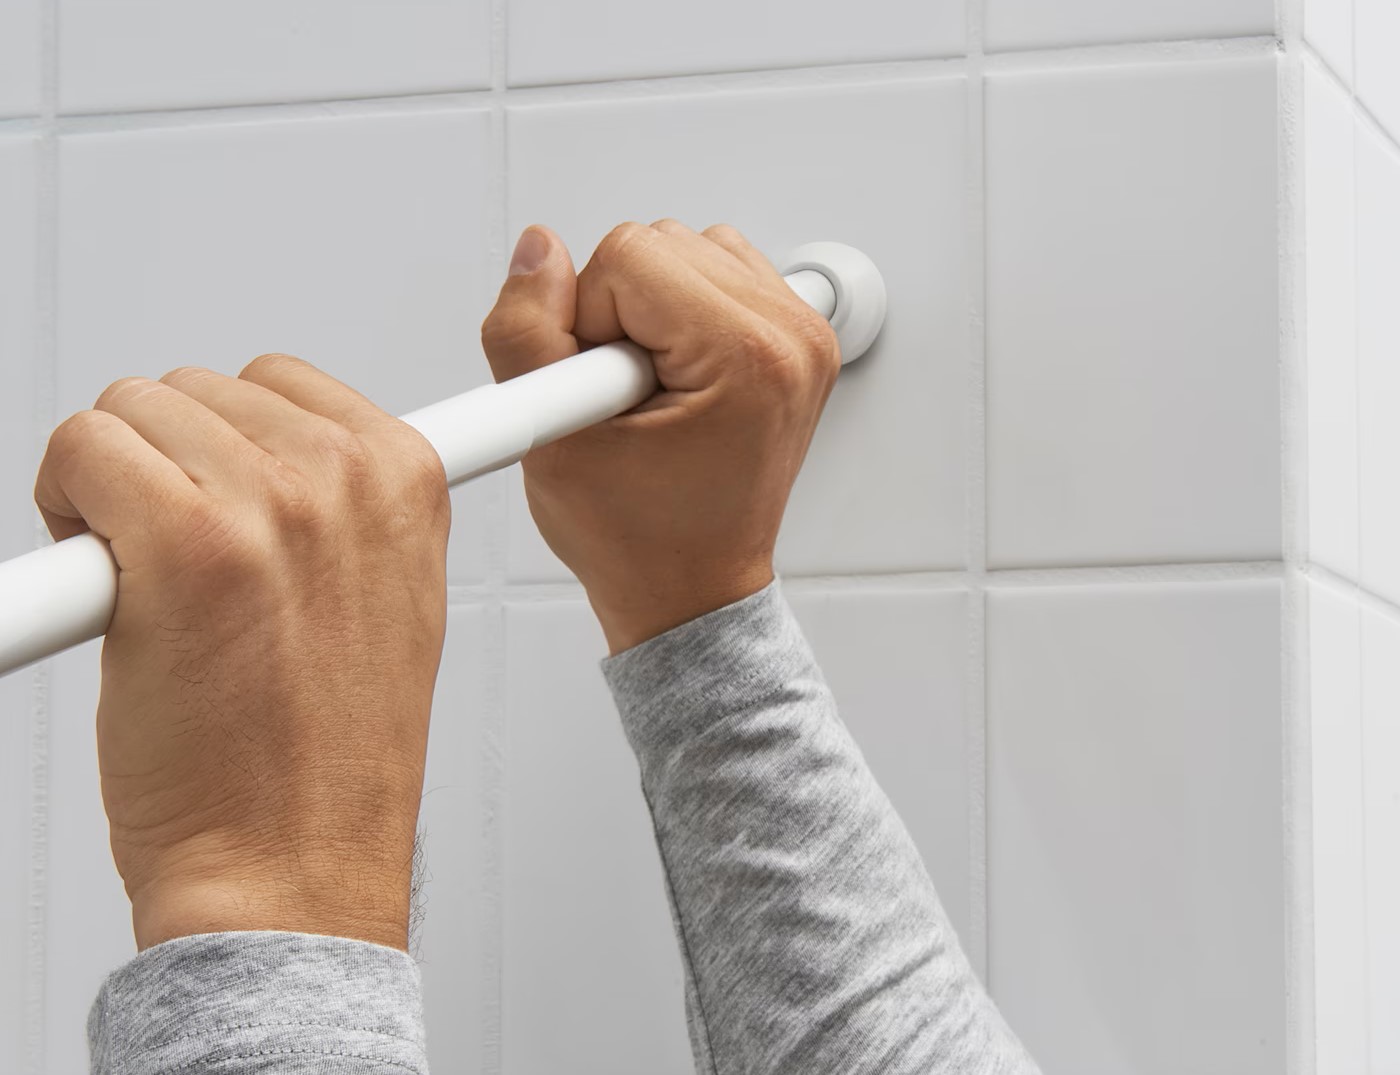
Step 3: Attach the Rod
With the wall brackets securely installed, it's time to proceed with attaching the curved shower curtain rod to the mounted brackets. This pivotal step brings you closer to completing the installation and enjoying the functional and aesthetic benefits of the curved shower curtain rod in your bathroom.
Carefully lift the curved shower curtain rod and position it between the installed wall brackets. Ensure that the rod is aligned with the brackets and rests securely within their grasp. Depending on the design of the rod, it may feature adjustable sections that allow for customization to fit the specific dimensions of your shower area. If adjustments are necessary, follow the manufacturer's instructions to modify the length or curvature of the rod to achieve an optimal fit.
Once the rod is positioned correctly, fasten it to the wall brackets according to the manufacturer's guidelines. This typically involves securing the rod to the brackets using the provided screws or mounting hardware. Ensure that the rod is firmly attached to the brackets, providing stability and support for the shower curtain and contributing to the overall durability of the installation.
After attaching the rod, use a level to confirm that it is installed evenly and without any slant. This step is crucial for achieving a professional and visually appealing result, as a properly aligned curved shower curtain rod enhances the overall aesthetic of the bathroom. Additionally, verify that the rod is parallel to the floor, maintaining a consistent and harmonious appearance within the shower space.
Once the curved shower curtain rod is securely attached and aligned, give it a gentle tug to ensure that it can support the weight of the shower curtain without shifting or coming loose. This final check ensures that the installation is robust and reliable, providing you with the confidence that the curved rod will serve its purpose effectively.
With the rod successfully attached and verified for stability, you have completed a significant phase of the installation process. The next and final step involves hanging the shower curtain, bringing the entire project to fruition and allowing you to experience the enhanced functionality and visual appeal of your newly installed curved shower curtain rod.
When installing a curved shower curtain rod, make sure to measure and mark the placement of the brackets accurately. Use a level to ensure the rod is straight before tightening the screws.
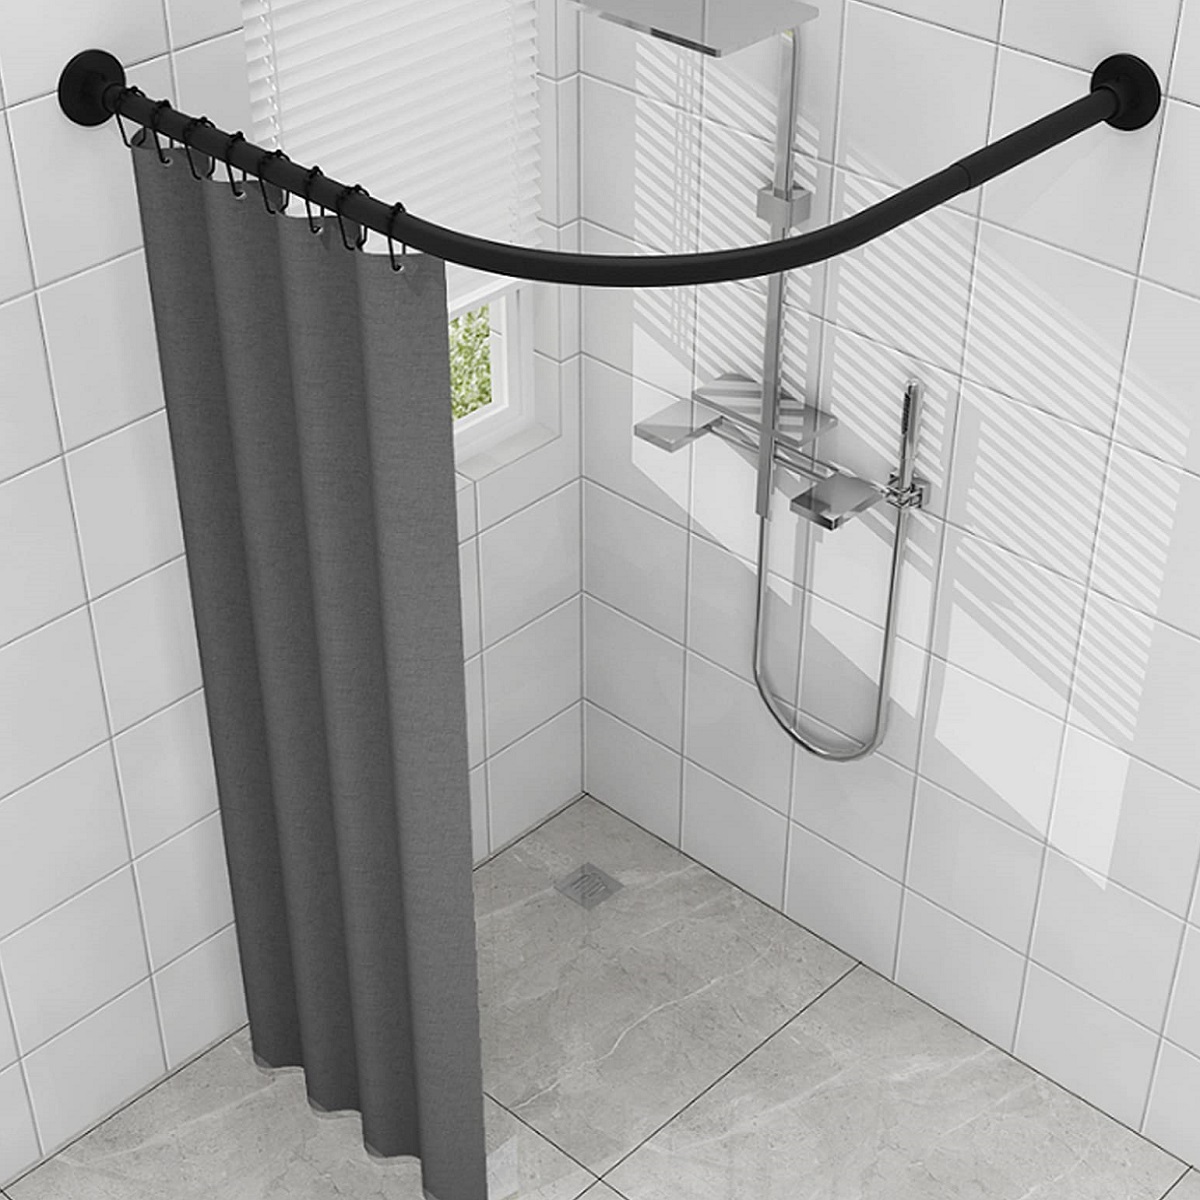
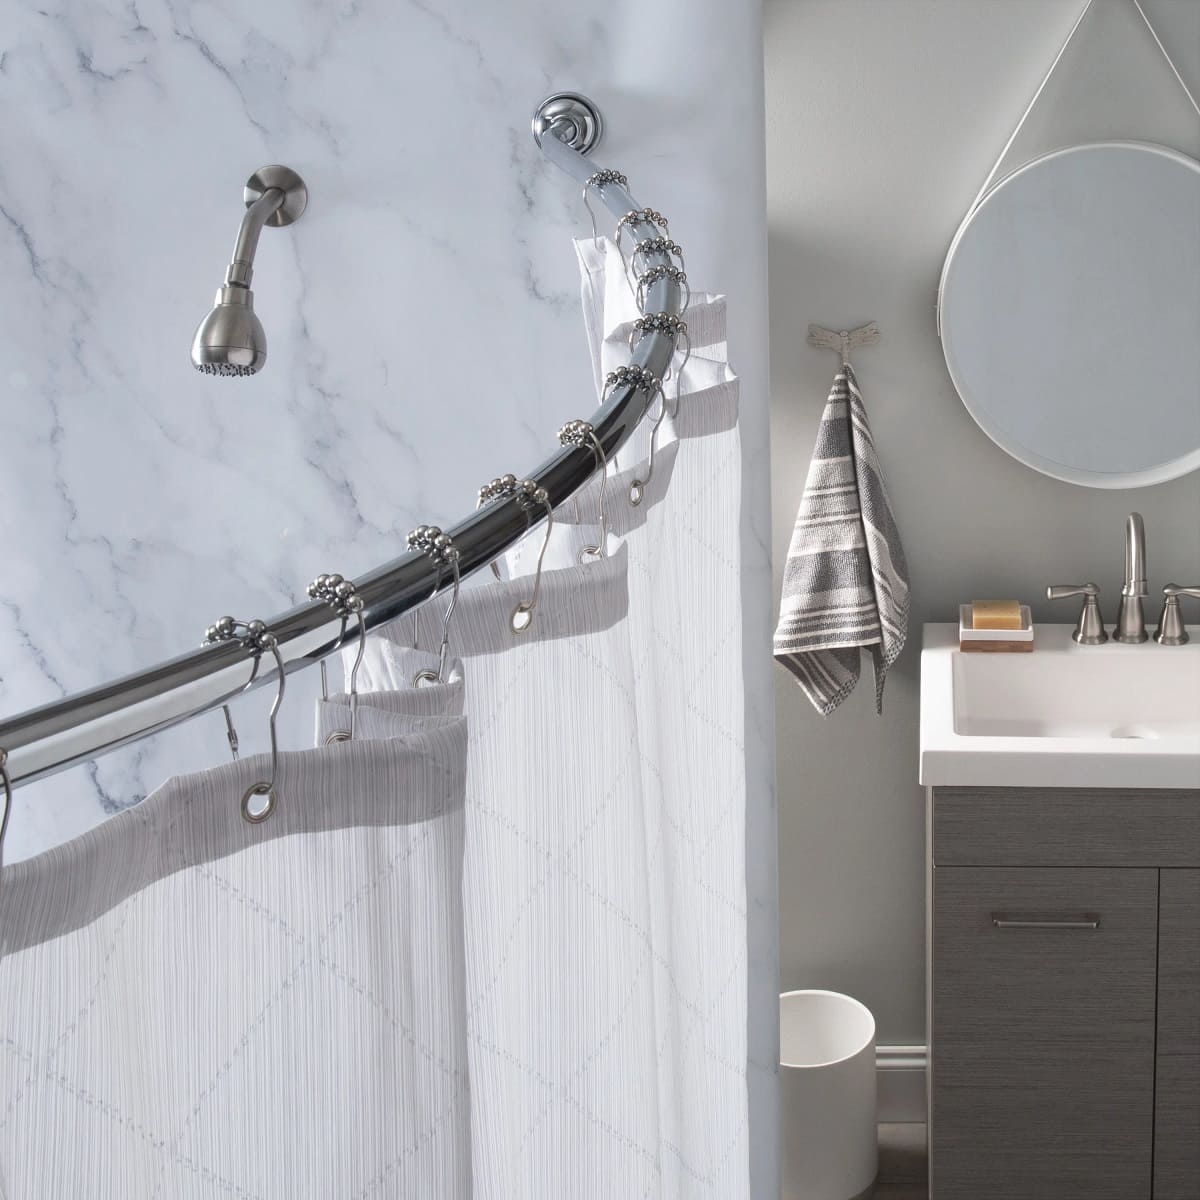
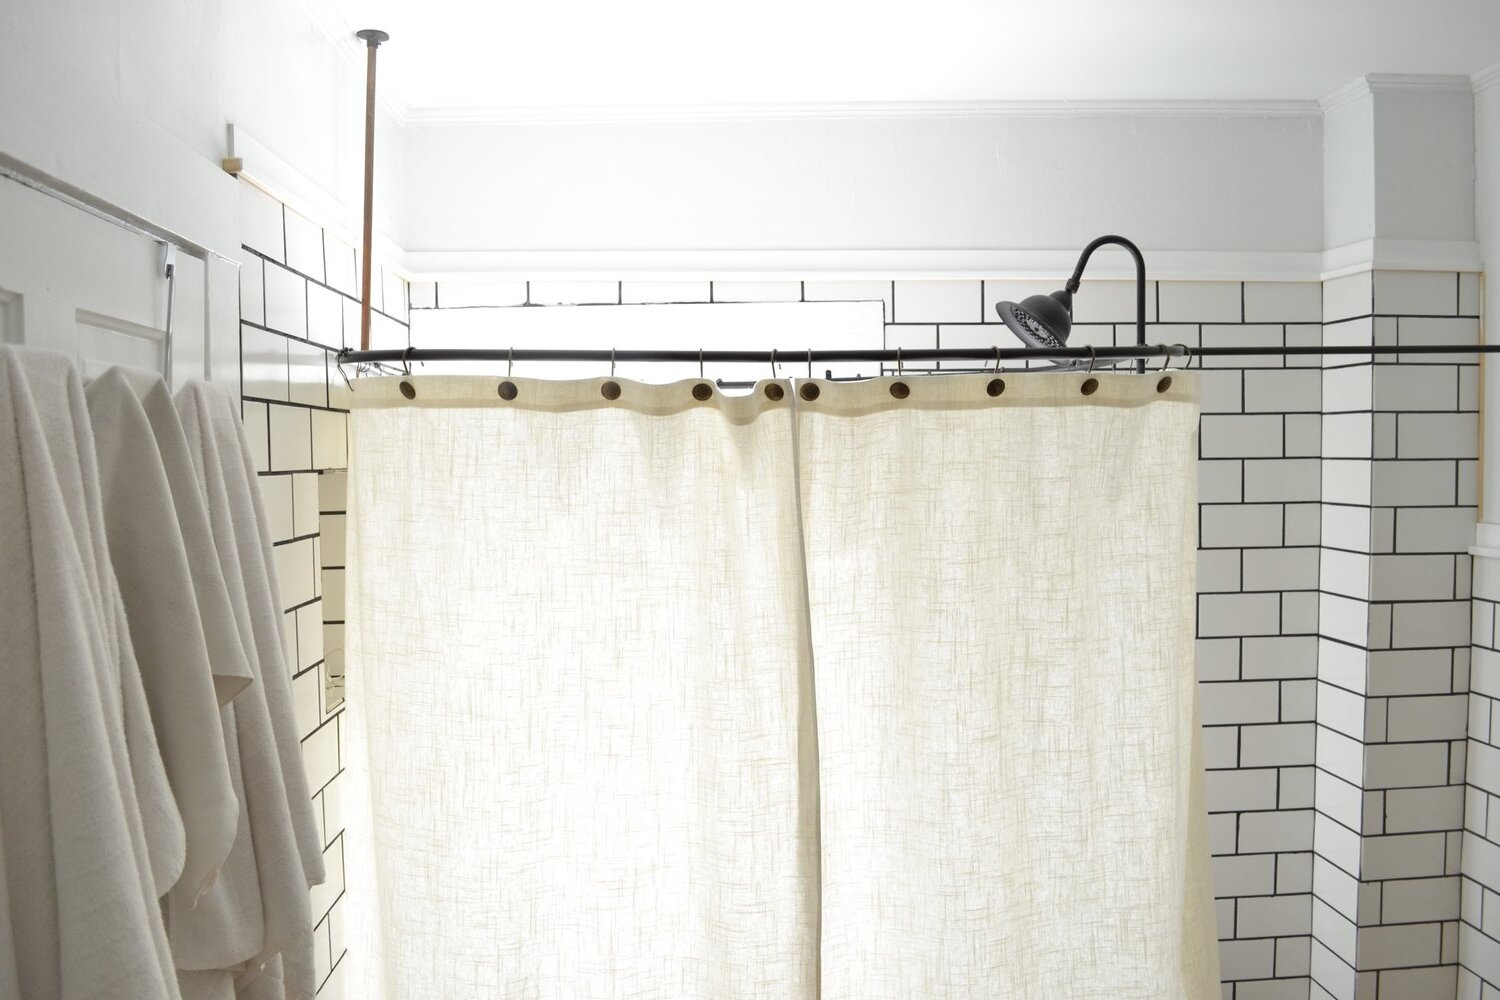
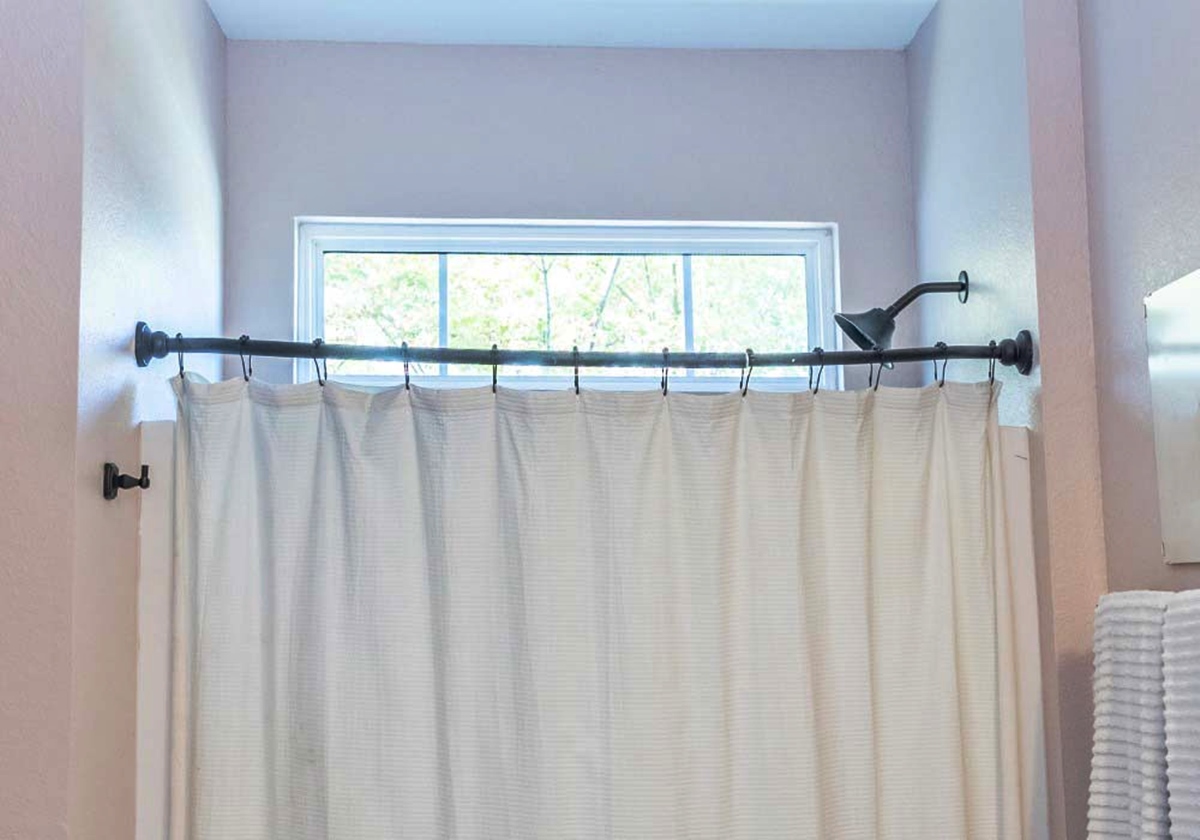
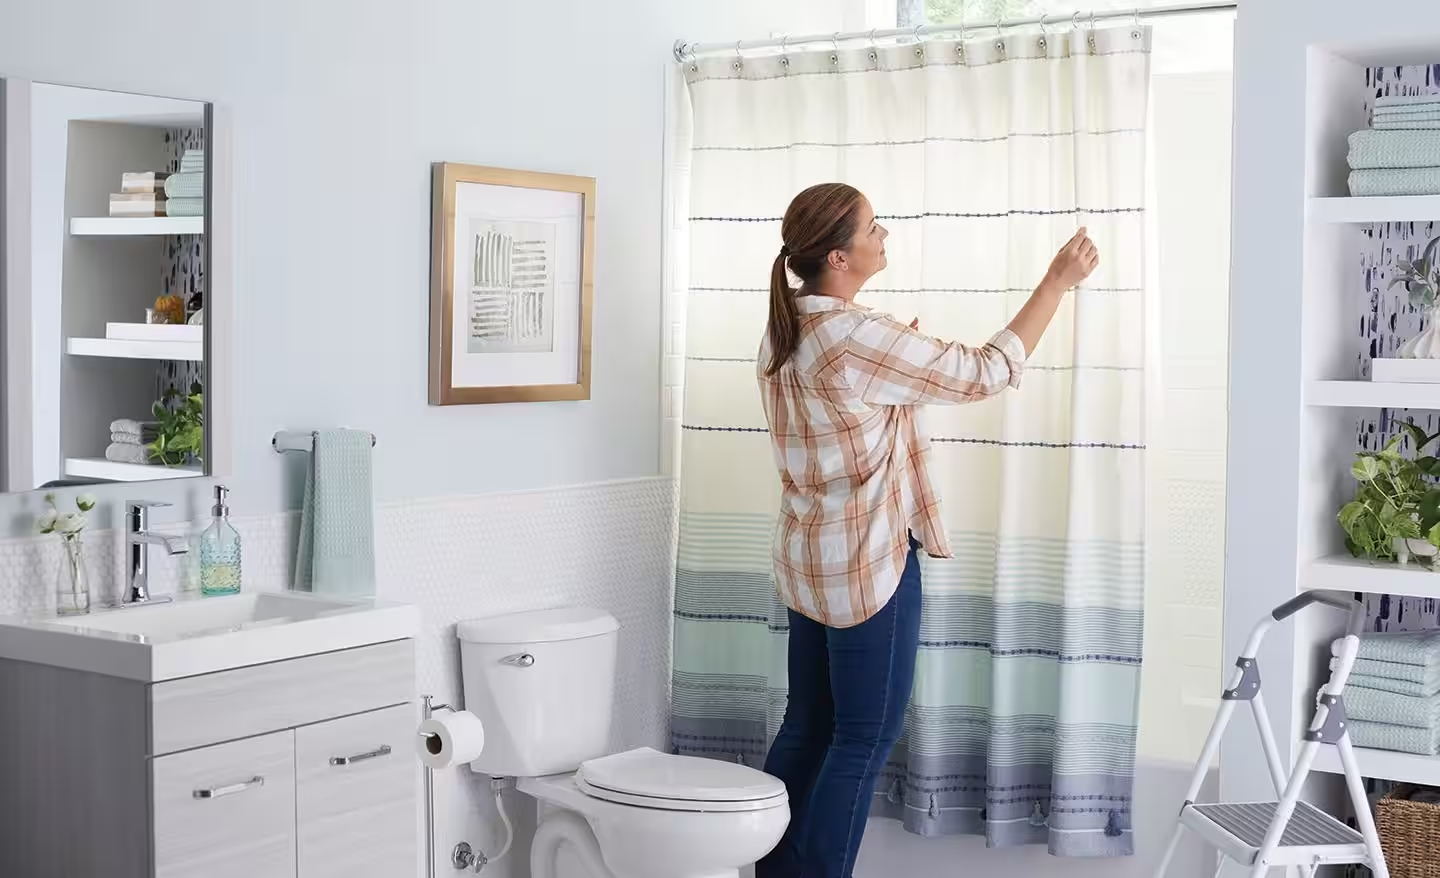
Step 4: Hang the Curtain
After successfully attaching the curved shower curtain rod, the final step in the installation process is to hang the shower curtain, bringing the entire project to fruition. This step not only adds the finishing touch to the installation but also allows you to experience the enhanced functionality and visual appeal of your newly installed curved shower curtain rod.
Begin by selecting a suitable shower curtain that complements the design and dimensions of your bathroom. Whether you opt for a fabric curtain, a vinyl liner, or a combination of both, ensure that the curtain is sized appropriately to provide adequate coverage within the shower space. Additionally, consider the color, pattern, and texture of the curtain to harmonize with the overall aesthetic of your bathroom, creating a cohesive and inviting atmosphere.
Once you have chosen the shower curtain, it's time to hang it on the curved rod. If you are using shower curtain rings, simply slide them onto the rod and then attach the curtain to the rings. Ensure that the curtain is evenly distributed along the length of the rod, allowing for smooth and effortless movement when opening and closing the curtain.
If your preferred curtain hanging method involves hooks, carefully attach the hooks to the curtain and then secure them onto the curved rod. Ensure that the hooks are evenly spaced to maintain a balanced and visually pleasing appearance. Additionally, verify that the curtain hangs at an appropriate height, providing sufficient coverage while allowing for easy access to the shower area.
Once the shower curtain is hung, take a moment to adjust its positioning and smooth out any wrinkles or folds to achieve a neat and polished look. Verify that the curtain drapes evenly and reaches the desired length, ensuring that it effectively contains water within the shower space while adding a decorative element to the bathroom.
After hanging the shower curtain, step back and admire the transformation that the curved shower curtain rod has brought to your bathroom. Take a moment to appreciate the enhanced spaciousness, visual appeal, and practical benefits that this simple yet impactful addition has introduced to your shower area.
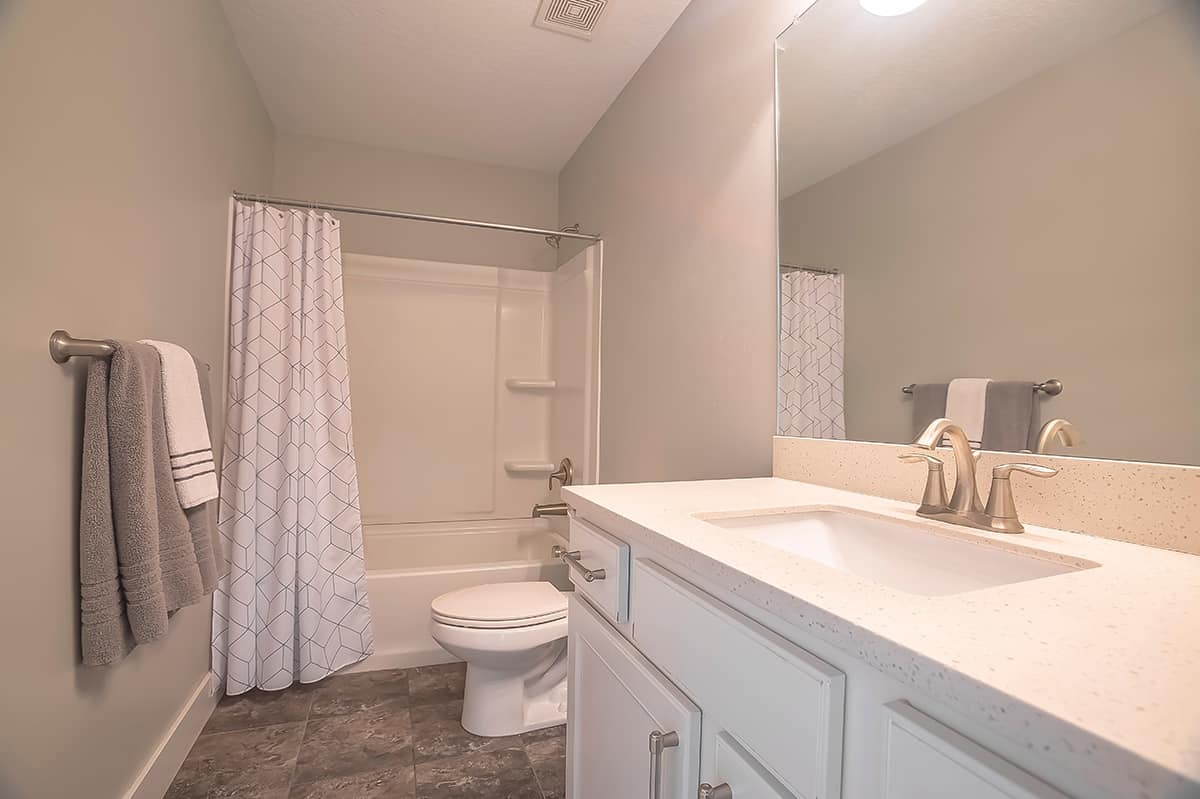
With the shower curtain elegantly adorning the curved rod, the installation process is complete, and you can now revel in the upgraded ambiance and functionality of your bathroom. Whether you're preparing for a refreshing shower or simply admiring the enhanced aesthetic, the addition of a curved shower curtain rod has undoubtedly elevated the overall experience within your bathroom.
Conclusion
In conclusion, the installation of a curved shower curtain rod represents a transformative enhancement for any bathroom. By following the step-by-step process outlined in this guide and utilizing the recommended tools and materials, you can achieve a seamless and professional installation while reaping the numerous benefits that a curved rod offers.
The addition of a curved shower curtain rod not only elevates the visual appeal of the bathroom but also enhances the functionality of the shower space. The gentle curve of the rod creates a more spacious and luxurious shower experience, providing additional elbow room and minimizing the likelihood of the shower curtain clinging while showering. This results in a more comfortable and enjoyable bathing environment for individuals of all ages.
Furthermore, the installation of a curved shower curtain rod offers practical advantages in terms of water containment and bathroom maintenance. By keeping the shower curtain further away from the body, the curved rod reduces the potential for water to escape onto the bathroom floor, contributing to a cleaner and drier bathroom environment. Additionally, the sleek and modern design of the curved rod adds a touch of elegance to the space, instantly transforming the ambiance of the shower area.
The process of installing a curved shower curtain rod involves meticulous measurements, precise markings, secure attachment of wall brackets, and the final step of hanging the shower curtain. Each phase of the installation contributes to the overall success of the project, ensuring that the curved rod is installed evenly, securely, and in a visually appealing manner.
Upon completing the installation and hanging the shower curtain, the impact of the curved shower curtain rod becomes evident, offering an enhanced shower experience and a refreshed aesthetic within the bathroom. Whether you're seeking to create a more spacious and inviting shower space or aiming to elevate the overall ambiance of your bathroom, the addition of a curved shower curtain rod is a simple yet impactful solution.
As you admire the newly installed curved shower curtain rod and appreciate the functional and visual benefits it brings to your bathroom, you can take pride in the successful completion of this rewarding home improvement project. The installation of a curved shower curtain rod represents a tangible upgrade that enhances both the practicality and the aesthetic appeal of your bathroom, making it a valuable and worthwhile investment in your home.
Curious about how long a bathroom overhaul might take or why opting for a curved shower rod could be a game-changer? These guides offer insights that could transform your approach to home improvement. Understanding bathroom renovation timelines helps manage expectations and plan effectively. Similarly, learning about the benefits of a curved shower rod might convince you to upgrade. Both articles provide valuable tips and considerations for anyone looking to enhance their living space.
Frequently Asked Questions about How To Install A Curved Shower Curtain Rod
Was this page helpful?
At Storables.com, we guarantee accurate and reliable information. Our content, validated by Expert Board Contributors, is crafted following stringent Editorial Policies. We're committed to providing you with well-researched, expert-backed insights for all your informational needs.


0 thoughts on “How To Install A Curved Shower Curtain Rod”