Home>Furniture & Design>Bathroom Accessories>How To Adjust A Shower Curtain Rod
Bathroom Accessories
How To Adjust A Shower Curtain Rod
Modified: October 20, 2024
Learn how to adjust a shower curtain rod for your bathroom accessories. Get step-by-step instructions and tips for a perfect fit.
(Many of the links in this article redirect to a specific reviewed product. Your purchase of these products through affiliate links helps to generate commission for Storables.com, at no extra cost. Learn more)
Introduction
Adjusting a shower curtain rod may seem like a simple task, but it can make a significant difference in the functionality and aesthetics of your bathroom. Whether you're installing a new curtain rod or making adjustments to an existing one, ensuring that it fits perfectly can elevate the overall look of your shower space. A properly installed and adjusted shower curtain rod not only keeps water from splashing onto the bathroom floor but also adds a touch of style to the room.
In this comprehensive guide, we will walk you through the step-by-step process of adjusting a shower curtain rod. From measuring the space to testing the stability, each step is crucial in achieving a perfectly fitted and secure curtain rod. By following these instructions, you can ensure that your shower curtain rod not only complements your bathroom decor but also functions effectively.
So, whether you're a seasoned DIY enthusiast or a novice looking to tackle a small home improvement project, this guide will equip you with the knowledge and confidence to adjust your shower curtain rod with ease. Let's dive into the details and transform your bathroom into a more functional and visually appealing space.
Key Takeaways:
- Adjusting a shower curtain rod is crucial for a secure fit and stylish bathroom. Measure accurately, loosen the tension, adjust the length, tighten the tension, and test stability for a successful installation.
- A well-fitted shower curtain rod enhances safety and aesthetics. Personalize the fit, prevent water splashes, and enjoy a more enjoyable bathing experience.
Read more: Where To Place A Shower Curtain Rod
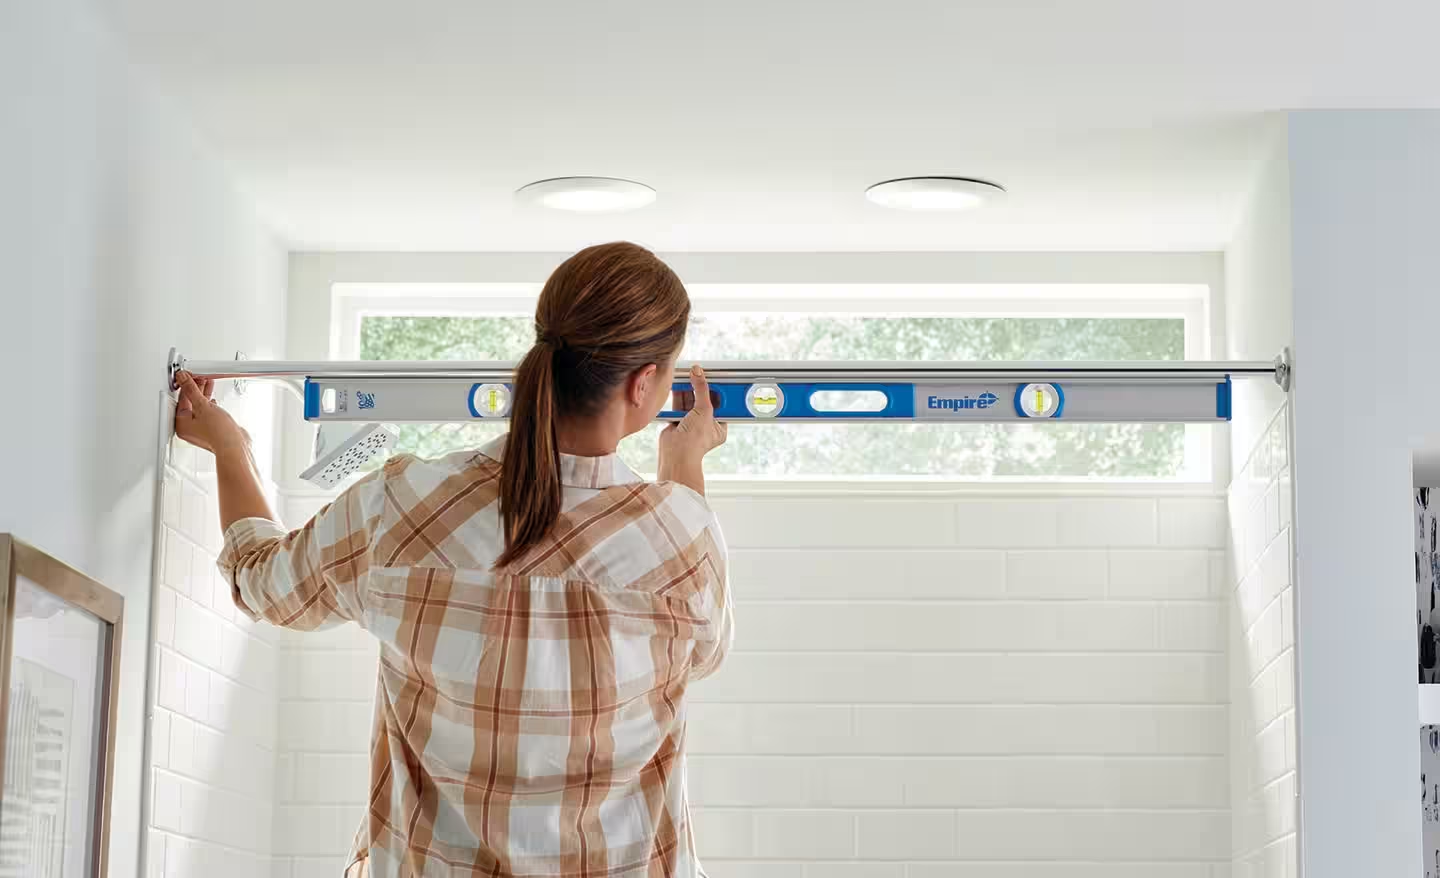
Step 1: Measure the space
Before adjusting a shower curtain rod, it's crucial to start with accurate measurements to ensure a precise fit. Here's how to measure the space effectively:
1.1 Assess the Length
Begin by determining the length of the area where the shower curtain rod will be placed. Use a measuring tape to measure the distance between the two walls or the designated mounting points. Ensure that the tape measure is held taut and level to obtain an accurate measurement.
1.2 Consider the Height
Next, measure the desired height for the shower curtain rod. Typically, the rod should be positioned high enough to prevent water from splashing out of the shower area, while still allowing easy access to the shower. Measure from the top of the bathtub or shower base to the desired height for the rod.
1.3 Account for Curtain Fullness
If you already have a shower curtain that you plan to use, consider its fullness when measuring the space. If the curtain is particularly full or if you prefer a more gathered look, you may need to adjust the measurements accordingly to accommodate the extra fabric.
Read more: How Do Shower Curtain Rods Work
1.4 Double-Check the Measurements
Once you have taken the initial measurements, it's essential to double-check them for accuracy. Small discrepancies in measurements can lead to an ill-fitting curtain rod, so take the time to ensure that all measurements are precise and consistent.
By meticulously measuring the space, you can lay the groundwork for a successful adjustment of the shower curtain rod. These measurements will serve as the foundation for the subsequent steps, ensuring that the rod fits snugly and functions as intended.
With the measurements in hand, you're now ready to proceed to the next step in adjusting the shower curtain rod.
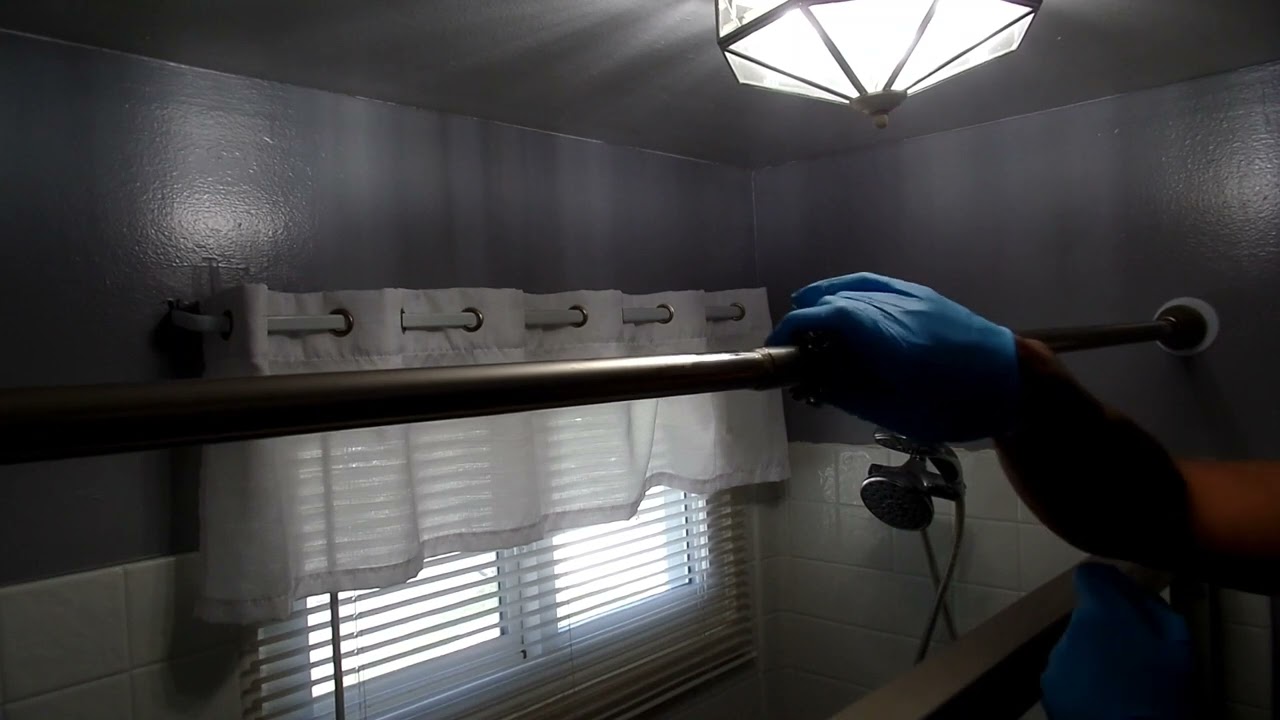
Step 2: Loosen the tension
Loosening the tension in the shower curtain rod is a crucial step in the adjustment process. Whether you are installing a new rod or readjusting an existing one, this step ensures that you can modify the length of the rod with ease. Here's how to effectively loosen the tension:
2.1 Identify the Type of Rod
Shower curtain rods come in various designs, including tension rods and spring-loaded rods. It's essential to identify the type of rod you are working with before proceeding. Tension rods rely on the pressure between the walls to stay in place, while spring-loaded rods feature a mechanism that can be adjusted to alter the length.
2.2 Locate the Adjustment Mechanism
For spring-loaded rods, locate the adjustment mechanism, which is typically found at the center of the rod. This mechanism may consist of a spring or a twisting mechanism that allows you to modify the length of the rod. For tension rods, the entire rod functions as the tension mechanism, and the adjustment process involves releasing and readjusting the pressure between the walls.
Read more: How To Install A Curved Shower Curtain Rod
2.3 Follow the Manufacturer's Instructions
If you are working with a specific brand or model of shower curtain rod, refer to the manufacturer's instructions for guidance on loosening the tension. Different rods may have unique adjustment methods, and following the manufacturer's recommendations can ensure a smooth and safe adjustment process.
2.4 Gradually Release the Tension
Carefully release the tension in the rod by following the designated method for your specific type of rod. For spring-loaded rods, this may involve twisting or compressing the adjustment mechanism to release the tension. For tension rods, gently push or pull the rod to release the pressure between the walls.
2.5 Verify the Loosened State
Once you have loosened the tension, verify that the rod is no longer under pressure and can be easily adjusted. This step is crucial in preparing the rod for the subsequent adjustments to its length.
By effectively loosening the tension in the shower curtain rod, you set the stage for the next step: adjusting the length to fit the measured space accurately. With the tension released, you can proceed to modify the rod's length with ease, ensuring a precise and secure fit in your bathroom.
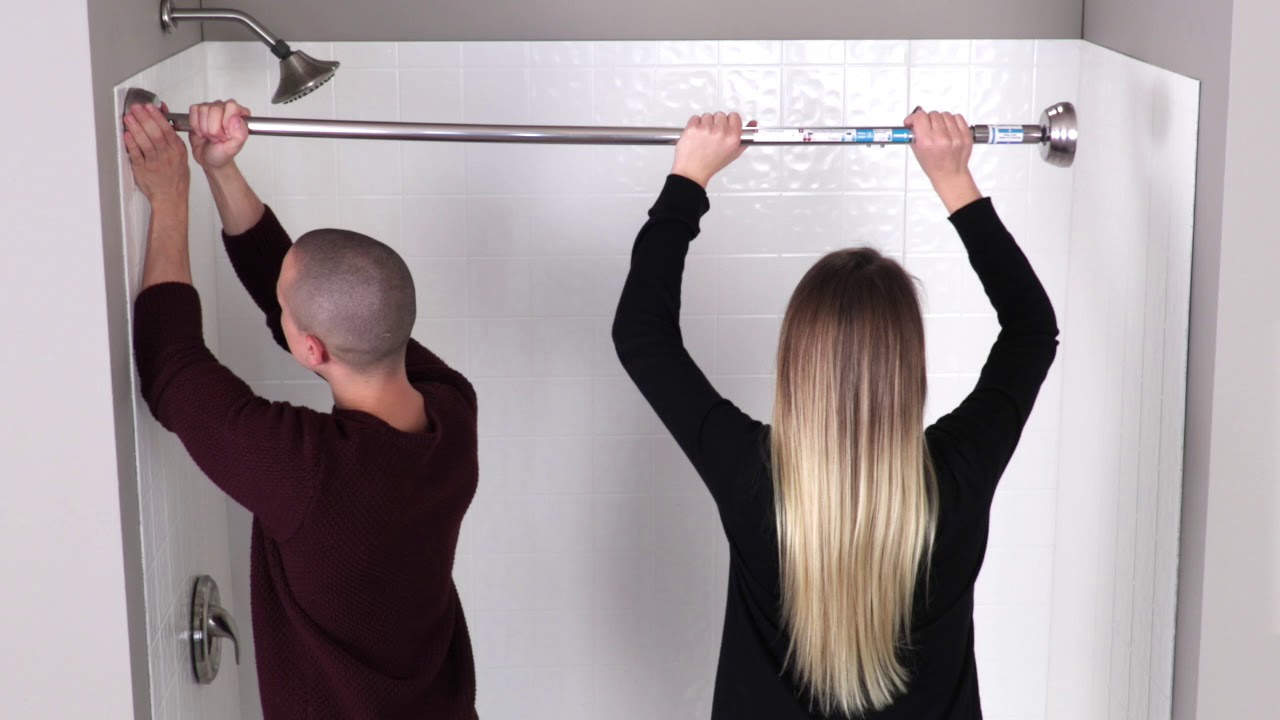
Step 3: Adjust the length
With the tension in the shower curtain rod effectively loosened, you can now proceed to the pivotal step of adjusting its length to fit the measured space accurately. This step is crucial in ensuring that the rod fits snugly within the designated area, providing both functionality and visual appeal to your bathroom.
Read more: How To Install A Shower Curtain Rod On Tile
3.1 Extend or Retract the Rod
Depending on the initial measurements and the specific requirements of your bathroom space, you may need to extend or retract the shower curtain rod to achieve the desired length. For spring-loaded rods, this can typically be accomplished by twisting or compressing the adjustment mechanism to lengthen or shorten the rod. Tension rods, on the other hand, can be extended or retracted by gently pulling or pushing the rod to the required length.
3.2 Align with the Measured Space
As you adjust the length of the rod, ensure that it aligns precisely with the measurements taken earlier. Double-check the length against the width of the space where the rod will be installed, as well as the height at which it will be positioned. This alignment is crucial in guaranteeing a secure and well-fitted installation that complements the overall aesthetics of your bathroom.
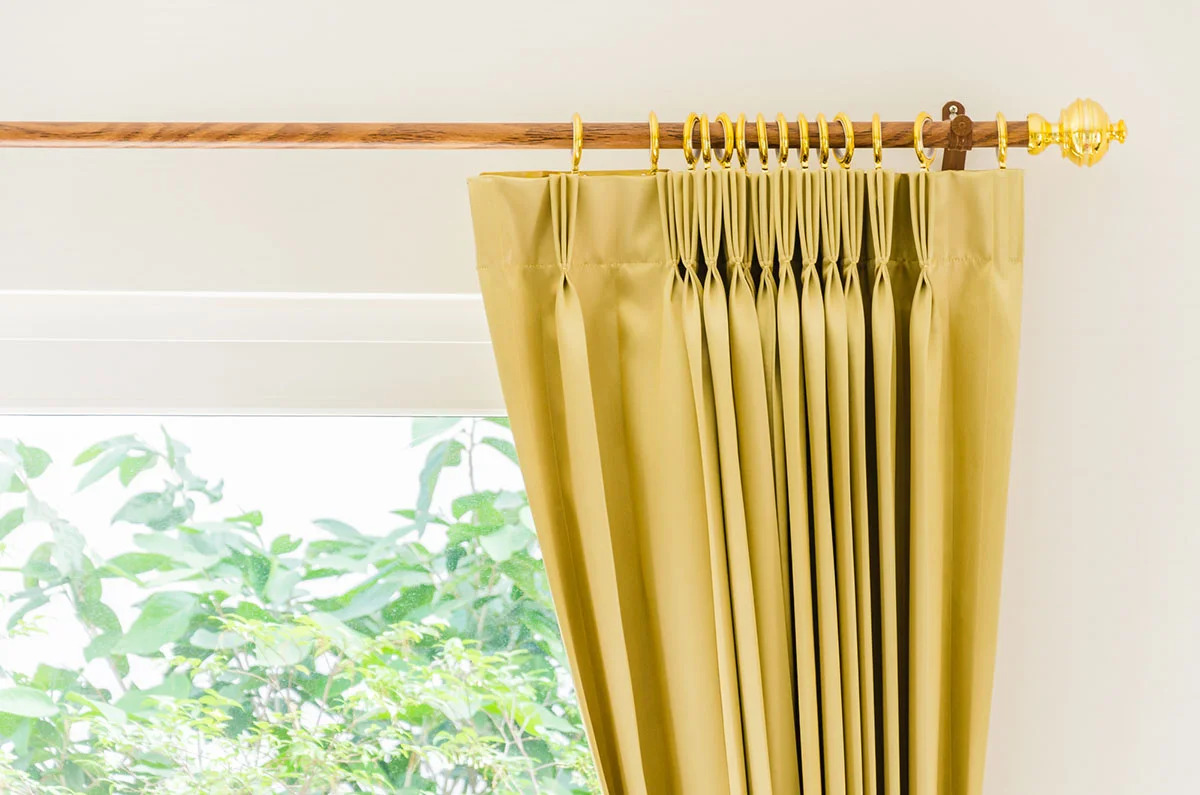
3.3 Consider Curtain Fullness
If you are using an existing shower curtain or have already selected one for your bathroom, take into account its fullness as you adjust the length of the rod. A fuller curtain may require a slightly longer rod to accommodate the additional fabric and achieve a gathered, elegant look. Conversely, a less full curtain may necessitate a shorter rod to maintain a neat and tailored appearance.
3.4 Test the Fit
Once you have adjusted the length of the rod to align with the measured space and accommodate the curtain fullness, it's essential to test the fit. Place the rod within the designated area and ensure that it fits securely without any gaps or instability. Testing the fit at this stage allows you to make any final adjustments before proceeding to the next step.
By meticulously adjusting the length of the shower curtain rod, you can ensure that it fits precisely within the measured space, accommodating the curtain fullness and aligning with the overall design of your bathroom. With the length adjusted to perfection, you are now ready to proceed to the final step of tightening the tension and testing the stability of the rod.
Read more: How High To Hang A Shower Curtain Rod
Step 4: Tighten the tension
After adjusting the length of the shower curtain rod to fit the measured space accurately, the next crucial step is to tighten the tension. This step is essential for securing the rod in place, ensuring stability, and preventing any slippage or displacement over time. By effectively tightening the tension, you can guarantee that the rod remains securely positioned, providing reliable support for the shower curtain and enhancing the overall functionality of your bathroom.
Here's how to effectively tighten the tension of the shower curtain rod:
4.1 Gradually Increase the Tension
For spring-loaded rods, gradually increase the tension by twisting or compressing the adjustment mechanism. This process may involve turning the mechanism in a specific direction to create additional pressure, thereby securing the rod in place. For tension rods, the tightening process entails adjusting the rod's length to create sufficient pressure between the walls, ensuring a snug and stable fit.
4.2 Verify the Stability
As you tighten the tension, it's crucial to verify the stability of the rod. Ensure that the rod remains securely positioned within the designated space and that there is no noticeable slippage or movement. Testing the stability at this stage allows you to make any necessary adjustments to the tension before finalizing the installation.
4.3 Avoid Over-Tightening
While it's important to achieve a secure and stable fit, it's equally crucial to avoid over-tightening the rod. Excessive pressure can lead to damage to the walls or the rod itself, compromising the integrity of the installation. Exercise caution and ensure that the tension is sufficient to hold the rod in place without causing any strain or damage.
Read more: How Long Is A Standard Shower Curtain Rod
4.4 Consider Manufacturer's Recommendations
If you are working with a specific brand or model of shower curtain rod, refer to the manufacturer's recommendations for tightening the tension. Different rods may have unique specifications for the optimal level of tension, and following the manufacturer's guidelines can help you achieve a secure and safe installation.
By effectively tightening the tension of the shower curtain rod, you can complete the adjustment process with confidence, knowing that the rod is securely positioned and ready to support the shower curtain effectively. With the tension secured, the final step involves testing the stability of the rod to ensure a successful and reliable installation.
This step is crucial for securing the rod in place, ensuring stability, and preventing any slippage or displacement over time. By effectively tightening the tension, you can guarantee that the rod remains securely positioned, providing reliable support for the shower curtain and enhancing the overall functionality of your bathroom.
Step 5: Test the stability
After adjusting the length and tightening the tension of the shower curtain rod, the final step involves testing the stability to ensure that the installation is secure and reliable. This critical step not only provides peace of mind but also ensures that the shower curtain rod can effectively fulfill its purpose of supporting the curtain and preventing water from splashing outside the shower area.
To test the stability of the shower curtain rod, begin by gently applying pressure to the rod in various directions. This can be done by carefully pushing and pulling the rod to assess its resistance and stability. Pay close attention to any signs of movement or slippage, as these indicate that the rod may not be securely positioned.
Next, simulate the typical movements and usage that the shower curtain rod will experience during daily use. This includes pulling the curtain open and closed, as well as adjusting the curtain rings along the length of the rod. By mimicking these actions, you can evaluate how the rod responds to regular usage and ensure that it remains stable and secure throughout.
Additionally, consider hanging the shower curtain on the rod and observing its behavior. The weight of the curtain can impact the stability of the rod, especially if the curtain is particularly heavy or if additional accessories, such as a liner or decorative elements, are included. Testing the stability with the curtain in place provides a comprehensive assessment of the rod's ability to support the curtain effectively.
As you test the stability of the shower curtain rod, be mindful of any signs of strain or stress on the walls or mounting points. Ensure that the installation does not cause any damage or compromise the structural integrity of the surrounding area. It's essential to prioritize the safety and stability of the installation to prevent any potential accidents or damage in the future.
By thoroughly testing the stability of the shower curtain rod, you can confirm that the adjustment process has been successful and that the rod is ready for long-term use. A stable and secure installation not only enhances the functionality of the shower space but also contributes to the overall safety and aesthetics of your bathroom.
With the stability of the shower curtain rod verified, you can now step back and admire your handiwork, knowing that the rod is securely positioned and ready to serve its purpose effectively.
Conclusion
In conclusion, adjusting a shower curtain rod is a simple yet impactful task that can significantly enhance the functionality and visual appeal of your bathroom. By following the step-by-step process outlined in this guide, you can ensure that the shower curtain rod fits snugly within the measured space, provides reliable support for the curtain, and contributes to a more polished and organized shower area.
From meticulously measuring the space to testing the stability of the installed rod, each step plays a crucial role in achieving a successful adjustment. By taking the time to assess the length, loosen and tighten the tension, and verify the stability, you can create a secure and visually pleasing installation that elevates the overall look and feel of your bathroom.
Furthermore, the adjustment process allows for personalization and customization to suit your specific preferences and requirements. Whether you prefer a more gathered look with a fuller curtain or a sleek and tailored appearance, adjusting the shower curtain rod enables you to accommodate these preferences effectively.
Additionally, the successful adjustment of the shower curtain rod contributes to the overall safety of the bathroom environment. A securely installed rod prevents water from splashing outside the shower area, minimizing the risk of slips and falls due to wet floors. This is particularly important for households with children, the elderly, or individuals with mobility challenges.
By completing the adjustment process with precision and attention to detail, you can enjoy the peace of mind that comes with a well-fitted and stable shower curtain rod. The enhanced functionality and aesthetic appeal of the shower space contribute to a more enjoyable and comfortable bathing experience for you and your household.
In essence, adjusting a shower curtain rod is a small yet impactful home improvement task that can make a significant difference in the overall ambiance and functionality of your bathroom. With the knowledge and confidence gained from this guide, you are well-equipped to tackle this project and transform your shower area into a more inviting and organized space.
Frequently Asked Questions about How To Adjust A Shower Curtain Rod
Was this page helpful?
At Storables.com, we guarantee accurate and reliable information. Our content, validated by Expert Board Contributors, is crafted following stringent Editorial Policies. We're committed to providing you with well-researched, expert-backed insights for all your informational needs.


0 thoughts on “How To Adjust A Shower Curtain Rod”