Home>Furniture & Design>Bathroom Accessories>How To Install A Shower Curtain Rod On Tile
Bathroom Accessories
How To Install A Shower Curtain Rod On Tile
Modified: October 18, 2024
Learn how to easily install a shower curtain rod on tile in your bathroom with our step-by-step guide. Find out the best bathroom accessories for your space.
(Many of the links in this article redirect to a specific reviewed product. Your purchase of these products through affiliate links helps to generate commission for Storables.com, at no extra cost. Learn more)
Introduction
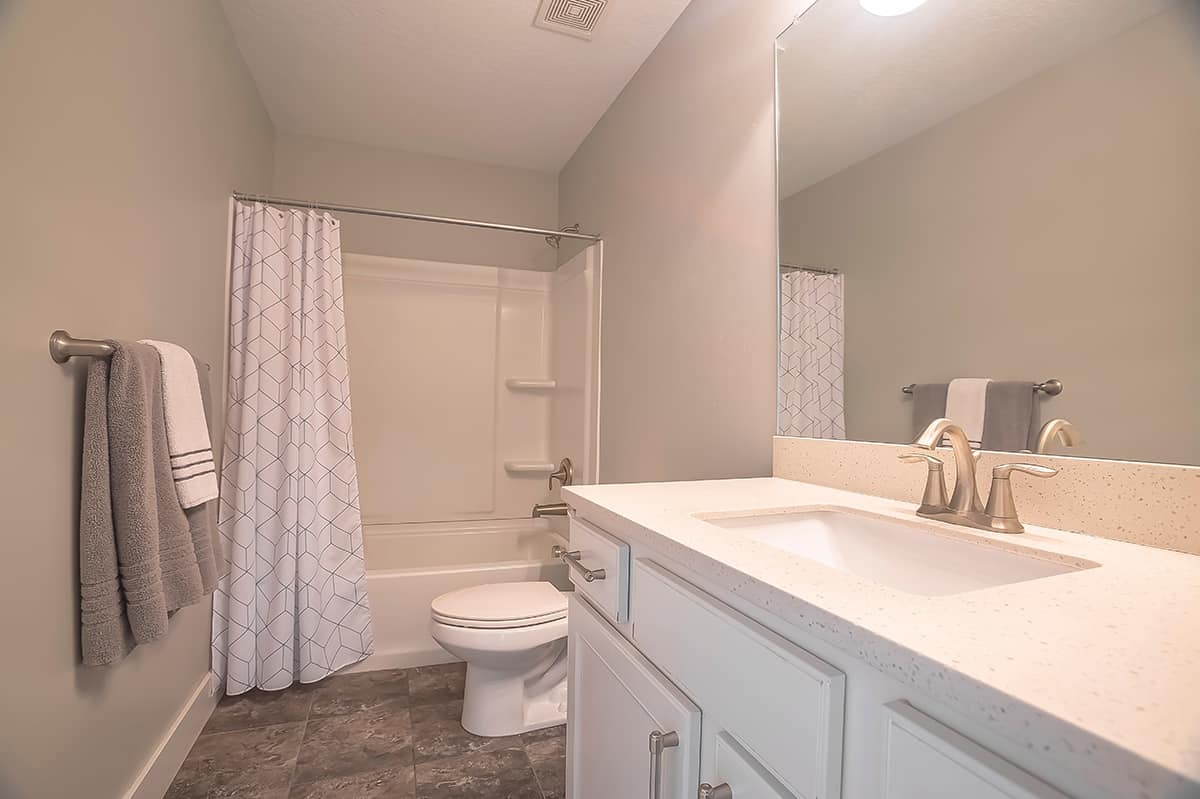
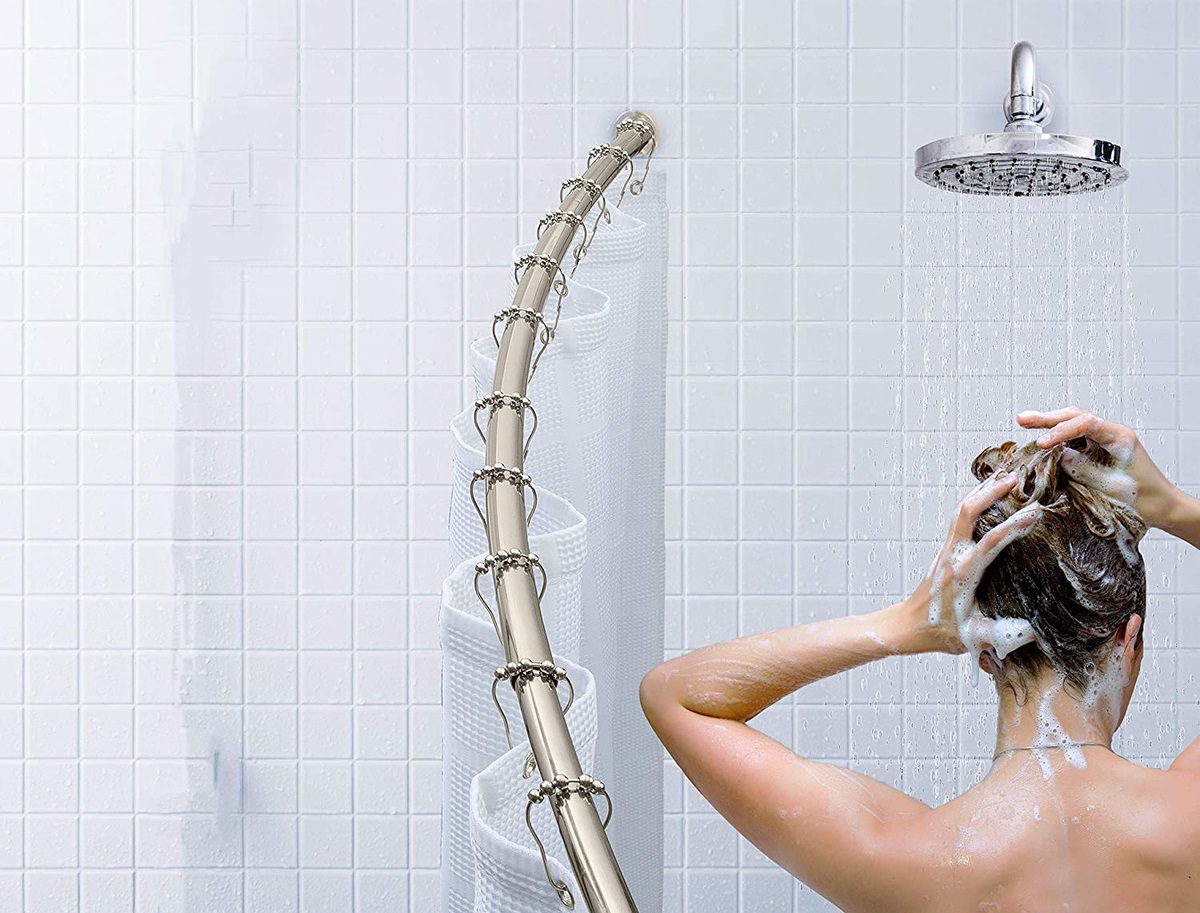
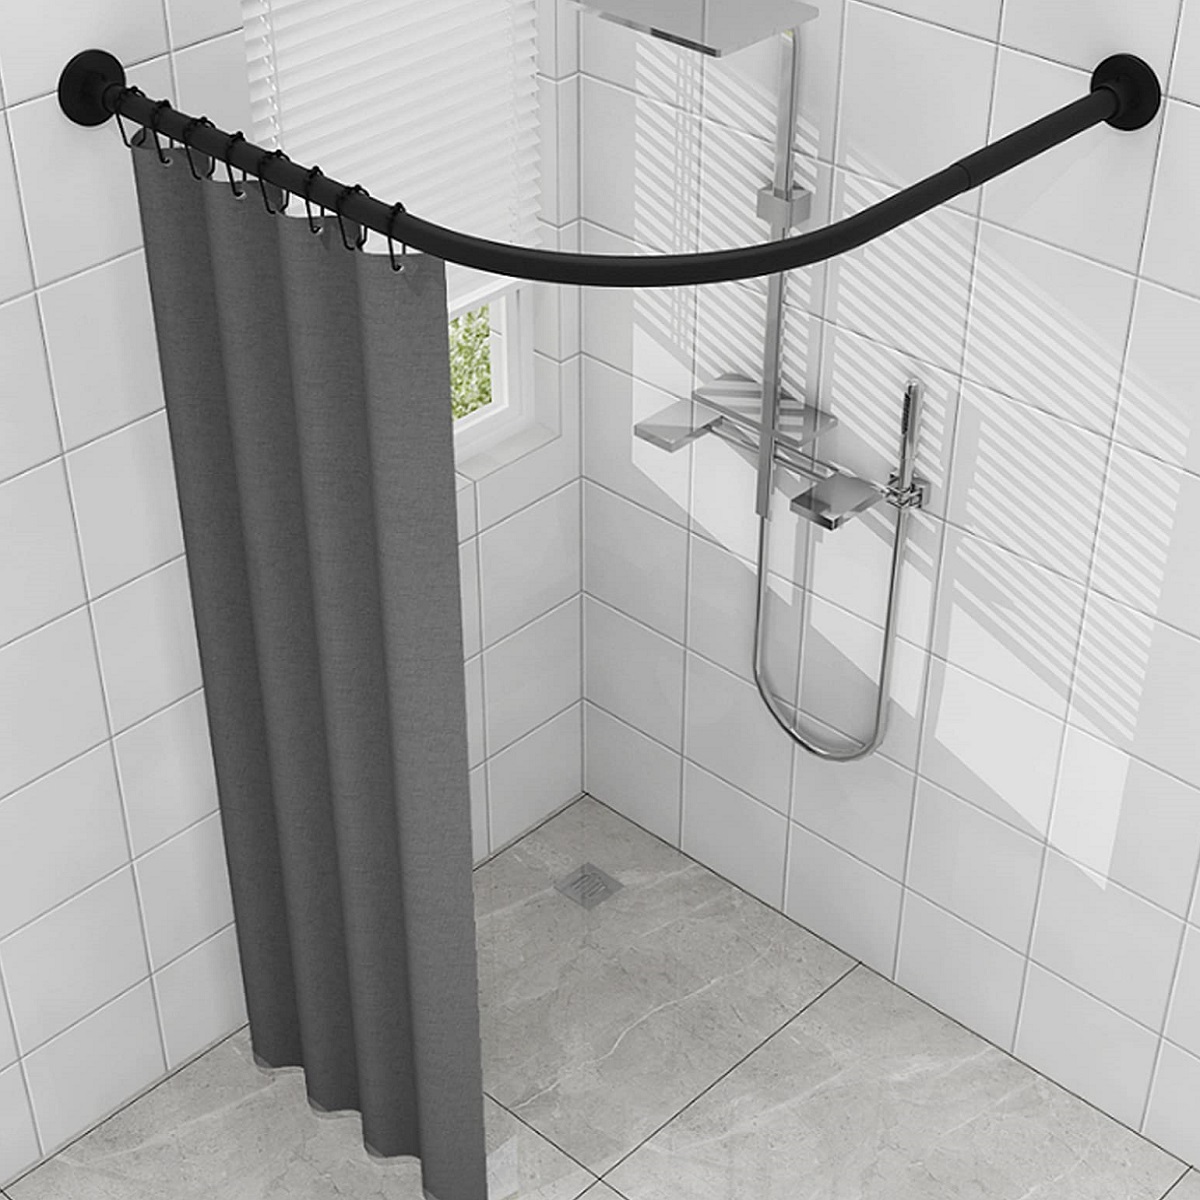
Installing a shower curtain rod on tile can be a straightforward yet essential task to enhance the functionality and aesthetics of your bathroom. Whether you're replacing an old rod or adding a new one, this simple DIY project can make a significant difference in your bathroom's overall look and feel. By following the step-by-step guide outlined in this article, you can confidently tackle this project and achieve a professional-looking result.
A shower curtain rod serves both practical and decorative purposes. It not only provides a functional space to hang your shower curtain but also contributes to the overall ambiance of your bathroom. With the right tools, materials, and techniques, you can seamlessly install a shower curtain rod on tile, ensuring a secure and stable fixture that complements your bathroom decor.
In the following sections, we will walk you through the necessary steps to successfully install a shower curtain rod on tile. From gathering the essential tools and materials to measuring, drilling, and mounting the rod, each step is crucial to achieving a durable and visually appealing installation. By the end of this guide, you will have the knowledge and confidence to complete this project with ease, adding a touch of functionality and style to your bathroom space.
Now, let's dive into the step-by-step process of installing a shower curtain rod on tile, ensuring that every detail is covered to help you achieve a successful and satisfying outcome.
Key Takeaways:
- Installing a shower curtain rod on tile is a simple DIY project that can enhance your bathroom’s look and functionality. With the right tools and careful steps, you can achieve a professional result and enjoy a stylish bathroom upgrade.
- By following the step-by-step guide, you can confidently measure, drill, and install a shower curtain rod on tile. The finished result not only adds practicality but also contributes to the overall ambiance of your bathroom.
Read more: How To Install A Curved Shower Curtain Rod
Step 1: Gather the necessary tools and materials
Before embarking on the installation of a shower curtain rod on tile, it's essential to gather all the required tools and materials. Having the right items at your disposal will streamline the installation process and ensure a successful outcome. Here's a comprehensive list of the necessary tools and materials:
Tools:
- Measuring Tape: Accurately measuring the placement of the shower curtain rod is crucial for a precise installation.
- Pencil: Marking the positions for drilling and mounting the rod brackets.
- Level: Ensures that the rod is installed horizontally, maintaining a balanced and visually appealing look.
- Power Drill: Required for drilling pilot holes into the tile for the mounting brackets.
- Tile Drill Bit: Specifically designed for drilling into tile without causing damage.
- Screwdriver: Used for securing the mounting brackets and attaching the shower curtain rod.
Materials:
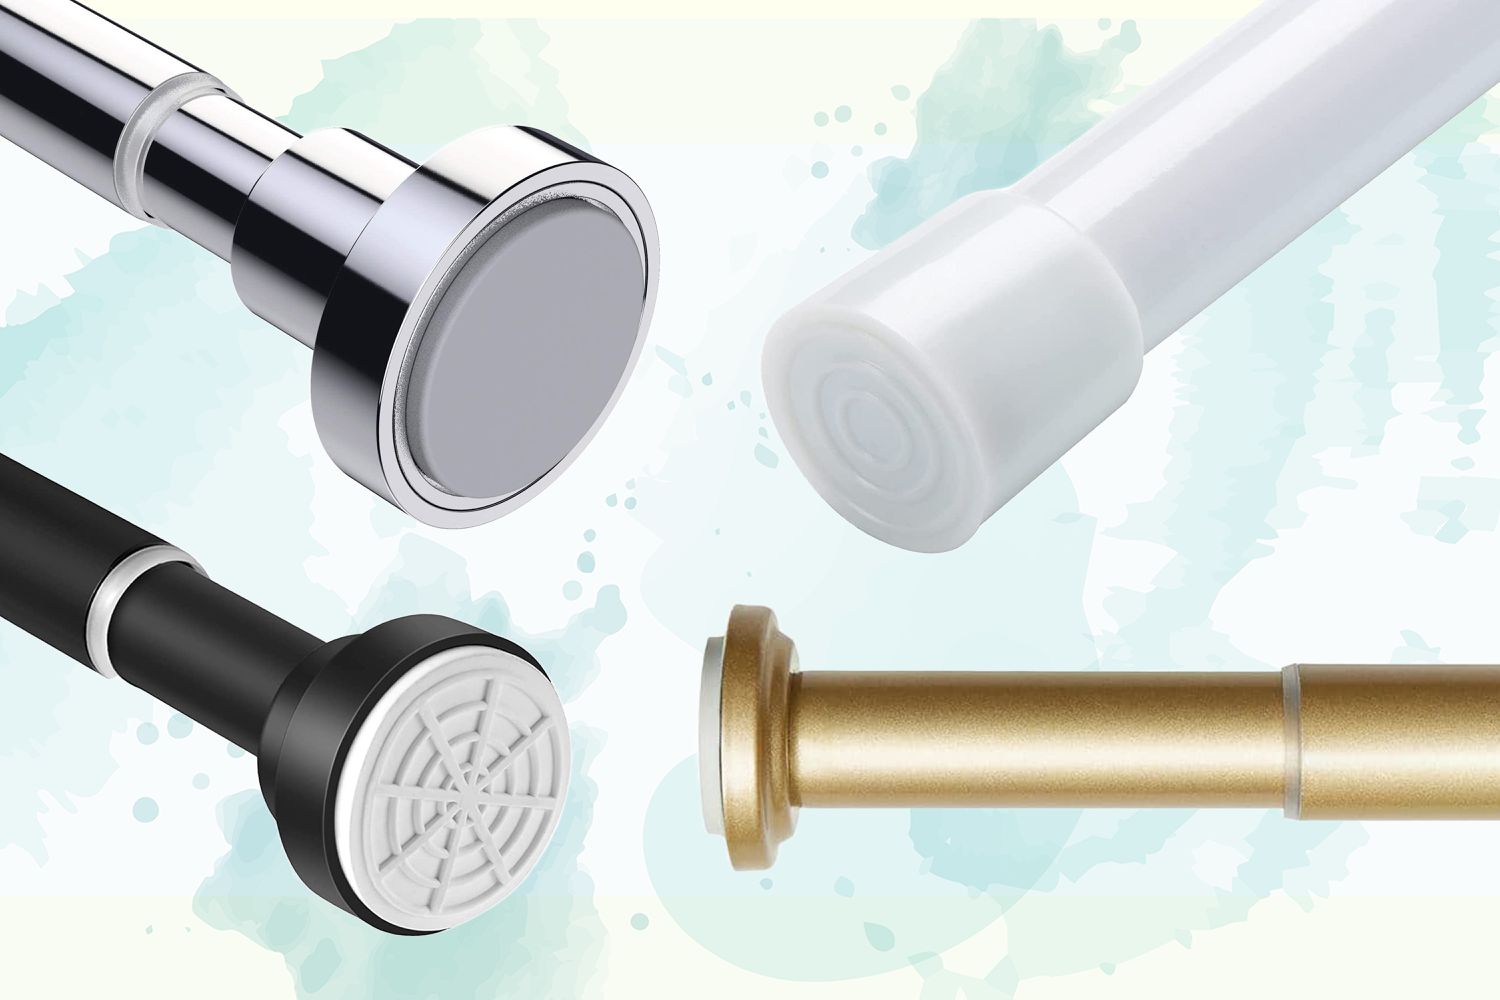
- Shower Curtain Rod: Choose a rod that complements your bathroom decor and fits the desired length.
- Mounting Brackets: Ensure they are suitable for tile installation and are compatible with the chosen shower curtain rod.
- Wall Anchors: If the mounting brackets do not come with anchors, ensure you have the appropriate size for the screws.
- Screws: Typically provided with the mounting brackets, but it's essential to have extras on hand.
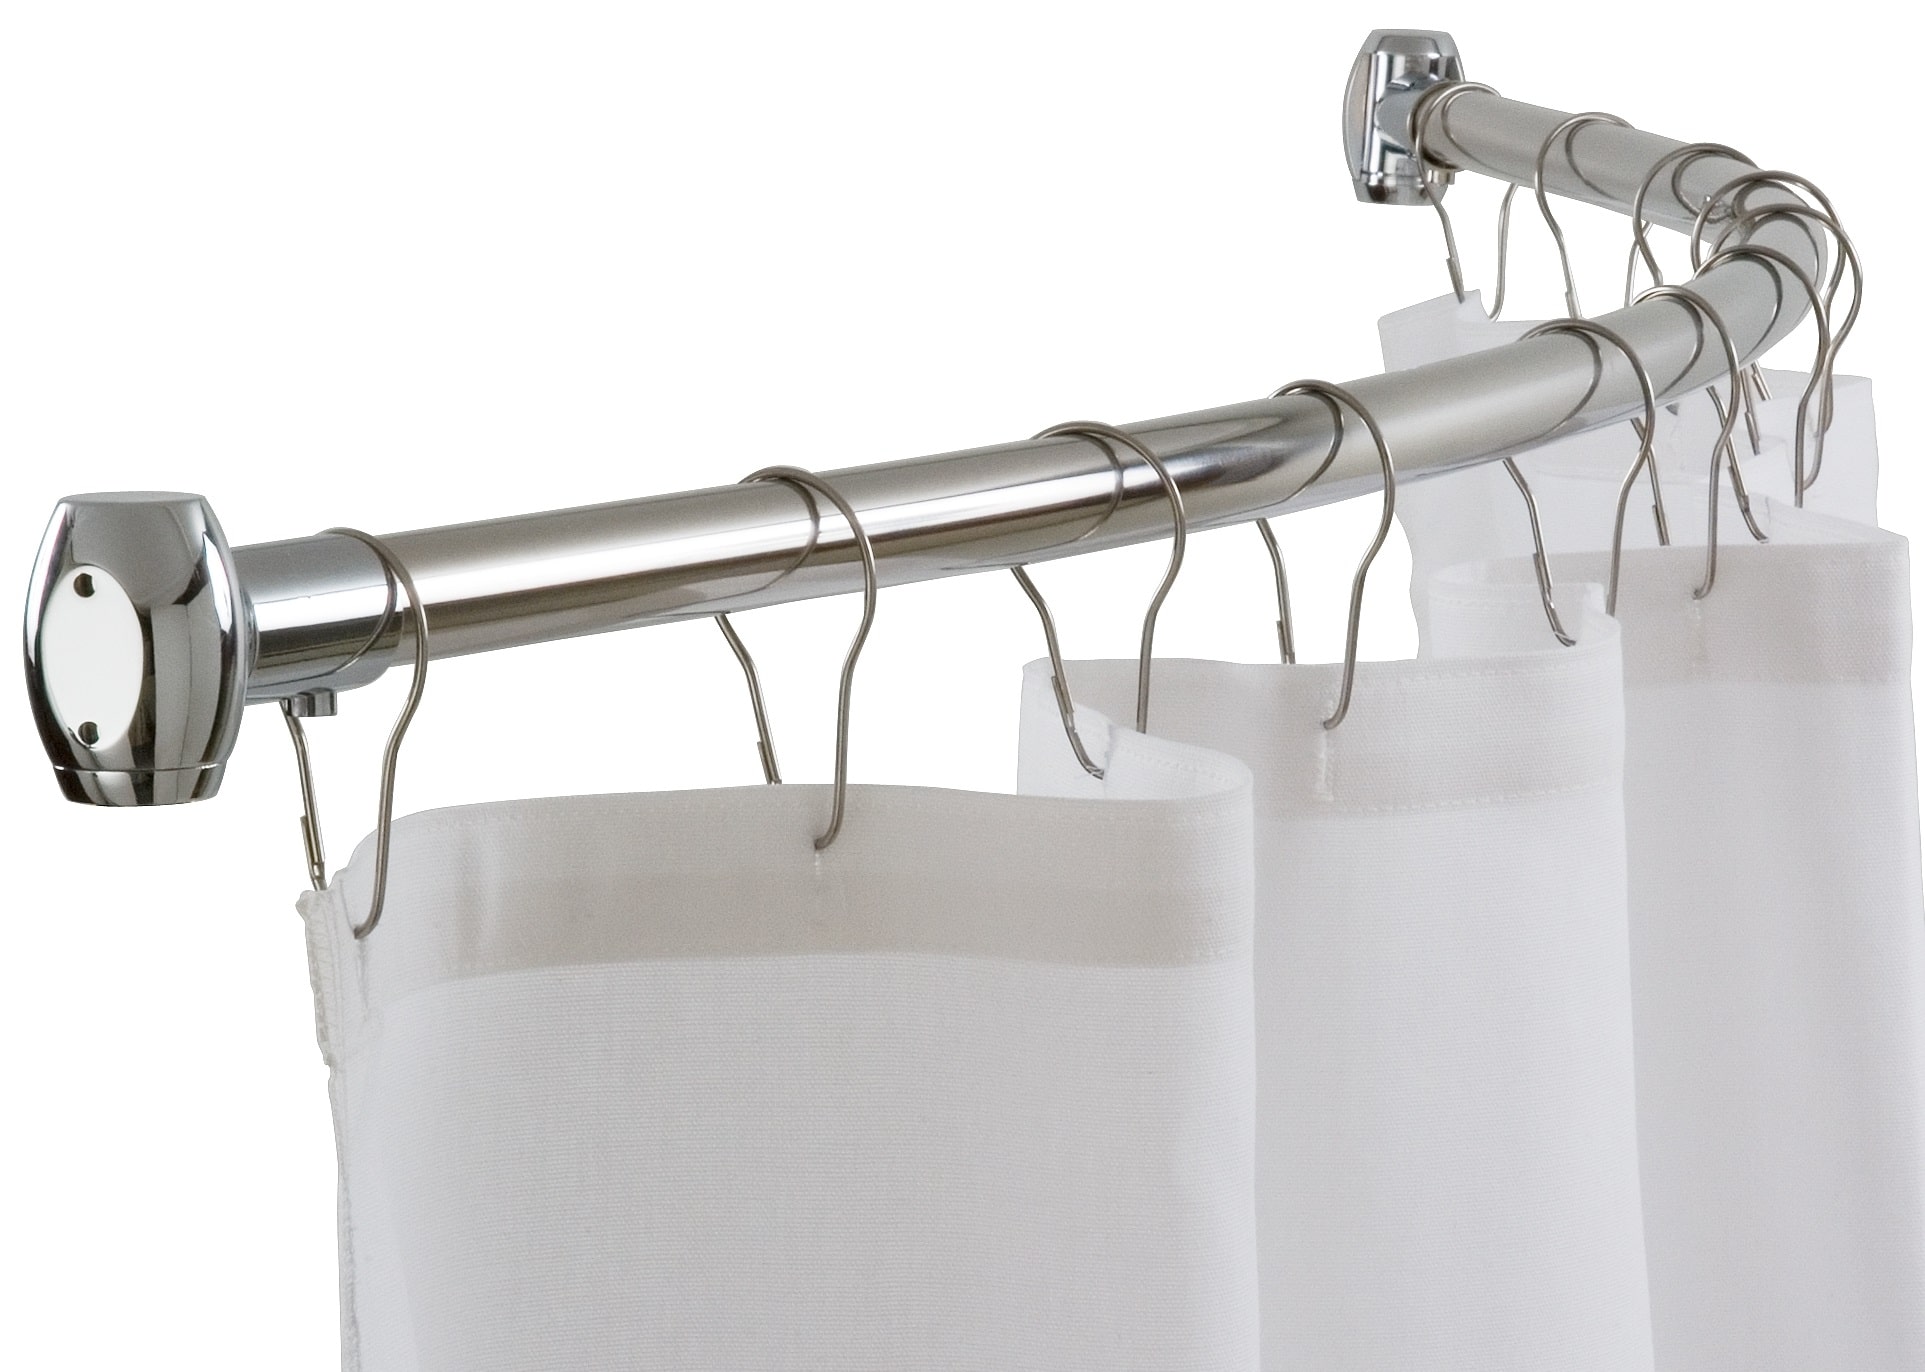
- Shower Curtain Rings or Hooks: Required for hanging the shower curtain on the rod.
- Safety Goggles: Protect your eyes when drilling into the tile.
By gathering these tools and materials beforehand, you'll be well-prepared to proceed with the subsequent steps of measuring, drilling, and mounting the shower curtain rod. Having everything within reach will streamline the installation process and minimize interruptions, allowing you to focus on achieving a secure and visually pleasing result.
With the necessary tools and materials at your disposal, you're ready to move on to the next step of measuring and marking the placement of the shower curtain rod on the tile.
Step 2: Measure and mark the placement of the shower curtain rod
Accurate measurement and precise marking are pivotal to the successful installation of a shower curtain rod on tile. Before drilling any holes, it's essential to determine the ideal placement for the rod, ensuring it aligns with your specific preferences and the structural considerations of your bathroom. Here's a detailed guide on how to measure and mark the placement of the shower curtain rod:
-
Determine the Height: Start by deciding the height at which you want to position the shower curtain rod. A standard height is typically around 72 inches above the floor, but you can adjust this based on your personal preference and the dimensions of your shower or bathtub.
-
Locate the Studs: If possible, try to align the mounting brackets with the studs behind the tile. Using a stud finder can help identify the precise locations of the studs, providing additional support for the mounting brackets and ensuring a secure installation.
-
Mark the Positions: With the help of a measuring tape and a pencil, mark the positions where the mounting brackets will be installed. Use a level to ensure that the marks are aligned horizontally, maintaining a balanced and visually appealing appearance for the shower curtain rod.
-
Consider the Curtain Length: If you already have a shower curtain or know the length of the one you intend to use, take this into account when marking the placement of the rod. Ensure that the rod is positioned to accommodate the curtain without obstructing any fixtures or creating an awkward overlap with the surrounding walls.
-
Double-Check the Measurements: Before proceeding to the next step, double-check the measurements and the marked positions to confirm that they align with your preferences and the practical considerations of your bathroom space.
By meticulously measuring and marking the placement of the shower curtain rod, you set the foundation for a successful installation. This step is crucial in ensuring that the rod is positioned at the optimal height and location, complementing the overall design of your bathroom while providing a functional and visually pleasing space for your shower curtain. With the placement determined, you're now ready to move on to the next step of drilling pilot holes for the mounting brackets.
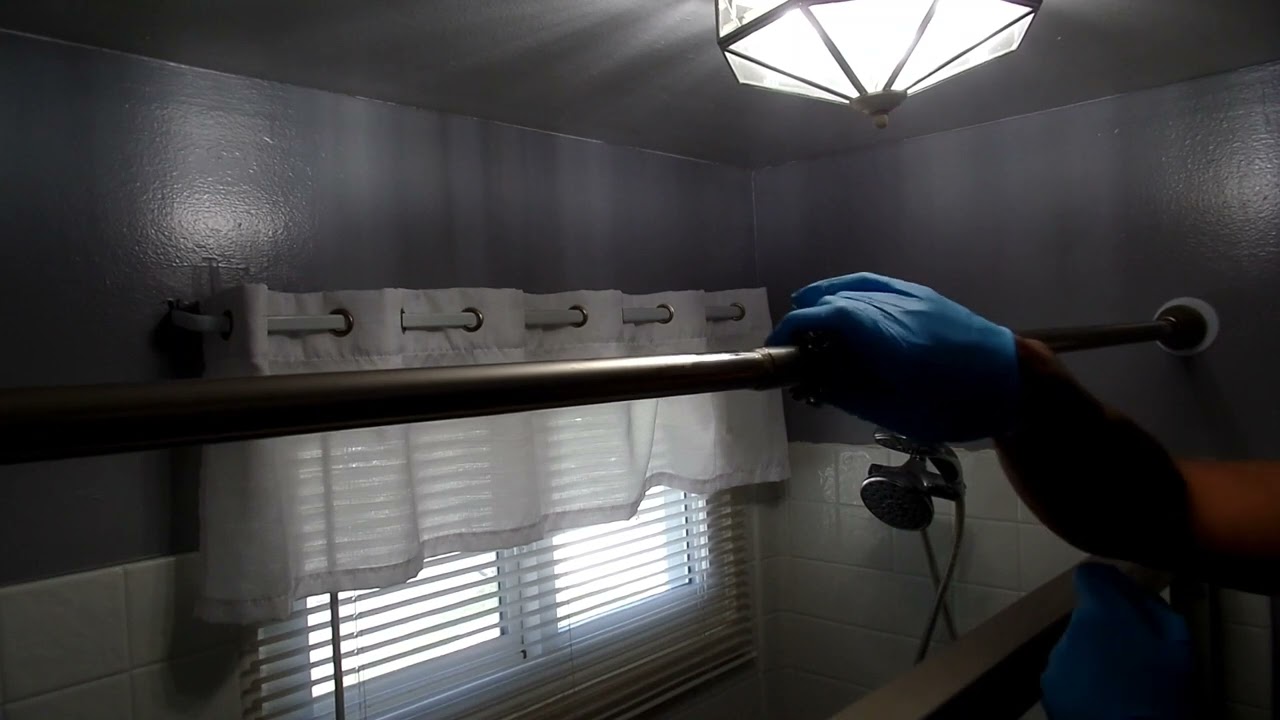
Step 3: Drill pilot holes for the mounting brackets
Drilling pilot holes for the mounting brackets is a critical step in the process of installing a shower curtain rod on tile. These pilot holes serve as guides for securing the brackets to the tile surface, ensuring a stable and durable attachment. Here's a detailed guide on how to drill pilot holes for the mounting brackets:
-
Select the Drill Bit: Choose a tile drill bit that matches the diameter of the wall anchors or screws provided with the mounting brackets. It's essential to use a drill bit specifically designed for tile to prevent damage to the surface.
-
Wear Safety Gear: Before drilling, put on safety goggles to protect your eyes from any debris or tile fragments that may be generated during the drilling process.
-
Positioning: Align the drill with the marked positions for the mounting brackets. Ensure that the drill is held perpendicular to the tile surface to prevent any slanting or misalignment of the pilot holes.
-
Start Drilling: Apply gentle and consistent pressure as you begin drilling into the tile. It's important to drill at a slow speed to prevent overheating and ensure a clean and precise hole.
-
Monitor Depth: Drill to the appropriate depth for the wall anchors or screws. This depth should allow for a secure fit without penetrating through the tile and risking damage to the underlying wall.
-
Clear Debris: Once the pilot holes are drilled, use a soft brush or cloth to remove any debris or dust from the holes and surrounding area. This will ensure a clean surface for attaching the mounting brackets.
By carefully drilling pilot holes for the mounting brackets, you establish the foundation for a secure and stable installation of the shower curtain rod. This step is crucial in preparing the tile surface to receive the mounting hardware, ensuring that the brackets are firmly anchored and capable of supporting the weight of the curtain rod and shower curtain.
With the pilot holes drilled, you're now ready to proceed to the next step of installing the mounting brackets, bringing you closer to completing the installation of the shower curtain rod on tile.
Step 4: Install the mounting brackets
With the pilot holes drilled into the tile, you are now ready to proceed with the installation of the mounting brackets. This step is crucial in securing the foundation for the shower curtain rod, ensuring stability and durability. Here's a detailed guide on how to install the mounting brackets onto the tile surface:
-
Prepare the Mounting Brackets: Before attaching the brackets, ensure that they are assembled according to the manufacturer's instructions. This may involve inserting wall anchors into the pilot holes or preparing the screws for installation.
-
Align the Brackets: Position the mounting brackets over the pilot holes, ensuring that they are aligned with the marked positions on the tile. Use a level to confirm that the brackets are horizontally aligned, maintaining a balanced and visually appealing installation.
-
Secure the Brackets: If using wall anchors, gently tap them into the pilot holes until they are flush with the tile surface. For screws, carefully drive them into the pilot holes using a screwdriver, ensuring a firm and secure attachment. Be cautious not to overtighten the screws, as this may cause damage to the tile.
-
Double-Check Alignment: Once the brackets are secured, recheck their alignment and level to ensure that they are firmly in place. Making any necessary adjustments at this stage will contribute to a precise and professional-looking installation.
-
Test Stability: Apply gentle pressure to the installed brackets to test their stability. They should feel secure and immovable, indicating a successful attachment to the tile surface.
By following these steps, you have effectively installed the mounting brackets for the shower curtain rod, laying the groundwork for the final step of attaching the rod to the brackets. This phase of the installation process is crucial in ensuring that the brackets are securely fastened to the tile, providing a stable and reliable support system for the shower curtain rod.
With the mounting brackets securely in place, you are now prepared to move on to the next step of attaching the shower curtain rod, bringing you closer to completing the installation and enjoying the functional and aesthetic benefits it brings to your bathroom space.
Use a masonry drill bit to make pilot holes in the tile. Then, use plastic anchors and screws to attach the shower curtain rod brackets to the tile. Be sure to measure and level before drilling.
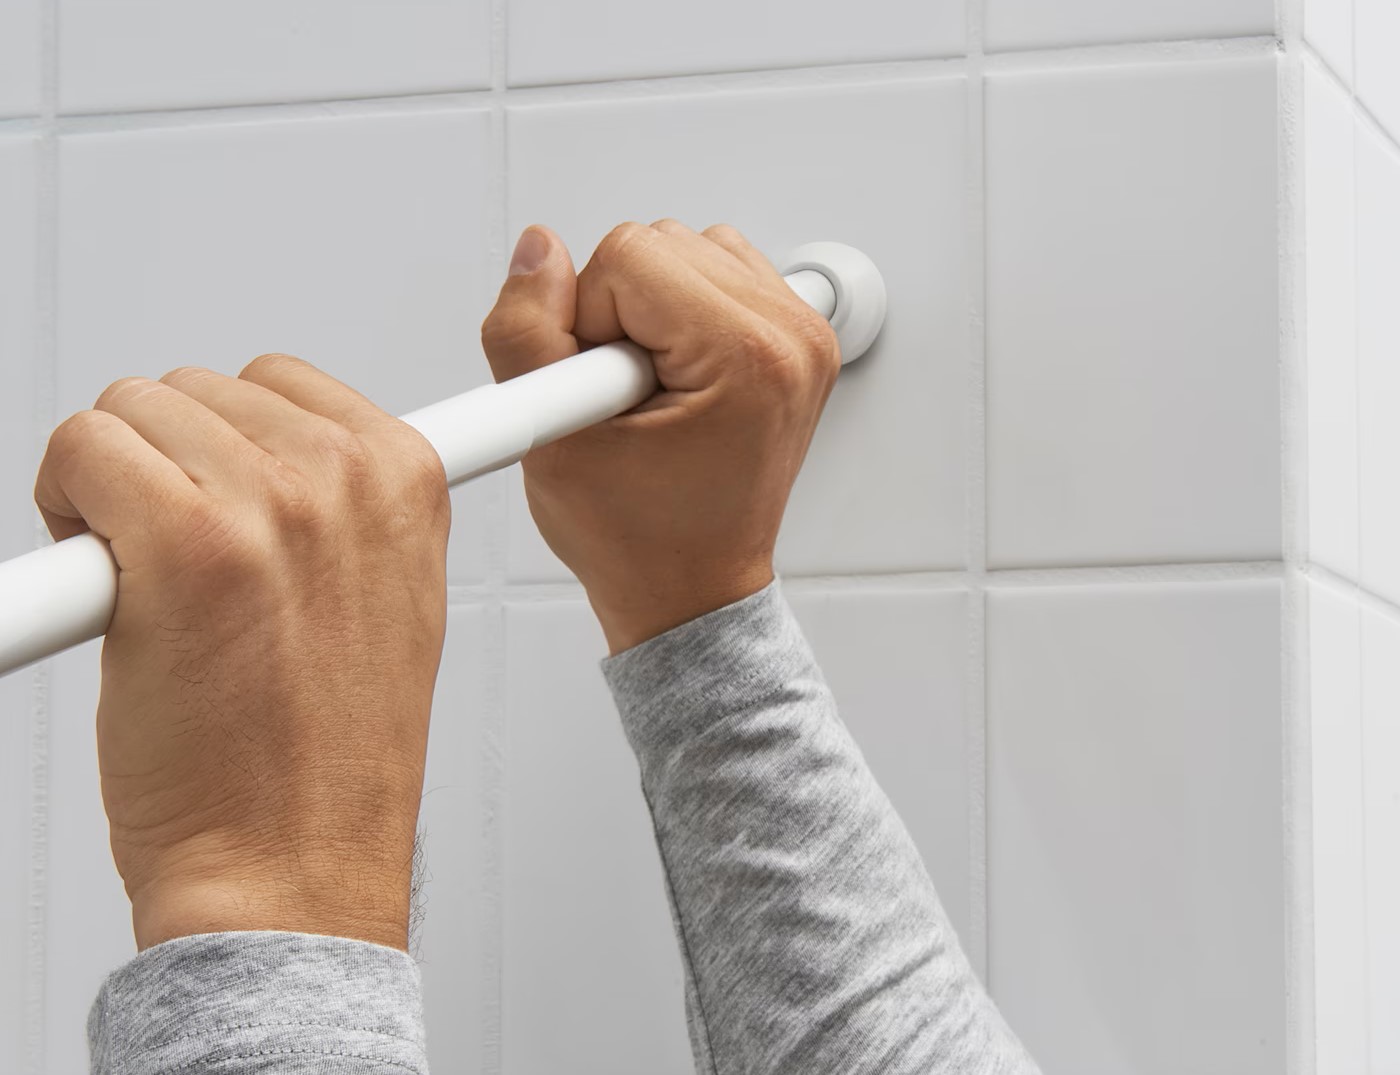
Step 5: Attach the shower curtain rod to the mounting brackets
With the mounting brackets securely installed on the tile, the next crucial step is to attach the shower curtain rod, creating a functional and visually appealing space for your bathroom. Properly securing the rod to the brackets ensures stability and support for the shower curtain, contributing to a seamless and polished installation. Here's a detailed guide on how to attach the shower curtain rod to the mounting brackets:
-
Prepare the Rod: Before attaching the rod, ensure that it is assembled according to the manufacturer's instructions. This may involve extending the rod to the desired length and ensuring that any adjustable features are set according to your preferences.
-
Positioning: Carefully lift the shower curtain rod and position it between the installed mounting brackets. Ensure that the rod is centered and aligned with the brackets, allowing for an equal distribution of weight and a balanced appearance.
-
Secure the Rod: Depending on the design of the shower curtain rod, it may feature mechanisms for securing it to the mounting brackets. This could involve tightening set screws or engaging locking mechanisms to hold the rod in place. Follow the manufacturer's instructions to ensure a secure attachment.
-
Test Stability: Once the rod is attached to the mounting brackets, gently test its stability by applying light pressure. The rod should remain firmly in place, without any noticeable movement or shifting. This test ensures that the rod is securely fastened and capable of supporting the weight of the shower curtain.
-
Adjust as Needed: If the rod feels loose or unstable, make any necessary adjustments to ensure a secure fit. This may involve tightening set screws, realigning the rod, or confirming that any locking mechanisms are fully engaged. Attention to these details will contribute to a stable and reliable installation.
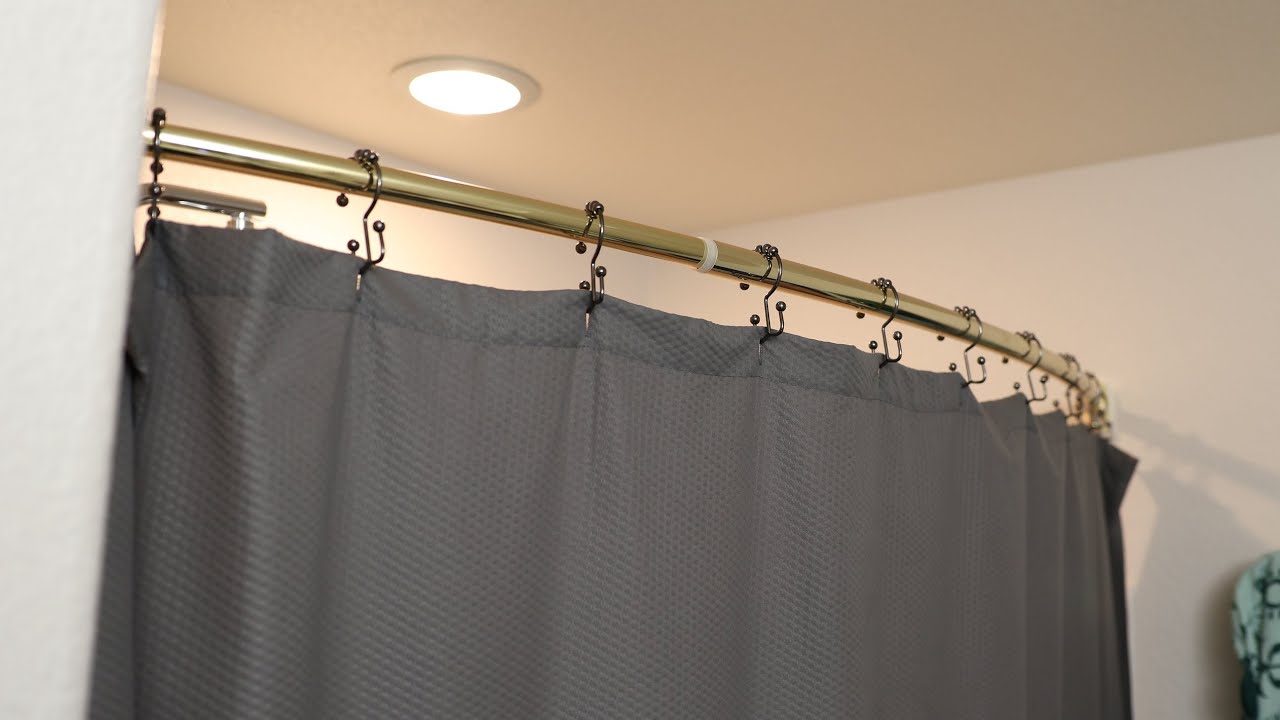
By following these steps, you have successfully attached the shower curtain rod to the mounting brackets, finalizing the installation process and creating a functional space for hanging your shower curtain. This step is pivotal in ensuring that the rod is securely positioned and capable of supporting the weight of the curtain, contributing to a visually appealing and practical addition to your bathroom.
With the shower curtain rod securely attached to the mounting brackets, you have completed the installation process, achieving a professional-looking result that enhances the functionality and aesthetics of your bathroom space.
Step 6: Test the stability of the shower curtain rod
After attaching the shower curtain rod to the mounting brackets, it's crucial to ensure its stability and reliability. Testing the stability of the rod is a critical step in the installation process, as it verifies that the entire fixture is secure and capable of supporting the weight of the shower curtain. Here's a detailed guide on how to test the stability of the shower curtain rod:
-
Apply Gentle Pressure: Begin by applying gentle and even pressure to the shower curtain rod. This can be done by lightly pushing or pulling on the rod to gauge its resistance and stability. The rod should remain firmly in place, without any noticeable movement or shifting. Testing the rod's stability in this manner allows you to assess its immediate response to pressure, ensuring that it is securely attached to the mounting brackets.
-
Check for Sagging: Observe the rod for any signs of sagging or bending when pressure is applied. A stable and properly installed rod should maintain its level position without exhibiting any visible deformation. If there is noticeable sagging, it may indicate that the rod is not adequately supported or that the mounting brackets require adjustment.
-
Verify Secure Attachment: Confirm that the mounting brackets are securely fastened to the tile and that the rod is firmly seated within the brackets. Any looseness or wobbling of the rod suggests a potential issue with the attachment points or the installation of the brackets. Ensuring a secure attachment is essential for the long-term stability and functionality of the shower curtain rod.
-
Recheck Alignment: Use a level to reconfirm that the shower curtain rod is horizontally aligned and level. Any deviation from a straight and balanced position may indicate an uneven installation or misalignment of the mounting brackets. Addressing any alignment issues at this stage contributes to a visually appealing and professional-looking result.
-
Test with the Curtain: If possible, hang the shower curtain on the rod and observe its behavior when opened and closed. The rod should remain stable and capable of supporting the weight of the curtain without shifting or becoming dislodged. Testing the rod with the curtain provides a real-world assessment of its stability and functionality in a typical usage scenario.
By meticulously testing the stability of the shower curtain rod, you can ensure that the entire installation is secure, reliable, and capable of meeting the practical demands of everyday use. This final step in the installation process serves as a quality check, verifying that the rod is firmly in place and ready to fulfill its intended purpose of providing a stable and functional space for your shower curtain. With the stability of the rod confirmed, you can confidently conclude the installation process, knowing that you have achieved a successful and satisfying outcome.
Read more: How To Adjust A Shower Curtain Rod
Conclusion
In conclusion, the successful installation of a shower curtain rod on tile involves a series of meticulous steps, from gathering the necessary tools and materials to testing the stability of the completed fixture. By following the comprehensive guide outlined in this article, you have gained the knowledge and confidence to undertake this DIY project with precision and ease.
The process begins with gathering essential tools and materials, ensuring that you have everything needed to proceed seamlessly through each step. Accurate measurement and marking of the placement of the shower curtain rod are crucial, as they lay the foundation for a visually appealing and functional installation. Drilling pilot holes for the mounting brackets requires patience and precision, safeguarding the integrity of the tile surface while preparing it for secure attachment.
Installing the mounting brackets and attaching the shower curtain rod demand attention to detail, ensuring that the entire fixture is stable and capable of supporting the weight of the curtain. Testing the stability of the rod serves as the final quality check, verifying that the installation is reliable and ready for everyday use.
By completing each step with care and precision, you have transformed your bathroom space, adding both functionality and aesthetic appeal. The newly installed shower curtain rod not only provides a practical space for hanging your shower curtain but also contributes to the overall ambiance of your bathroom.
As you admire the finished installation, take pride in the accomplishment of enhancing your bathroom space through a simple yet impactful DIY project. The attention to detail and the dedication to achieving a professional-looking result have resulted in a fixture that seamlessly integrates into your bathroom decor while serving its practical purpose with reliability and stability.
With the installation process now complete, you can look forward to enjoying the functional and aesthetic benefits of your new shower curtain rod. Whether it's the convenience of a well-hung shower curtain or the visual transformation it brings to your bathroom, this project exemplifies the rewarding nature of DIY home improvements.
As you reflect on the successful installation of the shower curtain rod on tile, take pride in the knowledge and skills you have acquired throughout the process. Your newfound expertise in this area opens the door to future DIY projects and empowers you to further enhance your living space with confidence and creativity.
Frequently Asked Questions about How To Install A Shower Curtain Rod On Tile
Was this page helpful?
At Storables.com, we guarantee accurate and reliable information. Our content, validated by Expert Board Contributors, is crafted following stringent Editorial Policies. We're committed to providing you with well-researched, expert-backed insights for all your informational needs.


0 thoughts on “How To Install A Shower Curtain Rod On Tile”