Home>Ideas and Tips>DIY Guide To Installing A Bathroom Shower With Color-Changing LED Tiles
Ideas and Tips
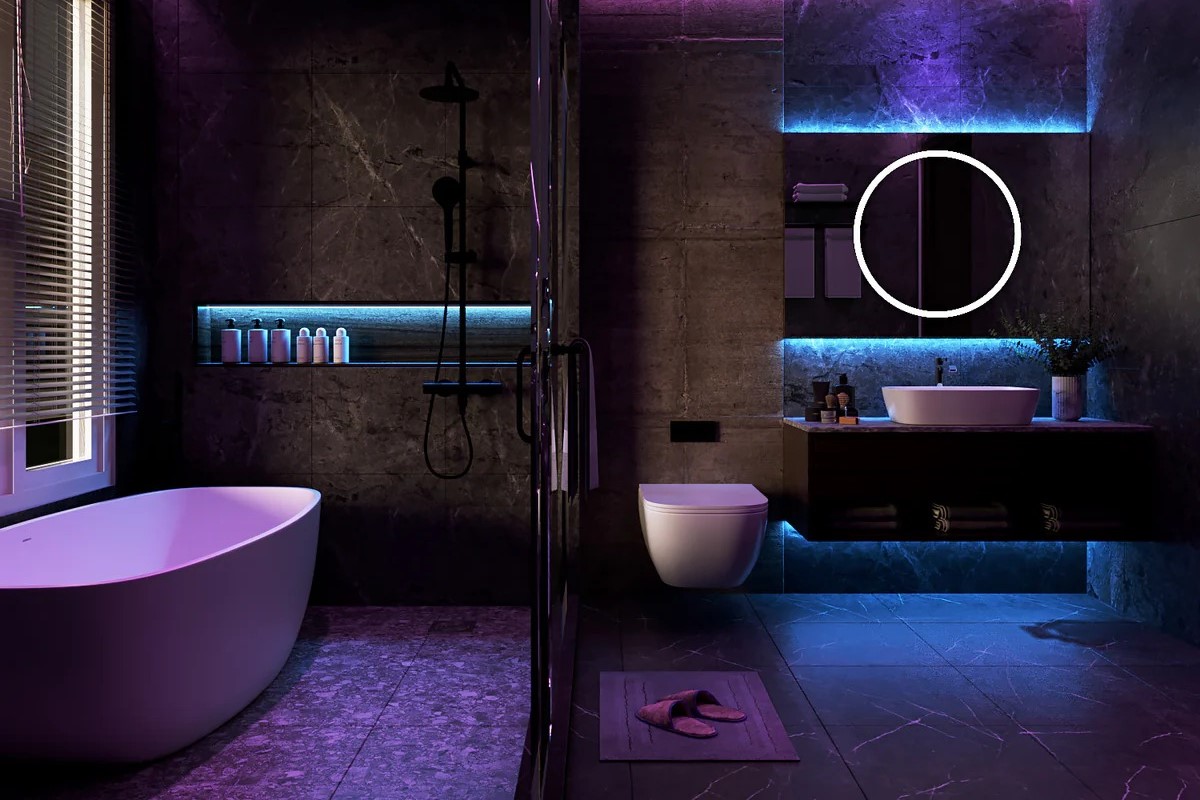
DIY Guide To Installing A Bathroom Shower With Color-Changing LED Tiles
Modified: October 31, 2024
Transform your bathroom with our DIY guide to installing a shower with color-changing LED tiles. Step-by-step instructions for a stunning, modern look.
(Many of the links in this article redirect to a specific reviewed product. Your purchase of these products through affiliate links helps to generate commission for Storables.com, at no extra cost. Learn more)
Introduction
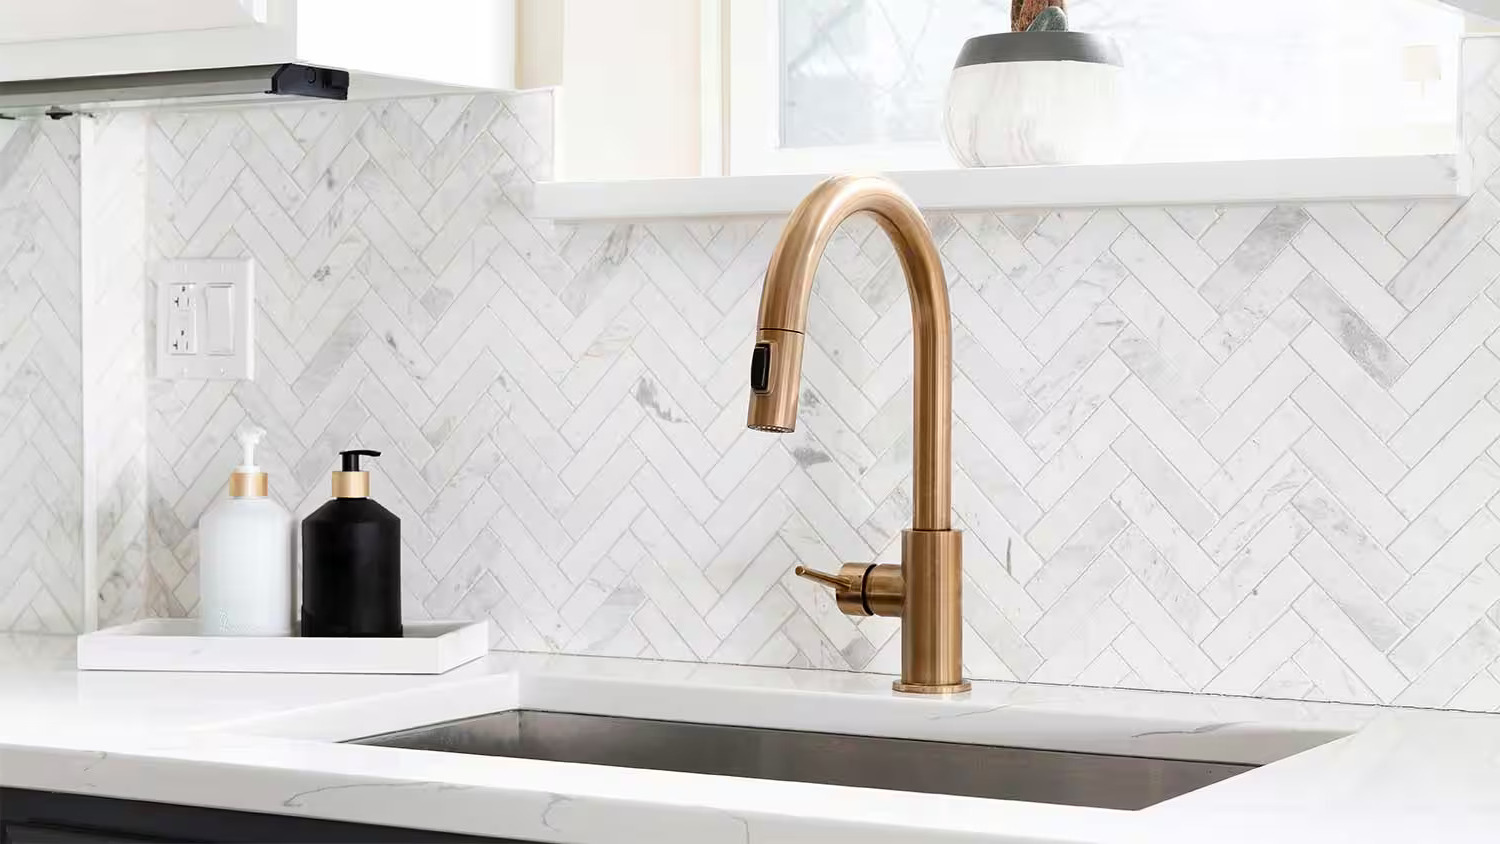
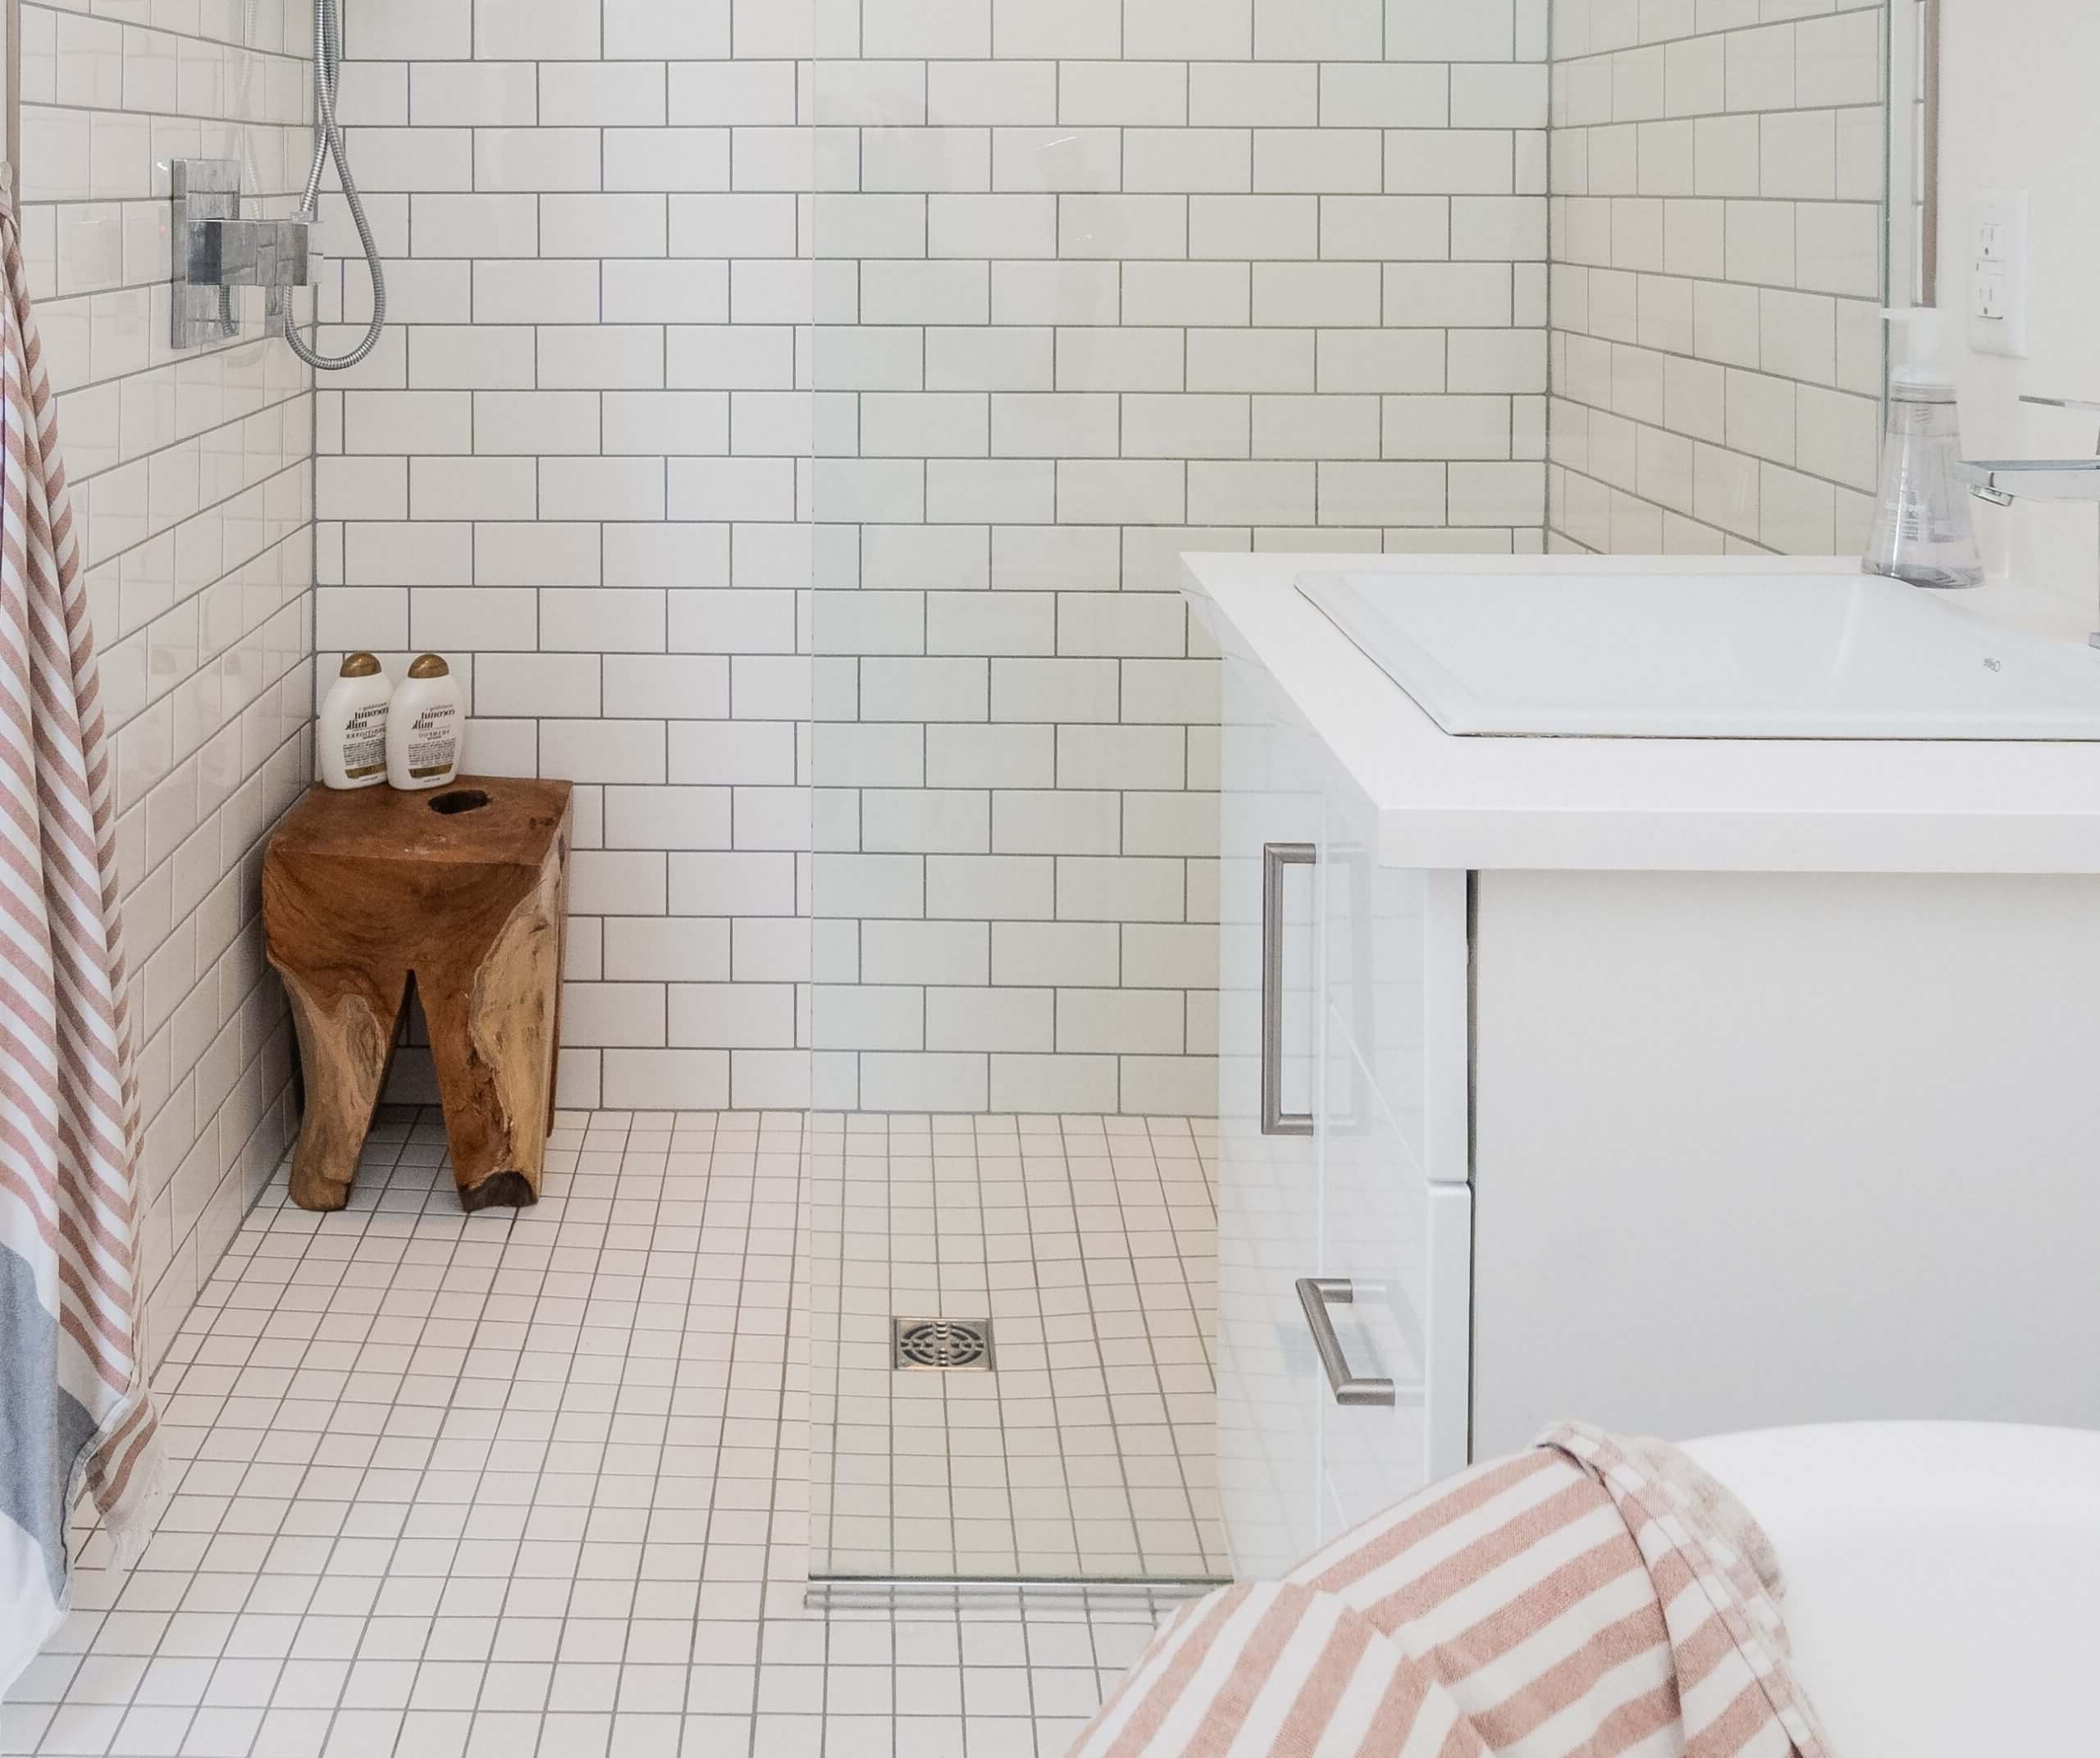
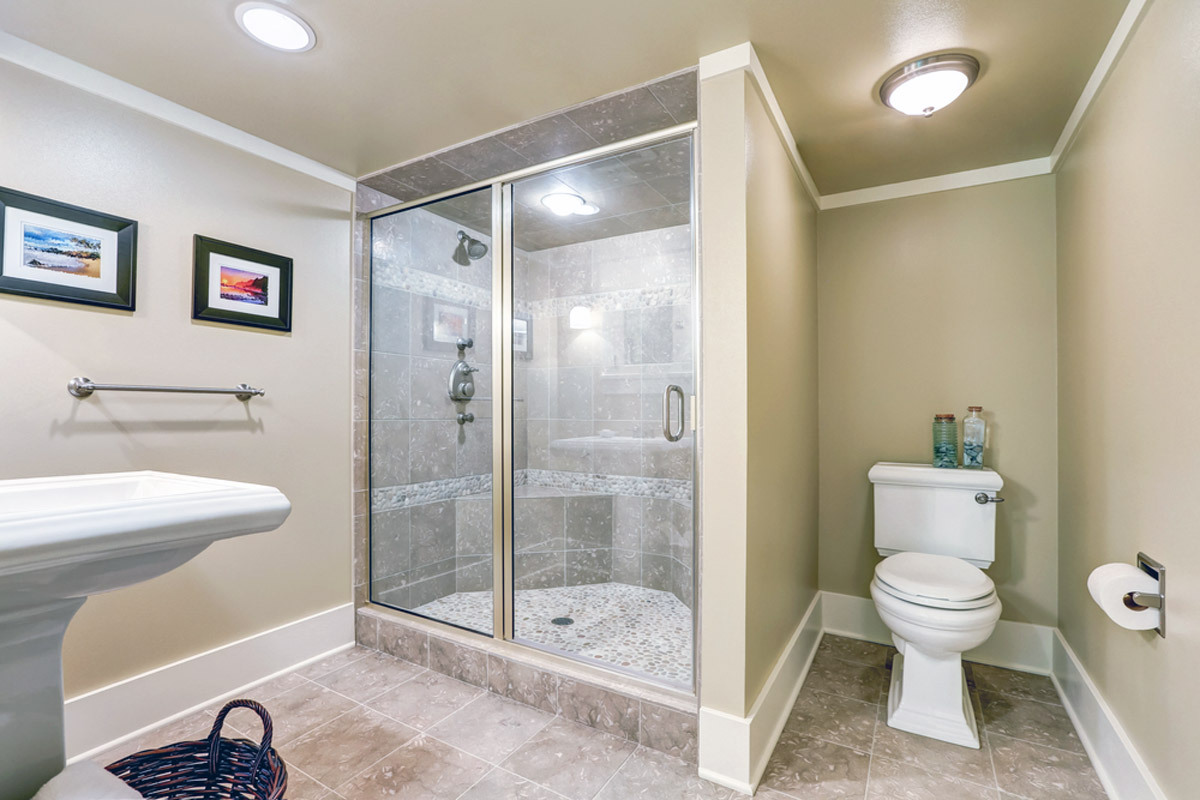
Transforming your bathroom into a modern oasis with color-changing LED tiles is an exciting and rewarding DIY project. This guide will walk you through the steps to install a stunning shower with these cutting-edge tiles, ensuring you achieve a professional-looking result without breaking the bank. Whether you're a seasoned DIY enthusiast or a beginner, this comprehensive guide will provide you with the necessary tools, materials, and techniques to complete this project successfully.
Read more: DIY Guide To Installing A Tile Shower
Planning Your Project
Before diving into the installation process, it's crucial to plan your project meticulously. Here are some key considerations:
-
Budget: Determine how much you are willing to spend on the project. Color-changing LED tiles can range from moderately priced to very expensive, depending on the brand and quality.
-
Design: Decide on the design pattern for your tiles. You can choose from various patterns or create your own unique design.
-
Tools and Materials: Make a list of all the tools and materials you'll need. This includes tile adhesive, grout, a tile saw, grout float, sponge, and waterproof membrane.
-
Space Preparation: Ensure that your shower area is clean and free from any debris. If necessary, remove the existing shower surround and any old tile.
Tools and Materials Needed
To install color-changing LED tiles in your bathroom shower, you'll need the following tools and materials:
Tools:
- Tile Saw: For cutting tiles to size.
- Diamond Tile File: For smoothing out cut edges.
- Grout Float: For applying grout between tiles.
- Square Notch Trowel: For spreading tile adhesive.
- Sponge and Water Bucket: For mixing and applying grout.
- Laser Level or Handheld Level: For ensuring straight lines.
- Rag or Towel: For cleaning up spills.
Materials:
- Color-Changing LED Tiles: The main material for this project.
- Tile Adhesive (Mastic): For bonding tiles to the shower wall.
- Grout: For filling gaps between tiles.
- Waterproof Membrane: To prevent water from seeping behind the tiles.
- Ceramic Tile Edge Pieces: For finishing off edges.
- Go Board (Cement Board) and Screws: For creating a solid base if needed.
- Kerdi Board Shower Niche Insert: For creating niches in the shower wall.
- Schluter Trim: For finishing off niches and edges.
Step-by-Step Installation Guide
Step 1: Prepare the Shower Area
- Clear the Area: Remove any existing tile, shower surround, or other obstructions.
- Clean the Surface: Ensure the surface is clean and free from any debris or old adhesive.
Step 2: Apply Waterproof Membrane
- Measure and Cut: Measure out the area where you'll apply the waterproof membrane.
- Apply Membrane: Use a notched trowel to apply a layer of waterproof membrane to the surface, ensuring it covers the entire area.
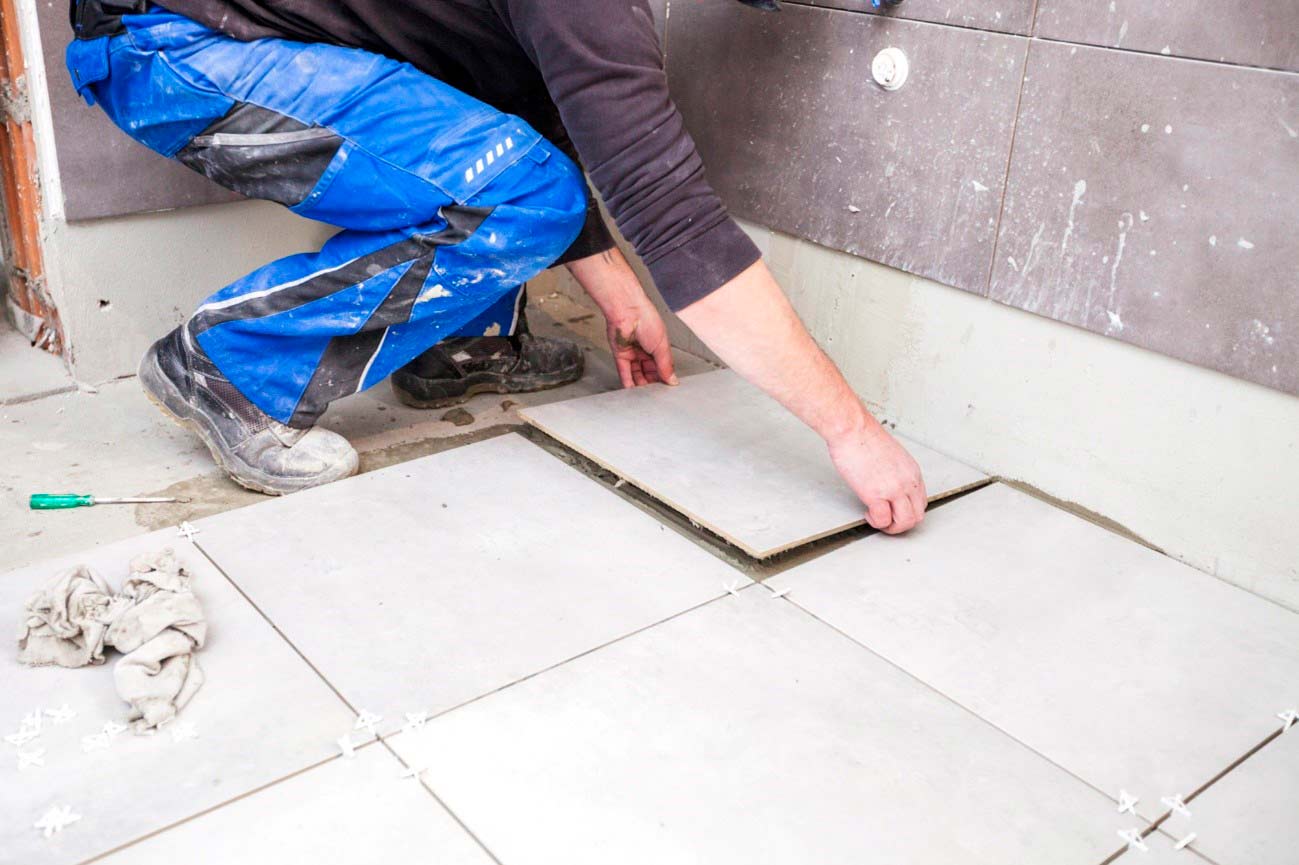
Step 3: Lay Out Tiles
- Plan Your Pattern: Decide on your tile layout and mark it out on the surface using a pencil.
- Start with Center Tile: Begin by placing your center tile in the marked area.
- Lay Remaining Tiles: Use spacers to maintain even spacing between tiles as you lay them out.
Step 4: Apply Tile Adhesive
- Mix Adhesive: Follow the manufacturer's instructions to mix tile adhesive.
- Apply Adhesive: Use a notched trowel to apply a layer of adhesive to the back of each tile, spreading it evenly across the surface.
Step 5: Install Tiles
- Place Tiles: Carefully place each tile onto the adhesive, ensuring they are aligned with your marked pattern.
- Press Tiles Firmly: Use a rubber mallet or similar tool to press each tile firmly into place.
Step 6: Grout Between Tiles
- Mix Grout: Follow the manufacturer's instructions to mix grout.
- Apply Grout: Use a grout float to apply grout between tiles, spreading it evenly across the surface.
- Clean Excess Grout: Use a damp sponge or cloth to remove excess grout from the surface of the tiles.
Step 7: Seal Grout (Optional)
If you want to add an extra layer of protection against stains and water damage, apply a grout sealer according to the manufacturer's instructions.
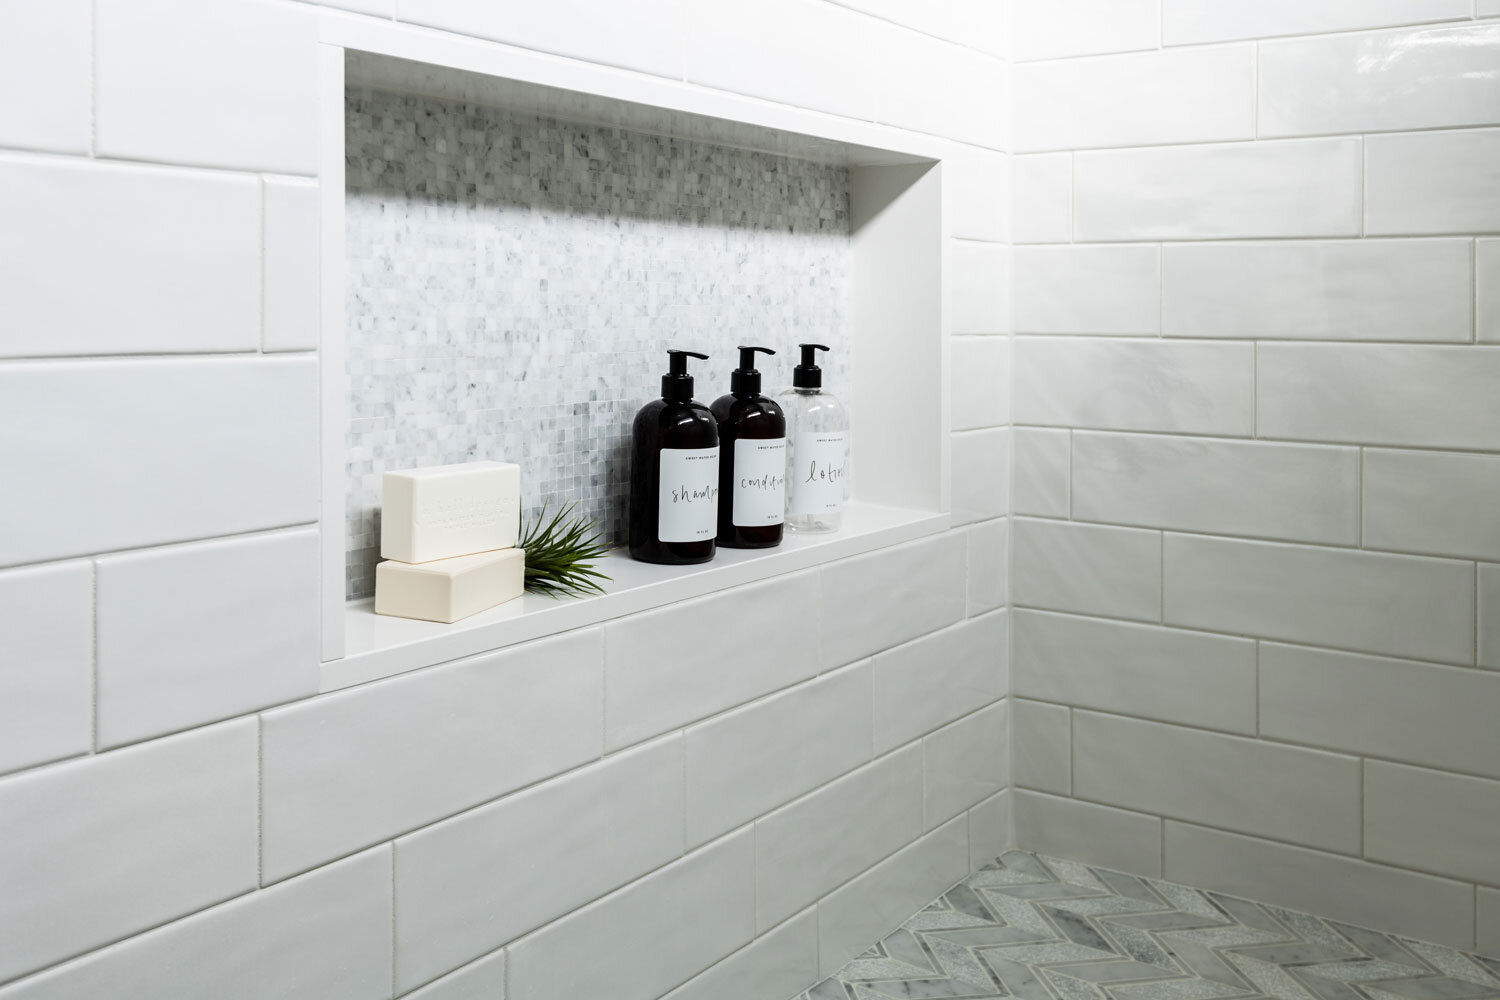
Step 8: Finish Edges and Niches
- Cut Edge Pieces: Cut ceramic tile edge pieces to fit around edges where tiles meet other surfaces (e.g., bathtub).
- Apply Edge Pieces: Use tile adhesive to secure edge pieces in place.
- Finish Niches: Use Schluter trim around niches created by Kerdi board inserts.
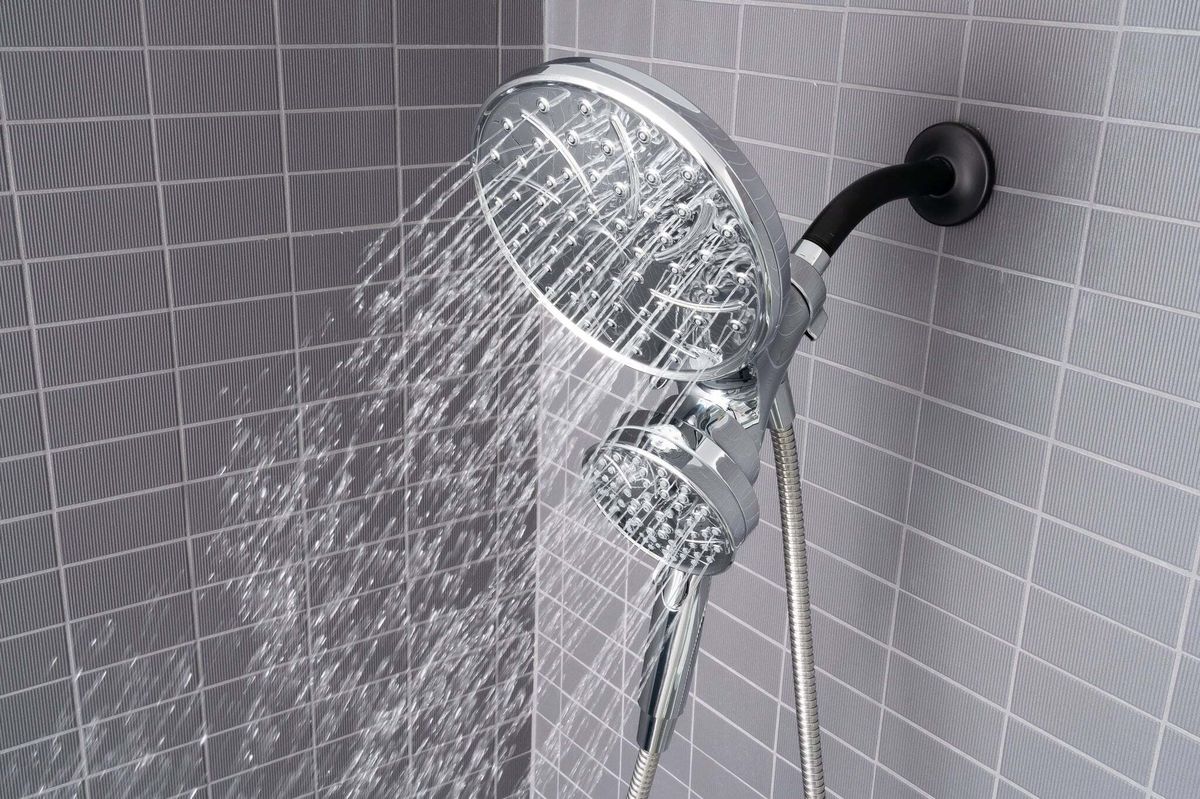
Installing Color-Changing LED Tiles
Color-changing LED tiles are typically installed after the regular tiles have been laid down and grouted. Here’s how you can integrate them into your project:
-
Choose LED Tiles: Select color-changing LED tiles that match your desired color scheme and design pattern.
-
Measure and Cut: Measure out where you want to place the LED tiles within your existing tile layout. Cut them according to your measurements using a tile saw or other cutting tool.
-
Apply Adhesive: Apply tile adhesive specifically designed for LED tiles onto the back of each LED tile.
-
Install LED Tiles: Place each LED tile onto its corresponding position within your existing tile layout, ensuring they are aligned properly with other tiles.
-
Connect Power Supply: Connect power supply cables according to manufacturer’s instructions for powering up your color-changing LED tiles.
-
Program Colors (Optional): Some color-changing LED tiles come with programming options that allow you to customize colors and patterns remotely via smartphone apps or other control systems.
Read more: DIY Guide To Installing A Subway Tile Shower
Tips and Tricks
- Work in Sections: Divide your shower area into sections when applying grout or installing new tiles to avoid working with too much material at once.
- Use Spacers: Use spacers between tiles during installation to maintain even spacing and prevent uneven grout lines.
- Clean Regularly: Regularly clean your shower area with mild soap and water to prevent dirt buildup which can affect tile longevity.
- Test Before Finalizing: Before finalizing any section of tiling work, test it by running water through it to ensure there are no leaks or other issues.
Conclusion
Installing color-changing LED tiles in your bathroom shower is an exciting DIY project that can significantly enhance both functionality and aesthetics of your space without requiring extensive renovation work. By following these steps carefully while maintaining attention towards detail throughout each stage of process will help ensure successful completion leading towards enjoying beautiful modern oasis right within comfort confines home itself!
Additional Resources
For further guidance on specific aspects related directly towards tiling projects such as choosing right type grout suitable conditions found within typical household environments consult following resources:
- Apartment Therapy: Provides insights into historical context surrounding use colorful tile designs within bathrooms dating back early decades past century.
- Maria Killam: Offers practical advice regarding how incorporate playful elements dated bathrooms through creative use color styling techniques.
- Banyan Bridges: Shares detailed approach planning designing colorful bathroom tile layouts ensuring harmonious combination different groupings colors creating visually appealing patterns.
By combining knowledge gained from these resources alongside practical tips outlined above should provide comprehensive framework necessary completing successful installation color-changing LED tiles enhancing overall experience enjoying modern bathroom oasis
Was this page helpful?
At Storables.com, we guarantee accurate and reliable information. Our content, validated by Expert Board Contributors, is crafted following stringent Editorial Policies. We're committed to providing you with well-researched, expert-backed insights for all your informational needs.


0 thoughts on “DIY Guide To Installing A Bathroom Shower With Color-Changing LED Tiles”