Home>Articles>How To Cut Ceramic Tile For Professional-Looking Results
Articles
How To Cut Ceramic Tile For Professional-Looking Results
Modified: October 20, 2024
Learn the step-by-step process of cutting ceramic tiles like a pro with our informative articles. Achieve professional-looking results with these expert tips and techniques.
(Many of the links in this article redirect to a specific reviewed product. Your purchase of these products through affiliate links helps to generate commission for Storables.com, at no extra cost. Learn more)
Introduction
Welcome to our comprehensive guide on how to cut ceramic tile for professional-looking results. Ceramic tile is a popular choice for various applications, including floors, walls, backsplashes, and showers, due to its durability, versatility, and aesthetic appeal. However, achieving clean and precise cuts can be challenging, especially for beginners. But fear not! In this article, we will walk you through the step-by-step process of cutting ceramic tile like a pro.
Before we dive into the specifics, it’s essential to have the right tools and materials at hand. These will not only make the job easier but also contribute to the quality of the cut. So, let’s start by discussing what you’ll need for this project.
Key Takeaways:
- Mastering the art of cutting ceramic tile requires the right tools, precise measurements, and attention to detail. By following safety precautions and step-by-step instructions, you can achieve professional-looking results for any tiling project.
- From measuring and marking to the final installation, cutting ceramic tile demands patience and precision. Embrace the process, prioritize safety, and enjoy the satisfaction of creating flawlessly tiled spaces.
Tools and Materials Required
Before you begin cutting ceramic tile, gather the following tools and materials:
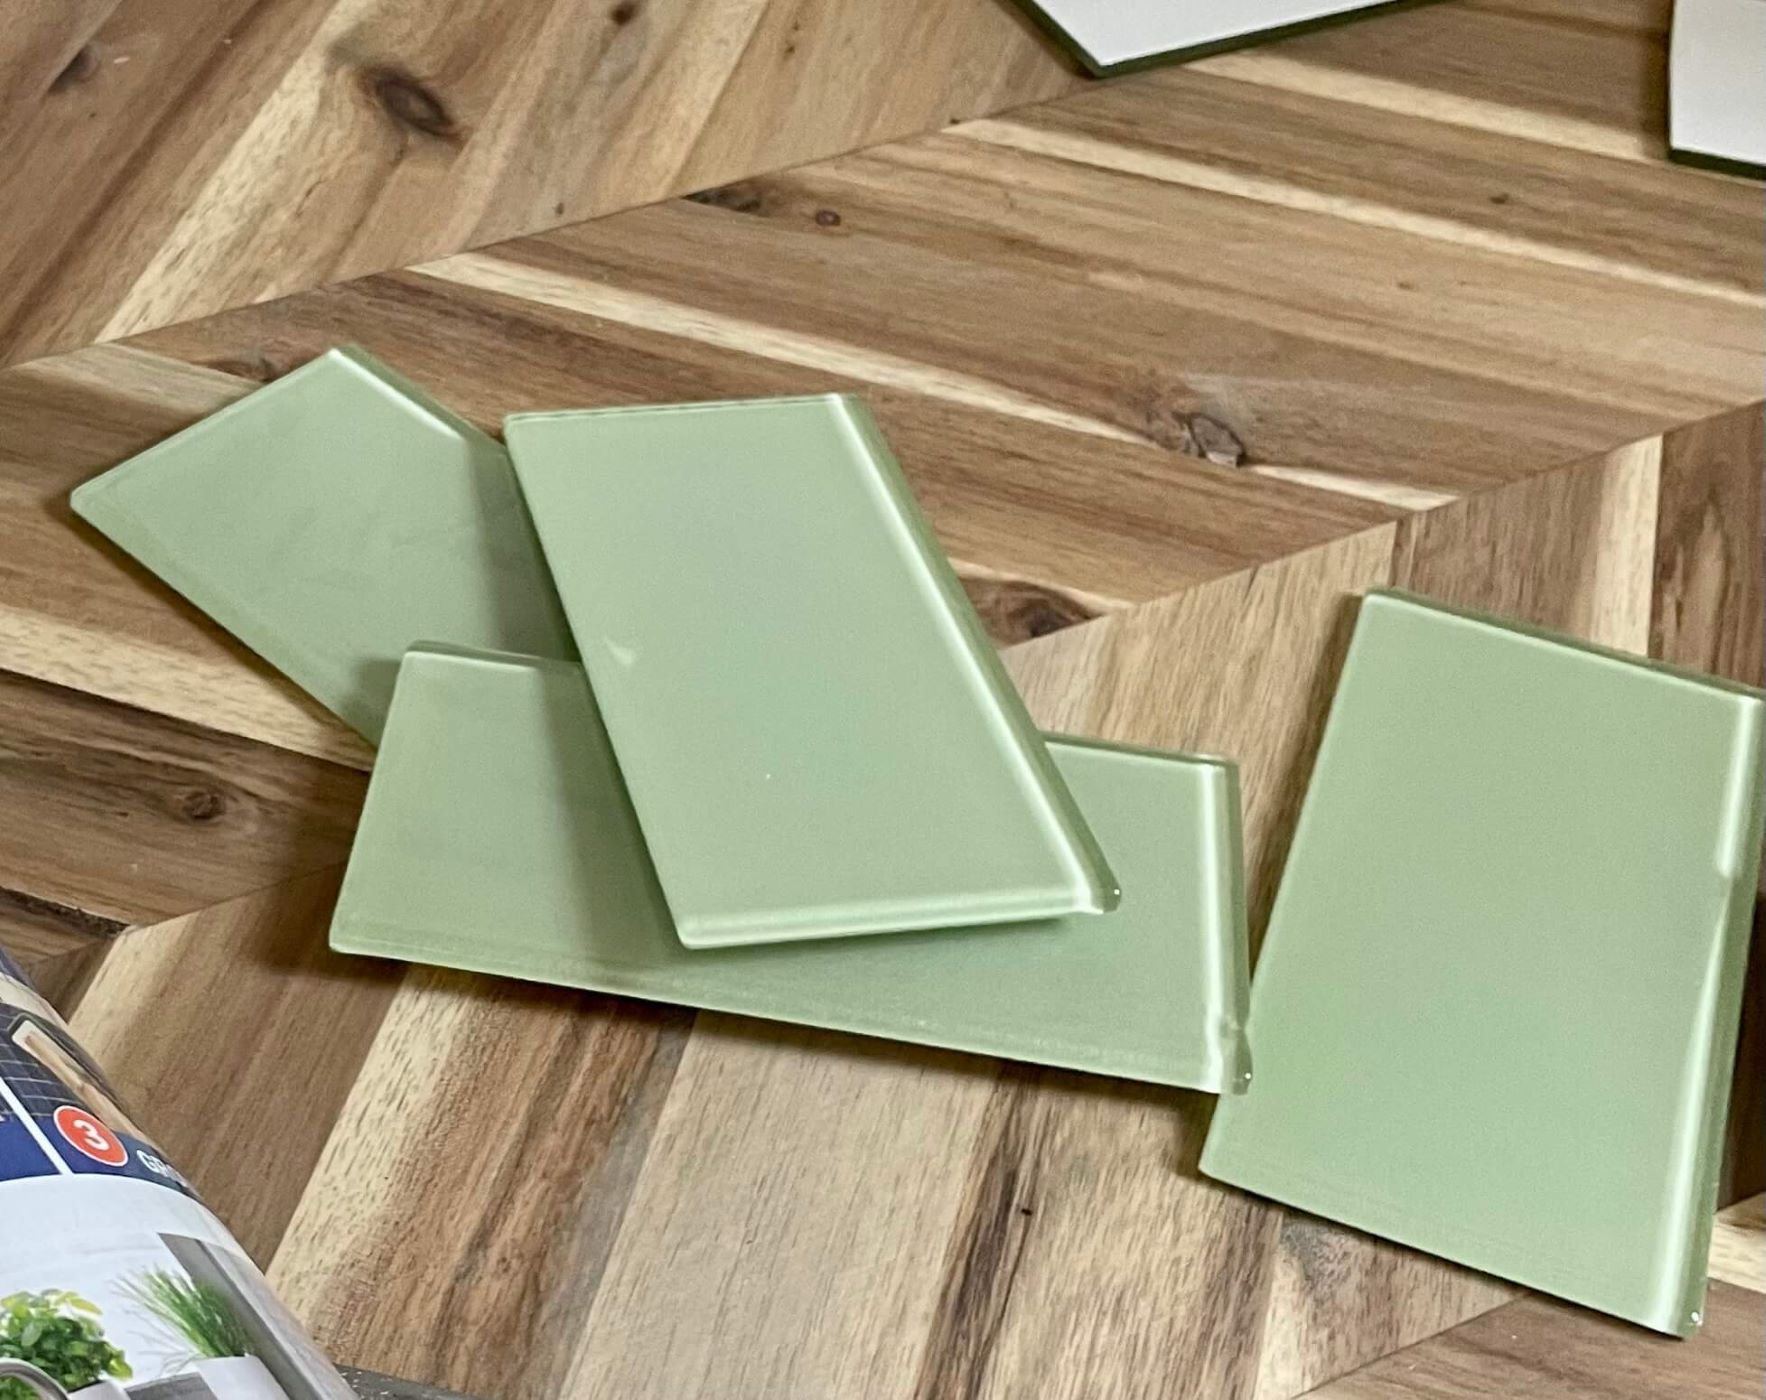
- Ceramic tile (make sure to have extra tiles on hand in case of mistakes)
- Tape measure or ruler for accurate measurements
- Pencil or marker for marking the tile
- Safety goggles to protect your eyes from tile fragments
- Work gloves to protect your hands
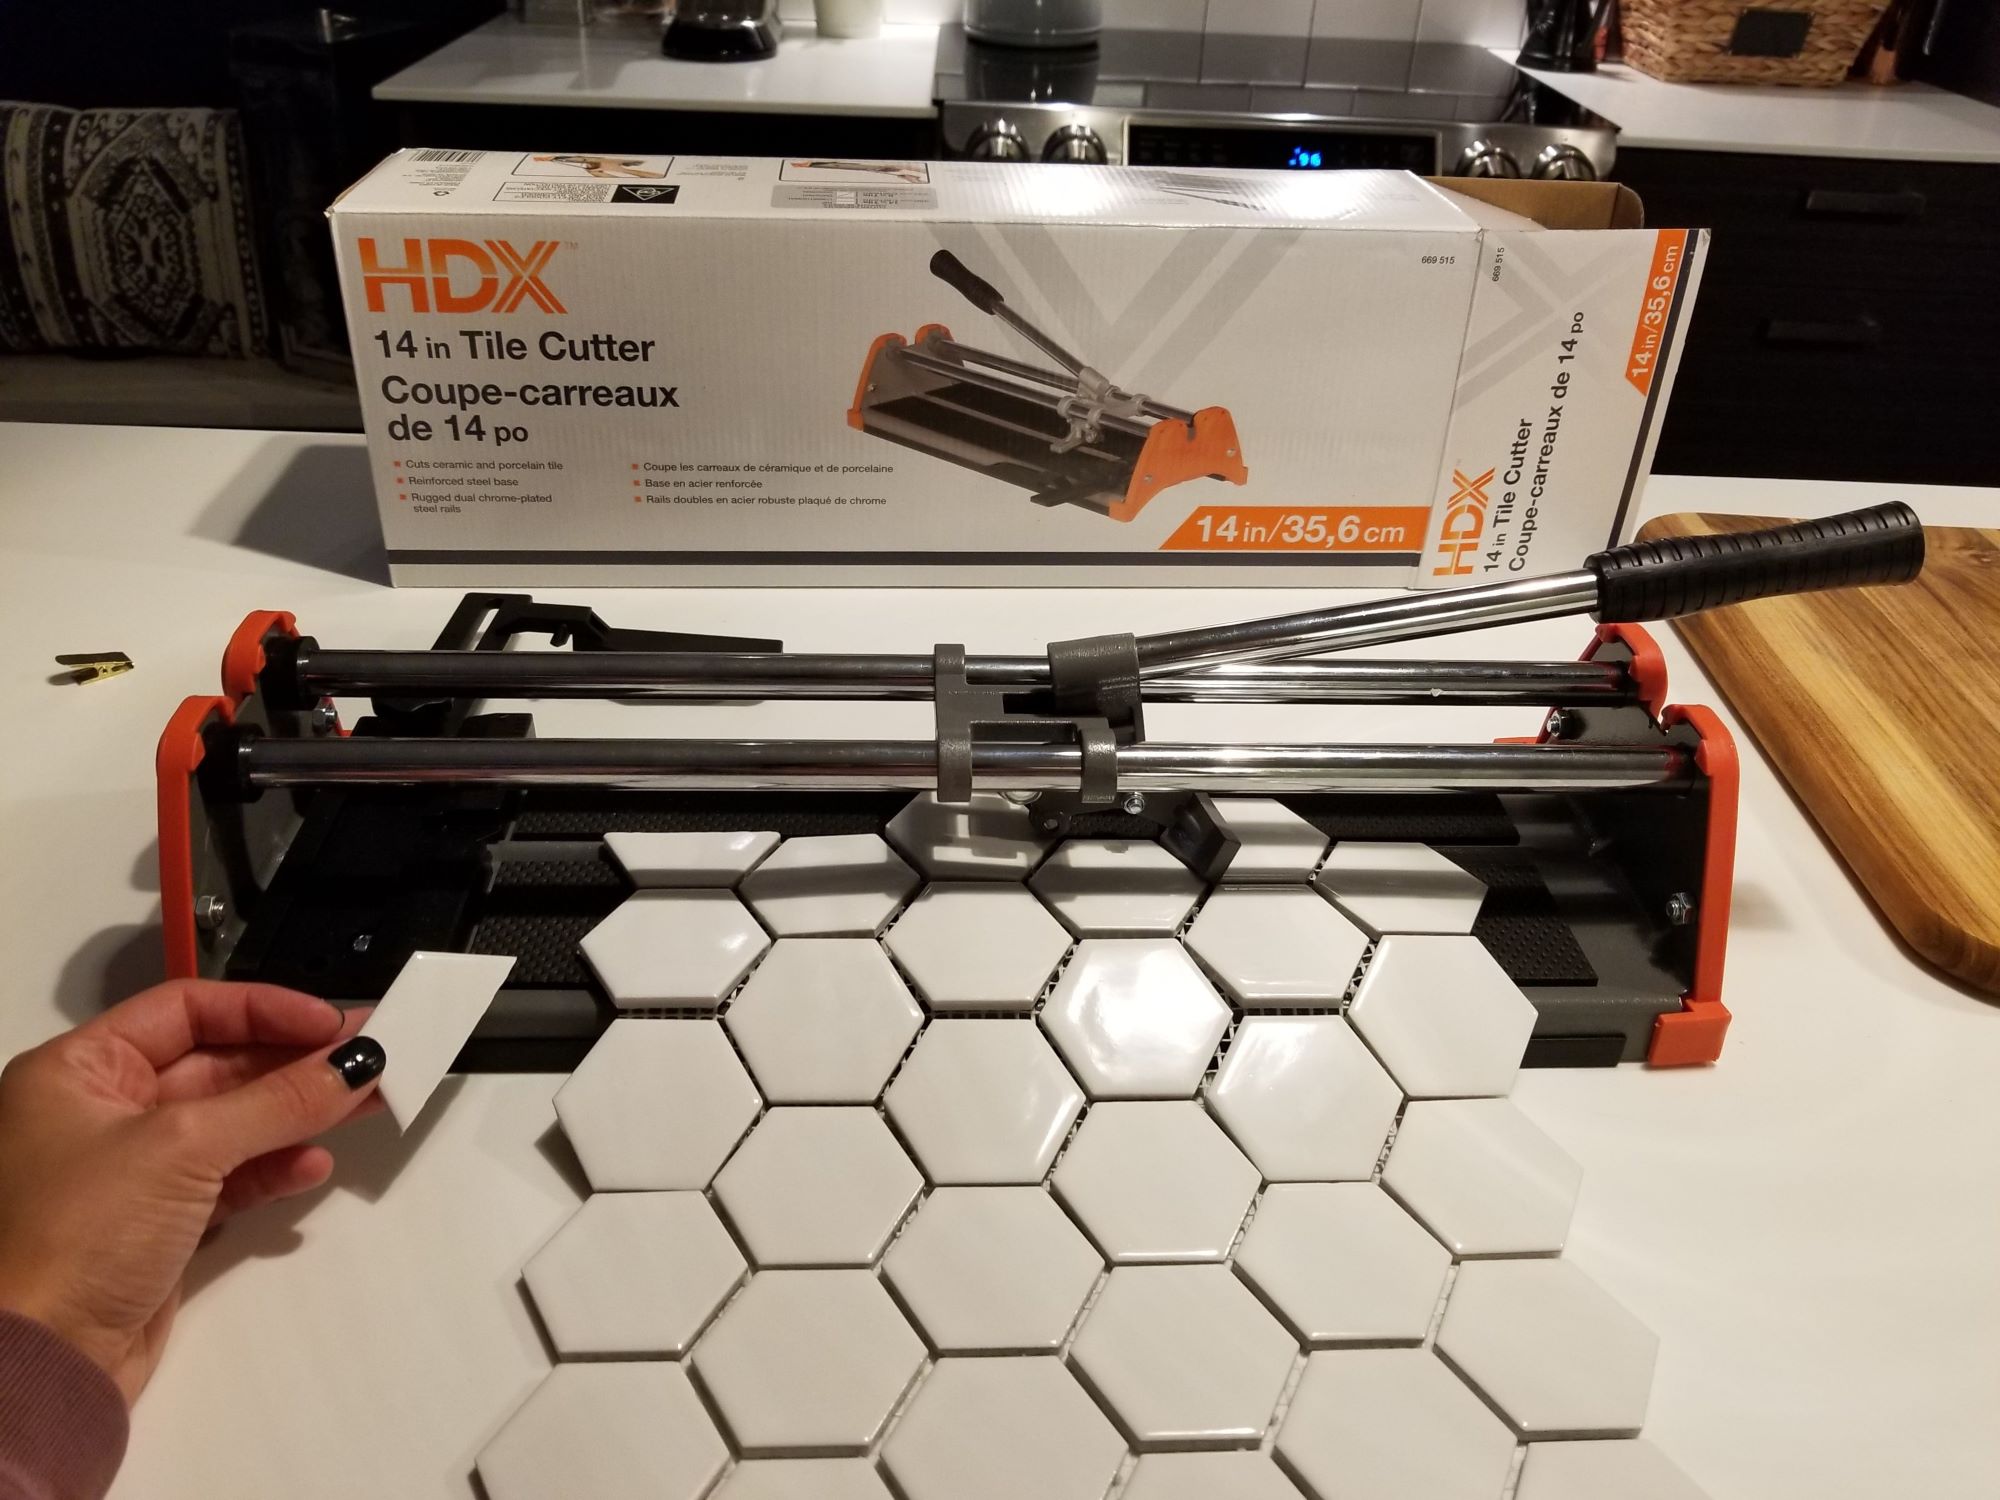
- Tile cutter or wet saw (depending on the type of cut)
- Tile nippers for small or intricate cuts
- Sandpaper or a tile file for smoothing rough edges
- Level for ensuring tile installation is straight and even
- Grout float for applying grout
- Tile spacers for even spacing between tiles
- Grout for filling gaps between tiles
- Tile adhesive or mortar for securing tiles to the surface
- Tile sponge or cloth for cleaning excess grout
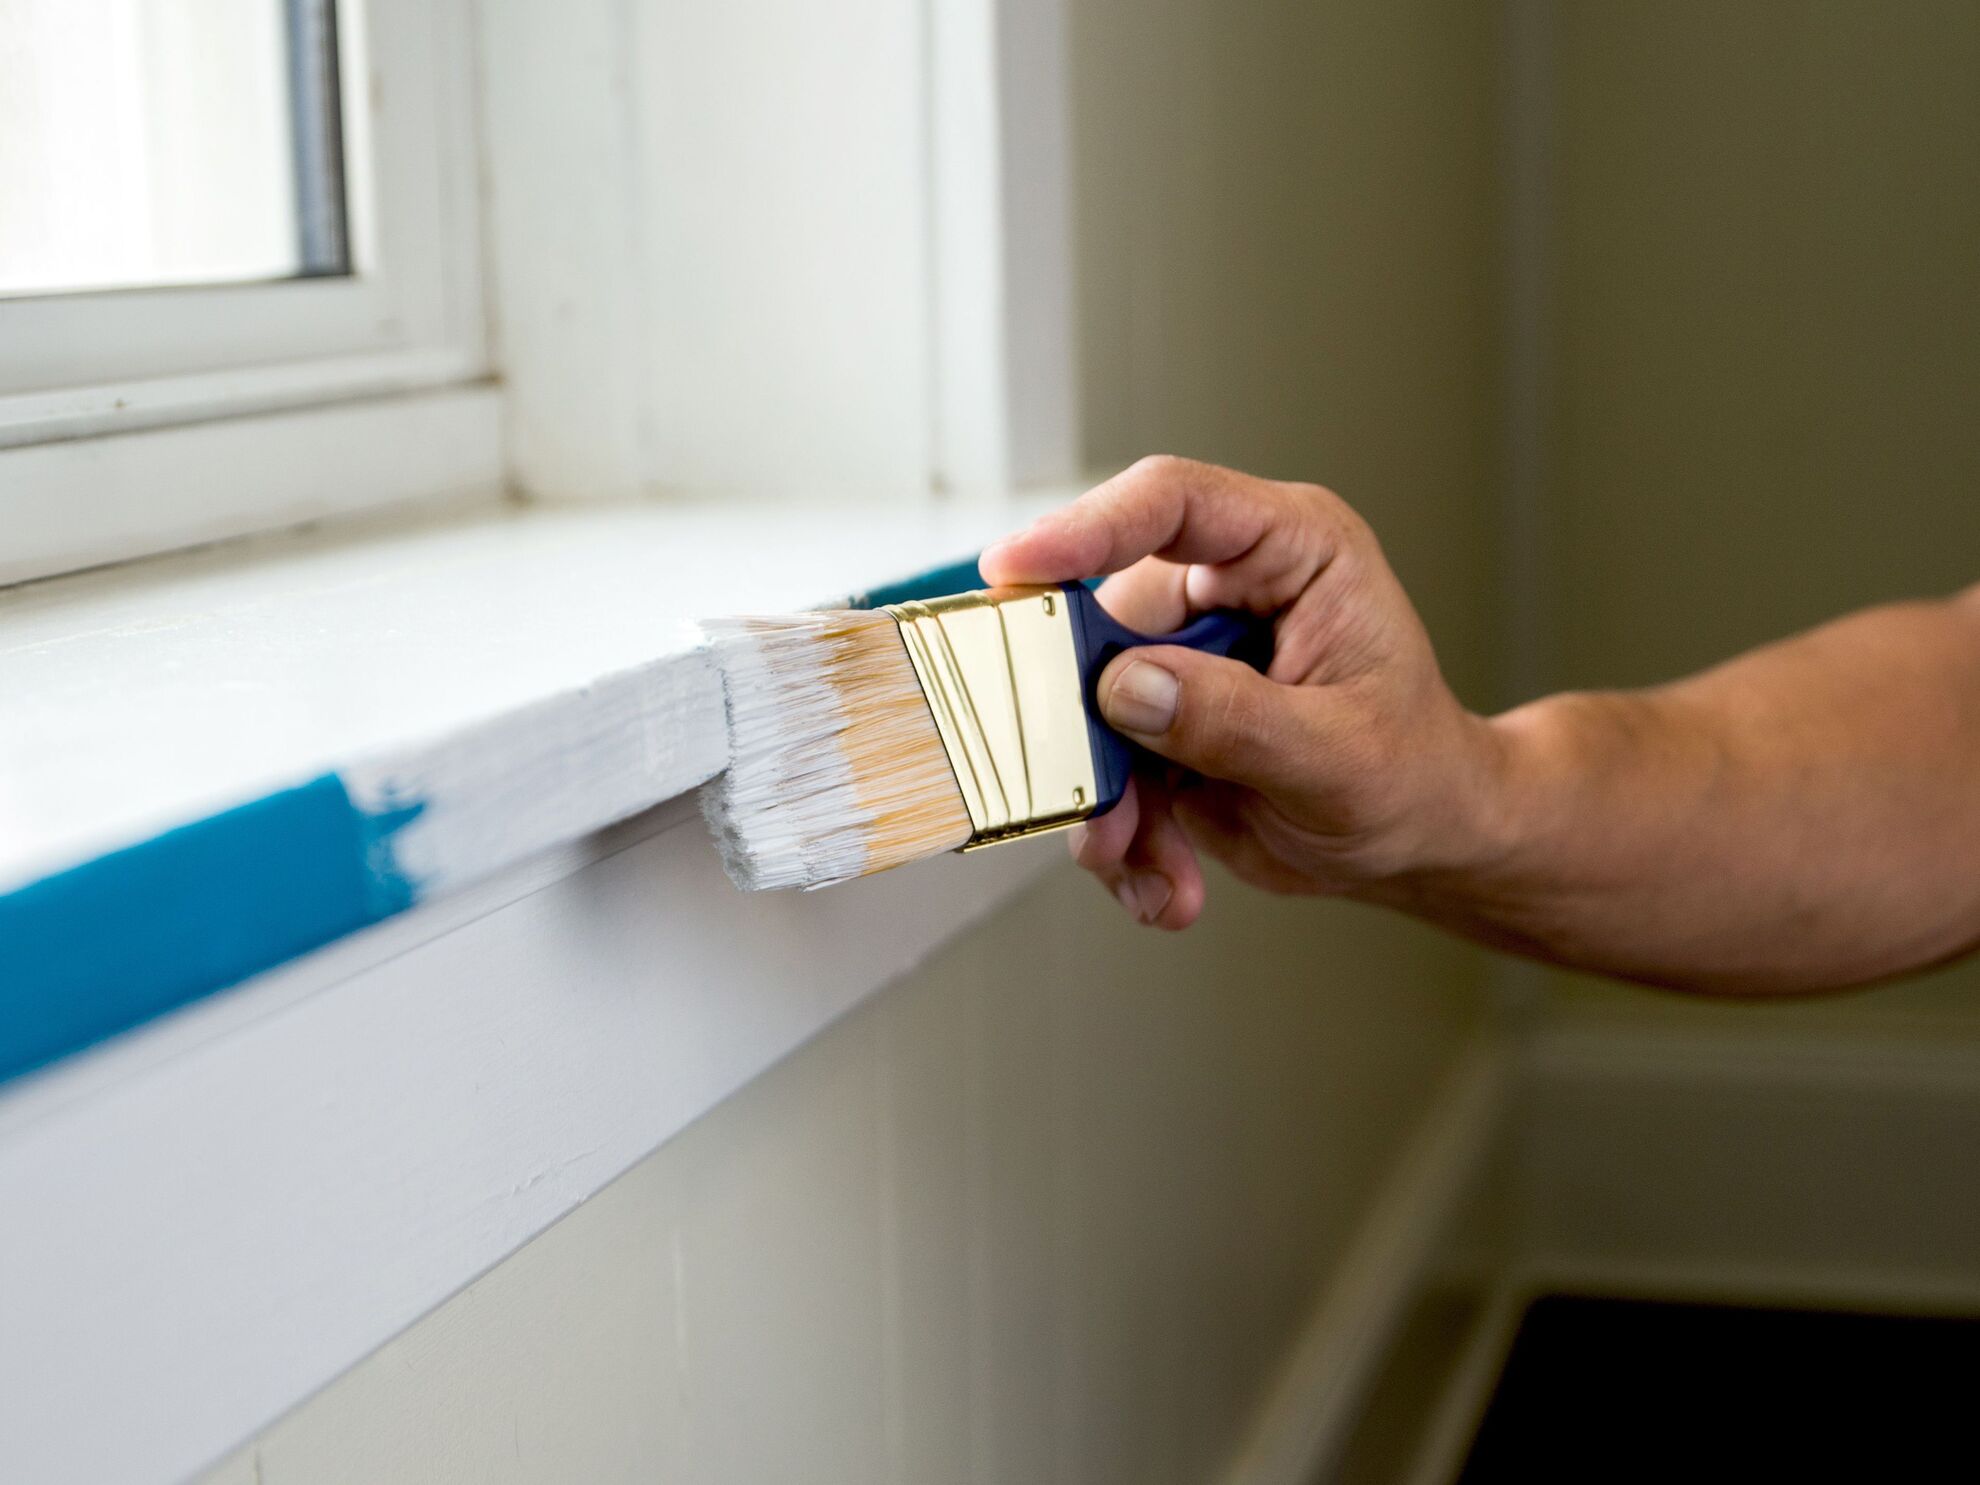
Having these tools and materials prepared will save you time and effort during the cutting and installation process, ensuring a smoother and more professional outcome. Additionally, it is crucial to prioritize safety when working with any cutting tools, so keep your safety goggles and gloves on throughout the project.
Safety Precautions
When working with ceramic tile and cutting tools, it’s important to prioritize safety to prevent accidents and injuries. Here are some essential safety precautions to keep in mind:
- Wear safety goggles: Protect your eyes from tile fragments and dust by wearing safety goggles. This will prevent eye injuries during the cutting process.
- Use gloves: To protect your hands from sharp edges and potential cuts, wear work gloves throughout the cutting and installation process.
- Work in a well-ventilated area: If you’re using a wet saw, which generates water spray, make sure you work in a well-ventilated area or wear a respirator mask to avoid inhaling any harmful particles.
- Keep the work area clean: Make sure your work area is free from clutter, and keep the floor clear of any debris or tile remnants to prevent tripping hazards.
- Follow the manufacturer’s instructions: Before using any cutting tools, such as a tile cutter or wet saw, carefully read and follow the manufacturer’s instructions to ensure safe and proper usage.
- Be cautious with electrical tools: If you’re using a wet saw, ensure that the power cord and water supply are kept separate to avoid electrical hazards.
- Take breaks: Cutting ceramic tile can be physically demanding. Take regular breaks to rest and stay hydrated.
- Secure the tile: When cutting, make sure the ceramic tile is securely held in place to prevent slippage and potential injuries.
- Dispose of waste properly: Dispose of any tile fragments and waste materials in a responsible manner, following local regulations.
By following these safety precautions, you can minimize the risk of accidents and injuries while cutting ceramic tile. Remember, safety should always be a top priority when working with any type of tools and materials.
Step 1: Measuring and Marking the Tile
Before cutting the ceramic tile, it’s crucial to measure and mark the tile accurately to ensure precise cuts. Here’s how to do it:
- Measure the area: Use a tape measure or ruler to determine the dimensions of the space where the tile will be installed. Measure the length and width of the area, accounting for any gaps or grout lines between tiles.
- Transfer measurements to the tile: On the ceramic tile’s surface, mark the measurements using a pencil or marker. Ensure that the marks are visible and clear, as they will guide your cutting process.
- Make cut marks: If you need to make straight cuts, use a straightedge or level to draw a cutting line across the tile’s surface. For curved or irregular cuts, use a compass or stencil to trace the desired shape onto the tile.
- Double-check measurements and marks: Before proceeding, double-check your measurements and marks to ensure accuracy. Small errors at this stage can result in significant issues during cutting.
Accurate measuring and marking are essential for achieving clean and precise cuts. By taking the time to measure carefully and mark the tile accurately, you’ll greatly increase your chances of a professional-looking result.
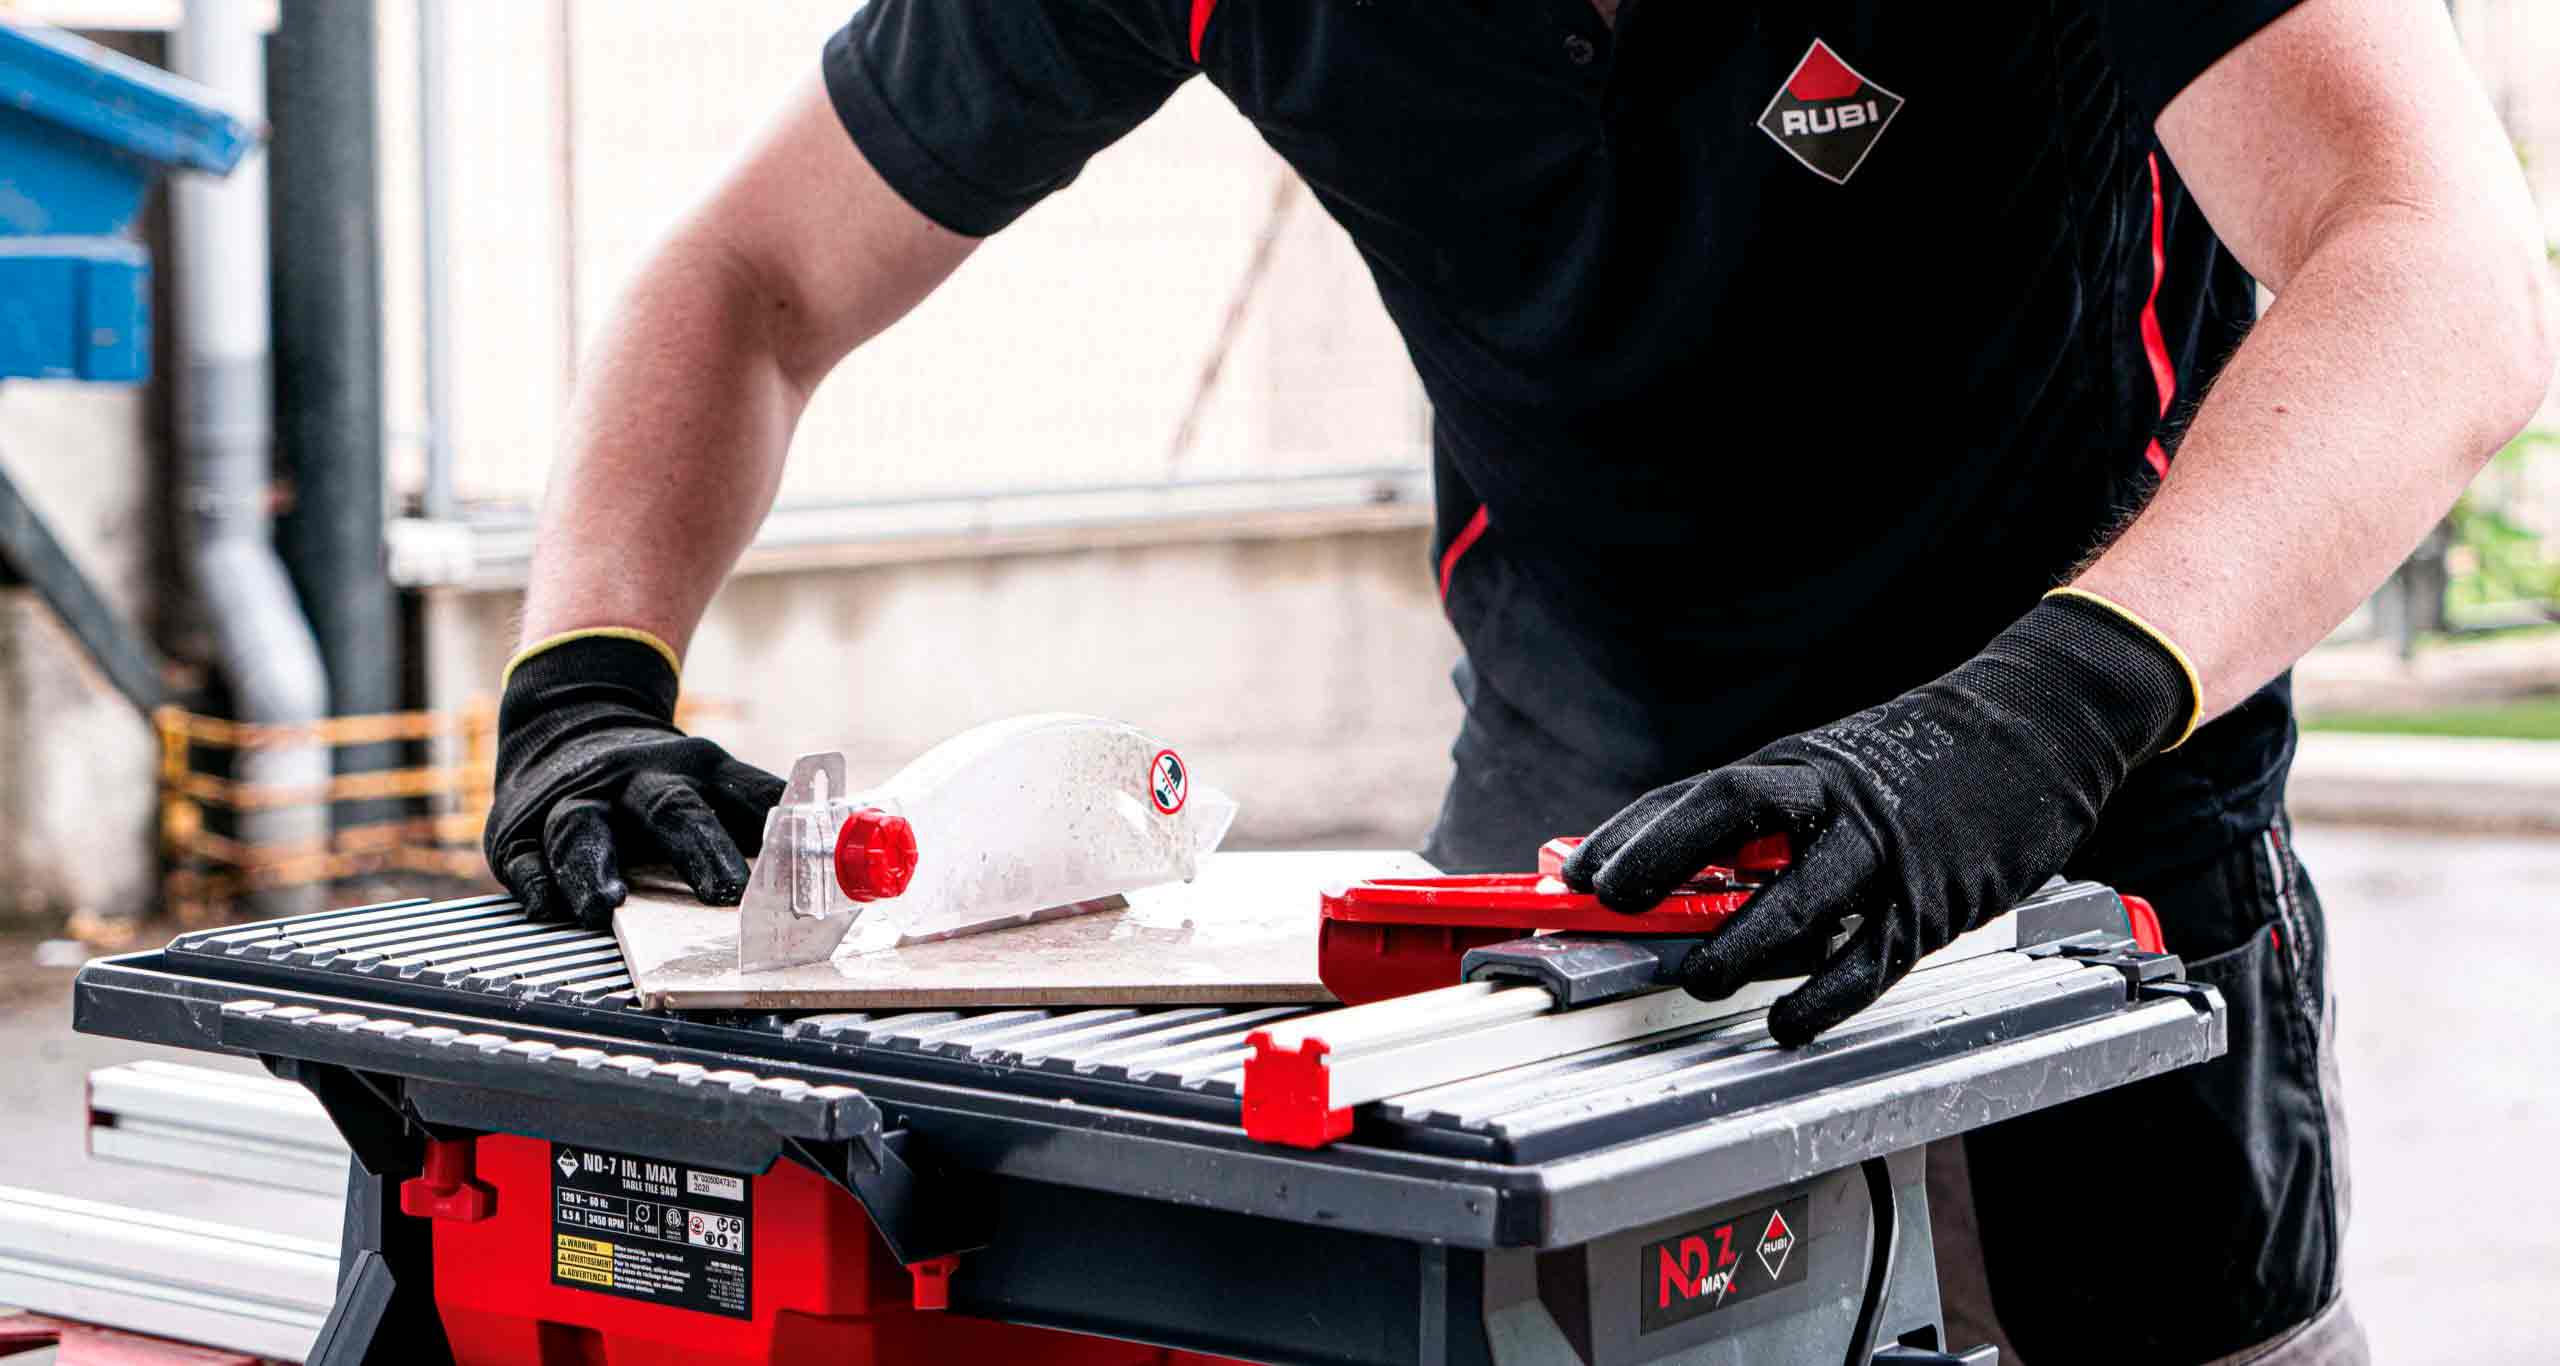
Step 2: Preparing the Tile Cutter
Once your ceramic tile is measured and marked, it’s time to prepare the tile cutter. The tile cutter is a specialized tool designed to make straight cuts on ceramic tiles. Follow these steps to prepare the tile cutter for cutting:
- Adjust the cutting wheel: Many tile cutters have an adjustable cutting wheel or scoring wheel. Ensure that the cutting wheel is positioned correctly according to the thickness of your tile. Refer to the tile cutter’s instructions for specific guidelines on adjusting the cutting wheel.
- Set the tile firmly: Place the ceramic tile onto the tile cutter, aligning the marked cutting line with the cutting wheel. Make sure the tile sits firmly against the tile cutter’s surface, ensuring stable and controlled cutting.
- Lock the tile in place: Most tile cutters have a lever or mechanism to lock the tile in place. Engage this mechanism to secure the tile firmly before cutting.
- Prepare the water reservoir (if applicable): If you’re using a wet saw tile cutter, fill the water reservoir according to the manufacturer’s instructions. This will help keep the cutting area lubricated and cool, reducing heat and preventing damage to the tile.
Properly preparing the tile cutter before cutting is crucial for achieving clean and accurate cuts. Take your time to ensure that the cutting wheel is adjusted correctly, the tile is securely locked in place, and all necessary preparations have been made. This will help you achieve professional-looking results with minimal errors.
Use a tile cutter or wet saw for straight cuts, and a tile nipper for curved or irregular cuts. Always wear safety goggles and work in a well-ventilated area.
Read more: How To Seal Ceramic Tile Floor
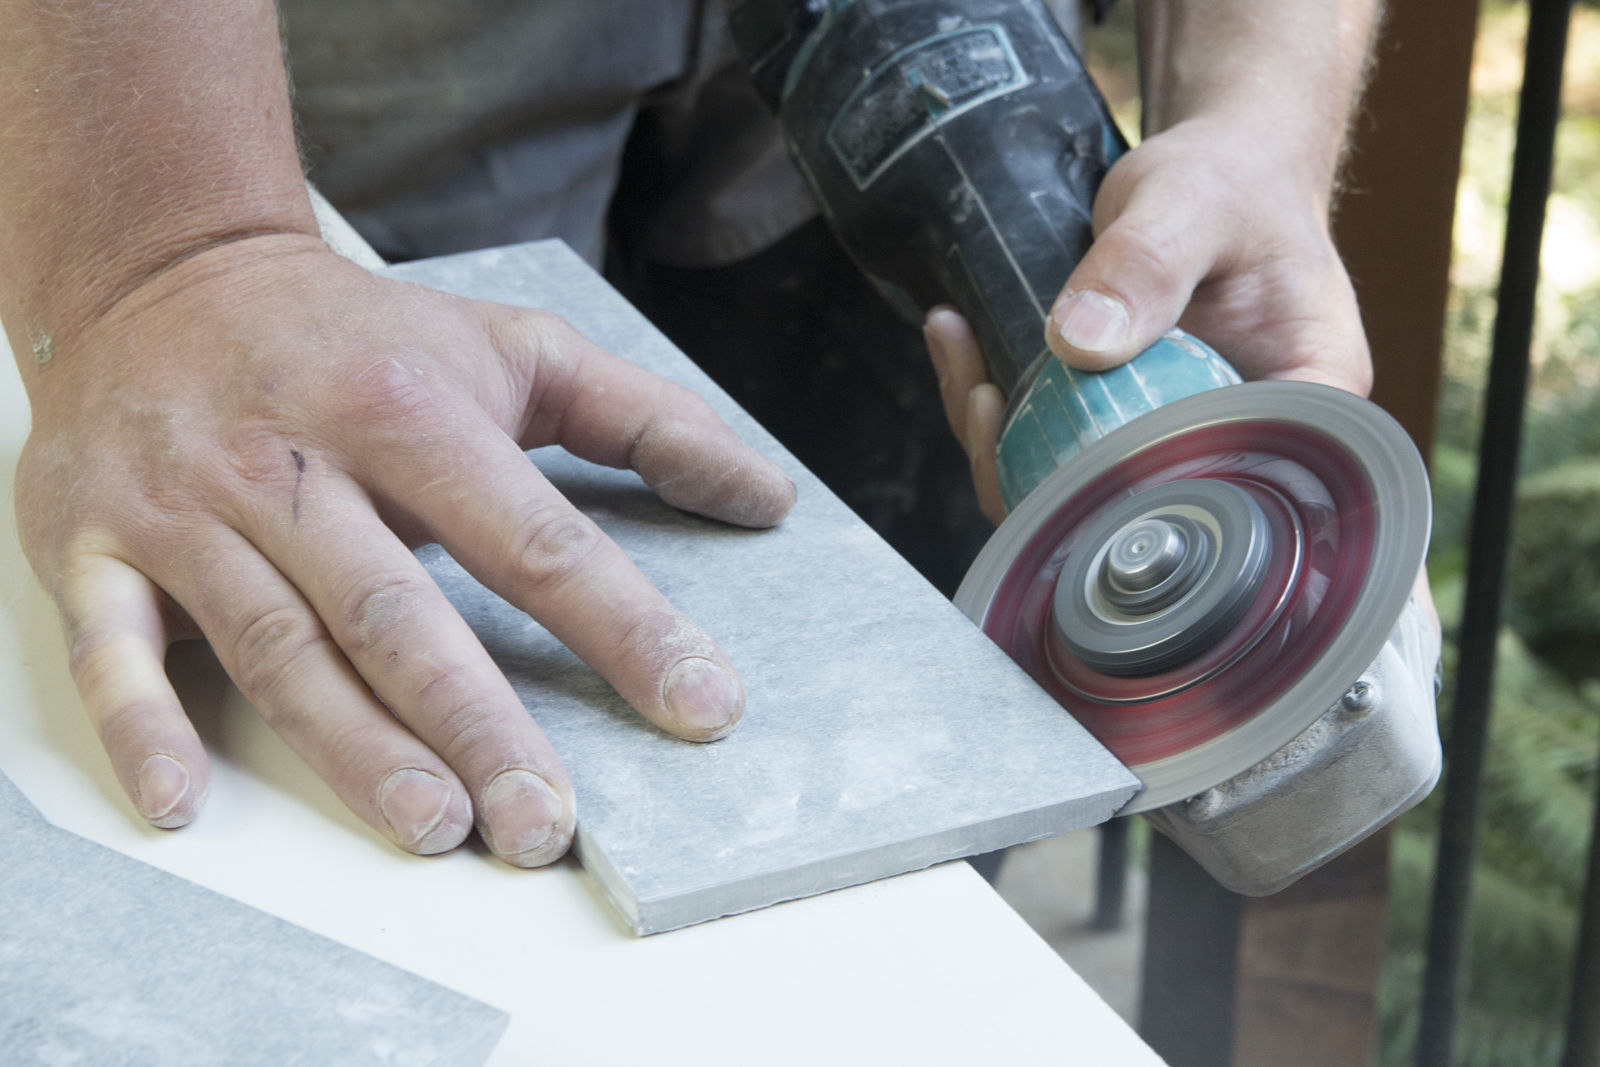
Step 3: Cutting the Ceramic Tile
Now that your tile is measured, marked, and the tile cutter is prepared, it’s time to make the cut. Follow these steps to cut the ceramic tile:
- Align the cutting line: Position the marked cutting line on the tile directly below the cutting wheel of the tile cutter. Ensure that the line is aligned precisely with the cutting wheel to achieve a clean and straight cut.
- Apply pressure: Firmly grip the tile with both hands and apply steady pressure on the tile cutter’s handle or lever. Use a smooth, fluid motion to move the cutting wheel along the marked cutting line. Apply enough pressure to score the surface of the tile, but avoid pressing too hard, as it may cause the tile to crack.
- Create the score: As you move the cutting wheel across the tile, you will create a score line. This score line should be visible and penetrate the surface of the tile. Ensure that the score line is consistent and continuous along the entire marked cutting line.
- Break the tile: Once the score line is complete, use the tile cutter’s breaking mechanism to snap the tile at the score line. Place the scored tile with the score line facing upward and apply downward pressure evenly on both sides of the tile. The tile should break cleanly along the score line.
Remember to work slowly and carefully when cutting the tile. Applying even pressure along the cutting line and maintaining a steady hand will result in a clean break and a professional-looking cut. Repeat these steps for each tile that needs to be cut to fit your installation area.
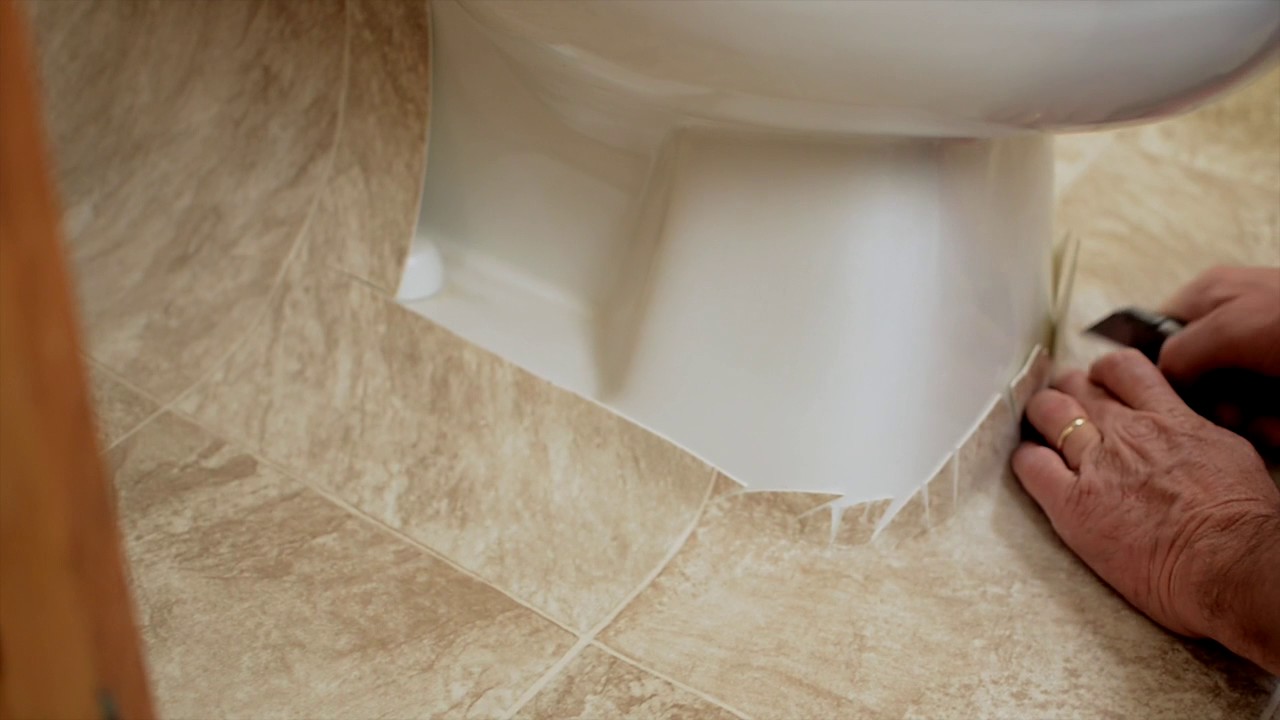
Step 4: Nipping and Smoothing Edges
After cutting the ceramic tile, you may find that the edges are rough or uneven. To achieve a polished and professional finish, it’s important to nip and smooth the edges. Follow these steps to nip and smooth the edges of the cut tile:
- Inspect the edges: Carefully examine the cut edges of the tile to identify any rough or jagged areas that need to be smoothed.
- Use tile nippers: Tile nippers are specialized cutting tools designed to trim and shape small sections of ceramic tile. Grip the edge of the tile with the nippers and apply gentle pressure to remove any uneven or excess material. Nippers can also be used to create curved or irregular shapes if needed.
- Smooth rough edges: Even with nipping, some edges may still be rough. Use sandpaper or a tile file to smooth out these rough edges. Gently rub the sandpaper or file along the edge of the tile, applying light pressure until the edges are smooth and even.
- Check the smoothness: Run your fingers along the edges of the tile to ensure they are smooth to the touch. If you notice any remaining roughness, continue to sand or file until the edges are completely smooth.
Nipping and smoothing the edges of the cut tile will not only enhance the overall appearance but also ensure a seamless and professional installation. Take your time and pay attention to detail during this step to achieve a finished result that meets your expectations.
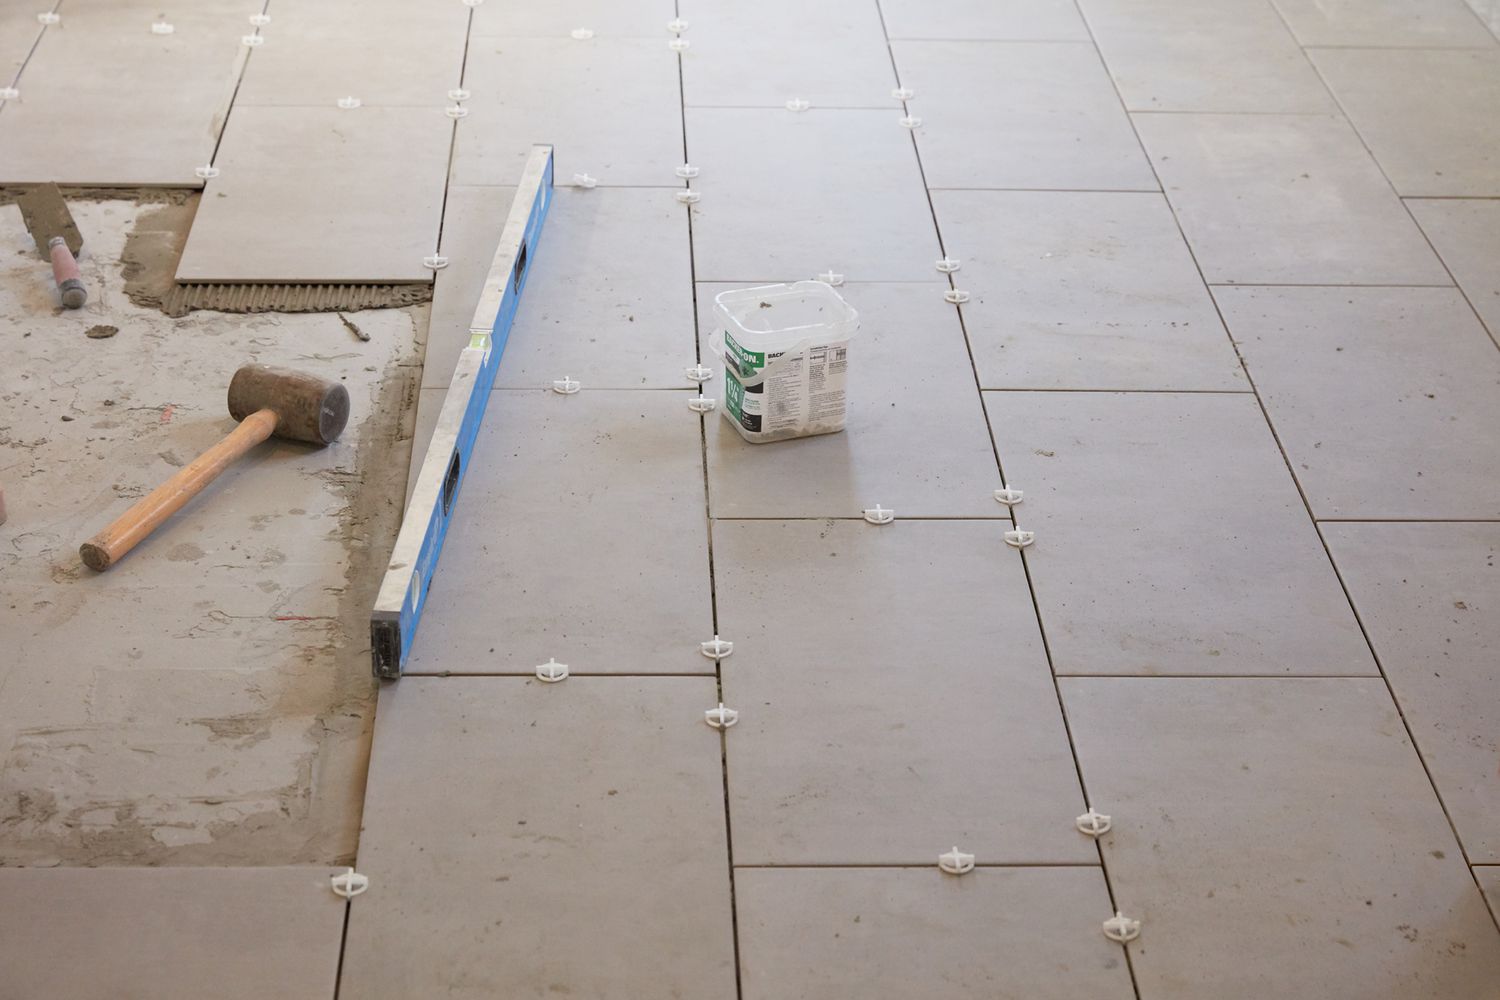
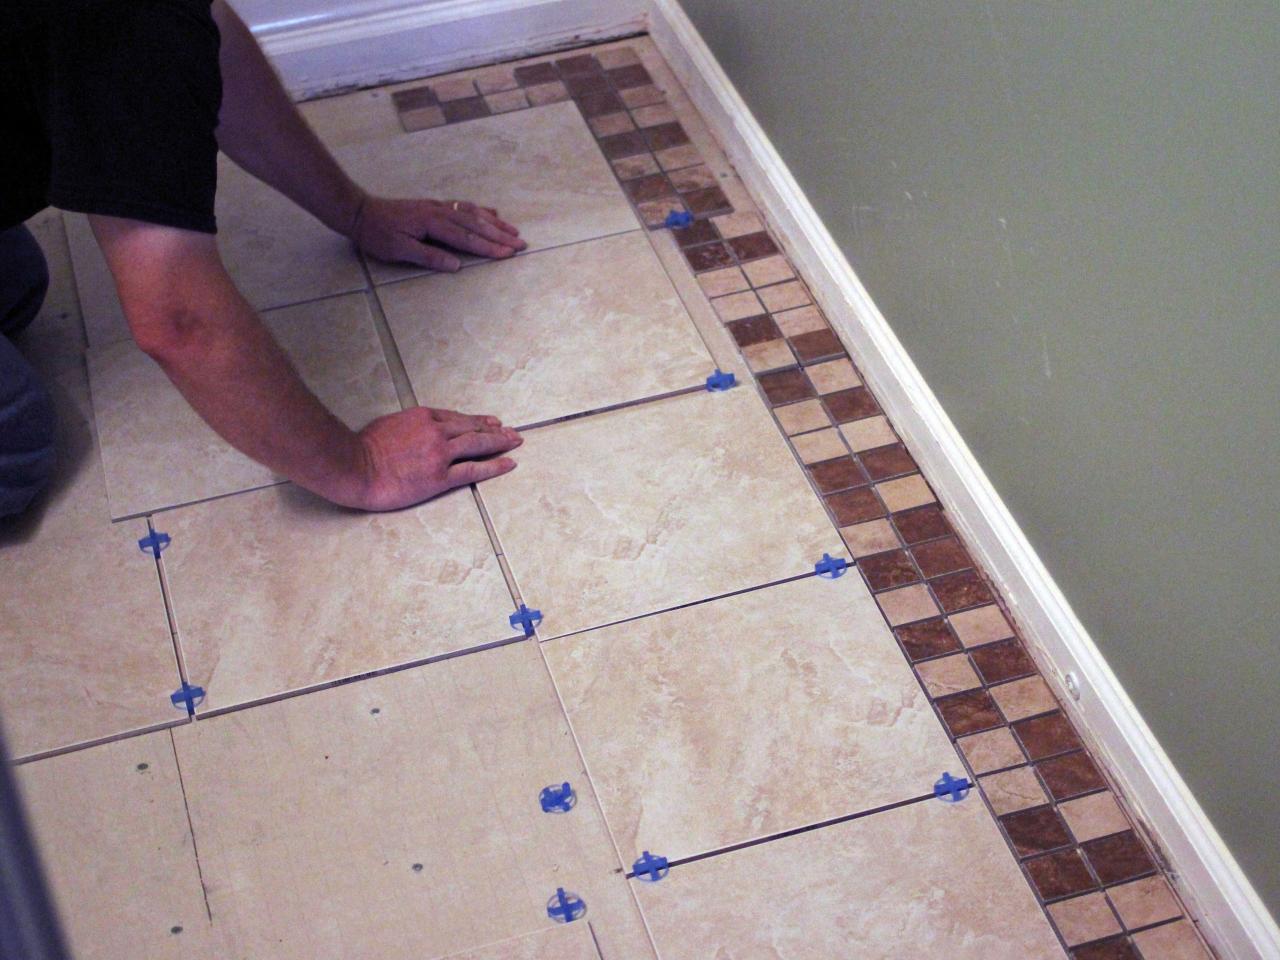
Step 5: Dry Fitting the Tile
Before permanently installing the ceramic tile, it’s essential to perform a dry fit to ensure proper placement and alignment. Dry fitting involves placing the cut tiles in their intended positions without any adhesive or grout. Follow these steps to dry fit the tile:
- Prepare the installation area: Ensure that the surface where the tile will be installed is clean and free from debris or obstructions.
- Arrange the tiles: Take the cut ceramic tiles and arrange them in their intended positions, following your layout or design plan. Pay attention to spacing, alignment, and any patterns or designs that need to be replicated.
- Check for fit and alignment: Carefully place each tile in its designated spot and assess how they fit together. Ensure that the gaps between tiles are even and consistent throughout the installation area. Make any necessary adjustments to ensure proper alignment and symmetry.
- Make additional cuts if needed: During the dry fit, you may discover areas that require additional cuts or adjustments. Use the same cutting process described earlier to make any necessary modifications.
- Take measurements: If you had to make additional cuts, take new measurements and mark the tiles accordingly.
The dry fit process allows you to preview the tile installation and make any necessary changes before permanently affixing the tiles. This step is crucial in achieving a professional-looking result and avoiding costly mistakes. Once you are satisfied with the positioning and alignment of the tiles, you can proceed to the final step: installing the ceramic tile.
Step 6: Installing the Ceramic Tile
Now that you have completed the dry fit and ensured proper placement, it’s time to install the ceramic tile. Follow these steps to achieve a professional installation:
- Prepare the surface: Ensure that the surface where the tile will be installed is clean, smooth, and free from any debris. If needed, apply a layer of tile adhesive or mortar using a notched trowel to create a secure base for the tiles.
- Apply adhesive and position the tile: Spread a thin layer of adhesive on the back of the first tile, using a notched trowel to create ridges. Carefully press the tile onto the prepared surface, aligning it with the surrounding tiles or layout. Apply gentle pressure to ensure proper adhesion.
- Insert tile spacers: To create even spacing between the tiles, place tile spacers at the corners of each tile. These spacers will create uniform grout lines and prevent the tiles from shifting during the curing process.
- Continue with the installation: Repeat the process for the remaining tiles, applying adhesive, positioning the tiles, and inserting spacers. Take care to maintain consistent spacing and alignment throughout the installation.
- Clean excess adhesive: As you install each tile, be sure to clean any excess adhesive or mortar immediately with a damp cloth or sponge. This will prevent it from drying on the surface of the tiles.
- Allow the adhesive to cure: Follow the manufacturer’s instructions for the recommended curing time of the adhesive. Avoid walking on the newly installed tiles or applying excessive weight until the adhesive has fully cured.
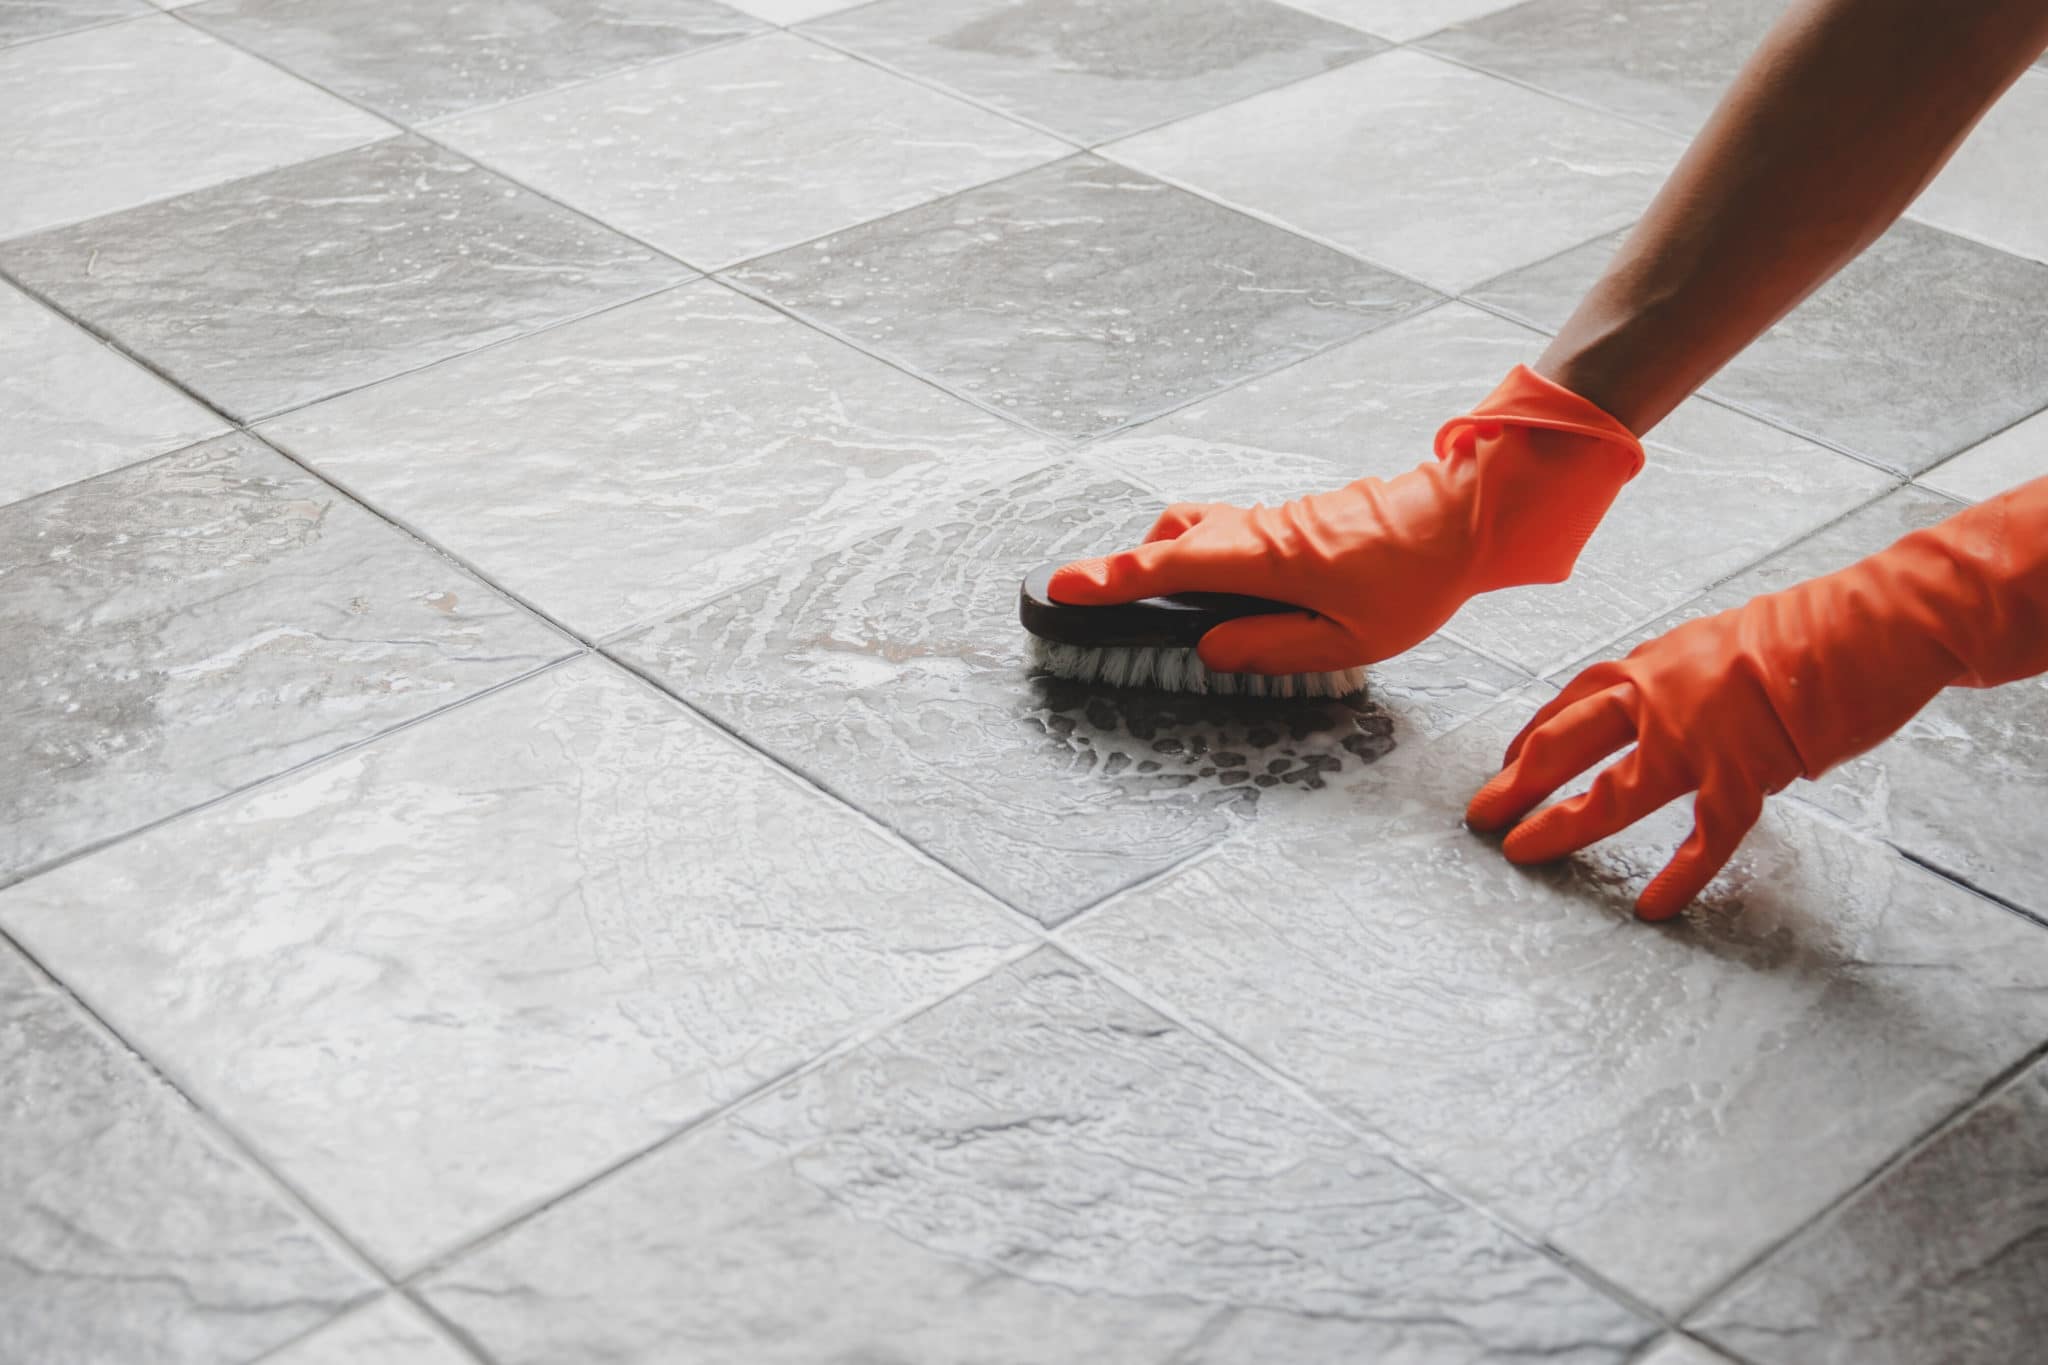
- Fill gaps with grout: Once the adhesive has cured, remove the tile spacers and fill the gaps between the tiles with grout using a grout float. Follow the grout manufacturer’s instructions for mixing and application, ensuring that the grout is spread evenly and fills all gaps.
- Clean excess grout: After applying the grout, use a damp sponge or cloth to clean off any excess grout from the tile surface. Wipe diagonally across the tiles to avoid disturbing the freshly applied grout lines.
- Allow the grout to cure: Give the grout time to cure according to the manufacturer’s instructions. Avoid wetting the freshly grouted area during this time.
By following these steps, you will achieve a professional and secure installation of your ceramic tiles. Remember to take your time, work carefully, and pay attention to detail throughout the process. Once the adhesive and grout have fully cured, you can enjoy your beautifully installed ceramic tile for years to come.
Read more: How To Clean Ceramic Floor Tile
Conclusion
Cutting ceramic tile may seem daunting at first, but with the right tools, techniques, and a bit of practice, you can achieve professional-looking results. In this comprehensive guide, we’ve walked you through the step-by-step process of cutting ceramic tile for a flawless installation.
We started by discussing the essential tools and materials you’ll need, ensuring that you’re well-equipped for the task. Safety precautions were emphasized to protect yourself and promote a hazard-free working environment. Measuring and marking the tile accurately was highlighted as a crucial step to achieve precise cuts.
Afterward, we delved into preparing the tile cutter and making the actual cuts. We provided guidance on nipping and smoothing the edges to achieve a polished finish. The importance of dry fitting the tiles to ensure proper placement and alignment was emphasized. Lastly, we explored the installation process, including applying adhesive, inserting spacers, and grouting the gaps.
By following these steps and taking your time, you can achieve a professional-looking ceramic tile installation that enhances the beauty and functionality of your space. Remember to double-check measurements, exercise caution with cutting tools, and apply proper safety protocols throughout the process.
Whether you’re remodeling a bathroom, kitchen, or any other space, cutting ceramic tile with precision is a valuable skill to have. With practice and experience, you’ll become more comfortable and confident in your abilities, creating visually stunning tile installations that will stand the test of time.
Frequently Asked Questions about How To Cut Ceramic Tile For Professional-Looking Results
Was this page helpful?
At Storables.com, we guarantee accurate and reliable information. Our content, validated by Expert Board Contributors, is crafted following stringent Editorial Policies. We're committed to providing you with well-researched, expert-backed insights for all your informational needs.


0 thoughts on “How To Cut Ceramic Tile For Professional-Looking Results”