Articles
How To Connect Garage Door Opener Liftmaster
Modified: February 23, 2024
Discover step-by-step articles on how to connect your Liftmaster garage door opener. Find easy-to-follow instructions and troubleshooting tips for seamless installation.
(Many of the links in this article redirect to a specific reviewed product. Your purchase of these products through affiliate links helps to generate commission for Storables.com, at no extra cost. Learn more)
Introduction
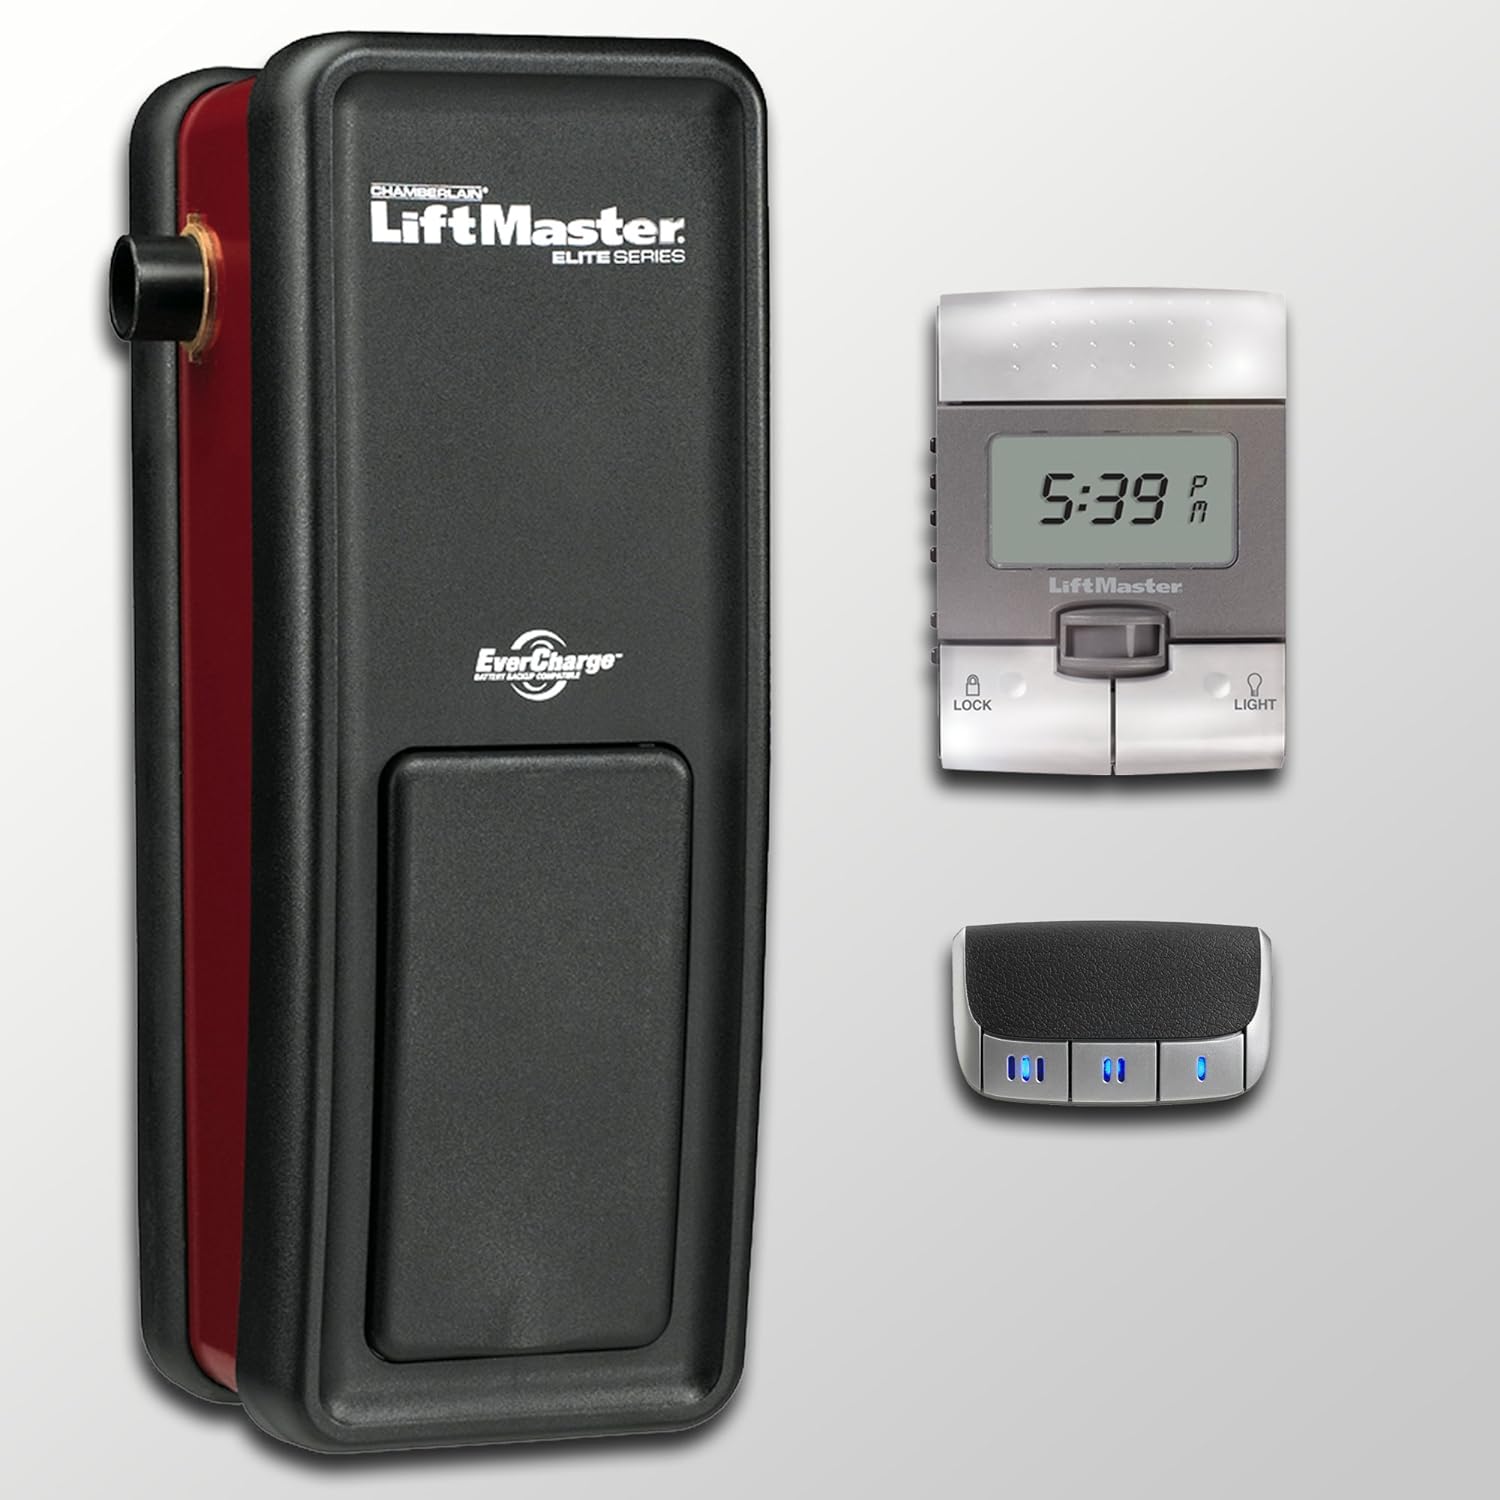
Connecting a Liftmaster garage door opener to your garage door remote is a straightforward process that can greatly enhance the convenience and security of your home. With a properly connected opener, you can effortlessly open and close your garage door with the push of a button from the comfort of your car or even from inside your home.
In this article, we will guide you through the step-by-step process of connecting a Liftmaster garage door opener to your remote. By following these instructions, you will be able to successfully establish a reliable and efficient connection.
Before we dive into the details, it’s important to note that the exact process may vary slightly depending on the model of your Liftmaster garage door opener. It is always recommended to refer to the instruction manual provided by the manufacturer for your specific model. With that said, let’s get started!
Key Takeaways:
- Connecting your Liftmaster garage door opener to a remote is a simple process that enhances convenience and security. Follow the step-by-step instructions and enjoy effortless access to your garage from the comfort of your car or home.
- Safety is paramount when working with garage door openers. Always refer to the manufacturer’s manual, test the connection periodically, and consider programming multiple remotes for convenient access for your family members.
Read more: How Much Are Liftmaster Garage Door Openers
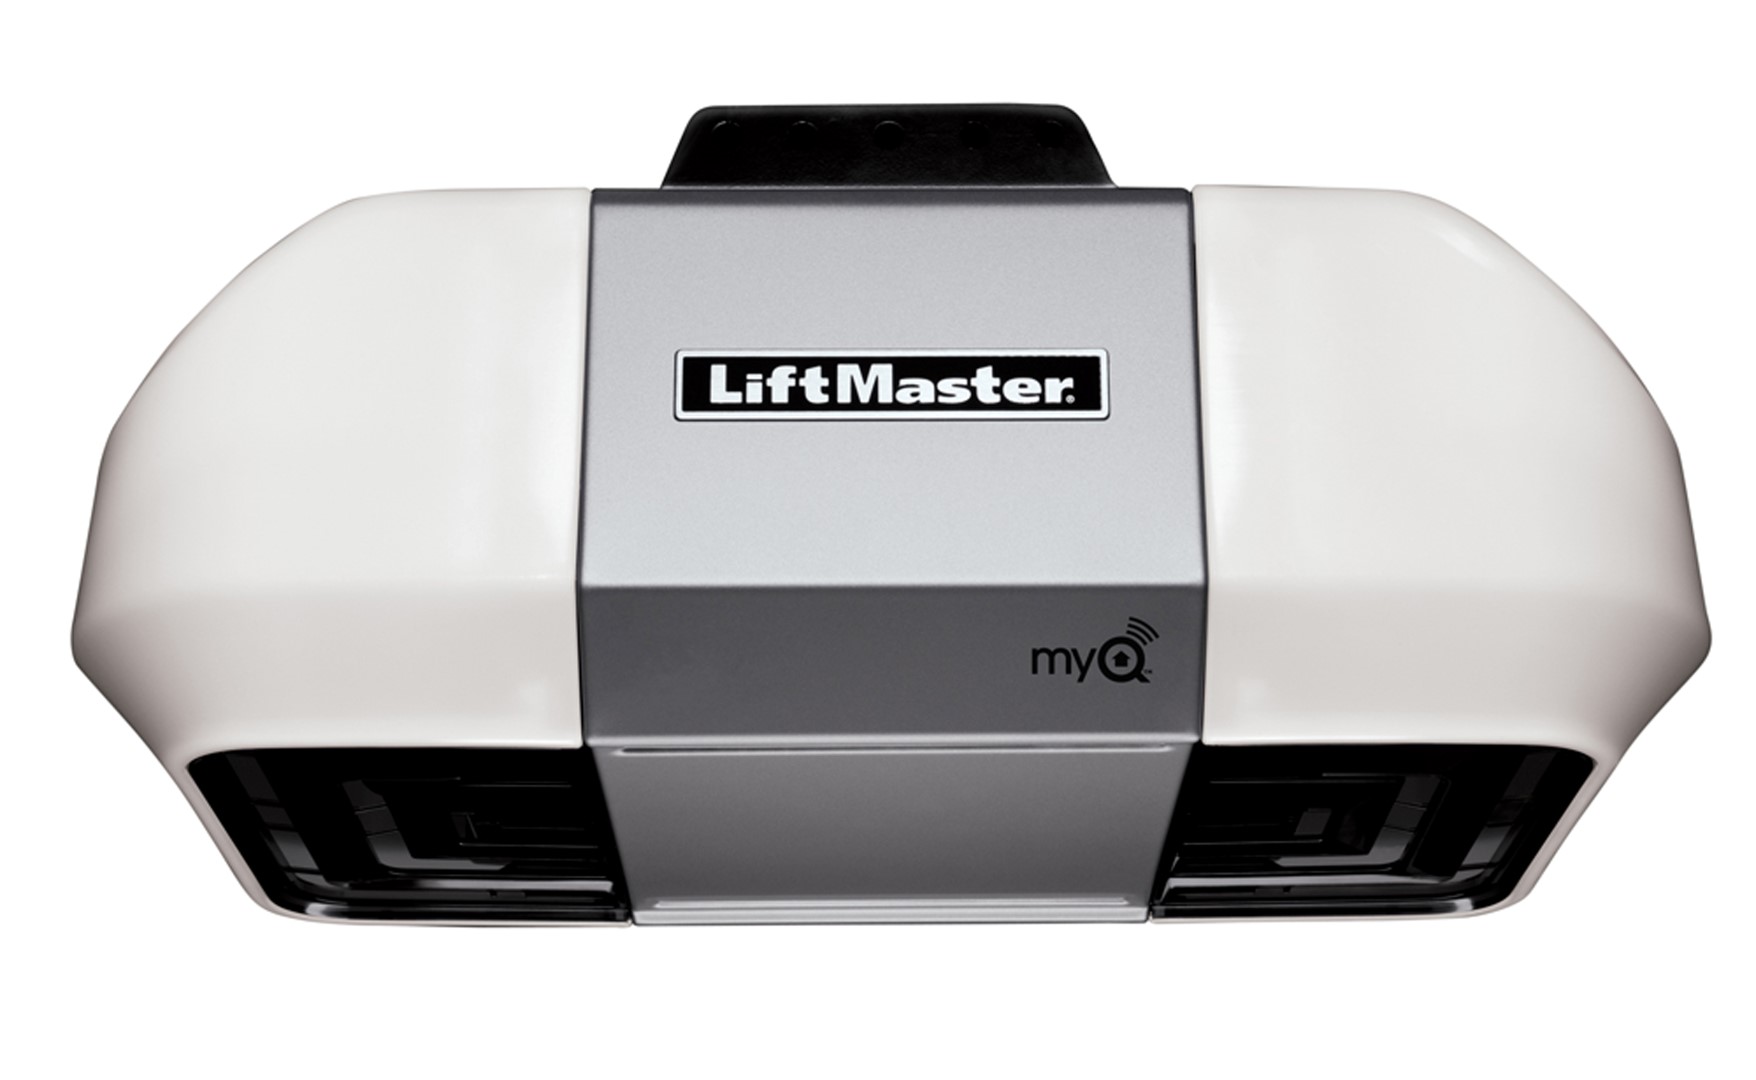
Step 1: Gather the Necessary Tools and Materials
Before you begin connecting your Liftmaster garage door opener to the remote, it is important to gather all the necessary tools and materials. Having everything you need on hand will ensure a smooth and efficient process. Here’s a list of the items you will need:
- Liftmaster garage door opener
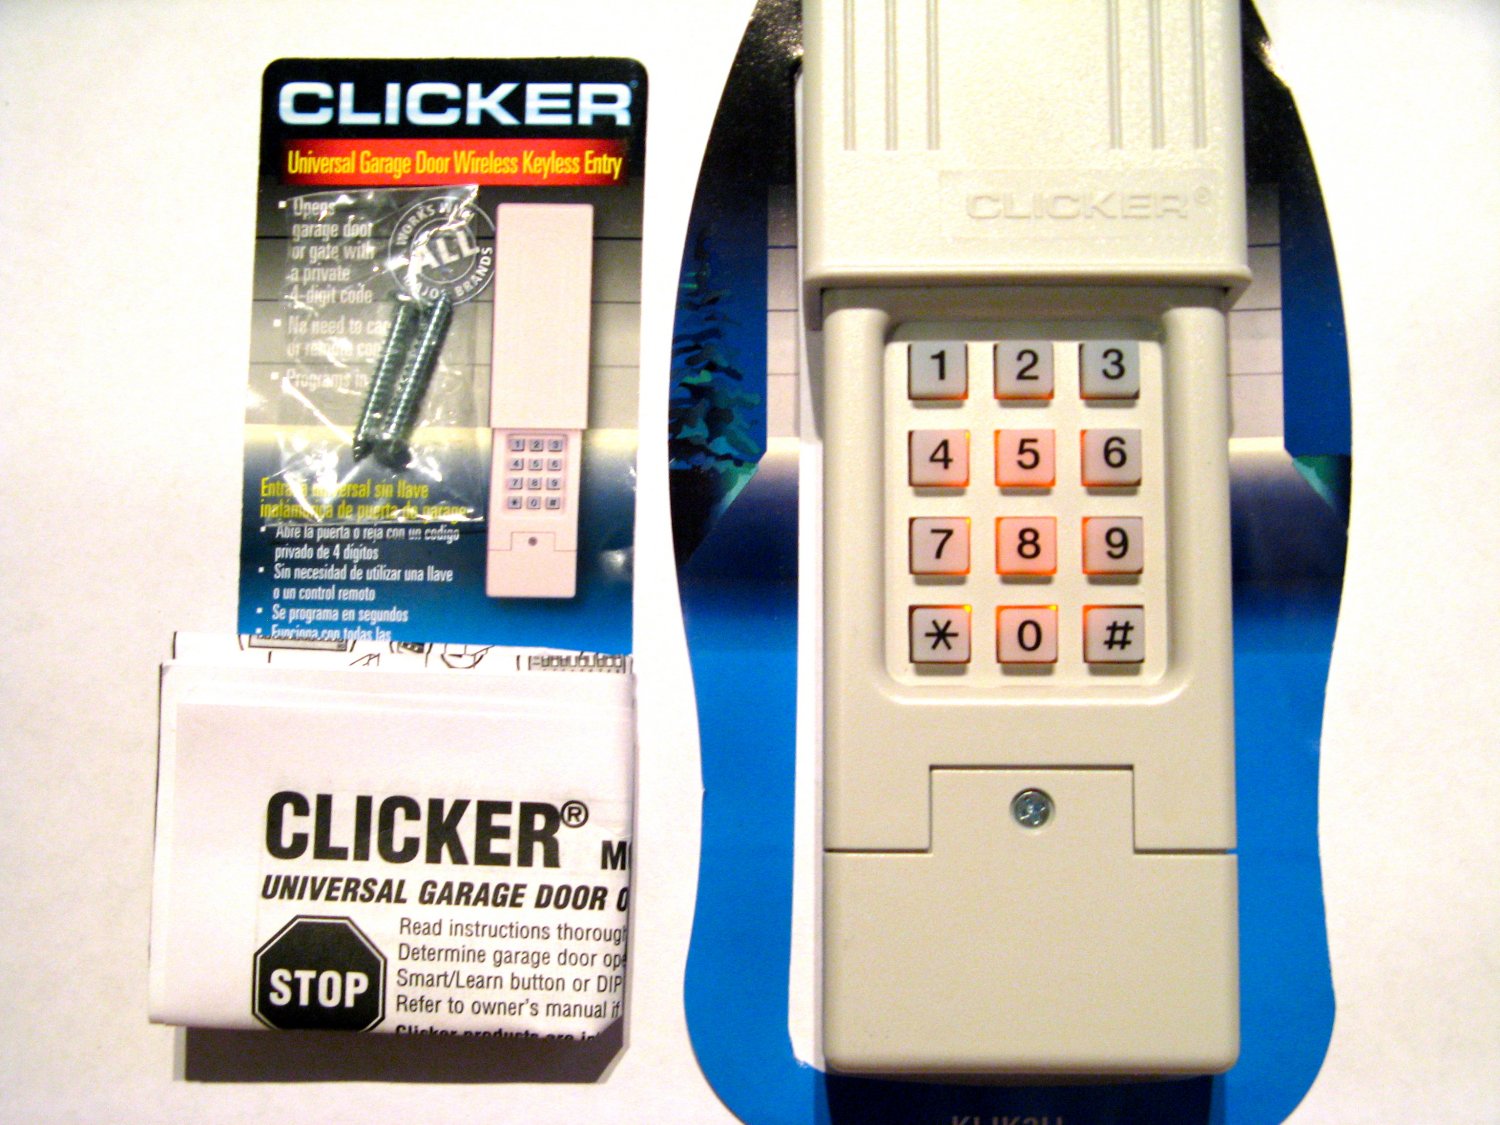
- Garage door remote
- Step ladder (if needed to access the garage door opener)
- Power source (if the garage door opener is not already connected to power)
- Screwdriver or drill (if needed to remove or adjust the opener’s cover)
- Patience and a steady hand
Once you have gathered all the necessary tools and materials, you are ready to move on to the next step in the process. It is always a good idea to double-check that you have everything you need to avoid any unnecessary delays or interruptions.
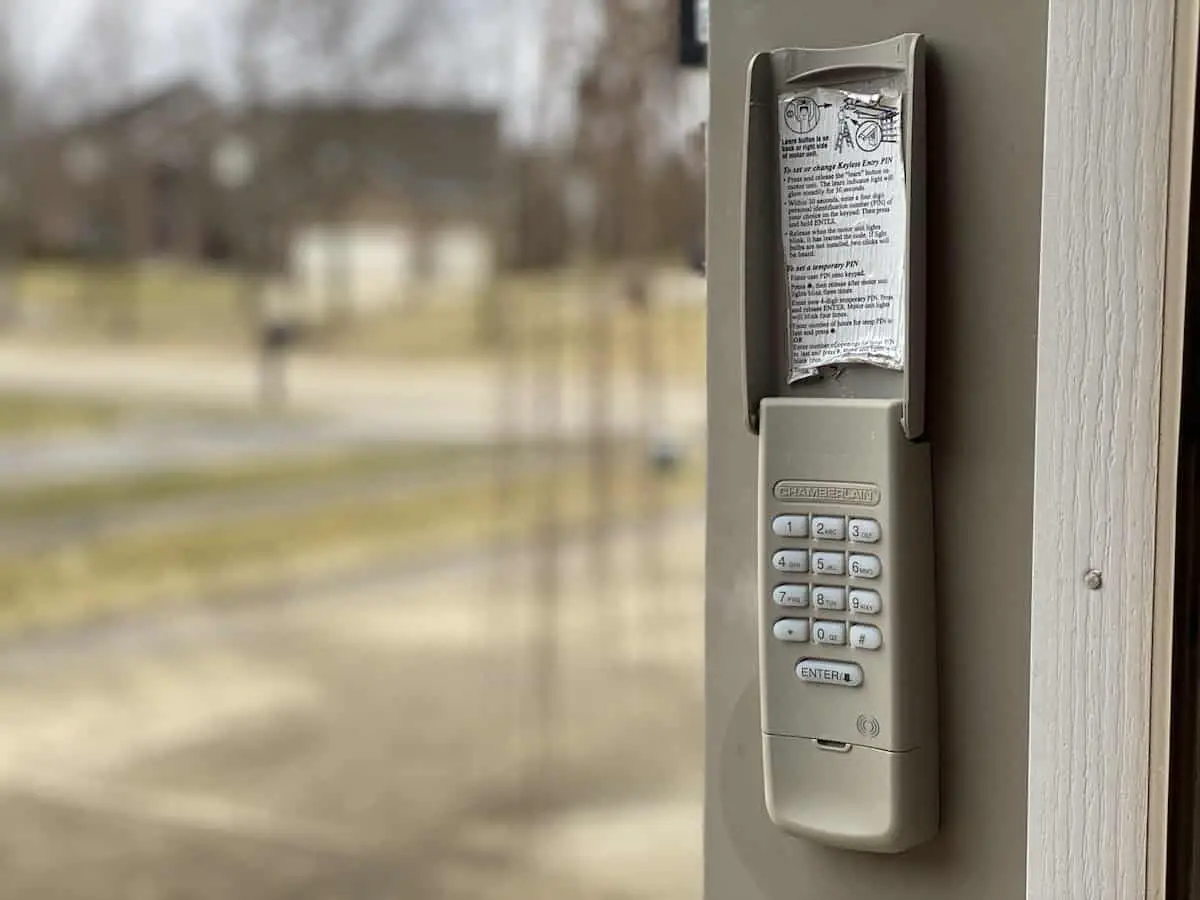
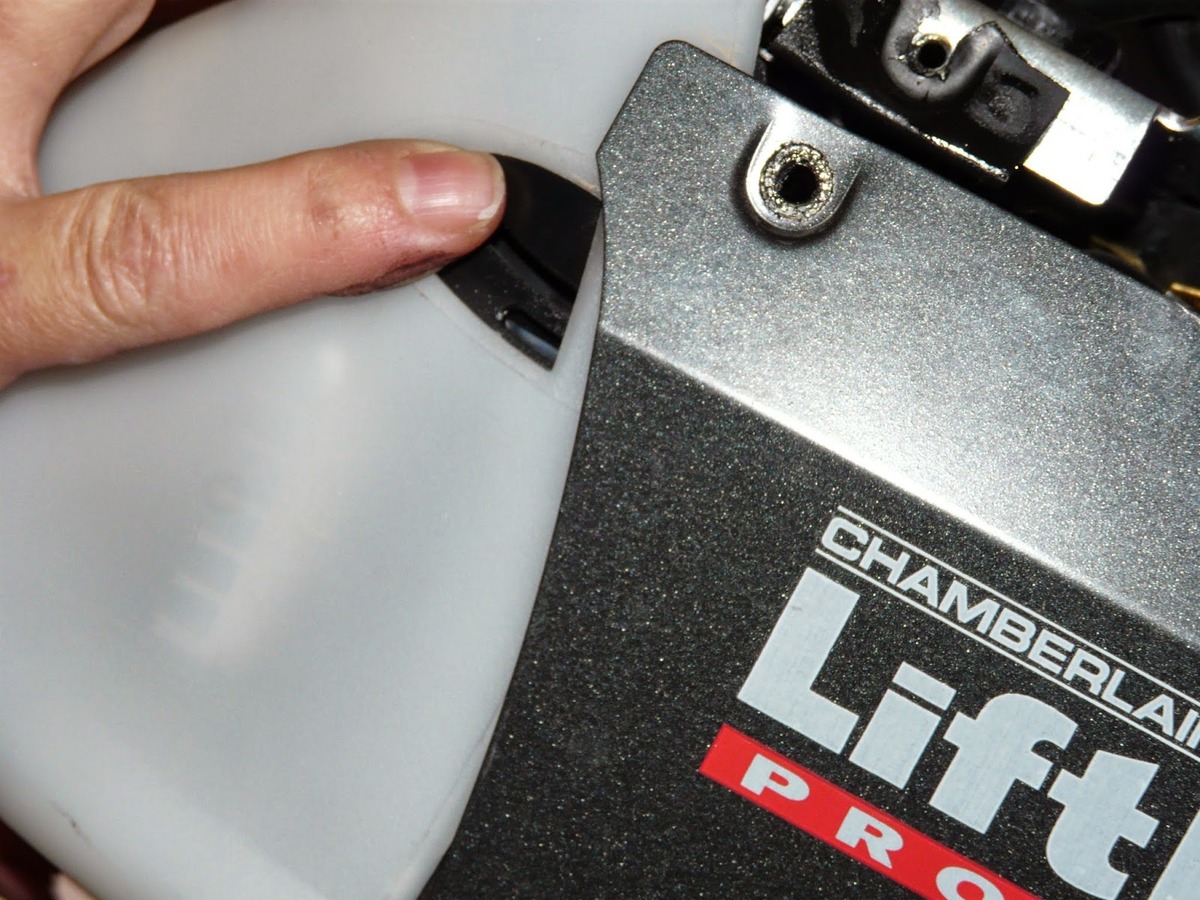
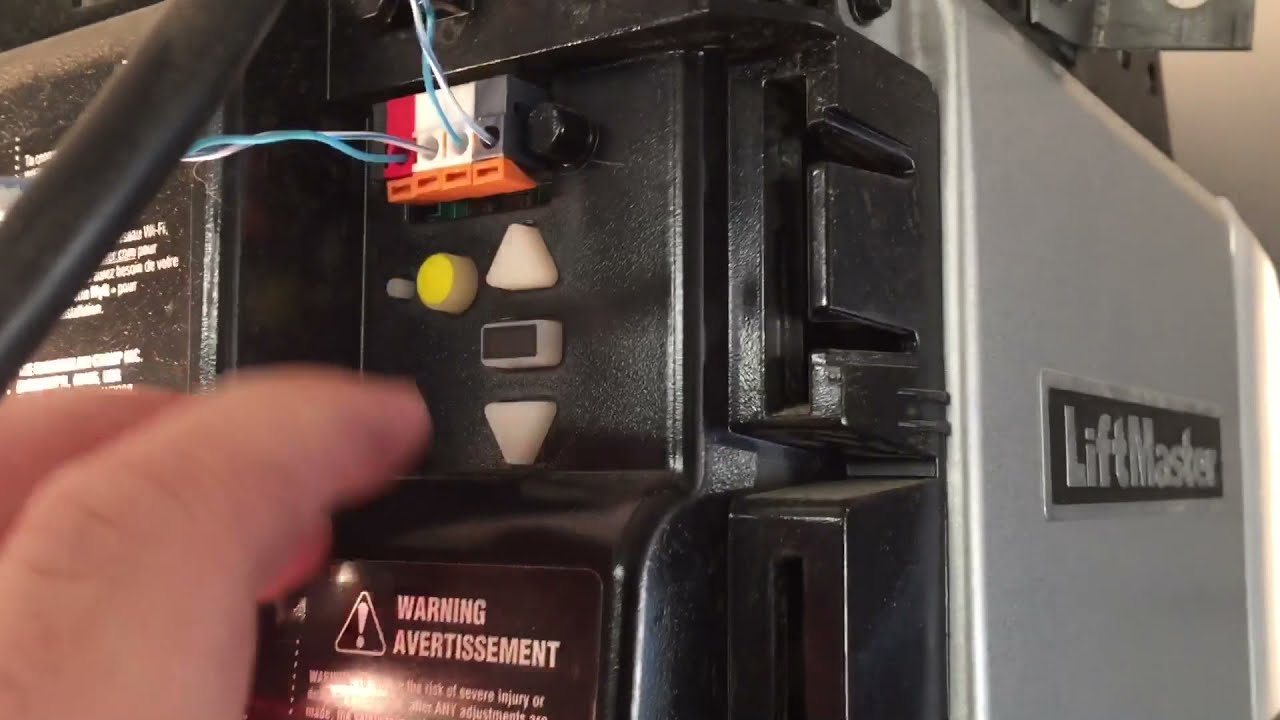
Step 2: Locate the Garage Door Opener’s Learn Button
Now that you have gathered all the necessary tools and materials, it’s time to locate the Learn button on your Liftmaster garage door opener. The Learn button is a crucial component for connecting your garage door opener to the remote.
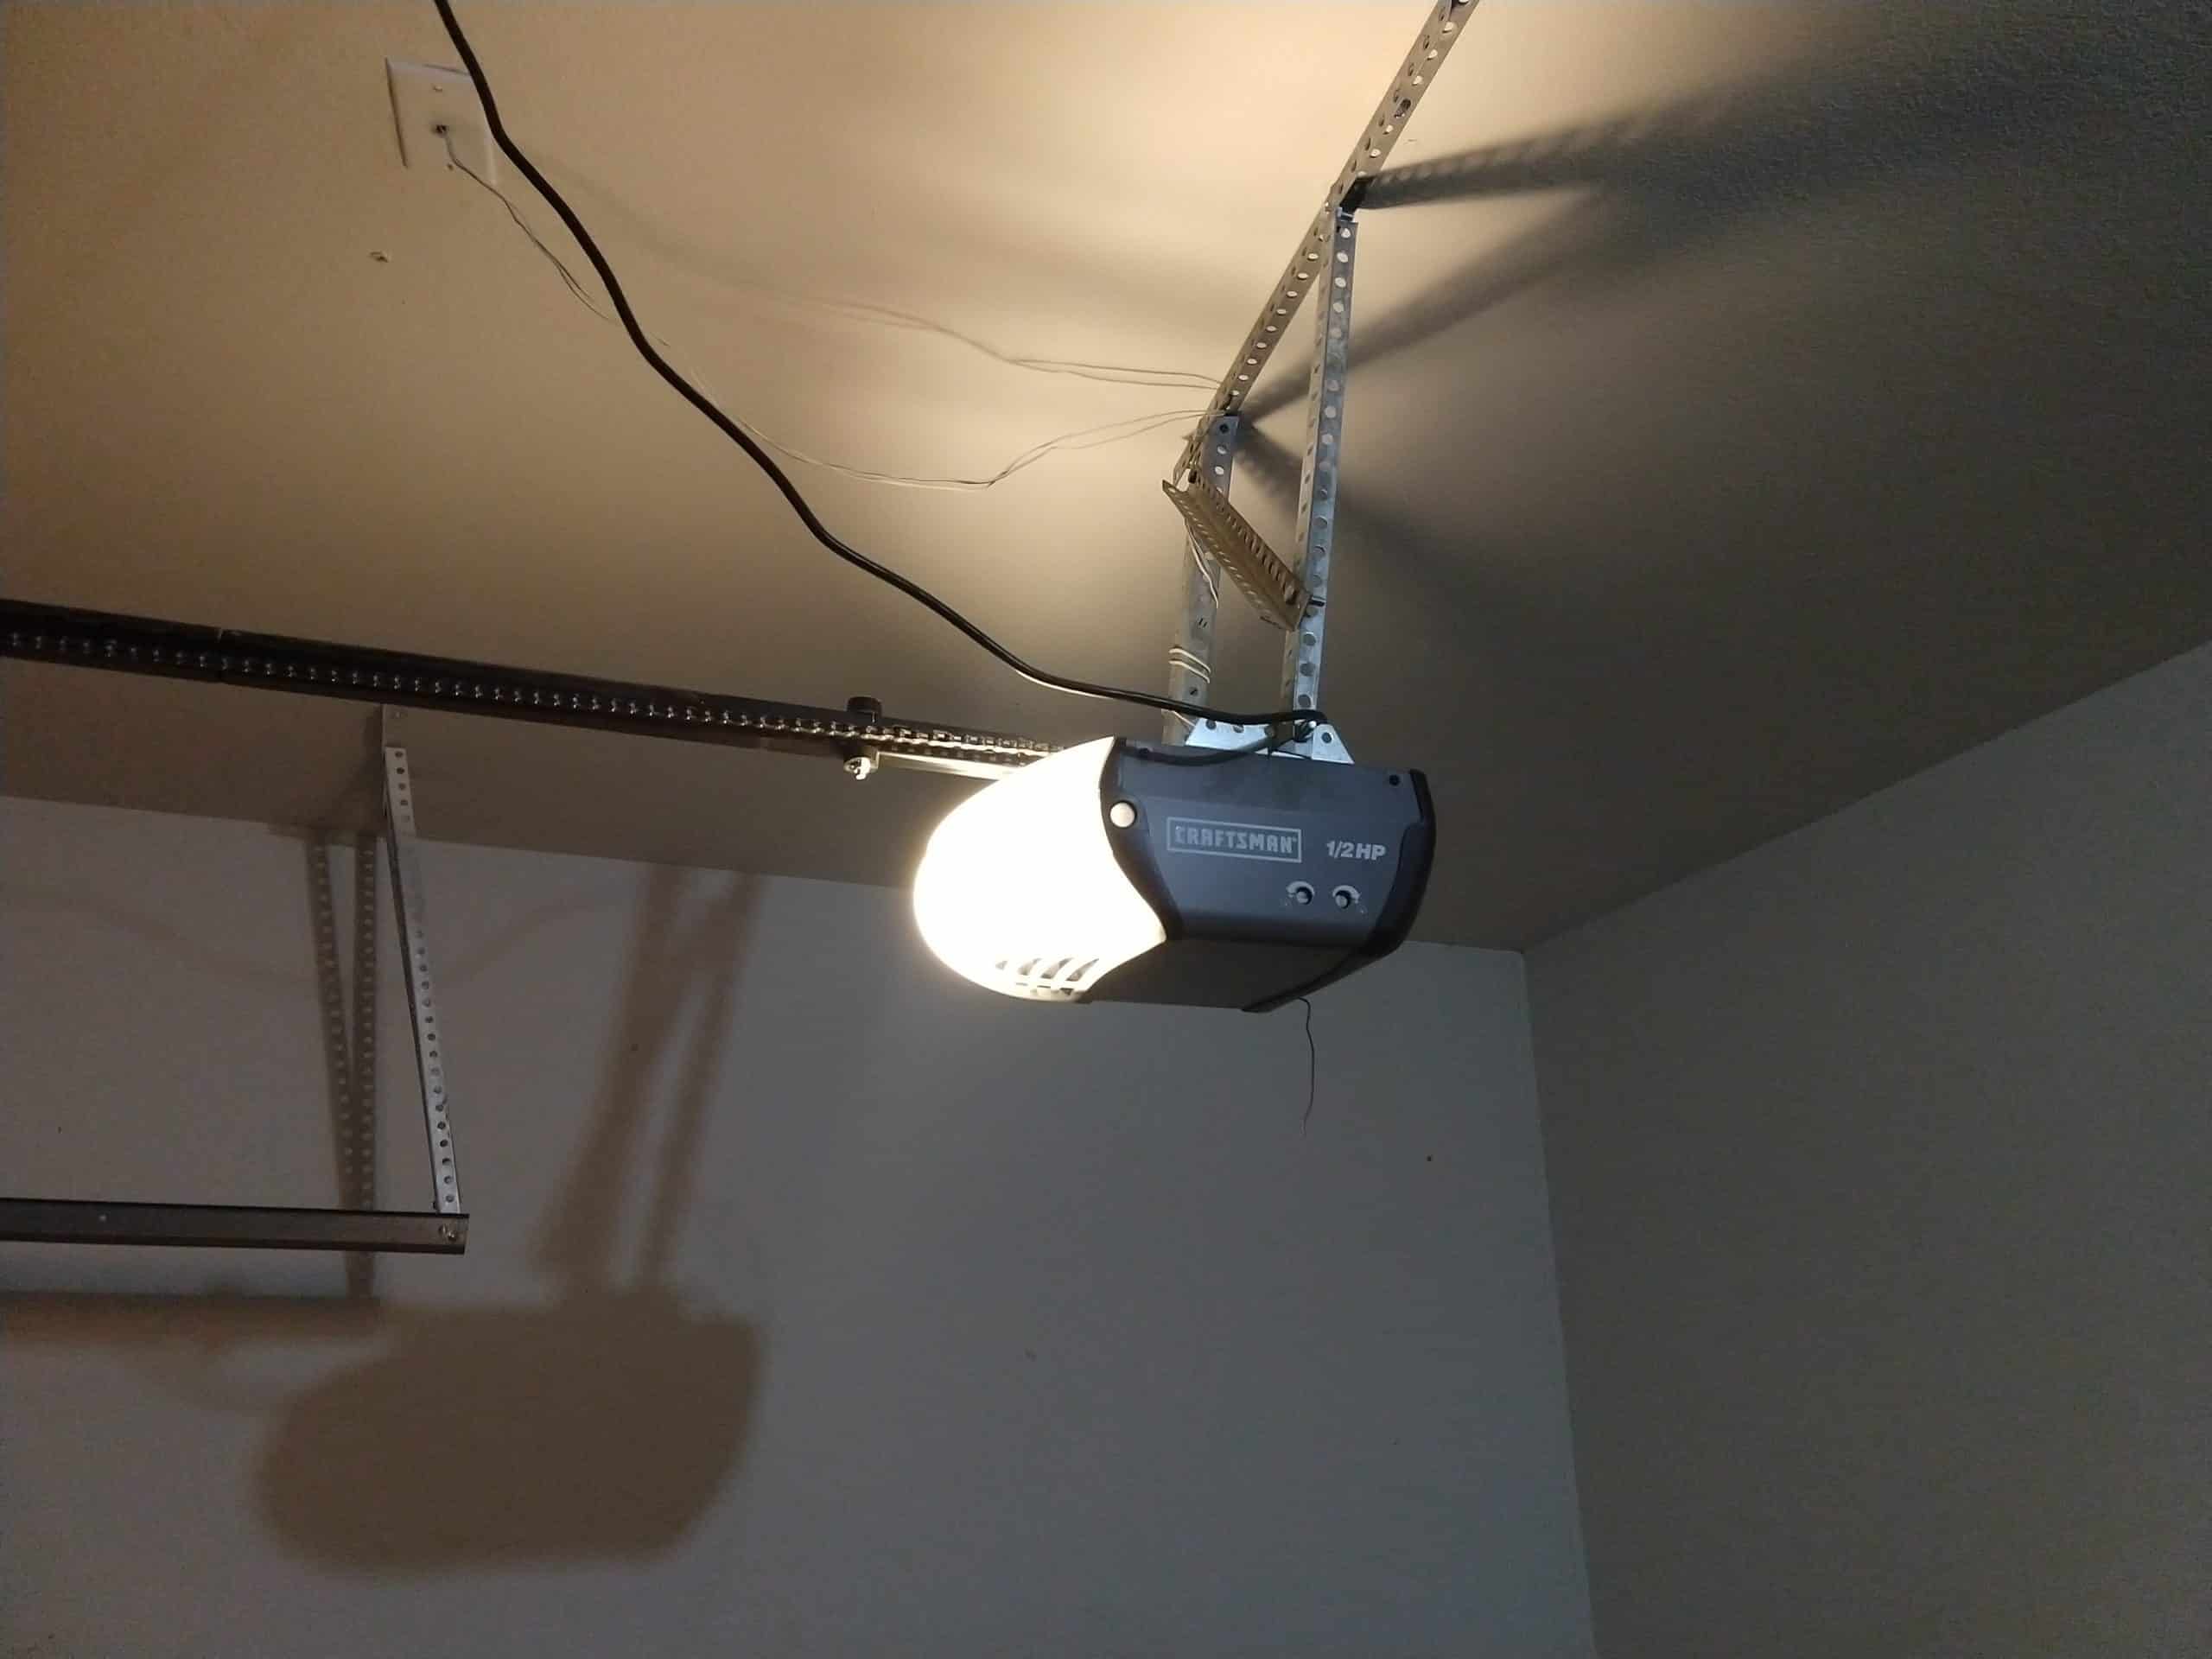
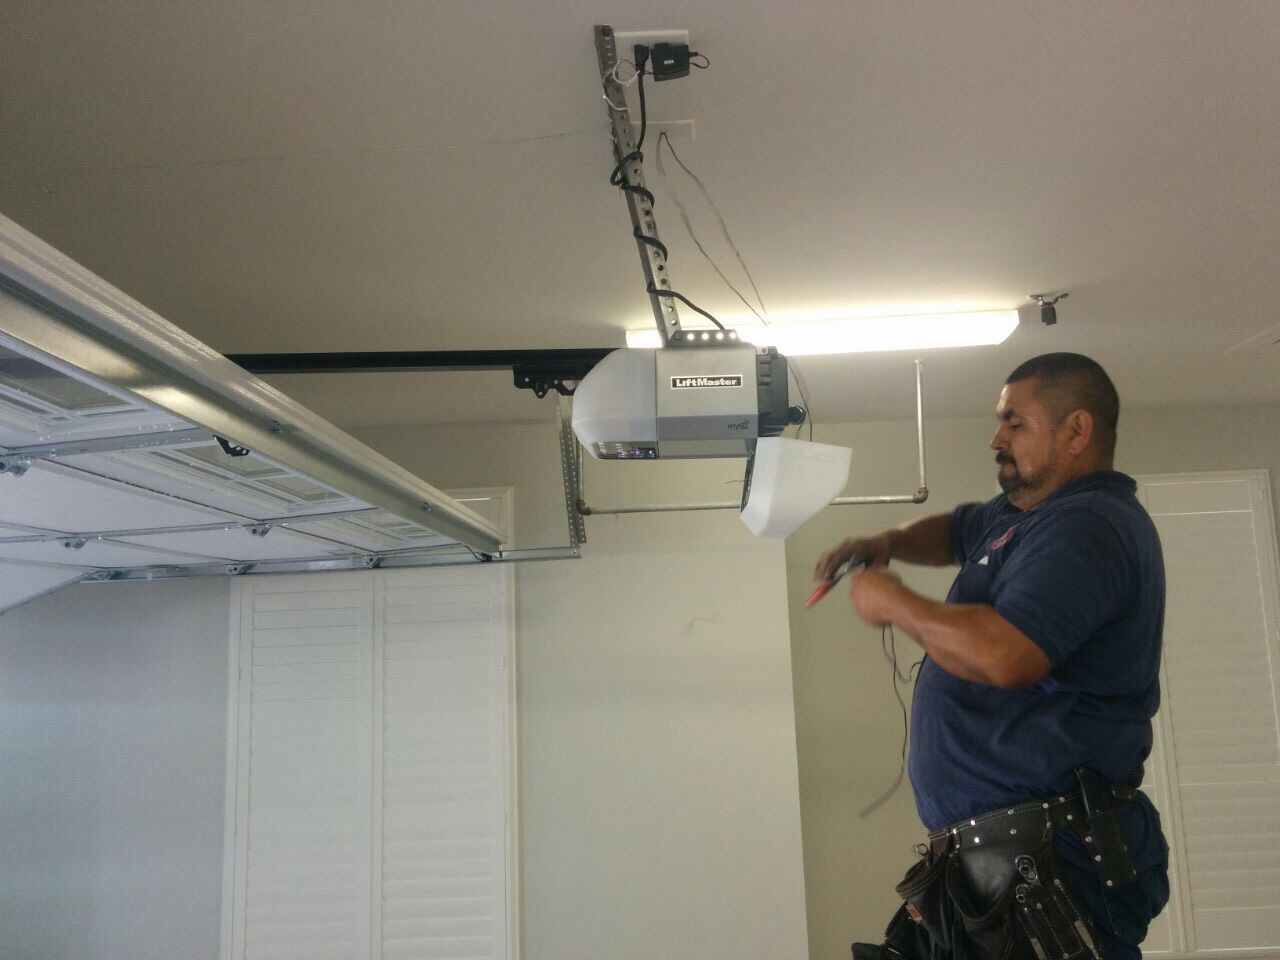
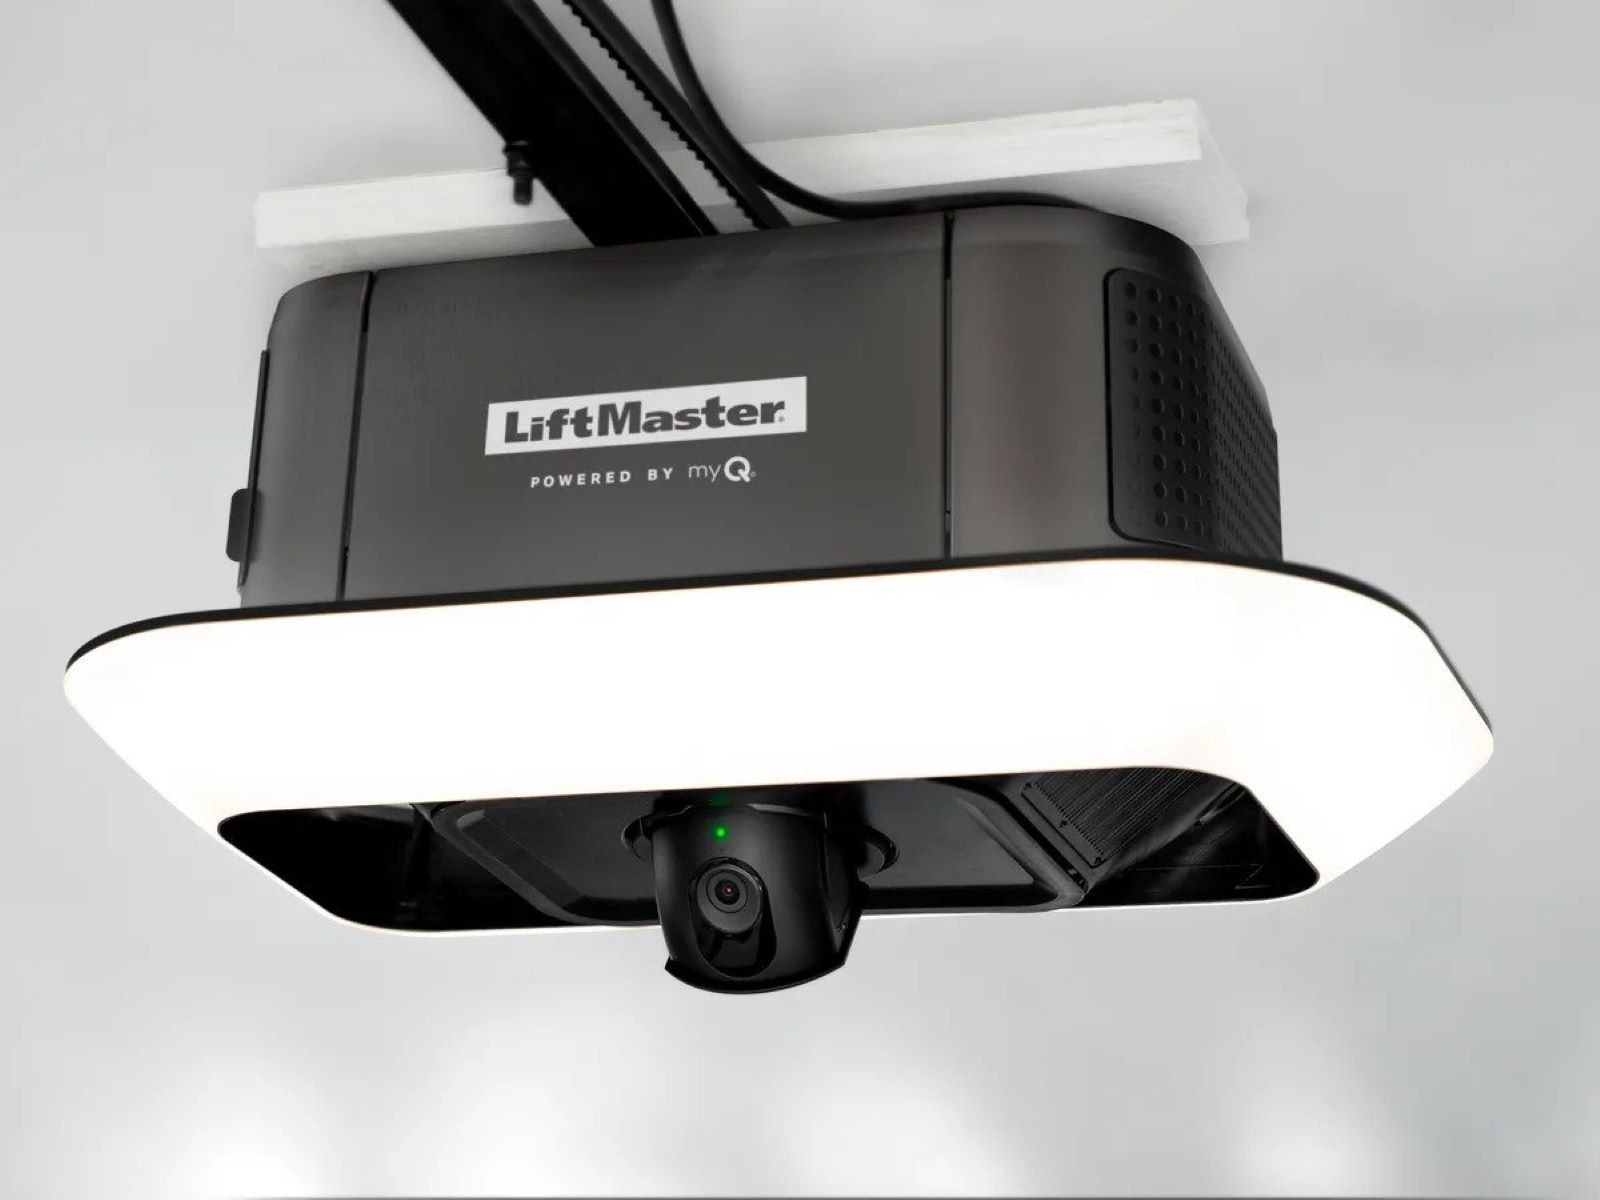
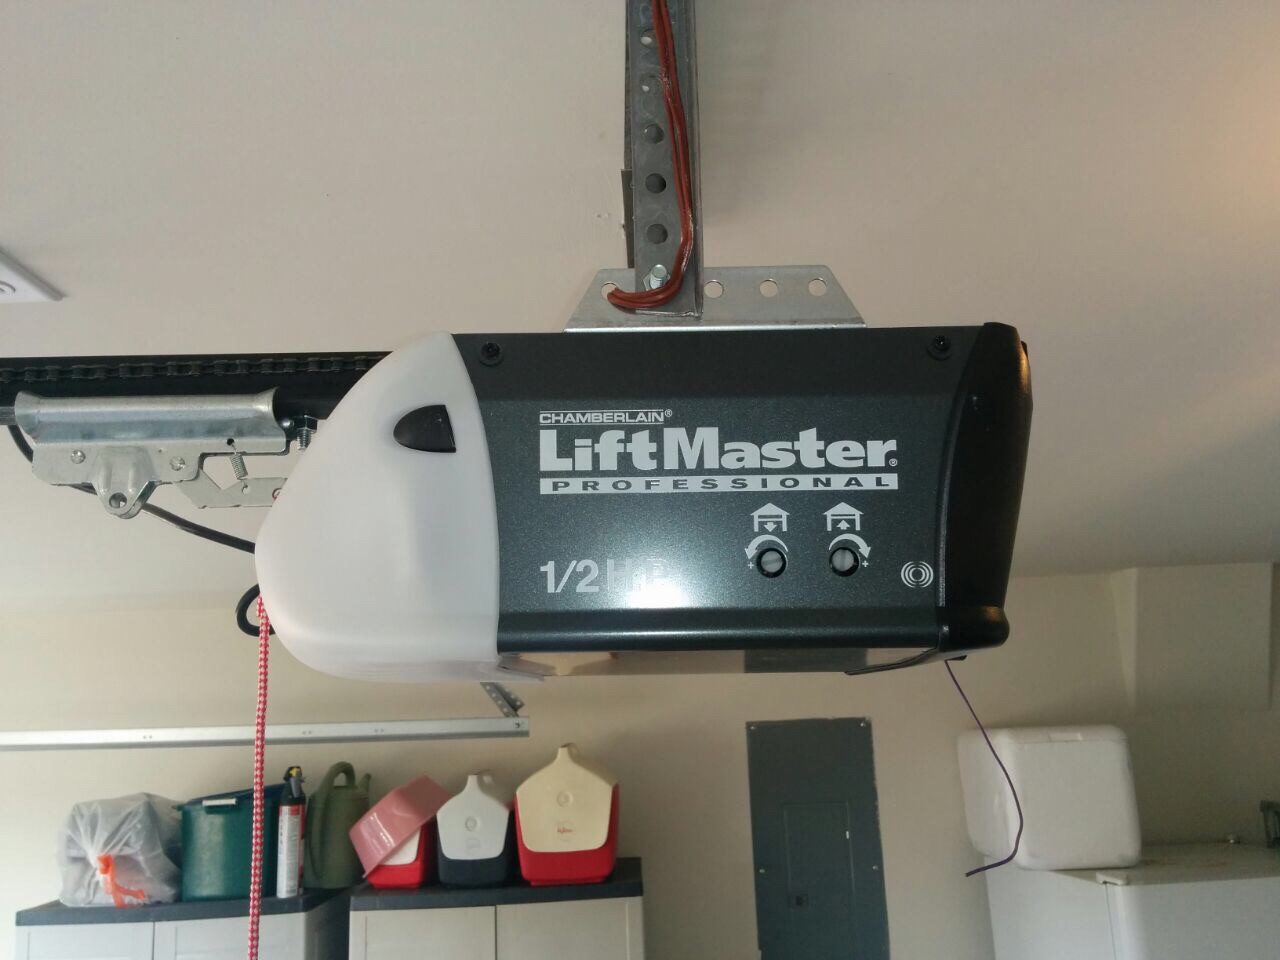
To find the Learn button, you will need to access the motor unit of your garage door opener. This is typically located on the ceiling of your garage. If you are unsure about the exact location, consult your garage door opener’s instruction manual for guidance.
Once you have located the motor unit, you should see a small square or circular button prominently labeled as the Learn button. It is usually located near the antenna wire. The appearance and position of the Learn button may vary depending on the model of your Liftmaster garage door opener.
Take a moment to familiarize yourself with the location of the Learn button and ensure that it is easily accessible. This button plays a crucial role in the connection process, so it’s important to have a clear understanding of its location before proceeding to the next step.
Step 3: Press and Release the Learn Button
Now that you have located the Learn button on your Liftmaster garage door opener, it’s time to proceed with the next step: pressing and releasing the Learn button.
Before you press the Learn button, it is important to ensure that there are no obstacles obstructing the garage door and that everyone in the vicinity is aware that you are about to perform this step. Safety should always be a top priority when working with garage door openers.
To press the Learn button, simply use your finger or a small tool to apply gentle pressure to the button. Hold it down for one to two seconds and then release it. You should see an indicator light or hear a beep to confirm that the Learn button has been successfully activated.
It’s important to note that some models of Liftmaster garage door openers may require you to press and hold the Learn button for a longer period of time or perform additional steps. Always refer to the instruction manual provided by the manufacturer for your specific model to ensure you are following the correct procedure.
Pressing and releasing the Learn button initiates the programming mode of your garage door opener, allowing it to accept signals from the remote. This step is crucial for establishing a connection between the opener and the remote, so make sure to execute it properly.
Now that the Learn button has been pressed and released, you are ready to move on to the next step: activating the garage door opener remote.
Make sure to follow the manufacturer’s instructions for wiring and programming the Liftmaster garage door opener. Use the provided manual for step-by-step guidance.
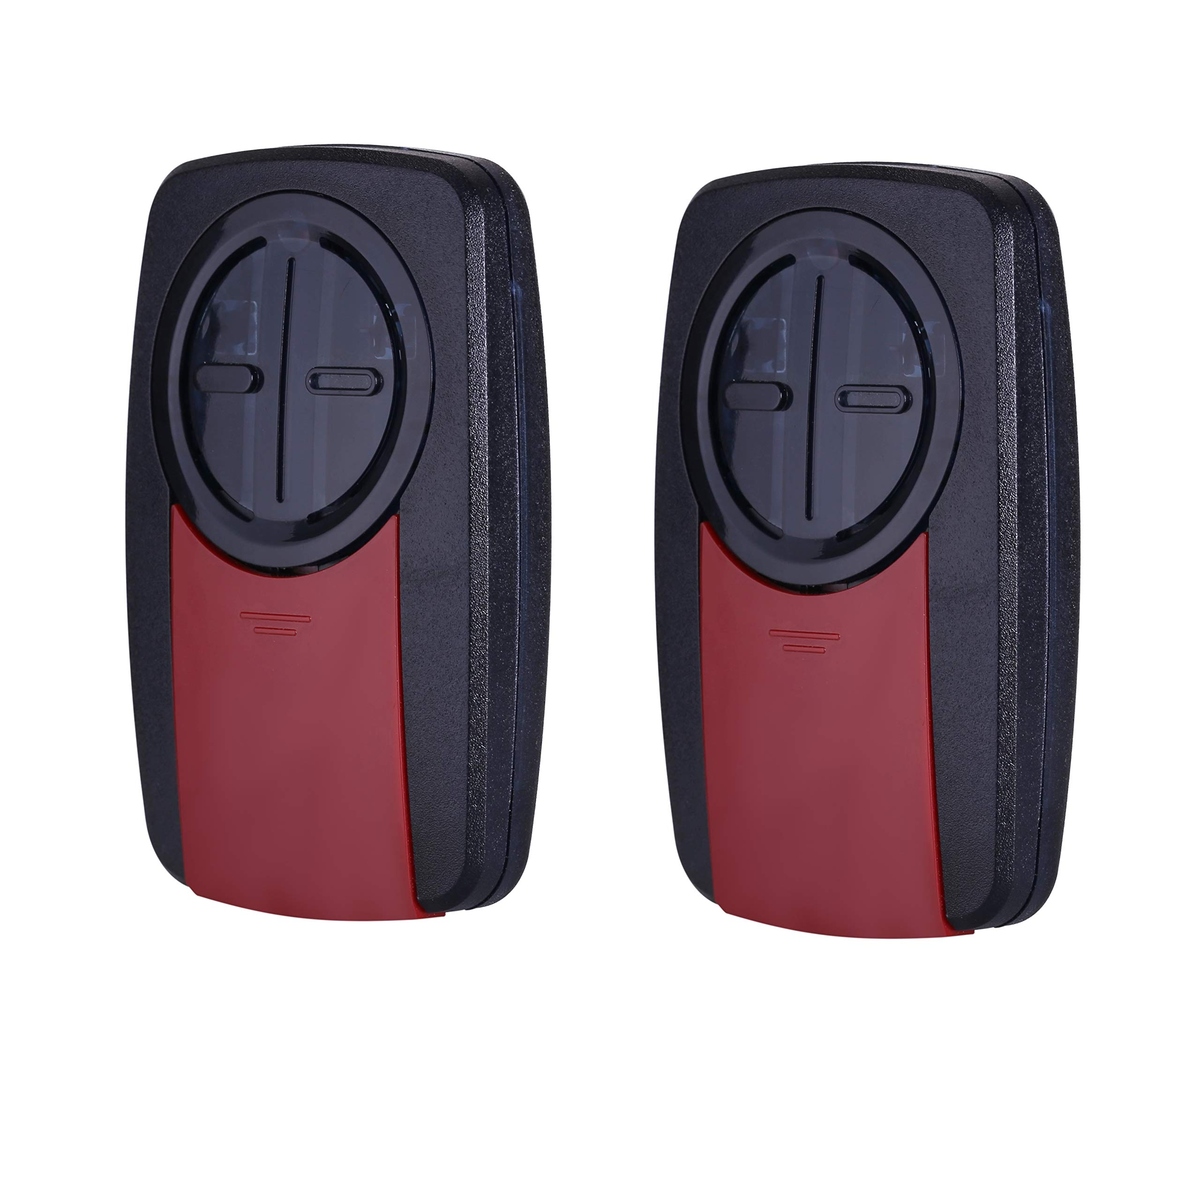
Step 4: Activate the Garage Door Opener Remote
With the Learn button on your Liftmaster garage door opener activated, it’s time to proceed with activating the garage door opener remote. This step will establish the connection between the remote and the opener, allowing you to control the garage door with the press of a button.
To activate the remote, follow these steps:
- Press and hold the button on the garage door remote that you want to program to the opener. Hold it down until you see the indicator light on the remote flash, or you hear a beep.
- While holding down the button on the remote, move to the garage door opener and press the Learn button once more. This will signal the opener to accept the programming from the remote.
- Wait for a couple of seconds and then release the button on the remote. You should see the indicator light on the remote stop flashing or hear a confirmation beep.
By following these steps, you effectively activate the garage door opener remote and establish a connection with the opener. This connection allows the remote to send signals to the opener, instructing it to open or close the garage door.
It’s important to note that during this step, you need to be in close proximity to the garage door opener to ensure a strong and reliable signal between the remote and the opener. Additionally, if you have multiple garage door remotes that you want to program to the opener, repeat these steps for each remote.
Now that you have successfully activated the garage door opener remote, it’s time to move on to the final step: testing the connection.
Step 5: Test the Connection
After successfully activating the garage door opener remote, it’s important to test the connection to ensure that everything is working properly. Testing the connection will help you verify that the remote can effectively control the garage door opener and that the connection is reliable.
To test the connection, follow these steps:
- Stand at a safe distance from the garage door, away from any potential hazards.
- Press the button on the remote that you programmed to the garage door opener. You should see or hear the garage door opener respond by either opening or closing the garage door.
- Observe the movement of the garage door. It should open or close smoothly and without any issues.
If the garage door does not respond to the remote, or if it exhibits any unusual behavior, there may be an issue with the programming or the connection. In this case, you may need to repeat the previous steps or consult the instruction manual for troubleshooting guidance.
It’s important to thoroughly test the connection to ensure that it is reliable. This will give you peace of mind knowing that you can effortlessly control your garage door with the remote.
Once you have tested the connection and confirmed that the remote is working properly, congratulations! You have successfully connected your Liftmaster garage door opener to the remote.
It’s always a good idea to periodically test the connection to ensure its continued functionality. Additionally, make sure to keep the remote in a safe and easily accessible location.
Now that you have completed the testing, you can move on to the final step: repeating the process for additional remotes.
Step 6: Repeat the Process for Additional Remotes
If you have multiple garage door remotes that you want to connect to your Liftmaster garage door opener, you will need to repeat the process for each remote. This step ensures that all the remotes are programmed and connected to the opener, allowing you to have multiple access points to control your garage door.
To repeat the process for additional remotes, follow these steps:
- Start by gathering the additional remotes that you want to program to the garage door opener.
- For each remote, follow the instructions from Step 4 to activate the remote by pressing and holding the button until you see the indicator light flash or hear a beep.
- While holding the button on the remote, move to the garage door opener and press the Learn button once again, just like in the previous steps.
- Wait for a few seconds and then release the button on the remote. You should see the indicator light stop flashing or hear a confirmation beep.
By repeating these steps for each additional remote, you will ensure that all the remotes are properly connected to the garage door opener. This allows you and your family members to have multiple remotes for convenient access to your garage.
It’s important to note that during this process, each remote should be programmed separately to avoid any interference or confusion. Take your time and follow the steps carefully to ensure a successful connection for each remote.
Once you have repeated the process for all the additional remotes, you can be confident that each one is properly connected to your Liftmaster garage door opener.
Congratulations! You have successfully connected multiple remotes to your garage door opener, enhancing the convenience and accessibility of your garage.
With all the remotes programmed and connected, you can now enjoy the ease of opening and closing your garage door from multiple locations.
Before we conclude, let’s do a quick recap of the steps:
- Gather the necessary tools and materials.
- Locate the garage door opener’s Learn button.
- Press and release the Learn button.
- Activate the garage door opener remote.
- Test the connection.
- Repeat the process for additional remotes.
Conclusion
Connecting your Liftmaster garage door opener to a remote is a simple and straightforward process that can greatly enhance the convenience and ease of accessing your garage. By following the step-by-step instructions provided in this article, you can successfully establish a connection between the opener and the remote, allowing you to effortlessly open and close your garage door.
Throughout the process, it’s important to refer to the instruction manual provided by the manufacturer for your specific model of garage door opener. This will ensure that you are following the correct steps and procedures.
Remember, safety should always be a top priority when working with garage door openers. Take the necessary precautions and carefully follow the instructions to avoid any accidents or injuries.
Once you have successfully connected the garage door opener to the remote, be sure to periodically test the connection to ensure its continued functionality. This will give you peace of mind knowing that you can rely on your remote to control your garage door.
Having multiple remotes can also be beneficial, allowing multiple family members to have convenient access to the garage. Repeat the process for each additional remote to ensure that all remotes are properly connected to the opener.
By taking the time to properly connect your Liftmaster garage door opener to a remote, you can enjoy a more convenient and efficient way of operating your garage door. No more manual lifting or struggling to open the door! With just the press of a button, you can enter or exit your garage with ease.
We hope this article has been helpful in guiding you through the process of connecting your garage door opener to a remote. Enjoy the convenience and enjoy your newly connected Liftmaster garage door opener!
Frequently Asked Questions about How To Connect Garage Door Opener Liftmaster
Was this page helpful?
At Storables.com, we guarantee accurate and reliable information. Our content, validated by Expert Board Contributors, is crafted following stringent Editorial Policies. We're committed to providing you with well-researched, expert-backed insights for all your informational needs.
0 thoughts on “How To Connect Garage Door Opener Liftmaster”