Home>Ideas and Tips>DIY Guide To Installing A Bathroom Shower With Dual Shower Heads And Body Jets
Ideas and Tips
DIY Guide To Installing A Bathroom Shower With Dual Shower Heads And Body Jets
Modified: October 28, 2024
Transform your bathroom with our DIY guide to installing a shower with dual shower heads and body jets. Enjoy a luxurious spa-like experience at home!
(Many of the links in this article redirect to a specific reviewed product. Your purchase of these products through affiliate links helps to generate commission for Storables.com, at no extra cost. Learn more)
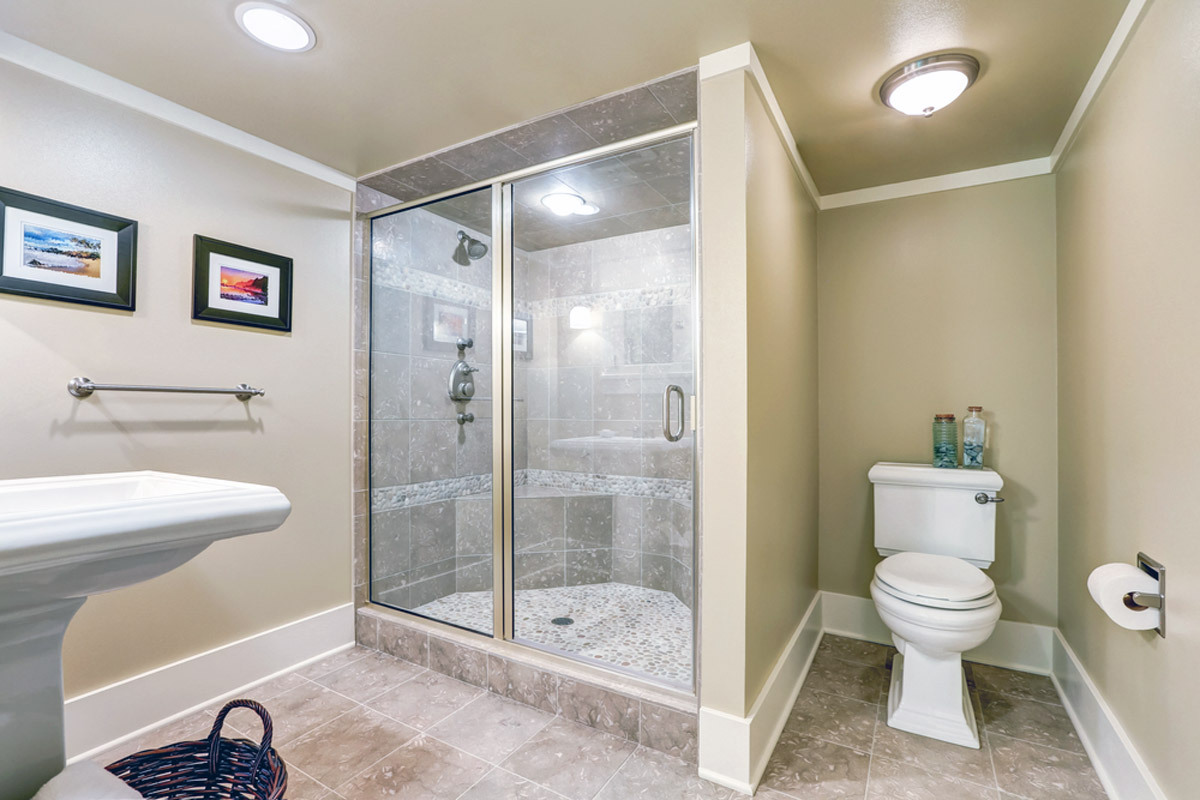
Installing a bathroom shower with dual shower heads and body jets can transform your daily shower experience into a luxurious spa-like retreat. This guide will walk you through the steps required to install such a system, ensuring that you have all the necessary tools and knowledge to complete the project successfully.
Why Choose a Dual Shower Head and Body Jet System?
Before diving into the installation process, it's important to understand why these systems are so popular. Here are a few reasons:
- Luxurious Experience: Dual shower heads and body jets provide a more comprehensive shower experience, offering multiple water streams that can be adjusted to different temperatures and pressures. This variety allows you to customize your shower to suit your mood and preferences.
- Aesthetic Appeal: These systems can add an elegant and contemporary touch to your bathroom, enhancing its overall aesthetic appeal.
- Relaxation: The combination of rainfall and body jets creates a soothing and relaxing experience, perfect for unwinding after a long day.
Tools and Materials Needed
To ensure that your project is completed efficiently, gather the following tools and materials:
- Rain Shower Head Kit: This includes the rain shower head itself, as well as any necessary connectors and adapters.
- Body Jet Kit: This kit should include the body jets, their mounting hardware, and any necessary plumbing fittings.
- Shower Panel or Column: This is the central unit that houses the dual shower heads and body jets.
- Plumber’s Tape (Teflon Tape): Essential for creating watertight seals on threaded connections.
- Pipe Thread Sealant (Optional): Additional protection against leaks.
- Adjustable Wrench: For tightening and loosening fittings.
- Screwdriver: For assembling and disassembling parts.
- Silicone Caulk (Optional): To seal any gaps around the shower panel or column.
- Safety Glasses: For protecting your eyes during the installation process.
- Step Ladder (If Needed): For reaching high areas of the shower.
Step-by-Step Installation Guide
Step 1: Turn Off the Water Supply
Before starting any plumbing project, it's crucial to turn off the water supply to your shower. Locate the shut-off valve in your bathroom or the main water supply to the house and turn it off. This will prevent any accidental water flow during the installation process.
Step 2: Remove the Old Shower Head
Using an adjustable wrench or pliers, carefully remove your old shower head by turning it counterclockwise. Be cautious not to damage the water pipe in the process. Once you’ve unscrewed the old shower head, you can set it aside.
Step 3: Clean the Pipe Thread
Inspect the exposed pipe thread for any debris or old plumber’s tape. Clean the threads thoroughly, removing any residual tape or debris that may interfere with the installation of the new rain shower head.
Step 4: Apply Plumber’s Tape
To ensure a watertight seal, wrap the threads of the shower arm with plumber’s tape (Teflon tape) in a clockwise direction. Wrap it around the threads two to three times for a secure fit. This step helps prevent leaks.
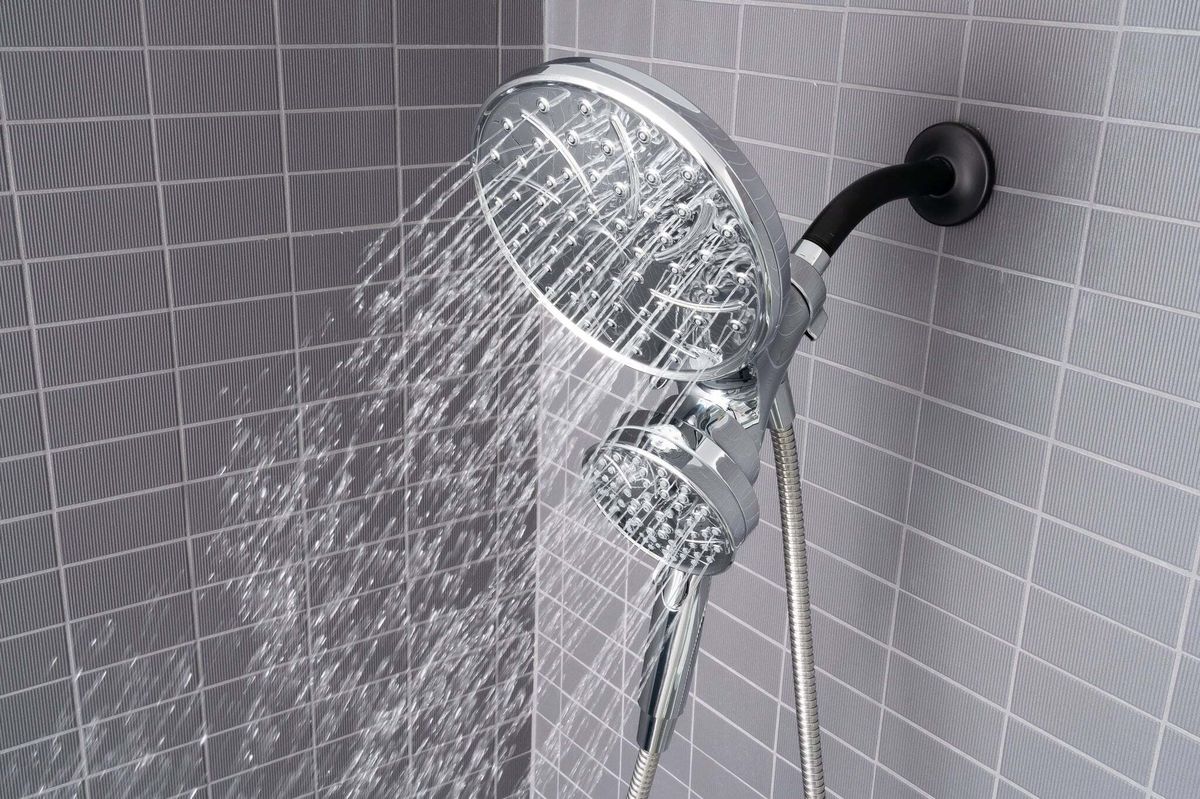
Step 5: Install the Rain Shower Head
Screw the new rain shower head onto the cleaned and taped shower arm. Use an adjustable wrench to tighten it, but be careful not to overtighten it, as it may damage the shower arm or the rain shower head.
Step 6: Install Body Jets
For installing body jets, follow these steps:
- Mounting: Attach each body jet to its designated mounting point on the shower panel or column. Ensure that all jets are securely fastened with provided hardware.
- Plumbing Connections: Connect each body jet to the main water supply line using appropriate fittings. Make sure all connections are tightened securely but avoid overtightening.
- Pressure Loop: If you're installing multiple body jets, consider installing a pressure balancing loop to ensure each jet delivers water at the same spray volume and temperature. This loop will help maintain optimal performance and prevent uneven water distribution.
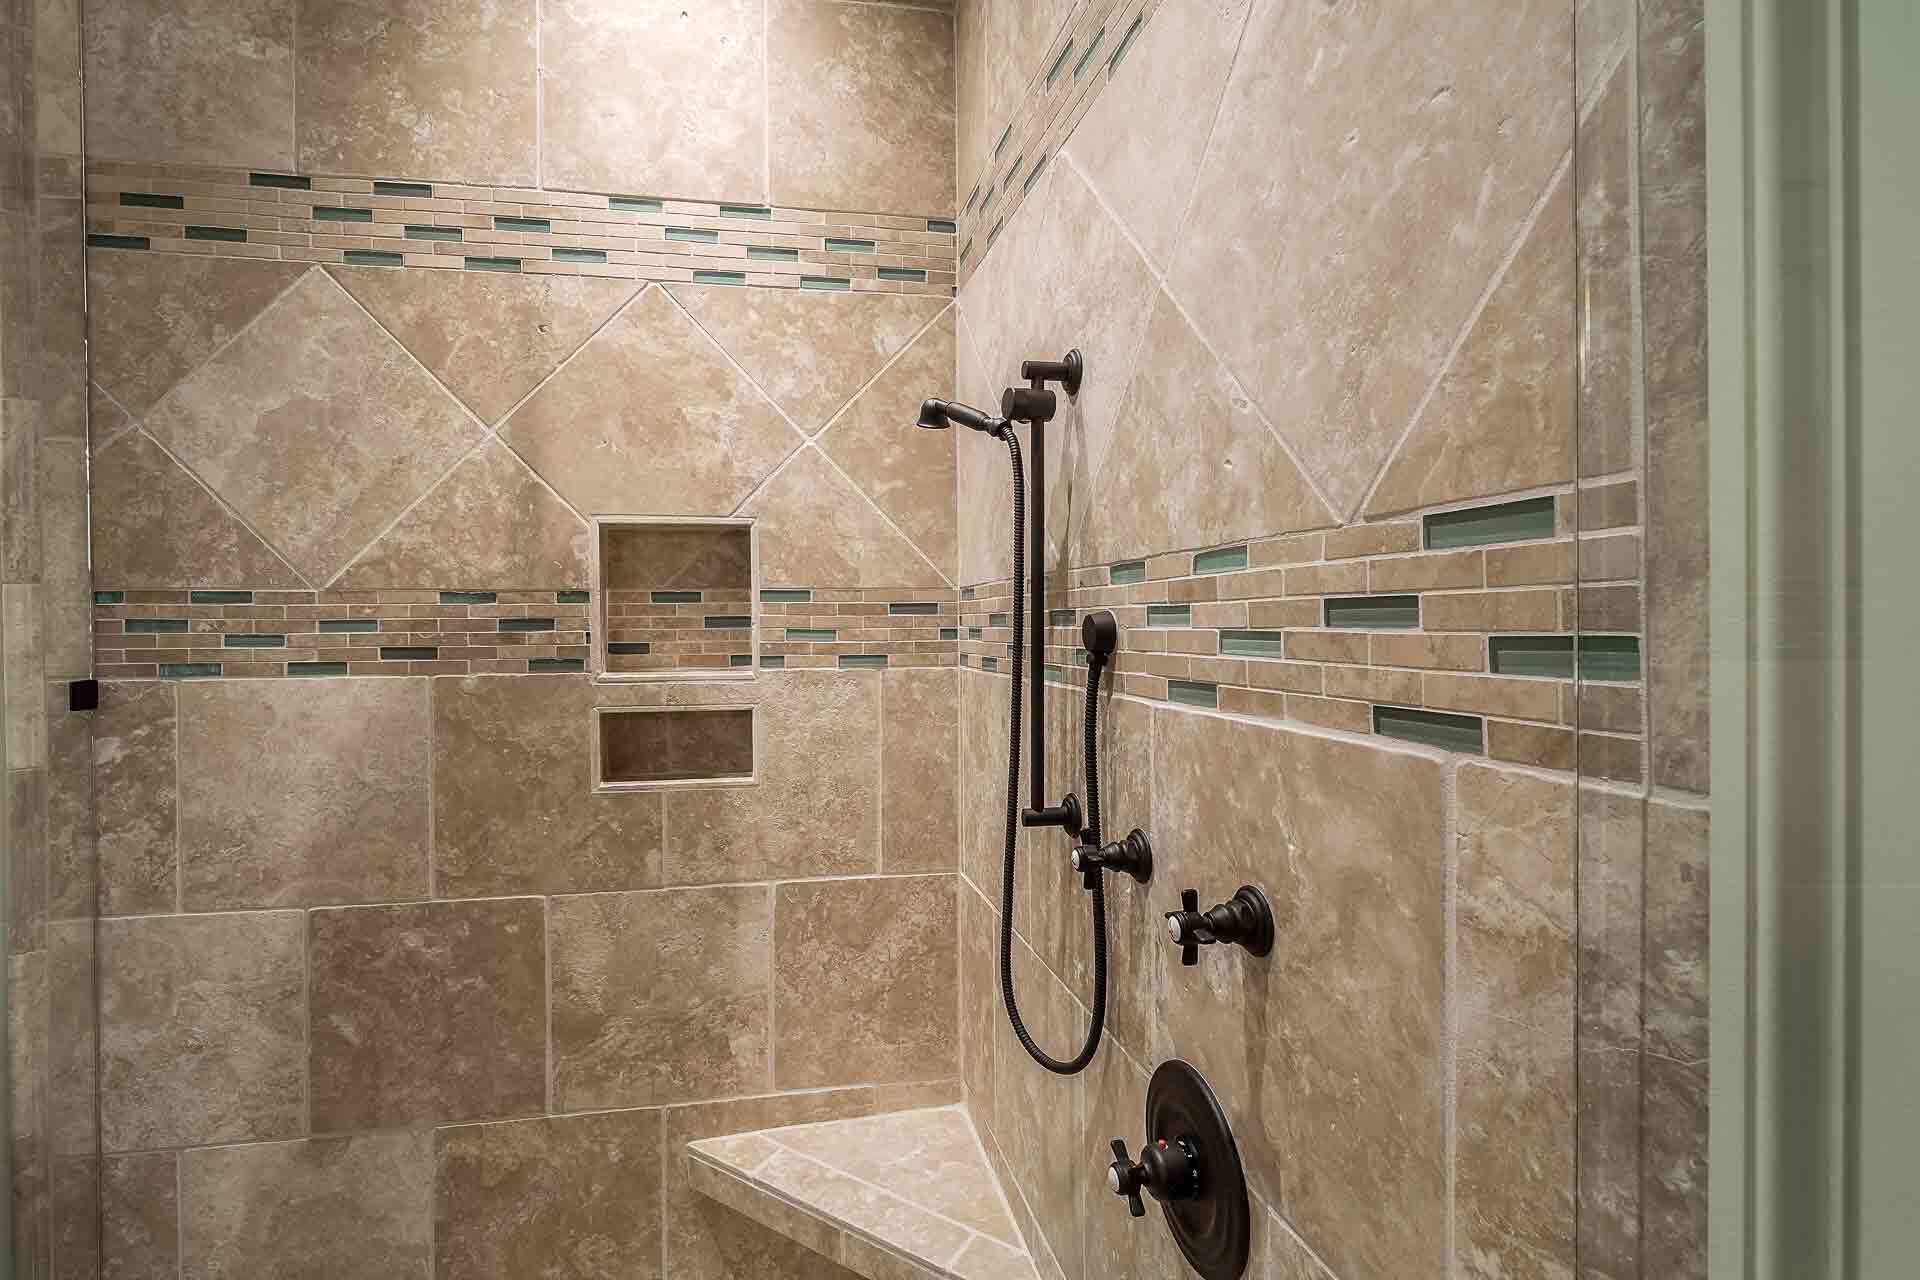
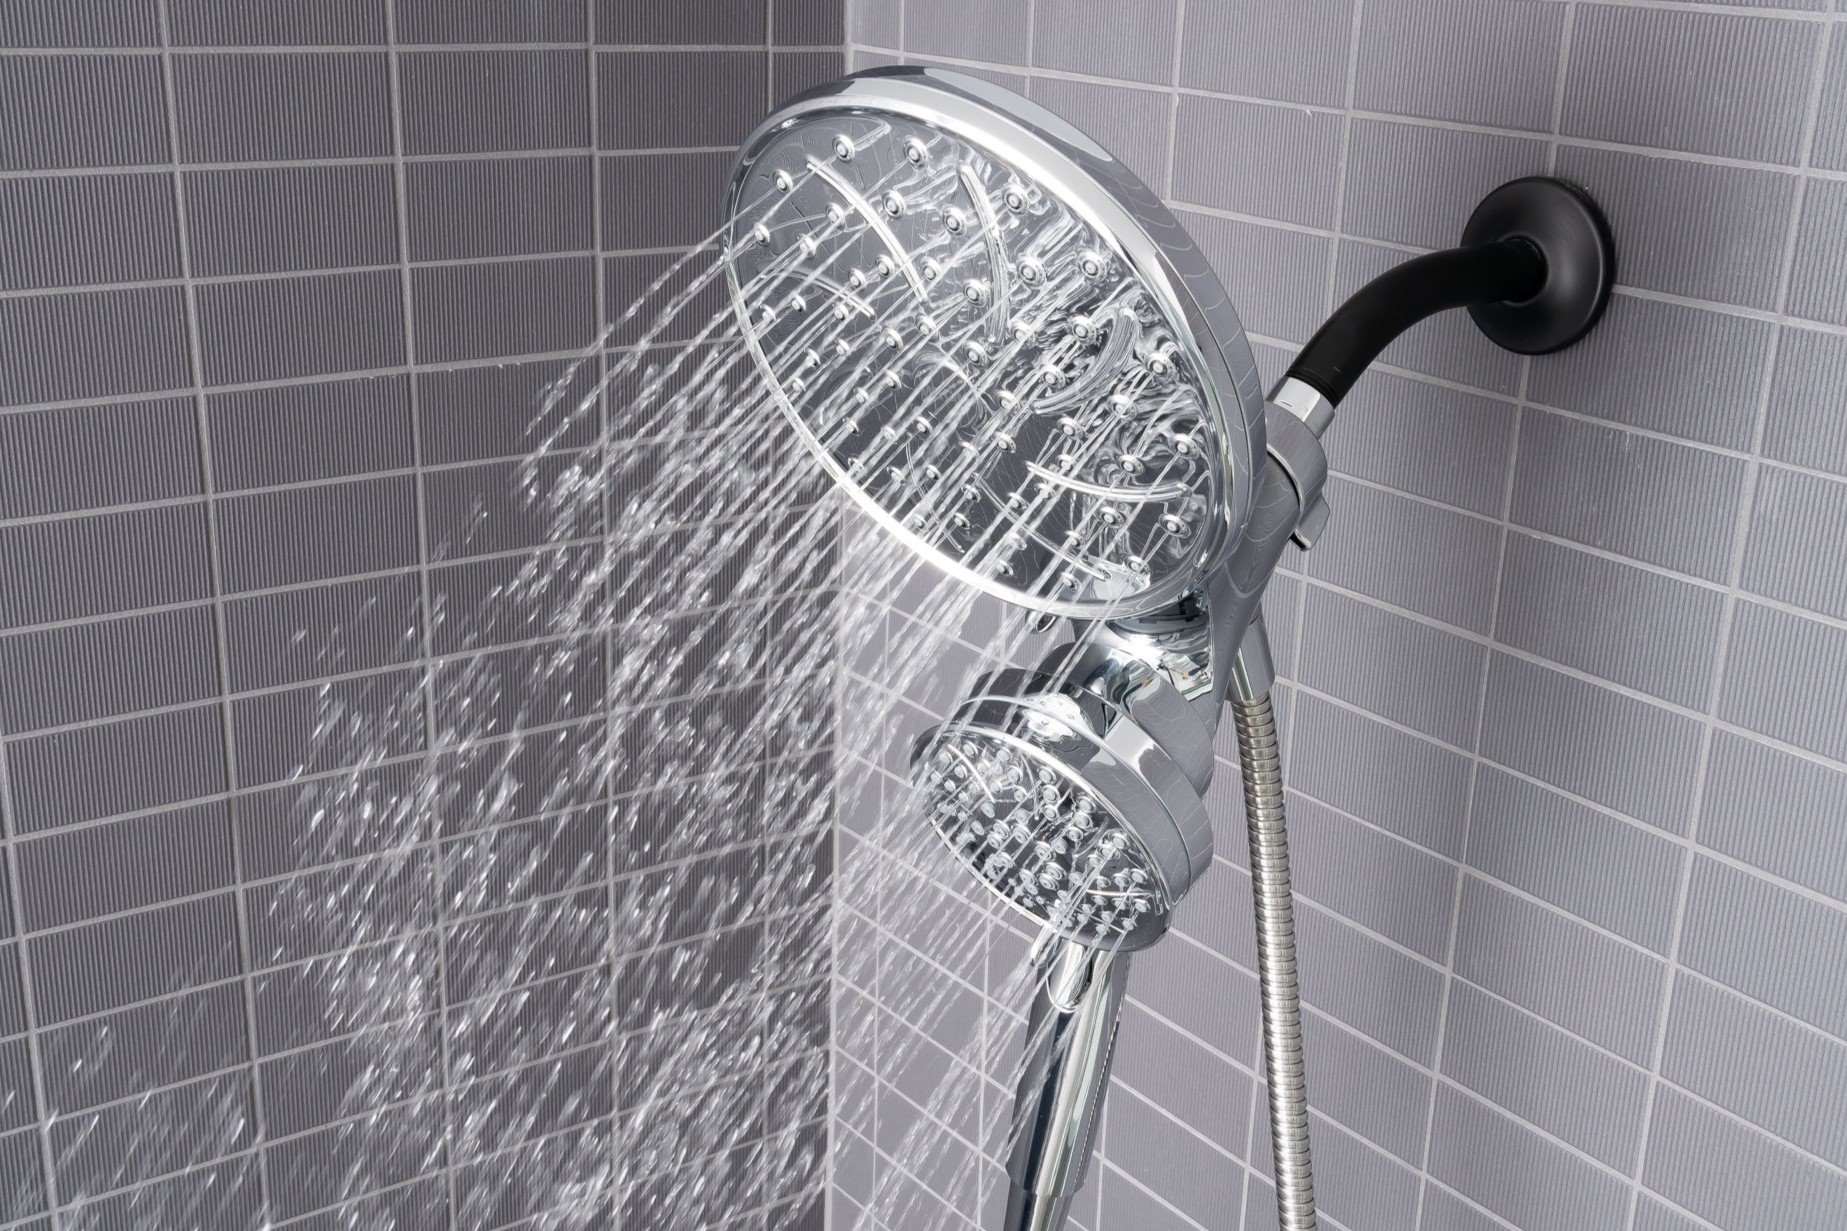
Step 7: Connect Dual Shower Heads
- Mounting: Attach both dual shower heads to their designated mounting points on the shower panel or column. Ensure that all heads are securely fastened with provided hardware.
- Plumbing Connections: Connect each dual shower head to the main water supply line using appropriate fittings. Make sure all connections are tightened securely but avoid overtightening.
Step 8: Test for Leaks
After attaching all components, turn on the water supply and check for any leaks around connections. If you notice any water seeping out, turn off the water supply and tighten connections further. You can also use pipe thread sealant for extra security.
Step 9: Caulk (Optional)
If your shower panel or column includes gaps that need sealing, apply a small bead of silicone caulk around these areas. This helps create a watertight seal and adds a clean finish to your installation.
Step 10: Final Check
Once you've ensured there are no leaks and everything is securely in place, it's time to enjoy your new dual shower head and body jet system. Turn on both shower heads and body jets simultaneously to experience the full luxury of your newly installed shower system.
Additional Tips and Considerations
Professional Installation
While this guide provides detailed instructions for DIY installation, it's important to note that professional installation may be recommended for complex systems or those requiring extensive plumbing work. A certified plumber can ensure that all connections are secure and meet local building codes.
Pressure Balancing Loop
As mentioned earlier, installing a pressure balancing loop is crucial for maintaining optimal performance in multi-jet systems. This loop ensures that each outlet delivers water at the same spray volume and temperature, providing an even distribution of water pressure throughout the shower.
Aesthetic Considerations
When choosing your shower panel or column, consider its aesthetic appeal. Modern designs often feature sleek lines and contemporary finishes like stainless steel or brushed nickel, which can enhance the overall look of your bathroom.
Maintenance Tips
To maintain your new shower system:
- Regularly Clean Jets: Use a soft brush or cloth to clean body jets regularly, removing any mineral deposits or debris that may affect performance.
- Check Connections: Periodically inspect all connections for signs of wear or leaks.
- Adjust Jets: Adjust the position of body jets as needed to ensure optimal water distribution.
Conclusion
Installing a bathroom shower with dual shower heads and body jets is a rewarding DIY project that can significantly enhance your daily shower experience. By following these steps carefully and considering additional tips and considerations, you can create a luxurious spa-like environment right in the comfort of your own home.
Remember to always observe local building codes and safety guidelines during any plumbing project. If you're unsure about any part of the process, it's always best to consult a professional plumber for assistance. With patience and attention to detail, you'll be enjoying your new luxurious shower system in no time
Was this page helpful?
At Storables.com, we guarantee accurate and reliable information. Our content, validated by Expert Board Contributors, is crafted following stringent Editorial Policies. We're committed to providing you with well-researched, expert-backed insights for all your informational needs.


0 thoughts on “DIY Guide To Installing A Bathroom Shower With Dual Shower Heads And Body Jets”