Home>Ideas and Tips>DIY Guide To Installing A Bathroom Shower With Dual Showerheads

Ideas and Tips
DIY Guide To Installing A Bathroom Shower With Dual Showerheads
Modified: October 28, 2024
Enhance your shower experience with our DIY guide to installing dual showerheads. Step-by-step instructions and tips for a successful installation.
(Many of the links in this article redirect to a specific reviewed product. Your purchase of these products through affiliate links helps to generate commission for Storables.com, at no extra cost. Learn more)
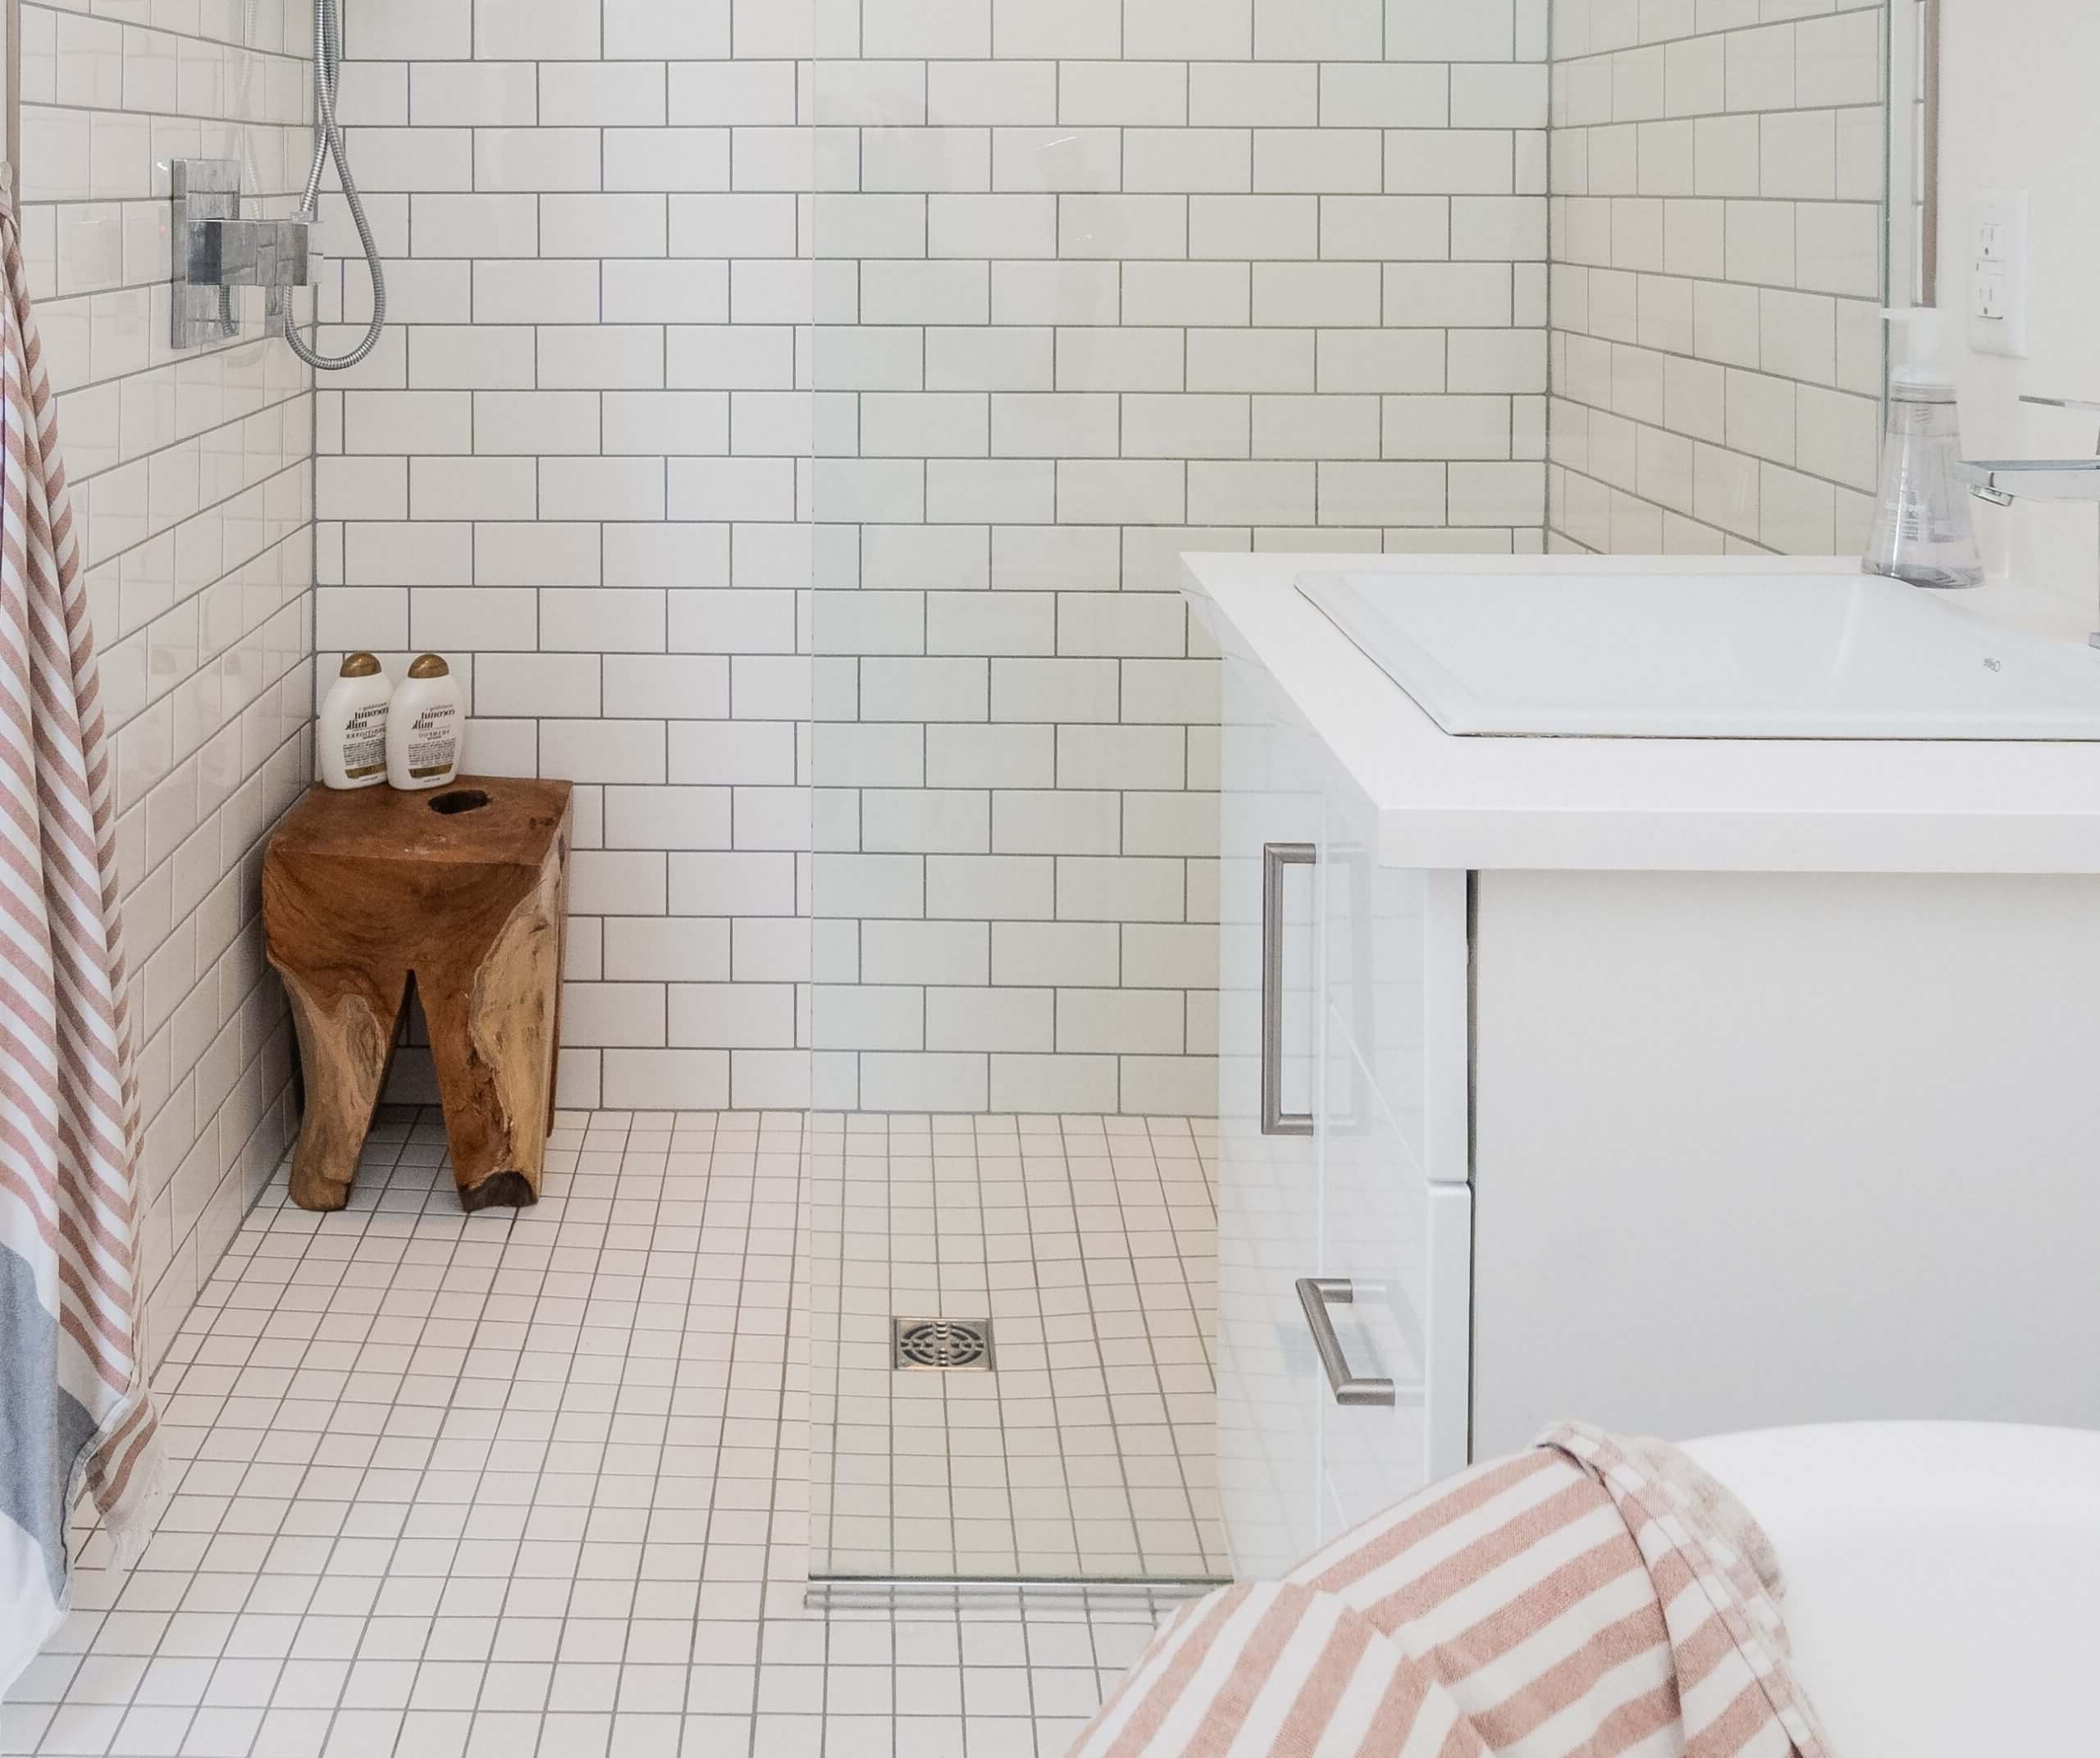
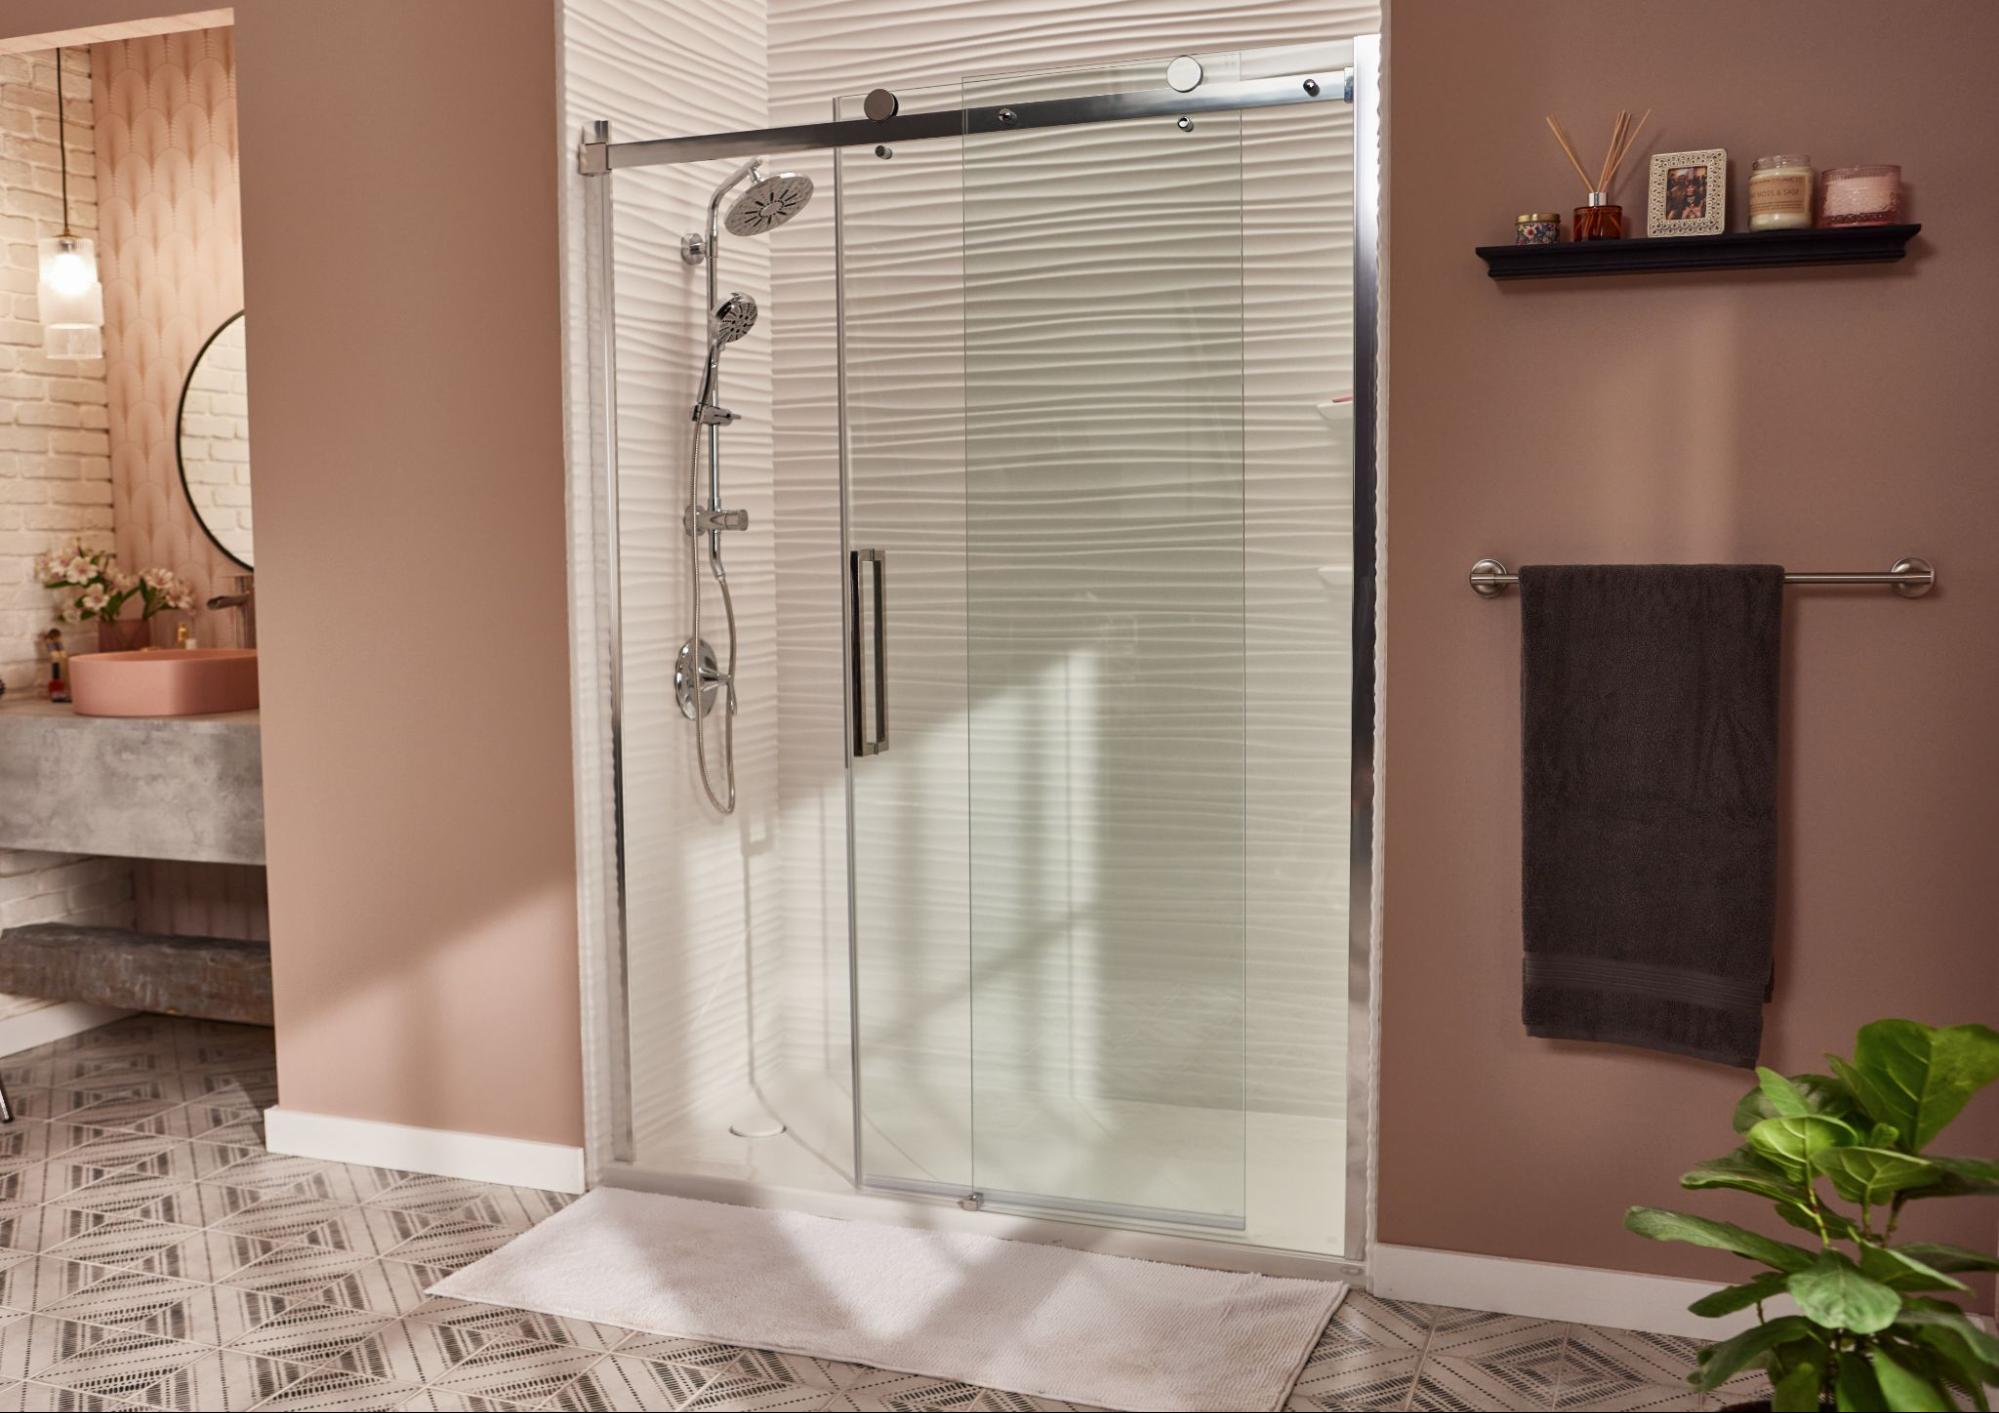
Installing a dual showerhead in your bathroom can be a fantastic way to enhance your showering experience. Not only does it provide the convenience of having multiple showerheads, but it also allows for more flexibility and customization. In this comprehensive guide, we will walk you through the steps required to install a dual showerhead system, including the necessary tools and materials, and provide tips for a successful installation.
Choosing the Right Components
Before you start your project, it's essential to choose the right components for your dual showerhead system. Here are some key components you'll need:
-
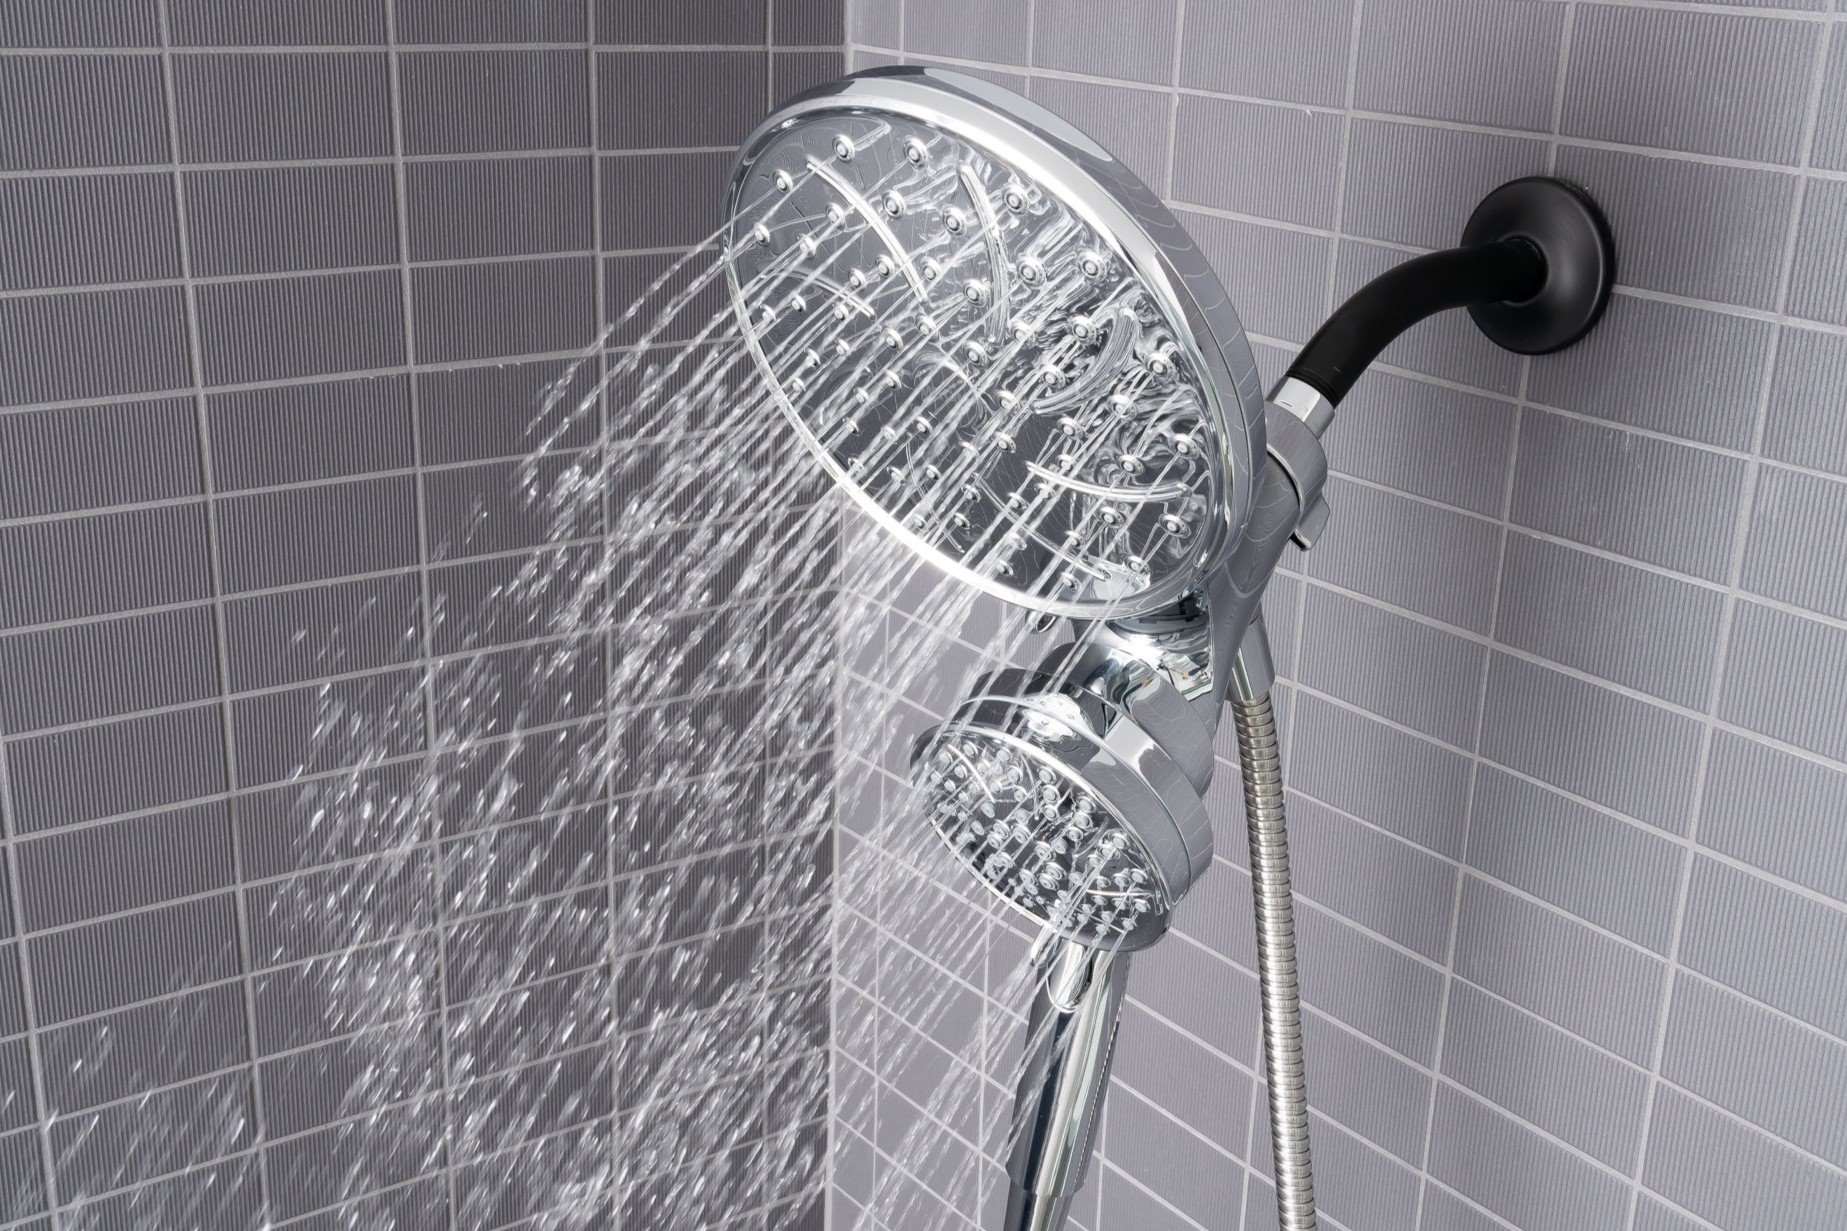
Dual Showerhead Kit: This kit usually includes a 3-way valve, a handheld showerhead, and a fixed showerhead. You can choose from various brands like HammerHead Showers, which offer high-quality and durable components.
-
3-Way Valve: This valve is crucial as it allows you to switch between the handheld and fixed showerheads. Look for a brass 3-way valve for better durability and performance.
-
Handheld Showerhead: Select a handheld showerhead that fits your needs. Some popular options include stainless steel or brass handheld showerheads with multiple functions.
-
Fixed Showerhead: Choose a fixed showerhead that complements your handheld showerhead. An 8-inch rain showerhead is often recommended for its luxurious rainfall experience.
-
Shower Arm: You may need to replace the existing shower arm to accommodate the new dual showerhead system. Ensure that the new shower arm is compatible with your existing plumbing.
-
Teflon Tape: This tape is essential for creating a leak-free connection between the shower arm and the 3-way valve.
-
Adjustable Wrench: An adjustable wrench will help you tighten the 3-way valve securely.
-
Hex Wrench: Some kits come with a hex wrench for easy installation of the diverter.
Tools Needed
To ensure a smooth installation process, you'll need the following tools:
- Adjustable Wrench
- Hex Wrench
- Teflon Tape
- Crescent Wrench
- Plumber's Tape (Latex Tape)
- Drill and Bits (for tile or stone)
- Diamond Hole Saw Tile Bit
- Diamond Angle Grinder Blade
Step-by-Step Installation Guide
Step 1: Prepare the Area
Before you start the installation, ensure the area around your shower is clear and clean. Remove any old showerheads, soap dishes, or other obstructions.
Step 2: Remove the Old Showerhead
- Disconnect Water Supply: Turn off the water supply to the shower by locating the shut-off valves and turning them clockwise.
- Remove Old Showerhead: Use a wrench to loosen the old showerhead. If it's stuck, apply some plumber's tape (latex tape) around the threads to help loosen it.
- Clean Threads: Use a microfiber cloth to clean the threads of the shower arm. Remove any old thread tape or debris.
Step 3: Install the 3-Way Valve
- Wrap Teflon Tape: Apply three to five turns of Teflon tape around the threads of the shower arm.
- Insert Gasket: Insert a gasket into the 3-way valve.
- Screw On Valve: Hand-tighten the 3-way valve onto the shower arm.
- Tighten Securely: Use an adjustable wrench to tighten the valve securely, ensuring it doesn't spin or turn.
Step 4: Install Handheld Showerhead
- Attach Adapter: Use an adapter that screws into the shower arm and holds the handheld showerhead.
- Install Handheld Showerhead: Attach the handheld showerhead to its adapter, ensuring all washers are seated properly.
- Secure Adapter: Tighten the adapter securely using an adjustable wrench.
Step 5: Install Fixed Showerhead
- Attach Fixed Showerhead: Screw on your fixed showerhead (e.g., an 8-inch rain showerhead) onto the remaining part of the shower arm.
- Secure Fixed Showerhead: Tighten this securely using an adjustable wrench.
Step 6: Test Connections
- Turn On Water Supply: Turn on the water supply to test all connections.
- Check for Leaks: Inspect all connections for leaks. If you find any leaks, tighten the connections further using Teflon tape if necessary.
Read more: DIY Guide To Installing A Tile Shower
Additional Tips and Considerations
Vent Pipe Considerations
When installing a dual showerhead system, especially in tile or stone showers, you may encounter vent pipes that need to be considered during installation. Use a laser level to ensure accurate placement of your shower valve and avoid any obstructions like vent pipes.
Drilling Through Tile
If you need to drill through tile for your shower valve or other components, use a diamond hole saw tile bit and keep water on the bit to avoid overheating it. Finish off with a diamond angle grinder blade for smooth edges.
Plumbing Connections
When tying in new PEX lines, ensure they are securely crimped from both sides to avoid leaks. If you're on well water, know the location of shut-off valves in case of emergencies.
Read more: DIY Guide To Installing A Glass Shower Door
Common Issues and Solutions
Low Water Pressure
One common issue with dual showerhead systems is low water pressure. This can be mitigated by using high-pressure showerheads or by ensuring that all connections are secure and not leaking.
Leaks
Leaks can occur due to improper sealing or loose connections. Use Teflon tape liberally on threads and ensure all washers are seated properly before tightening connections.
Stuck Showerheads
If your showerheads get stuck over time, apply plumber's tape (latex tape) around the threads to help loosen them.
Conclusion
Installing a dual showerhead system in your bathroom can significantly enhance your showering experience. With the right components and tools, this DIY project can be completed successfully. Remember to take your time, ensure all connections are secure, and test for leaks before finishing the installation. By following these steps and tips, you'll be able to enjoy a luxurious spa-like experience right in the comfort of your own home.
References
For more detailed instructions and product recommendations, you can refer to the following resources:
- Reddit Community: The r/howto community on Reddit provides valuable insights and tips from users who have successfully installed dual showerhead systems.
- YouTube Tutorials: Videos like "How to Install 2 Shower Heads in 1 Shower" by Daddicated and "How To Install A Dual Shower Head In 4 Minutes" by HammerHead Showers offer step-by-step guides with visual demonstrations.
- Manufacturer Guides: Manufacturer guides from brands like HammerHead Showers provide detailed instructions specific to their products, ensuring compatibility and ease of installation.
By following this comprehensive guide, you'll be well-equipped to tackle your dual showerhead installation project with confidence and achieve a luxurious bathroom experience.
Was this page helpful?
At Storables.com, we guarantee accurate and reliable information. Our content, validated by Expert Board Contributors, is crafted following stringent Editorial Policies. We're committed to providing you with well-researched, expert-backed insights for all your informational needs.


0 thoughts on “DIY Guide To Installing A Bathroom Shower With Dual Showerheads”