Articles
How To Install A Shower Pan On Concrete Floor
Modified: January 6, 2024
Learn how to install a shower pan on a concrete floor with our step-by-step articles. Get expert tips and tricks for a successful installation.
(Many of the links in this article redirect to a specific reviewed product. Your purchase of these products through affiliate links helps to generate commission for Storables.com, at no extra cost. Learn more)
Introduction
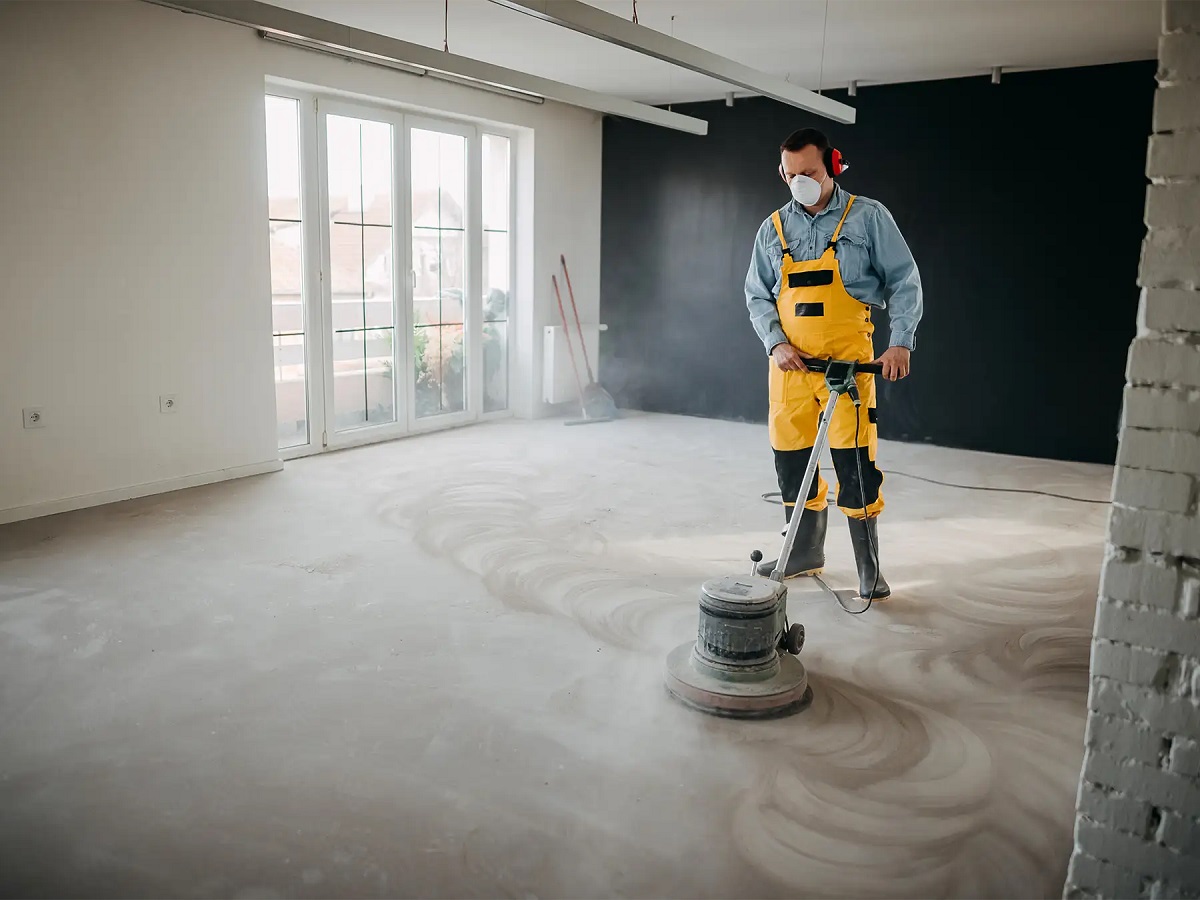
Installing a shower pan on a concrete floor is a crucial step in creating a functional and water-tight shower space. Whether you are undertaking a bathroom renovation or building a new shower, knowing how to properly install a shower pan is essential. A shower pan serves as the base of the shower, preventing water from seeping through the floor and causing structural damage.
In this article, we will guide you through the step-by-step process of installing a shower pan on a concrete floor. From preparing the concrete surface to connecting the drain pipe, we’ll cover all the necessary steps to complete a successful installation. By following these instructions, you can ensure that your shower pan is securely in place and ready for a watertight showering experience.
Before we dive into the installation process, it’s important to gather the necessary tools and materials. You will need a shower pan kit, which typically includes the pan, drain assembly, and waterproofing materials. Additionally, make sure you have a measuring tape, caulking gun, mortar mix, primer, trowel, and a rubber mallet.
Note: It’s crucial to wear appropriate safety gear, such as gloves and safety goggles, during the installation process. Please refer to the manufacturer’s instructions for any specific safety precautions.
Now, let’s get started with the first step – preparing the concrete floor.
Key Takeaways:
- Proper preparation, accurate measurement, and meticulous installation are crucial for successfully installing a shower pan on a concrete floor. Following the step-by-step guide ensures a stable and watertight foundation for your shower.
- Attention to detail, from applying the primer to testing for leaks, is essential for a durable and functional shower pan installation. Completing each step with care and precision leads to a reliable and enjoyable showering experience.
Step 1: Prepare the Concrete Floor
Before you begin the installation process, it’s important to ensure that the concrete floor is clean, level, and free of any debris. Follow these steps to prepare the concrete floor:
- Clean the floor: Start by sweeping the concrete floor to remove any loose dirt or debris. Next, use a mop and mild detergent to clean the surface thoroughly. Allow the floor to dry completely before moving to the next step.
- Check for cracks or unevenness: Inspect the concrete floor for any cracks or uneven areas. Fill any cracks with a concrete repair filler and use a trowel to level out any uneven spots. Smooth out the surface as much as possible to ensure a level base for the shower pan.
- Apply a concrete primer: Before installing the shower pan, it’s recommended to apply a concrete primer to the floor. This will help improve the adhesion of the mortar and create a stronger bond. Follow the manufacturer’s instructions to apply the primer evenly and allow it to dry completely.
By properly preparing the concrete floor, you are creating a solid foundation for the shower pan and ensuring its stability for years to come. Once the floor is prepared, you can move on to the next step – measuring and marking the shower pan location.
Step 2: Measure and Mark the Shower Pan Location
Accurate measurement and marking of the shower pan location are crucial to ensure that the pan fits properly and aligns with the drain. Follow these steps to measure and mark the shower pan location on the concrete floor:
- Measure the dimensions: Use a measuring tape to determine the dimensions of the shower pan. Measure the length, width, and depth of the pan, and make note of these measurements.
- Mark the drain location: Locate the center point of the drain on the concrete floor. Measure the distance from the walls or other fixed reference points to determine the exact position of the drain.
- Transfer the measurements: Using a pencil or marker, transfer the measurements of the shower pan onto the concrete floor. Start by marking the center point of the drain and then extend the lines to mark the length and width of the pan.
- Double-check the measurements: Before proceeding, double-check the measurements to ensure accuracy. Use a spirit level to ensure that the lines are straight and level. This will help in properly aligning the shower pan.
By accurately measuring and marking the shower pan location, you can ensure that the installation process goes smoothly and the pan fits perfectly. With the measurements and marks in place, you can move on to the next step – applying the primer.
Step 3: Apply the Primer
Applying a primer to the concrete floor is an important step in ensuring proper adhesion of the shower pan and creating a strong bond. The primer creates a surface that allows the mortar to adhere better to the concrete. Here’s how to apply the primer:
- Prepare the area: Clear the marked area of any debris or dust. Make sure the floor is clean and dry before applying the primer.
- Read and follow the instructions: Read the instructions provided by the manufacturer of the primer carefully. Different primers may have specific application instructions or drying times.
- Apply the primer: Using a paint roller or brush, apply a thin, even coat of primer onto the marked area. Start from the edges and work your way towards the center. Be sure to cover the entire area that will come in contact with the shower pan.
- Let the primer dry: Allow the primer to dry completely as per the manufacturer’s instructions. It typically takes around 1-2 hours for the primer to dry, but this may vary depending on the product and environmental conditions.
Applying the primer ensures a proper bond between the concrete floor and the shower pan, enhancing the stability and longevity of the installation. Once the primer has dried, you are ready to proceed to the next step – installing the drain base.
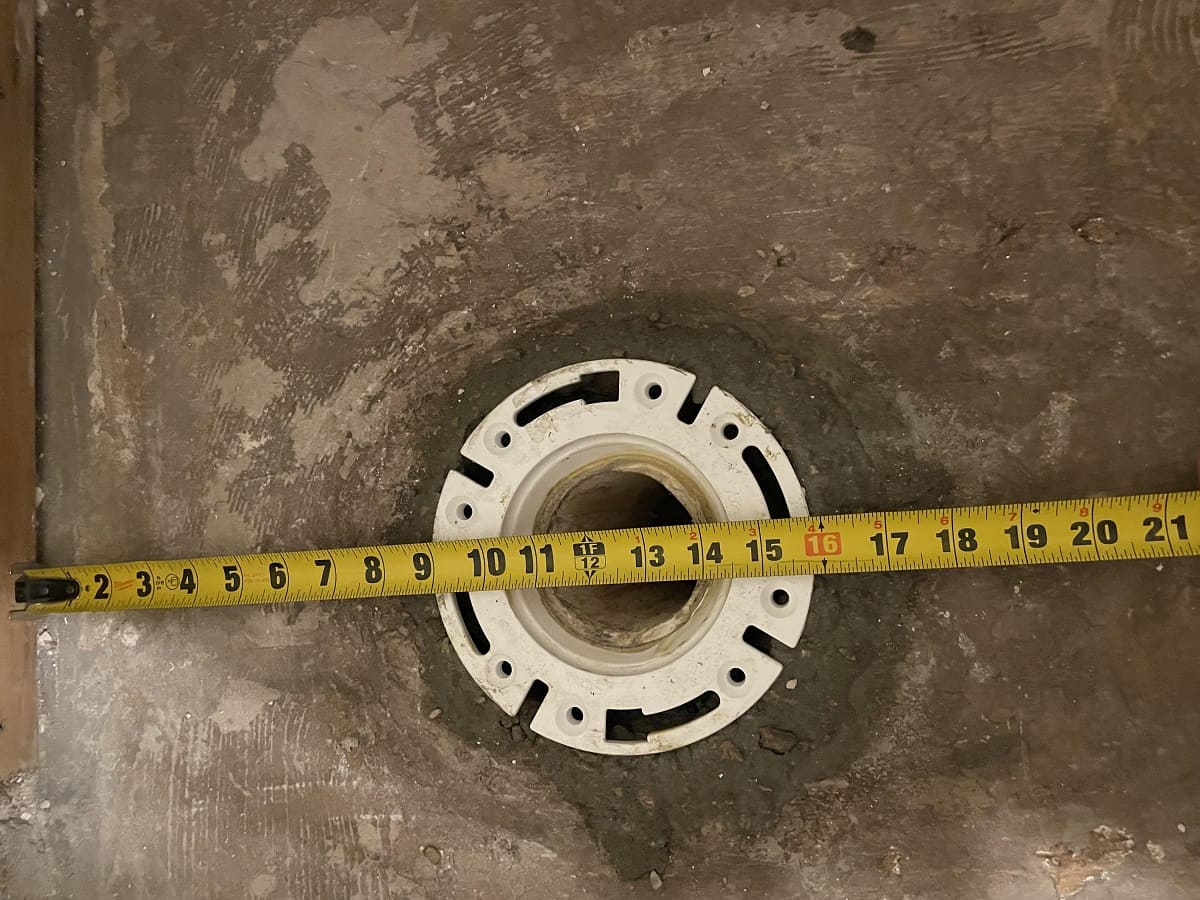
Step 4: Install the Drain Base
The drain base plays a crucial role in the proper functioning of the shower pan. It connects the drain assembly to the shower pan and ensures that water flows efficiently into the plumbing system. Here’s how to install the drain base:
- Apply silicone sealant: Before installing the drain base, apply a generous amount of silicone sealant around the perimeter of the drain hole on the concrete floor. This will create a watertight seal.
- Insert the drain base: Take the drain base and place it over the drain hole, pressing it firmly into the silicone sealant. Make sure it fits snugly and is centered properly.
- Tighten the screws: Using a screwdriver, tighten the screws provided with the drain base to secure it in place. Be careful not to overtighten, as it may cause damage.
- Check for stability: Once the drain base is installed, check for stability by giving it a slight twist. It should feel secure and not move around.
- Wipe off excess sealant: Wipe off any excess silicone sealant around the drain base using a damp cloth. This will ensure a clean and neat appearance.
Installing the drain base correctly is crucial to prevent any leaks or water damage. It’s important to follow the manufacturer’s instructions and use the recommended sealant and screws. With the drain base securely in place, we can move on to the next step – applying a layer of mortar.
Read more: How To Install A Mortared Shower Pan
Step 5: Apply a Layer of Mortar
Applying a layer of mortar is an important step in creating a stable and level base for the shower pan. The mortar helps to support and secure the pan in place. Here’s how to apply a layer of mortar:
- Mix the mortar: Follow the manufacturer’s instructions to mix the mortar. Use a trowel to combine the mortar mix with water until you achieve a smooth consistency. The mortar should be thick enough to hold its shape but still spreadable.
- Apply the mortar: Start by applying a thin layer of mortar onto the prepared concrete floor within the marked area. Use the flat side of the trowel to spread the mortar evenly, making sure to cover the entire area.
- Create a slope: To ensure proper drainage, create a slight slope towards the drain by tapering the mortar layer. This will help direct water towards the drain and prevent pooling.
- Use a notched trowel (optional): If desired, you can use a notched trowel to create ridges in the mortar. These ridges will enhance the adhesion of the shower pan to the mortar.
When applying the mortar, it’s essential to work efficiently as the mortar may start to dry and lose its workability. Take care to apply an even layer and maintain a consistent thickness. Once the mortar is in place, we can proceed to the next step- placing and leveling the shower pan.
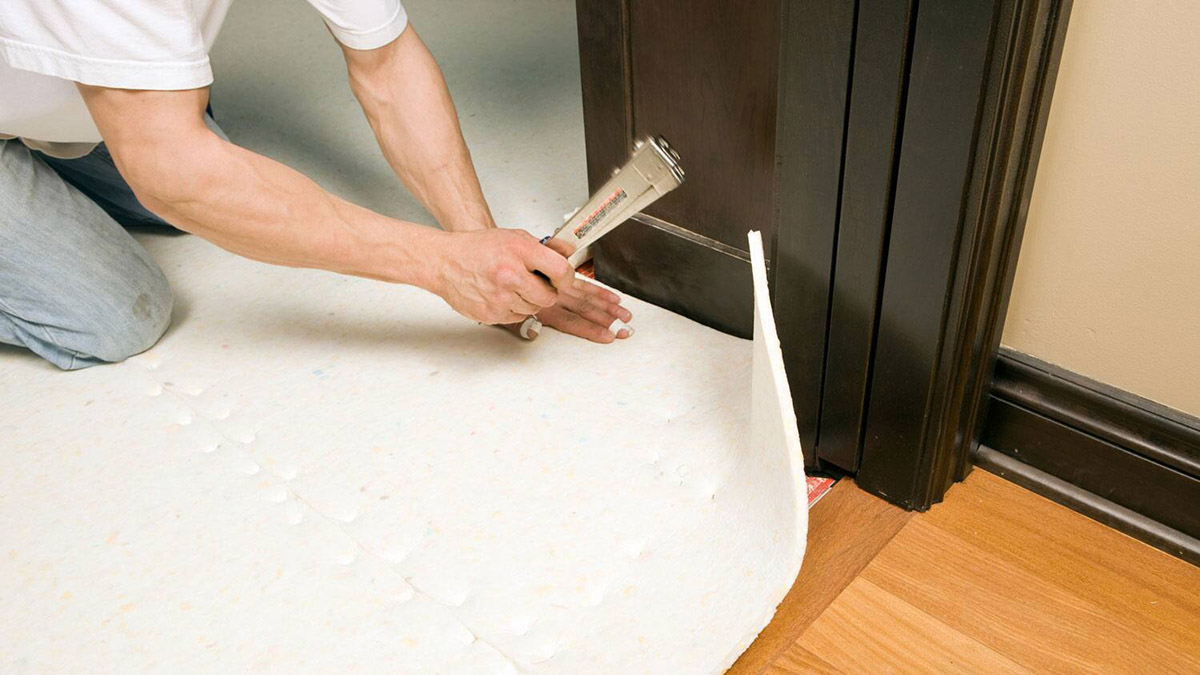
Before installing a shower pan on a concrete floor, make sure the surface is clean, level, and free of any debris. Use a waterproof membrane to prevent water damage.
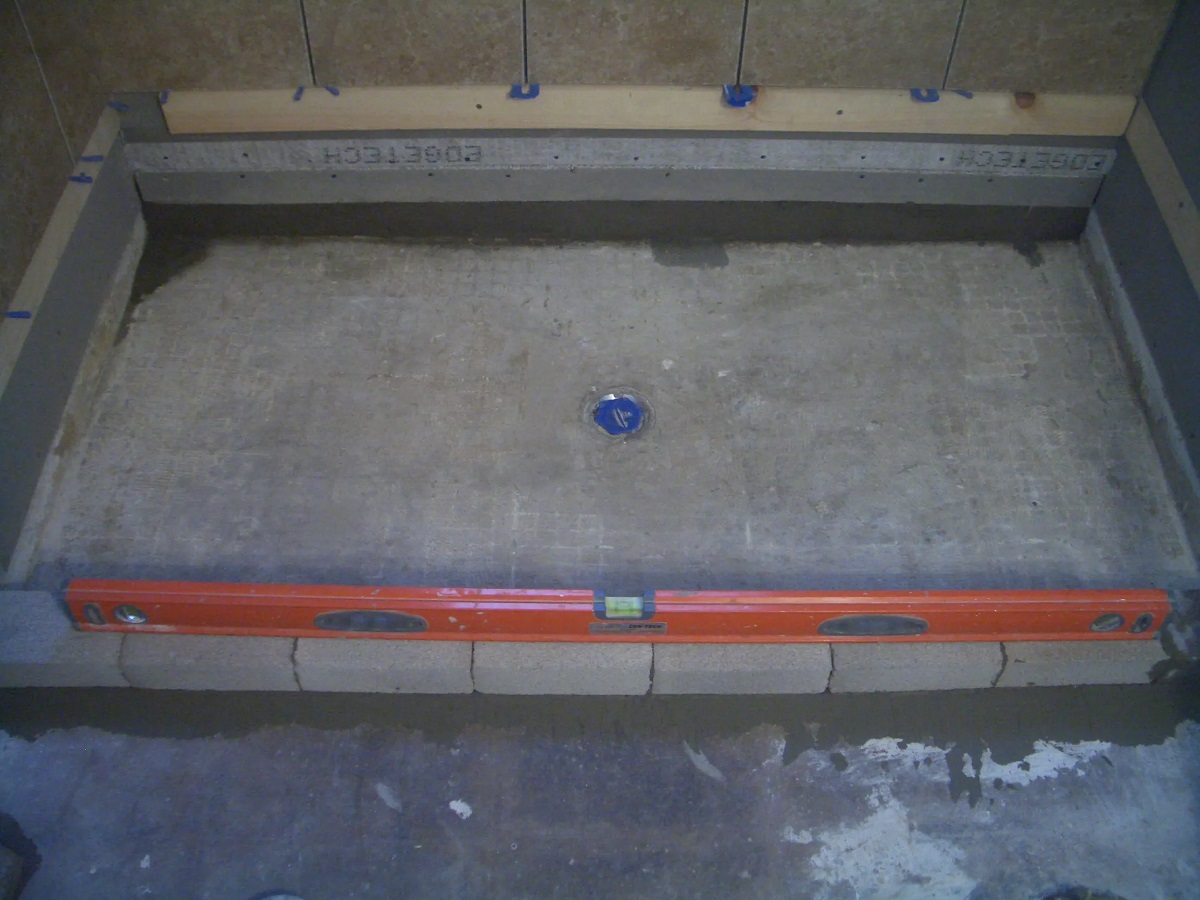
Step 6: Place and Level the Shower Pan
Placing and leveling the shower pan properly is crucial to ensure a stable and even surface for your shower. Here’s how to place and level the shower pan:
- Position the shower pan: Carefully lift the shower pan and place it onto the layer of mortar. Make sure the pan is aligned with the marked dimensions and centered over the drain base.
- Apply pressure: Apply even pressure on the shower pan, pressing it firmly into the mortar to create a strong bond. Ensure that the pan makes full contact with the mortar and sits evenly on the floor.
- Check the level: Use a spirit level to check if the shower pan is level in all directions. Adjust as necessary by adding or removing mortar underneath the pan.
- Align the edges: Check the edges of the shower pan to ensure they are aligned with the marked dimensions and are parallel to the walls of the shower area. Make any necessary adjustments to achieve a proper fit.
Take your time with this step to ensure that the shower pan is properly positioned, level, and aligned. The stability and functionality of the shower pan depend on the accuracy of this step. Once the pan is securely in place, we can move on to the next step – securing the shower pan.
Step 7: Secure the Shower Pan
Securing the shower pan is essential to prevent movement and ensure a stable and durable installation. Here’s how to secure the shower pan:
- Drill pilot holes: Using a drill, create pilot holes through the shower pan flange into the mortar bed. Place the pilot holes at regular intervals along the flange to ensure even distribution of the securing screws.
- Insert screw anchors: Insert screw anchors into the pilot holes. These anchors will provide a solid base for the screws to grip onto.
- Screw the flange: Secure the shower pan by driving screws through the flange and into the screw anchors. Use a screwdriver or drill to tighten the screws, ensuring that they are snug but not over-tightened.
- Check for stability: Once the shower pan is secured, check for any movement or wobbling. Apply gentle pressure to different areas of the pan to ensure it is stable and properly attached to the floor.
Make sure to follow the manufacturer’s instructions regarding the type and size of screws to use for securing the shower pan. Taking the time to properly secure the pan will ensure its stability and longevity. With the shower pan securely in place, we can move on to the next step – connecting the drain pipe.
Step 8: Connect the Drain Pipe
Connecting the drain pipe is a crucial step to ensure proper drainage and prevent water leakage in your shower. Here’s how to connect the drain pipe:
- Remove the drain cover: Use a screwdriver to remove the drain cover and expose the drain assembly.
- Apply plumber’s putty: Apply a small amount of plumber’s putty around the flange of the drain assembly. This helps create a watertight seal between the drain and the shower pan.
- Insert the drain assembly: Insert the drain assembly into the drain hole on the shower pan, ensuring that it fits snugly and is centered.
- Tighten the drain nut: Use a wrench or pliers to tighten the drain nut underneath the shower pan. This will secure the drain assembly in place and create a watertight seal.
- Connect the drain pipe: Connect the drain pipe to the drain assembly, ensuring a secure and tight connection. Use the appropriate fittings and follow local plumbing codes.
- Test for leaks: Run water into the shower pan and check for any leaks around the drain area. If any leaks are detected, tighten the connections or make necessary adjustments until the leak is resolved.
Properly connecting the drain pipe is essential for a functional and leak-free shower. Take the time to ensure a secure connection and perform a thorough leak test to avoid any future issues. With the drain pipe connected, we can move on to the next step – testing for leaks.
Read more: How To Install Wood Floor On Concrete
Step 9: Test for Leaks
Testing for leaks is a vital step in ensuring the integrity of your shower installation. By performing a thorough leak test, you can identify any potential issues and address them before proceeding with the final steps. Here’s how to test for leaks:
- Seal the drain: Close the drain in the shower pan to prevent water from escaping during the test. You can use a drain plug or cover the drain with a towel or plastic wrap.
- Add water: Fill the shower pan with water to a reasonable level, ensuring that it covers the drain assembly. Allow the water to sit for a few minutes to detect any leaks.
- Check for leaks: Carefully inspect the area around the drain assembly, as well as the edges and seams of the shower pan. Look for any signs of water leakage or dampness.
- Monitor for an extended time: To be thorough, leave the water in the shower pan for a longer period, such as overnight. This can help reveal any slow or intermittent leaks that may not be immediately evident.
- Address any leaks: If you encounter any leaks during the test, it is crucial to address them promptly. Remove the water from the shower pan, identify the source of the leak, and make any necessary adjustments or repairs.
Testing for leaks is a critical step to ensure the long-term functionality of your shower. It provides peace of mind and helps prevent potential water damage. Once you’ve completed the leak test and addressed any leaks, it’s time to move on to the final step – finishing and sealing the edges.
Step 10: Finish and Seal the Edges
Finishing and sealing the edges of the shower pan is the final step in the installation process. This step helps to ensure a clean and polished appearance while providing additional protection against water damage. Here’s how to finish and seal the edges:
- Clean the edges: Use a damp cloth or sponge to clean any excess mortar or debris from the edges of the shower pan. Make sure the edges are dry before proceeding.
- Apply caulk: Apply a bead of silicone caulk along the edges of the shower pan where it meets the walls. This caulk will create a waterproof seal and prevent water from seeping into the gaps.
- Smooth the caulk: Use your finger or a caulk smoothing tool to smooth out the caulk, creating a neat and even finish. This will also help to ensure a proper seal.
- Allow the caulk to dry: Follow the manufacturer’s instructions regarding the drying time of the caulk. It typically takes around 24 to 48 hours for the caulk to fully cure.
- Inspect and touch up: Once the caulk is dry, inspect the edges of the shower pan for any areas that may need touch-up. Apply additional caulk as necessary to ensure all edges are properly sealed.
Finishing and sealing the edges of the shower pan not only enhances the overall appearance but also helps to protect against water damage and mold growth. Take your time with this step to achieve a professional finish. Once the edges are sealed and dry, your shower pan installation is complete!
Congratulations! You have successfully installed a shower pan on a concrete floor. Enjoy your new shower space, knowing that it is built to last and provide a reliable and enjoyable showering experience.
Conclusion
Installing a shower pan on a concrete floor may seem like a complex task, but with the right knowledge and step-by-step guidance, it can be a manageable project. By following the ten steps outlined in this article – from preparing the concrete floor to finishing and sealing the edges – you can ensure a successful and long-lasting installation.
A properly installed shower pan provides a stable and water-tight foundation for your shower, preventing any water damage to the underlying structure. It not only enhances the functionality of your bathroom but also adds value to your home.
Throughout the installation process, it’s important to adhere to manufacturer’s instructions, use the recommended tools and materials, and prioritize safety precautions. Taking the time to measure accurately, apply mortar properly, secure the pan, and test for leaks will ensure the durability and efficiency of your shower installation.
Remember to maintain proper ventilation in your bathroom to prevent moisture build-up, as this can lead to mold and mildew growth. Regularly inspect the shower pan and its surrounding areas for any signs of damage or leaks. Promptly address any issues to prevent further complications.
We hope this comprehensive guide has provided you with the necessary information and confidence to install a shower pan on a concrete floor. With proper installation, your shower will not only be functional but also visually appealing, creating a comfortable and enjoyable space for daily use.
Happy showering!
Frequently Asked Questions about How To Install A Shower Pan On Concrete Floor
Was this page helpful?
At Storables.com, we guarantee accurate and reliable information. Our content, validated by Expert Board Contributors, is crafted following stringent Editorial Policies. We're committed to providing you with well-researched, expert-backed insights for all your informational needs.


0 thoughts on “How To Install A Shower Pan On Concrete Floor”