Home>Ideas and Tips>DIY Guide To Installing A Bathroom Shower With Multiple Shower Heads
Ideas and Tips
DIY Guide To Installing A Bathroom Shower With Multiple Shower Heads
Modified: October 28, 2024
Enhance your bathroom with our DIY guide to installing multiple shower heads. Follow our step-by-step instructions for a luxurious shower experience.
(Many of the links in this article redirect to a specific reviewed product. Your purchase of these products through affiliate links helps to generate commission for Storables.com, at no extra cost. Learn more)
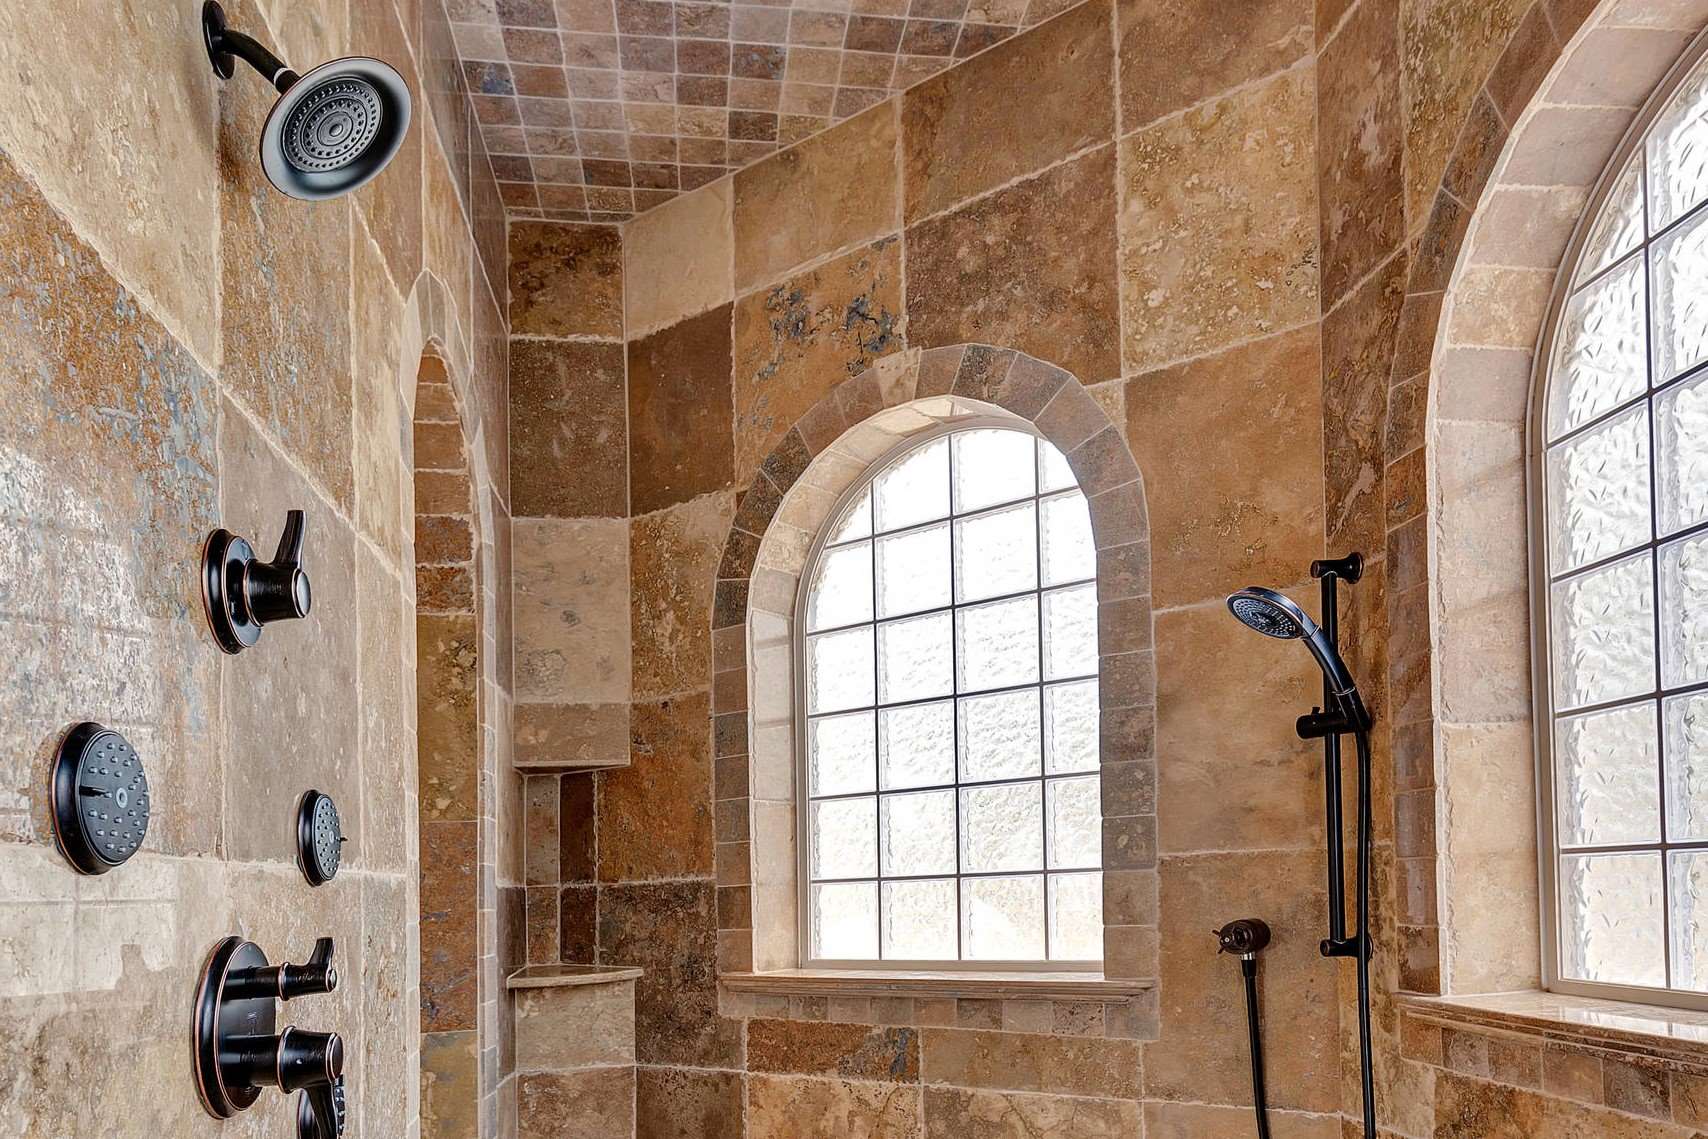
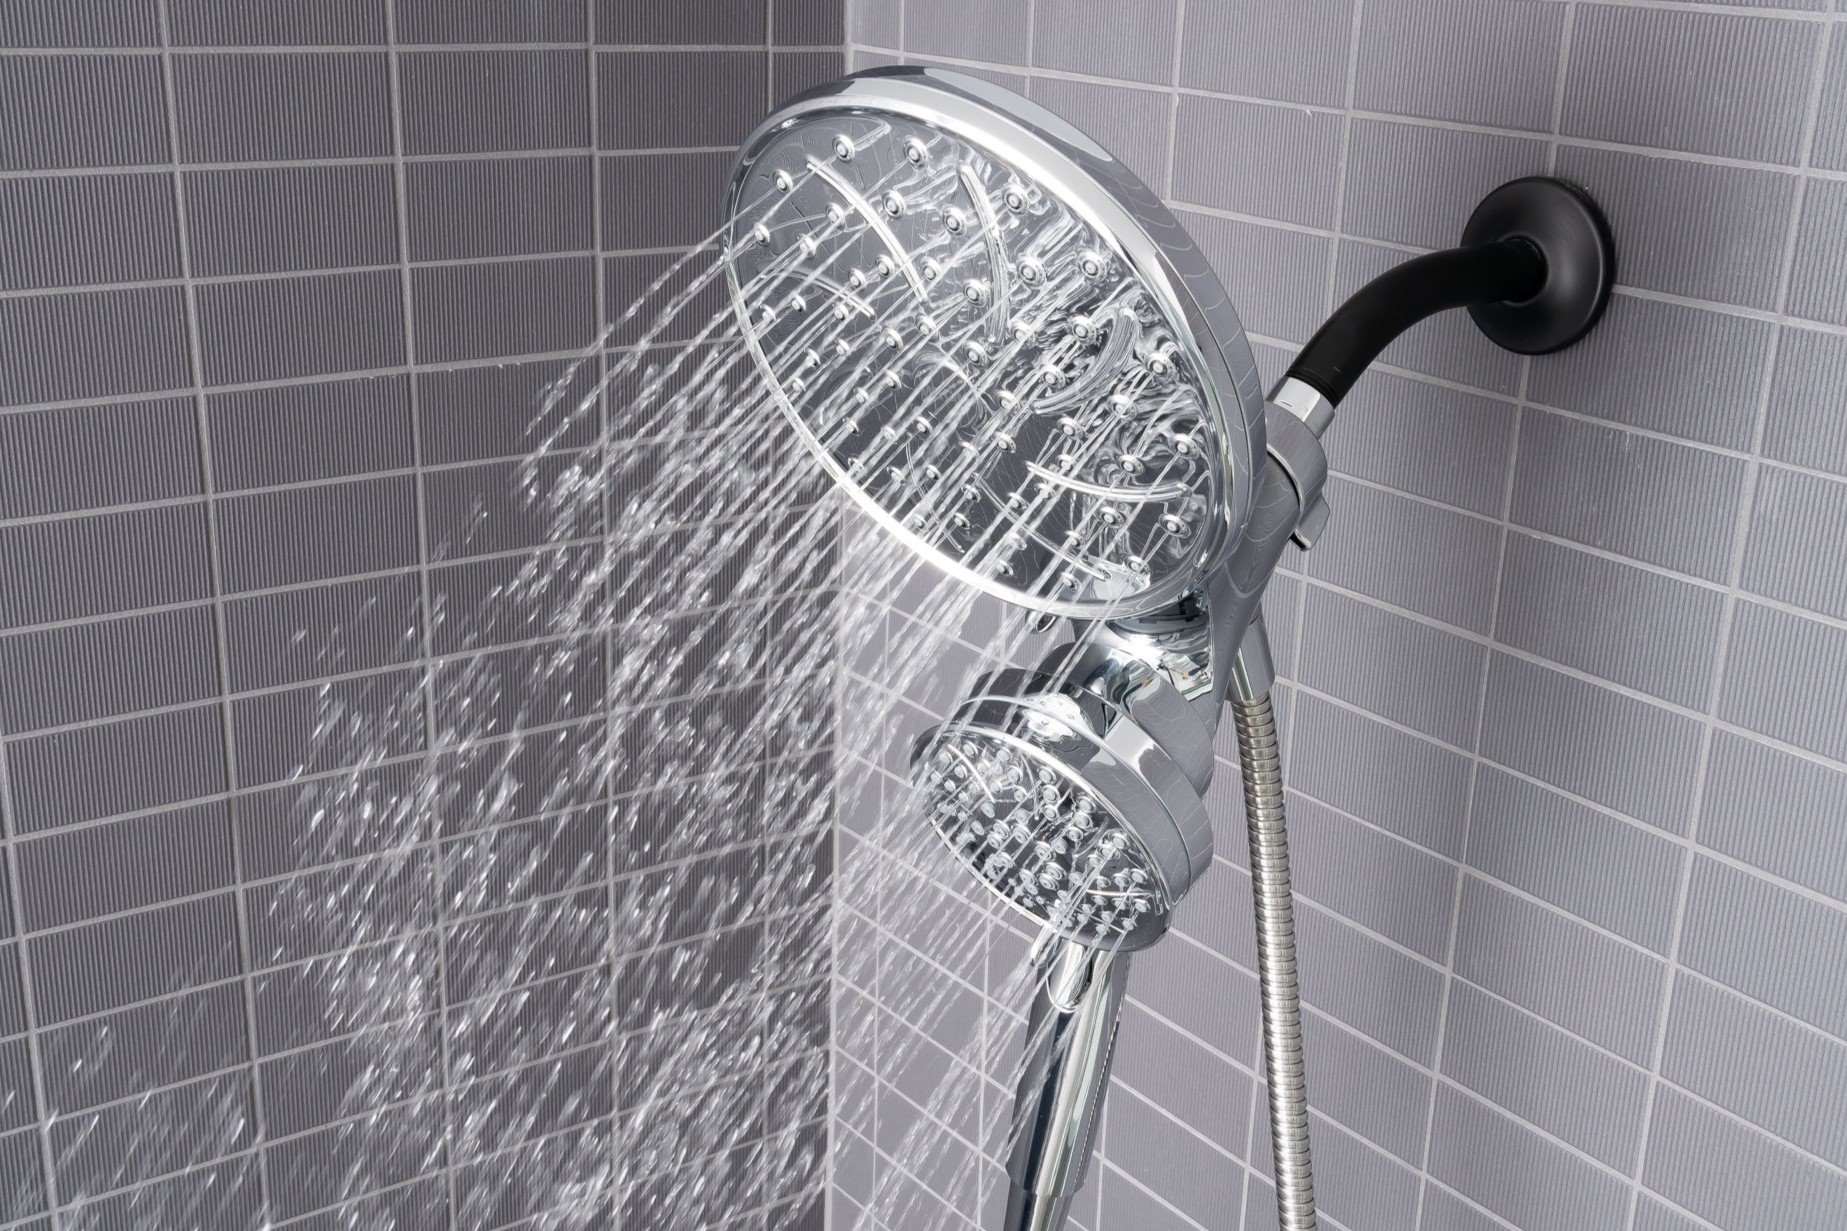
Installing a bathroom shower with multiple shower heads can be a fantastic way to enhance your bathing experience, providing both convenience and luxury. Whether you're looking to add a handheld shower head for easier cleaning or an overhead rain shower head for a spa-like experience, this guide will walk you through the steps required to achieve this setup.
Planning Your Project
Before diving into the installation process, it's crucial to plan your project thoroughly. Here are some key considerations:
-
Design Your Shower Layout:
- Sketch out your shower design to determine where you want to place each shower head. Consider the placement of the mixing valve, diverter, and any other fixtures you plan to install.
- Think about the height of the handheld shower head. Ideally, it should be mounted so that it can double as a second shower head, but still be within easy reach for shorter users.
-
Choose Your Fixtures:
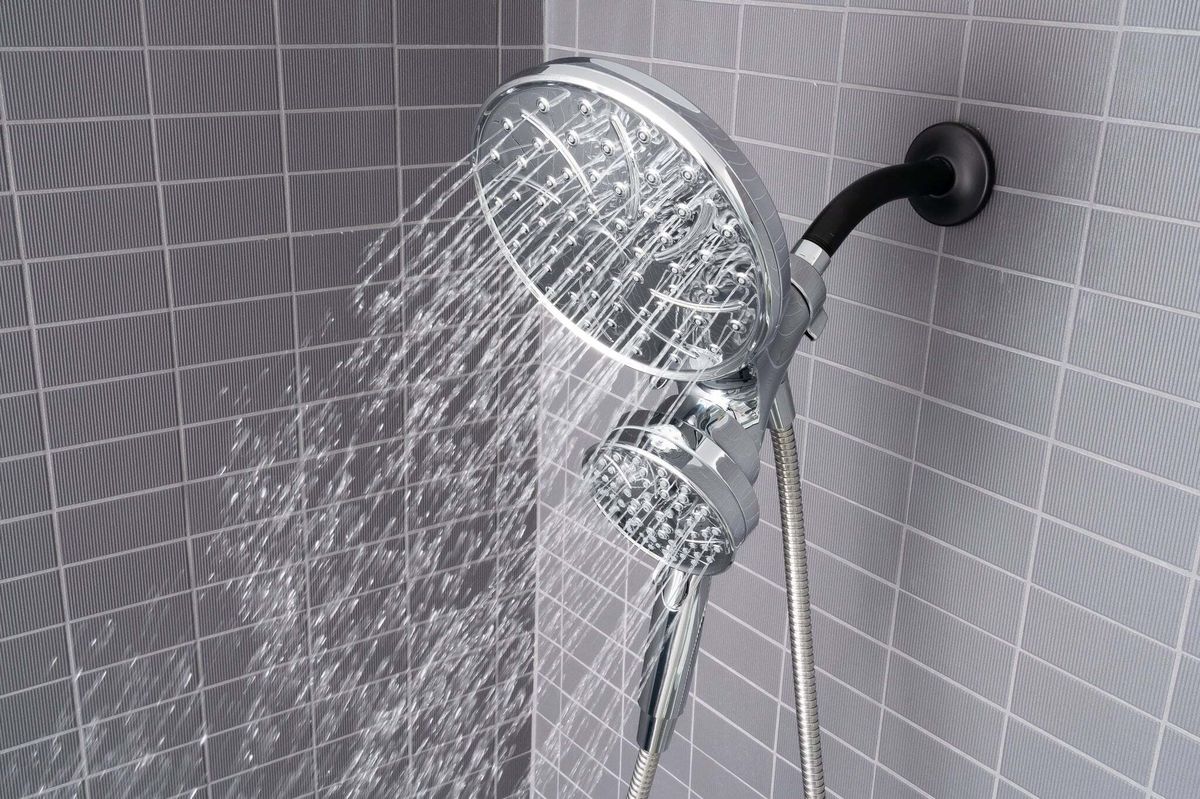
- Select the shower heads you want to install. You can choose between a fixed overhead shower head, a handheld shower head, or both.
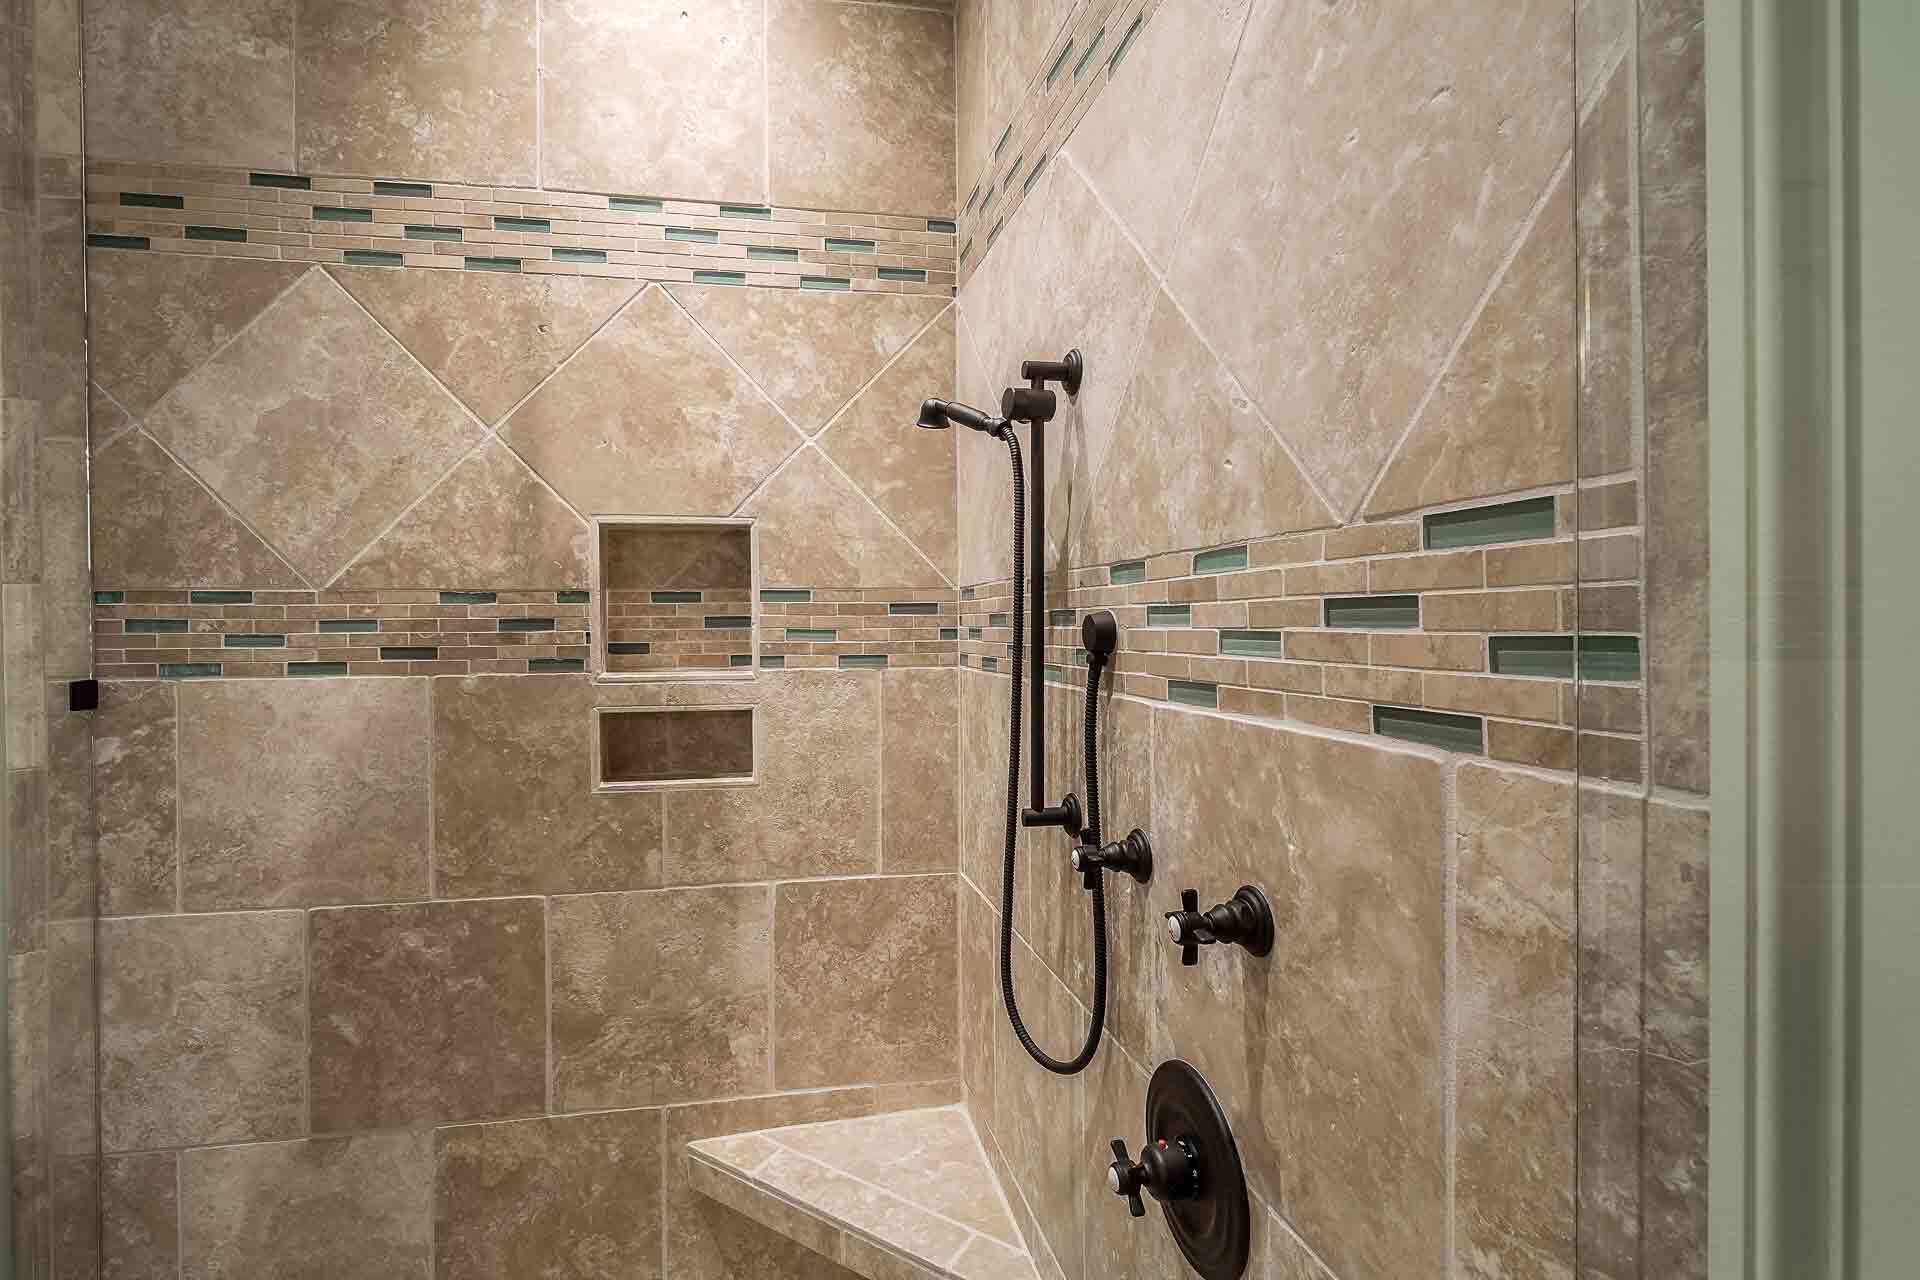
- Consider the type of valve you need. A three-way valve is typically required for a dual shower head system, allowing you to switch between the two shower heads.
-
Measure and Mark Your Studs:
- Use a stud finder to locate the studs behind your shower wall. Mark these locations with vertical lines to ensure accurate placement of your fixtures.
- This will make it easier to cut and patch the sheetrock without needing additional bracing.
Gathering Materials
To ensure a smooth installation process, gather all the necessary materials before starting:
-
Shower Heads:
- Fixed overhead shower head
- Handheld shower head
- Rain shower head (optional)
-
Valves and Fittings:
- Three-way valve (for dual shower head systems)
- 90-degree fittings
- PEX lines or copper pipes
- Adjustable wrench
- Hex wrench
- Thread seal tape
- Diamond hole saw tile bit
- Diamond angle grinder blade
-
Tools:
- Stud finder
- Laser level
- Drill with bits (for tile and stone)
- Pliers
- Screwdriver
- Measuring tape
Step-by-Step Installation Guide
Step 1: Prepare Your Shower Area
-
Shut Off Water Supply:
- Locate the shut-off valves for your water supply lines. If you're on city water, you'll find these near the sidewalk or road. If you're on a well, there will be a shut-off valve in your well house.
-
Drain Water from Lines:
- Open the drain valves to drain any water from the lines. This will prevent water from flowing while you work on the plumbing.
Step 2: Mark and Cut Stud Locations
-
Locate Studs:
- Use a stud finder to locate the studs behind your shower wall. Mark these locations with vertical lines.
-
Cut Sheetrock Patches:
- Cut out the sheetrock patches around the marked stud locations. This will give you access to the plumbing area without needing additional bracing.
Step 3: Install Rough-In Valve
-
Choose Valve Location:
- Decide where you want to place your rough-in valve. Typically, this is near the back wall of your shower, accessible from behind the sheetrock patches.
-
Mount Valve:
- Use a cribbing piece of wood (like a 2×4) to mount the valve. This will provide a stable base for your plumbing connections.
-
Connect PEX Lines:
- Stub out the PEX lines to approximate lengths. Connect these lines to the rough-in valve, ensuring they are securely attached with crimp fittings.
Step 4: Drill Hole for Shower Head
-
Use Diamond Hole Saw Tile Bit:
- Use a diamond hole saw tile bit to drill through tile or stone for the shower head hole. Apply water to the bit to prevent overheating and ensure a clean cut.
-
Mark Center Hole:
- Mark the center hole where you'll line up your shower valve perfectly.
-
Finish with Diamond Angle Grinder Blade:
- Finish off the hole with a diamond angle grinder blade if needed, ensuring it's smooth and ready for installation.
Step 5: Install Shower Valve
-
Mount Shower Valve:
- Mount the shower valve to the cribbing piece of wood, ensuring it's aligned with the center hole you drilled earlier.
-
Secure Valve:
- Secure the valve using screws that attach to the back side of the cribbing piece of wood, making sure it's stable and level.
-
Connect Water Lines:
- Connect the water lines from the rough-in valve to the shower valve, ensuring they are securely attached with fittings and tape.
Step 6: Install Three-Way Valve
-
Position Three-Way Valve:
- Position the three-way valve according to your design plan, typically near where you want to switch between shower heads.
-
Secure Three-Way Valve:
- Secure the three-way valve using fittings and tape, ensuring it's stable and ready for installation of shower heads.
Step 7: Install Shower Heads
-
Choose Shower Heads:
- Choose your shower heads—fixed overhead, handheld, or rain shower heads—and prepare them for installation.
-
Wrap Teflon Tape:
- Wrap Teflon tape around each end of the shower arm and three-way valve to ensure a leak-free setup.
-
Install Shower Heads:
- Install each shower head according to manufacturer instructions, ensuring they are securely attached with washers and screws.
-
Test Installation:
- Test your installation by turning on the water supply and checking for leaks at all connections.
Additional Tips and Considerations
-
Pressure Maintenance:
- To ensure that pressure does not drop when running multiple shower heads simultaneously, use a high-flow shower system and ensure that all connections are secure and leak-free.
-
Local Plumbing Codes:
- Always comply with local plumbing codes when installing your shower system. Some placement options may be limited by regulation, so it's essential to check with your local authorities before starting your project.
-
Handheld Shower Head Placement:
- Consider mounting your handheld shower head high enough so it can double as a second shower head, but still be within easy reach for shorter users.
-
Shower System Maintenance:
- Regularly check your shower system for leaks and maintain it properly to ensure longevity and optimal performance.
Conclusion
Installing a bathroom shower with multiple shower heads can be a rewarding DIY project if you plan carefully and follow these steps. By ensuring that all connections are secure, using the right materials, and complying with local plumbing codes, you can create a luxurious and functional shower space that enhances your daily routine.
Whether you're looking to add convenience with a handheld shower head or luxury with an overhead rain shower head, this guide provides you with the necessary information to achieve your goals. Remember to always test your installation thoroughly before finalizing it, ensuring that everything works as expected without any leaks or pressure issues.
With these steps and tips in mind, you're ready to transform your bathroom into a spa-like oasis where every shower experience becomes a delight. Happy DIY-ing
Was this page helpful?
At Storables.com, we guarantee accurate and reliable information. Our content, validated by Expert Board Contributors, is crafted following stringent Editorial Policies. We're committed to providing you with well-researched, expert-backed insights for all your informational needs.


0 thoughts on “DIY Guide To Installing A Bathroom Shower With Multiple Shower Heads”