Home>Furniture>Outdoor Furniture>How To Lay Decking Over Concrete
Outdoor Furniture
How To Lay Decking Over Concrete
Modified: October 25, 2024
Learn how to lay decking over concrete and transform your outdoor space with beautiful outdoor furniture. Create a stylish and functional patio area with these easy steps.
(Many of the links in this article redirect to a specific reviewed product. Your purchase of these products through affiliate links helps to generate commission for Storables.com, at no extra cost. Learn more)
Introduction
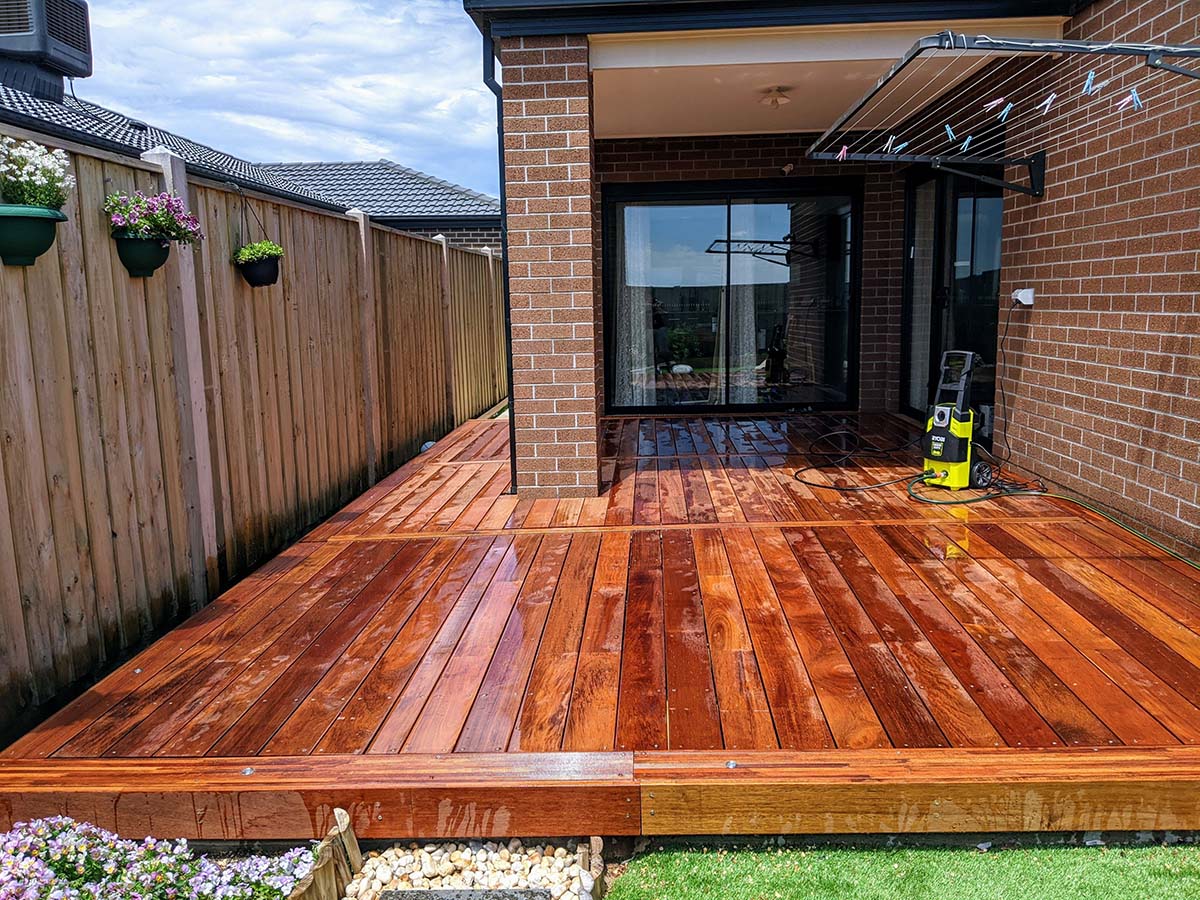
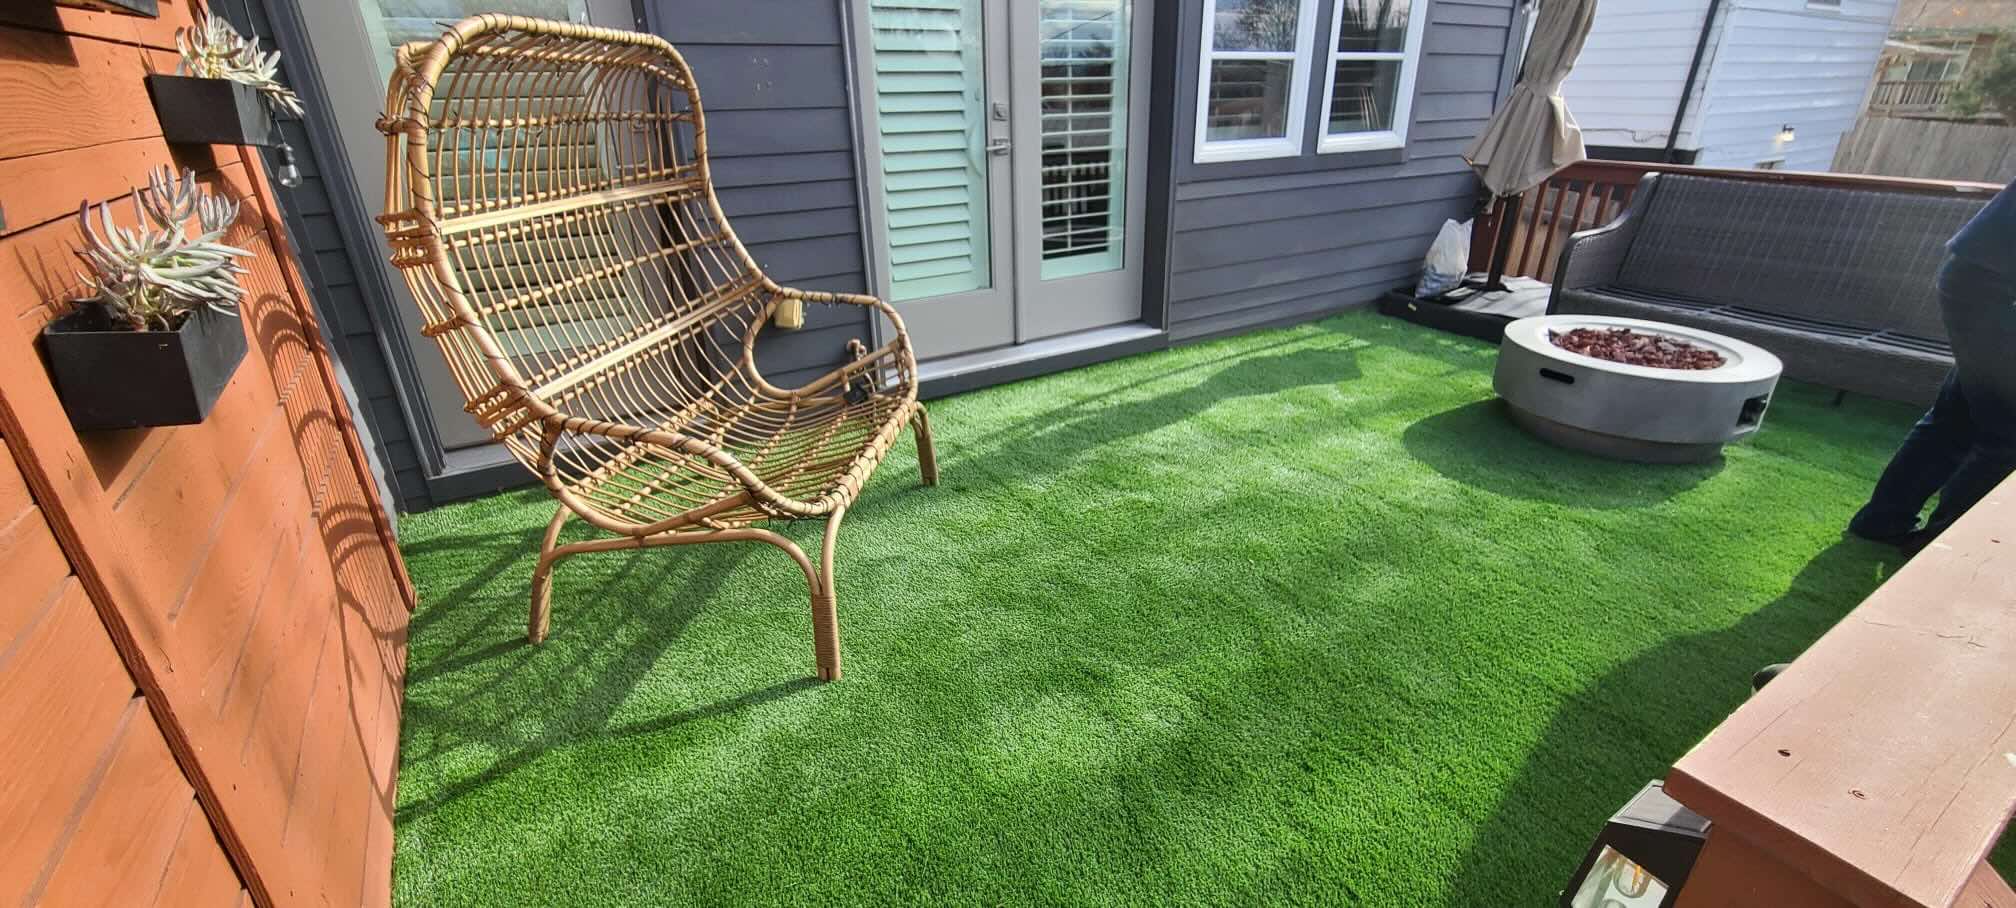
Welcome to our guide on how to lay decking over concrete. If you have a concrete patio or driveway that you want to transform into a beautiful outdoor living space, adding a deck on top is a fantastic solution. Not only does it provide a stylish and functional surface, but it also adds value to your property.
While the task may seem daunting at first, with the right preparation and materials, laying decking over concrete can be a relatively simple and rewarding DIY project. In this article, we will walk you through the step-by-step process to help you achieve a professional-looking deck that will be the envy of your neighbors.
Before we dive into the steps, let’s discuss the benefits of laying decking over concrete. First and foremost, it provides a level and stable surface for you to enjoy outdoor activities such as barbecues, gatherings, or simply relaxing. It also adds aesthetic appeal to your outdoor space and can significantly improve the overall look and feel of your home. Additionally, by elevating the deck off the ground, you create better airflow, reducing the risk of moisture-related problems.
Now, let’s get started with the first step of the process: preparing the concrete surface.
Key Takeaways:
- Transform your concrete patio into a stunning outdoor living space by following our step-by-step guide to laying decking over concrete. Enjoy a stylish, functional, and value-adding deck with proper preparation and installation.
- Create a beautiful and functional outdoor oasis by choosing the right decking material, following local building codes, and maintaining your deck regularly. With the right preparation and materials, laying decking over concrete can be a rewarding DIY project.
Read more: How To Lay Composite Decking On Concrete
Step 1: Prepare the Concrete Surface
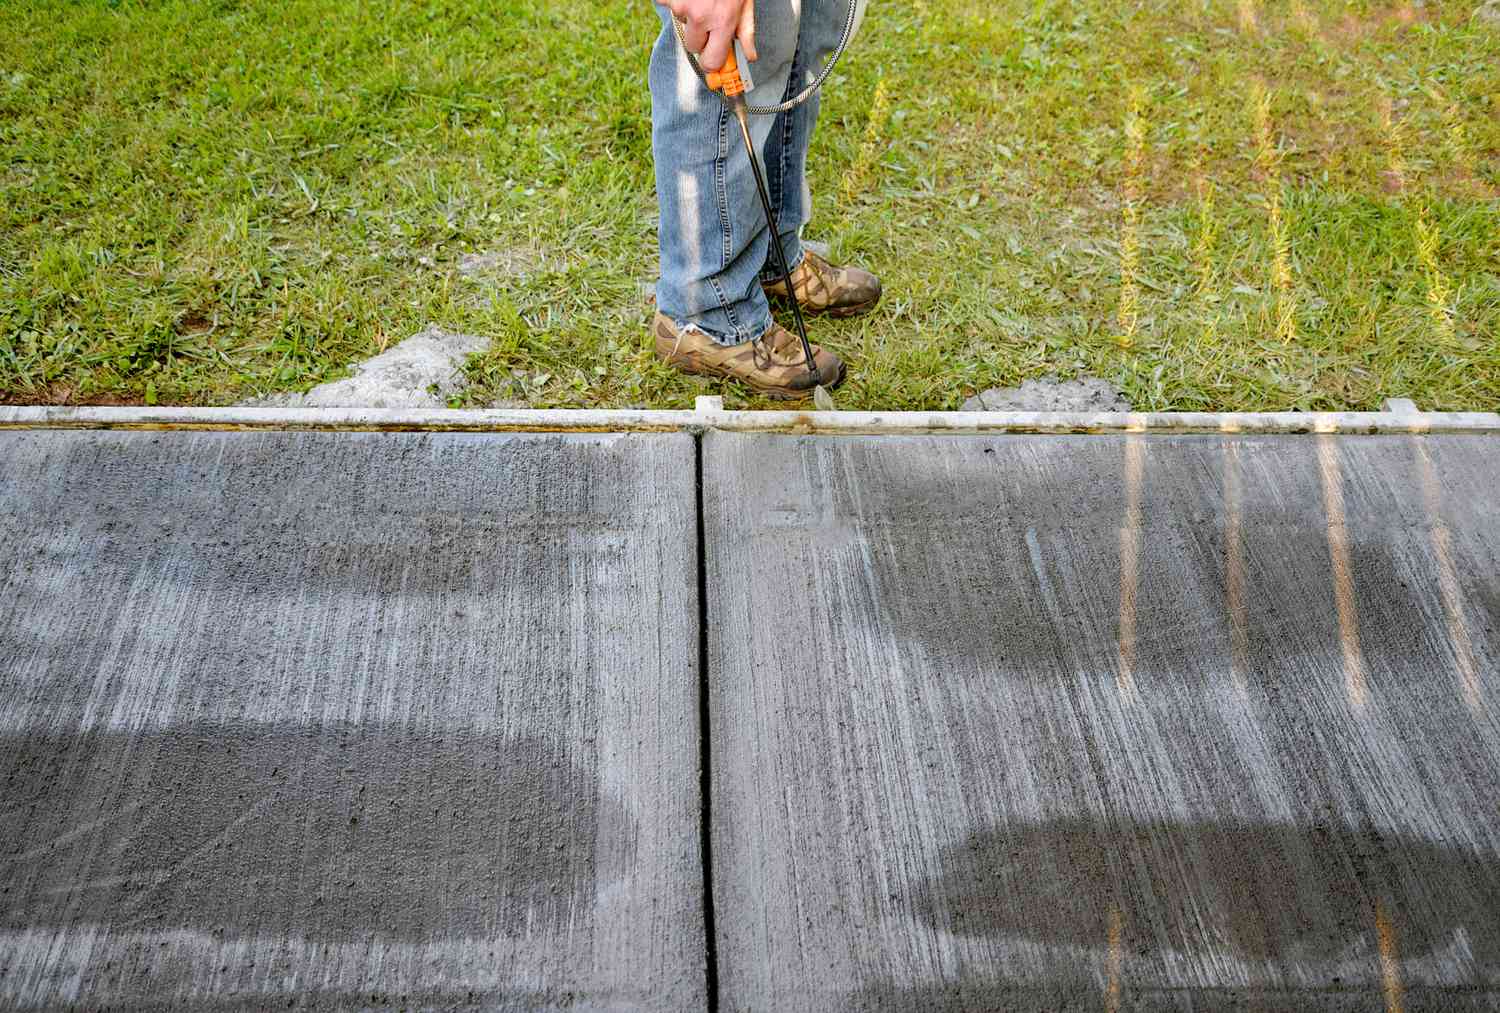
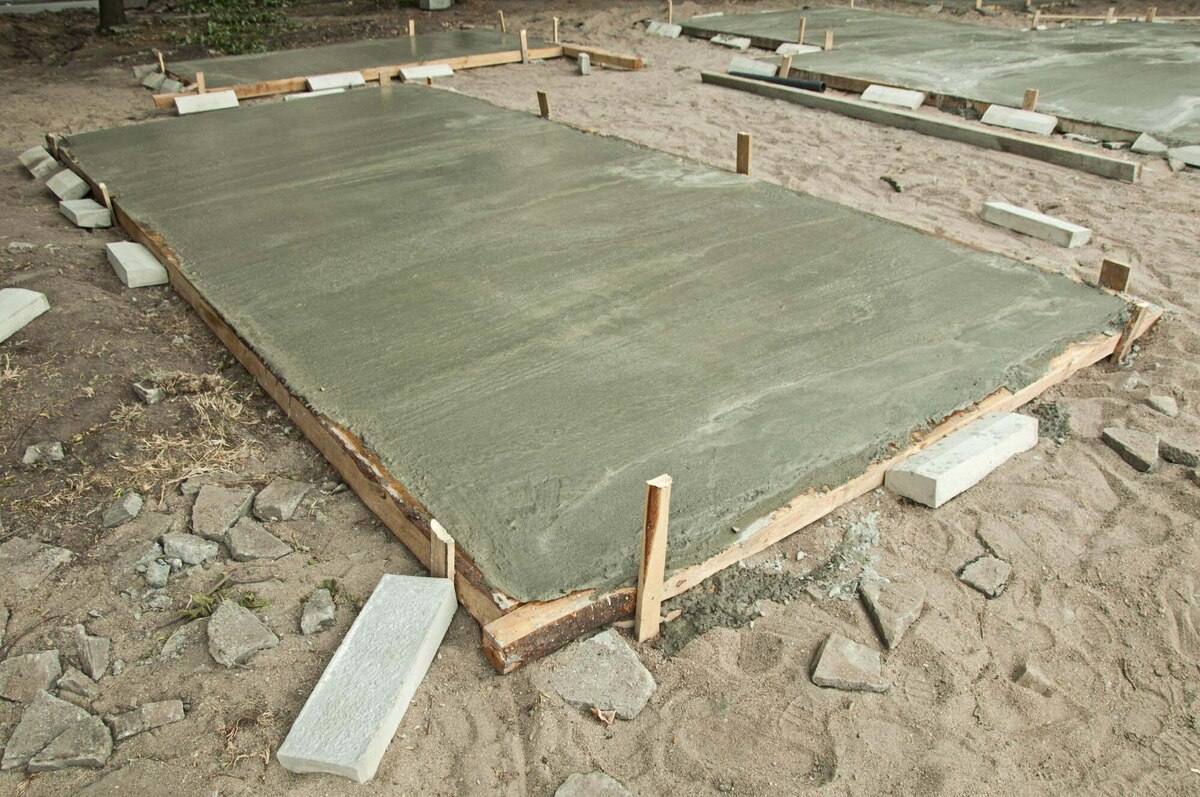
The key to a successful decking installation over concrete is to properly prepare the surface. This step ensures a solid foundation and helps prevent future problems such as uneven boards or water damage. Follow these steps to prepare the concrete surface:
- Clean the surface: Start by thoroughly cleaning the concrete. Remove any loose debris, dirt, or grease using a broom or a pressure washer. You want a clean and smooth surface to work with.
- Repair any cracks or imperfections: Inspect the concrete for any cracks, holes, or other imperfections. Use a concrete patching compound to fill them and allow it to dry completely. This step helps ensure a level surface for the decking boards.
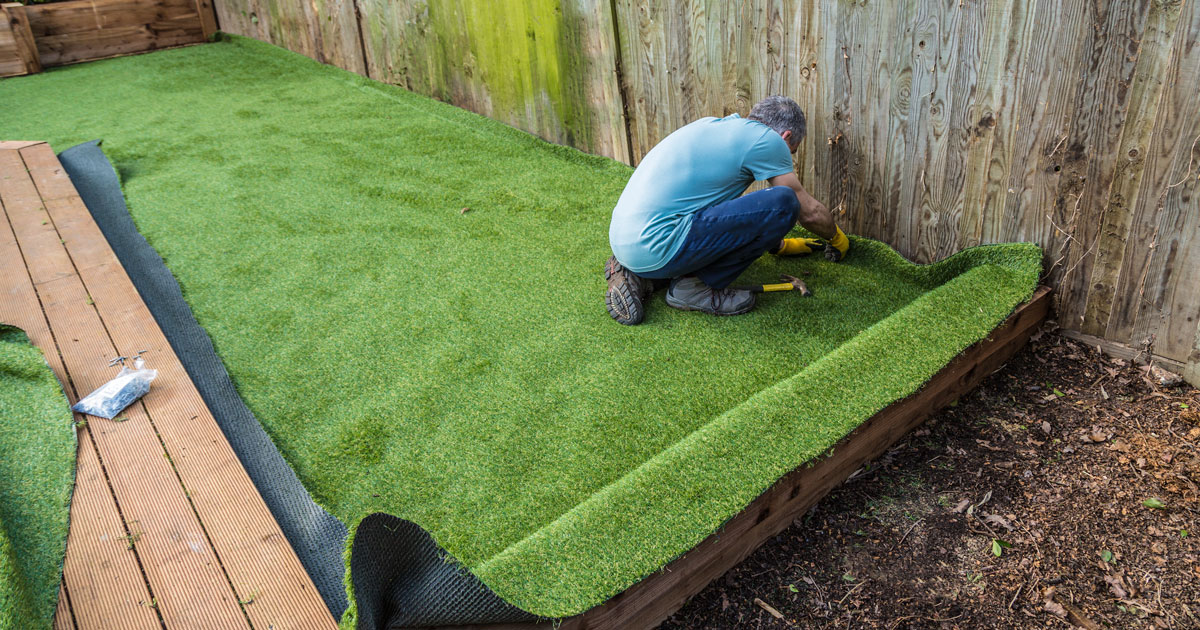
- Apply a waterproofing membrane: To protect the wooden decking boards from moisture, it is crucial to apply a waterproofing membrane over the concrete. This helps prevent water from seeping into the wood and causing rot or warping. Follow the manufacturer’s instructions for application.
- Create a slope for drainage: It is essential to create a slight slope on the concrete surface to allow for proper drainage. This can be achieved by using a leveling compound or shimming sleepers/joists at an angle. Make sure to create a slope of at least 1/8 inch per foot.
Once you have completed these steps, your concrete surface is ready for the next phase: installing sleepers or joists.
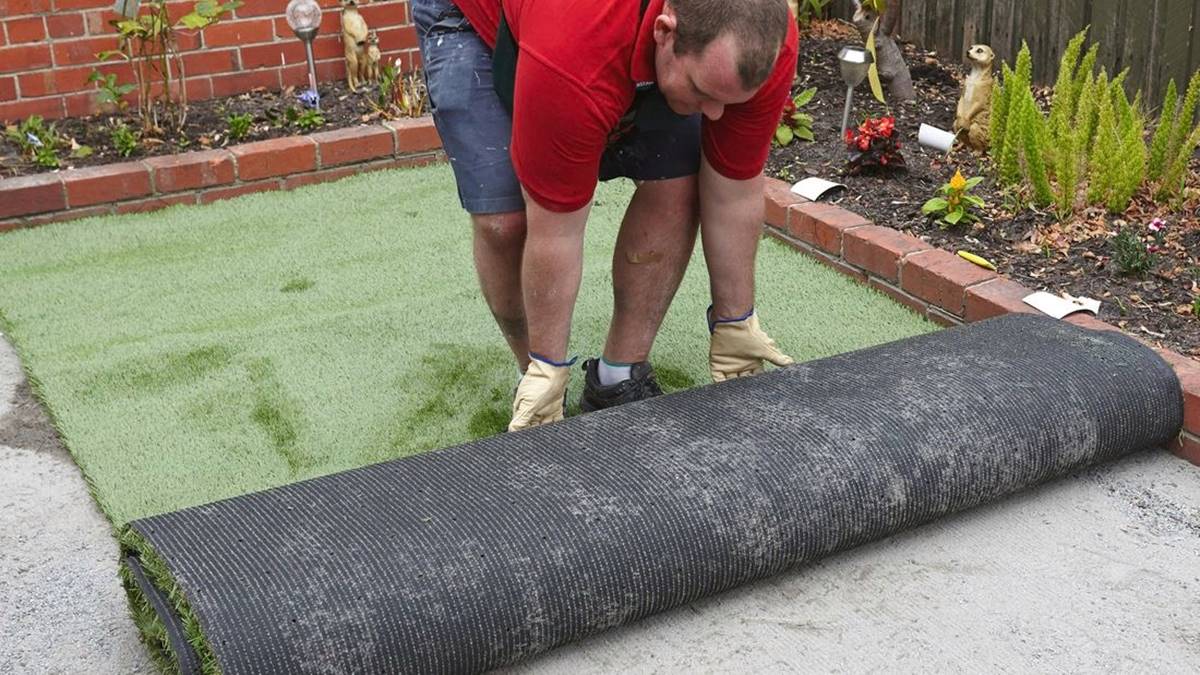
Step 2: Install Sleepers or Joists
Installing sleepers or joists is a crucial step in laying decking over concrete. These components act as a framework for the decking boards, providing stability and support. Follow these steps to install sleepers or joists:
- Choose the material: Decide whether you want to use sleepers or joists for your decking project. Sleepers are typically made from pressure-treated lumber, while joists can be either pressure-treated lumber or composite material. Consider factors such as durability, cost, and availability when making your decision.
- Calculate spacing and layout: Determine the spacing between sleepers or joists and plan their layout. The recommended spacing is usually 16 inches on center, but it may vary depending on the type of decking material you are using. Refer to the manufacturer’s guidelines for proper spacing.
- Mark and place the sleepers or joists: Mark the locations for the sleepers or joists on the concrete surface using a chalk line or pencil. Place them along the marked lines, ensuring they are perpendicular to the direction of the decking boards. Use a hammer drill with a masonry bit to drill pilot holes into the concrete for anchor screws.
- Secure the sleepers or joists: Attach the sleepers or joists to the concrete using anchor screws. Make sure they are securely fastened and level. Use a level to check for any unevenness and make adjustments as necessary.
- Add additional support: Depending on the size of your deck and the load it will bear, you may need to add additional support by installing cross bracing or blocking between the sleepers or joists.
Once the sleepers or joists are installed, you are ready for the next step: attaching the decking boards.
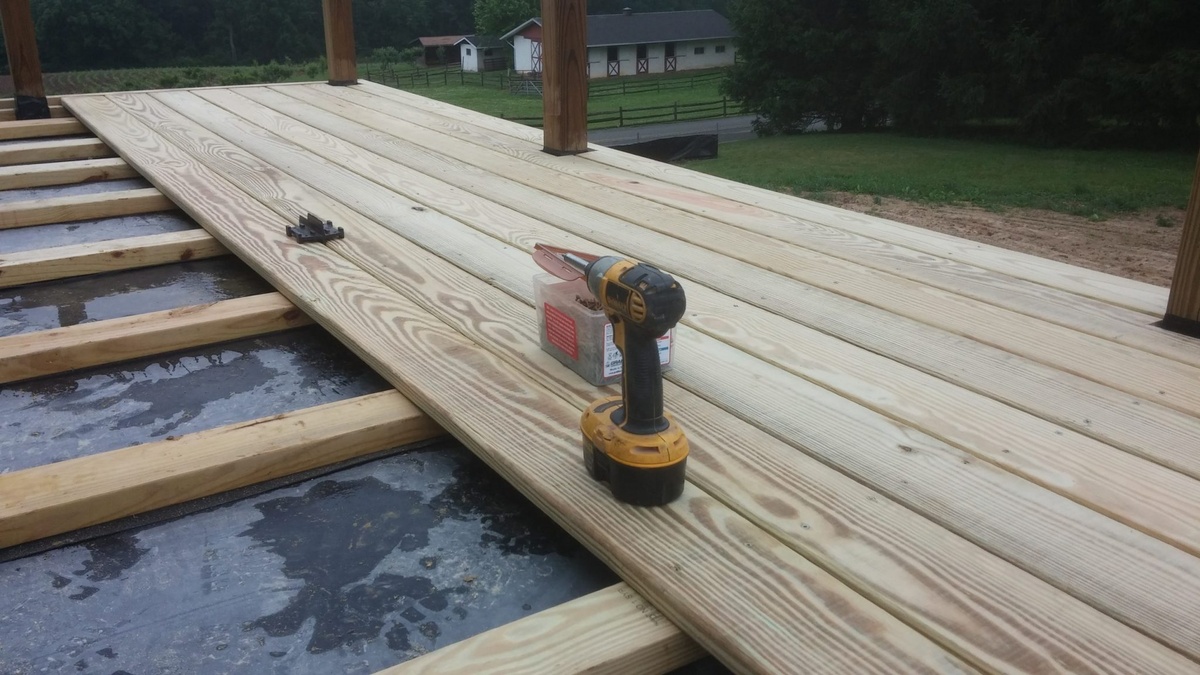
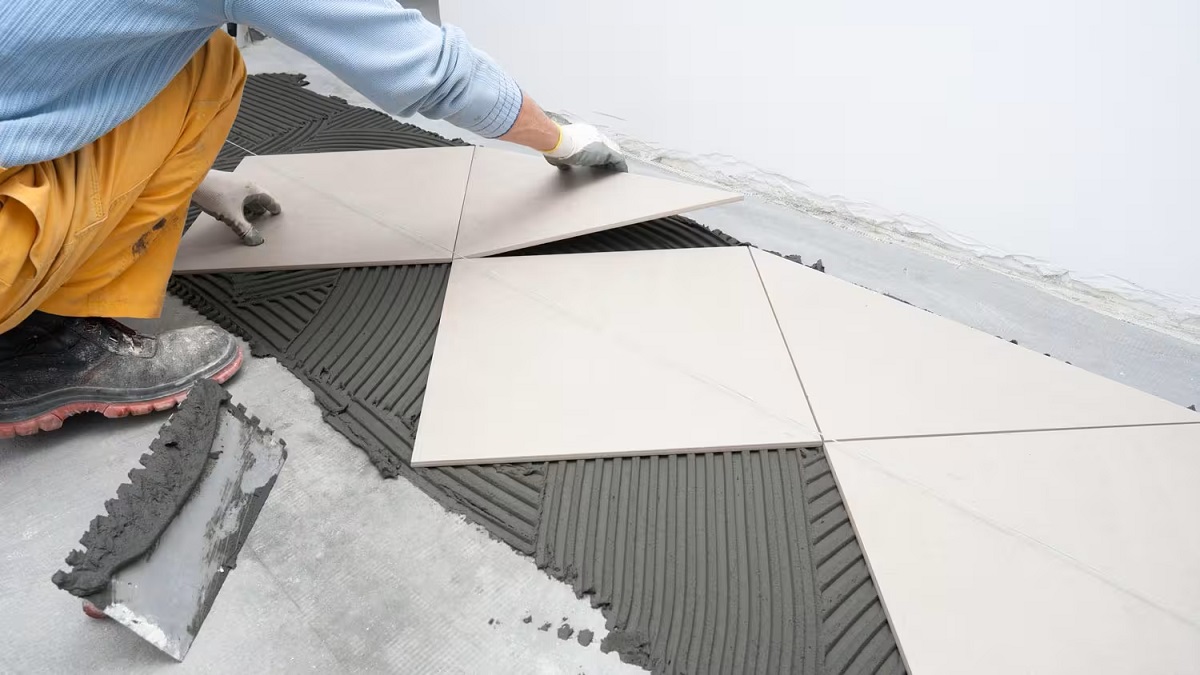
Step 3: Attach Decking Boards
Attaching the decking boards is an exciting step that brings your project one step closer to completion. Follow these steps to ensure a smooth and secure installation:
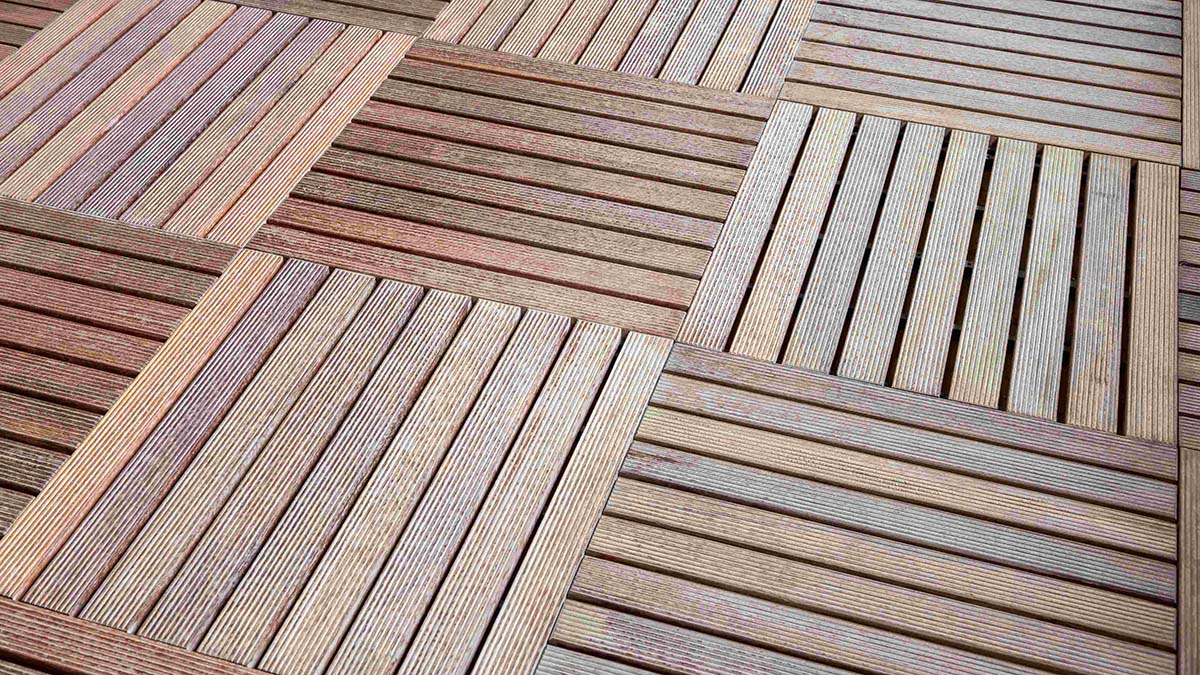
- Choose your decking material: Select the decking material that suits your desired look, budget, and maintenance preferences. Popular options include wood, composite, and PVC decking boards.
- Plan the layout: Decide on the direction and arrangement of the decking boards. Consider factors such as the size and shape of your deck, as well as any patterns or angles you want to incorporate.
- Start from one end: Begin by placing the first decking board at one end of the sleepers or joists. Make sure it is flush with the edge and perpendicular to the sleepers or joists.
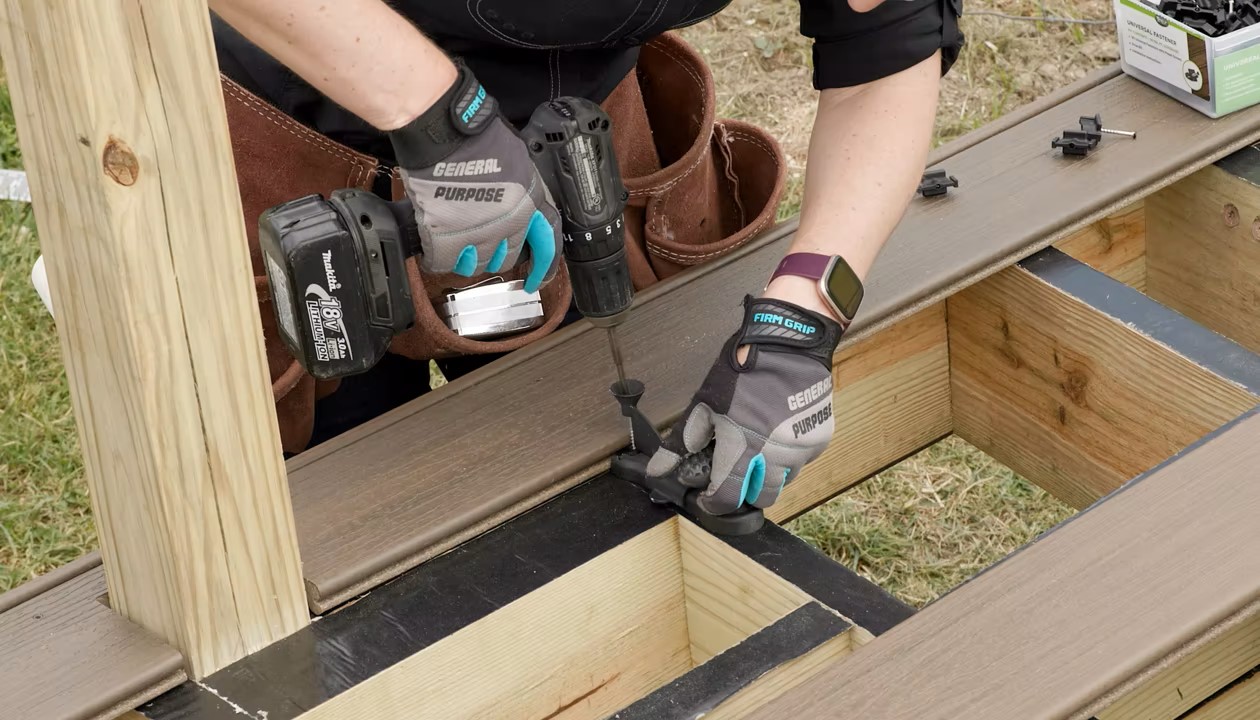
- Secure the boards: Use stainless steel screws or hidden fasteners to secure the decking boards to the sleepers or joists. Space the screws evenly and follow the manufacturer’s guidelines for proper spacing and placement.
- Continue with the remaining boards: Repeat the process of placing and securing the decking boards, ensuring consistent spacing and alignment. Use a carpenter’s square to check for squareness and adjust as necessary.
- Trim the boards: At the ends of the deck, you may need to trim the last row of boards to fit. Measure and cut the boards accordingly, leaving a small gap between the boards and any adjacent structures.
Completing this step brings you one step closer to enjoying your new deck. However, there are still a few finishing touches to consider, which we will discuss in the next step.
Before laying decking over concrete, make sure the surface is clean and level. Use pressure-treated wood and lay down sleepers to create a level surface for the decking. This will help prevent moisture buildup and extend the life of the deck.
Step 4: Finishing Touches
Now that you have attached the decking boards, it’s time to add the finishing touches to give your deck a polished and professional look. Follow these steps to complete your project:
- Trim and edge: Trim any excess or overhanging decking boards using a circular saw or a miter saw. This will create clean and straight edges for a neat appearance.
- Sand and seal: Depending on the type of decking material you chose, you may need to sand and seal the boards. This step not only enhances the beauty of the wood but also protects it from moisture and UV damage. Follow the manufacturer’s instructions for the proper sanding and sealing process.
- Add railings and accessories: If desired, install railings, balusters, and other accessories to enhance the safety and aesthetics of your deck. Make sure to comply with local building codes and regulations.
- Apply a finish: Apply a protective finish such as a deck stain or paint to further enhance the durability and longevity of your deck. Choose a finish that complements your outdoor aesthetic and follow the manufacturer’s guidelines for application.
- Clean up: Remove any debris or construction materials from the site and give your new deck a thorough cleaning. This will ensure a tidy and inviting space for you to enjoy.
With these finishing touches completed, your decking over concrete project is nearly complete. Take a moment to appreciate your hard work and get ready to enjoy your newfound outdoor oasis.
Read more: How To Lay A Brick Walkway Over Concrete
Tips and Tricks for a Successful Installation
Here are some helpful tips and tricks to ensure a successful installation when laying decking over concrete:
- Choose the right decking material: Consider factors such as durability, maintenance, and aesthetic appeal when selecting the decking material. Research different options and choose one that suits your needs and preferences.
- Check local building codes: Before starting your project, check with your local building department to ensure compliance with any required permits, codes, or regulations.
- Use pressure-treated lumber or corrosion-resistant fasteners: Since your deck will be in contact with concrete, which can hold moisture, it’s crucial to use pressure-treated lumber for sleepers or joists and corrosion-resistant screws or fasteners to prevent rust and decay.
- Consider using composite decking: Composite decking is a low-maintenance and long-lasting alternative to traditional wood decking. It offers excellent resistance to moisture, fading, and staining.
- Allow for proper ventilation: Ensure proper airflow beneath the decking boards by leaving sufficient gaps between them. This allows moisture to evaporate and prevents mold or rot from forming.
- Use a self-leveling compound: If your concrete surface has significant unevenness, consider using a self-leveling compound before installing the sleepers or joists. This will create a smoother and more level surface for the decking boards.
- Consider professional assistance: If you are unsure about tackling this project on your own, consider seeking professional assistance. A contractor or experienced carpenter can provide guidance and ensure a high-quality installation.
- Maintain your deck: Regular maintenance is essential to keep your deck looking and performing its best. Clean it periodically, remove debris, and reseal or repaint as recommended by the manufacturer.
By following these tips and tricks, you can transform your concrete space into a beautiful and functional outdoor deck that will provide years of enjoyment.
Conclusion
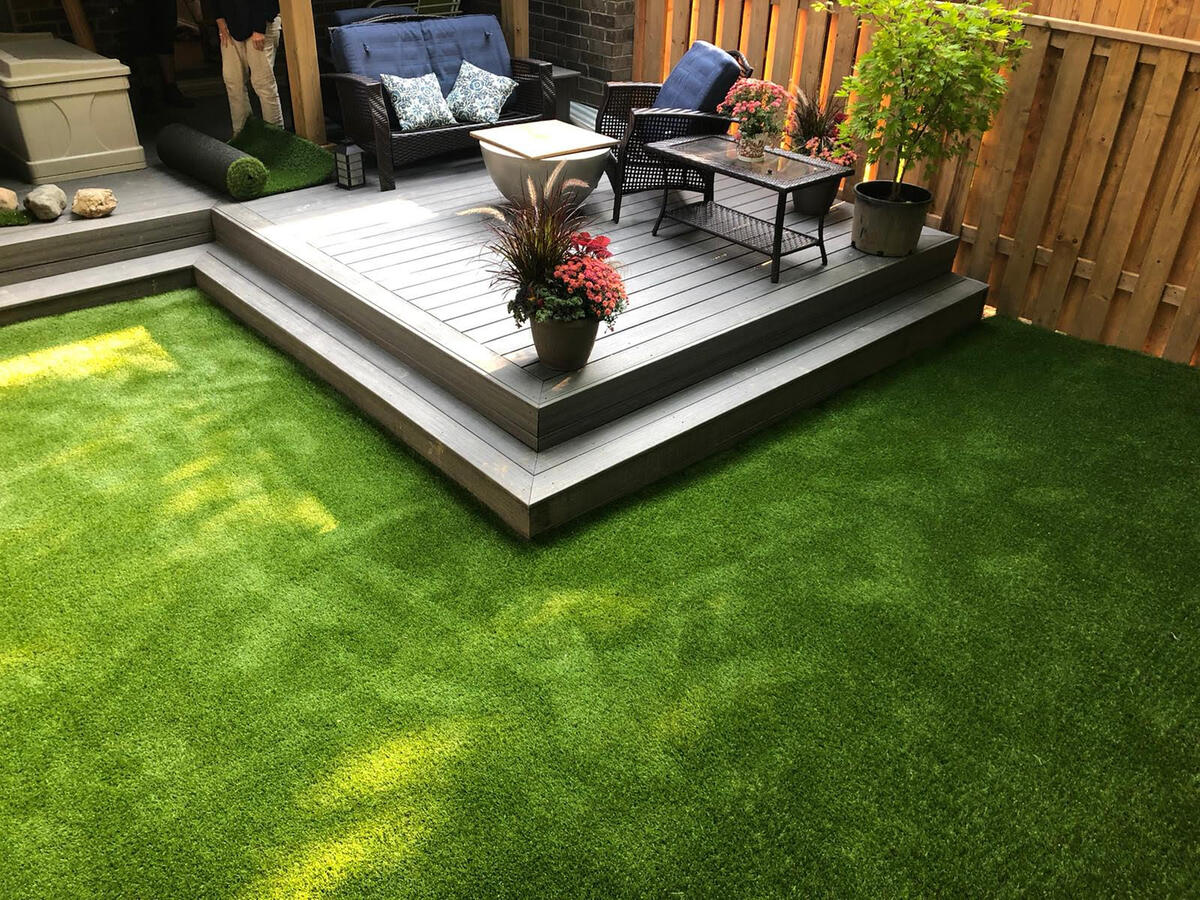
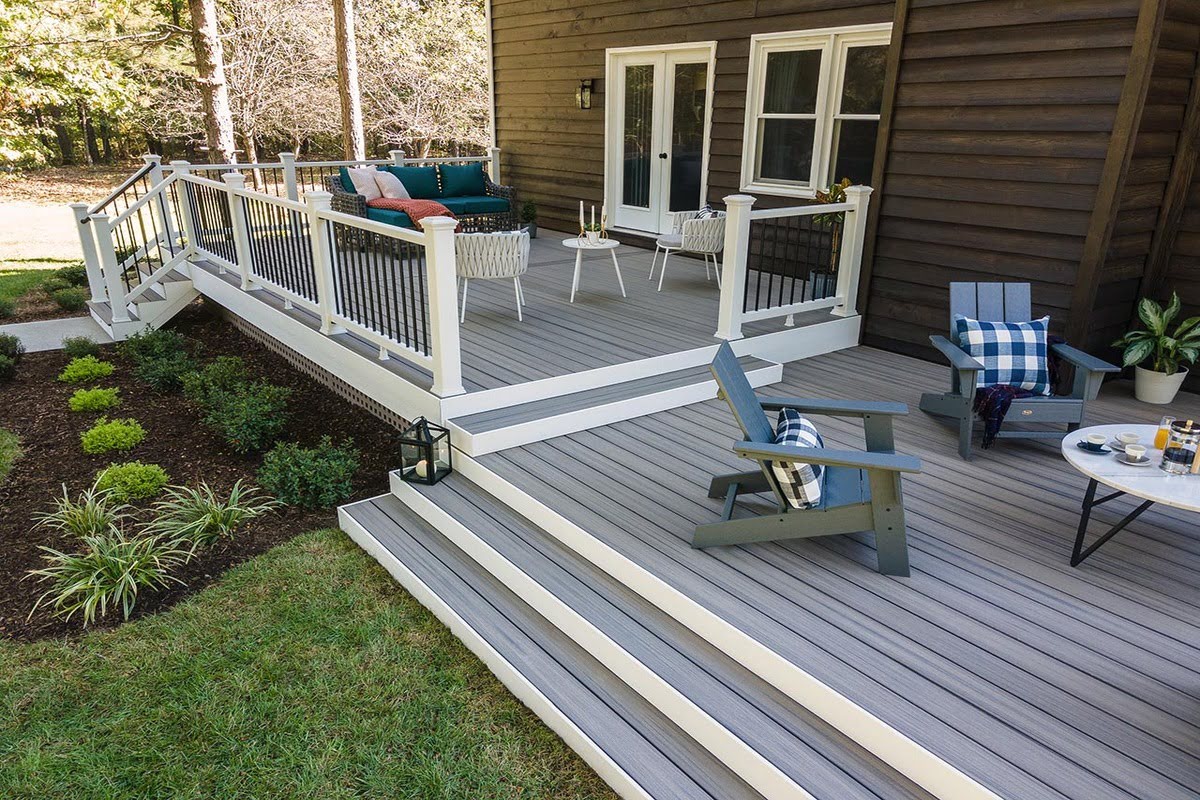
Congratulations! You have reached the end of our guide on how to lay decking over concrete. By following the step-by-step process outlined in this article, you can transform your dull concrete surface into a stunning outdoor living space. Whether you want to create a cozy seating area, a spacious dining spot, or a peaceful retreat, a decking installation can provide the perfect solution.
Remember, proper preparation is key to a successful project. Take the time to clean and repair the concrete surface, apply a waterproofing membrane, and create a slope for drainage. Installing sleepers or joists provides the foundation for your deck, ensuring stability and support. Attaching the decking boards and adding the finishing touches give your deck a polished and professional appearance.
Throughout the process, keep in mind the tips and tricks we shared to help you achieve the best results. Choose the right decking material, check local building codes, and use proper fasteners and ventilation. Consider using composite decking for its durability and low maintenance. And don’t forget to maintain your deck regularly to prolong its lifespan.
Now, it’s time to sit back, relax, and enjoy your newly transformed outdoor deck. Gather with family and friends, savor the fresh air, and create lasting memories in your own outdoor oasis. Whether it’s a sunny afternoon or a starry night, your decking over concrete project will provide a beautiful and functional space for you to enjoy the great outdoors.
Frequently Asked Questions about How To Lay Decking Over Concrete
Was this page helpful?
At Storables.com, we guarantee accurate and reliable information. Our content, validated by Expert Board Contributors, is crafted following stringent Editorial Policies. We're committed to providing you with well-researched, expert-backed insights for all your informational needs.


0 thoughts on “How To Lay Decking Over Concrete”