Home>Ideas and Tips>DIY Guide To Installing A Glass Shower Door

Ideas and Tips
DIY Guide To Installing A Glass Shower Door
Modified: October 28, 2024
Learn how to install a glass shower door with our step-by-step DIY guide. Enhance your bathroom's look and functionality with ease.
(Many of the links in this article redirect to a specific reviewed product. Your purchase of these products through affiliate links helps to generate commission for Storables.com, at no extra cost. Learn more)
Installing a glass shower door can be a rewarding DIY project that enhances the look and functionality of your bathroom. However, it requires careful planning, precise measurements, and the right tools. In this comprehensive guide, we will walk you through the steps to install a glass shower door, highlighting the essential tools and materials needed, as well as providing safety tips and troubleshooting advice.
Choosing the Right Type of Glass Shower Door
Before diving into the installation process, it's crucial to understand the different types of glass shower doors available. The most common types include:
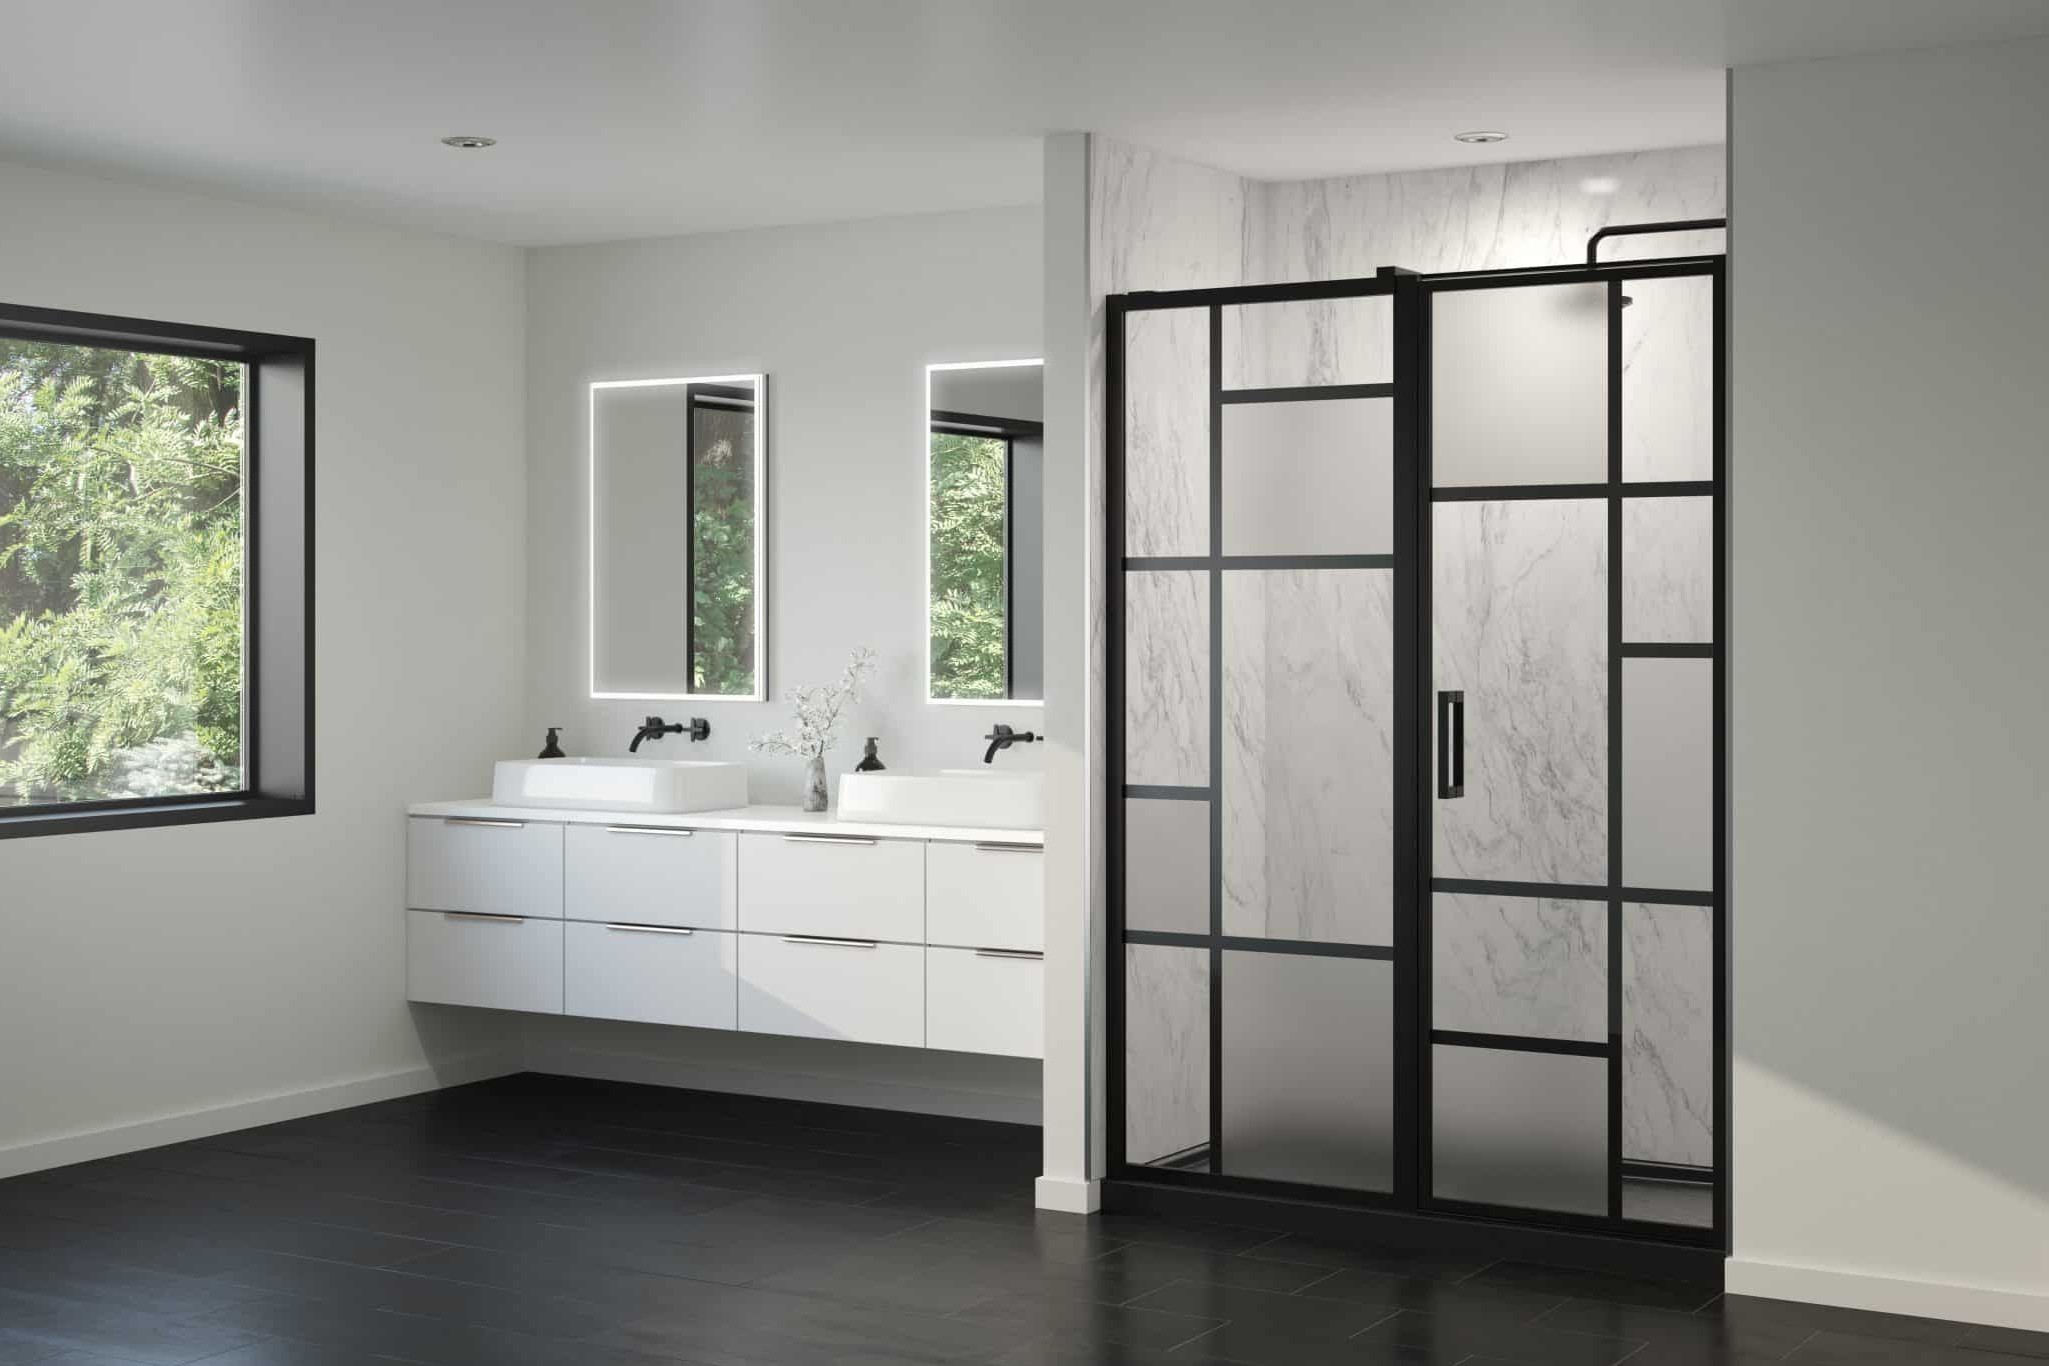
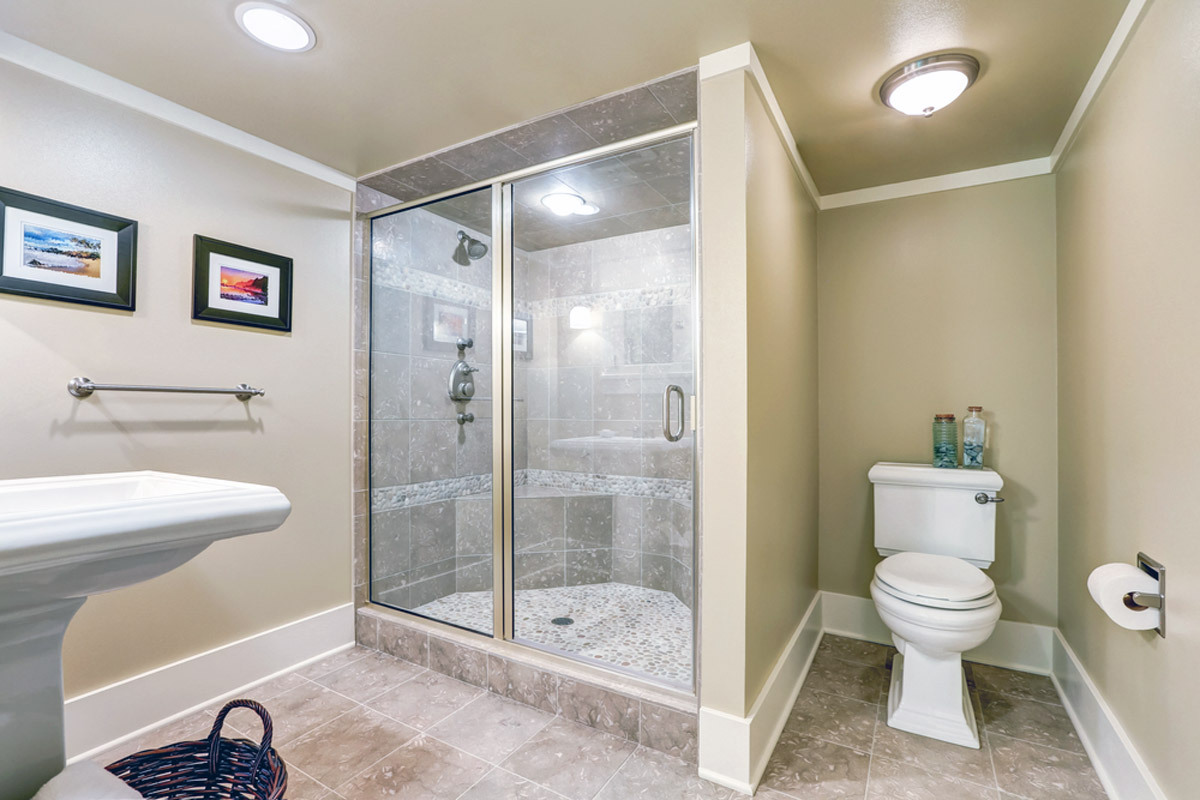
- Hinged Shower Doors: These doors swing open and are often easier to clean and maintain. They come in framed and frameless designs.
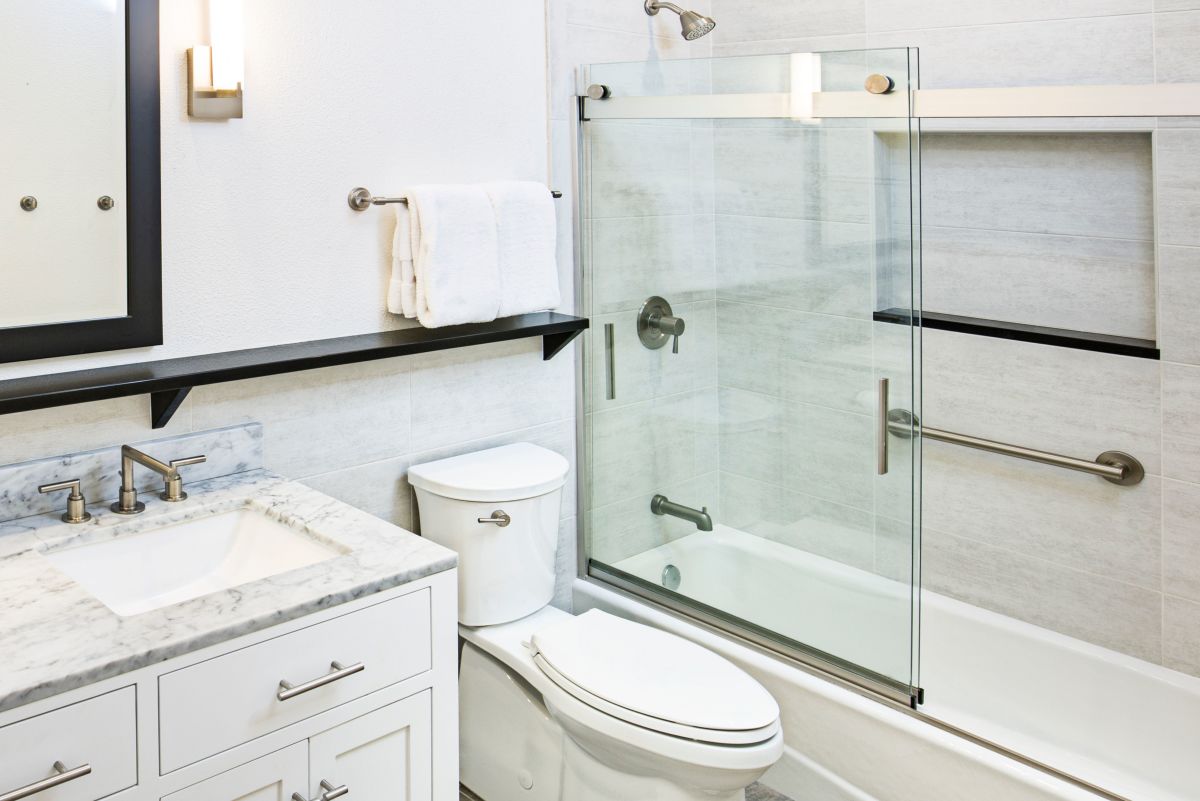
- Sliding Shower Doors: Also known as bypass doors, these move from side to side and are more suitable for small bathrooms or those with tubs.
Hinged Shower Doors
Hinged shower doors are versatile and can be installed in both small and large bathrooms. They offer a wider opening, making them ideal for those who need more mobility. However, they may not be the best option for very small bathrooms due to their swing mechanism.
Sliding Shower Doors
Sliding shower doors are perfect for small spaces because they do not swing open and can be installed on either side of the shower. They are also more convenient for tubs and large showers, as they provide easy access without obstructing the space.
Tools and Materials Needed
To ensure a successful installation, you'll need the following tools and materials:
Essential Tools
- Tape Measure: For accurate measurements.
- Level: To ensure the door is plumb.
- Drill with Masonry Bit: For drilling into walls.
- Hacksaw: For cutting metal tracks.
- Screwdriver (Flathead and Phillips): For screwing and unscrewing.
- Caulking Gun: For applying silicone caulk.
- Utility Knife: For cutting vinyl strips.
- File: For smoothing rough edges.
- Pencil: For marking screw holes.
- Hammer: For tapping screws into place.
- Plastic Mallet: For handling glass without scratching it.
- Safety Glasses and Work Gloves: For protecting yourself during installation.
Required Materials
- Glass Shower Door Kit: This typically includes the door, tracks, and hardware.
- Clear, Mildew-Resistant Silicone Caulk: For sealing gaps and ensuring a watertight seal.
- Wall Anchors: For securing the side rails to the wall.
- Stainless Steel Screws (Various Sizes): As specified in the kit.
- Post-Installation Cleaning Supplies: For cleaning up any mess.
Preparing for Installation
Before starting your project, it's essential to prepare your bathroom space:
- Measure the Shower Opening: Measure the width of the shower opening in three places: at the threshold, at 5 feet high, and halfway in between. Use the smallest measurement when ordering your door to ensure it fits properly.
- Check for Obstacles: Verify that the door can swing freely without hitting any fixtures or walls.
- Ensure Shower Walls Are Plumb: Use a level to check if your shower walls are perfectly vertical. Any wall over half an inch out of vertical over 5 feet may require a filler strip to ensure proper installation.
Step-by-Step Guide to Installing a Glass Shower Door
Step 1: Remove the Shower Curtain and Clean the Area
Remove any existing shower curtain or rod and clean the area of any miscellaneous items. This will give you a clear space to work with.
Read more: DIY Guide To Installing A Subway Tile Shower
Step 2: Hold the Door Up in the Shower’s Opening
Hold the door up in the shower’s opening. If it has a frame, use low-tack masking tape or plumber’s tape to secure it to the shower walls temporarily. Ensure the door fits properly in your space. If not, many framed shower doors can be trimmed to fit using a hacksaw.
Step 3: Inspect if the Door is Plumb
Use a level to inspect if the door is plumb to the shower walls. Make any necessary adjustments before proceeding.
Step 4: Mark Screw Holes
With the shower door or frame still taped in place, use a pencil to mark any screw holes. If you have dark tile, place masking tape in those spots so the pencil marks are visible when it’s time to drill.
Step 5: Drill Through Hole Markings
Remove the door and door frame from the doorway. Using the appropriate drill bit, drill through the hole markings. Leave the masking tape on to prevent tile or wall from splitting. Remove the tape when drilling is complete.
Read more: DIY Guide To Installing A French Door
Step 6: Apply Silicone Caulk
Using a caulk gun, apply a bead of silicone caulk along the sides of the door or frame that will rest against the walls. Make sure not to apply caulk where screw holes will be.
Step 7: Install Shower Door
Press the sides of the door firmly against the wall, ensuring they line up with holes in tile and those on the door. Run your fingers along the edge of the door, pressing firmly to waterproof it. Wipe away any excess caulk around edges.
Step 8: Screw Frame to Walls
Using a drill or screwdriver, screw frame to walls via holes you marked earlier.
Step 9: Install Additional Components (if necessary)
Depending on your specific shower door kit, you might need to install additional components such as headers or drip rails.
Installing Base Track
Measure length of shower threshold carefully using hacksaw cut aluminum base track to fit snugly between stall walls. Smooth rough edges using file then vacuum up metal filings immediately so they don’t scratch bathroom floor or shower base.
Positioning and Securing Track
Place cut base track centered from front back on threshold marking position near each end with pencil for easy repositioning if it shifts during installation applying thin bead silicone caulk under track creating watertight seal but check manufacturer’s instructions some advise against this step allowing drainage.
Hanging Shower Door
Take time hanging shower door requiring careful alignment proper function watertight seal helpful having someone hold door place while making adjustments attaching door hinge rail lifting door attached hinge rail positioned swing out from shower slipping hinge rail installed jamb maneuvering heavy shower doors awkward recommend having someone help bumping glass against hard surfaces during process.
Adjusting for Plumb
Once door place use level check strike-side edge plumb making slight adjustments pulling hinge rail out jamb slightly top bottom typically about half inch adjustment available between these pieces holding steady while drilling pilot holes through hinge rail mounted jamb attaching hinge rail jamb screws came door kit.
Installing Header
Shower door kit might include header stabilizing enclosure measuring cutting header length slipping over top hinge jamb side panel if present drilling pilot holes inside face header corresponding jambs securing screws creating rigid frame structure.
Attaching Drip Rail
Drip rail directs water back into shower preventing leaks cutting drip rail match width door filing ends smoothly installing vinyl sweep rail’s groove crimping ends hold place attaching drip rail bottom door tilting slightly towards hinge side proper drainage sealing edges silicone caulk ensuring watertight seal.
Safety Tips When Installing a Glass Shower Door
Glass installation can be dangerous difficult especially DIY project recommending following safety tips:
- Handle Glass Carefully: Avoid moving glass against hard surfaces which could cause breakage.
- Use Corner Protectors: Place corner protectors on glass during installation preventing damage.
- Work with Assistance: Having someone assist you during installation can make tasks easier safer.
- Wear Protective Gear: Always wear safety glasses work gloves protecting yourself from potential hazards.
Troubleshooting Common Issues
During installation you might encounter some common issues here’s how address them:
-
Misaligned Door:
- If door not plumb adjust hinge rail slightly top bottom ensuring proper alignment.
- Use level check strike-side edge plumb making necessary adjustments.
-
Difficulty Drilling Through Tile/Walls:
- Use masonry bit specifically designed drilling through tile/concrete.
- Apply lubricant like WD-40 reduce friction making drilling easier.
-
Leaks Around Edges:
- Apply additional silicone caulk edges ensuring watertight seal.
- Smooth out caulk wait dry before using shower.
-
Door Not Swinging Properly:
- Check if door properly aligned with tracks ensuring smooth operation.
- Adjust hinge rail if necessary ensuring proper swing mechanism.
Final Steps: Sealing and Finishing Touches
The final steps involve sealing door properly ensuring watertight seal:
-
Seal Edges with Silicone Caulk:
Apply clear mildew-resistant silicone caulk along inside outside edge base track inside edges each jamb smooth out caulk wait dry before using shower. -
Inspect Door Functionality:
Test door ensuring it swings opens closes smoothly without leaks.
By following these steps carefully you’ll be able install glass shower door yourself saving money hiring professional while enhancing look functionality your bathroom.
Conclusion
Installing a glass shower door is a rewarding DIY project that requires careful planning precise measurements right tools materials. By understanding different types glass shower doors choosing appropriate type preparing space accurately following step-by-step guide ensuring safety precautions taken throughout process you’ll achieve professional-looking results enhancing functionality comfort your bathroom space.
Remember always refer manufacturer’s instructions specific kit ensuring correct installation process avoiding potential complications ensuring long-lasting durability your newly installed glass shower door.
Additional Tips
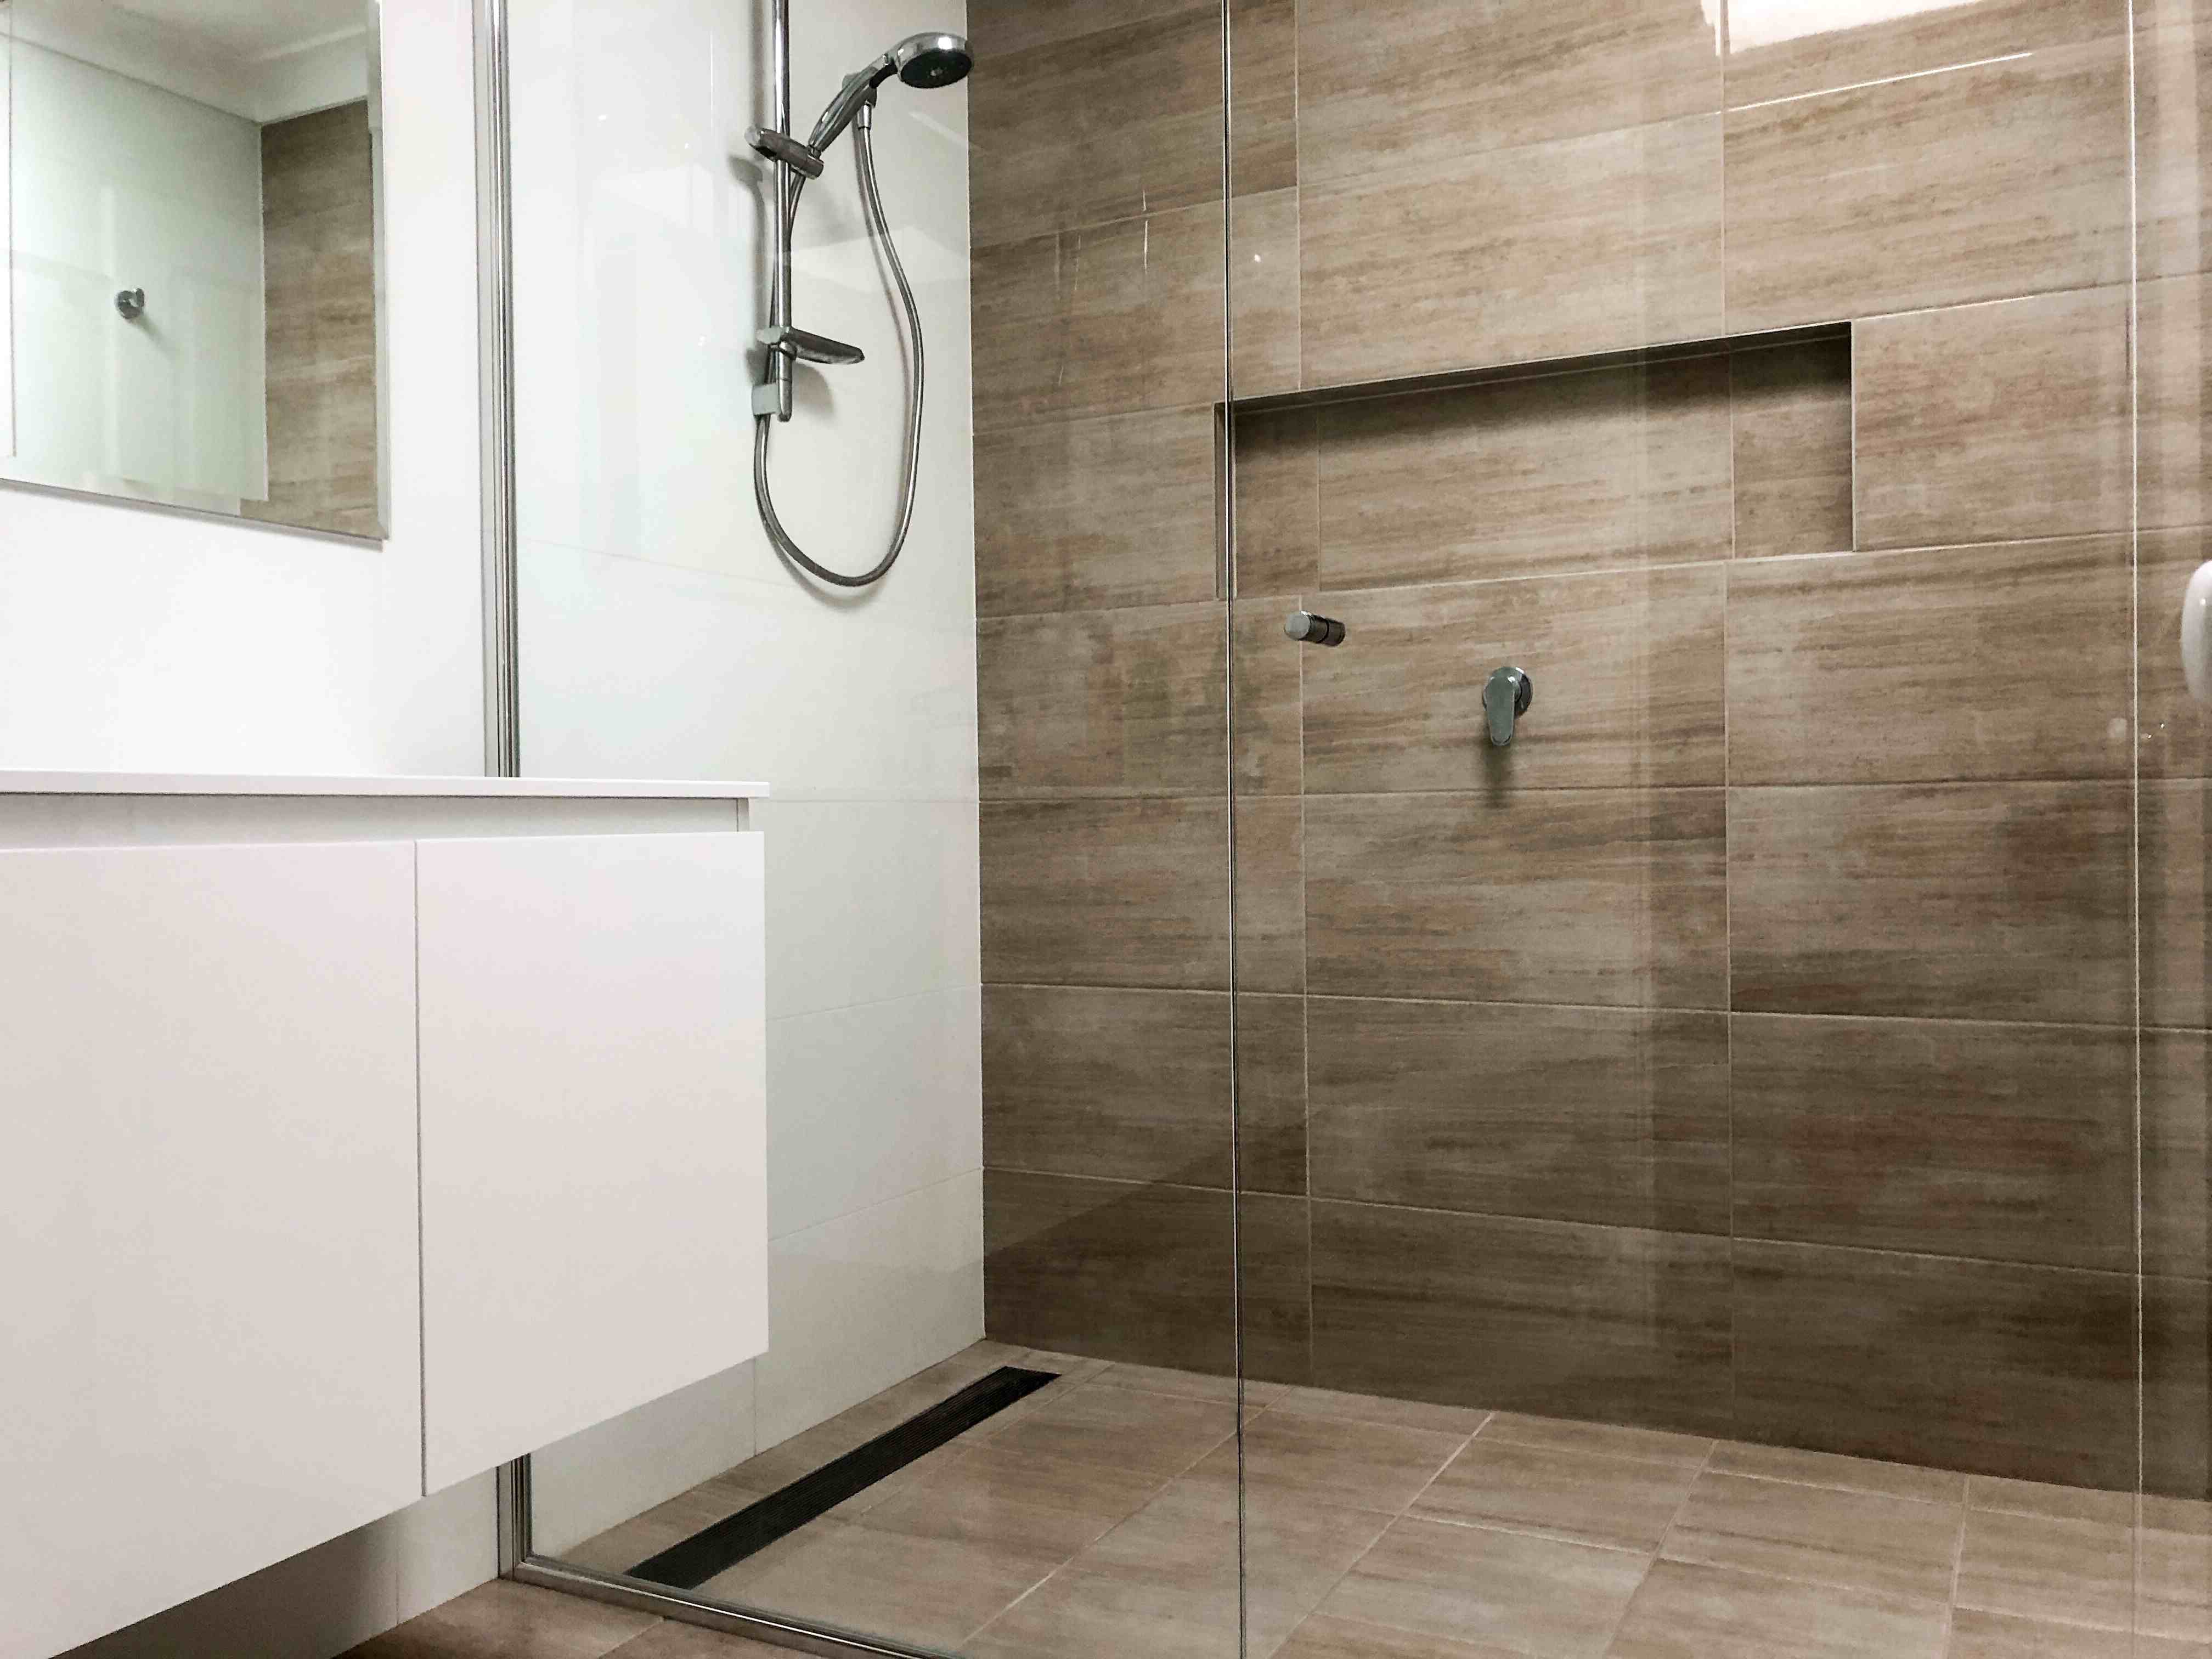
While updating shower doors consider pairing it new beautiful faucet system enhancing overall aesthetic appeal bathroom space.
Sources
For more detailed information regarding types materials needed during installation process refer following sources:
- Angi: How to Install a Shower Door
- This Old House: How To Install a Shower Door
- Glass Doctor: Step-by-Step Guide to Installing Shower Doors
By combining knowledge from these sources along with practical tips outlined above you’ll be well-equipped handle installation process confidently achieving desired results enhancing beauty functionality your bathroom space.
I hope this comprehensive guide helps you successfully install your glass shower door
Was this page helpful?
At Storables.com, we guarantee accurate and reliable information. Our content, validated by Expert Board Contributors, is crafted following stringent Editorial Policies. We're committed to providing you with well-researched, expert-backed insights for all your informational needs.




0 thoughts on “DIY Guide To Installing A Glass Shower Door”