Home>Ideas and Tips>DIY Guide To Installing A Glass Tile Backsplash
Ideas and Tips
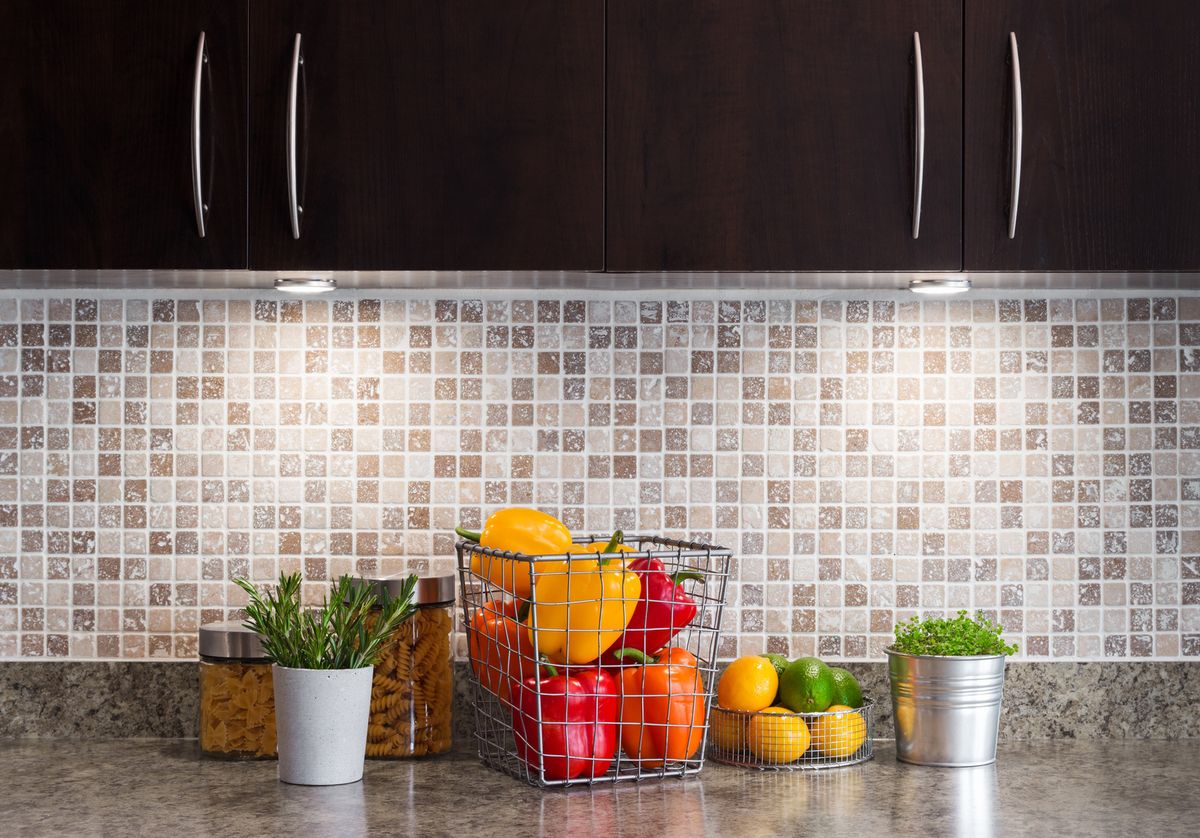
DIY Guide To Installing A Glass Tile Backsplash
Published: August 29, 2024
Transform your kitchen with our DIY guide to installing a glass tile backsplash. Step-by-step instructions for a sleek, professional look.
(Many of the links in this article redirect to a specific reviewed product. Your purchase of these products through affiliate links helps to generate commission for Storables.com, at no extra cost. Learn more)
Introduction
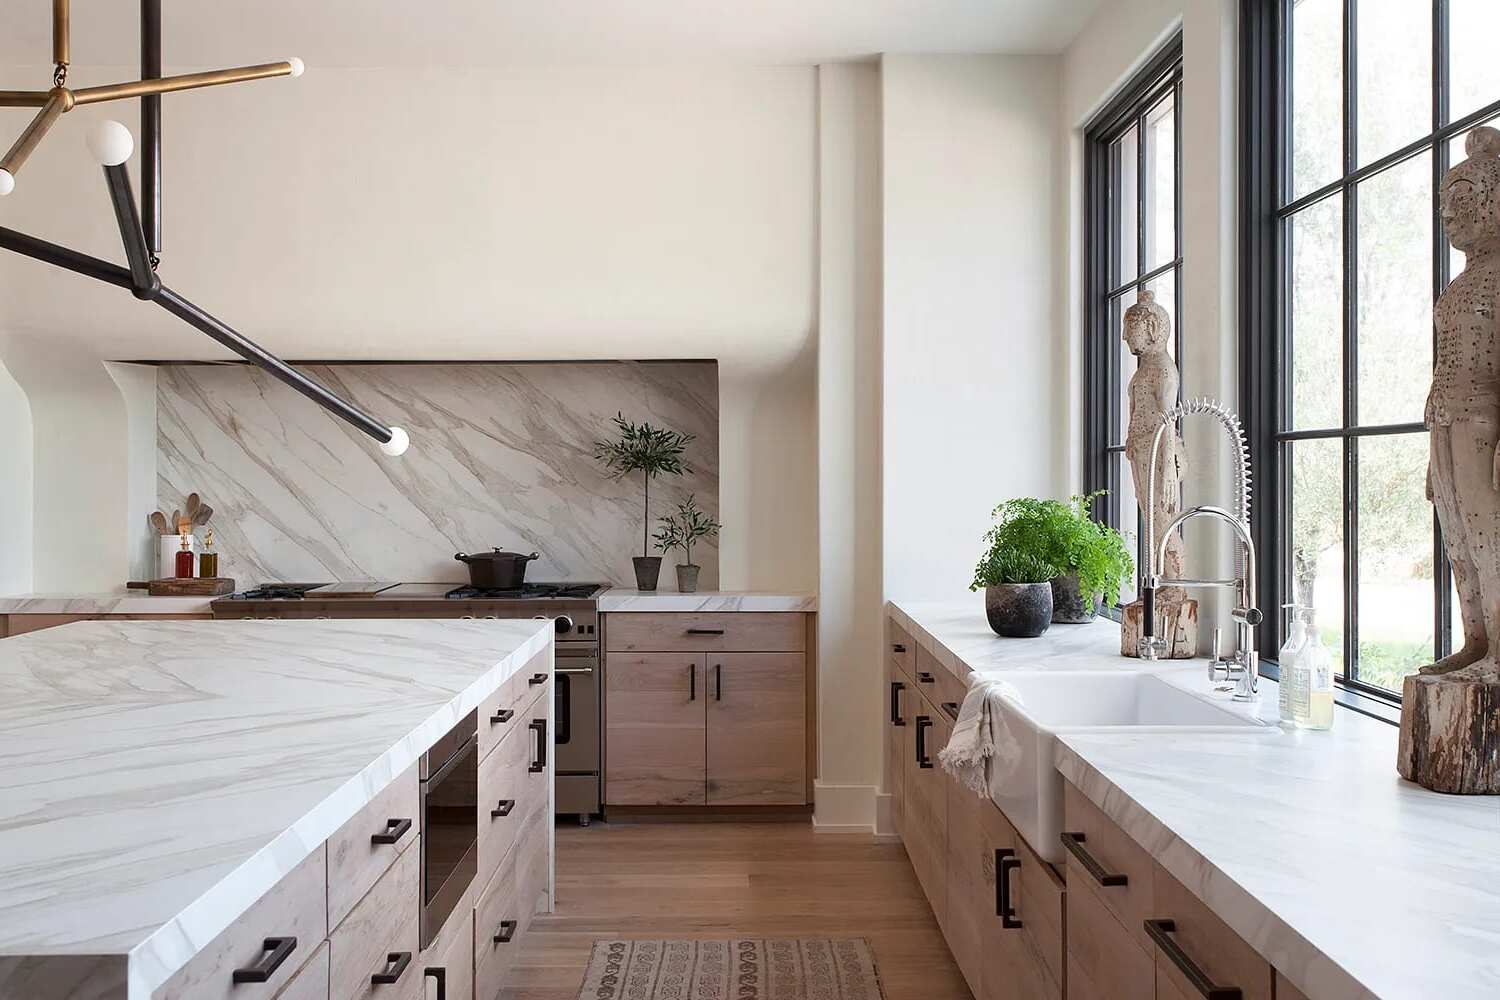
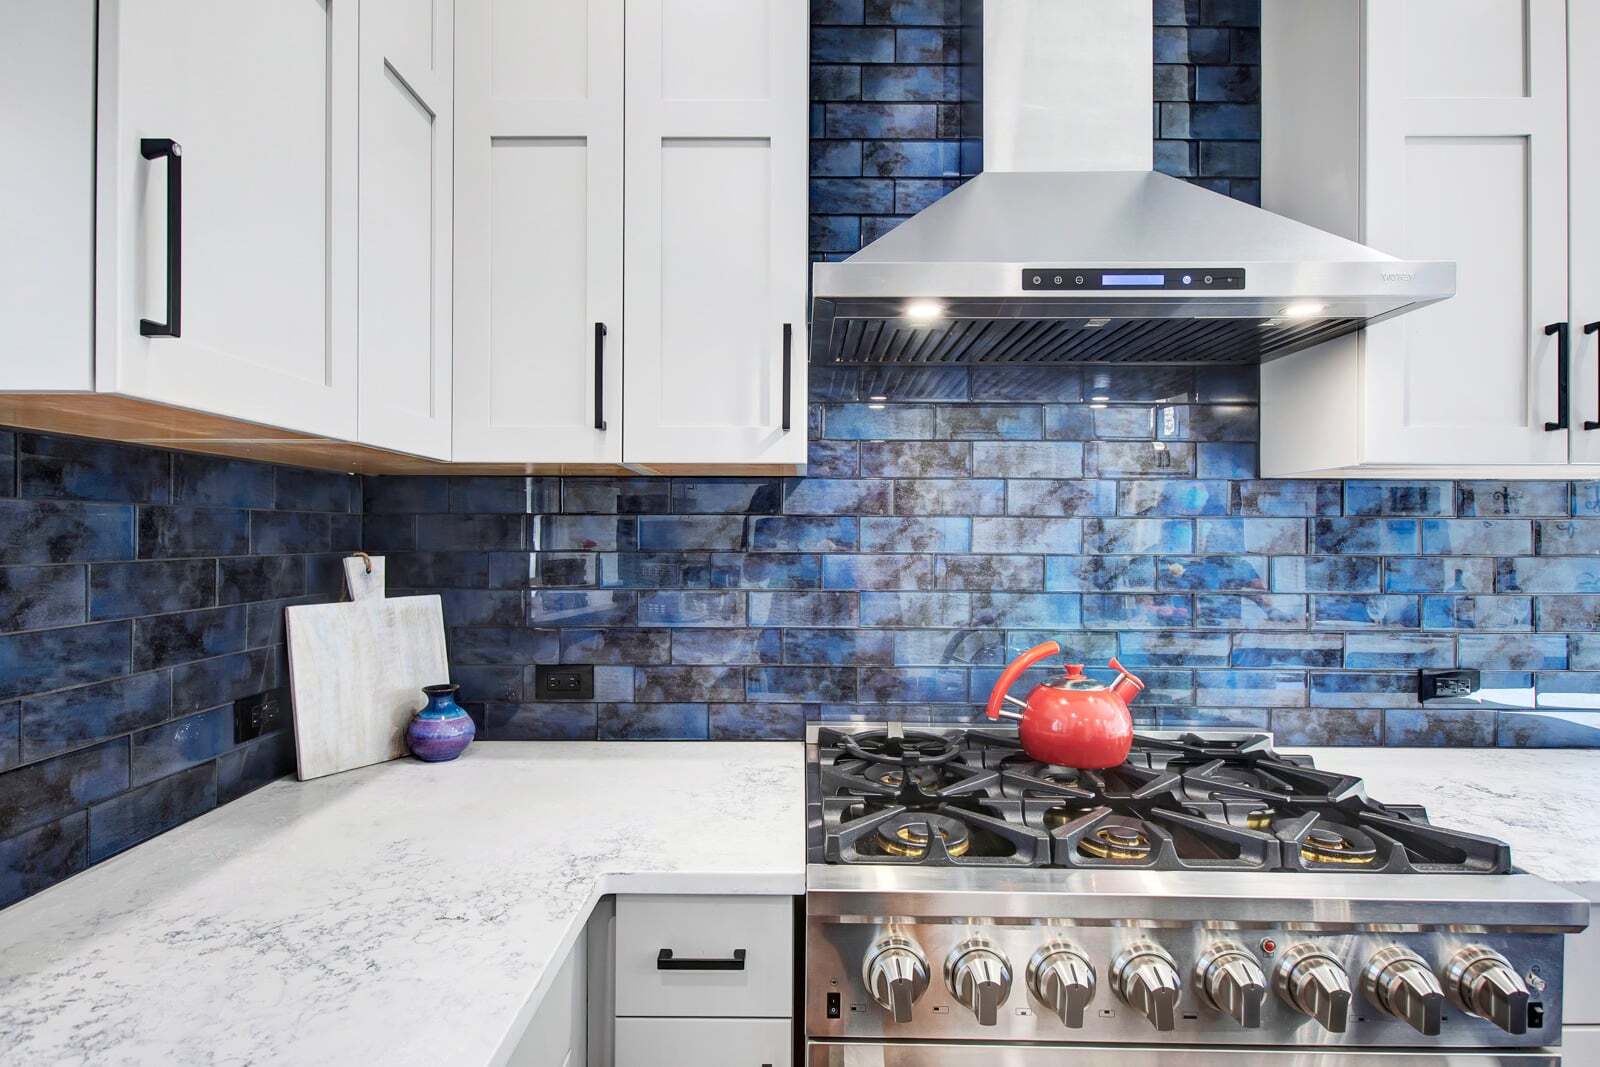
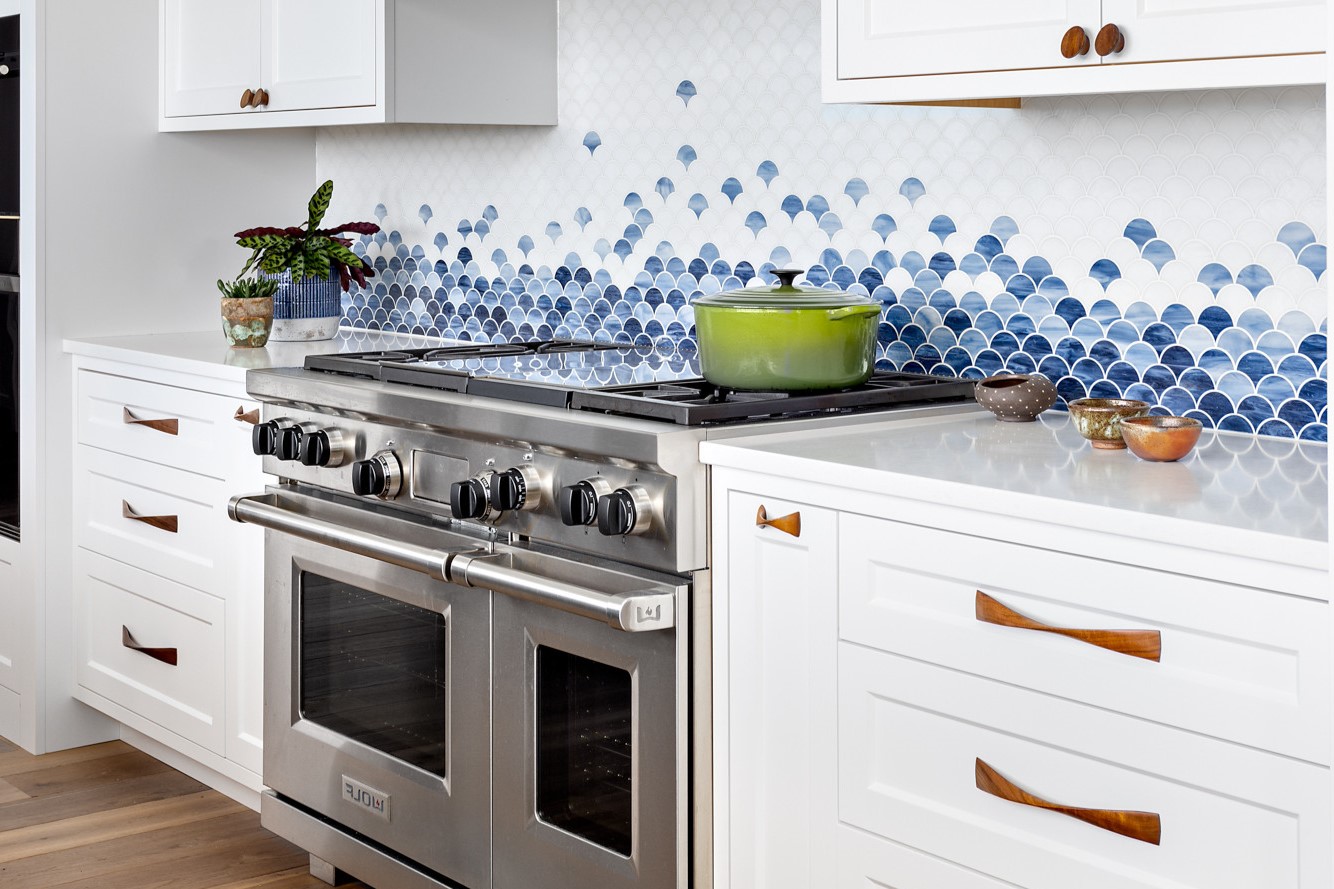
A glass tile backsplash is an excellent choice for any kitchen, offering a sleek and modern appearance that can complement various kitchen designs. The process of installing a glass tile backsplash is relatively straightforward, but it does require some planning and attention to detail. In this guide, we will cover everything from preparing the wall to applying the final grout and caulk.
Tools and Materials Needed
Before you begin, make sure you have all the necessary tools and materials. Here’s a comprehensive list:
- Tiles: Glass mosaic tiles, preferably in 12×12 sheets.
- Grout: Premixed grout suitable for glass tiles.
- Rubber Grout Float: For applying and spreading grout evenly.
- Bucket and Sponge: For mixing and cleaning grout.
- Painter’s Tape: To mark the installation area.
- Tape Measure: To measure the wall and determine the number of tiles needed.
- Mortar/Adhesive: A thinset modified with polymer or latex, compliant with ANSI 118.4 and recommended for glass or vitreous tile installation.
- V-Notched Trowel: For applying the adhesive to the wall.
- Scissors: For cutting the mesh backing of the tile sheets if necessary.
- Non-Contact Voltage Tester: To ensure the power is off before working near electrical outlets.
- Outlet Extenders: To accommodate electrical outlets in the wall.
- Caulk Gun and Caulk: For sealing gaps around outlets and edges.
- Level: To ensure the tiles are installed straight and even.
- Square: To draw gridlines for straight installation.
Preparing the Wall
Before you start installing your glass tile backsplash, it’s crucial to prepare the wall properly. Here’s how:
-
Clean the Wall:
- Use a mixture of water and mild dishwashing liquid (like Dawn) to wipe off any grease splatters on the wall. If there are stubborn stains, use a paint deglosser with a lint-free cloth or abrasive pad to ensure the adhesive will adhere properly.
- Mask off the countertops and any upper cabinets that will have tile installed along the side using painter’s tape. Leave a 1/4-inch gap between the wall and the tape for the tile.
- Cover the countertops with newspaper or a drop cloth to protect them from grout and adhesive spills.
-
Inspect the Tiles:
- Inspect each tile sheet for any imperfections before installing. This ensures that you have a uniform appearance in your finished backsplash.
-
Draw Gridlines:
- Use a square and level to draw gridlines on the wall where you plan to install your tiles. This helps in ensuring straight and even installation.
Applying Mortar/Adhesive
Applying the right adhesive is crucial for a successful installation:
-
Choose the Right Adhesive:
- Never use ceramic tile mastic for installing glass tiles. Instead, use a thinset modified with polymer or latex, compliant with ANSI 118.4 and recommended by the manufacturer for glass or vitreous tile installation.
-
Apply Adhesive:
- Use the flat side of a v-notch trowel to apply the adhesive to the wall. Spread it evenly but avoid applying too much at once as it dries quickly.
- Once you have spread enough adhesive, use the v-notched side of the trowel to create ridges of proper depth and size. This helps in ensuring that each tile has enough grip with the adhesive.
Installing Mosaic Tile Sheets
Now it’s time to start installing your mosaic tile sheets:
-
Begin Installation:
- Start your installation at the most visible part of the wall and work outwards from there. This ensures that the most visually exposed part of the wall is well-centered.
- Use a rubber grout float on the tiles to apply light and even pressure, ensuring good grip with the adhesive.
-
Cutting Mesh Backing (If Necessary):
- If you need to cut any tile sheets to fit around outlets or other obstructions, use scissors carefully while wearing gloves for protection.
-
Working Around Outlets:
- When working around electrical outlets, place outlet extenders in place as guides for placing the tile sheets. Remove them later for grouting purposes.
Read more: DIY Guide To Installing A Kitchen Tile Backsplash With Photocatalytic Self-Cleaning Tiles
Grouting
Grouting is an essential step in completing your glass tile backsplash:
-
Prepare Grout Area:
- Ensure that all tiles are fully covered with adhesive and allow it to set according to manufacturer’s recommendations (usually 24 hours).
-
Apply Grout:
- Use premixed grout suitable for glass tiles and apply it using a rubber grout float working diagonally across each tile sheet.
- Force grout into joints until they are full but avoid overfilling as excess grout can be difficult to clean later on.
-
Clean Excess Grout:
- Use clean water and a damp sponge to remove excess grout from between tiles and clean any haze from tile surfaces.
- Repeat this process until all surfaces are free of grout residue.
-
Allow Grout to Set:
- Allow the grout to set for 7-10 minutes before cleaning off excess grout again with clean water.
Final Touches
After grouting, there are a few final touches you need to complete:
-
Seal Grout (Optional):
- If desired, apply a grout sealer according to manufacturer’s instructions after grout has fully set.
-
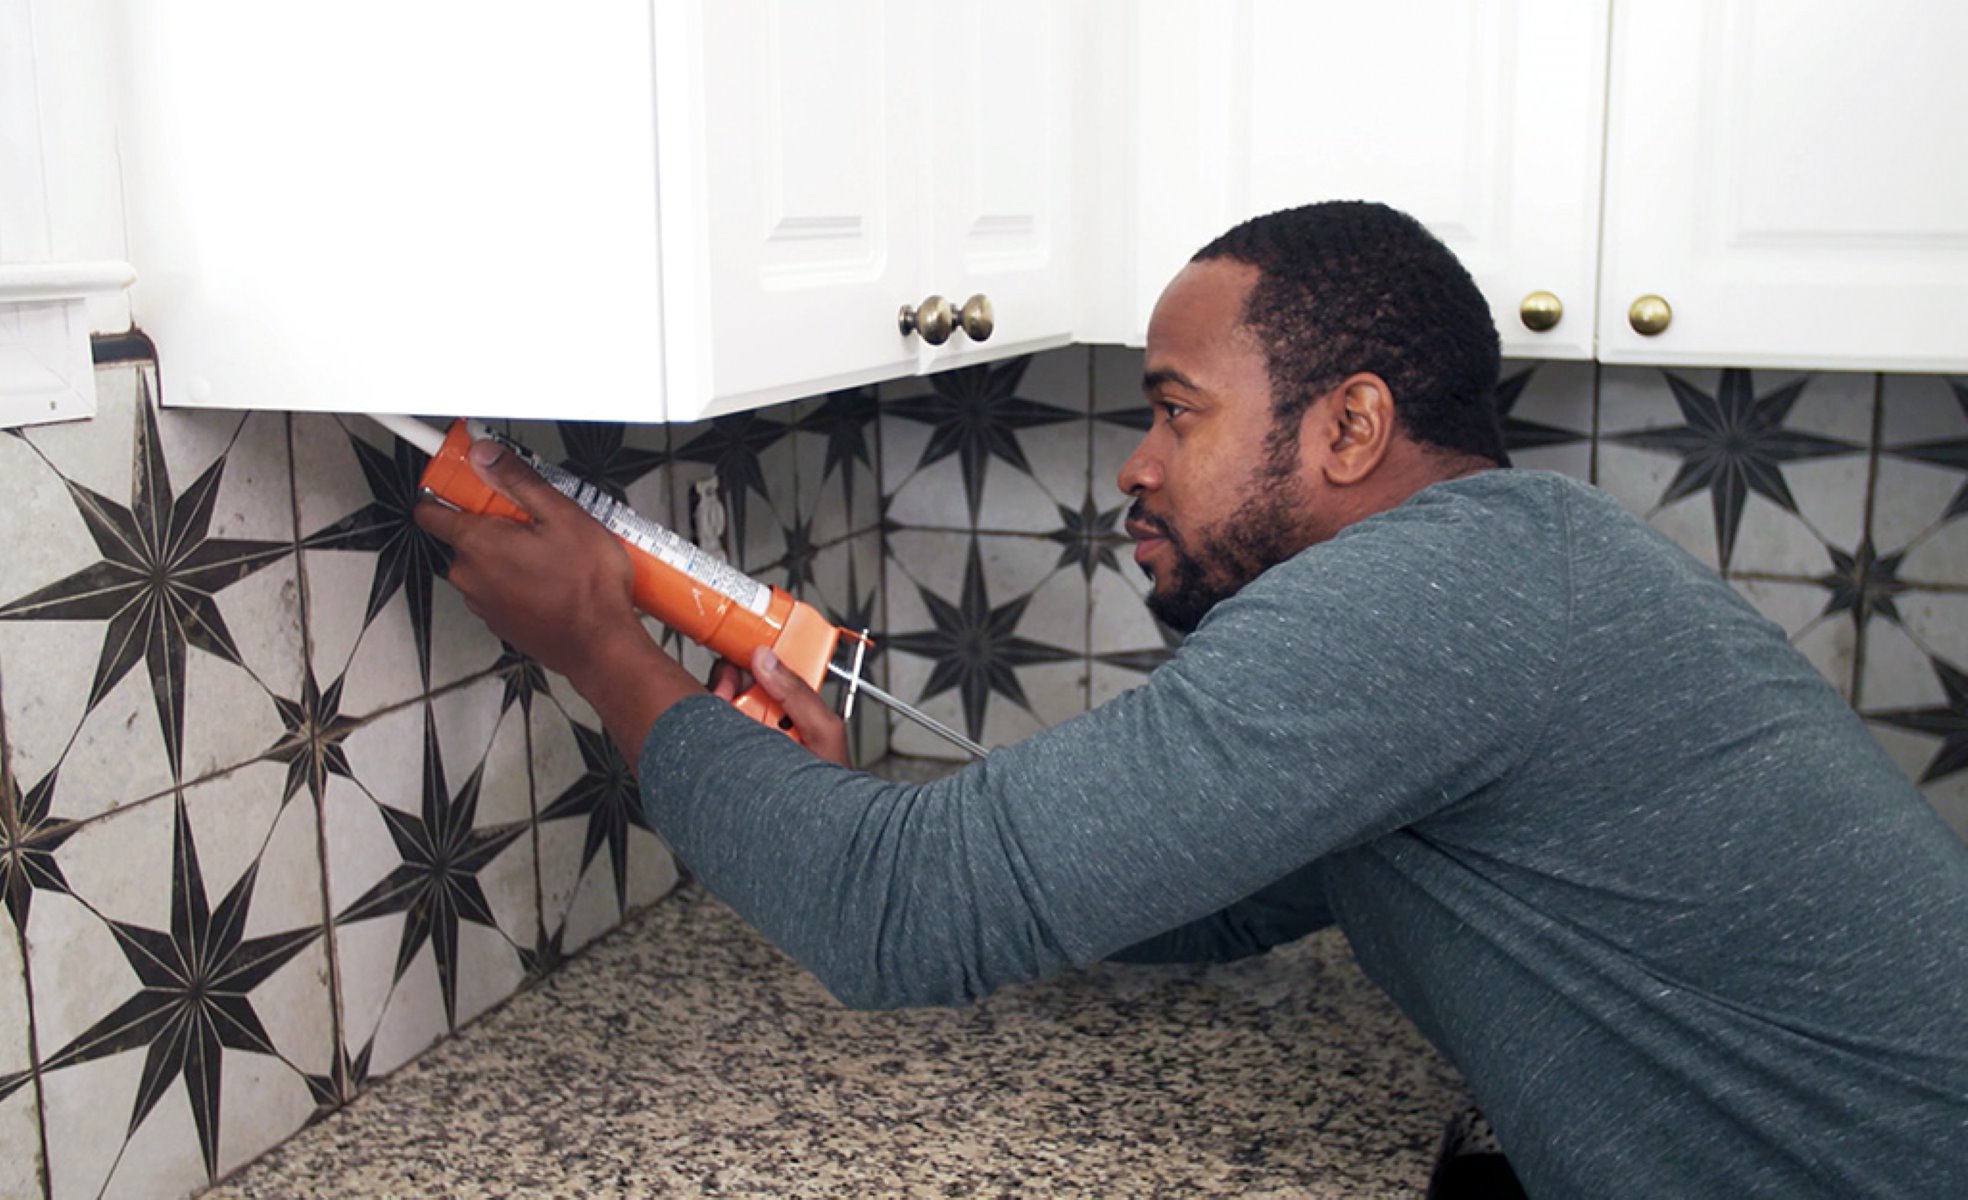
Caulk Gaps Around Outlets:
- Use caulk gun filled with caulk specifically designed for bathroom or kitchen use around outlets where necessary.
-
Clean Up:
- Clean up any spills or messes immediately using clean water and sponge.
-
Inspect Work:
- Inspect your work thoroughly ensuring all tiles are securely attached with no gaps between them where grout should be present.
Conclusion
Installing a glass tile backsplash is an achievable DIY project that can significantly enhance your kitchen’s appearance without breaking the bank or requiring extensive professional help By following these steps carefully while ensuring proper preparation of tools/materials along with attention towards details during each stage will result into beautiful professional-looking finish which will last long time coming back again year after year adding value property itself too!
Additional Tips
- Plan Ahead: Measure your wall accurately before buying tiles ensuring enough coverage without needing cuts which might affect overall appearance negatively.
- Work in Sections: Divide large areas into smaller sections making it easier manageable especially when dealing complex shapes around outlets etcetera.
- Use Right Tools: Invest good quality tools specifically designed purpose ensuring smooth efficient process reducing chances errors occurring mid-way through project completion phase itself too!
By following this comprehensive guide step-by-step mannerly fashion possible achieve stunning results transforming ordinary kitchens extraordinary ones overnight itself indeed
Was this page helpful?
At Storables.com, we guarantee accurate and reliable information. Our content, validated by Expert Board Contributors, is crafted following stringent Editorial Policies. We're committed to providing you with well-researched, expert-backed insights for all your informational needs.


0 thoughts on “DIY Guide To Installing A Glass Tile Backsplash”