Articles
How To Install Rheem Water Heater
Modified: October 31, 2024
Learn how to install a Rheem water heater with this step-by-step guide. Read our informative articles on water heater installation for expert tips and advice.
(Many of the links in this article redirect to a specific reviewed product. Your purchase of these products through affiliate links helps to generate commission for Storables.com, at no extra cost. Learn more)
Introduction
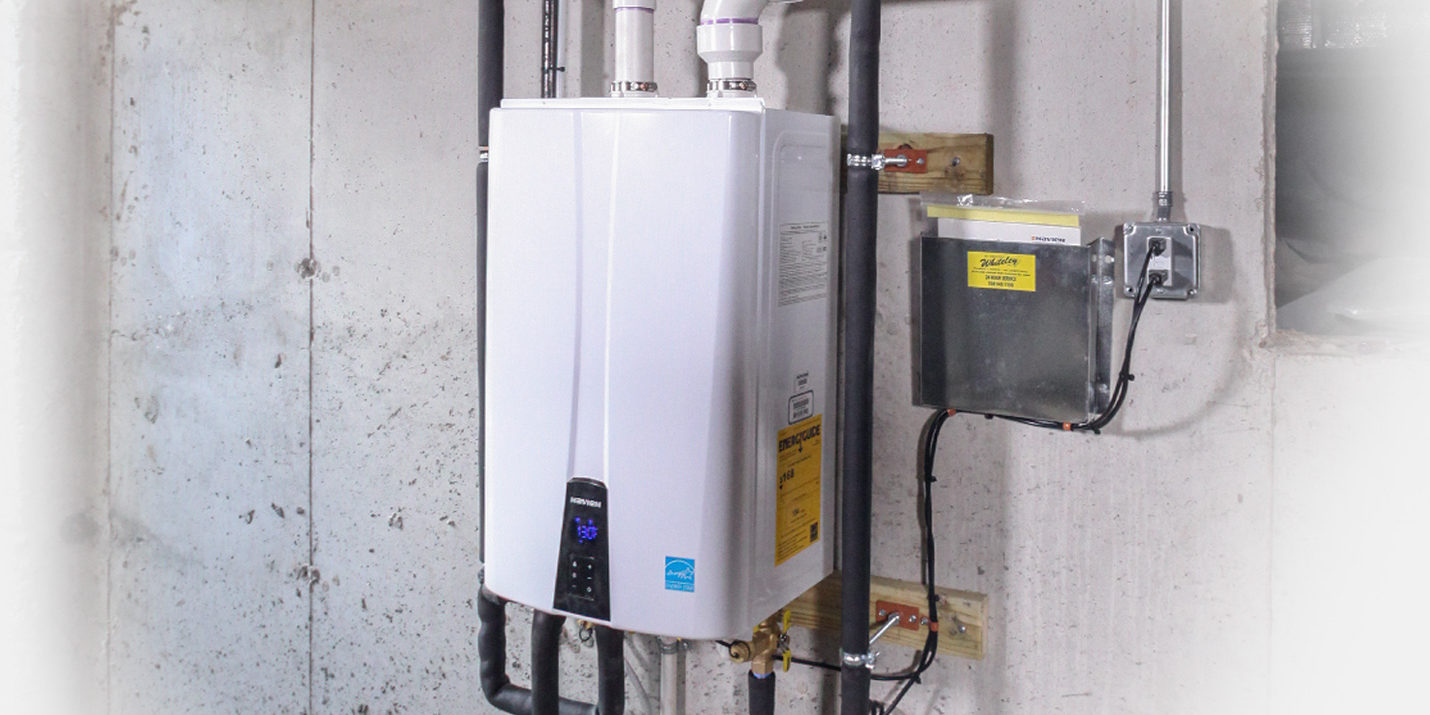
Installing a Rheem water heater is a great way to ensure a consistent and reliable supply of hot water in your home. Whether you’re replacing an old water heater or installing a new one, this step-by-step guide will walk you through the process. With the right tools and materials, you can successfully install a Rheem water heater and enjoy the benefits of efficient and reliable hot water.
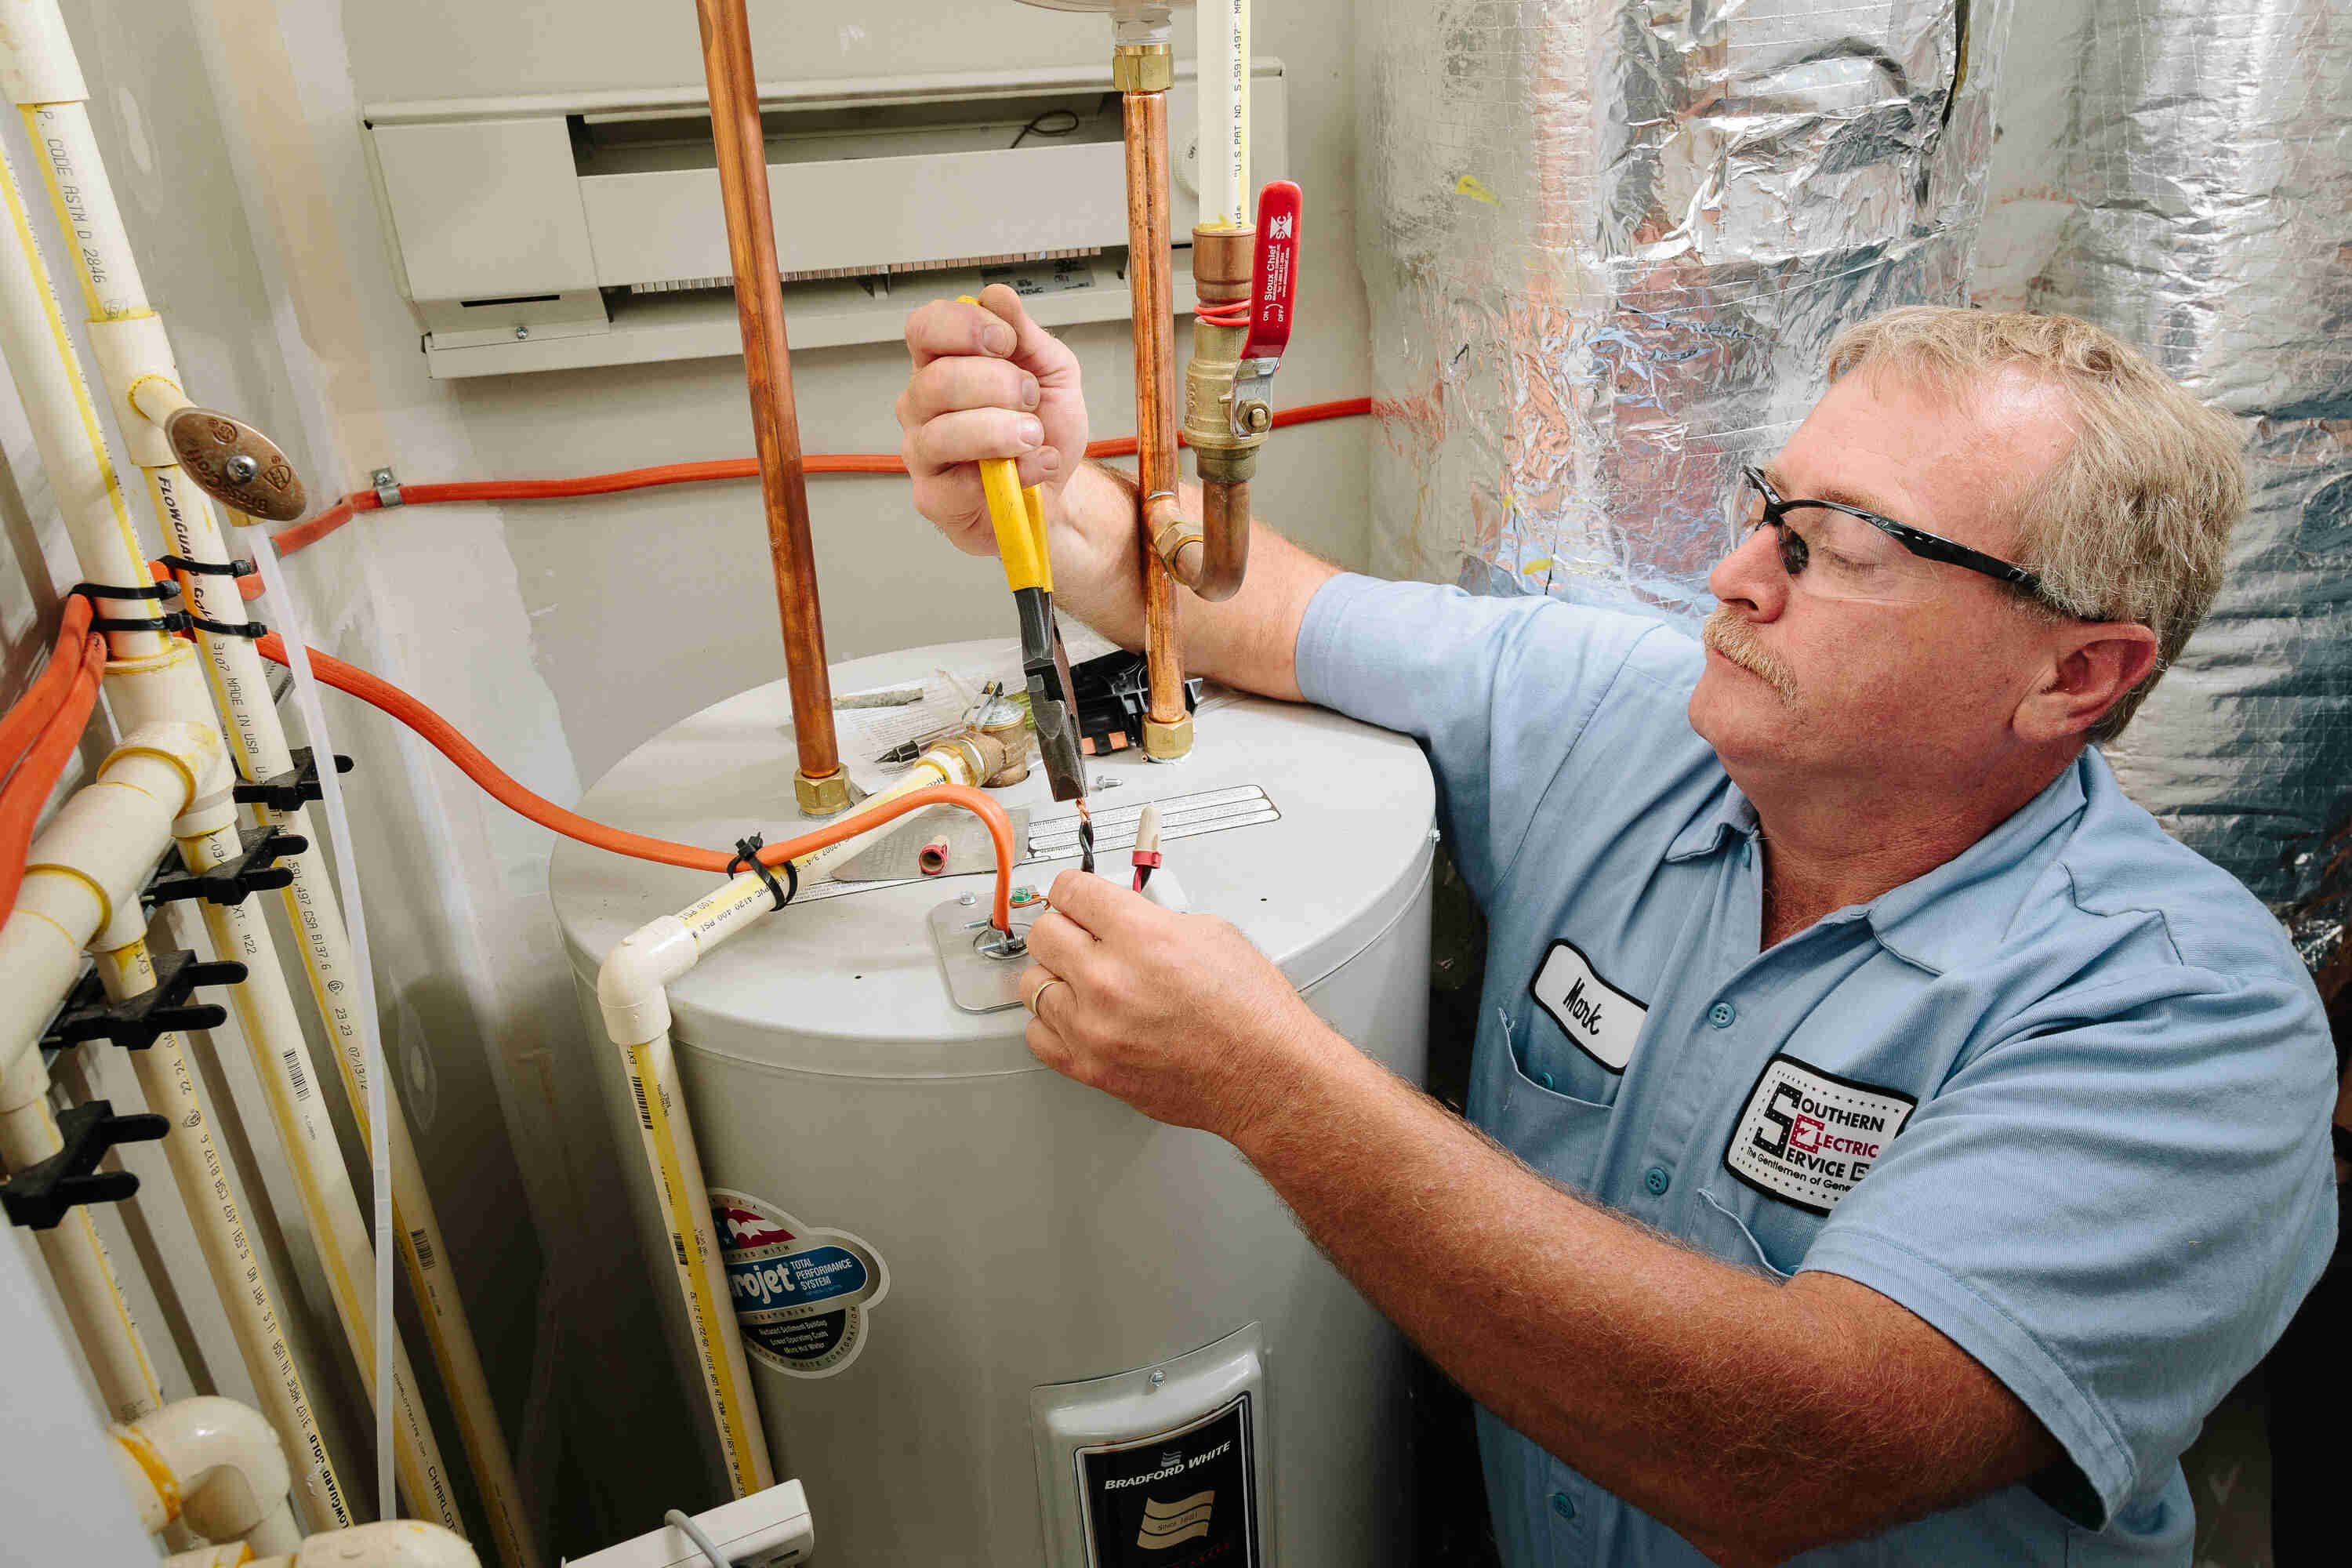
Before you begin, it’s important to note that installing a water heater involves electrical connections and plumbing work. If you’re not comfortable working with electricity or plumbing, it’s best to hire a professional to install the water heater for you. This will ensure that the installation is done safely and correctly.
In this guide, we’ll cover the necessary tools and materials you’ll need, as well as each step of the installation process. From turning off the power and water supply to connecting the plumbing and filling the new water heater, we’ll provide detailed instructions to ensure a successful installation.
So, let’s get started! Follow along with this guide to learn how to install a Rheem water heater and enjoy the convenience of hot water whenever you need it.
Key Takeaways:
- Prioritize safety by turning off power and water supply before installing a Rheem water heater. Follow the step-by-step guide for a successful installation, and consult a professional if unsure about any steps or connections.
- Enjoy a reliable and efficient hot water supply by installing a Rheem water heater. Follow manufacturer’s instructions, maintain the water heater regularly, and reach out to Rheem customer support for assistance.
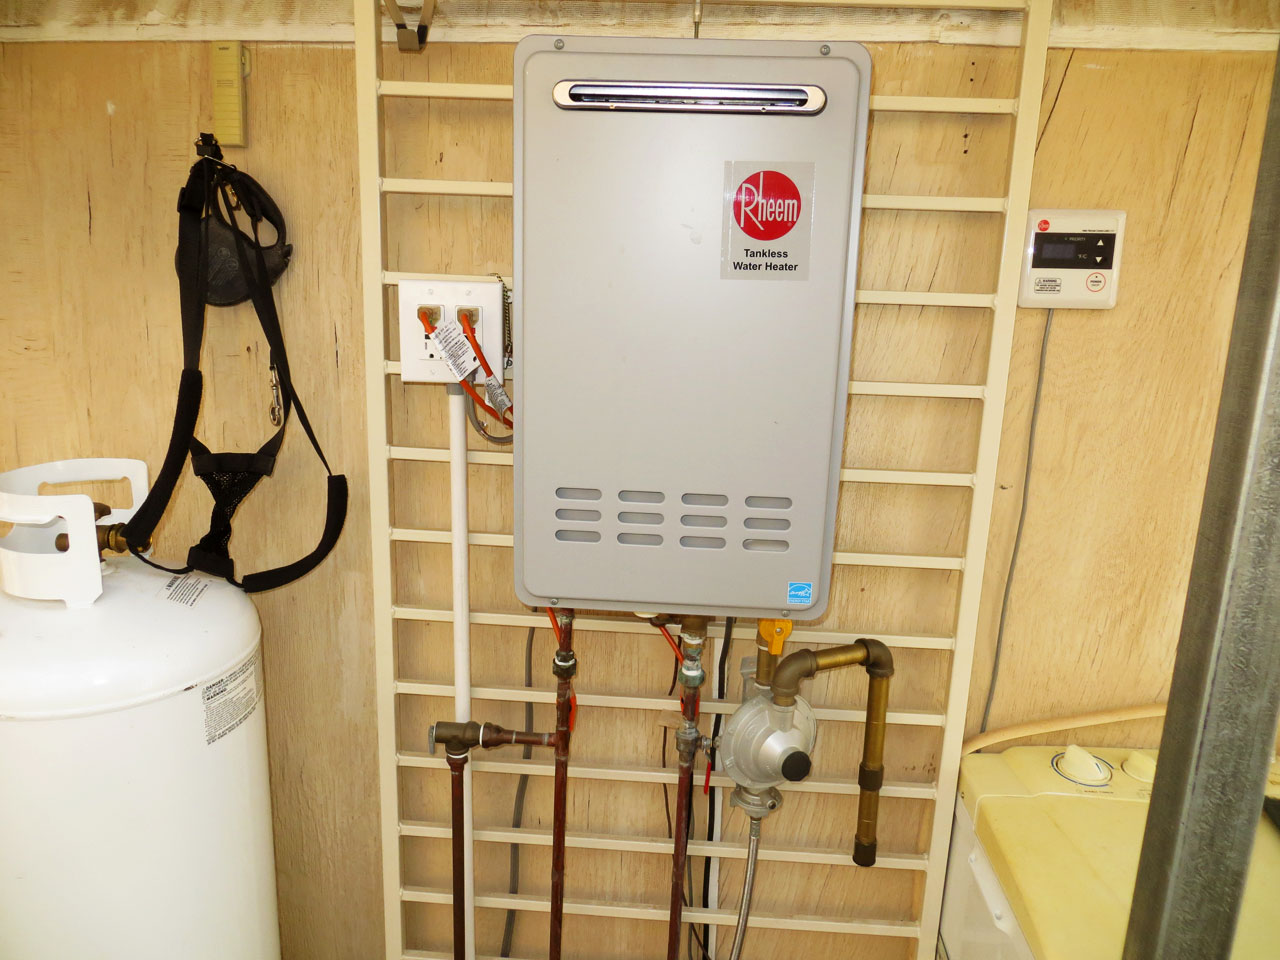
Read more: How To Install A Rheem Tankless Water Heater
Required Tools and Materials
Before you begin the installation process, gather all the necessary tools and materials. Having everything on hand will make the process smoother and more efficient. Here’s a list of the tools and materials you will need:
- Adjustable wrench
- Pipe wrench
- Screwdriver
- Tubing cutter
- Pipe tape
- Teflon tape
- Flux
- Soldering torch
- Wire cutters
- Electrical tester
- Pipe fittings
- Water heater installation kit
- Shut-off valve
- Flexible water connectors
- 10-gauge wire (for electric water heaters)
- Gas connector (for gas water heaters)
Make sure to check the documentation provided with your Rheem water heater for any specific tools or materials that may be required for your model.
It’s also important to ensure that you have a clear and safe work area. Remove any clutter or obstacles that may hinder the installation process and ensure that you have adequate lighting. Safety should always be a top priority, so make sure to wear protective gloves and eyewear when necessary.
Once you have gathered all the necessary tools and materials and prepared your work area, you’re ready to move on to the next step of the installation process.
Step 1: Turning off Power and Water Supply
Before beginning any installation or maintenance work on a water heater, it is crucial to ensure your safety by turning off the power and water supply. Here’s how to do it:
- Locate the circuit breaker or fuse box that controls the power supply to your water heater. Switch off the breaker or remove the fuse for the water heater’s circuit.
- Double-check that the power is off by testing the water heater’s electrical outlets or switches using a reliable voltage tester.
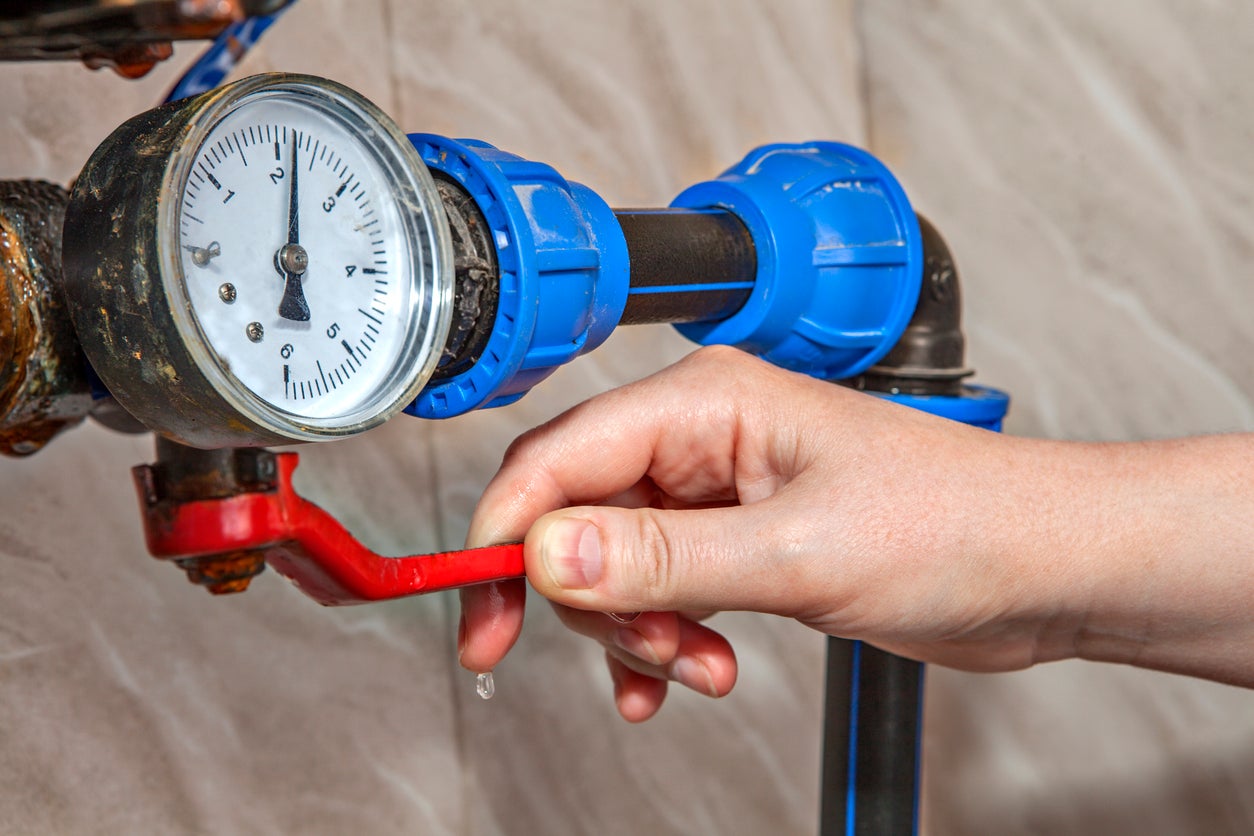
- Next, locate the main water shut-off valve for your home. Typically, this valve is located near the water meter or where the main water line enters your home.
- Turn the valve clockwise to shut off the water supply to your entire home. This will ensure that no water flows into the water heater during the installation process.
- Open a hot water faucet in a sink or tub to relieve any pressure or remaining water in the system.
By following these steps, you will ensure that there is no power or water supply to the water heater, making it safe to proceed with the installation process.
Importantly, if you’re unsure about turning off the power or water supply, or if you encounter any difficulties during this step, it’s recommended to seek the assistance of a qualified professional. Safety should always be the top priority when working with electrical and plumbing systems.
Now that you have turned off the power and water supply, you’re ready to move on to the next step: draining the existing water heater.
Step 2: Draining the Existing Water Heater
Draining the existing water heater is an essential step before removing it from your plumbing system. By emptying the tank, you’ll prevent any water from spilling out during the removal process. Follow these steps to drain the existing water heater:
- Locate the drain valve on the bottom of the water heater. It is usually a brass or plastic spigot with a hose connection.
- Place a bucket or a large container beneath the drain valve to collect the water.
- Open a hot water faucet in a sink or tub to allow air into the system. This will help the water drain more easily.
- Attach a garden hose to the drain valve, ensuring a secure connection.
- Open the drain valve by turning it counterclockwise. Be careful as the water may be hot.
- Allow the water to flow out of the tank completely.
- Once the tank is empty, close the drain valve by turning it clockwise.
- Disconnect the garden hose from the drain valve and remove the bucket or container.
- Double-check that all water has been drained from the tank by opening a hot water faucet. If no water flows out, the tank is empty.
It’s important to note that the water drained from the tank may be hot, so exercise caution while handling the hose and bucket.
By following these steps, you have successfully drained the existing water heater and are now ready to move on to the next step: disconnecting the plumbing connections.
Step 3: Disconnecting the Plumbing Connections
Before removing the old water heater, you need to disconnect the plumbing connections. This step involves disconnecting both the cold water supply line and the hot water outlet line. Here’s how to do it:
- Using an adjustable wrench, loosen and disconnect the cold water supply line that is connected to the inlet valve on top of the water heater. Turn the wrench counterclockwise to loosen the nut, and then remove the line.
- Next, using the same adjustable wrench, loosen and disconnect the hot water outlet line that is connected to the outlet valve on top of the water heater.
- If there is a gas connection, turn off the gas supply by closing the gas shut-off valve, usually located on the gas line close to the water heater. Consult the manufacturer’s instructions for specific details on turning off the gas supply.
- For an electric water heater, switch off the circuit breaker that supplies power to the water heater. Verify that the power is off by testing the water heater’s electrical outlets or switches with a voltage tester.
- Once the plumbing connections and power supply are disconnected, the old water heater is ready to be removed.
It’s important to note that when disconnecting the plumbing connections, there may be residual water in the lines. Have a towel or bucket ready to catch any drips or spills that may occur.
By following these steps, you have successfully disconnected the plumbing connections, and now you’re ready to move on to the next step: removing the old water heater.
Read more: How To Drain A Rheem Water Heater
Step 4: Removing the Old Water Heater
With the plumbing connections disconnected, it’s time to remove the old water heater from its current location. Follow these steps to safely and efficiently remove the old water heater:
- Ensure that you have a clear path and enough space to maneuver the old water heater out of its location.
- Depending on the size and weight of the water heater, you may need a hand from a friend or family member to assist you with the removal.
- Carefully tilt the old water heater on its side and slowly slide it away from its position. Be mindful of any sharp edges or protrusions to avoid causing damage to yourself or your surroundings.
- If the water heater is connected to a gas line, exercise caution and ensure that the gas line is safely disconnected before attempting to move the water heater.
It’s essential to follow proper lifting techniques and use caution to avoid strain or injury while moving the old water heater. If needed, use a dolly or similar equipment to aid in the removal process.
Once the old water heater has been safely removed from its location, take a moment to clean up any dirt, debris, or residue that may have accumulated during the removal process.
With the old water heater out of the way, you’re now ready to prepare the installation area for the new Rheem water heater in the next step.
Before installing a Rheem water heater, make sure to carefully read the installation manual provided by the manufacturer. This will ensure that you follow the specific instructions and safety guidelines for your particular model.
Step 5: Preparing the Installation Area
Preparing the installation area is a crucial step in ensuring a successful installation of the new Rheem water heater. By properly preparing the area, you’ll create a stable and safe environment for the new water heater. Follow these steps to prepare the installation area:
- Ensure that the installation area is clean, free of debris, and well-ventilated.
- Remove any obstacles or objects that may interfere with the installation process or pose a safety hazard.
- If necessary, place a drip pan or drain pan underneath the new water heater to catch any potential leaks or drips.
- Check that the floor or surface where the water heater will be placed is level and sturdy enough to support the weight of the new water heater.
- Refer to the manufacturer’s instructions for any specific requirements or recommendations regarding the installation area.
- If applicable, install insulation around the water heater to improve its efficiency and reduce heat loss. Ensure that the insulation is properly installed and does not interfere with the functioning of the water heater.
- Verify that the necessary clearances are maintained around the water heater as specified by the manufacturer. This ensures proper ventilation and safety.
- Have all the required tools and materials readily accessible in the installation area for ease of use during the next steps.
By properly preparing the installation area, you’ll create an environment that promotes the efficient and safe operation of the new Rheem water heater.
With the installation area ready, you’re now prepared to move on to the next step: installing the new Rheem water heater.
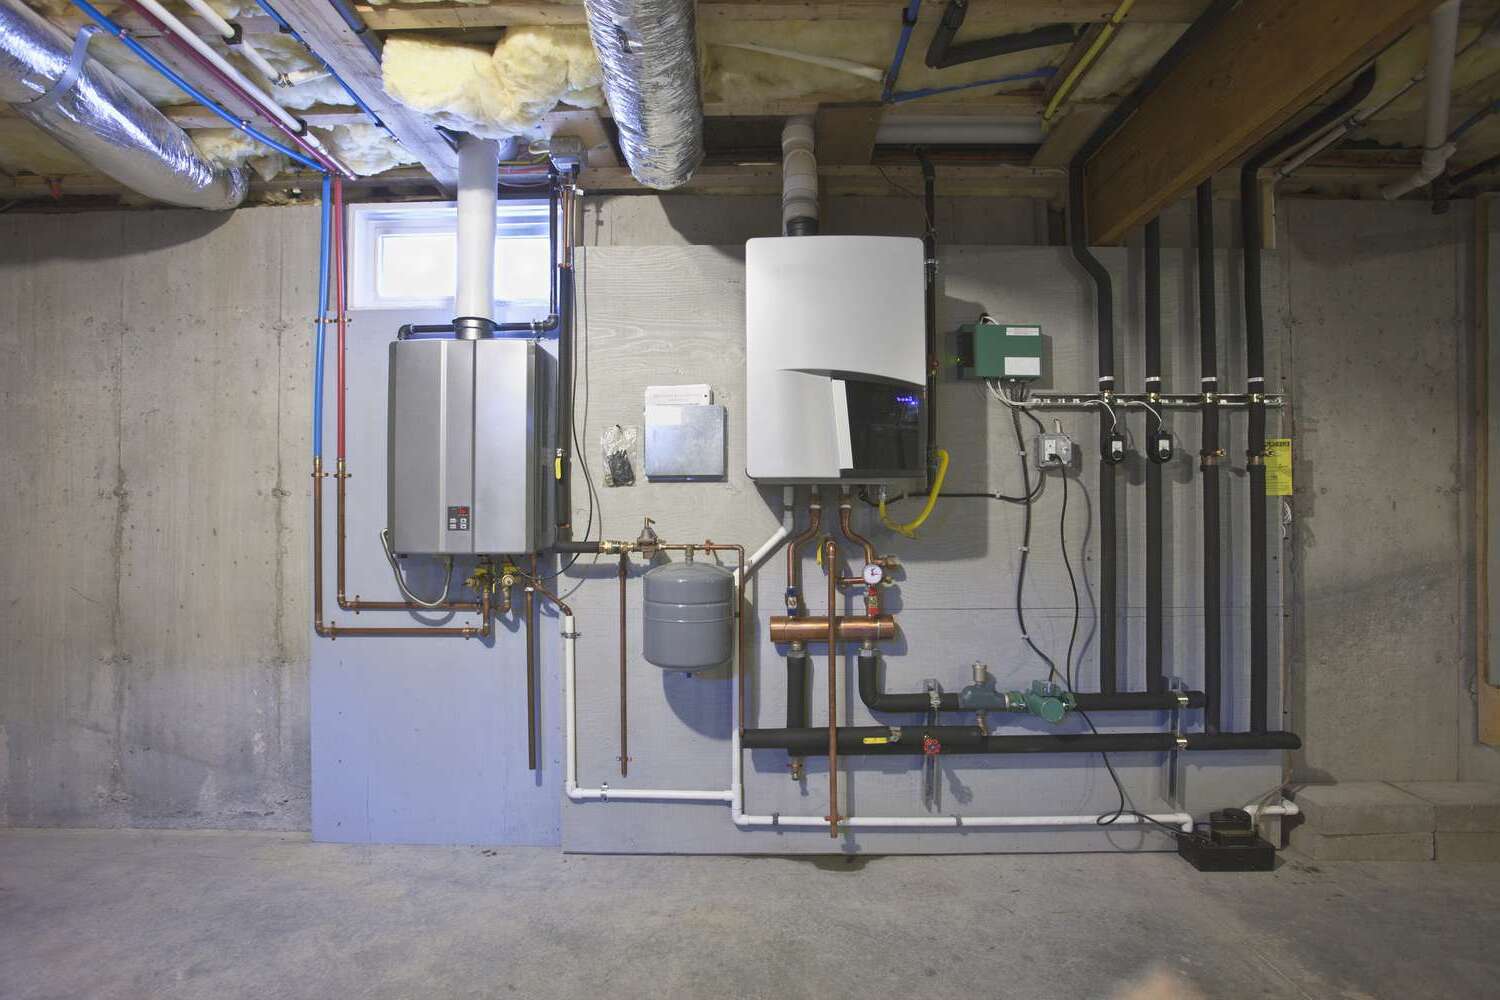
Step 6: Installing the New Rheem Water Heater
Now that the installation area is prepared, it’s time to install the new Rheem water heater. Follow these steps to successfully install the new water heater:
- Position the new water heater in the installation area. Ensure that the water heater is level and aligned properly.
- Refer to the manufacturer’s instructions for any specific installation requirements or recommendations for your model.
- If you are connecting the water heater to a gas line, follow the manufacturer’s instructions for safely connecting the gas supply line. Ensure all connections are secure and gas-tight.
- If you are connecting the water heater to an electrical supply, follow the manufacturer’s instructions for safely connecting the electrical wires. Ensure all connections are secure and follow local electrical codes.
- Place a drip pan or drain pan underneath the new water heater, if necessary.
- Check that the cold water inlet and hot water outlet lines are properly aligned with the corresponding valves on the water heater.
- Apply Teflon tape or pipe tape to the threaded ends of the water heater connections to create a tight seal.
- Using an adjustable wrench, carefully tighten the cold water inlet and hot water outlet connections. Ensure they are securely fastened, but avoid over-tightening, which may cause damage.
- If applicable, connect the temperature and pressure relief valve according to the manufacturer’s instructions.
- Verify that all connections are secure and leak-free by performing a visual inspection and, if necessary, using a leak detection solution.
It’s important to follow the manufacturer’s instructions and any local codes or regulations when installing the new Rheem water heater. If you are unsure about any steps or connections, it is advisable to consult a professional for assistance.
With the new Rheem water heater securely installed, you’re now ready to move on to the next step: connecting the plumbing.
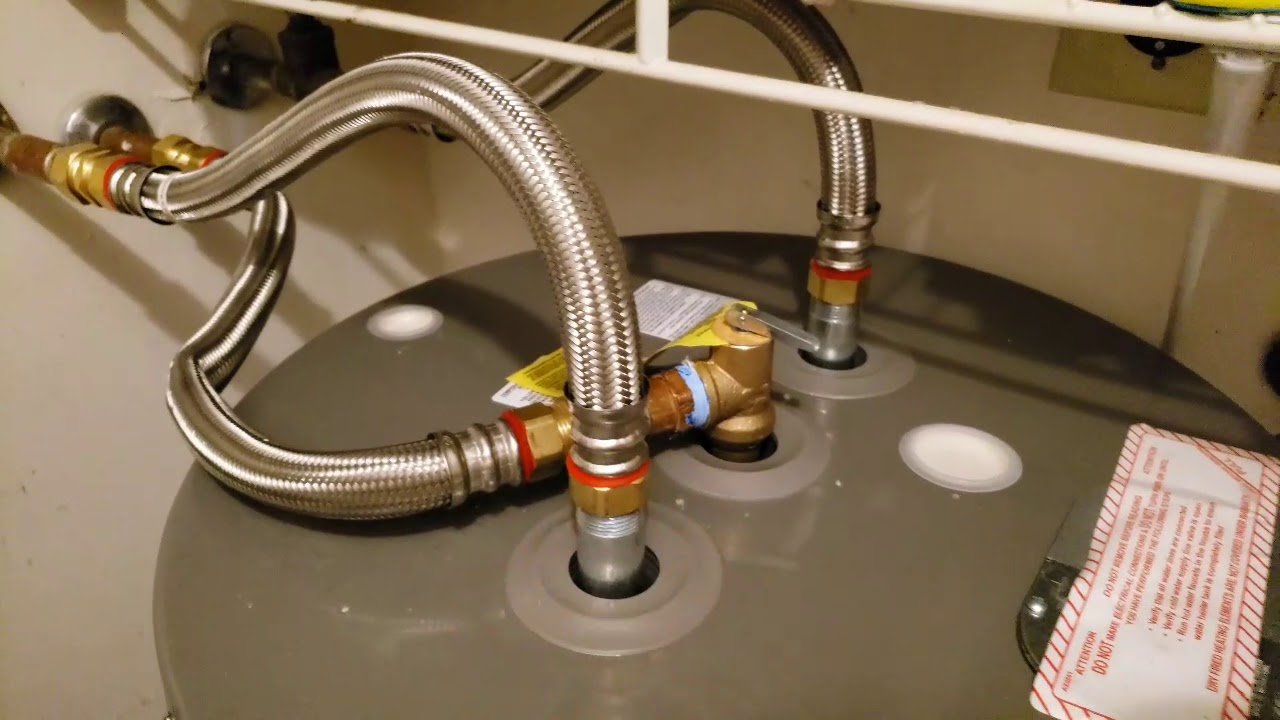
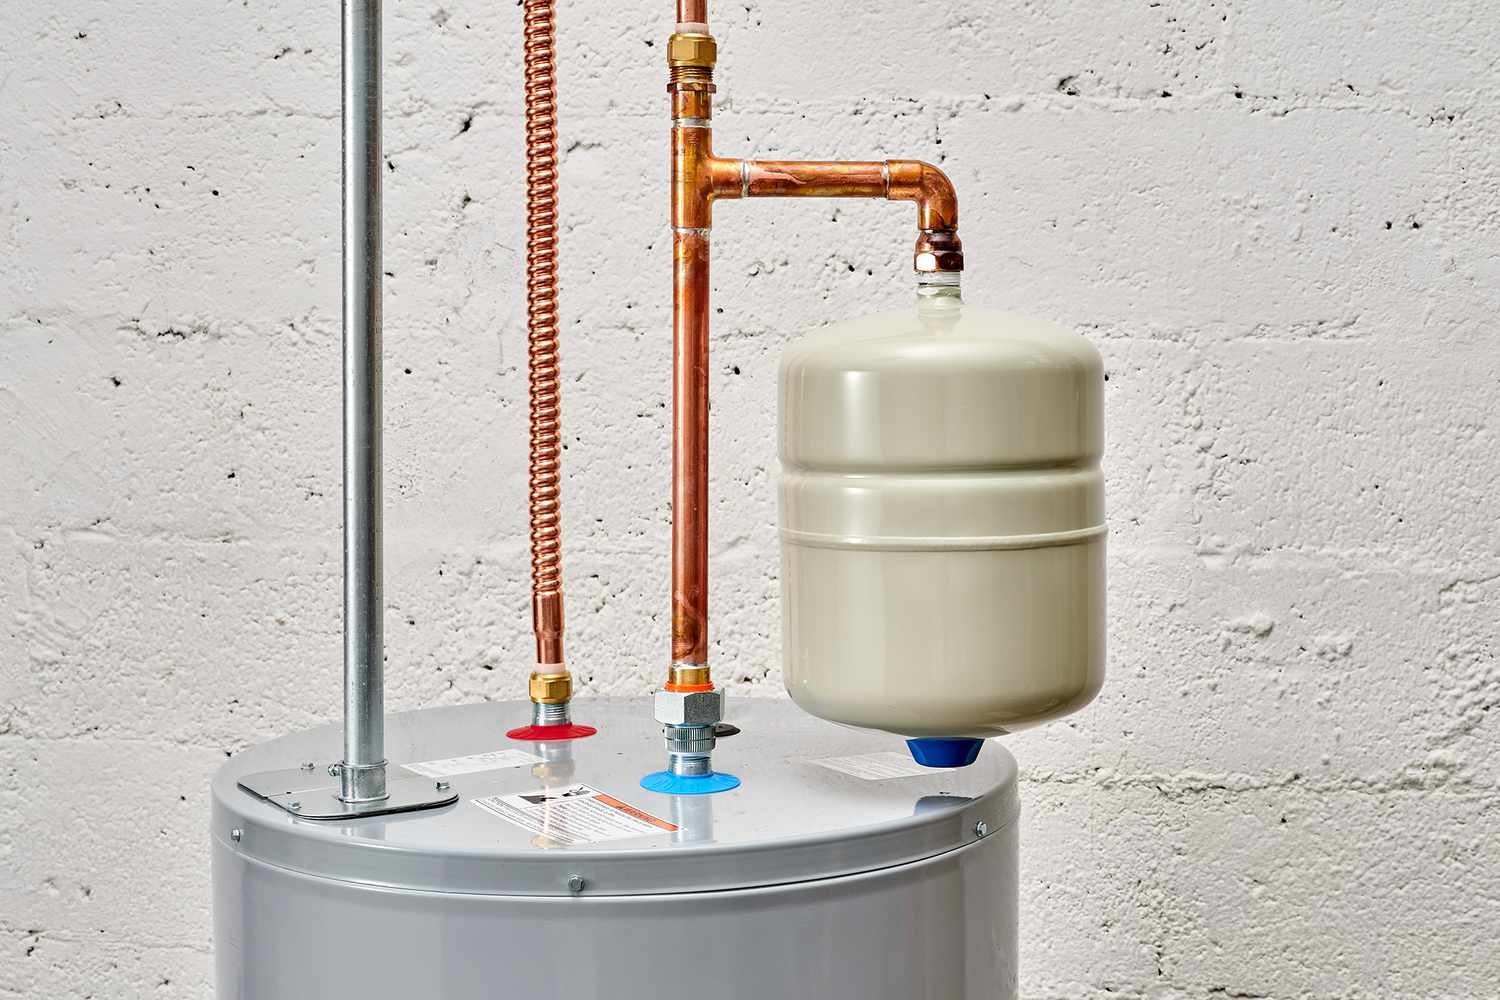
Step 7: Connecting the Plumbing
With the new Rheem water heater in place, it’s time to connect the plumbing to ensure a proper water supply. Follow these steps to connect the plumbing:
- Using an adjustable wrench, connect the cold water supply line to the cold water inlet valve on the water heater. Tighten the connection securely, but be careful not to over-tighten and risk damaging the fittings.
- If applicable, connect the hot water outlet line to the hot water outlet valve on the water heater. Ensure a secure connection without over-tightening.
- Apply pipe tape or Teflon tape to the threaded ends of the supply lines to create a tight seal.
- Attach the flexible water connectors to the corresponding valves on the water heater. Ensure that the connectors are properly aligned and tightened securely.
- Inspect all connections for any signs of leaks. If there are any leaks, tighten the connections further or make necessary adjustments to achieve a leak-free seal.
- If you are connecting the water heater to a gas line, follow the manufacturer’s instructions for safely connecting the gas supply line. Ensure all connections are secure and gas-tight.
- If applicable, turn on the gas supply and check for any gas leaks using a gas leak detector solution or consult a professional.
- If you are connecting the water heater to an electrical supply, follow the manufacturer’s instructions for safely connecting the electrical wires. Ensure all connections are secure and follow local electrical codes.
- Once all connections are secure and leak-free, turn on the main water supply to fill the new Rheem water heater.
During the connection process, it’s important to take your time and ensure that all connections are securely fastened. Inspect each connection visually and check for any signs of leaks before proceeding to the next step.
By carefully connecting the plumbing, you’ll ensure a steady and reliable water supply for your new Rheem water heater.
With the plumbing connected, you’re now ready to move on to the next step: filling the new water heater.
Read more: How To Reset Rheem Water Heater Thermostat
Step 8: Filling the New Water Heater
Now that the new Rheem water heater is properly connected to the plumbing, it’s time to fill the tank with water. Follow these steps to fill the new water heater:
- Close all faucets and fixtures that were opened during the previous steps.
- Turn on the main water supply valve to allow water to flow into the water heater.
- Open a nearby hot water faucet in a sink or tub to purge any air from the system.
- Listen for any sounds of rushing water, indicating that the tank is filling with water. Keep the faucet open until a steady flow of water is achieved.
- While water is flowing, inspect all connections on the water heater for any signs of leaks. If any leaks are detected, turn off the main water supply and tighten the connections as necessary.
- Once the tank is full and there are no signs of leaks, close the hot water faucet that was previously opened.
- Allow the water heater to continue heating the water to the desired temperature, following the manufacturer’s instructions for temperature settings.
It’s important to note that during the filling process, air may become trapped in the water lines, resulting in inconsistent flow. Opening a hot water faucet helps release any trapped air and ensures that the water heater is properly filled.
By following these steps, you’ll ensure that the new water heater is filled with water and ready for operation. Now, it’s time to move on to the final step: turning on the power and water supply.
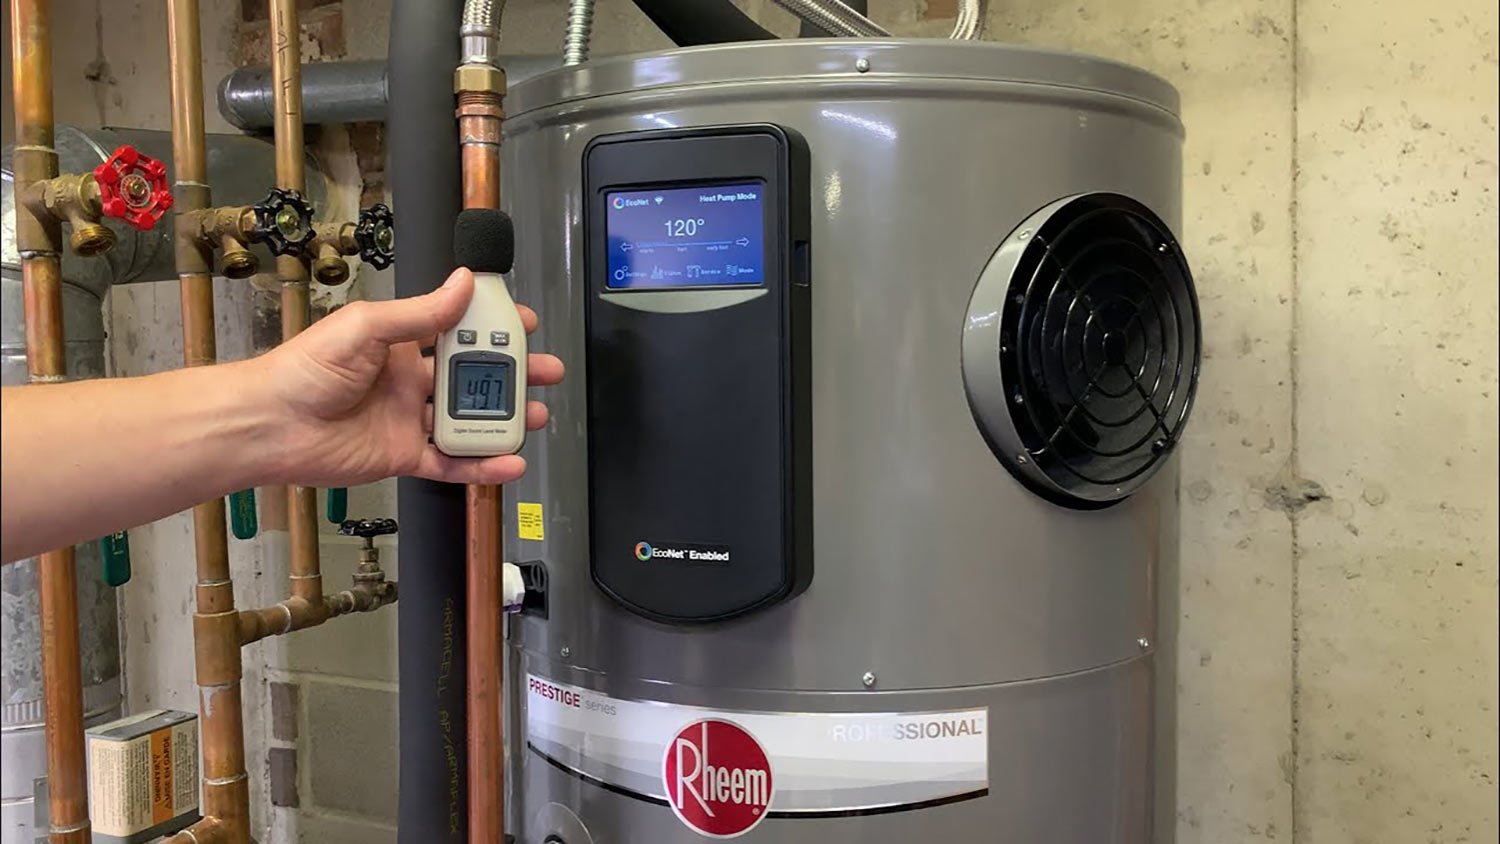
Step 9: Turning on Power and Water Supply
With the new Rheem water heater filled with water, it’s time to turn on the power and water supply to ensure its proper functioning. Follow these steps to safely turn on the power and water supply:
- For an electric water heater, confirm that the circuit breaker supplying power to the water heater is in the “off” position.
- For a gas water heater, ensure the gas shut-off valve is in the “off” position.
- If applicable, follow the manufacturer’s instructions to safely turn on the power to the electric water heater by flipping the circuit breaker to the “on” position.
- If applicable, for a gas water heater, follow the manufacturer’s instructions to safely turn on the gas supply by opening the gas shut-off valve.
- Inspect the water heater for any signs of water leaks or abnormal operation. If you detect any leaks, turn off the power and water supply immediately and address the issue before proceeding.
- Allow the water heater some time to heat the water to the set temperature. This may take a few hours, so be patient.
- Monitor the water heater closely for the next few hours or days to ensure that it is operating smoothly and there are no leaks or malfunctions.
- If you notice any issues or if the water heater does not seem to be functioning correctly, consult the manufacturer’s instructions or seek the assistance of a professional plumber.
It’s important to prioritize safety throughout this process. If you are unsure about any steps or encounter any difficulties, it’s best to consult the manufacturer’s instructions or seek professional help to ensure a safe and effective operation of the water heater.
Congratulations! You have successfully installed and turned on your new Rheem water heater. Enjoy the reliable supply of hot water it provides!
This concludes the installation process. If you have any questions or need further assistance, do not hesitate to contact a professional or the Rheem customer support team.
Conclusion
Installing a Rheem water heater can provide you with a reliable and efficient source of hot water for your home. By following the step-by-step guide outlined in this article, you can successfully install a new Rheem water heater or replace an existing one. Remember to prioritize safety throughout the installation process and consult the manufacturer’s instructions for your specific model.
We began by emphasizing the importance of turning off the power and water supply before starting any work. This ensures your safety and prevents any accidents during the installation process. Draining the existing water heater and disconnecting the plumbing connections were the next crucial steps in preparing for the new water heater.
Once the old water heater was removed, we focused on preparing the installation area to ensure a stable and safe environment. The subsequent steps involved installing the new Rheem water heater, connecting the plumbing, filling the tank with water, and finally, turning on the power and water supply.
Throughout the installation process, it’s essential to follow the manufacturer’s instructions and any local codes or regulations. If you are unsure about any steps or connections, it’s recommended to consult a professional for assistance to ensure a successful installation.
By installing a Rheem water heater, you can enjoy the benefits of a reliable and efficient hot water supply. Remember to regularly maintain and service your water heater to prolong its lifespan and maximize its performance.
If you have any questions or need further assistance, don’t hesitate to reach out to a professional or contact the Rheem customer support team. They are available to provide guidance and support throughout the installation and operation of your Rheem water heater.
Now that you have completed the installation process, you can relax and enjoy the convenience and comfort of hot water whenever you need it. Cheers to your successful installation!
Frequently Asked Questions about How To Install Rheem Water Heater
Was this page helpful?
At Storables.com, we guarantee accurate and reliable information. Our content, validated by Expert Board Contributors, is crafted following stringent Editorial Policies. We're committed to providing you with well-researched, expert-backed insights for all your informational needs.


0 thoughts on “How To Install Rheem Water Heater”