Home>Ideas and Tips>DIY Guide To Installing A Kitchen Backsplash With Recycled Glass Bottles
Ideas and Tips
DIY Guide To Installing A Kitchen Backsplash With Recycled Glass Bottles
Modified: November 2, 2024
Learn how to install an eco-friendly kitchen backsplash using recycled glass bottles with our step-by-step DIY guide. Perfect for adding unique style and sustainability!
(Many of the links in this article redirect to a specific reviewed product. Your purchase of these products through affiliate links helps to generate commission for Storables.com, at no extra cost. Learn more)
Introduction
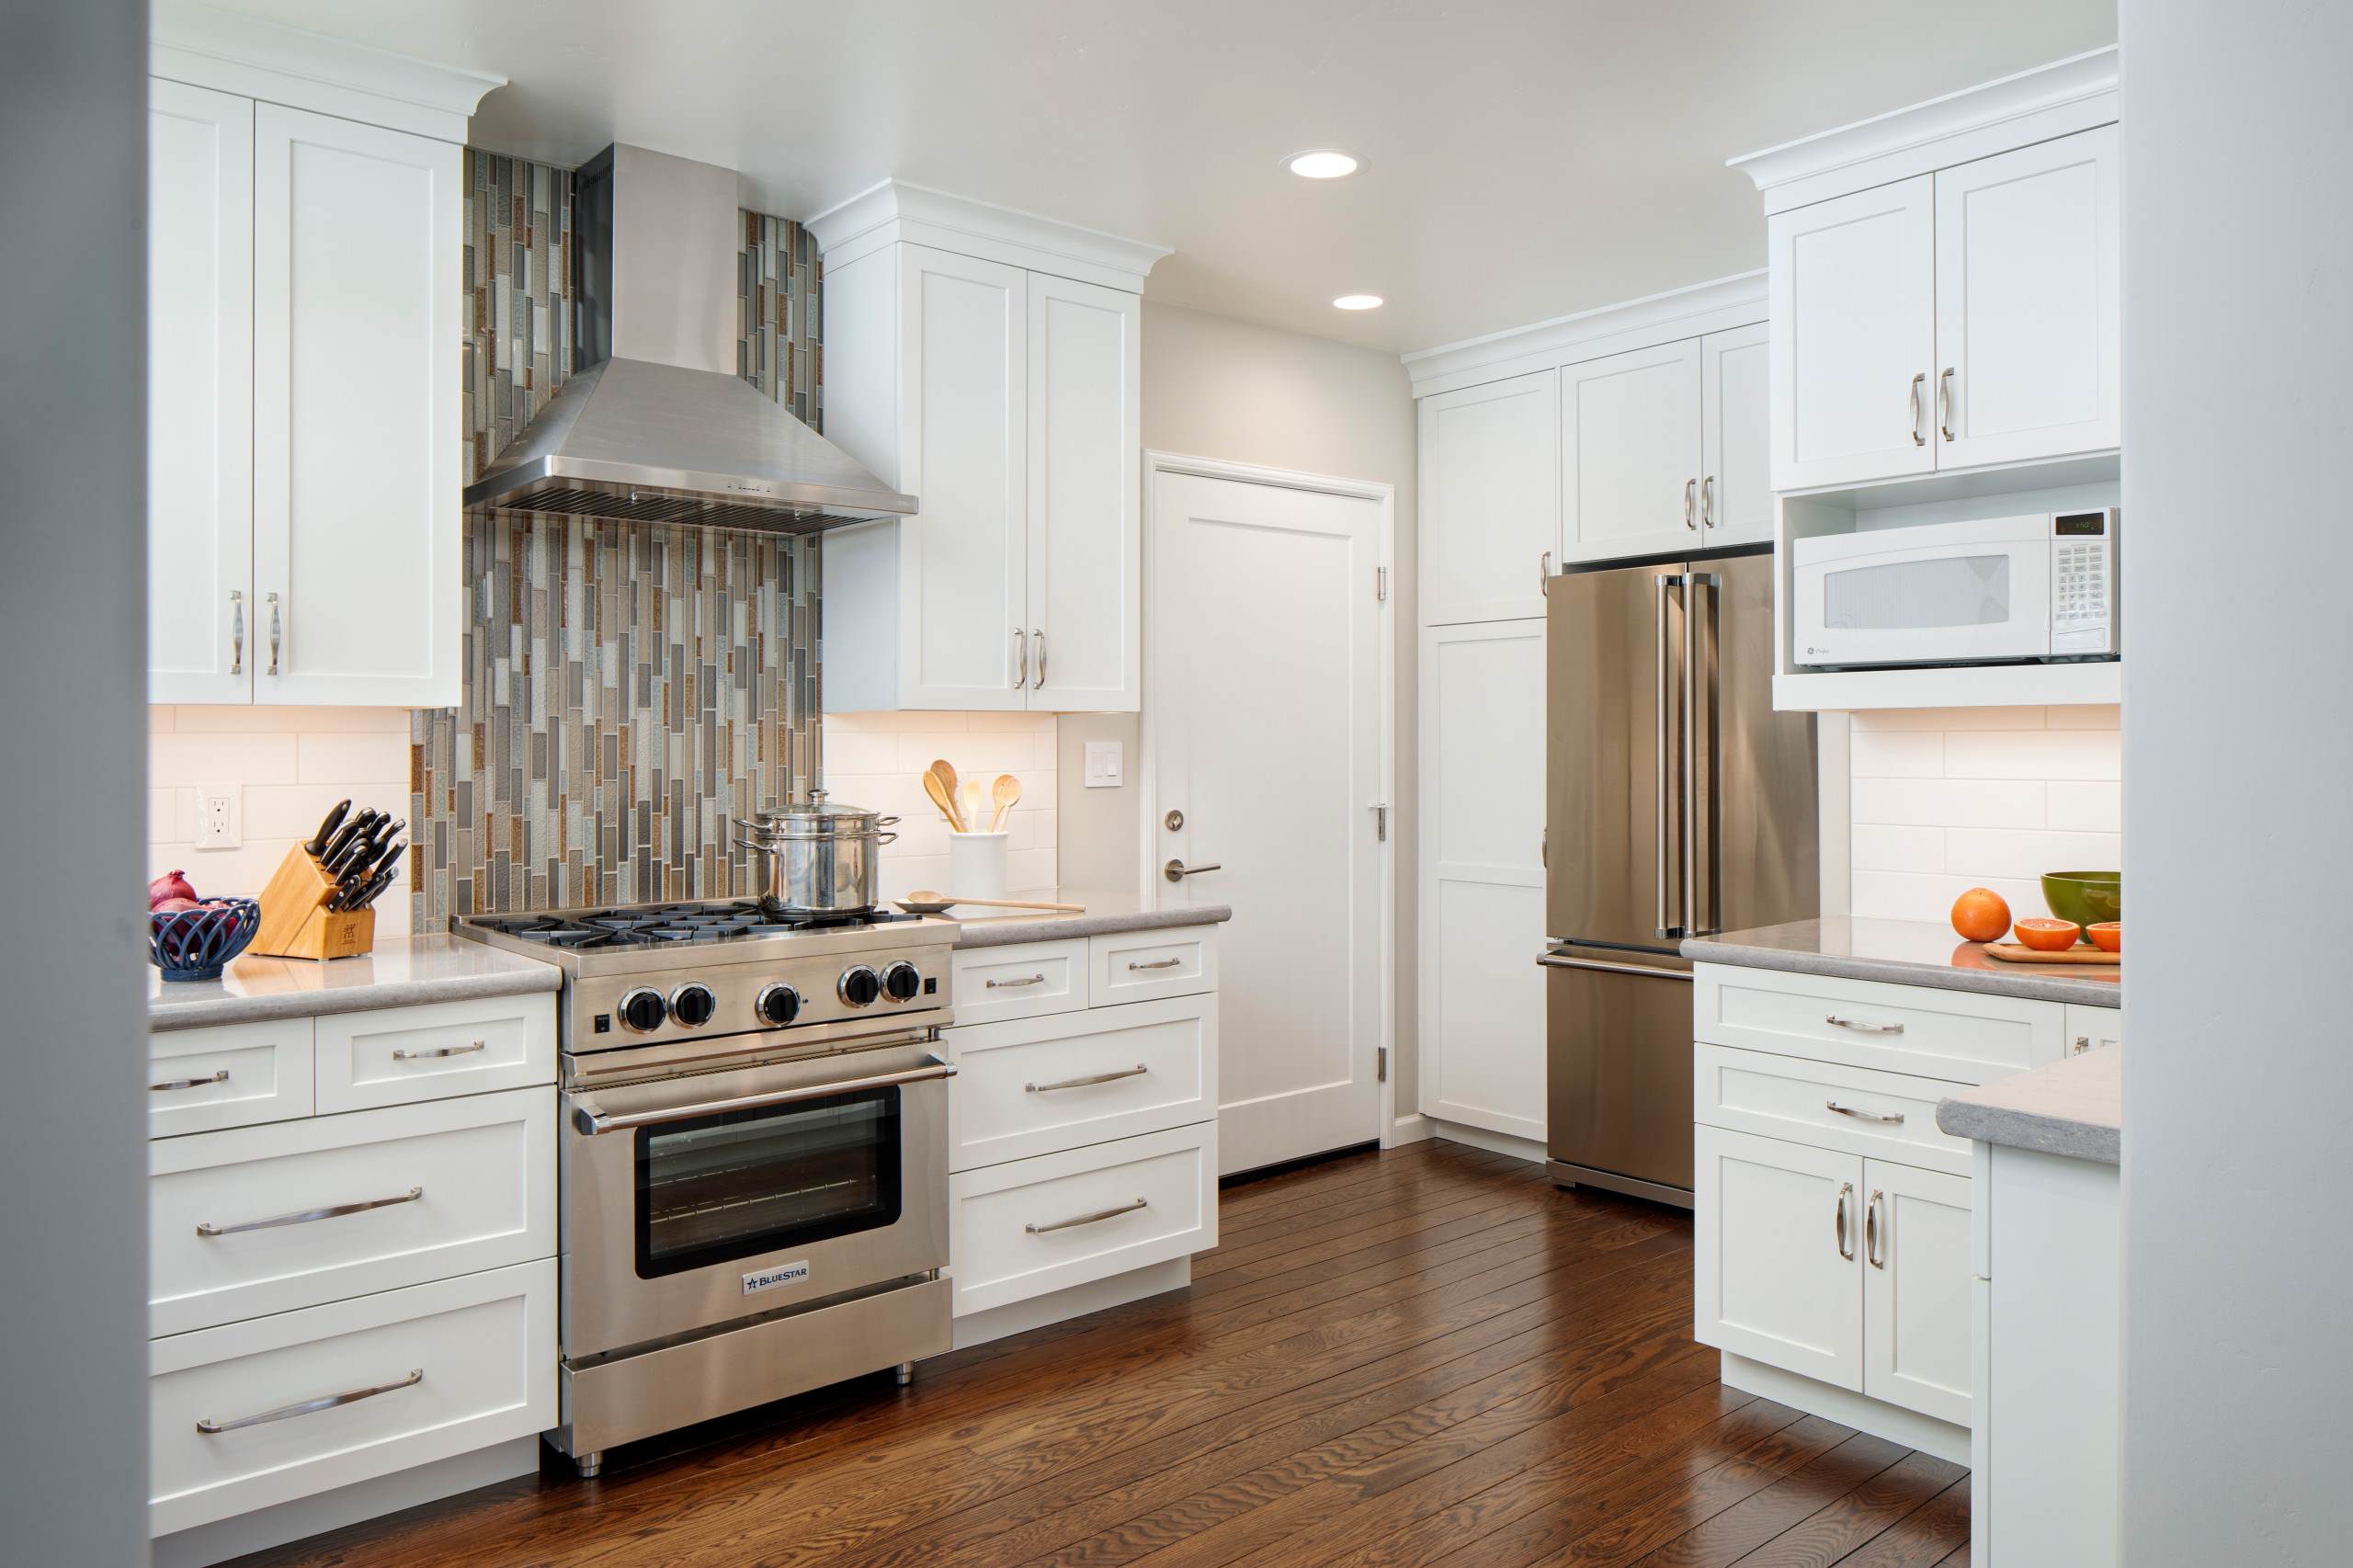
Installing a kitchen backsplash with recycled glass bottles is a unique and eco-friendly way to add a touch of elegance to your kitchen. This DIY guide will walk you through the steps required to create a stunning glass tile backsplash using recycled materials. Whether you're a seasoned DIY enthusiast or just starting out, this project is perfect for those who want to add some creativity and sustainability to their home improvement endeavors.
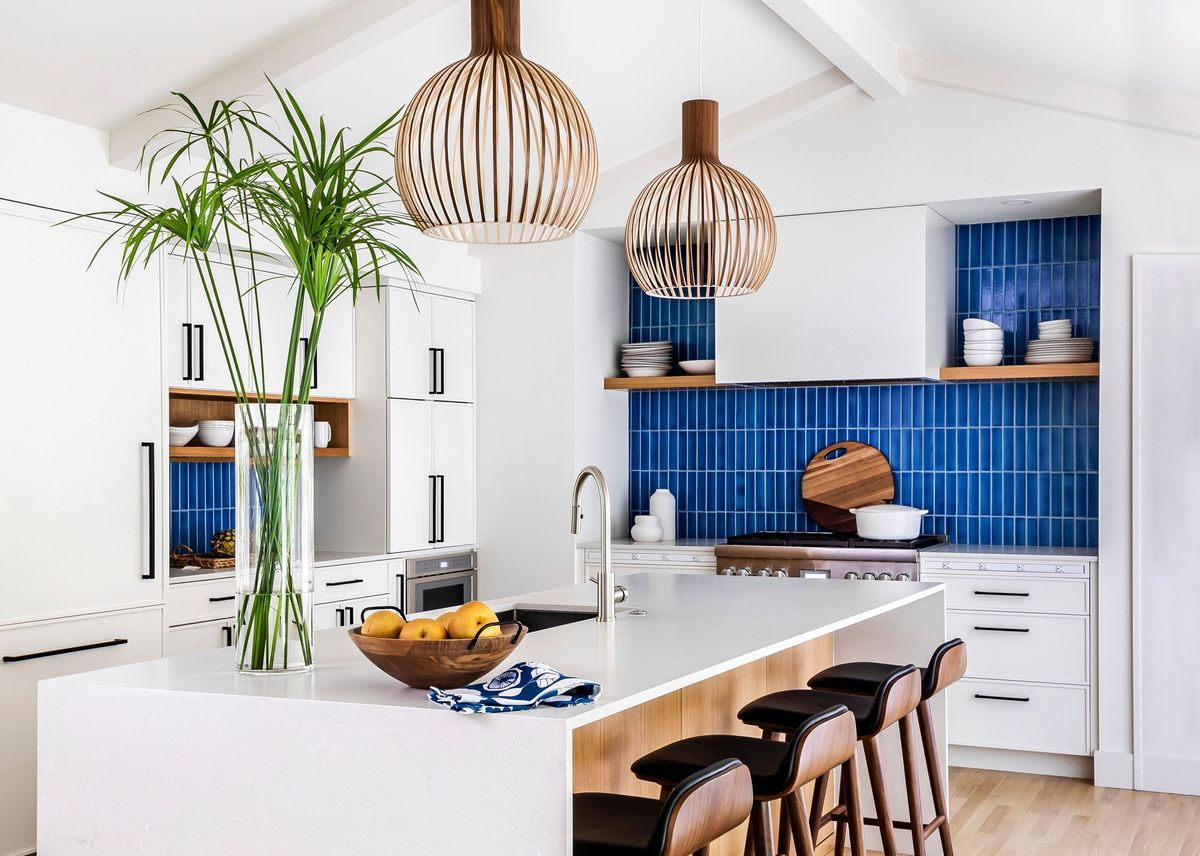
A kitchen backsplash is more than just a decorative element; it serves several practical purposes. It protects your walls from water splashes, grease stains, and food splatters, making cleaning easier and maintaining your kitchen's appearance simpler. Traditional backsplashes often feature ceramic or porcelain tiles, but using recycled glass bottles offers a unique aesthetic and environmental benefits.
Benefits of Using Recycled Glass Bottles
- Eco-Friendly: Using recycled glass bottles reduces waste and supports sustainable living.
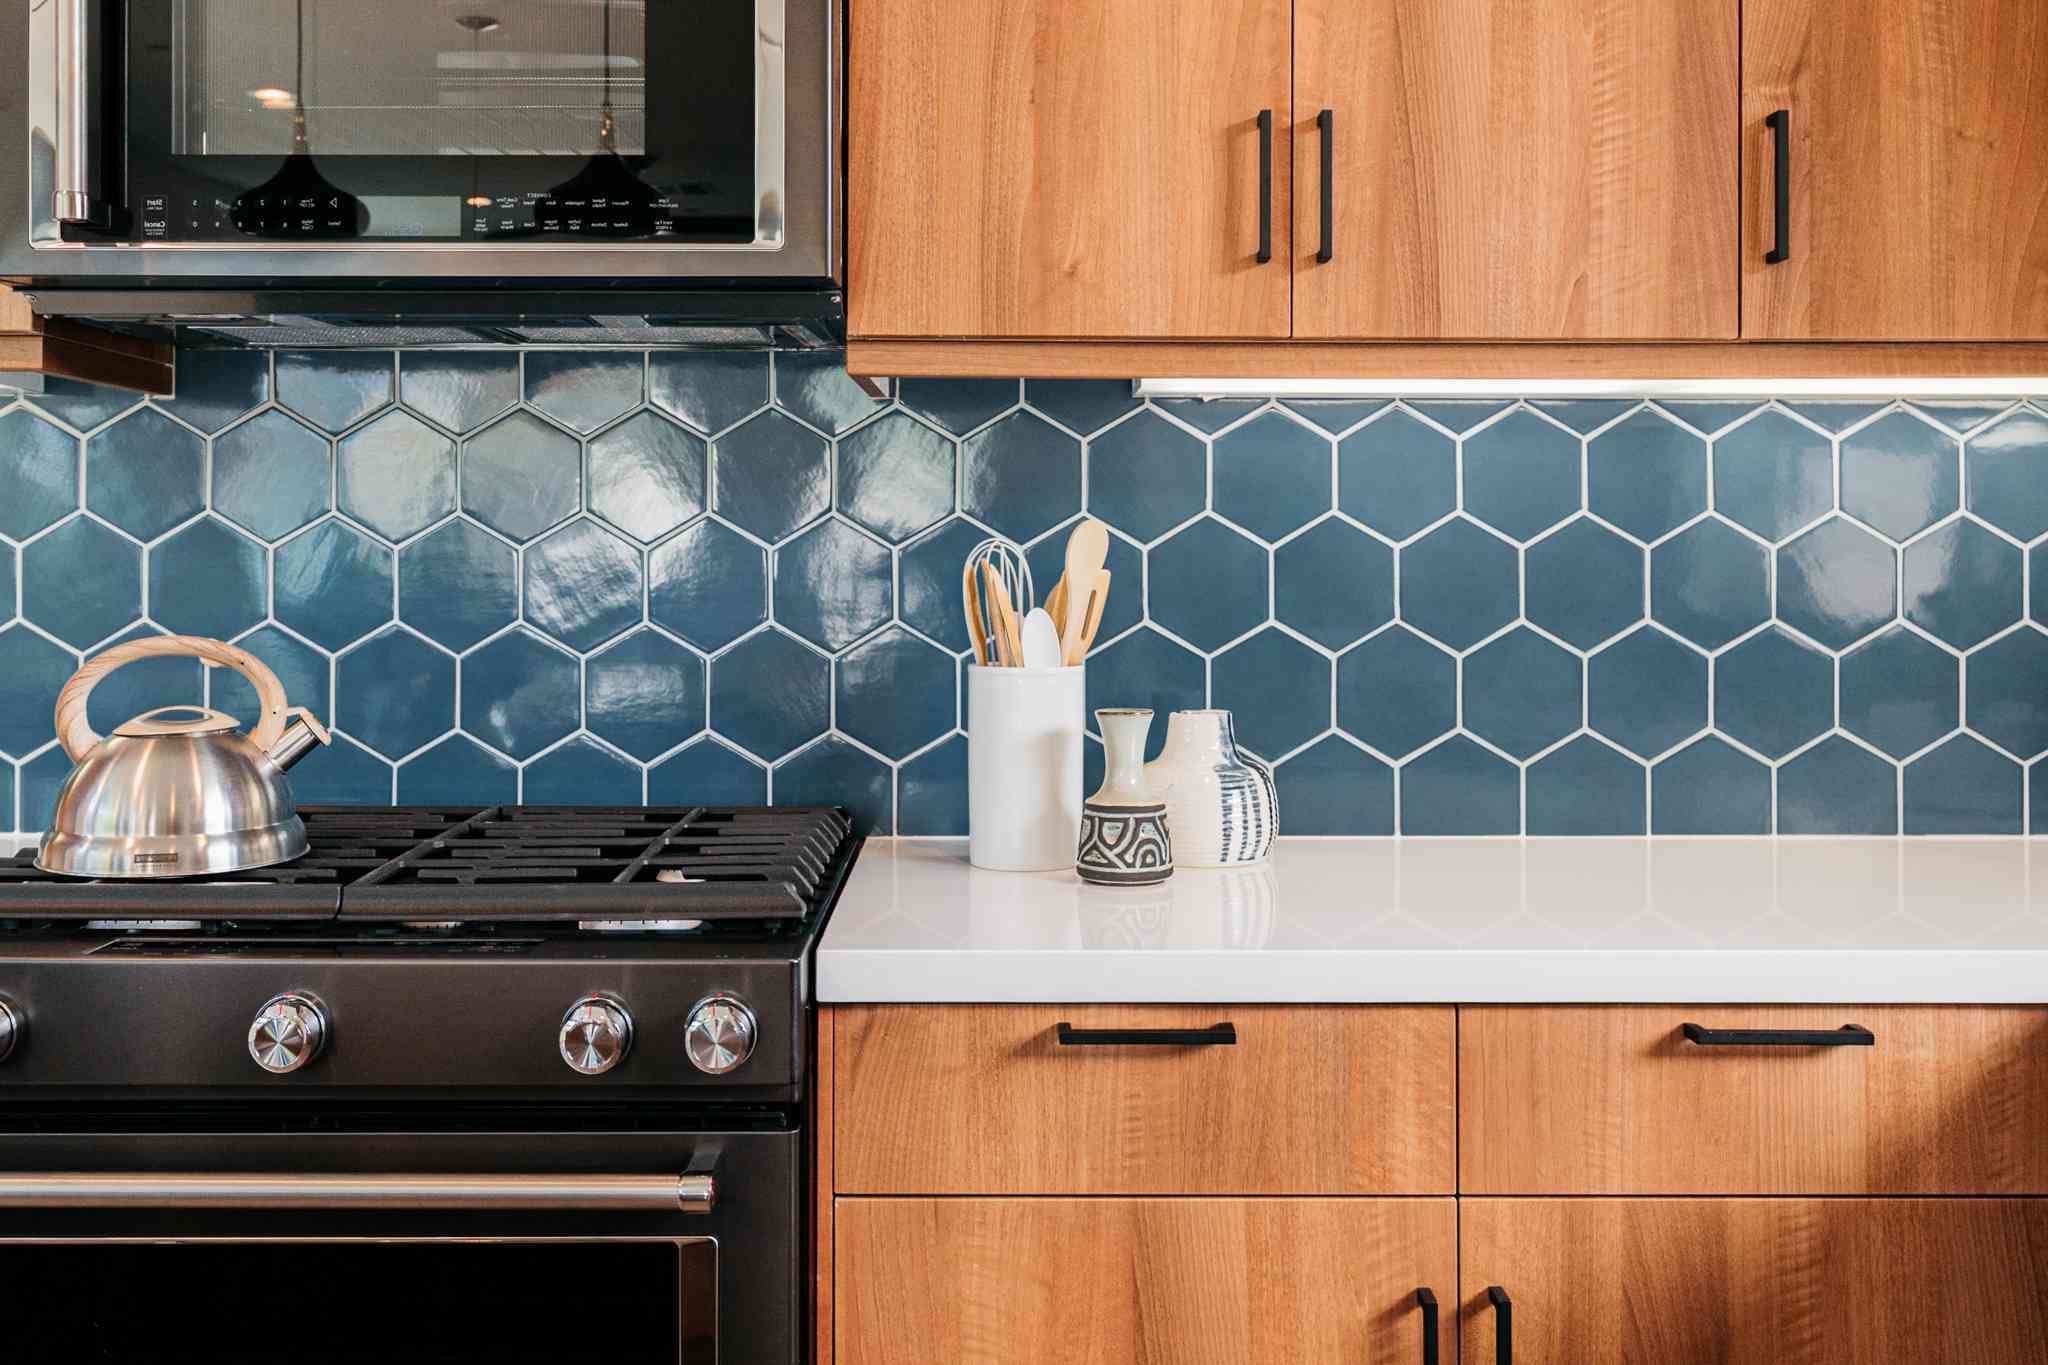
- Unique Aesthetic: The varied colors and textures of recycled glass create a one-of-a-kind backsplash that adds character to your kitchen.
- Durability: Glass is non-absorbent and resistant to stains, making it a practical choice for a kitchen backsplash.
- Versatility: You can mix different colors and patterns to create a unique design that reflects your personal style.
Tools and Materials Needed
Before starting your project, ensure you have all the necessary tools and materials. Here’s a comprehensive list:
Tools
- Level: To ensure the tiles are straight and level.
- Bucket: For mixing the thin-set adhesive.
- 1/8″ Tile Spacers: To maintain uniform grout lines.
- Tape Measure: For measuring the area and planning the layout.
- Wet Saw: For cutting the glass tiles.
- Sponge: For cleaning excess grout and adhesive.
- Grinding Stone: For smoothing out any rough edges on the tiles.
- Rubi Cutter: For precise cuts in the glass tiles.
- Safety Glasses: For protecting your eyes during cutting and grinding.
- 3/16″ Square-Notched Trowel: For applying the thin-set adhesive.
- Float: For spreading and smoothing out the grout.
Materials
- Thinset Adhesive: A latex-based adhesive that won’t shrink or become unfixed.
- Glass Tiles: Recycled glass bottles that have been melted down and colored.
- Unsanded Grout: To avoid scratching the glass tiles.
- Polyurethane Sealant: Optional for added protection against stains and moisture.
- Speed Square: For ensuring accurate measurements and cuts.
Step-by-Step Guide
Step 1: Measure and Plan the Layout
- Measure the Area: Measure from the bottom of the cabinet to the top area of your countertop. This will help you determine how many rows of tiles you need and where to place accent tiles if you choose to add them.
- Draw a Straight Line: Locate the center of the wall and use a level to draw a straight line through the wall from one end to the other. This line will serve as your guide for placing the tiles.
- Determine Tile Rows: Use your measurements to determine how many tile rows you will place, including one-eighth-inch grout lines in your calculations. Decide if there will be tile cutting for the ends of the wall and the last row of tiles.
Step 2: Prepare the Wall
- Turn Off Power: Ensure that all electrical outlets are turned off and removed their covers to prevent any electrical hazards during installation.
- Protect Countertop: Tape off and cover your countertop for protection during installation.
- Remove Appliances: Remove any appliances along the wall where you plan to install your backsplash.
- Install Ledger Board: Screw in a 1-inch by 2-inch ledger board that lines up directly with your countertop. This will provide a stable base for your tiles.
Step 3: Apply Thin-Set Adhesive
- Mix Thin-Set Adhesive: Add mortar to water in little quantities until you achieve a creamy peanut butter-like consistency. Wait for about 30 minutes for it to set slightly.
- Apply Thin-Set: Using a 3/16-inch notched trowel, apply the thin-set adhesive to the wall in smooth, even strokes. Only cover an area that you feel you can tile within a few minutes because if you apply more than that, your adhesive will begin to dry.
- Smooth Out Adhesive: Go over the thin-set with the flat side of your trowel to smooth out any grid marks or uneven areas.
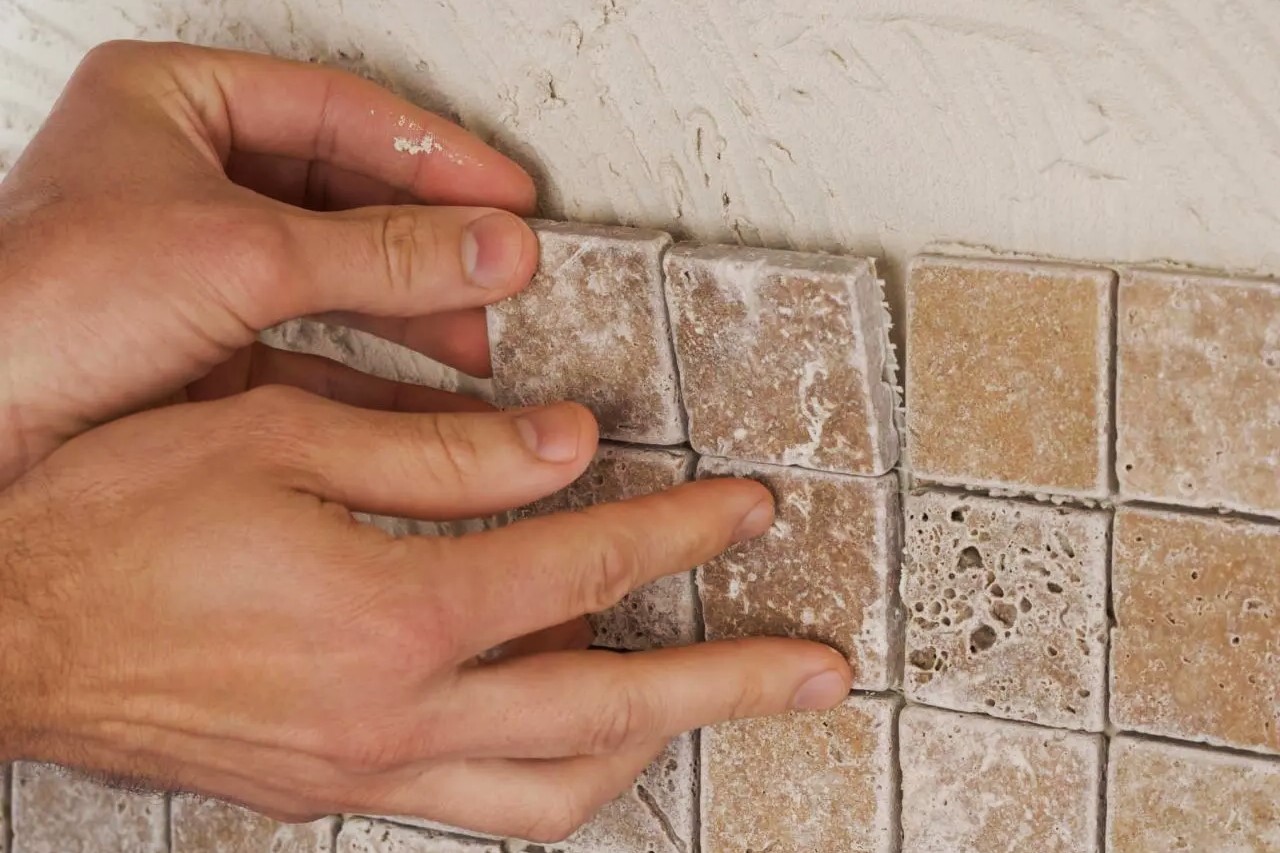
Step 4: Lay Out Tiles
- Clean Tiles: Wipe down all tiles before gluing them to the wall. This is crucial because unlike standard stone tiles, clear glass will show any debris that may get stuck between the tile and wall.
- Apply Tiles: Apply thin-set directly to the back of each tile and place them onto the wall following your planned layout. Use spacers to keep lines uniform.
- Cut Tiles if Necessary: If any tiles need cutting for the ends or last row, use a wet saw or rubi cutter for precise cuts.
Step 5: Allow Tiles to Set
- Let Tiles Set: Allow time for the tiles and thin-set adhesive to set before applying grout. This usually takes about 24 hours but can vary depending on environmental conditions.
Step 6: Grout Tiles
- Prepare Grout: Use unsanded grout specifically designed for glass tiles to avoid scratching them.
- Apply Grout: Hold your float at a 45-degree angle and stroke the surface in different directions so that the lines are completely filled with grout.
- Clean Excess Grout: Once you have applied all the grout, wipe over the tiled surface with a sponge and clear water to remove any excess grout that has stuck to the tile.
- Polish Grout Film: Use a soft cloth to polish off any remaining grout film from the glass tiles.
Additional Tips
Read more: Where To Recycle Glass Bottles
Sealing Your Backsplash
While not necessary, applying a polyurethane sealant can provide additional protection against stains and moisture. This is especially important in kitchens where spills are common.
Caulking Edges
If necessary, use caulk around edges where tiles meet countertops or walls for a seamless finish.
Maintenance
Regular cleaning with mild soap and water will keep your glass tile backsplash looking its best. Avoid using abrasive cleaners or scrubbers that could scratch the glass.
Conclusion
Creating a kitchen backsplash with recycled glass bottles is not only an eco-friendly choice but also a unique way to add character to your kitchen. By following these steps and tips, you can achieve a stunning and durable backsplash that enhances both the aesthetic appeal and functionality of your kitchen. Whether you're looking for a DIY project that’s both creative and sustainable, this guide provides everything you need to get started.
References
- DIY Glass Tile Backsplash for Beginners – YouTube
- Step-by-Step DIY Guide to Installing Glass Sheet and Glass Tile Backsplash – LivinSpaces
- How to Install a Recycled Tile Backsplash – The RTA Store
- Quick & Easy Project: How To Install a Glass Tile Backsplash – YouTube
- How to install a glass mosaic tile backsplash Parts 1,2 and 3 – YouTube
Was this page helpful?
At Storables.com, we guarantee accurate and reliable information. Our content, validated by Expert Board Contributors, is crafted following stringent Editorial Policies. We're committed to providing you with well-researched, expert-backed insights for all your informational needs.


0 thoughts on “DIY Guide To Installing A Kitchen Backsplash With Recycled Glass Bottles”