Home>Ideas and Tips>DIY Guide To Installing A Kitchen Farmhouse Sink With Nano-Coating Technology
Ideas and Tips
DIY Guide To Installing A Kitchen Farmhouse Sink With Nano-Coating Technology
Modified: October 28, 2024
Learn how to install a kitchen farmhouse sink with nano-coating technology. Follow our step-by-step DIY guide for a seamless and elegant kitchen upgrade.
(Many of the links in this article redirect to a specific reviewed product. Your purchase of these products through affiliate links helps to generate commission for Storables.com, at no extra cost. Learn more)
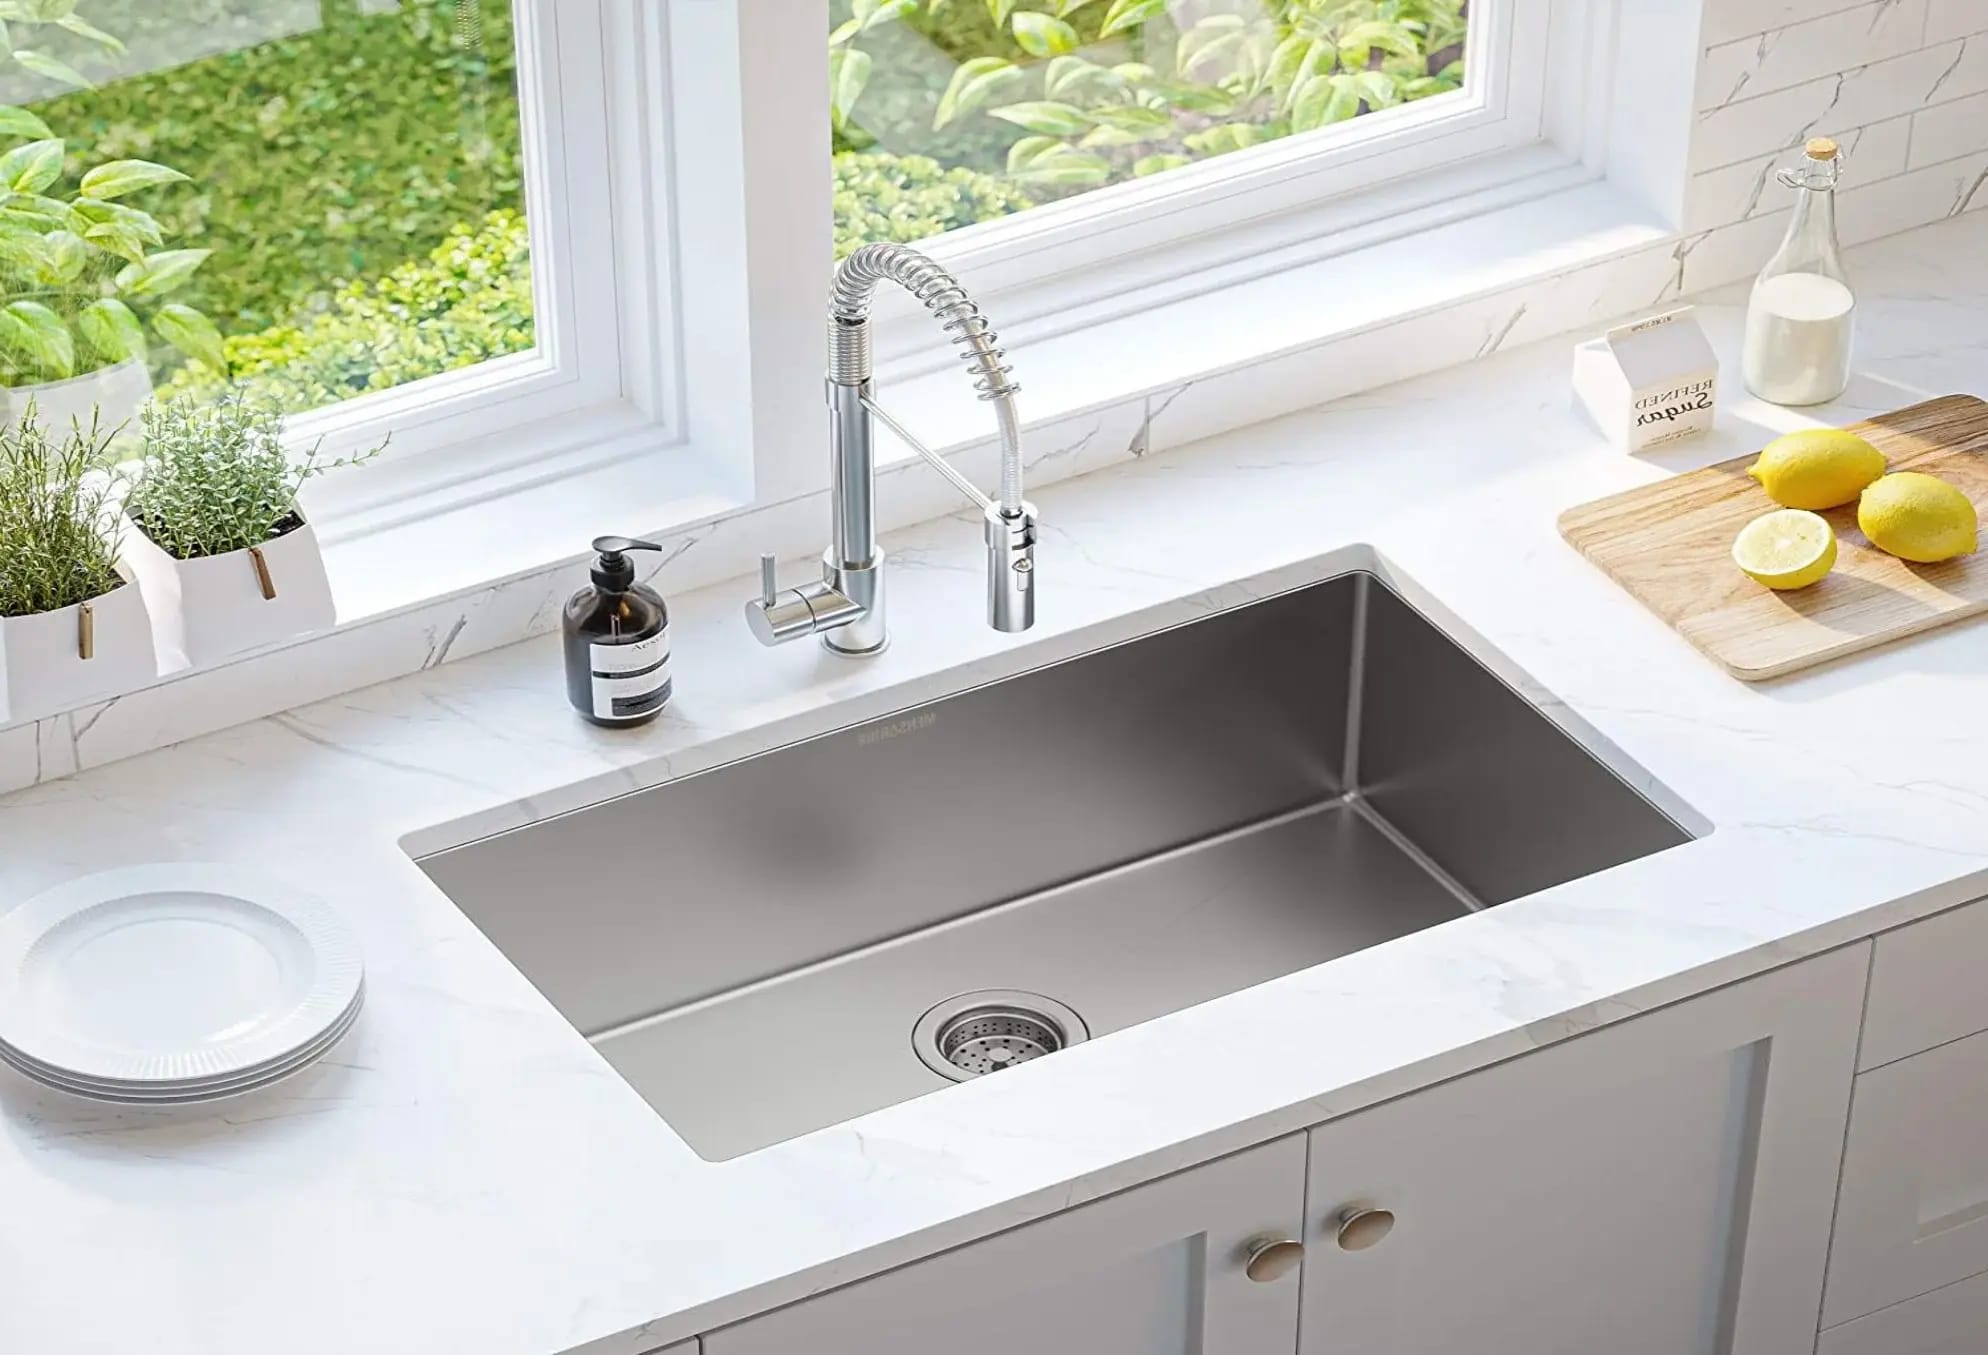
Installing a kitchen farmhouse sink with nano-coating technology can be a rewarding DIY project that adds a touch of elegance and functionality to your kitchen. However, it requires careful planning, precise measurements, and the right tools. In this comprehensive guide, we will walk you through the steps involved in installing a kitchen farmhouse sink, focusing on the different types of sinks and the necessary tools and materials.
Choosing the Right Sink
Before you start your project, it's essential to choose the right type of farmhouse sink for your kitchen. Farmhouse sinks come in three main types: top mount, flush mount, and undermount.
Read more: DIY Guide To Installing A Farmhouse Sink
Top Mount Sinks
Top mount sinks are the easiest to install. They feature a flange that sits on the countertop just like a regular sink. This type of sink can be installed on any type of counter surface, making it versatile for various kitchen designs.
Flush Mount Sinks
Flush mount sinks sit even with the top of the counter. They typically require a solid surface or custom-made laminate top. This type of sink is ideal for kitchens with a minimalist aesthetic and requires careful planning to ensure a seamless integration with the countertop.
Undermount Sinks
Undermount sinks sit completely underneath the counter. They require a waterproof top that is custom cut for the sink and faucet. This type of sink provides a sleek, modern look but demands more preparation and installation effort.
Tools and Materials Needed
To successfully install a farmhouse sink, you'll need the following tools and materials:
Tools
- Tape Measure: For measuring the sink and cabinet.
- Drill: For drilling holes for screws and faucets.
- Level: To ensure the sink is perfectly level.
- Multi-tool or Hand Saw: For cutting plywood or other materials.
- Jigsaw (Optional): If you're using plywood, a jigsaw can be useful.
- Phillips Head Screwdriver: For assembling the sink mount.
- Square Head Drill Bit: If removing and replacing pocket screws.
- Pocket Hole Jig (Optional): Useful for assembling the sink mount.
- Regular Wrench and Plumber’s Wrench: For disconnecting plumbing.
- Spare Towels and Bucket: To catch water from disconnected plumbing.
Materials
- THE SINK: Choose your desired farmhouse sink type.
- 2 People: To lift the sink into place.
- 2×4 Lumber: For building the sink mount frame.
- 3/4″ Plywood (Optional): For additional support or custom top.
- Pencil and Compass: For marking cut lines on the cabinet.
- Wood Glue: For securing the sink mount frame.
- Sand Paper/Sander: For smoothing out any rough edges.
- Painters Tape: To protect the cabinet's finish when cutting.
Step-by-Step Installation Guide
Step 1: Measure and Prepare
-
Measure the Cabinet: Measure the width of your cabinet, the distance from the top of the cabinet to the bottom of the drawer opening or screw holes, and ensure it is shorter than the apron of your sink. Also, measure the distance from the top of the cabinet to the doors to ensure the apron won't interfere with them.
-
Check for Obstacles: If your sink is near a corner, ensure that adjacent doors, drawers, or dishwashers will clear the apron front.
-
Remove Old Sink and Countertop: Disconnect the plumbing and remove any old sink and countertop. This will give you a clear space to work with.
Step 2: Build the Sink Mount Frame
-
Cut 2×4 Lumber: Cut two base/horizontal pieces for the bottom of the cabinet and four vertical legs that will be secured to these base pieces and the sides of the cabinet.
-
Assemble Frame: Use pocket hole screws or regular screws to assemble the frame. Ensure it is sturdy enough to support the weight of your sink.
-
Add Crossbar: Place a crossbar across the back of the frame, set in about 3/4″ to make room for any plumbing or dishwasher lines behind it.
Step 3: Install Sink Mount Frame
-
Secure Frame to Cabinet: Use screws or nails to secure the frame to the sides and bottom of your cabinet. Make sure it is level and sturdy.
-
Add Supports: Place two by fours on all four corners of the cabinet with screws in both top and bottom for added support. Glue these for extra stability.
Step 4: Install Sink
-
Position Sink: Place your sink into the hole in your countertop or custom-made top. Use a level to ensure it is perfectly level.
-
Mark Cut Lines: Use painters tape to protect your countertop's finish and mark cut lines around where your sink will sit. Cut carefully using a belt sander for straight edges and chisel for corners.
-
Test Fit: Test fit your sink frequently to avoid removing too much material from your countertop.
-
Secure Sink: Once you've marked and cut your countertop, slide your sink into place. Use a 2×4 to hold it in position if necessary, ensuring it doesn't go in too far.
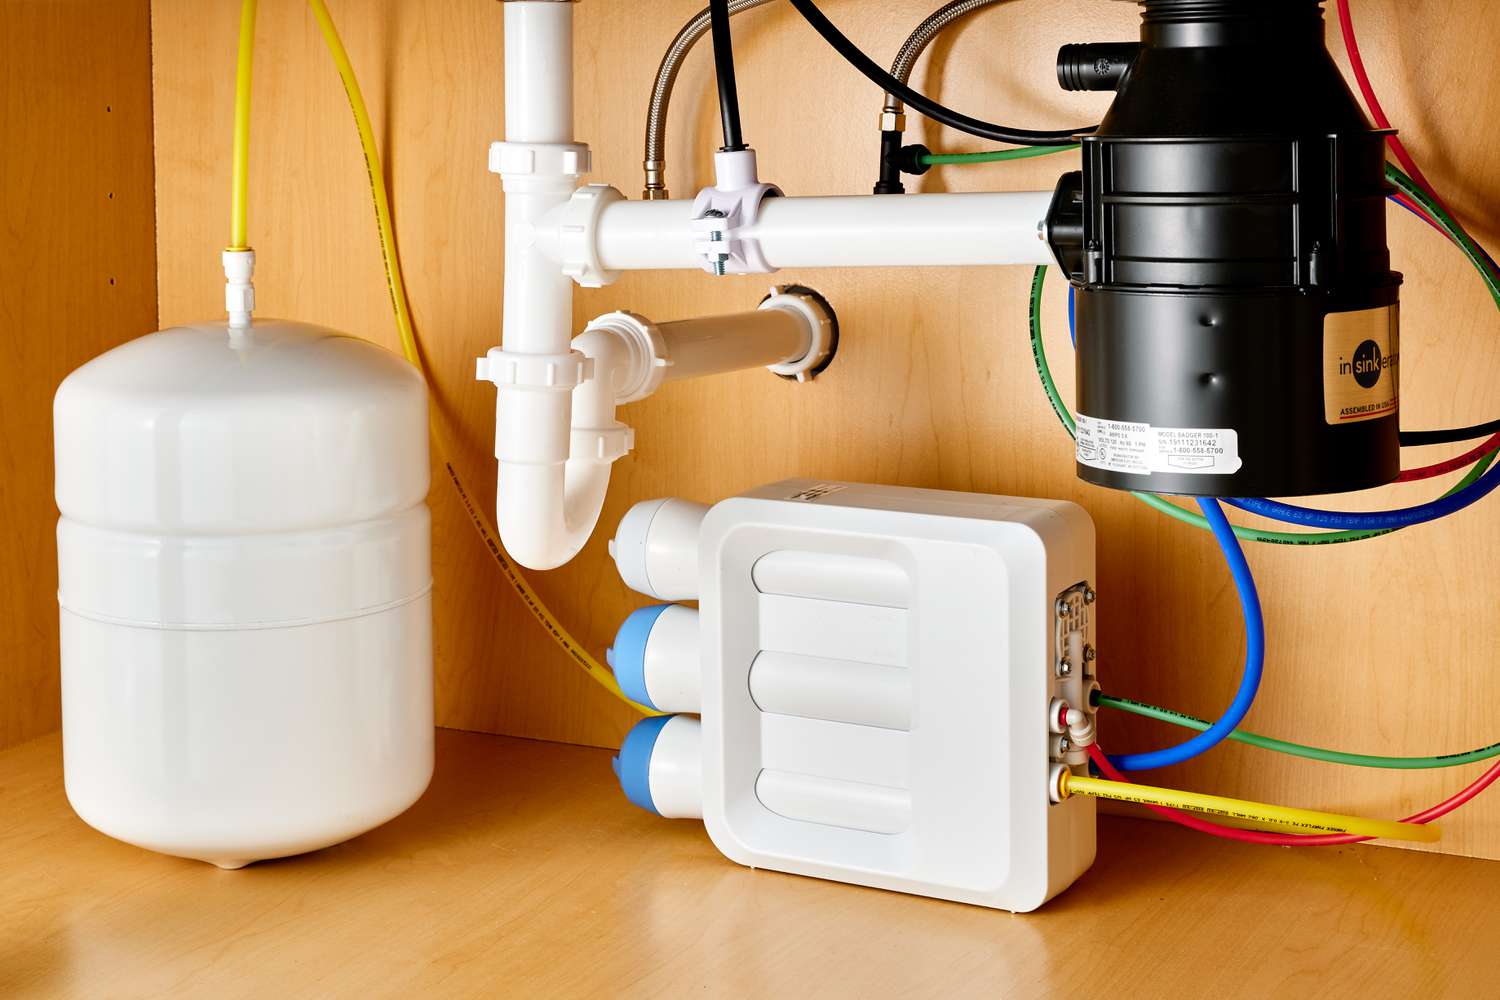
Step 5: Connect Plumbing
-
Disconnect Old Plumbing: Use regular wrenches and plumber’s wrenches to disconnect old plumbing from your sink.
-
Connect New Plumbing: Connect new plumbing lines to your faucet and ensure they are securely attached.
-
Test Water Supply: Turn on the water supply and check for leaks around connections.
Step 6: Install Faucet
-
Remove Old Faucet: Remove any old faucet from your sink.
-
Install New Faucet: Install your new faucet according to manufacturer instructions. Ensure all connections are secure and leak-free.
Step 7: Finish Installation
-
Install Countertops: Install new countertops around your sink, ensuring they are securely attached to the cabinet frame.
-
Add Final Touches: Add any final touches such as soap dispensers or other accessories that need holes drilled on site.
Tips and Considerations
Handling Heavy Sinks
Farmhouse sinks are often heavy, especially when filled with water. Ensure you have a sturdy frame in place to support its weight and consider additional support if necessary.
Custom-Made Tops
Undermount sinks require custom-made tops that are waterproof and specifically cut for the sink and faucet. This adds an extra layer of complexity but provides a sleek look.
Measuring Precision
Precision in measurements is crucial when installing a farmhouse sink. Double-check all measurements before cutting any materials to avoid costly mistakes.
Safety Precautions
Always use safety precautions when working with power tools and handling heavy materials. Wear protective gear like gloves and safety glasses, and ensure good ventilation in your workspace.
Conclusion
Installing a kitchen farmhouse sink is a rewarding DIY project that can transform your kitchen's aesthetic and functionality. By following these steps and tips, you can successfully install your new sink while ensuring it is both functional and visually appealing. Remember to take your time, measure precisely, and use the right tools to achieve professional-looking results.
If you're not confident in your abilities or if the project seems too complex, consider hiring a professional plumber or carpenter who can handle the installation for you. With patience and attention to detail, you can enjoy the benefits of a beautifully installed farmhouse sink in your kitchen.
Additional Resources
For detailed written instructions on installing and removing a sink, visit Lowe's website at https://low.es/2UpJxpa. For more ideas to improve your home, check out Lowe's How-To Library or their social media channels on Facebook, Twitter, Pinterest, and Instagram.
If you have any questions or need further guidance, feel free to leave a comment below or seek advice from experienced DIY enthusiasts online. Happy renovating
Was this page helpful?
At Storables.com, we guarantee accurate and reliable information. Our content, validated by Expert Board Contributors, is crafted following stringent Editorial Policies. We're committed to providing you with well-researched, expert-backed insights for all your informational needs.


0 thoughts on “DIY Guide To Installing A Kitchen Farmhouse Sink With Nano-Coating Technology”