Home>Ideas and Tips>DIY Guide to Installing a Kitchen Tile Backsplash with a Decorative Insert

Ideas and Tips
DIY Guide to Installing a Kitchen Tile Backsplash with a Decorative Insert
Published: September 19, 2024
Learn how to install a stylish kitchen tile backsplash with decorative inserts. Follow our step-by-step DIY guide for a professional finish.
(Many of the links in this article redirect to a specific reviewed product. Your purchase of these products through affiliate links helps to generate commission for Storables.com, at no extra cost. Learn more)
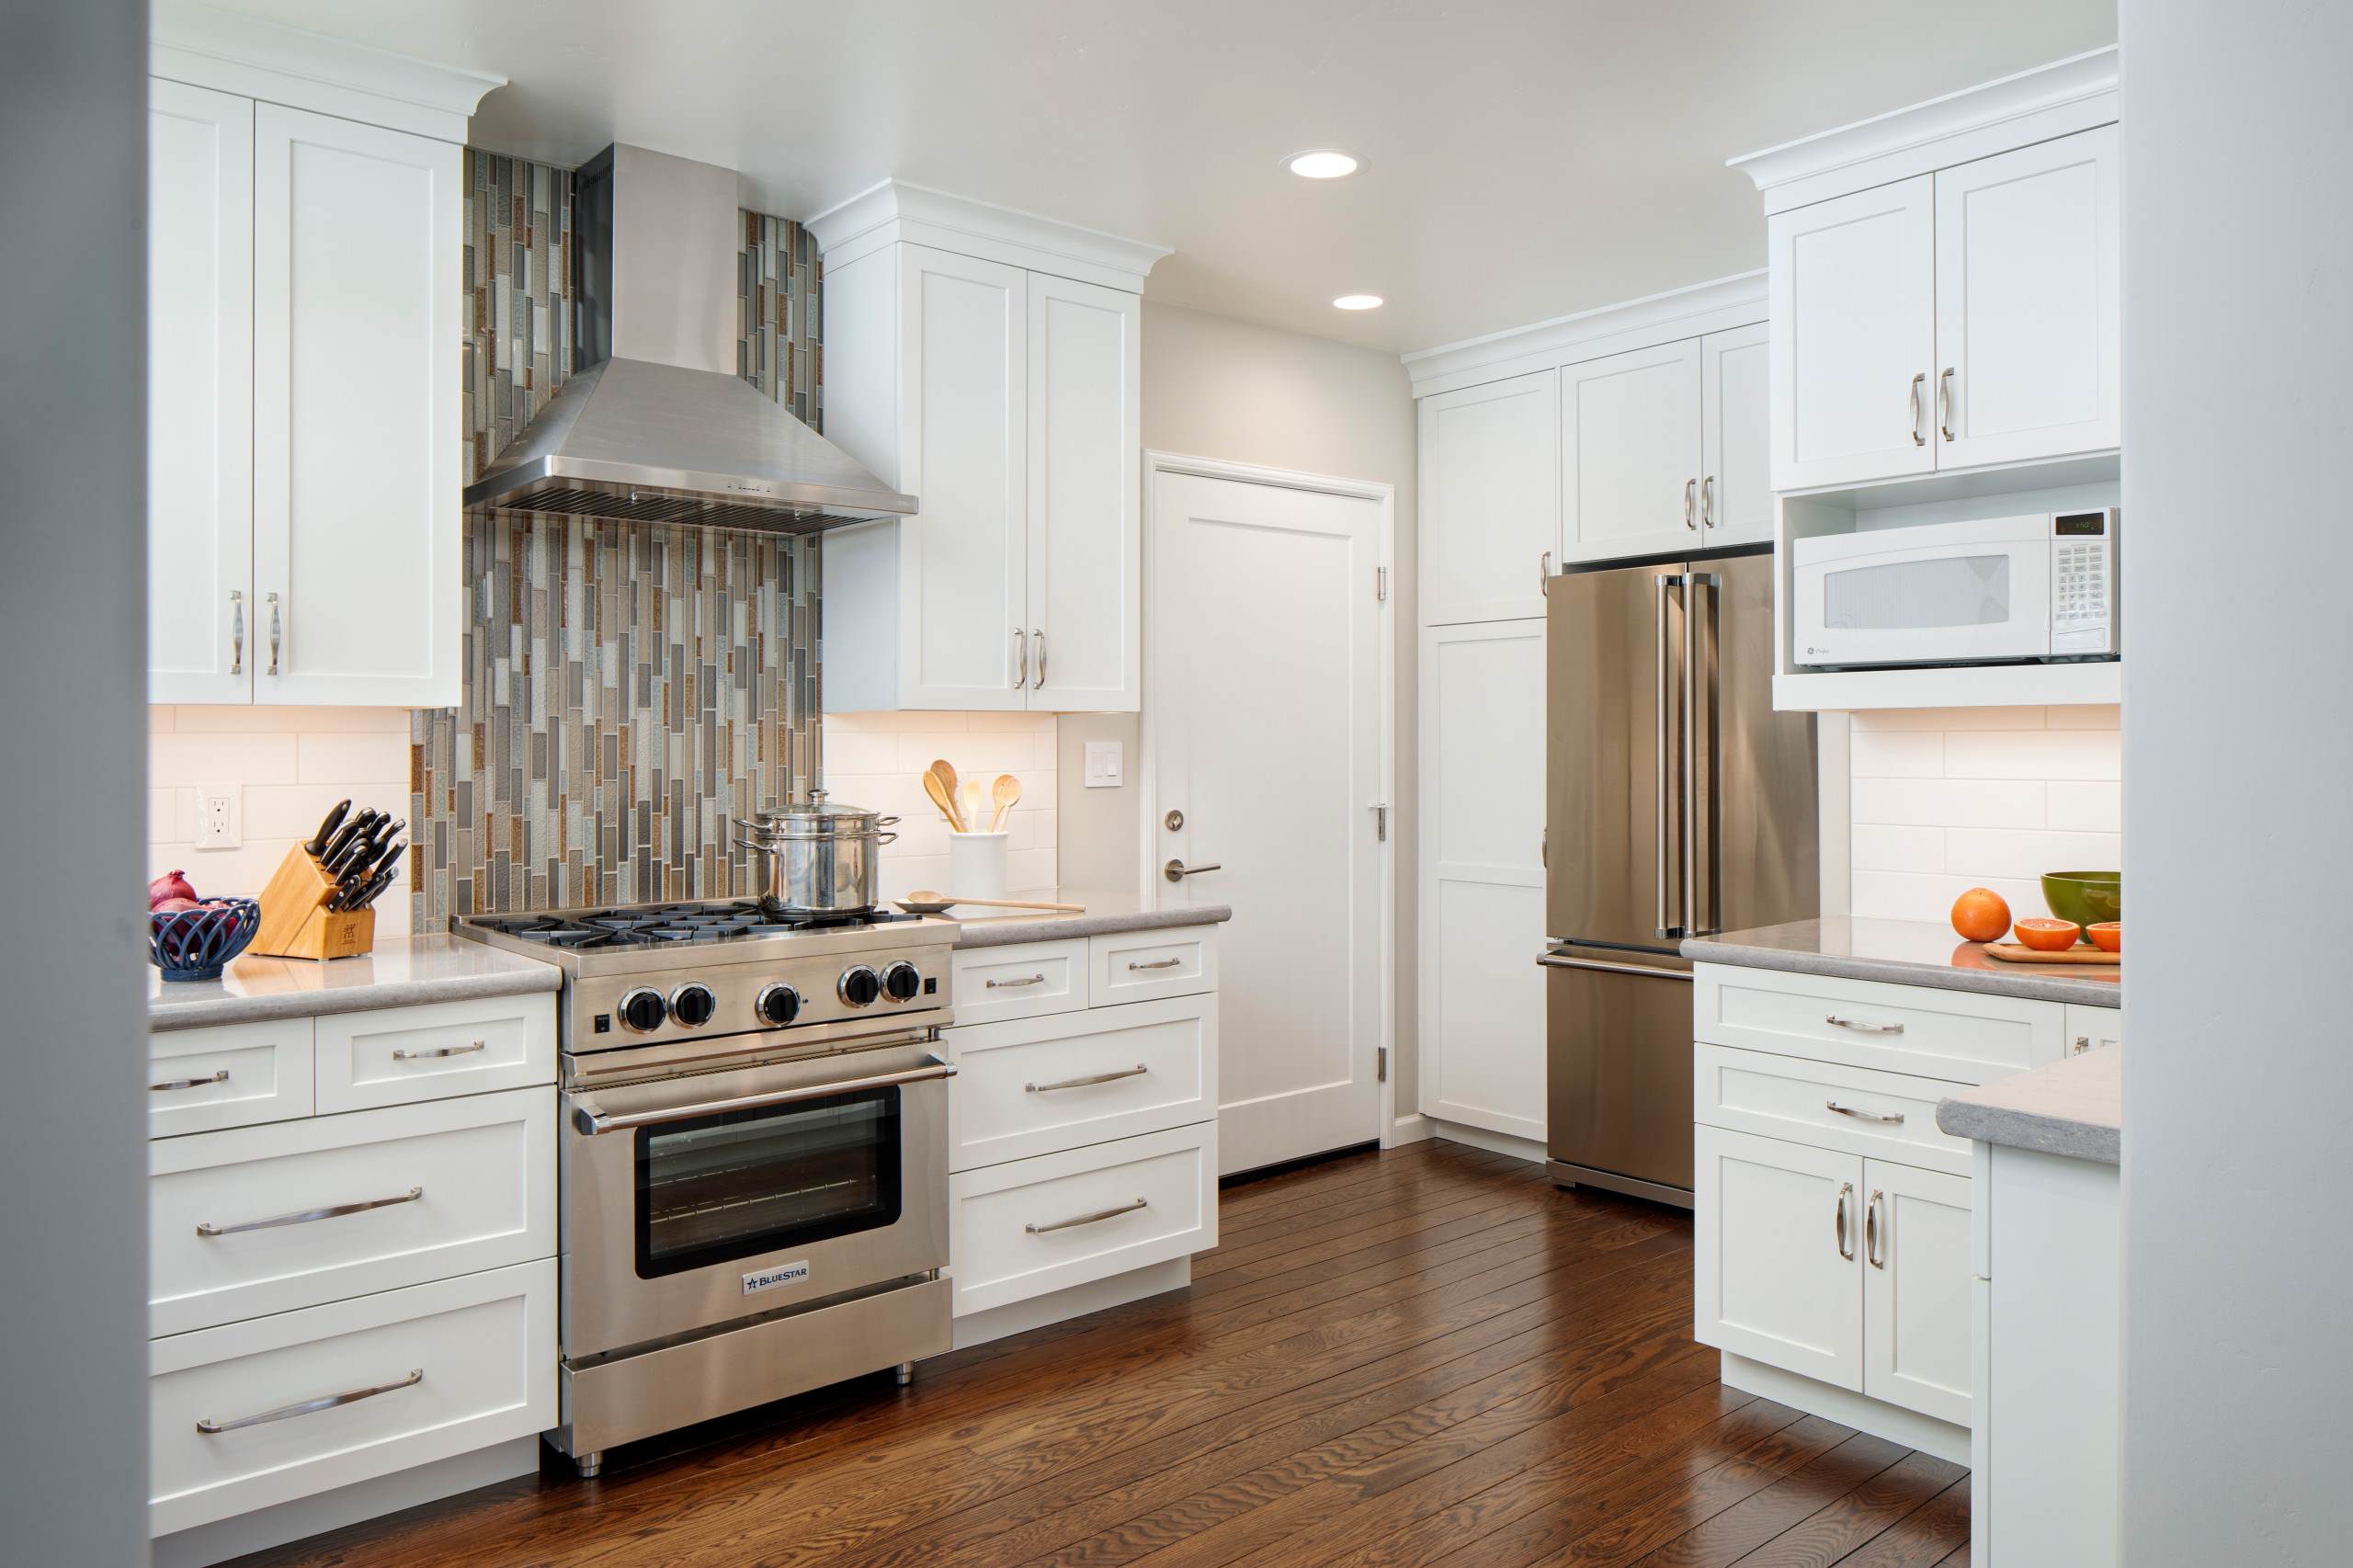
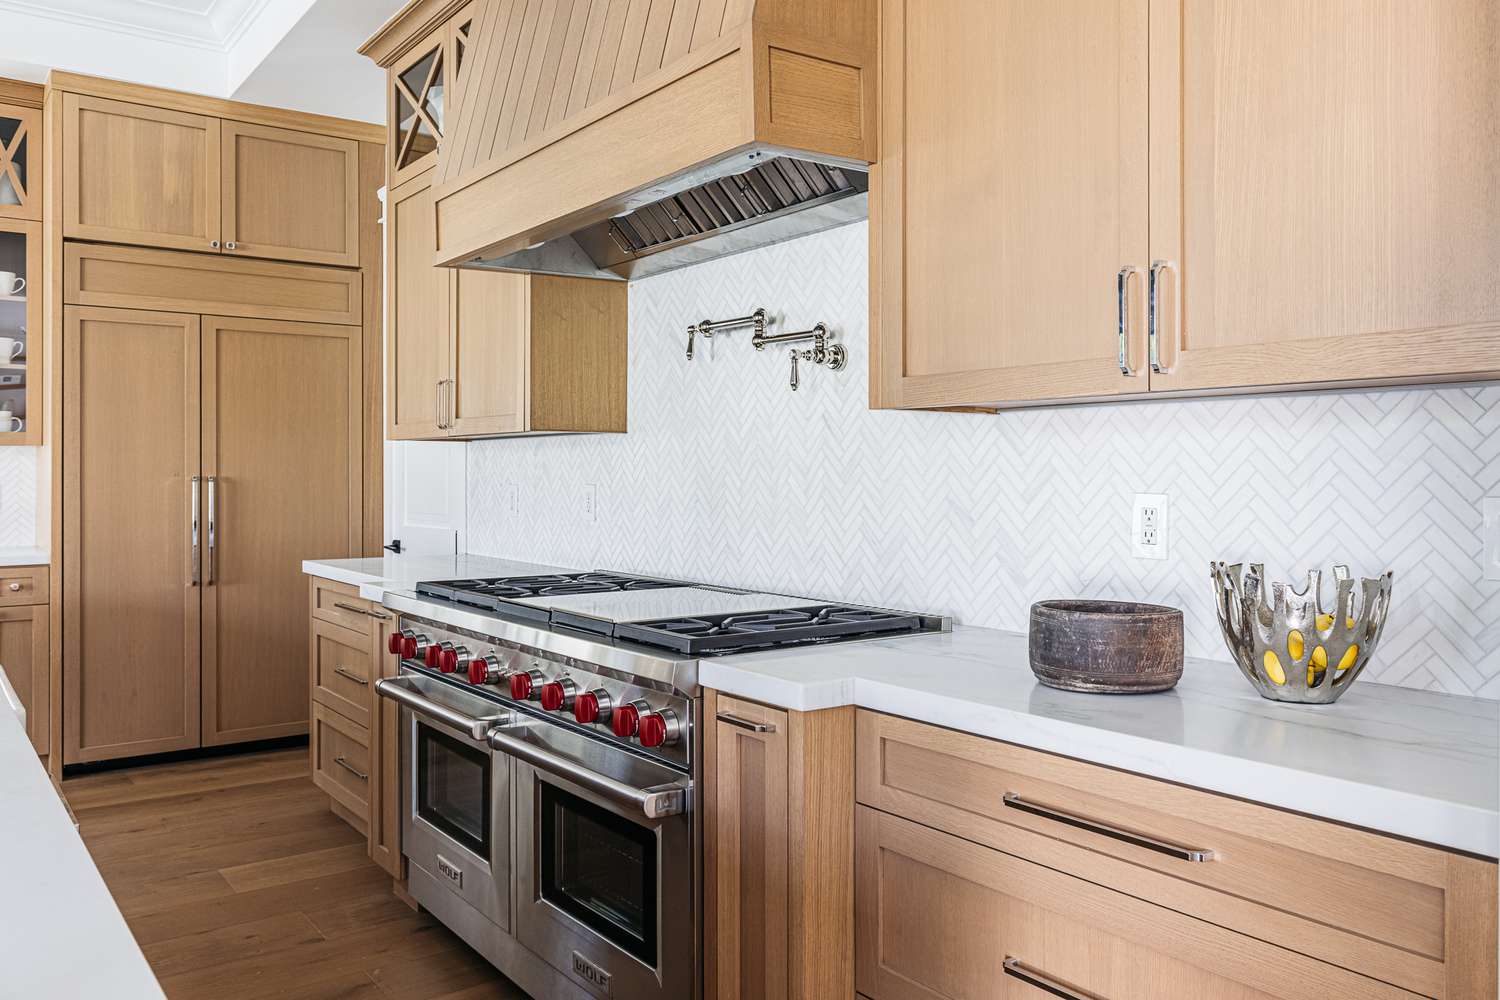
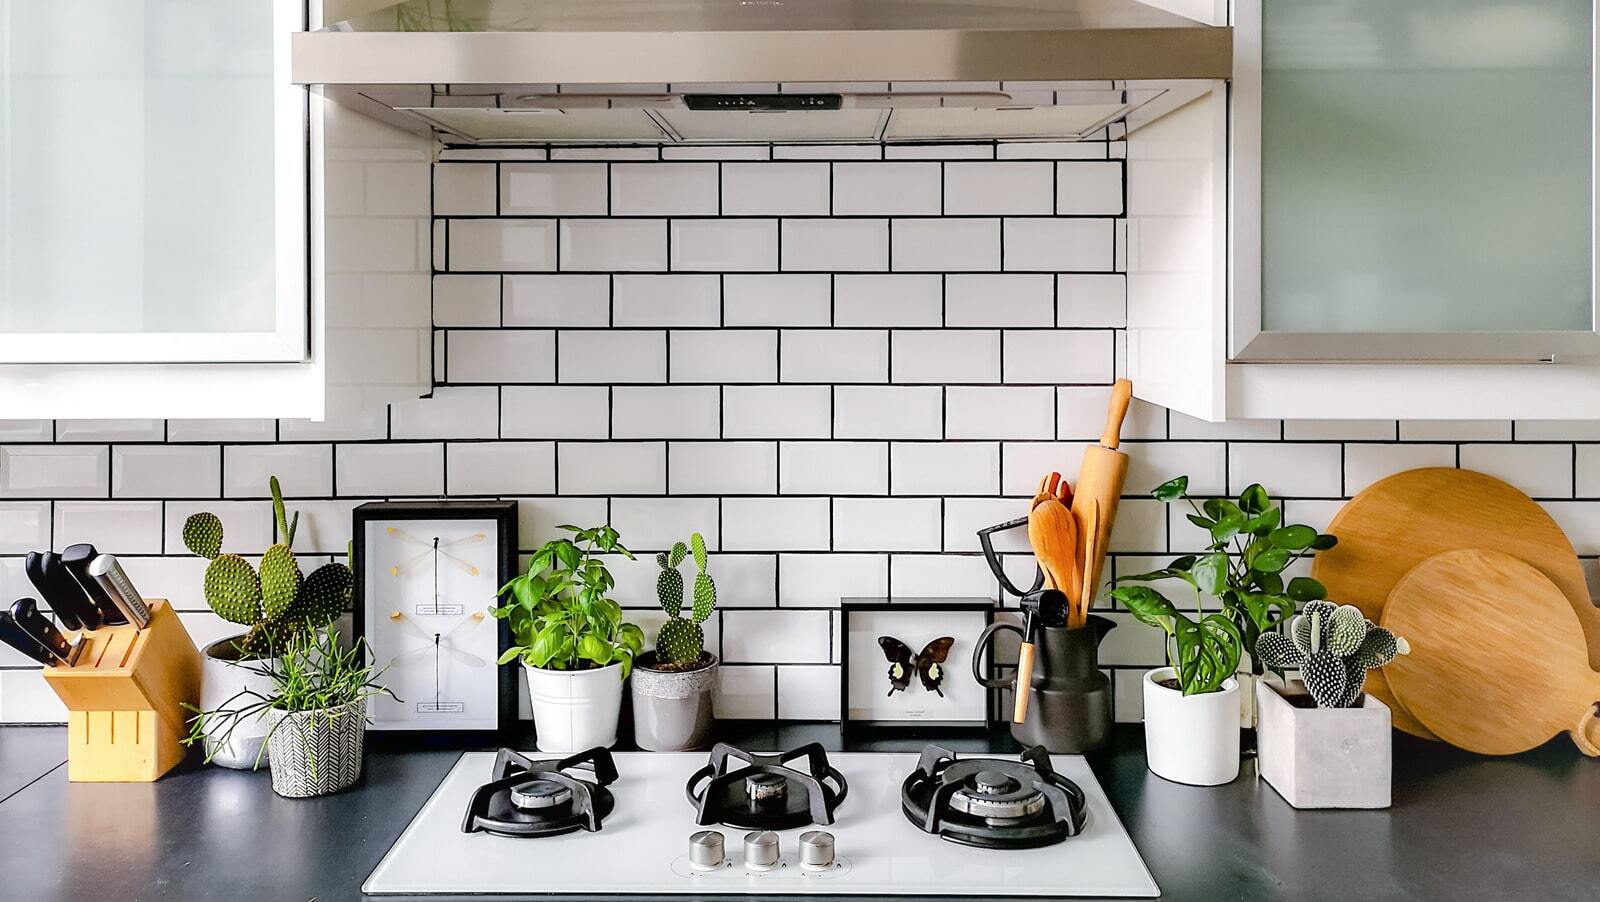
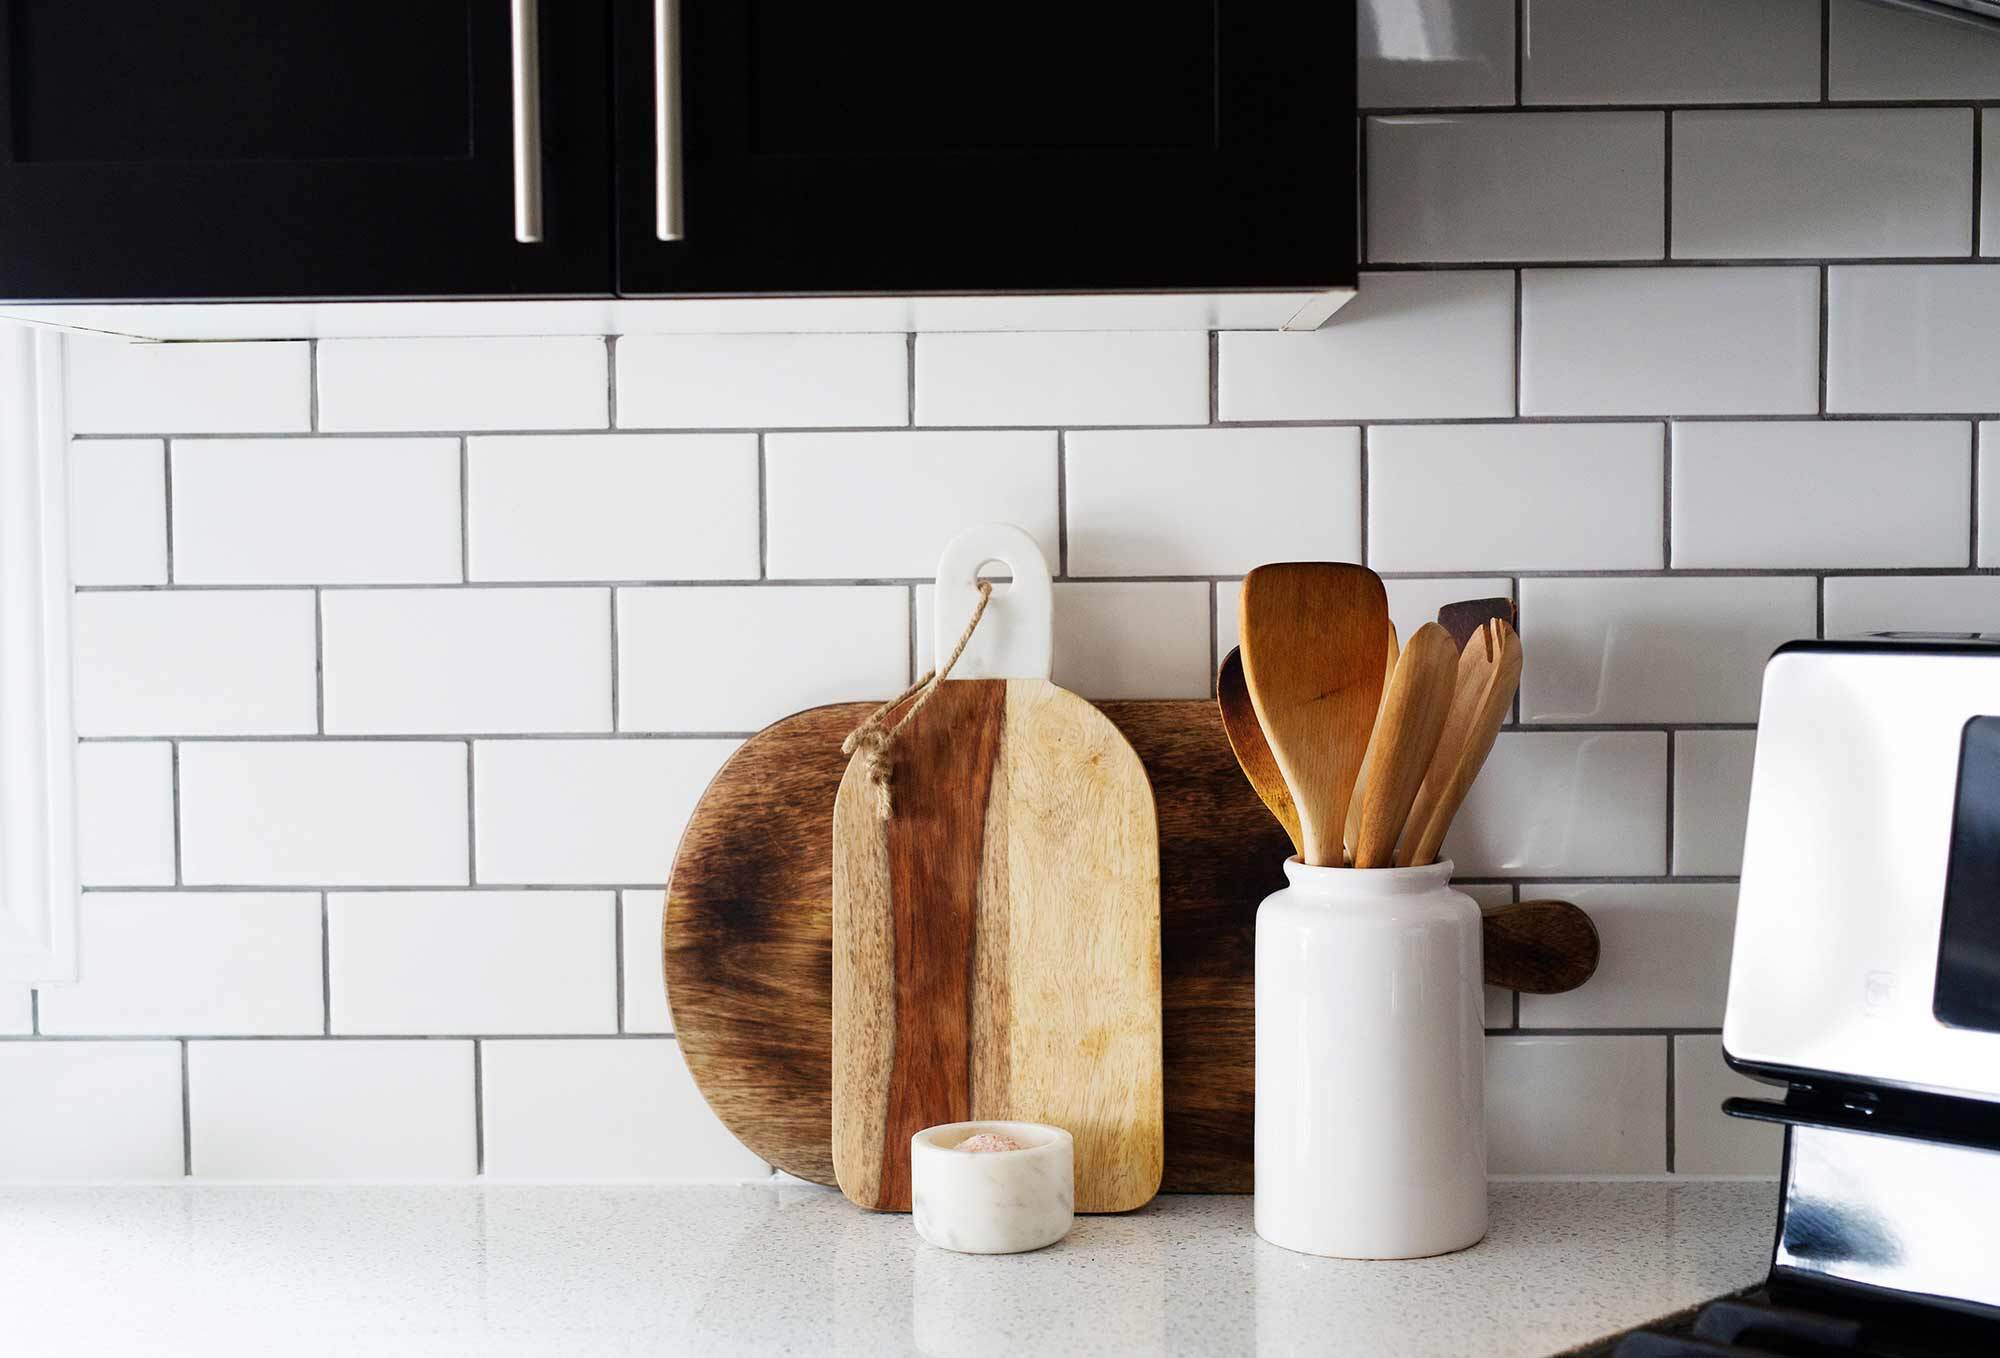
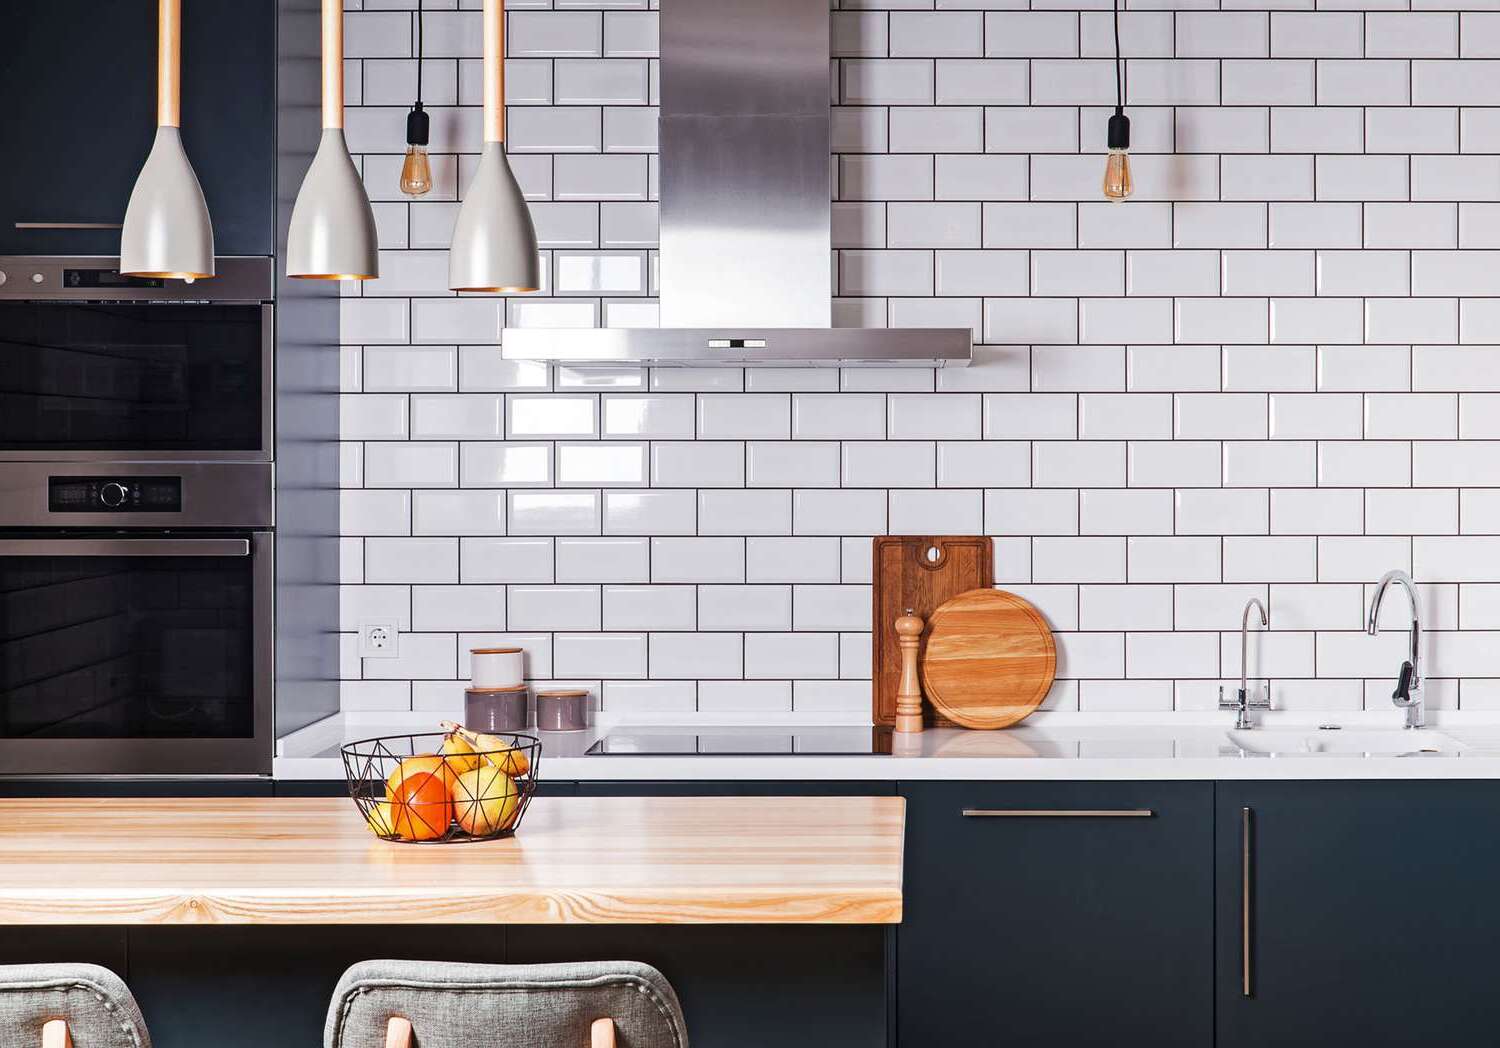
Installing a tile backsplash in your kitchen can be a fantastic way to enhance the aesthetic appeal and functionality of your space. Not only does it protect your walls from splashes and spills, but it also adds a decorative element that can make your kitchen look more stylish and modern. In this article, we will guide you through the process of installing a tile backsplash with a decorative insert, providing you with all the necessary steps and tips to achieve a professional-looking result.
Materials Needed
Before you start, it's essential to gather all the necessary materials. Here’s a comprehensive list of what you’ll need:
- Tile of Your Choosing: This could be ceramic, porcelain, or any other type of tile that suits your design preferences.
- Level: To ensure your tiles are perfectly aligned.
- Measuring Tape: For accurate measurements of your backsplash area.
- Tile Saw or Manual Tile Cutter and Tile Nippers: For cutting tiles to fit around outlets or switches.
- MusselBound Tile Adhesive: A high-quality adhesive specifically designed for tile installation.
- Utility Knife: For cutting and trimming tiles.
- Grout (and Grout Sealer): To fill the gaps between tiles and protect them from stains.
- Sponge: For mixing and applying grout.
- Bucket: For mixing grout.
- Grout Float: For spreading grout evenly.
- Tile Spacers (1/16 inch spacers): To maintain even spacing between tiles.
- Caulk: To seal any gaps around edges or corners.
- Painter’s Tape & Plastic or Paper: To protect surfaces you don’t want to get grout on.
- Backer Board (if necessary): To ensure a smooth transition from drywall to tile.
Preparing the Walls
The first step in installing a tile backsplash is to prepare the walls. This involves several key tasks:
-
Clear the Space: Move any furniture, appliances, and other items away from the area where you will be working. This will give you ample space to work without any obstructions.
-
Repair Any Drywall Damage: If there are any holes or gouges in your drywall, now is the time to repair them. Use joint compound to fill in any imperfections and let it dry before sanding it smooth.
-
Clean the Walls: Ensure that your walls are free from dust, dirt, and any other debris that could interfere with the adhesive or grout.
-
Turn Off Power and Remove Outlet Covers: If your backsplash area includes outlets or switches, turn off the power to those outlets and remove their covers. This will prevent any electrical hazards during the installation process.
-
Protect Surfaces: Use painter’s tape and plastic or paper to protect countertops, cabinets, and any other surfaces you don’t want to get grout on.
Checking for Level and Installing a Ledger Board
If your countertop is not perfectly level, you may need to install a ledger board. A ledger board is a thin strip of wood that temporarily supports your backsplash tile until everything cures.
-
Check for Level: Use a level to determine if your countertop is perfectly level. If it’s not, you can either draw a level line on the wall or attach a ledger board.
-
Attach Ledger Board (if necessary): If you decide to use a ledger board, attach it to the wall using screws. This will provide temporary support for your tile until it cures.
Planning Your Tile Layout
Planning your tile layout is crucial for achieving a professional-looking result. Here’s how you can do it:
-
Measure the Backsplash Area: Measure the length and width of your backsplash area to determine how many tiles you’ll need.
-
Draw Out the Area: Draw out the area on a piece of scrap wood to visualize how your tiles will fit together.
-
Find the Center: Find the center of the area and mark a vertical line since many tile patterns look best when centered.
-
Dry Lay Tiles: Dry lay your tiles vertically first, using spacers to ensure even spacing. Confirm that your vertical layout will work without leaving any tiles that are too small or thin.
-
Adjust Layout as Needed: If any pieces would need to be cut too narrow, adjust your layout accordingly.
Applying Adhesive to the Wall
Once you have planned your tile layout, it’s time to apply adhesive to the wall:
-
Prepare Adhesive: Follow the instructions on your MusselBound tile adhesive for preparation. Typically, you’ll need to mix it with water according to the manufacturer’s instructions.
-
Apply Adhesive: Use a notched trowel to apply the adhesive evenly across the wall, holding it at a 45-degree angle to ensure proper coverage.
Laying Tiles
Now it’s time to lay your tiles:
-
Start Laying Tiles: Begin laying tiles from the center outward, using spacers between each tile for even spacing.
-
Cut Tiles as Needed: Use a tile saw or manual tile cutter and tile nippers to cut tiles around outlets or switches.
-
Ensure Proper Alignment: Use a level and straight edge to keep your tiles perfectly aligned.
-
Work in Sections: Work in sections rather than trying to lay all tiles at once; this will help maintain even spacing and alignment.
Letting the Mortar Dry
After laying all tiles, let the mortar dry completely before proceeding:
-
Allow Curing Time: Follow the manufacturer’s instructions for curing time; typically this ranges from several hours to overnight.
-
Check for Level Again: Once the mortar has dried, check again for levelness using a level tool.
Preparing Grout
Preparing grout is an essential step in completing your tile backsplash installation:
-
Mix Grout: Follow the instructions on your grout packaging for mixing with water; typically you’ll need to mix it thoroughly until it reaches a peanut butter-like consistency.
-
Apply Grout: Use a grout float to apply grout between tiles, pressing firmly into gaps but avoiding overfilling them.
-
Clean Excess Grout: Use a damp sponge to wipe away excess grout from surfaces immediately after application; this prevents staining later on.
Sealing the Grout (Optional)
If you want an extra layer of protection against stains, consider sealing your grout:
-
Choose Grout Sealer: Select a grout sealer that matches your grout color as closely as possible for a seamless finish.
-
Apply Sealer: Follow manufacturer instructions for application; usually involves applying sealer with a brush or roller and allowing it to dry according to instructions.
Read more: DIY Guide To Installing A Kitchen Tile Backsplash With Photocatalytic Self-Cleaning Tiles
Final Touches
The final touches involve caulking any gaps around edges or corners and ensuring everything looks professional:
-
Caulk Gaps: Apply caulk around edges where tiles meet countertops or cabinets using a caulk gun; press firmly into place but avoid overfilling gaps which can create unsightly bulges later on.
-
Inspect Work: Inspect your work carefully ensuring all tiles are levelled properly with no gaps left unfilled by grout or caulk.
Tips and Variations
Here are some additional tips and variations you might consider:
Using Decorative Inserts
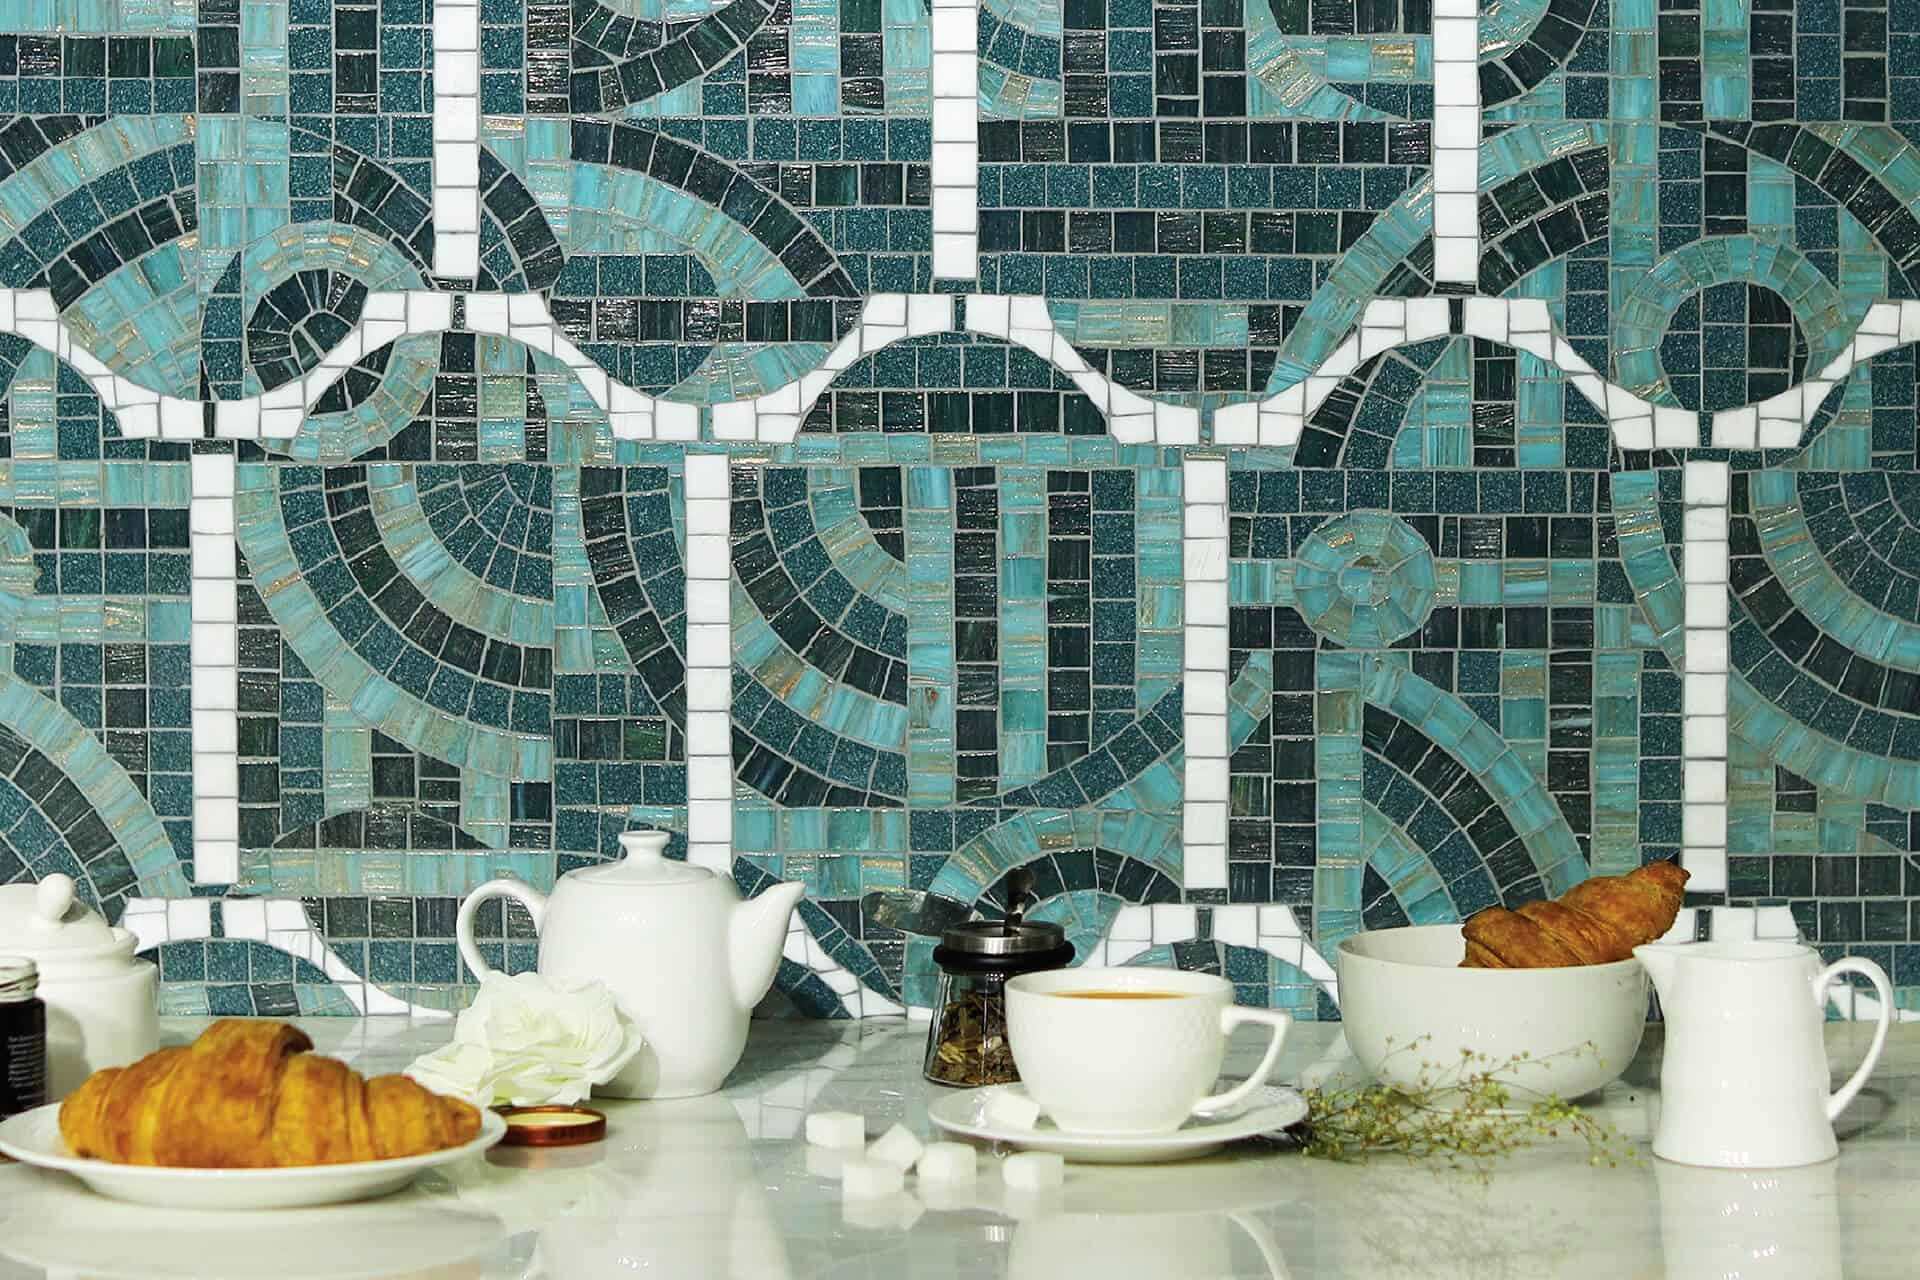
If you want to add an extra decorative element to your backsplash, consider using decorative inserts like glass tiles or mosaic pieces:
-
Choose Inserts Wisely: Select inserts that complement your main tile design without overwhelming it; too many different patterns can create visual chaos rather than harmony.
-
Plan Insert Placement Carefully: Plan placement carefully ensuring inserts fit seamlessly into existing pattern without disrupting flow; use spacers if necessary during installation process itself too!
Budget-Friendly Alternatives
If budget constraints are an issue but still want stylish look without breaking bank consider budget-friendly alternatives like vinyl tiles:
- Vinyl Tiles Pros & Cons:
- Pros: Affordable ($2-$10 per sq ft), easy installation process due interlocking edges no noticeable seams created during fitting process itself!
- Cons: Not water-resistant like ceramic options available today though still better than nothing especially those looking quick fix solution rather than full-scale renovation project overall though!
Common Mistakes to Avoid
Here are common mistakes people make when installing tile backsplashes which could lead subpar results overall:
-
Incorrect Measurement:
- Always double-check measurements before ordering tiles themselves otherwise end up short supply mid-project causing delays frustration alike!
-
Insufficient Preparation:
- Proper preparation involves clearing space repairing damaged drywall turning off power removing outlet covers protecting surfaces accordingly otherwise risk damaging surrounding areas during installation process itself too!
-
Poor Alignment:
- Ensuring proper alignment throughout entire process crucial achieving professional-looking finish end result overall though!
-
Inadequate Grouting:
- Failing properly grout gaps between tiles leaves unsightly stains appearing later down line requiring additional maintenance efforts beyond initial installation phase itself too!
Conclusion
Installing a tile backsplash with decorative inserts is a rewarding DIY project that can significantly enhance both functionality aesthetic appeal of your kitchen space overall though By following these steps carefully avoiding common mistakes along way ensures achieving professional-looking finish end result every time without fail guaranteed Whether opting traditional ceramic options budget-friendly vinyl alternatives alike end up with stunning results that last long time coming indeed
Was this page helpful?
At Storables.com, we guarantee accurate and reliable information. Our content, validated by Expert Board Contributors, is crafted following stringent Editorial Policies. We're committed to providing you with well-researched, expert-backed insights for all your informational needs.

0 thoughts on “DIY Guide to Installing a Kitchen Tile Backsplash with a Decorative Insert”