Home>Furniture & Design>Outdoor Furniture>How To Fix An Outdoor Faucet
Outdoor Furniture
How To Fix An Outdoor Faucet
Modified: October 20, 2024
Learn how to fix your outdoor faucet with our comprehensive guide. Get expert tips and techniques for repairing outdoor furniture and design.
(Many of the links in this article redirect to a specific reviewed product. Your purchase of these products through affiliate links helps to generate commission for Storables.com, at no extra cost. Learn more)
Introduction
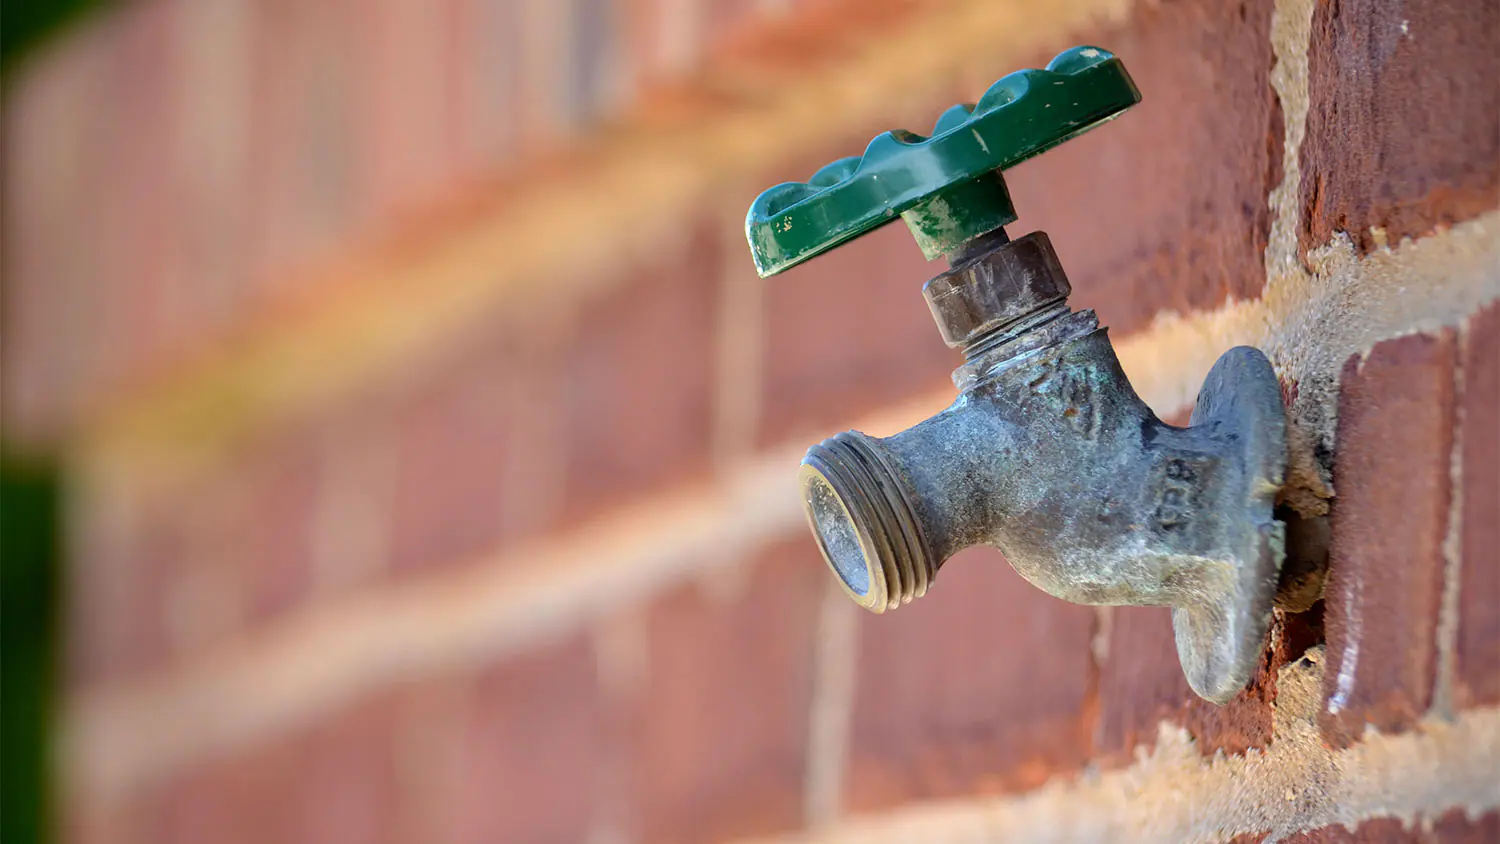
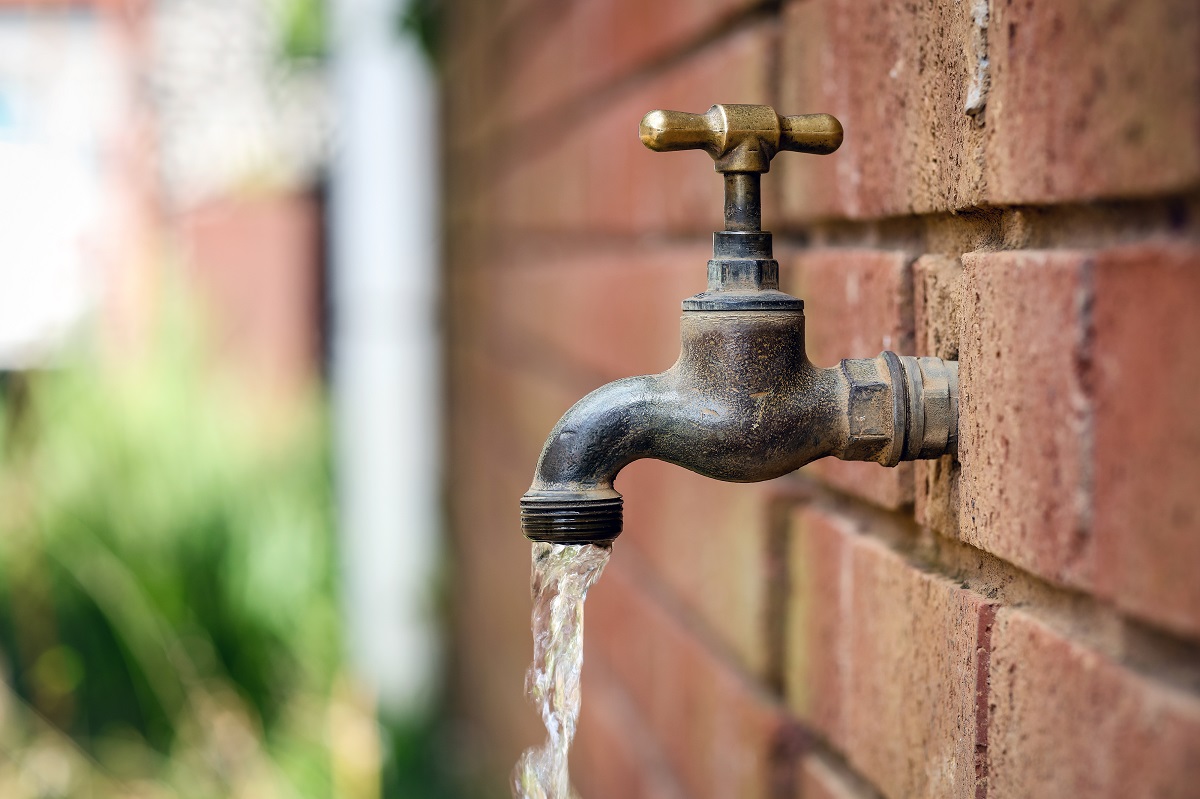
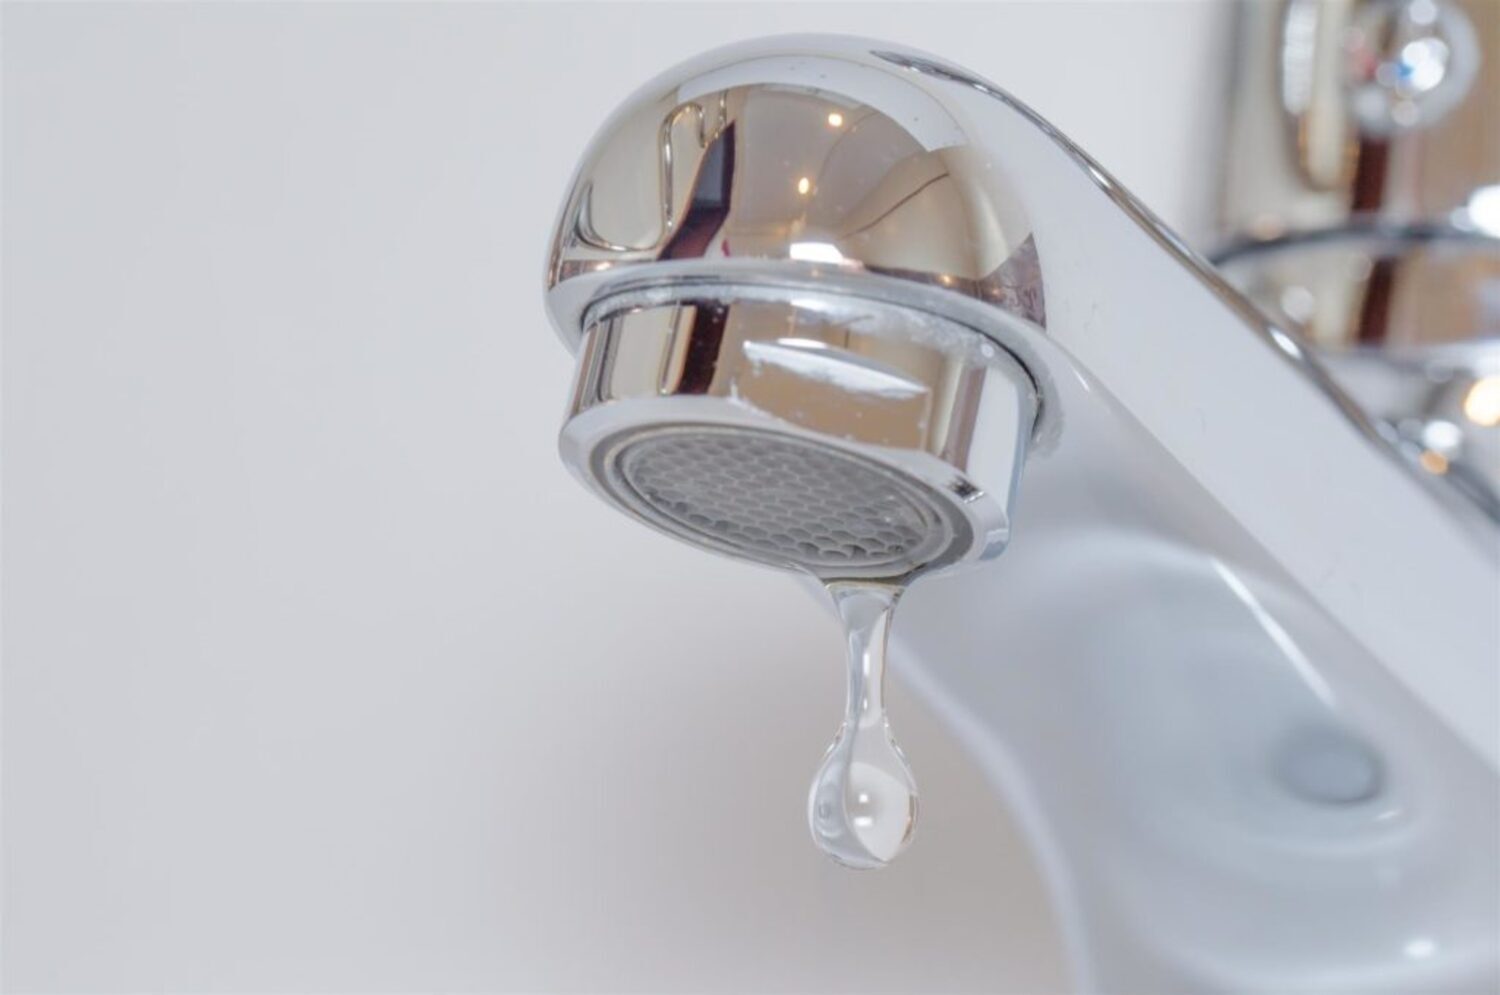
Welcome to our guide on fixing an outdoor faucet! A leaky outdoor faucet can be a frustrating problem, causing water wastage and potential damage to your home. However, with the right tools and a little know-how, you can tackle this issue and restore your outdoor faucet to perfect working condition.
In this comprehensive guide, we will walk you through the step-by-step process of fixing a leaky outdoor faucet. Whether you are a seasoned DIY enthusiast or a novice homeowner, this guide is designed to provide you with the knowledge and confidence to tackle this common household issue.
A leaky outdoor faucet is often caused by a worn-out washer, which can easily be replaced with the right tools and materials. By following the simple steps outlined in this guide, you can save time and money by fixing the faucet yourself, without the need to call a plumber.
So, gather your tools and let's get started on fixing your outdoor faucet! With a little effort and our expert guidance, you'll have your faucet working like new in no time.
Key Takeaways:
- Fixing a leaky outdoor faucet is easy with the right tools and steps. By replacing the worn washer, you can save time and money without calling a plumber.
- After turning off the water supply, disassemble the faucet, replace the washer, and reassemble the faucet. Test for leaks and enjoy a fully functional outdoor faucet.
Read more: How To Thaw An Outdoor Faucet
Tools and Materials
Before you begin fixing your outdoor faucet, it’s essential to gather the necessary tools and materials. Here’s what you’ll need:
Tools:
- Adjustable wrench
- Phillips screwdriver
- Flathead screwdriver
- Needle-nose pliers
- Pipe wrench
- Plumber's grease
Materials:
- Replacement washer (make sure to get the correct size for your faucet)
- Teflon tape
- Bucket or basin
- Clean rags or towels
Having these tools and materials on hand will ensure that you can complete the task without interruptions. If you don’t already have these items in your toolbox, you can easily find them at your local hardware store or online.
Now that you’ve gathered your tools and materials, it’s time to move on to the first step of fixing your outdoor faucet.
Step 1: Turn off the Water Supply
Before you start working on your outdoor faucet, it’s crucial to shut off the water supply to prevent any accidents or further leakage. Follow these steps to safely turn off the water:
- Locate the Shut-Off Valve: The shut-off valve for your outdoor faucet is typically located inside your home, often in the basement or utility area. It may be labeled as the outdoor faucet or hose bib.
- Turn Off the Valve: Using a firm grip, turn the valve in a clockwise direction to shut off the water flow to the outdoor faucet. If the valve is difficult to turn, use a wrench to assist you, but be gentle to avoid damaging the valve.
- Drain Excess Water: Once the water supply is turned off, go outside and open the outdoor faucet to allow any remaining water to drain out. This step is essential to prevent water from spilling out when you disassemble the faucet.
By turning off the water supply and draining any excess water from the outdoor faucet, you’ll create a safe and dry environment to work on the necessary repairs. Remember to take your time and exercise caution to avoid any mishaps during this process.
With the water supply safely turned off, you’re ready to move on to the next step of fixing your outdoor faucet.
Read more: How To Wrap Outdoor Faucets
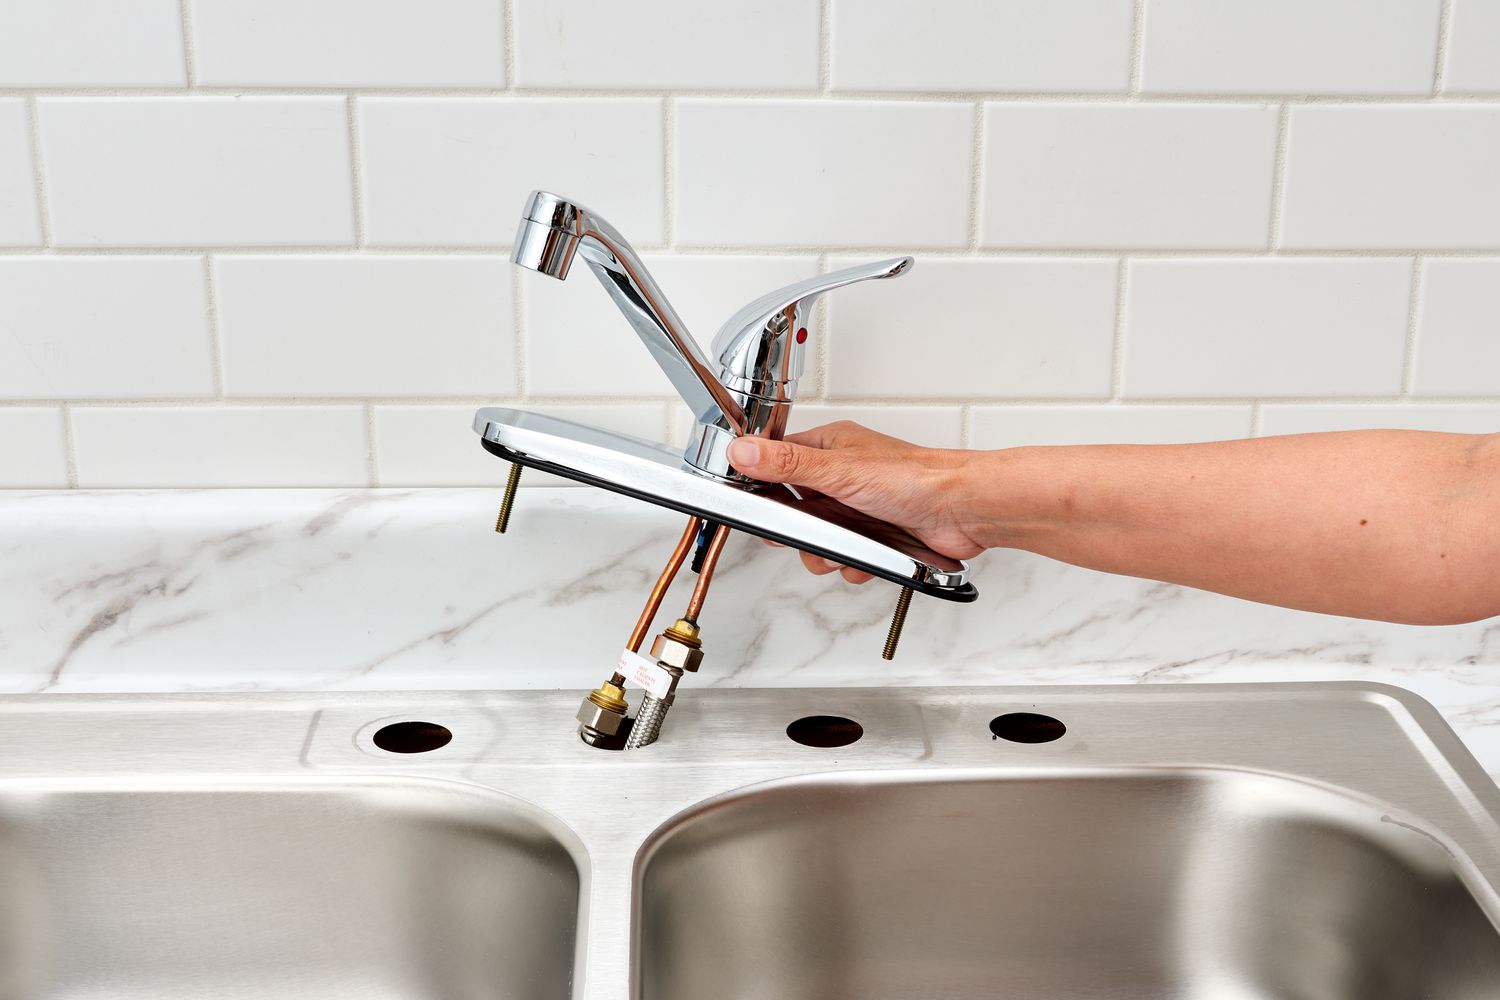
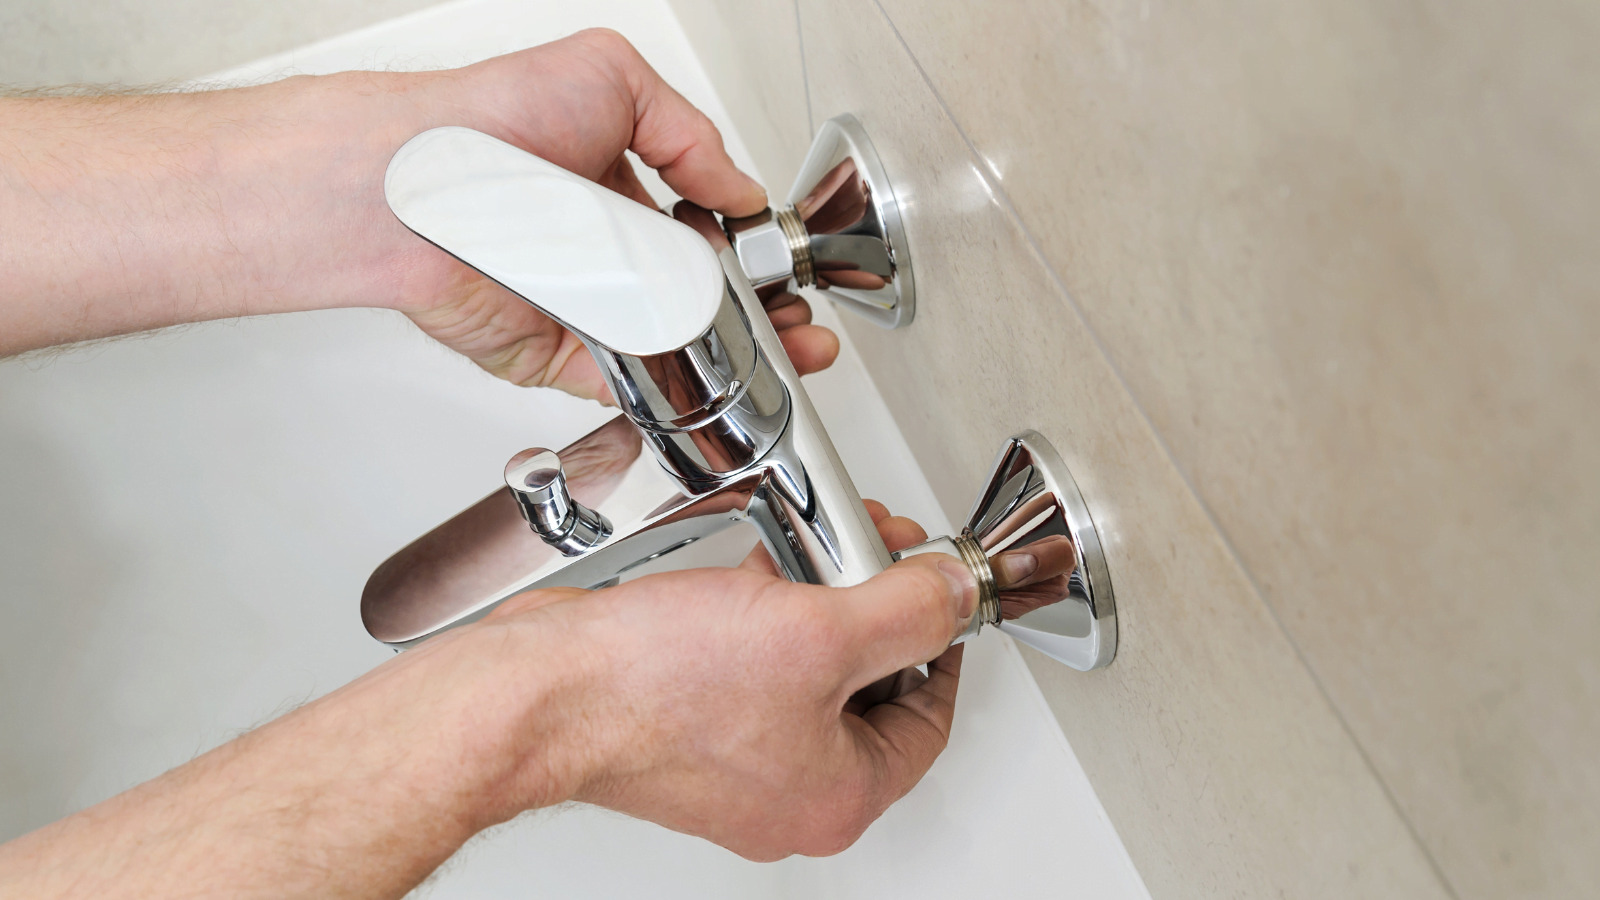
Step 2: Disassemble the Faucet
Now that the water supply is turned off, it’s time to disassemble the outdoor faucet to access the internal components. Follow these steps to disassemble the faucet:
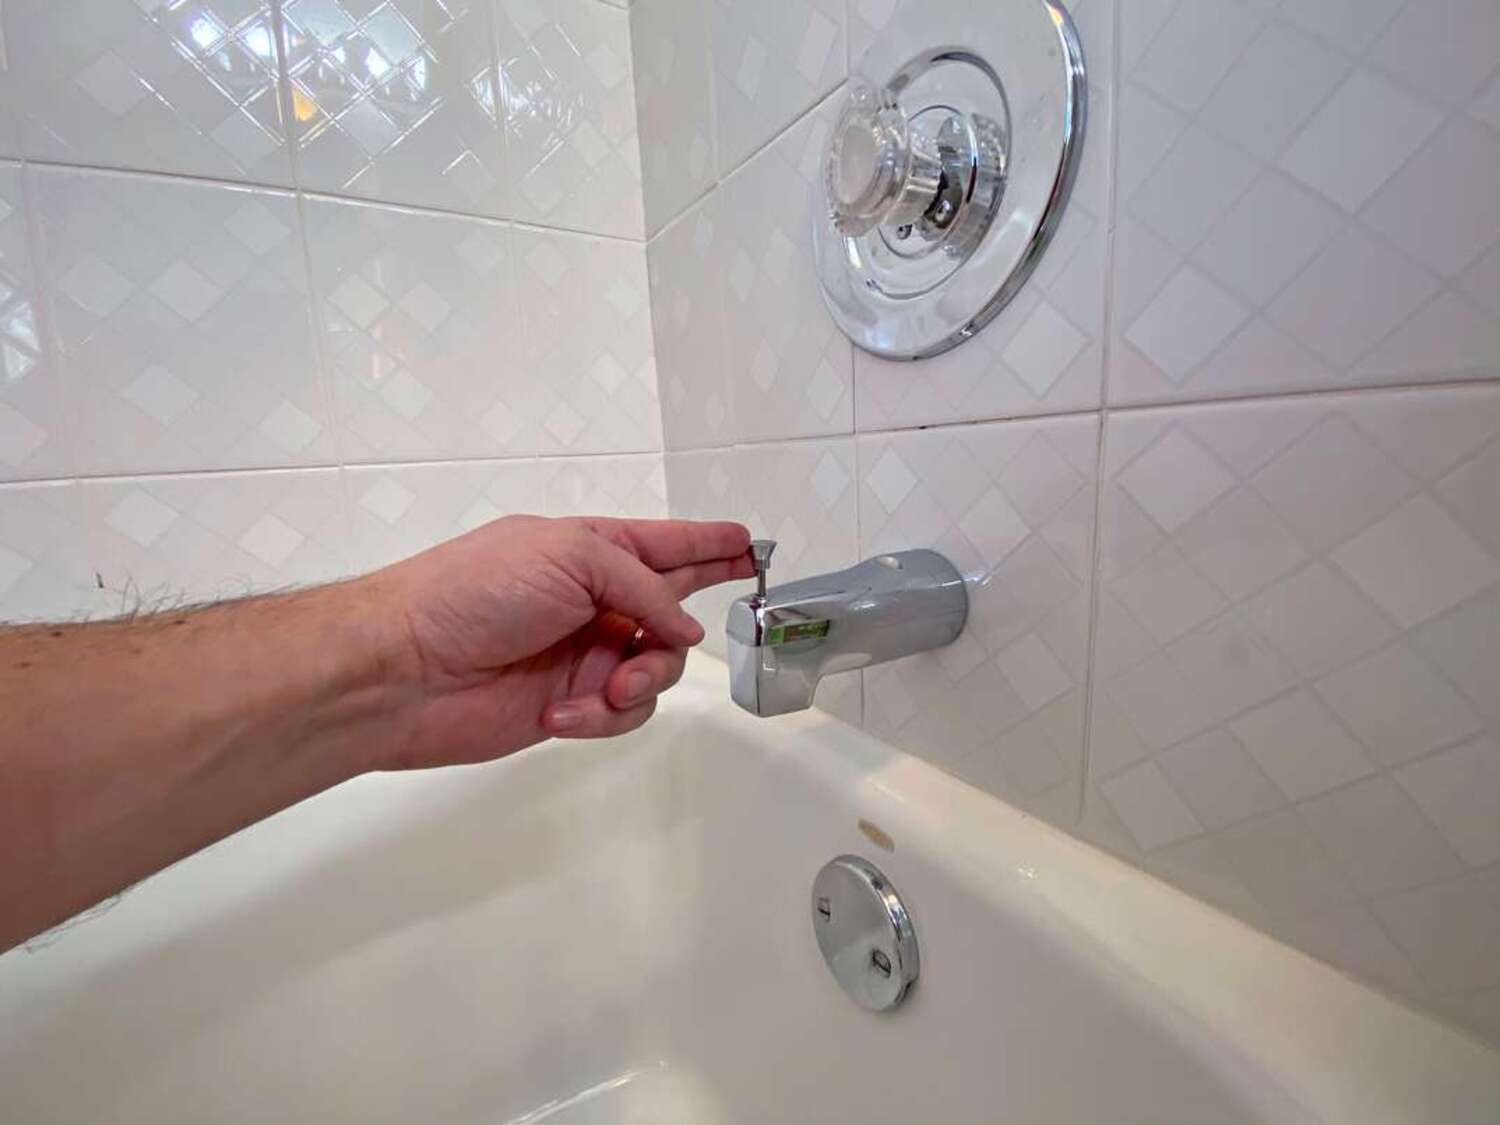
- Remove the Handle: Use a screwdriver to remove the screw that secures the handle to the faucet stem. Once the screw is removed, gently pull the handle off the stem to expose the packing nut.
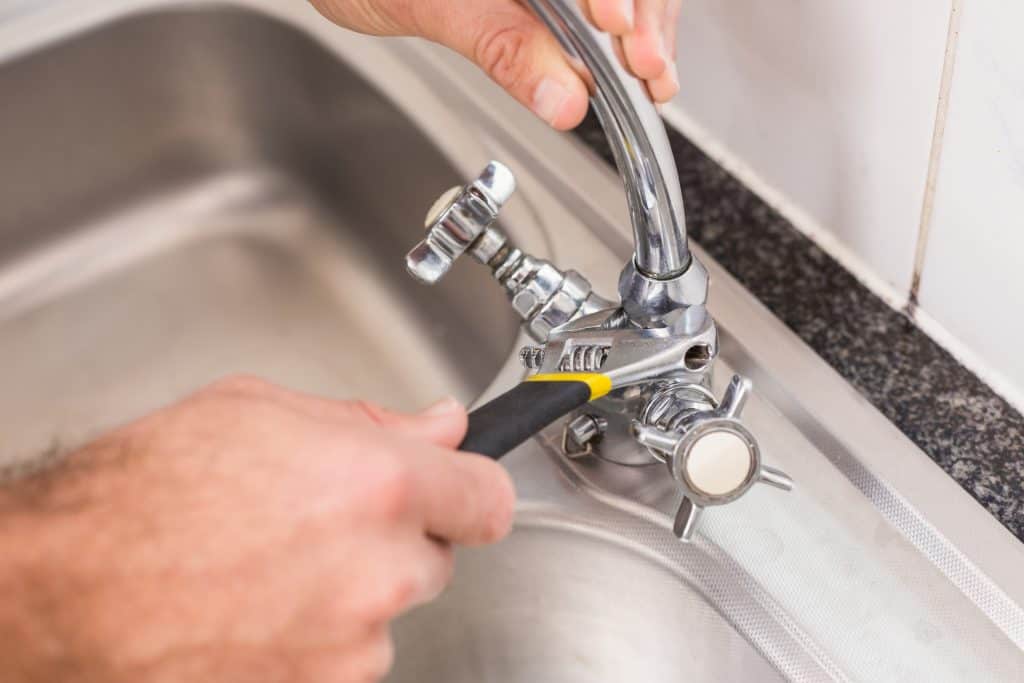
- Loosen the Packing Nut: With an adjustable wrench, carefully loosen and remove the packing nut that surrounds the faucet stem. The packing nut is typically located just below the handle and helps secure the faucet assembly.
- Extract the Stem: Once the packing nut is removed, you can carefully pull out the faucet stem. Be mindful of any accompanying components, such as the O-ring or packing washer, which may come out along with the stem.
- Inspect the Components: Take a moment to inspect the removed components for any signs of damage or wear. Look for mineral deposits, corrosion, or worn-out washers, as these issues are often the culprits behind a leaky outdoor faucet.
Disassembling the faucet allows you to visually assess the condition of the internal components and identify any parts that require replacement or maintenance. Take your time during this step to ensure that you handle the faucet components with care and precision.
With the faucet disassembled, you’re ready to proceed to the next crucial step in fixing your outdoor faucet.
Step 3: Replace the Washer
Replacing the washer is a key step in fixing a leaky outdoor faucet. The washer is a small, circular rubber or silicone component that creates a watertight seal when the faucet is closed. Over time, the washer can become worn or damaged, leading to leaks. Follow these steps to replace the washer:
- Remove the Old Washer: Locate the washer at the base of the faucet stem. Use a flathead screwdriver or needle-nose pliers to carefully remove the old washer from its position. Take note of the size and shape of the washer for reference when selecting a replacement.
- Select the Replacement Washer: Visit your local hardware store or home improvement center to find a replacement washer that matches the size and style of the old one. It’s essential to choose a washer that is compatible with your specific faucet model to ensure a proper fit.
- Install the New Washer: Place the new washer onto the base of the faucet stem, ensuring that it sits securely and evenly. Applying a small amount of plumber’s grease to the washer can help create a smooth seal and prevent friction during use.
- Reassemble the Faucet: Carefully reinsert the faucet stem back into the faucet body, ensuring that it aligns properly. Then, reattach the packing nut and handle, securing them in place as they were before disassembly.
By replacing the worn or damaged washer with a new, high-quality one, you can restore the watertight seal of your outdoor faucet, effectively stopping leaks and drips. Take your time during this step to ensure that the new washer is installed correctly, as it plays a crucial role in the faucet’s functionality.
With the new washer in place, you’re ready to proceed to the next step in the repair process and bring your outdoor faucet one step closer to optimal performance.
Shut off the water supply to the outdoor faucet before attempting any repairs. This will prevent any water from leaking and make the repair process easier and safer.
Step 4: Reassemble the Faucet
With the new washer in place, it’s time to reassemble the outdoor faucet to restore its functionality. Follow these steps to reassemble the faucet:
- Reinsert the Stem: Carefully place the faucet stem back into the faucet body, ensuring that it aligns properly and smoothly slides into place. Take care to avoid dislodging the newly installed washer during this process.
- Secure the Packing Nut: Using an adjustable wrench, reattach and tighten the packing nut around the faucet stem. Ensure that the nut is securely fastened to prevent any potential leaks or loosening during use.
- Reattach the Handle: Position the handle back onto the faucet stem and secure it in place with the screw that was removed during disassembly. Tighten the screw to ensure that the handle is firmly attached to the stem.
- Test the Faucet: With the faucet reassembled, turn on the water supply to test the functionality of the outdoor faucet. Check for any leaks or drips around the faucet and handle. If everything is secure and dry, the reassembly was successful.
Reassembling the faucet is a critical step in the repair process, as it ensures that all components are properly aligned and secured. Take your time to carefully reassemble the faucet, paying attention to the placement of each part to guarantee a watertight seal and optimal performance.
With the faucet successfully reassembled and tested, you’re ready to move on to the final step of fixing your outdoor faucet and enjoying its renewed functionality.
Step 5: Turn on the Water Supply
After completing the repair and reassembly of your outdoor faucet, it’s time to restore the water supply and test the faucet’s functionality. Follow these steps to turn on the water supply:
- Locate the Shut-Off Valve: Return to the shut-off valve that you previously used to turn off the water supply. It is typically located inside your home, in the vicinity of the outdoor faucet.
- Turn On the Valve: Using a firm grip, turn the shut-off valve in a counterclockwise direction to gradually restore the water flow to the outdoor faucet. Take care to open the valve slowly to allow the water to flow in without causing any sudden pressure surges.
- Check for Leaks: Once the water supply is turned on, observe the outdoor faucet and its surroundings for any signs of leaks or drips. Pay close attention to the base of the faucet, the handle, and any connection points for indications of water leakage.
- Test the Faucet: Turn on the outdoor faucet and let the water run for a few moments to ensure that it flows freely without any leaks or irregularities. Operate the faucet handle to confirm that it opens and closes smoothly without any issues.
Turning on the water supply and testing the faucet is the final step in the repair process, allowing you to verify the success of your efforts and ensure that the outdoor faucet is fully operational. By following these steps, you can confidently assess the effectiveness of the repair and address any remaining issues if necessary.
With the water supply restored and the outdoor faucet functioning as intended, you’ve successfully completed the process of fixing your outdoor faucet. Congratulations on your DIY accomplishment!
Read more: How To Install An Outdoor Faucet
Conclusion
Congratulations on successfully fixing your outdoor faucet! By following the step-by-step process outlined in this guide, you’ve taken proactive measures to address a common household issue and restore the functionality of your outdoor water source. As a result, you’ve not only saved time and money but also gained valuable DIY skills that can be applied to future home maintenance tasks.
Remember, regular maintenance and prompt repairs are key to preserving the integrity of your outdoor faucet and preventing water wastage. By addressing leaks and drips in a timely manner, you contribute to water conservation efforts and maintain a sustainable home environment.
As you reflect on your DIY achievement, consider implementing a routine inspection schedule for your outdoor faucet to identify and address any potential issues before they escalate. Additionally, share your newfound knowledge with friends and family, empowering them to tackle similar repairs with confidence.
With your outdoor faucet now in optimal working condition, take pride in your ability to troubleshoot and resolve common household issues. Your proactive approach to home maintenance sets a positive example and contributes to the overall well-being of your living space.
Thank you for entrusting us with the guidance to fix your outdoor faucet. We hope this experience has equipped you with valuable skills and the satisfaction of a job well done. Cheers to a functional and leak-free outdoor faucet!
Frequently Asked Questions about How To Fix An Outdoor Faucet
Was this page helpful?
At Storables.com, we guarantee accurate and reliable information. Our content, validated by Expert Board Contributors, is crafted following stringent Editorial Policies. We're committed to providing you with well-researched, expert-backed insights for all your informational needs.


0 thoughts on “How To Fix An Outdoor Faucet”