Home>Ideas and Tips>DIY Guide to Installing a Kitchen Tile Backsplash with a Mosaic Accent
Ideas and Tips
DIY Guide to Installing a Kitchen Tile Backsplash with a Mosaic Accent
Published: September 4, 2024
Transform your kitchen with our DIY guide to installing a stylish tile backsplash with mosaic accents. Step-by-step instructions and tips included!
(Many of the links in this article redirect to a specific reviewed product. Your purchase of these products through affiliate links helps to generate commission for Storables.com, at no extra cost. Learn more)
Introduction
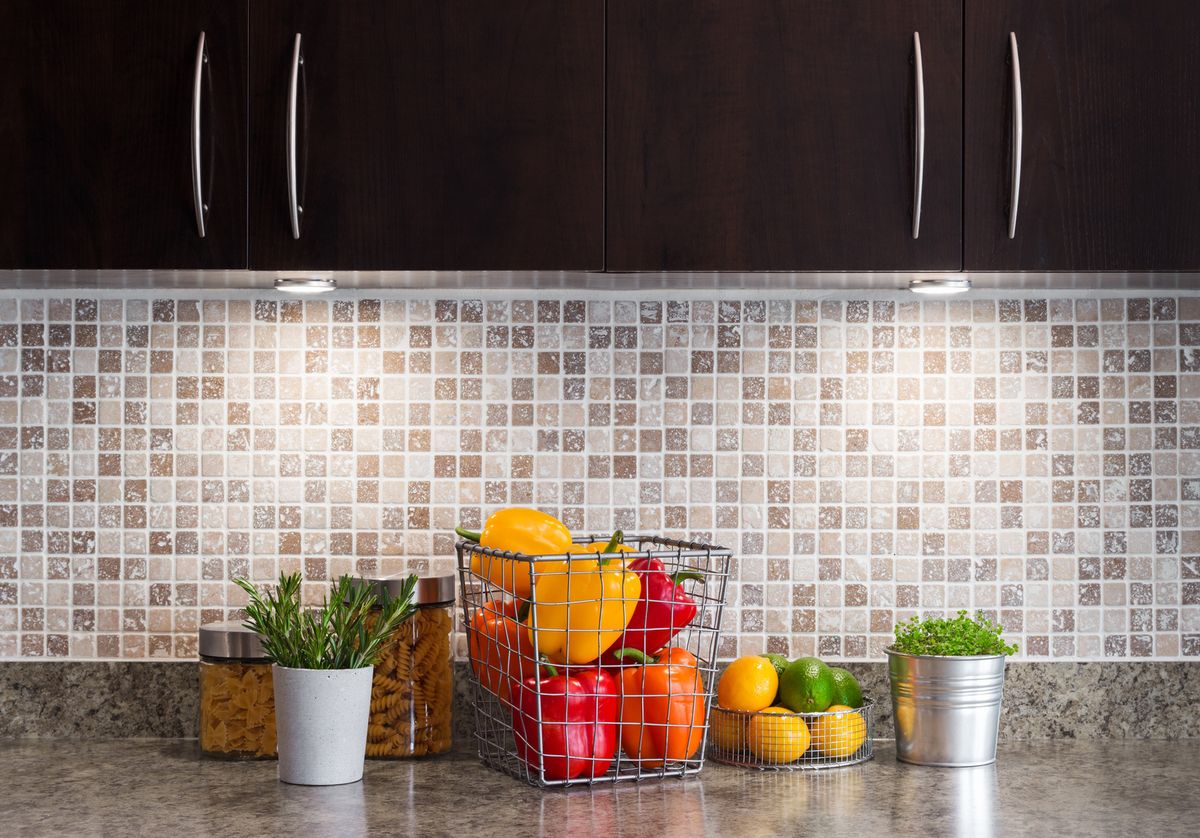
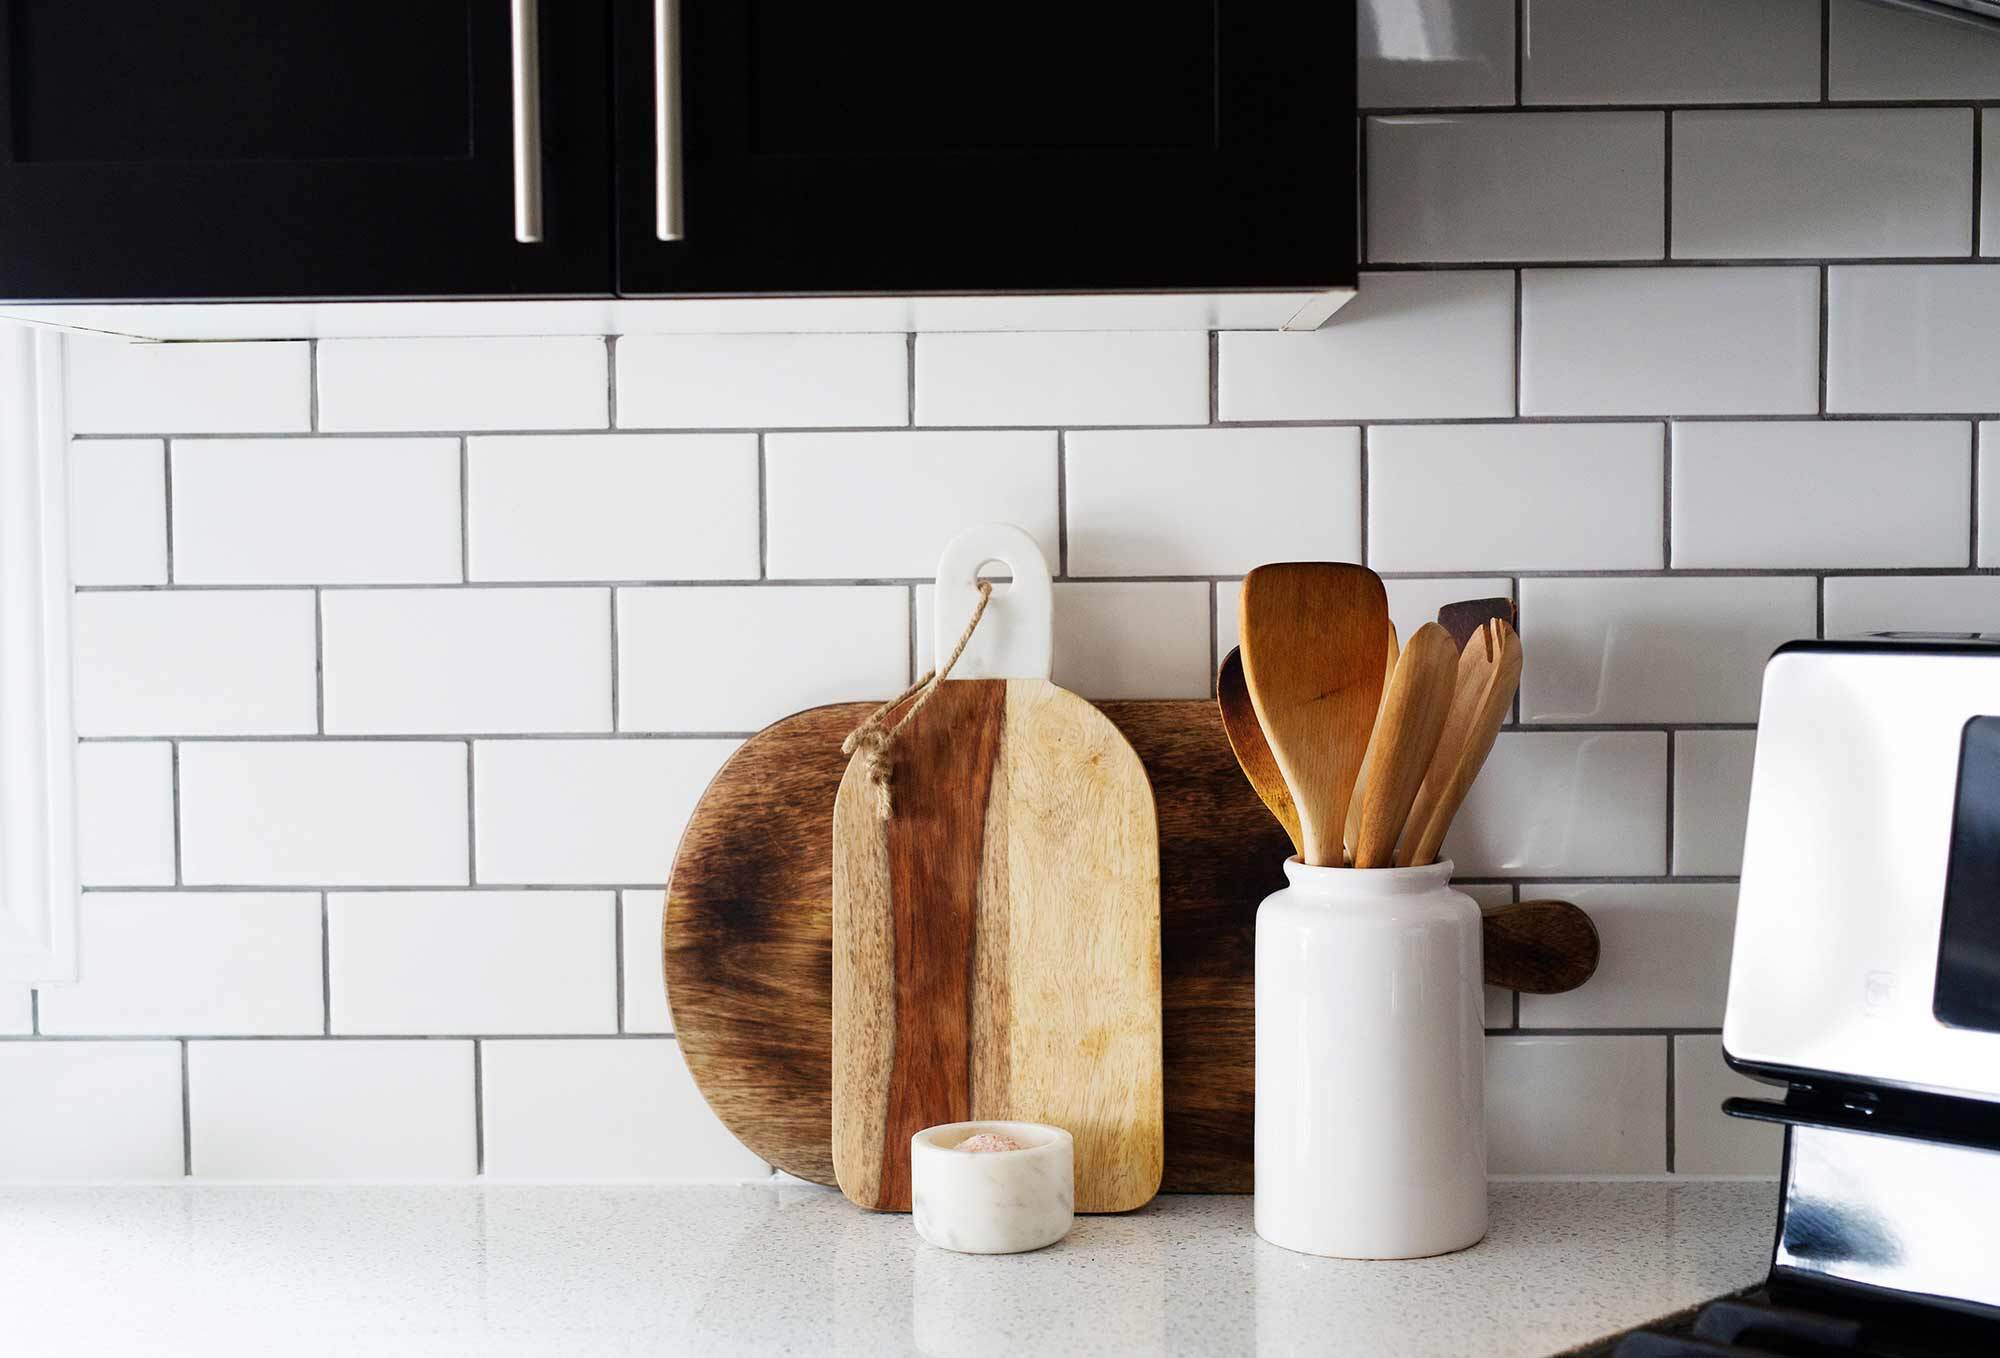
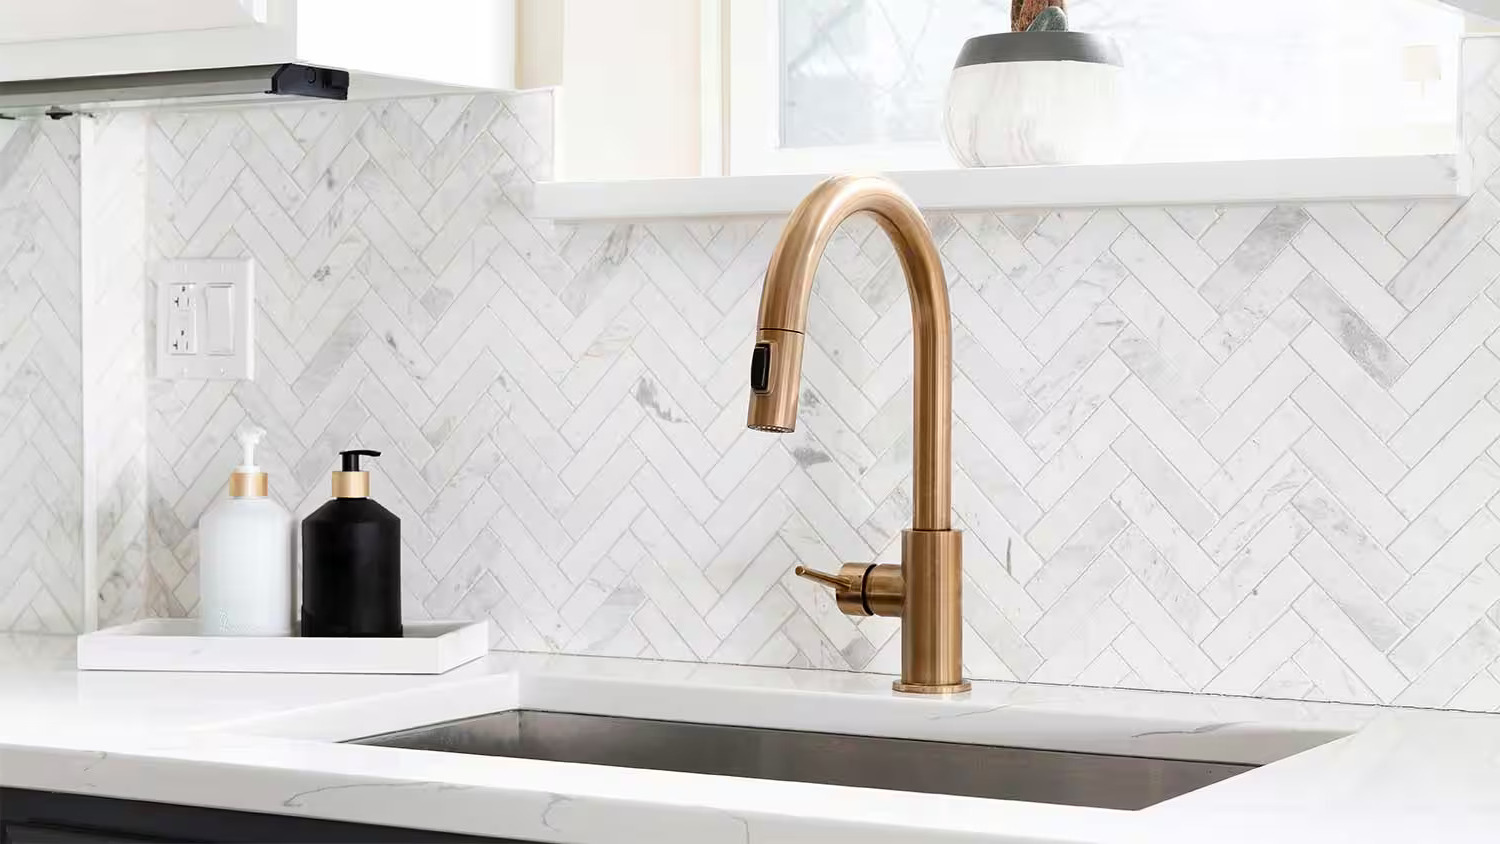
A tile backsplash is a versatile and practical addition to any kitchen. It not only protects your walls from splashes and spills but also adds a decorative element that can transform the entire look of your kitchen. Mosaic tiles are particularly popular for their unique patterns and colors, making them an excellent choice for creating an accent area in your kitchen.
Why Choose a Mosaic Tile Backsplash?
Mosaic tiles come in a variety of shapes and materials, including glass, ceramic, and metallic. They are mounted on mesh backing sheets, which makes installation easier and faster. The small tiles are arranged in a pattern to create a visually appealing design that can be customized to match your kitchen's style.
Benefits of Mosaic Tiles
- Aesthetic Appeal: Mosaic tiles offer a wide range of colors and patterns, allowing you to create a unique design that complements your kitchen's decor.
- Easy Installation: The mesh backing on mosaic tiles simplifies the installation process, making it a great option for DIY projects.
- Durability: Mosaic tiles are durable and resistant to stains, making them ideal for areas that are prone to splashes and spills.
Tools and Materials Required
Before you start your project, it's essential to gather all the necessary tools and materials. Here’s a comprehensive list:
Tools Required
- 4-in-1 Screwdriver
- Bucket
- Caulk Gun
- Drill/Driver (Cordless)
- Grout Float
- Level
- Non-contact Voltage Tester
- Notched Trowel
- Rubber Mallet
- Self-centering Drill Bit
- Tape Measure
- Utility Knife
Materials Required
- Caulk
- Grout
- Grout Sealer
- Mastic
- Outlet Extenders
- Stone Tile Sealer
- Tile
- Tile Spacers
Planning and Preparation
Before you begin the installation process, it’s crucial to plan and prepare your workspace thoroughly.
Cleaning the Wall
Start by cleaning the wall thoroughly to ensure it is free from dust, grease, and any other substances that might interfere with the adhesive.
Repairing Damages
If there are any holes or gouges in the wall, repair them using a patching compound and sanding it smooth.
Measuring and Marking
Measure the length and width of your backsplash area and mark it with a pencil or tape. This will help you visualize the space and plan your tile layout.
Turning Off Power
If there are any outlets in the backsplash area, turn off the power to those outlets and remove any outlet covers and switch plates.
Shopping for Mosaic Tile
Shopping for mosaic tiles can be both exciting and overwhelming due to the numerous options available. Here are some tips to help you choose the right tiles:
Types of Mosaic Tiles
- Glass Mosaic Tiles: These tiles come in various colors and are often used for their reflective properties.
- Ceramic Mosaic Tiles: These tiles are durable and come in a wide range of colors and patterns.
- Metallic Mosaic Tiles: These tiles add a touch of elegance with their metallic finish.
Choosing the Right Size
Mosaic tiles usually come in sheets that are 12 x 12 inches. However, you can also find strips of 4 x 12 inches for borders.
Layout Considerations
When choosing your mosaic tiles, consider the layout of your kitchen. Think about the placement of electrical outlets, windows, and how the tile will terminate at the ends of a run.
Step-by-Step Installation Guide
Now that you have all your tools and materials, it’s time to start the installation process.
Step 1: Clean the Wall Before Installation
Ensure that the wall is clean and dry before applying any adhesive. This will help the adhesive bond properly with the wall.
Step 2: Apply the Adhesive
Apply mortar/adhesive to the wall using a v-notched trowel. Spread it evenly but avoid applying too much at once as it dries quickly.
Tips for Applying Adhesive
- Use the Right Adhesive: For glass tiles, use a thinset modified with polymer or latex compliant with ANSI 118.4.
- Spread Evenly: Use the flat side of the trowel first, then rake it with the v-notched side to create ridges of proper depth and size.
Step 3: Apply Mosaic Tile Sheets
Begin by applying the mosaic tile sheets to the wall, starting from the most visible part of the wall and working outwards. Use a rubber grout float to apply light and even pressure to ensure grip with the adhesive.
Tips for Applying Tiles
- Dry Lay First: Dry lay your tiles to ensure they fit properly without leaving any slivers.
- Use Spacers: Use tile spacers to maintain even spacing between tiles.
Step 4: Apply Grout
Wait 24 hours after installing the tile before adding grout. Use premium grout that has a consistent color and resists stains better than standard grout.
Mixing Grout
Mix the grout with water until it reaches mashed potato consistency. Apply it to the wall using a grout float, working diagonally over the tiles to fill in the joints.
Removing Excess Grout
Scrape off excess grout with the float after filling in the joints. Ten minutes after grouting, wipe off any remaining grout from the surface of the tiles with a damp sponge.
Cleaning Grout Haze
If some grout pulls out of the joints, wait another ten minutes for it to harden before cleaning again. Continually rinse your sponge in a bucket of water and wipe until clean.
Step 5: Scrape Out Corners
Rake out grout from inside corners and along bottom edges using a utility knife so you can fill them with caulk later on.
Tips for Corner Grouting
- Keep Dull Side Against Countertop: Use dull side of utility knife along countertop when raking out grout.
- Clean Wall After Grouting: Use microfiber cloths two hours after grouting to wipe off haze from tiles.
Read more: DIY Guide To Installing A Kitchen Tile Backsplash With Photocatalytic Self-Cleaning Tiles
Step 6: Caulk Expansion Joints
After seven days, sponge on grout sealer to protect grout against stains. Then caulk expansion joints with latex caulk that closely matches grout color.
Additional Tips and Tricks
Here are some additional tips and tricks that can make your installation process smoother:
Working with Mosaic Tiles
- Symmetry is Key: When working with mosaic tiles, symmetry is crucial for creating an aesthetically pleasing design.
- Consider Accent Area Size: Don’t let the size of accent area be dictated just by space it’s going into; consider size of mosaic tile itself too.
Avoiding Common Layout Problems
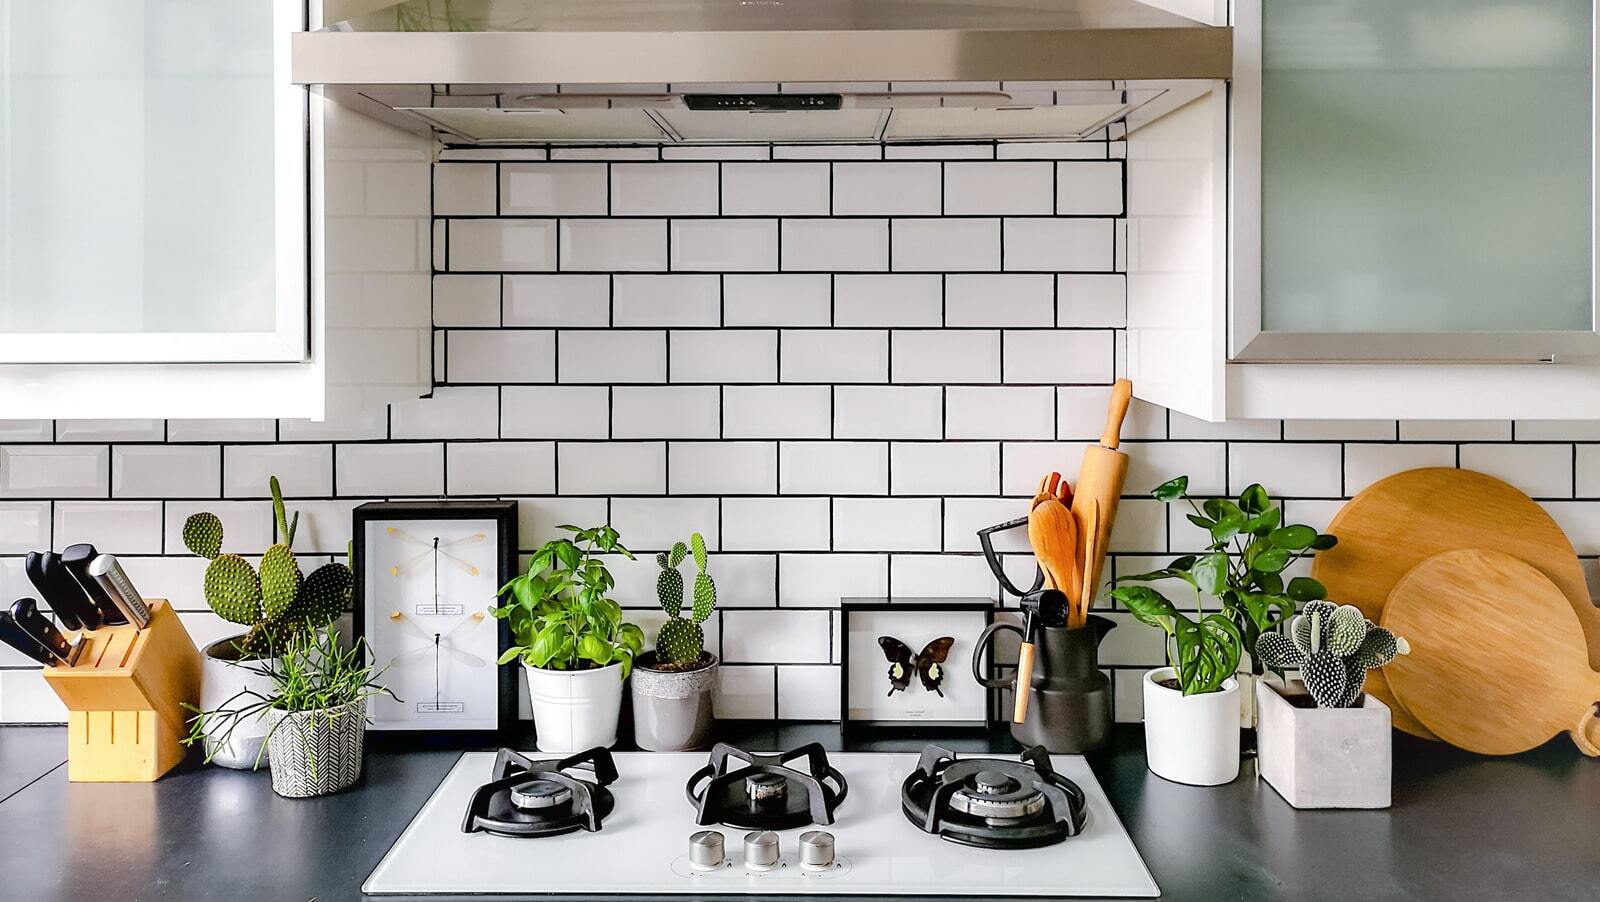
- Maintain Running-Bond Pattern: For subway-tile backsplashes, maintaining running-bond pattern is essential for avoiding narrow slivers butting up against cabinetry or trim.
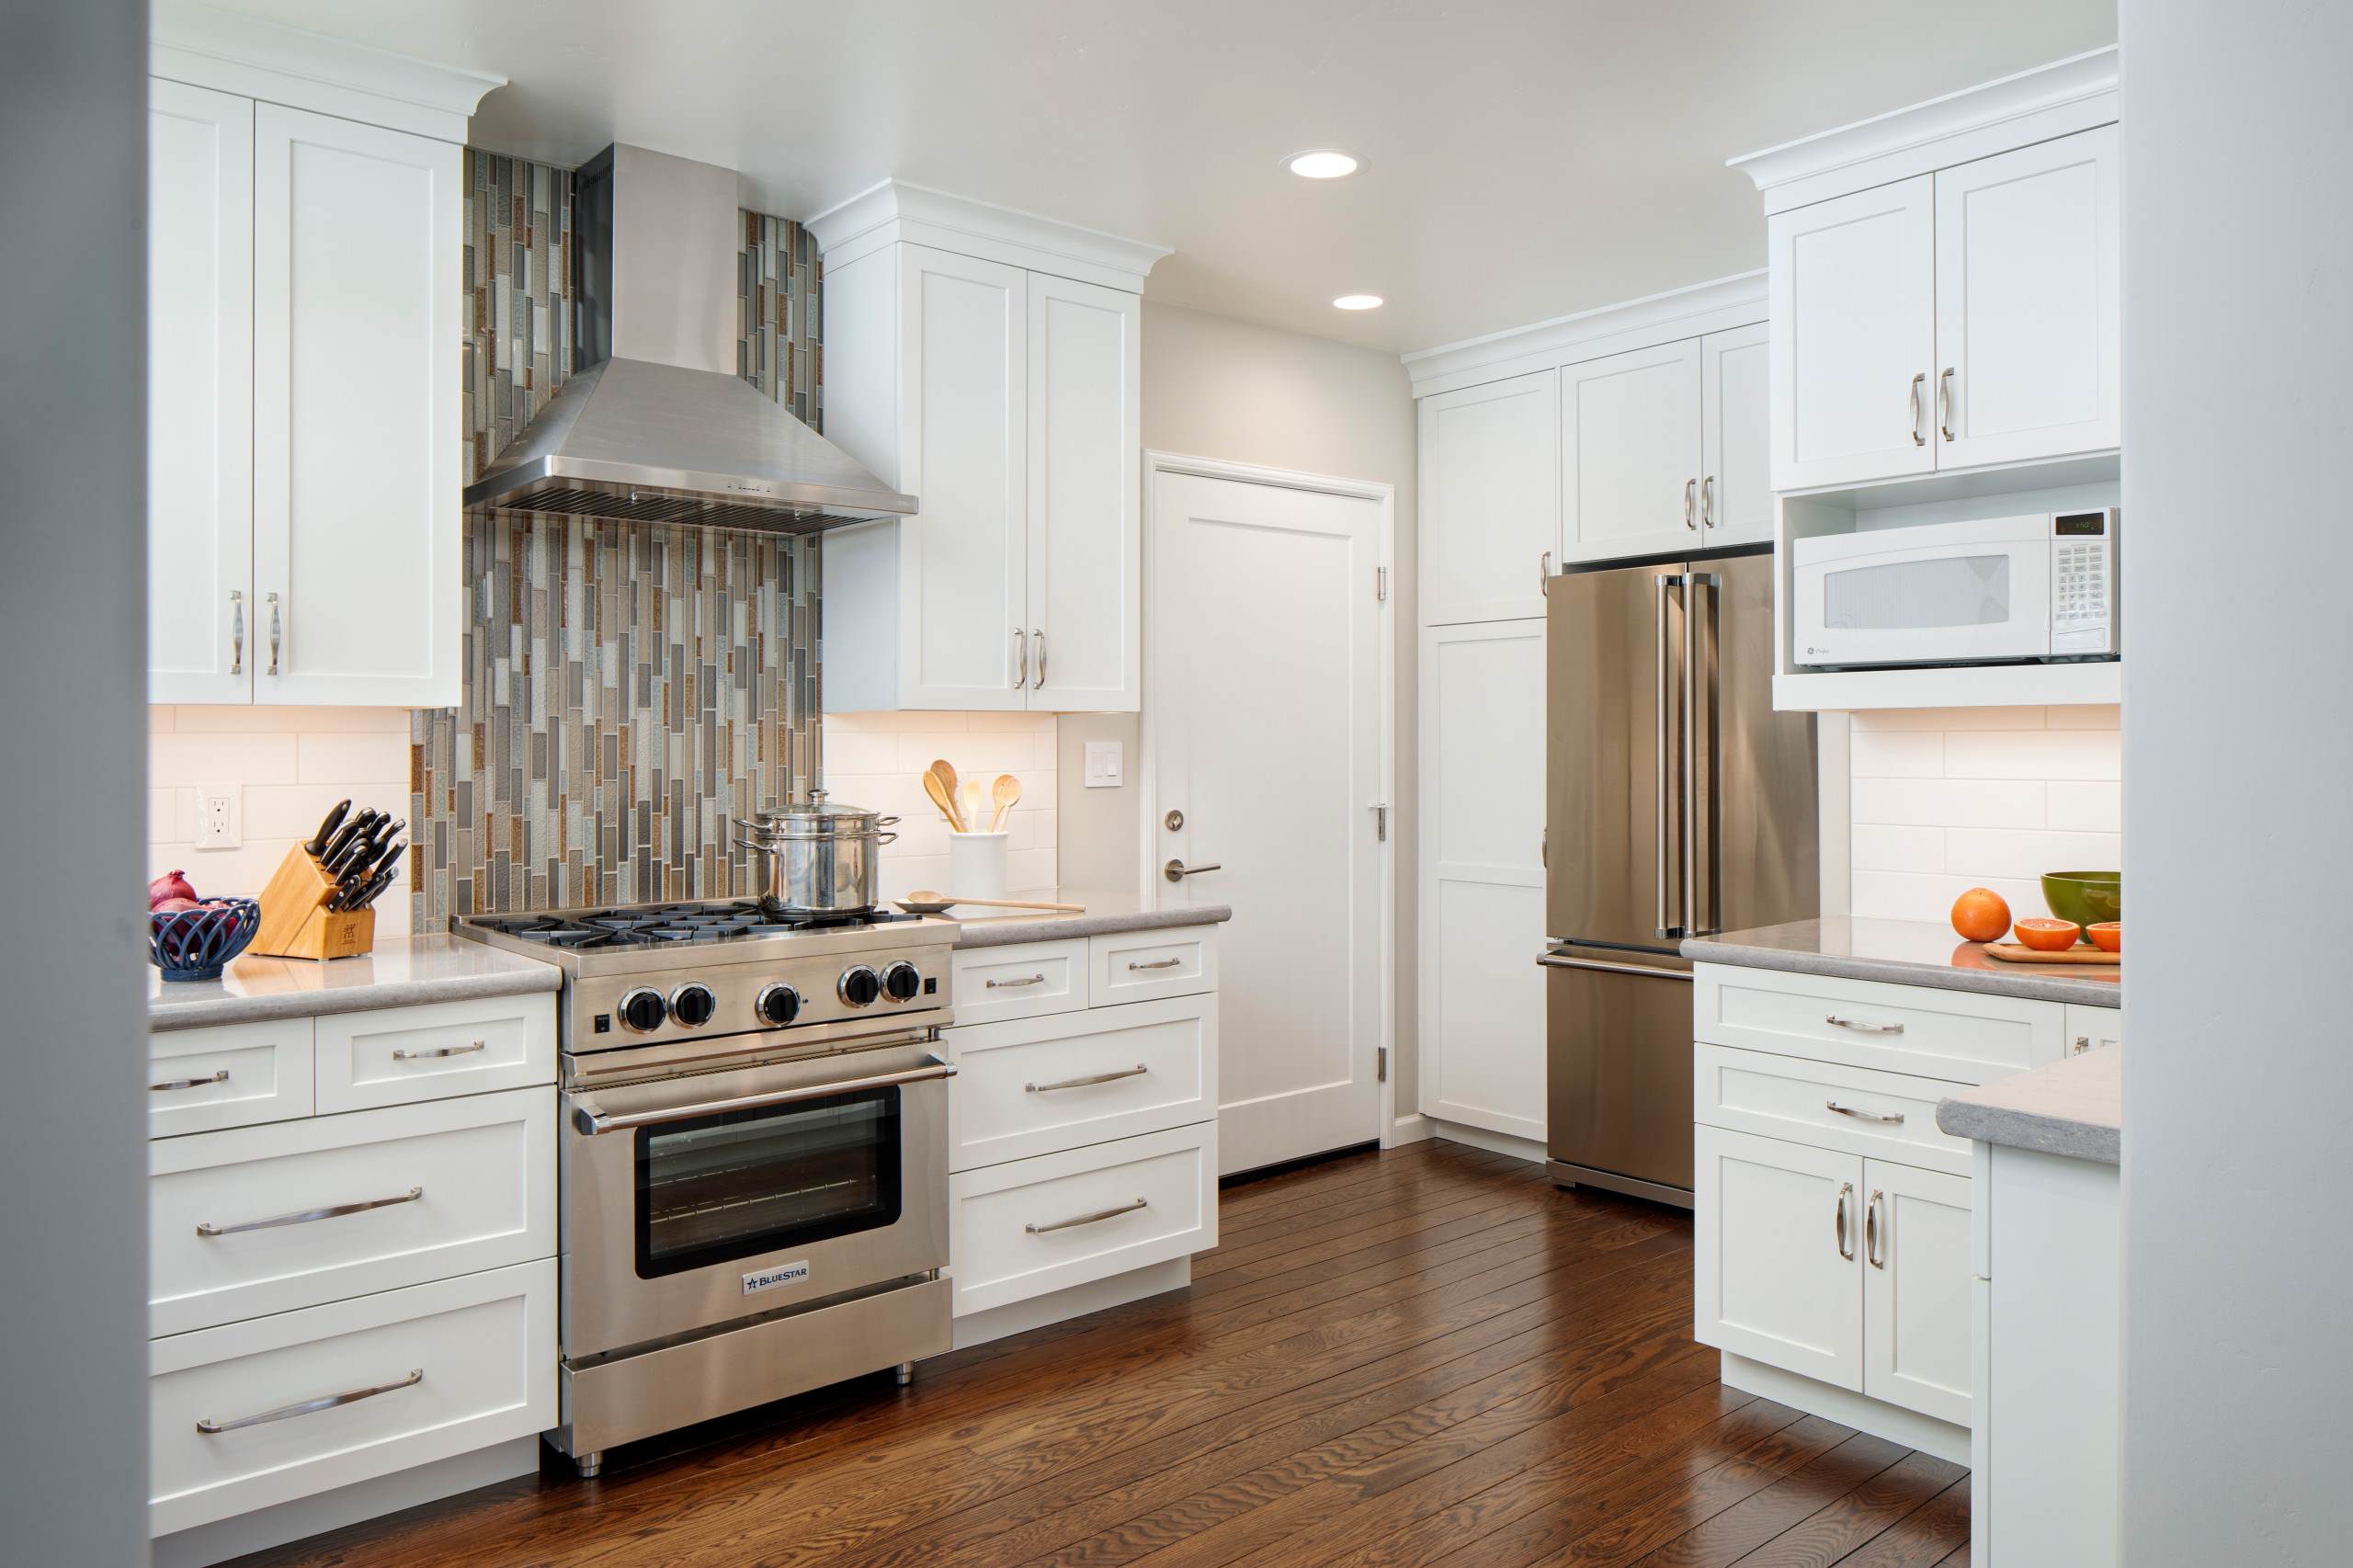
- Plan Around Focal Points: Plan horizontal and vertical layouts around focal points like range hood or inside corners.
Conclusion
Installing a kitchen tile backsplash with mosaic accent is a rewarding DIY project that can significantly enhance your kitchen's appearance without requiring extensive professional help. By following these steps carefully and using the right tools and materials, you can achieve professional-looking results that will impress both family and friends alike.
Remember always to plan carefully before starting any project, especially when dealing with electrical outlets and other potential hazards in your kitchen area. With patience and attention to detail, you'll be enjoying your new backsplash in no time!
References:
- Family Handyman – How to Tile a Backsplash (DIY)
- Fine Homebuilding – How to Install a Tile Kitchen Backsplash
- Kaleidoscope Living – How to Install a Tile Backsplash (The Easy Way)
- Mineral Tiles – DIY Kitchen Backsplash Using Real Glass Mosaic Tiles
By following this comprehensive guide, you'll be well-equipped to tackle your next DIY project with confidence
Was this page helpful?
At Storables.com, we guarantee accurate and reliable information. Our content, validated by Expert Board Contributors, is crafted following stringent Editorial Policies. We're committed to providing you with well-researched, expert-backed insights for all your informational needs.


0 thoughts on “DIY Guide to Installing a Kitchen Tile Backsplash with a Mosaic Accent”