Home>Ideas and Tips>DIY Guide To Installing A Tile Shower
Ideas and Tips
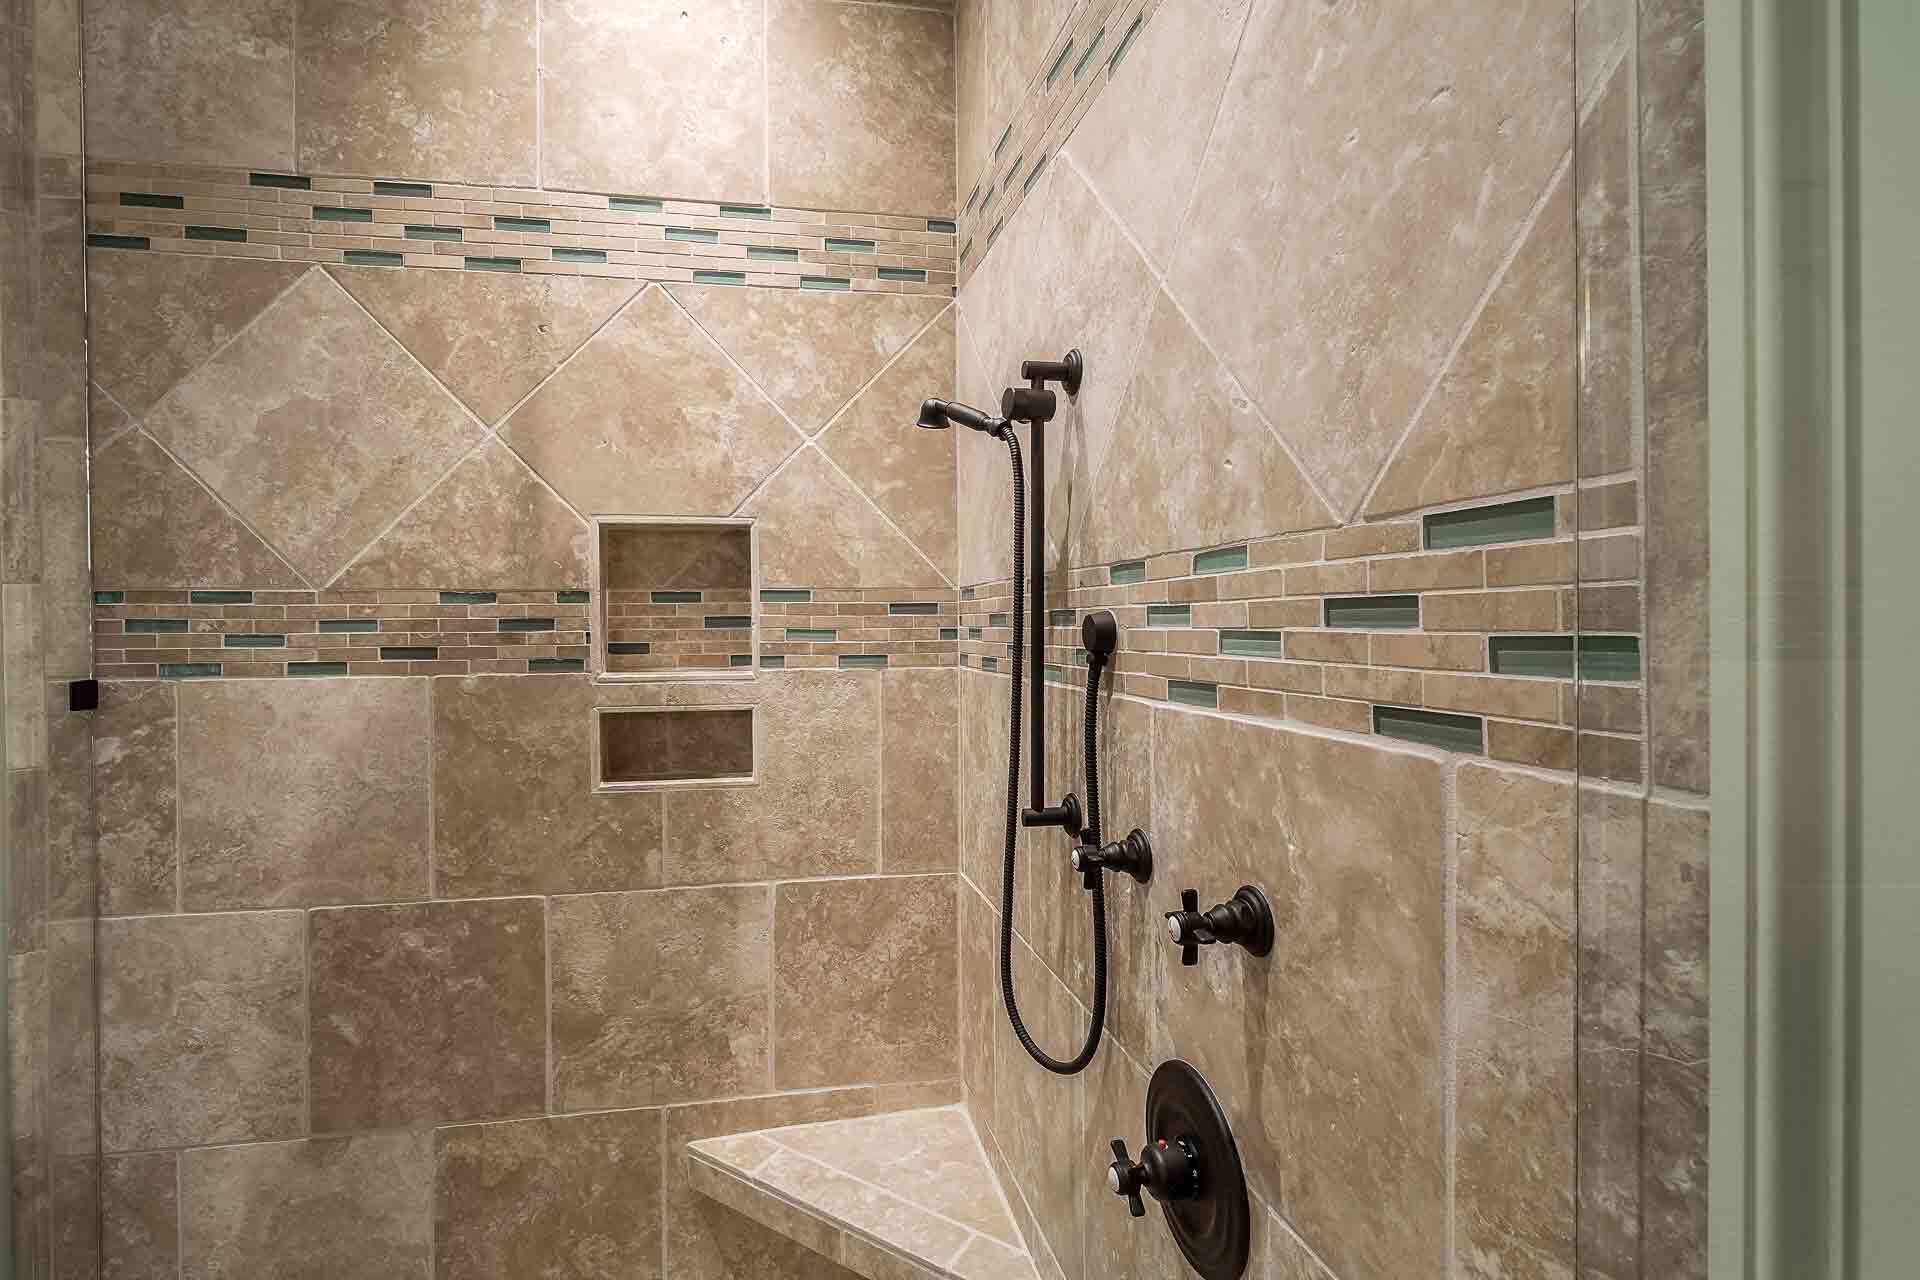
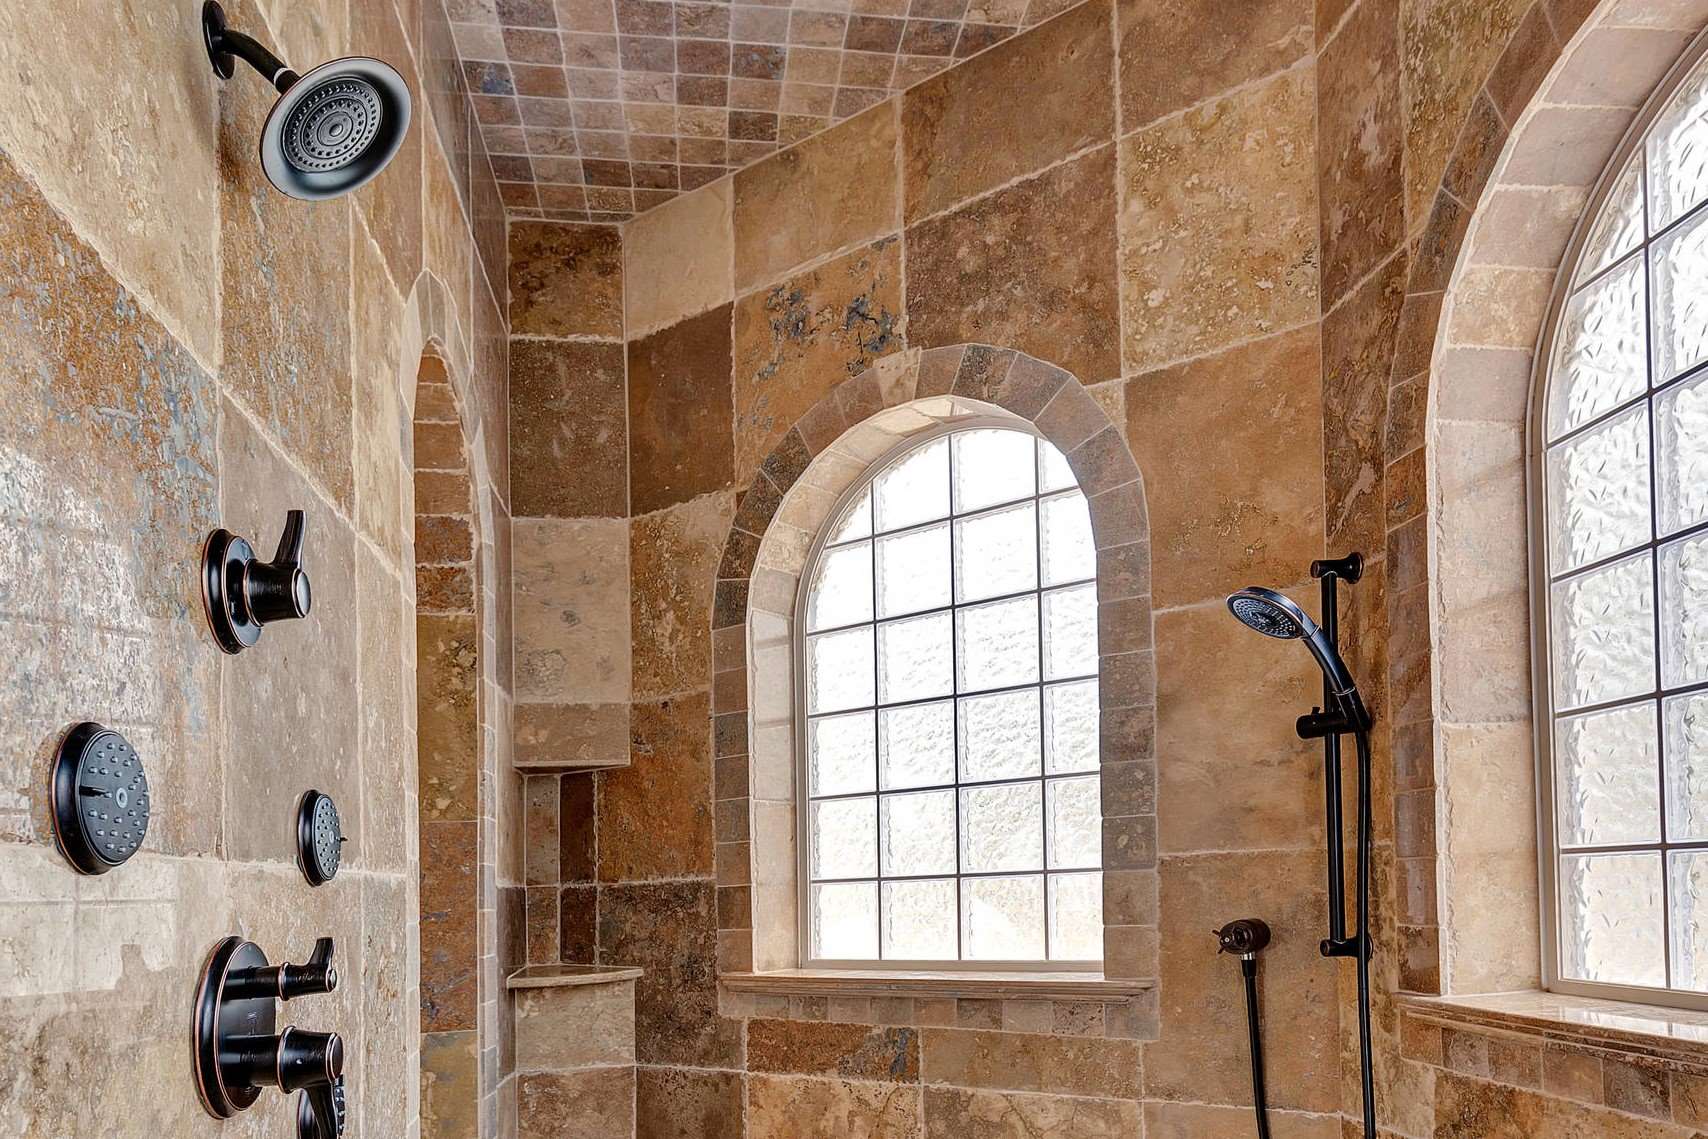
DIY Guide To Installing A Tile Shower
Modified: October 20, 2024
Learn how to install a tile shower with our step-by-step DIY guide. Enhance your bathroom's look and functionality with expert tips and techniques.
(Many of the links in this article redirect to a specific reviewed product. Your purchase of these products through affiliate links helps to generate commission for Storables.com, at no extra cost. Learn more)
Installing a tile shower can be a rewarding DIY project that not only enhances the aesthetic appeal of your bathroom but also provides a durable and water-resistant surface. However, it requires careful planning, preparation, and execution to ensure a successful outcome. In this comprehensive guide, we will walk you through each step of the process, from preparation to grouting, providing you with the necessary tools, materials, and techniques to complete your project.
Step 1: Preparation
Before you begin, it's essential to gather all the necessary materials and tools. Here’s a list of what you’ll need:
- Tile: Choose your desired tile type, considering factors like durability, water resistance, and aesthetic appeal.
- Mortar: You’ll need mortar for setting the tiles. There are different types of mortar available, including thinset and mastic.
- Fiberglass Mesh Tape: This is used to reinforce the seams between the cement backer boards.
- Backer Board Screws: These are used to secure the cement backer boards to the studs.
- Waterproofing Membrane: This is applied to the entire surface before tiling to ensure water resistance.
- Drop Cloth: Protect your bathroom floor and tub/shower pan with a drop cloth to prevent damage.
- Safety Gear: Wear heavy-duty work gloves, safety goggles, ear protection, and a respirator rated for dust.
- Tools:
- Hammer
- Prybar
- Wire cutters
- Oscillating saw
- Reciprocating saw
- Drill with paddle bit
- Notched trowel
- Tile cutter
- Tile nippers
- Tile hole saw
- Grout float
- Grout
- Grout sealant
- Haze remover
Read more: DIY Guide To Installing A Subway Tile Shower
Step 2: Removing Old Tile and Backer Board
The first step in installing a new tile shower is to remove the old tile and backer board. This process can be dusty and requires careful handling to avoid injury or damage.
- Cover Doorways and Floor: Use plastic to cover your doorways and wear a respirator to protect yourself from dust. Cover the floor with a drop cloth to prevent damage.
- Remove Accessories: Take out all shower accessories and hardware. If possible, leave the shower pan in place and cover it with a blanket or towel to prevent damage.
- Remove Tile: Use a hammer and chisel to chip out the old tile. Work your way across the wall in sections to make cleanup easier. If necessary, use a reciprocating saw to cut out any screws.
- Remove Backer Board: Once you have removed the old tile, use a prybar to remove the backer board. Be careful not to damage any studs behind it. If you find a metal mesh layer behind the backer board, use wire cutters to remove it.
- Clean Up Debris: Use a wet/dry vacuum to clean up the remaining tile and mortar dust.
Step 3: Inspecting and Preparing the Wall
After removing the old tile and backer board, inspect the wall for any damage or mold. If you find any mold, stop immediately and call a professional to have it removed.
- Check Framing: Ensure that the framing is structurally sound and adequately reinforced at the corners.
- Install Vapor Barrier: Apply a 4-mil plastic vapor barrier according to manufacturer instructions just above the shower pan before installing the cement backer board.
- Measure and Cut Backer Board: Measure your panels of cement backer board to fit the shower walls on each side. Mark and cut a panel if necessary, smoothing the cut edge.
- Install Backer Board: Fasten cement board with appropriate nails or screws, ensuring they are set flush with the surface without overdriving them. Make sure the cement board is flush with the tile lip of the base and caulk accordingly if needed.
- Secure to Studs: Use composite shims behind the board if necessary to ensure a tight fit.
Step 4: Waterproofing the Shower
Waterproofing your shower is crucial to prevent water damage and ensure longevity of your tile installation.
- Apply Waterproofing Membrane: Apply two coats of waterproofing membrane paint over the entire surface you intend to tile, allowing each coat to dry before applying the next one.
- Seal Gaps: Fill in any small gaps with a second application of silicone caulk or mortar, referring to manufacturer’s instructions.
Step 5: Laying Out the Tile
Before starting to lay out your tile, ensure you have a clear plan in place.
- Determine Layout: Decide on the layout of your tile installation (vertical or horizontal). Ensure edges parallel to framing are supported by structural framing members.
- Mark Starting Point: Begin at the second row from the bottom and draw a leveled line where this initial row will fall.
- Attach Straight Edge: Attach a straight board along this line to provide a straight edge for your tile and support it while it dries.
Step 6: Mixing Mortar
Mixing mortar is an essential step in tiling a shower wall.
- Mixing Bit: Use a drill paddle bit to mix your mortar in a utility bucket.
- Consistency Check: Wait approximately seven minutes for the mortar to set before mixing again until it reaches peanut butter consistency.
Step 7: Setting Tile
Setting tile involves several steps that require patience and attention to detail.
- Dry Lay Tiles: Dry lay your tiles across the straight edge you attached earlier to ensure proper alignment.
- Apply Mortar: Run a damp sponge over the backer board with the flat side of your trowel, spreading mortar across one tile at a time.
- Press Tiles into Place: Flip your trowel over to its notched side and rake across the mortar in one direction, pressing each tile gently into place.
- Work Outward: Continue adding mortar and tiles until you complete each row, allowing each row to dry overnight before moving on to the next one.
Step 8: Grouting Tile
Grouting is an important step that seals gaps between tiles and enhances their appearance.
- Remove Spacers: After 24 hours have passed since setting your last row of tile, remove all spacers.
- Mix Grout: Mix up your desired grout color according to manufacturer directions.
- Apply Grout: Using a runner float, apply grout to small areas at a time, working from one end of each row towards the other end.
- Clean Excess Grout: Use clean water and a damp sponge to remove excess grout from between tiles before it sets.
- Seal Grout: Once the grout has set, apply a grout sealant to protect it from stains and water damage.
Step 9: Finishing Touches
The final steps involve adding any finishing touches such as caulk and haze remover.
- Caulk Joints: Seal gaps between tiles with 100% silicone tile caulk.
- Remove Haze: Apply haze remover if necessary after grouting to remove any haze left behind by grout.
Conclusion
Installing a tile shower is a rewarding DIY project that requires careful planning and execution but can greatly enhance both the aesthetic appeal and functionality of your bathroom. By following these steps meticulously, you can achieve professional-looking results without breaking the bank or hiring someone else to do it for you.
Remember always to consult local building codes for any required specifications before starting your project. With patience and attention to detail, you'll be enjoying your newly tiled shower in no time
Was this page helpful?
At Storables.com, we guarantee accurate and reliable information. Our content, validated by Expert Board Contributors, is crafted following stringent Editorial Policies. We're committed to providing you with well-researched, expert-backed insights for all your informational needs.


0 thoughts on “DIY Guide To Installing A Tile Shower”