Home>Ideas and Tips>Home Theater Acoustic Cloud Installation: Improve Room Sound

Ideas and Tips
Home Theater Acoustic Cloud Installation: Improve Room Sound
Published: September 25, 2024
Enhance your home theater sound quality with acoustic cloud installation. Learn how to reduce echoes and improve clarity with our step-by-step guide.
(Many of the links in this article redirect to a specific reviewed product. Your purchase of these products through affiliate links helps to generate commission for Storables.com, at no extra cost. Learn more)
Creating an immersive home theater experience isn't just about having the right equipment; it also involves ensuring the room itself is acoustically treated to provide the best possible sound quality. One effective way to achieve this is by installing acoustic clouds, which are suspended panels designed to absorb sound and reduce echoes. So, why are acoustic clouds important? Let's dive in.
Acoustic clouds are essential for any home theater setup because they help control sound reflections and reverberations within the room. These reflections can distort the sound, making it harder to hear dialogue or enjoy the music. By placing acoustic clouds strategically around the room, you can significantly improve sound clarity and create a more immersive experience. Imagine watching a movie and hearing every word clearly, without any annoying echoes. That's what acoustic clouds can do for you.
How Acoustic Clouds Work
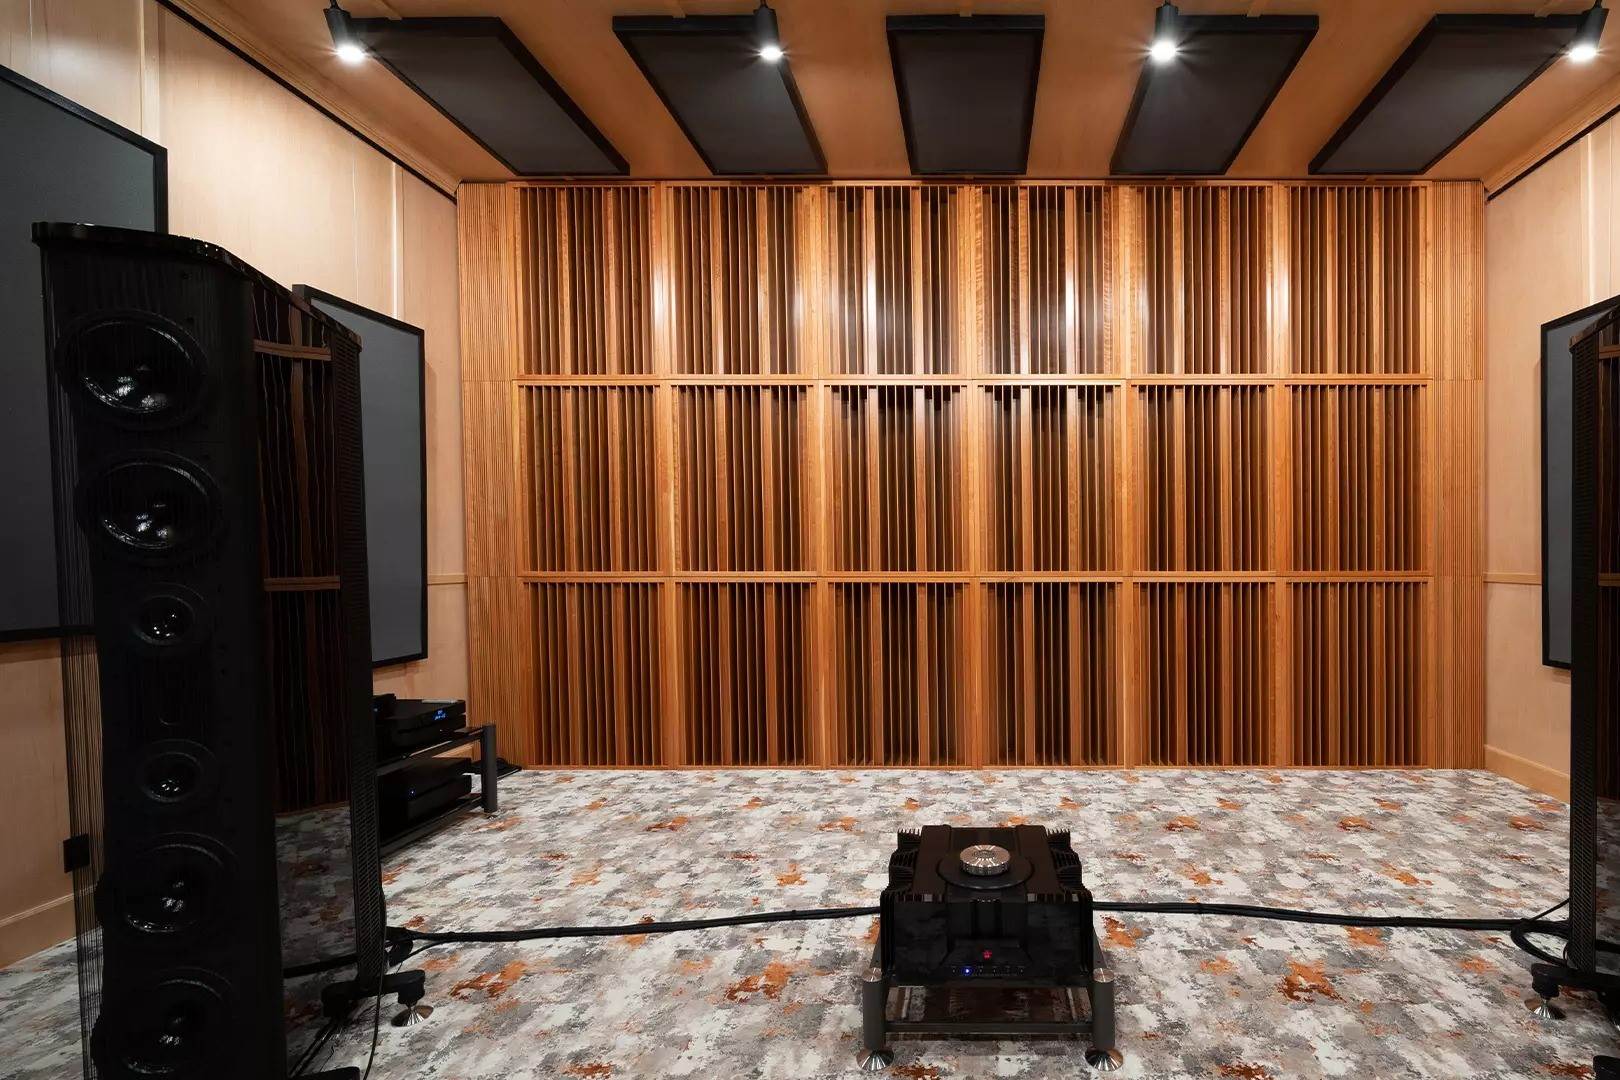
Acoustic clouds work by absorbing sound waves rather than reflecting them. They're typically made of sound-absorbing materials like rock wool or fiberglass, designed to capture and dissipate sound energy. When sound waves hit an acoustic cloud, they're absorbed instead of bouncing back into the room, reducing echo and reverberation. It's like having a sponge for sound. Pretty cool, right?
Benefits of Using Acoustic Clouds
- Improved Sound Clarity: By reducing echo and reverberation, acoustic clouds help maintain sound clarity. This is particularly important in home theaters where clear dialogue is crucial for an enjoyable viewing experience.
- Enhanced Immersion: The reduced reflections create a more immersive environment, making it easier for viewers to focus on the audio.
- Aesthetic Appeal: Acoustic clouds can be designed to blend seamlessly with the room's decor, adding an aesthetic touch while serving their functional purpose.
- Versatility: They can be placed in various locations within the room, including above seating areas, around corners, and even suspended from the ceiling.
Choosing the Right Acoustic Clouds
When selecting acoustic clouds for your home theater, there are several factors to consider:
- Material: The material used for the acoustic clouds is crucial. Rock wool and fiberglass are popular choices due to their high sound-absorbing properties.
- Size: The size of the clouds should be proportional to the room size. Larger rooms may require larger clouds to effectively cover more surface area.
- Thickness: Thicker clouds generally provide better sound absorption but may be more noticeable in smaller rooms.
- Design: Consider the design of the clouds; some may have a more modern look while others can be more traditional or blend in with your home's decor.
Steps to Properly Install Acoustic Clouds
Installing acoustic clouds is a straightforward process that requires some planning and execution. Here’s a step-by-step guide:
Step 1: Plan Your Installation
Before starting the installation, take the following steps:
- Measure Your Room: Measure the dimensions of your room to determine where you can place the acoustic clouds effectively.
- Identify Placement Areas: Decide on the best placement areas for your clouds. Common places include above seating areas, around corners, and suspended from the ceiling.
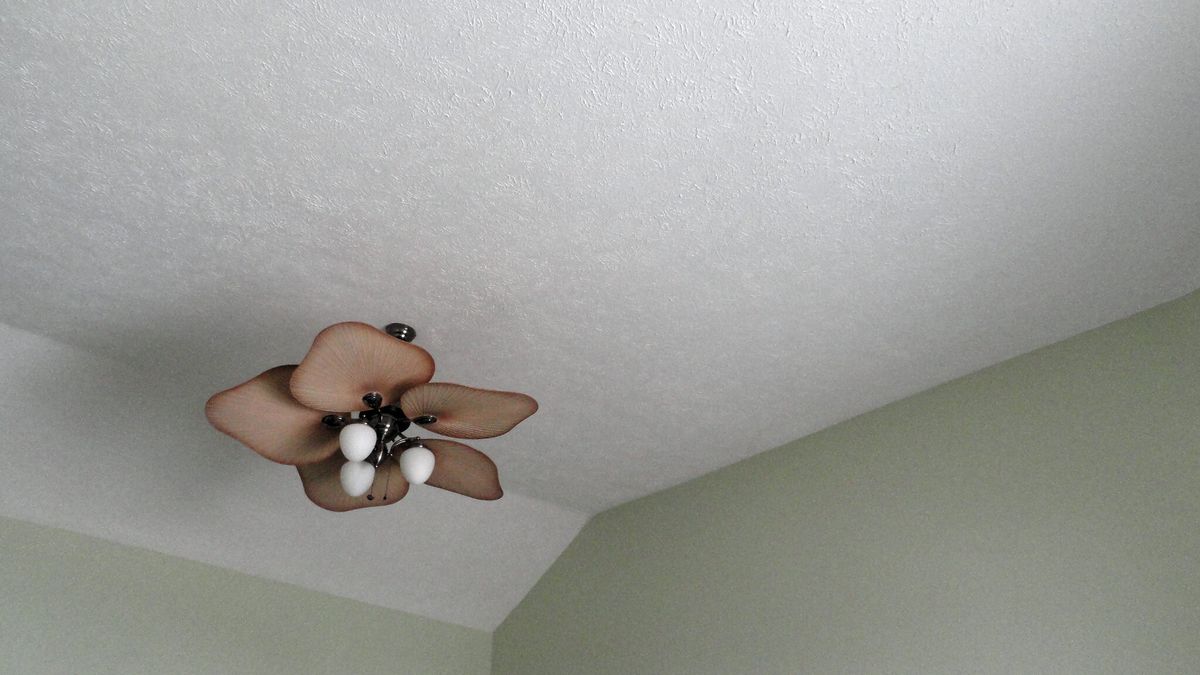
- Check Electrical Components: Use a stud finder to locate electrical components like light fixtures or ceiling fans to avoid damaging them during installation.
Step 2: Gather Necessary Tools
To ensure a safe and successful installation, gather the following tools:
- Stud Finder: To locate joists in your ceiling.
- Drill: For drilling holes into the joists.
- Screws or Hooks: For securely suspending the clouds from the ceiling.
- Measuring Tape: To measure distances accurately.
- Level: To ensure that your clouds are level and evenly spaced.
Step 3: Install the Clouds
Now it’s time to start installing your acoustic clouds:
- Locate Joists: Use your stud finder to locate the joists in your ceiling where you plan to hang your clouds.
- Drill Holes: Drill holes into these joists at the desired height for hanging your clouds.
- Secure Hooks or Screws: Insert screws or hooks into these holes and secure them firmly into place.
- Hang Clouds: Carefully hang each cloud from its respective hook or screw, ensuring they are evenly spaced and leveled correctly.
- Adjust Positioning: If necessary, adjust the positioning of each cloud slightly until they are perfectly aligned with each other.
Step 4: Add Air Gaps
To maximize their effectiveness, it’s important to leave an air gap between each cloud and the wall:
- Measure Gap Size: The general rule of thumb is to leave an air gap equal in thickness to that of your panel itself (usually around six inches).
- Check Reflections: By leaving this gap, you reduce reflections significantly because sound waves would have to pass through twice before hitting another surface.
Additional Tips for Optimal Performance
To get the most out of your newly installed acoustic clouds:
- Use Multiple Panels: Covering more surface area with multiple panels will provide better overall sound absorption.
- Balance Placement: Ensure that panels are placed strategically around corners where sound reflections tend to occur most frequently.
- Monitor Results: Use room EQ wizard or similar tools to measure before-and-after sound quality improvements after installing acoustic clouds.
Case Studies and Real-World Examples
Let’s look at some real-world examples where acoustic clouds have made significant improvements:
Example 1: Home Theater Setup
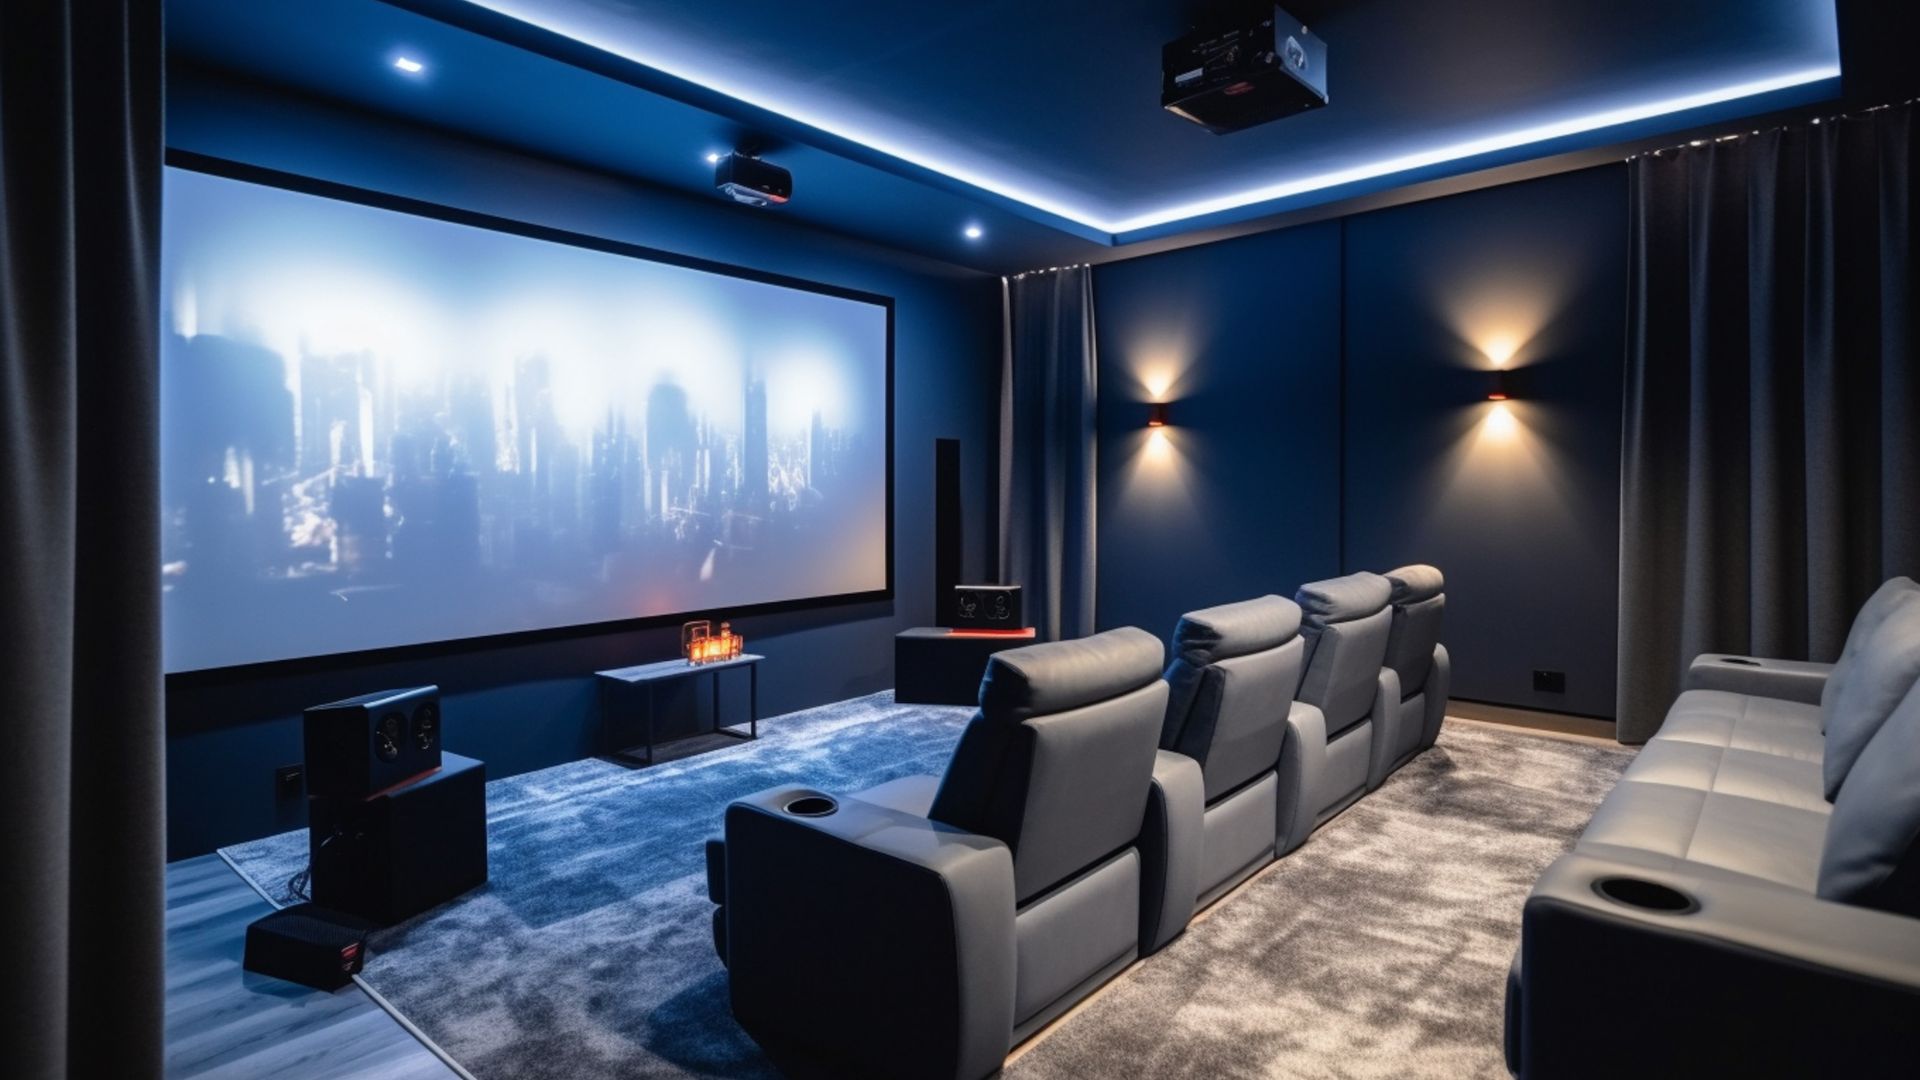
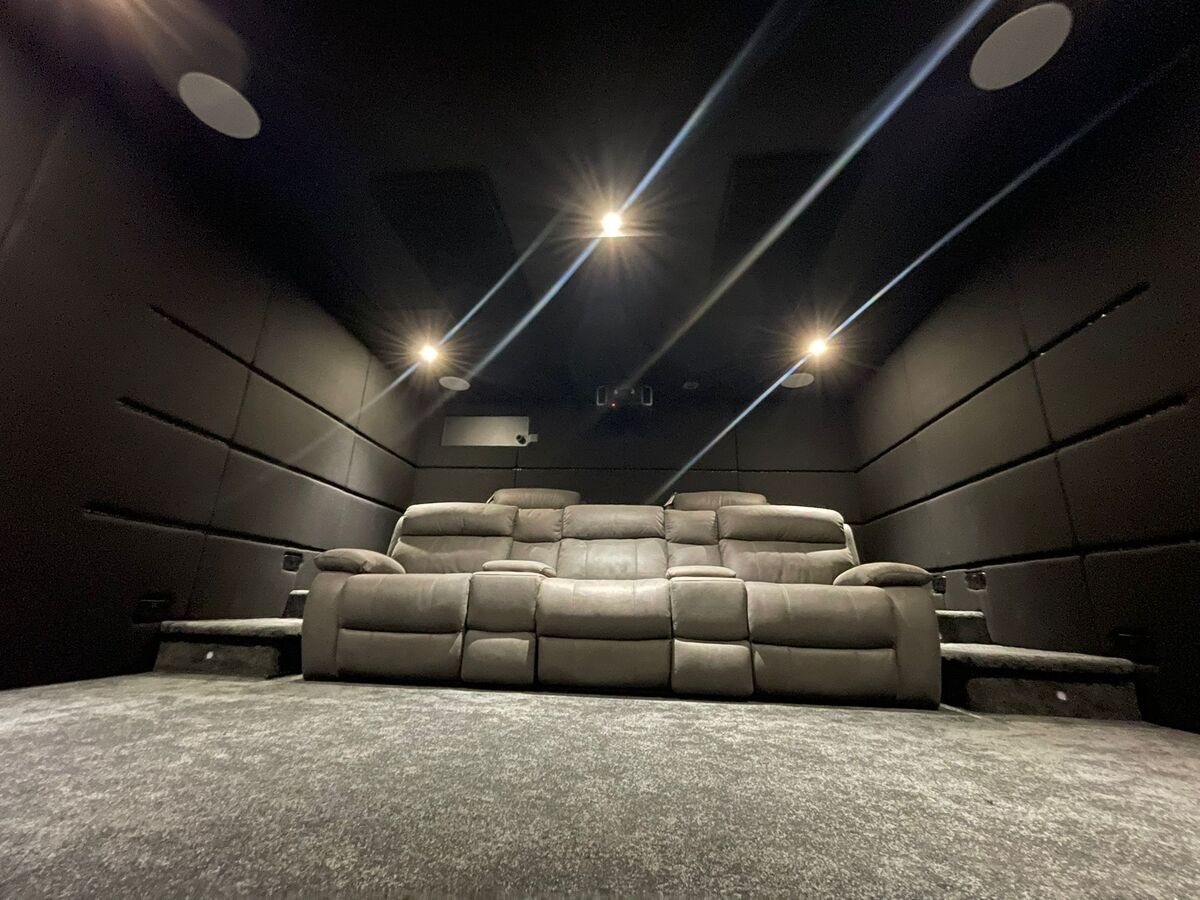
A homeowner recently installed acoustic clouds above their home theater seating area. The result was a dramatic reduction in echo and reverberation, making movie nights much more enjoyable for everyone involved.
Example 2: Recording Studio
A professional recording studio used acoustic clouds strategically placed above mixing consoles and recording areas to achieve high-quality acoustics essential for producing professional audio recordings.
Example 3: Open Office Layout
An open office layout benefited greatly from placing acoustic clouds suspended over workstations or high-traffic areas. This created quieter zones that enhanced productivity and concentration among employees.
Conclusion
Installing acoustic clouds is an effective way to improve sound quality in any room, especially home theaters where clear dialogue and immersive audio experiences are crucial. By following these steps—planning carefully, choosing appropriate materials, gathering necessary tools—and ensuring proper placement with air gaps—you can significantly enhance your home theater’s acoustics without compromising aesthetics.
Whether you're looking to create an ideal environment for movie nights or professional recording sessions, understanding how acoustic clouds work and how they should be installed will help you achieve optimal results every time. So why wait? Start enhancing your space today with these versatile yet powerful sound-absorbing solutions!
Frequently Asked Questions
-
How Many Acoustic Panels Do I Need?
- The number of panels needed depends on room size and shape. A general rule of thumb is to cover 30-40% of wall space with sound-absorbing materials like acoustic panels or clouds.
-
What Kind Of Rooms Are Good For Home Theater Acoustics?
- Rooms with low ceilings and parallel walls can produce standing sound waves that distort sounds on recordings. Carpet absorbs high frequencies but not lower frequencies, creating excess reverberation which blurs sound signals.
-
Do I Need Acoustic Panels Or Soundproofing In My Home Theater?
- If the issue is external noise disturbing others in the house, soundproofing might be necessary along with acoustic treatment for internal sound quality improvement.
-
Where Should I Place My Acoustic Clouds For Optimal Sound Control?
- Acoustic clouds should be placed strategically around seating areas, corners, and suspended from ceilings to maximize their effectiveness in reducing echoes and improving sound clarity.
-
How Do I Properly Install My Acoustic Clouds?
- Use a stud finder to locate joists; drill holes; secure hooks or screws; hang clouds ensuring they are leveled correctly; leave an air gap equal in thickness to that of your panel itself.
By addressing these questions and following our detailed guide on installing acoustic clouds, you'll be well on your way towards creating an immersive home theater experience that rivals professional cinemas.
Was this page helpful?
At Storables.com, we guarantee accurate and reliable information. Our content, validated by Expert Board Contributors, is crafted following stringent Editorial Policies. We're committed to providing you with well-researched, expert-backed insights for all your informational needs.


0 thoughts on “Home Theater Acoustic Cloud Installation: Improve Room Sound”