Home>Technology>Home Entertainment Systems>How To Install Home Theater Speakers In The Wall
Home Entertainment Systems
How To Install Home Theater Speakers In The Wall
Published: February 15, 2024
Learn how to install home theater speakers in the wall to create a sleek and seamless home entertainment system. Follow our step-by-step guide for a professional setup.
(Many of the links in this article redirect to a specific reviewed product. Your purchase of these products through affiliate links helps to generate commission for Storables.com, at no extra cost. Learn more)
Introduction
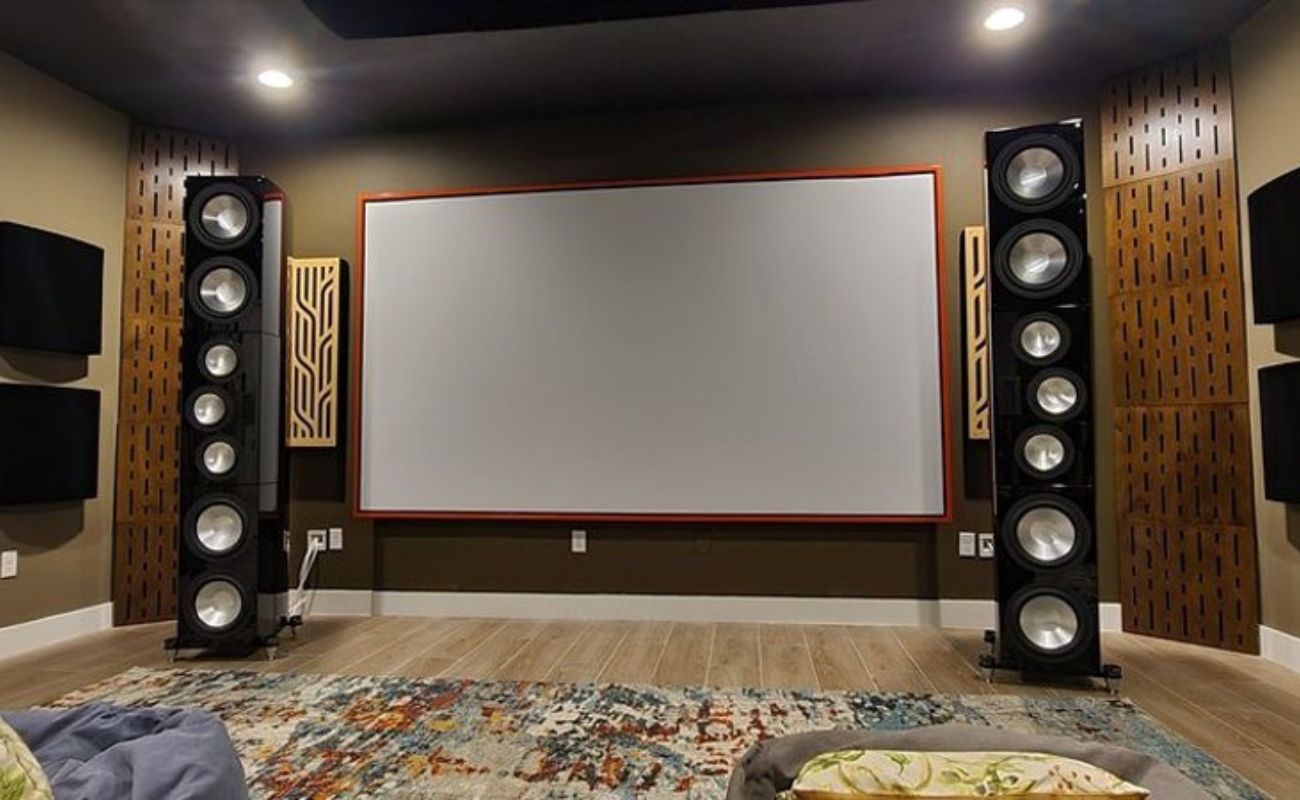
Installing home theater speakers in the wall can significantly enhance the audio experience in your entertainment space. By seamlessly integrating the speakers into the wall, you can achieve a sleek and uncluttered look while enjoying immersive sound quality. Whether you're a movie enthusiast, a music lover, or a gaming aficionado, a well-installed in-wall speaker system can elevate your entertainment experience to new heights.
In this comprehensive guide, we will walk you through the step-by-step process of installing home theater speakers in the wall. From choosing the optimal location for your speakers to connecting them for optimal performance, we'll cover everything you need to know to achieve professional-quality results. By following these instructions and using the right tools, you can transform your living room, home theater, or entertainment area into a captivating audio haven.
The process of installing in-wall speakers may seem daunting at first, but with the right guidance and a methodical approach, you can successfully complete this project and enjoy the rewards for years to come. Whether you're a seasoned DIY enthusiast or a first-time home improvement enthusiast, this guide is designed to provide clear, actionable steps that will empower you to bring your vision of a premium home theater system to life.
Before embarking on this project, it's essential to gather the necessary tools and materials, including a stud finder, a drywall saw, speaker wire, a mounting bracket, and, of course, the in-wall speakers themselves. Additionally, it's crucial to consider the layout of your room, the acoustics, and the optimal placement of the speakers to ensure an immersive and balanced audio experience.
Now, let's dive into the detailed steps for installing home theater speakers in the wall, and embark on a journey to transform your entertainment space into a captivating audio oasis.
Key Takeaways:
- Transform your entertainment space with in-wall speakers for a sleek, uncluttered look and immersive sound. Follow the step-by-step guide to create a captivating audio oasis in your home.
- Elevate your home theater experience by installing in-wall speakers with precision and dedication. Enjoy exceptional sound quality and a visually appealing audio haven in your living space.
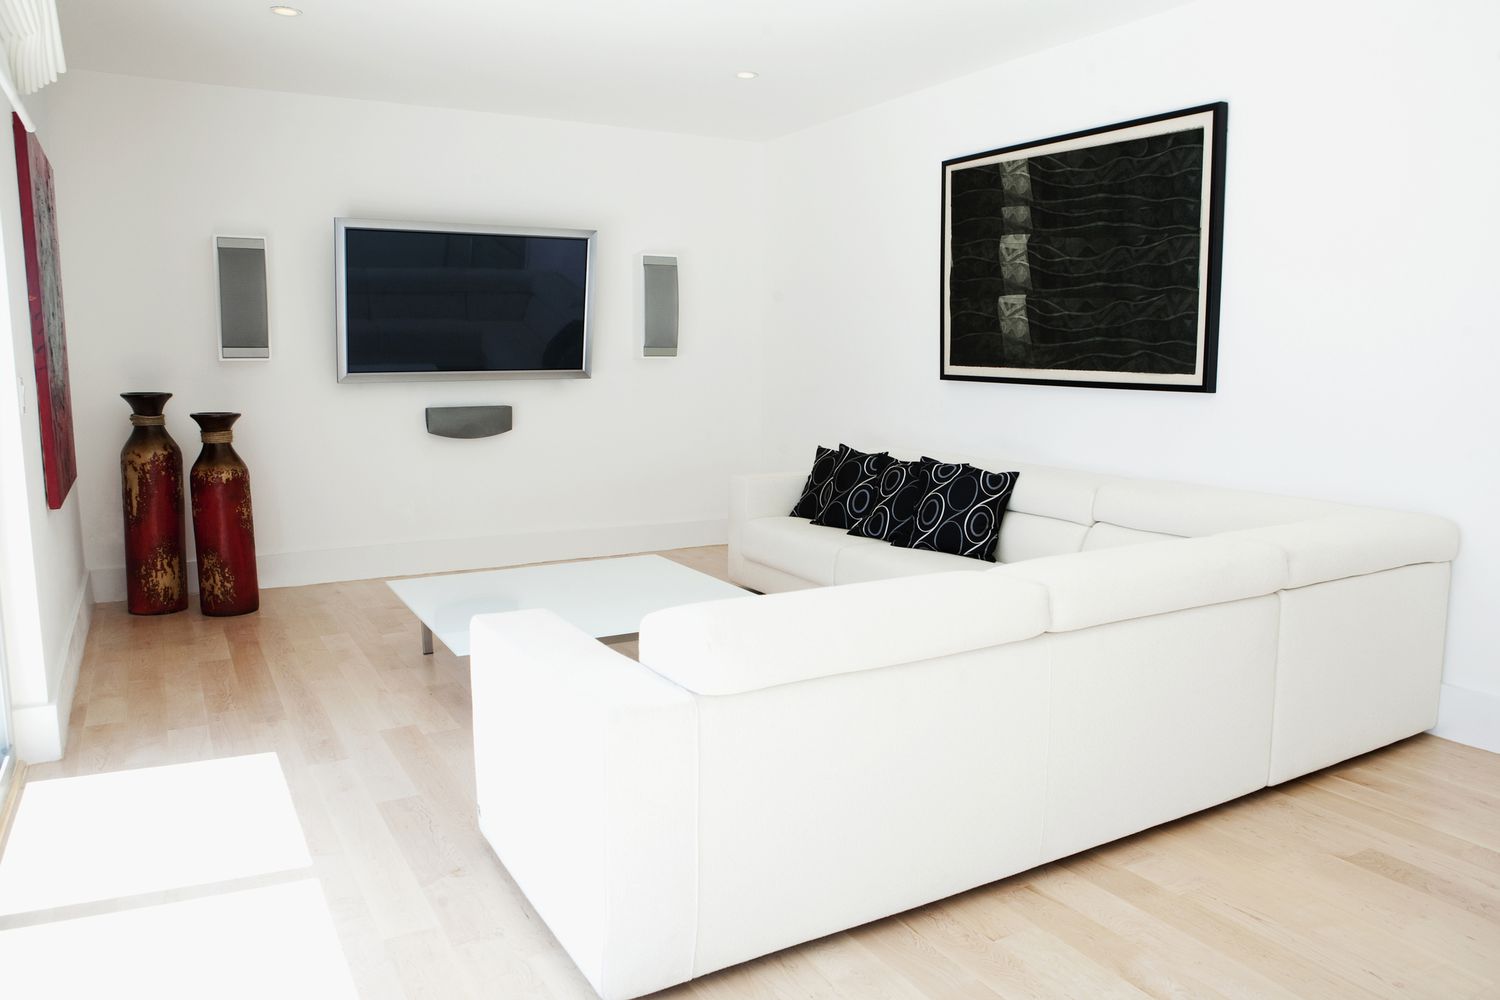
Step 1: Choose the Right Location
Selecting the optimal location for your in-wall speakers is a crucial first step in the installation process. The placement of the speakers significantly impacts the overall audio experience, making it essential to carefully consider several factors before making a decision.
Room Layout and Acoustics
Begin by assessing the layout of the room where the speakers will be installed. Take note of the dimensions, furniture arrangement, and any potential obstructions that could affect sound distribution. Additionally, consider the acoustics of the room, as factors such as wall materials, carpeting, and room shape can influence sound reflection and absorption.
Listening Position
Identify the primary listening area within the room, such as the seating arrangement in a home theater or the central gathering space in a living room. The speakers should be positioned to optimize sound projection toward this primary listening area, ensuring an immersive audio experience for everyone in the room.
Speaker Spacing
When installing multiple speakers for a surround sound system, it's essential to maintain proper spacing for optimal audio dispersion. For instance, front speakers should be positioned at ear level when seated, while rear speakers in a surround sound setup should be strategically placed to create a balanced audio field.
Wall Structure
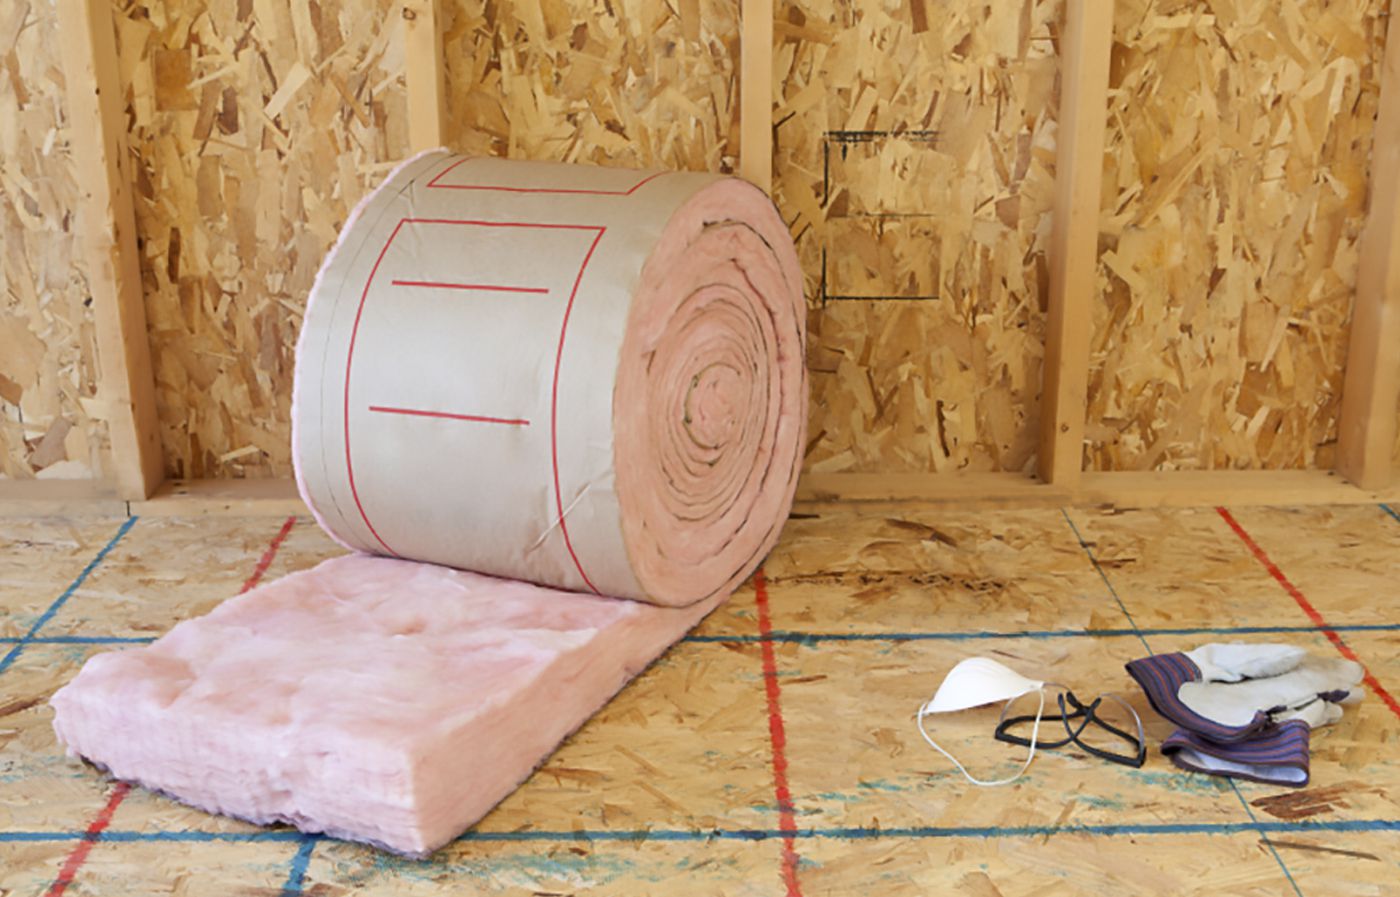
Consider the wall structure and the presence of studs when choosing the speaker locations. In-wall speakers typically require a solid, stud-supported surface for secure installation. Using a stud finder, locate the studs in the wall to ensure that the chosen locations align with the structural support necessary for mounting the speakers.
Aesthetic Considerations
In addition to the technical aspects, take into account the aesthetic impact of the speaker placement. Consider how the speakers will integrate with the room's decor and design. Opt for locations that provide a seamless and visually appealing installation while maintaining optimal audio performance.
By carefully evaluating these factors, you can make an informed decision regarding the placement of your in-wall speakers, setting the stage for a successful installation that maximizes both audio quality and visual harmony within your entertainment space.
Step 2: Cut the Hole for the Speaker
Once you have identified the optimal locations for your in-wall speakers, the next step is to cut the holes in the wall for the speakers to be installed. This process requires precision and care to ensure that the speaker fits securely and aligns perfectly with the surrounding wall surface. Here's a detailed guide on how to cut the hole for the speaker:
Gather the Necessary Tools
Before you begin, gather the essential tools for this step, including a pencil, a measuring tape, a drywall saw or a keyhole saw, and a level. These tools will enable you to accurately mark and cut the holes with precision.
Read more: Where To Place Home Theater Speakers
Measure and Mark the Cutout
Using a measuring tape, carefully measure the dimensions of the speaker cutout as specified by the manufacturer. Mark the outline of the cutout on the wall with a pencil, ensuring that the lines are straight and the corners are square. A level can be used to ensure that the lines are perfectly horizontal and vertical.
Cut the Opening
With the cutout marked on the wall, use a drywall saw or a keyhole saw to carefully cut along the outlined shape. Take your time and use smooth, steady strokes to avoid damaging the surrounding wall. It's crucial to cut the hole slightly smaller than the marked outline to ensure a snug fit for the speaker.
Check the Fit
After cutting the hole, test the fit by gently placing the speaker into the opening. Ensure that the speaker fits securely and aligns properly with the wall surface. Make any necessary adjustments to the hole to achieve the perfect fit for the speaker.
Prepare for Wiring
While the speaker is temporarily in place, use this opportunity to plan the routing of the speaker wire. Identify the best path for running the wire from the speaker location to the audio source or amplifier. This preparation will streamline the wiring process in the subsequent steps.
By following these steps with precision and attention to detail, you can successfully cut the holes for your in-wall speakers, setting the stage for the next phases of the installation process. With the speaker cutouts in place, you are one step closer to achieving a seamless and professional installation of your home theater speakers.
Read more: How To Make Home Theater Speakers Wireless
Step 3: Run the Speaker Wire
Running the speaker wire is a critical aspect of the in-wall speaker installation process, as it lays the foundation for seamless connectivity and optimal audio performance. Properly routing the speaker wire ensures that the speakers are effectively connected to the audio source or amplifier, enabling them to deliver high-quality sound throughout your entertainment space. Here's a detailed guide on how to run the speaker wire for your in-wall speakers:
Gather the Necessary Tools and Materials
Before running the speaker wire, gather the essential tools and materials, including a stud finder, a power drill with a long, flexible drill bit, a fish tape or wire snake, and the speaker wire itself. Additionally, ensure that you have access to the back of the wall where the wire will be routed, as this will facilitate the installation process.
Locate the Path for Wiring
Using a stud finder, identify the best path for running the speaker wire from the audio source or amplifier to the location of each in-wall speaker. It's essential to avoid obstructed areas and plan a route that minimizes the risk of interference or damage to the wire during installation.
Drill Access Holes
Carefully drill access holes at the top and bottom of the wall where the speaker wire will be routed. The top hole should be near the ceiling or upper wall, while the bottom hole should be closer to the floor or baseboard. Use a long, flexible drill bit to create these access points, ensuring that they align with the planned wire path.
Read more: What Speaker Wire To Use For A Home Theater
Thread the Speaker Wire
Attach one end of the speaker wire to a fish tape or wire snake, and carefully thread it through the top access hole, guiding it down toward the bottom hole. This process may require patience and precision to navigate the wire through the wall cavity without causing damage to the surrounding structure.
Connect the Speaker Wire
Once the speaker wire has been successfully routed, ensure that it reaches the location of each in-wall speaker. Leave a sufficient amount of excess wire at each speaker location to facilitate the connection process in the subsequent steps.
By following these steps, you can effectively run the speaker wire for your in-wall speakers, laying the groundwork for seamless connectivity and optimal audio distribution. With the speaker wire in place, you are ready to proceed to the next phase of the installation process, bringing you closer to the realization of a captivating home theater audio system.
Step 4: Install the Mounting Bracket
With the speaker wire successfully routed and the speaker cutouts in place, the next crucial step in the installation process is to install the mounting brackets for the in-wall speakers. The mounting brackets serve as the foundation for securely affixing the speakers within the wall, providing stability and ensuring a professional, flush-mounted appearance. Here's a detailed guide on how to install the mounting bracket for your in-wall speakers:
Gather the Necessary Tools and Materials
Before proceeding with the installation, gather the essential tools and materials required for this step. You will need a screwdriver or a power drill with the appropriate bit, the mounting brackets provided with the speakers, and any additional hardware specified by the manufacturer. Ensure that the chosen location for each speaker aligns with the structural support necessary for mounting the brackets securely.
Position the Mounting Bracket
Carefully position the mounting bracket within the speaker cutout, ensuring that it aligns with the edges of the opening and sits flush against the wall surface. The bracket should be oriented according to the manufacturer's instructions, typically with the mounting tabs or screws facing outward for easy speaker attachment.
Secure the Bracket in Place
Using the provided screws or fasteners, securely attach the mounting bracket to the wall. Take care to tighten the screws evenly, maintaining a level and stable position for the bracket. If the wall material requires special considerations, such as anchors for drywall or specific fasteners for masonry, follow the manufacturer's recommendations to ensure a secure installation.
Verify Stability and Alignment
After securing the mounting bracket, verify that it is stable and properly aligned within the speaker cutout. Gently apply pressure to the bracket to ensure that it is firmly anchored to the wall and can support the weight of the speaker. Additionally, confirm that the bracket's orientation allows for seamless attachment of the in-wall speaker without obstruction.
Repeat for Each Speaker Location
If you are installing multiple in-wall speakers, repeat the process of installing the mounting brackets for each speaker location. Consistency in the installation of the mounting brackets is essential to ensure uniformity in the appearance and stability of the speakers throughout the room.
By following these steps with precision and attention to detail, you can successfully install the mounting brackets for your in-wall speakers, laying the groundwork for the final phase of the installation process. With the mounting brackets securely in place, you are one step closer to achieving a seamless and professional installation of your home theater speakers.
Read more: How To Install Ceiling Speakers
Step 5: Connect the Speaker
Connecting the in-wall speakers is a pivotal phase in the installation process, as it establishes the vital link between the speakers and the audio source or amplifier. This step involves carefully wiring the speakers to ensure optimal performance and seamless integration with your home theater or audio system. Here's a detailed guide on how to connect the in-wall speakers:
Prepare the Speaker Wire
Begin by preparing the speaker wire for connection. If the wire ends are not already stripped, carefully strip off a small portion of the insulation from each wire end to expose the conductive metal. This will facilitate a secure and reliable connection to the speaker terminals.
Identify the Speaker Terminals
Each in-wall speaker is equipped with speaker terminals, typically labeled as positive (+) and negative (-) or color-coded for easy identification. It's essential to match the corresponding positive and negative terminals on the speaker with the respective conductors of the speaker wire to ensure proper polarity and accurate sound reproduction.
Make the Speaker Wire Connections
With the speaker wire prepared and the speaker terminals identified, make the necessary connections by securely attaching the positive and negative conductors of the wire to the corresponding terminals on the speaker. Depending on the speaker design, this may involve using binding posts, spring clips, or other terminal types. Ensure that the connections are tight and secure to prevent any signal loss or interference.
Double-Check the Connections
After making the speaker wire connections, double-check the integrity of the connections to confirm that the wires are firmly attached to the speaker terminals. Gently tug on the wires to ensure that they are securely fastened and that there is no risk of accidental disconnection during the installation process or subsequent use.
Organize the Excess Wire
Once the speaker wire connections are verified, carefully organize any excess wire to ensure a neat and tidy appearance within the wall cavity. Avoid leaving excessive slack or creating unnecessary strain on the connections, as this can impact the long-term reliability and performance of the speaker system.
By following these steps with precision and attention to detail, you can effectively connect the in-wall speakers, establishing a vital link in the installation process. With the speakers securely wired and ready for installation, you are poised to proceed to the final phase of the installation, bringing you closer to the realization of a captivating home theater audio system.
Step 6: Secure the Speaker in the Wall
Securing the in-wall speakers is a pivotal phase that ensures the speakers are firmly anchored within the wall, providing stability and a seamless, professional appearance. Proper installation of the speakers not only enhances the overall aesthetic of the room but also contributes to the optimal performance of the audio system. Here's a detailed guide on how to securely install the in-wall speakers:
-
Align the Speaker: Carefully position the in-wall speaker within the mounting bracket, ensuring that it aligns perfectly with the bracket's mounting tabs or screws. The speaker should fit snugly and sit flush against the wall, creating a seamless integration with the surrounding surface.
-
Secure the Speaker: Using the provided screws or fasteners, securely attach the in-wall speaker to the mounting bracket. Take care to tighten the screws evenly, maintaining a level and stable position for the speaker. It's essential to follow the manufacturer's guidelines for the specific mounting hardware and ensure that the speaker is firmly anchored to the bracket.
-
Verify Stability: After securing the speaker, verify its stability and alignment within the wall. Gently apply pressure to the speaker to ensure that it is securely fastened to the mounting bracket and can support its weight without any wobbling or movement. This step is crucial to guarantee the long-term reliability and performance of the installed speakers.
-
Conceal the Speaker Grille: If the in-wall speakers feature a removable grille, carefully attach the grille to conceal the speaker and create a polished, finished look. The grille should seamlessly integrate with the wall surface, providing a visually appealing presentation while allowing the audio to propagate unhindered.
-
Repeat for Each Speaker: If you are installing multiple in-wall speakers, repeat the process of aligning, securing, and concealing the speakers for each location. Consistency in the installation of the speakers is essential to ensure uniformity in appearance and performance throughout the room.
By following these steps with precision and attention to detail, you can successfully secure the in-wall speakers, ensuring a stable and professional installation. With the speakers securely anchored within the wall and the grilles in place, you have completed a crucial phase of the installation process, bringing you closer to the realization of a captivating home theater audio system.
Step 7: Test the Speaker
After completing the installation of your in-wall speakers, it's essential to conduct thorough testing to ensure that the audio system functions optimally and delivers the desired sound quality. Testing the speakers allows you to verify the connectivity, audio performance, and overall integration of the speakers within your entertainment space. Here's a detailed guide on how to test the in-wall speakers:
-
Audio Source Connection: Begin by connecting the audio source, such as a receiver, amplifier, or home theater system, to the installed in-wall speakers. Ensure that the speaker wire connections are secure and that the positive and negative terminals are correctly matched to the corresponding channels on the audio source. Double-check the wiring to prevent any potential issues during the testing phase.
-
Power On the System: Power on the audio source and any associated components, such as the amplifier or receiver. Verify that the system is operational and that the audio output is directed to the in-wall speakers. If your audio source allows for individual speaker configuration, ensure that the in-wall speakers are enabled and properly assigned within the system settings.
-
Audio Playback: Select a familiar audio track or sound source that encompasses a wide range of frequencies, including vocals, instrumentals, and low-frequency elements. Play the audio through the in-wall speakers at a moderate volume level, allowing you to assess the clarity, balance, and overall fidelity of the sound reproduction. Listen for any distortions, imbalances, or anomalies that may indicate issues with the speaker installation or wiring.
-
Channel Balance and Localization: If you have installed multiple in-wall speakers for a surround sound system, test the channel balance and localization by playing audio that is specifically designed for surround sound environments. Verify that each speaker accurately reproduces its designated audio channels, creating a cohesive and immersive soundstage. Pay attention to the spatial localization of sound elements to ensure that the speakers are positioned and configured correctly.
-
Low-Frequency Performance: Assess the low-frequency performance of the in-wall speakers by playing audio tracks with prominent bass content. Listen for the depth, impact, and articulation of the bass frequencies, ensuring that the speakers effectively reproduce low-end elements without distortion or muddiness. This step is particularly important for assessing the integration of subwoofers or in-wall speakers with dedicated low-frequency drivers.
-
Dynamic Range and Volume: Evaluate the dynamic range and volume capabilities of the in-wall speakers by playing audio that transitions between soft and loud passages. Verify that the speakers can accurately reproduce subtle nuances as well as powerful crescendos without compression or distortion. Adjust the volume levels to test the speakers' performance across a range of listening levels.
-
Room Calibration (Optional): If your audio system includes room calibration or equalization features, consider utilizing these tools to optimize the audio performance of the in-wall speakers within your specific room environment. Room calibration systems can help compensate for acoustic characteristics and enhance the overall sound quality.
By meticulously testing the in-wall speakers using a diverse selection of audio content, you can effectively assess their performance and address any potential issues that may arise during the testing process. Pay close attention to the tonal balance, imaging, and overall coherence of the sound produced by the speakers. If you encounter any anomalies or inconsistencies, revisit the installation and wiring to ensure that the speakers are seamlessly integrated into your entertainment space.
Testing the in-wall speakers is a critical step that allows you to fine-tune the audio system, ensuring that it meets your expectations and delivers a captivating listening experience. By following this comprehensive testing process, you can confidently enjoy the immersive sound quality provided by your newly installed in-wall speakers, bringing your home entertainment to life with exceptional audio performance.
Conclusion
In conclusion, the installation of in-wall speakers represents a transformative endeavor that can elevate the audio experience within your home entertainment space. By following the comprehensive steps outlined in this guide, you have embarked on a journey to seamlessly integrate premium audio technology into your living environment. From the meticulous selection of optimal speaker locations to the precise installation and testing of the speakers, each phase of the process has been designed to empower you to achieve professional-quality results.
As you reflect on the completion of the installation, take pride in the meticulous attention to detail and the dedication to creating a captivating audio oasis within your home. The strategic placement of the in-wall speakers, the precise routing of the speaker wire, and the secure installation of the speakers within the wall have collectively contributed to the realization of a sophisticated and immersive audio system.
With the in-wall speakers seamlessly integrated into your living space, you have not only enhanced the auditory dimension of your home entertainment but also elevated the aesthetic appeal of the room. The sleek, unobtrusive presence of the in-wall speakers, coupled with their exceptional sound performance, has redefined the ambiance of your entertainment area, creating a captivating environment for cinematic experiences, musical enjoyment, and immersive gaming adventures.
Furthermore, the successful installation of in-wall speakers serves as a testament to your commitment to creating a personalized audio sanctuary. The dedication to precision, the pursuit of optimal sound quality, and the seamless integration of technology into your living space reflect a passion for immersive entertainment experiences and a keen appreciation for the art of audio reproduction.
As you embark on the journey of enjoying your newly installed in-wall speakers, take the time to savor the captivating soundscapes and the immersive audio experiences that await. Whether you are indulging in a movie marathon, hosting a music listening session, or immersing yourself in the world of gaming, the in-wall speakers stand ready to deliver exceptional sound quality and transport you into the heart of the action.
In essence, the installation of in-wall speakers represents a testament to your commitment to creating a captivating and personalized audio environment within your home. With the completion of this installation, you have not only enhanced the auditory dimension of your entertainment space but also embraced the art of integrating cutting-edge audio technology into your living environment. Embrace the transformative power of premium audio and revel in the immersive experiences that await as you embark on this new chapter of audio excellence within your home.
Frequently Asked Questions about How To Install Home Theater Speakers In The Wall
Was this page helpful?
At Storables.com, we guarantee accurate and reliable information. Our content, validated by Expert Board Contributors, is crafted following stringent Editorial Policies. We're committed to providing you with well-researched, expert-backed insights for all your informational needs.
0 thoughts on “How To Install Home Theater Speakers In The Wall”