
Articles
How To Disconnect Water Heater
Modified: September 2, 2024
Learn how to disconnect a water heater with step-by-step instructions in this informative article. Find helpful tips and precautions to ensure a safe and hassle-free process.
(Many of the links in this article redirect to a specific reviewed product. Your purchase of these products through affiliate links helps to generate commission for Storables.com, at no extra cost. Learn more)
Introduction
Disconnecting a water heater is a crucial step in various situations, such as moving to a new home, replacing an old unit, or undertaking repairs. While it may seem like a complex task, with the right tools and knowledge, you can safely disconnect a water heater. This article will guide you through the process, providing step-by-step instructions to ensure a seamless disconnection.
Before beginning the disconnection process, it is important to know that working with water heaters involves handling electricity and water, which can be hazardous if not done correctly. It is highly recommended to turn off the power supply and water supply before initiating any disconnection steps.
For this task, you will need a few tools and materials to facilitate the disconnection process. These include the following:
- Adjustable wrench
- Channel-lock pliers
- Pipe wrench
- Teflon tape
- Bucket or drain pan
- Rags or towels
- Electrical tape
Once you have gathered these tools and materials, you can proceed to the next steps to disconnect your water heater. Remember to exercise caution while handling the unit to avoid any accidents or injuries.
Key Takeaways:
- Prioritize safety by gathering the necessary tools, shutting off power and water supply, and following proper disconnection steps to ensure a seamless and accident-free water heater disconnection process.
- Successfully disconnecting a water heater involves draining, disconnecting water and electrical connections, and removing the unit with caution. Seek professional help if unsure, and prioritize safety throughout the process.
Read more: How To Disconnect A Refrigerator Water Line
Step 1: Gather the necessary tools and materials
Before you start disconnecting your water heater, it is essential to gather all the necessary tools and materials. Having these items on hand will ensure a smoother and more efficient disconnection process.
Here are the tools and materials you will need:
- Adjustable wrench: This tool will come in handy for loosening and tightening various nuts and bolts during the disconnection process.
- Channel-lock pliers: These pliers are useful for gripping and turning pipes or fittings that may be tightly secured.
- Pipe wrench: A pipe wrench is necessary for loosening and removing larger connections, such as water supply lines or gas lines.
- Teflon tape: A roll of Teflon tape is essential for providing a tight and secure seal when reconnecting the water heater.
- Bucket or drain pan: You will need a bucket or drain pan to collect any water that may be released during the disconnection process.
- Rags or towels: Keep some rags or towels nearby to clean up any spills or leaks during the disconnection.
- Electrical tape: Electrical tape will be necessary for securely insulating any electrical connections that need to be disconnected.
Gathering these tools and materials before you start the disconnection process will save you time and prevent any unnecessary interruptions. Additionally, it is wise to double-check that you have all the necessary items to avoid any frustration or delays.
Once you have assembled your tools and materials, you can move on to the next step: shutting off the power supply to the water heater.
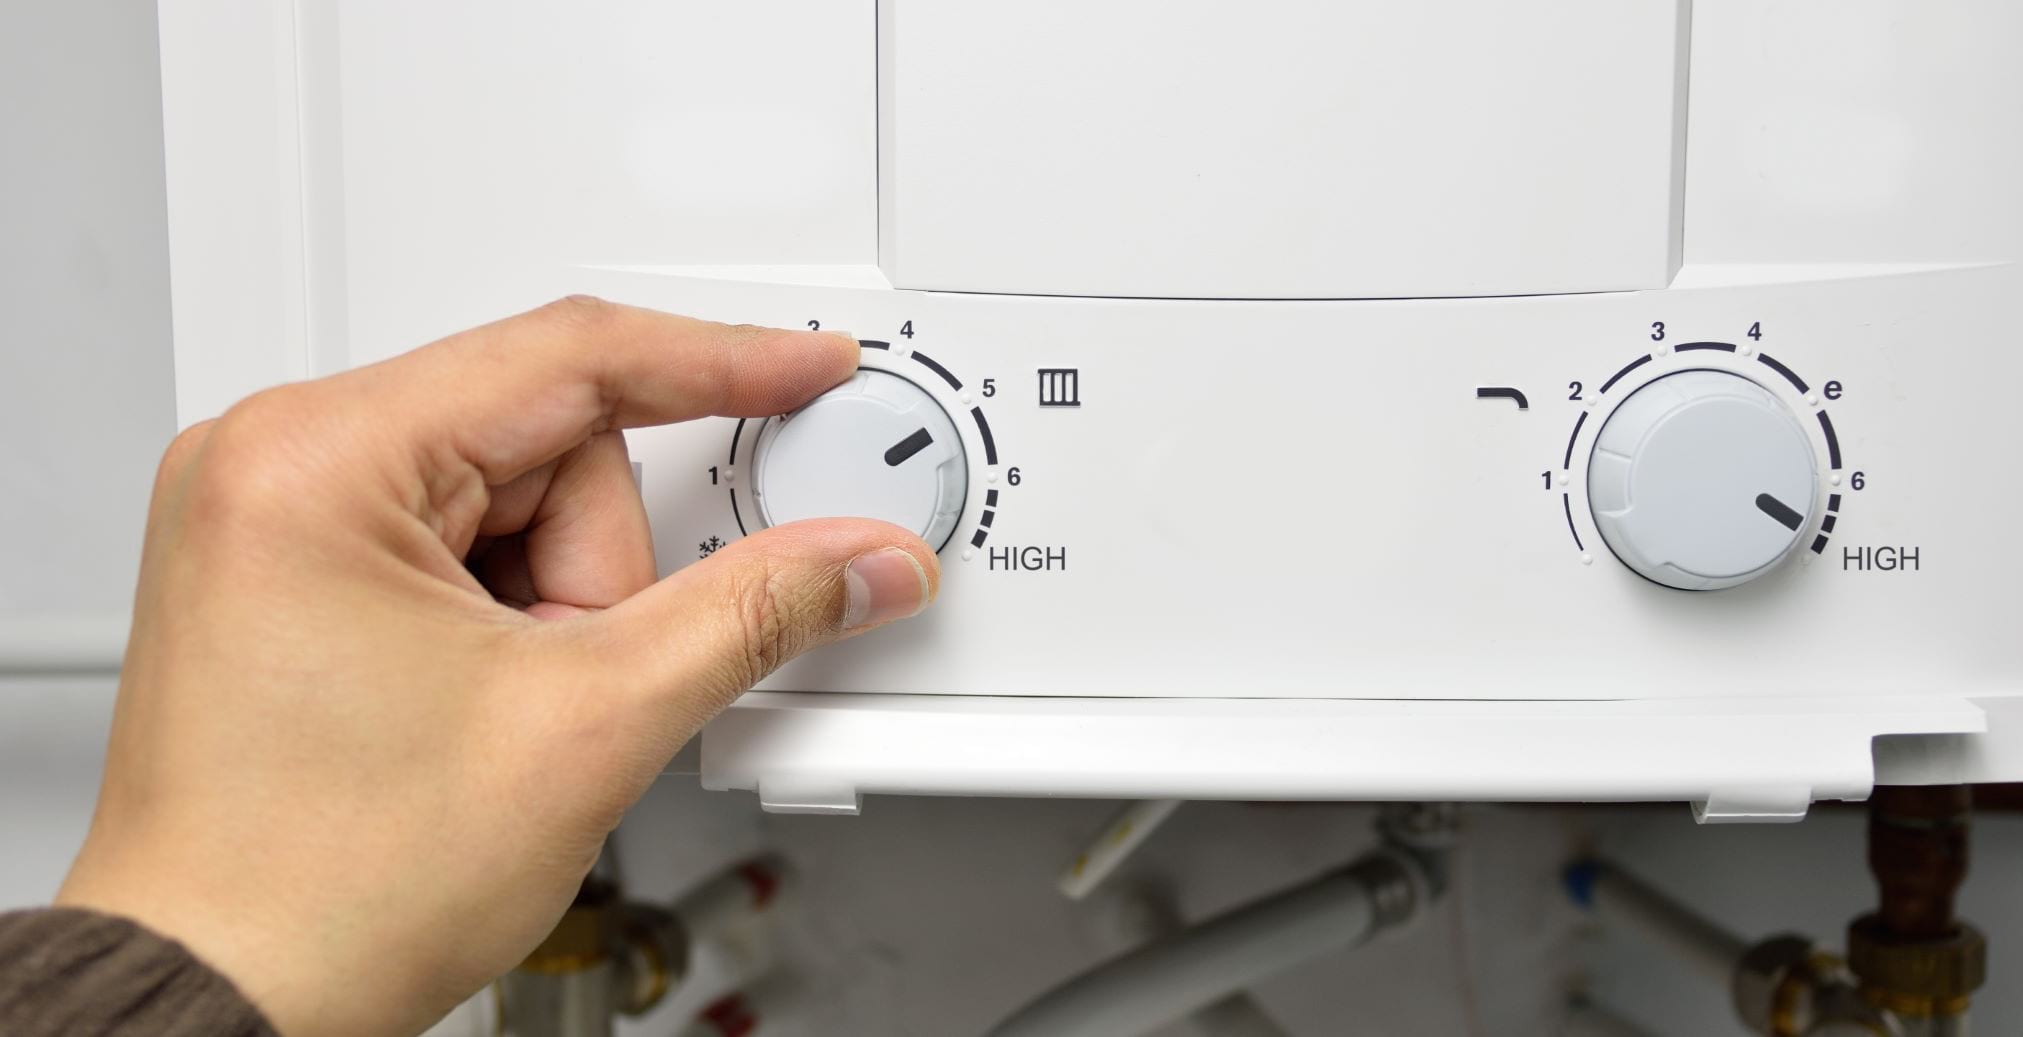
Step 2: Shut off the power supply
Before you begin disconnecting your water heater, it is crucial to ensure that the power supply is turned off to avoid any potential electric shocks or accidents. Here’s how you can shut off the power supply:
- Locate the circuit breaker or fuse box in your home. It is usually found in the basement, garage, or utility room.
- Identify the circuit breaker that controls the power to your water heater. Look for a label indicating “water heater” or check the circuit diagram to find the corresponding breaker.
- Once you have located the correct breaker, switch it off by flipping the lever to the “off” position or removing the fuse cartridge.
- Test the power to the water heater by turning on a hot water tap in your home. If there is no hot water flowing, then you have successfully disconnected the power supply.
- For added safety, you can place a piece of electrical tape over the breaker or fuse to prevent someone from accidentally turning it on while you are working.
It is important to note that some water heaters may have an additional power switch located near the unit itself. If this is the case, make sure to switch it off as well. This secondary switch is often found on the side or bottom of the water heater.
By shutting off the power supply, you eliminate the risk of electrical shock while working on your water heater. With the power off, you can now proceed to the next step of turning off the water supply.
Step 3: Turn off the water supply
Now that you have successfully shut off the power supply to your water heater, the next step is to turn off the water supply. This is important to prevent any water from flowing into the unit during the disconnection process. Follow these steps to turn off the water supply:
- Locate the shut-off valve for the water heater. This valve is typically located on the cold water inlet pipe, which is usually located on the top of the water heater.
- Once you have located the shut-off valve, turn it clockwise to shut off the water supply. You may need to use an adjustable wrench or pliers to help you turn the valve if it is tightly closed.
- After turning off the water supply, open a hot water tap in your home to relieve any pressure in the system. This will help facilitate the draining process later on.
- Inspect the water heater to ensure that no water is flowing into the unit. If you notice any drips or leaks, double-check that the shut-off valve is fully closed. If the valve is closed, you may need to replace or repair it.
It is important to note that turning off the water supply will cut off the flow of water to your entire home. Therefore, make sure to inform other household members about the temporary lack of water availability and plan accordingly.
By turning off the water supply, you have taken a crucial step in preparing the water heater for disconnection. The next step involves draining the water heater to remove any remaining water.
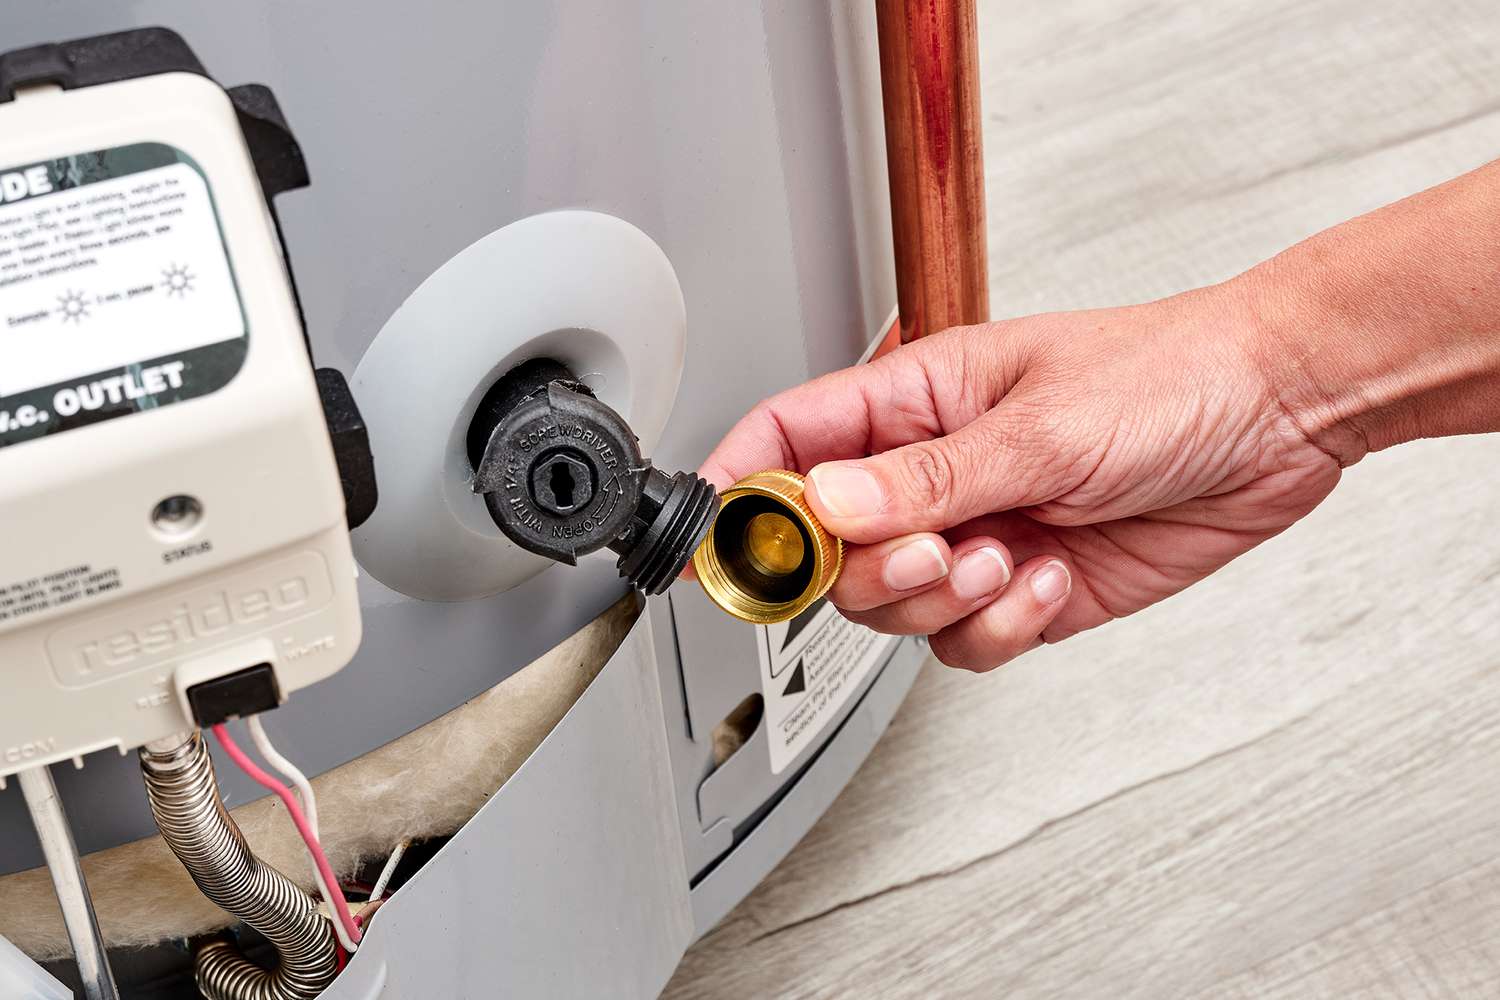
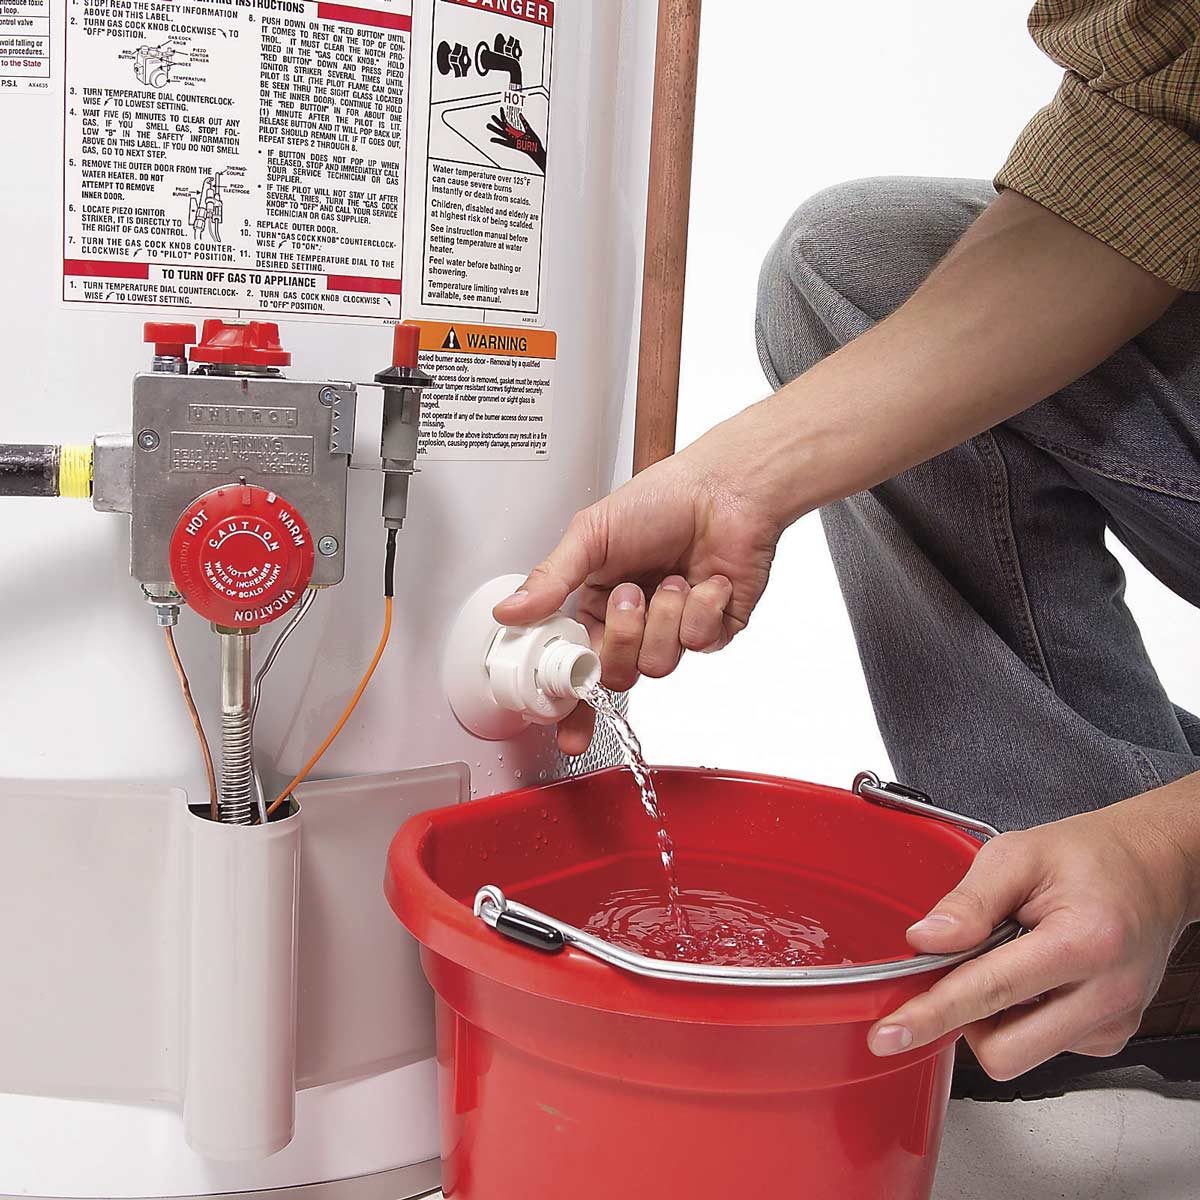
Step 4: Drain the water heater
Draining the water heater is an essential step to prevent any water spillage and make the disconnection process easier. By removing the excess water from the tank, you reduce the risk of leaks and make the unit lighter for removal. Here’s how to drain the water heater:
- Attach a garden hose to the drain valve located near the bottom of the water heater tank. Ensure that the other end of the hose is positioned in a safe area where the water can safely drain, such as a floor drain or outside.
- Open a hot water tap in your home to help release pressure and allow air into the system. This step will enable the water heater to drain more efficiently.
- Slowly open the drain valve by turning it counterclockwise. Be prepared for the water to start flowing out through the hose.
- Monitor the water flowing through the hose and ensure that it is flowing smoothly without any obstructions or leaks. If you notice any issues, close the valve and address the problem before proceeding.
- Allow the water heater to drain completely, which may take several minutes depending on the size of the tank. Once the tank is empty, close the drain valve by turning it clockwise.
It is important to remember that the water draining from the heater may be extremely hot, so exercise caution and avoid contact with the water to prevent burns.
With the water heater drained, you have completed an important step in the disconnection process. The next step involves disconnecting the water pipes.
Before disconnecting a water heater, turn off the power and water supply. Use a pipe wrench to disconnect the water lines and a screwdriver to disconnect the electrical connections. Always follow the manufacturer’s instructions.
Read more: How To Refill A Water Heater
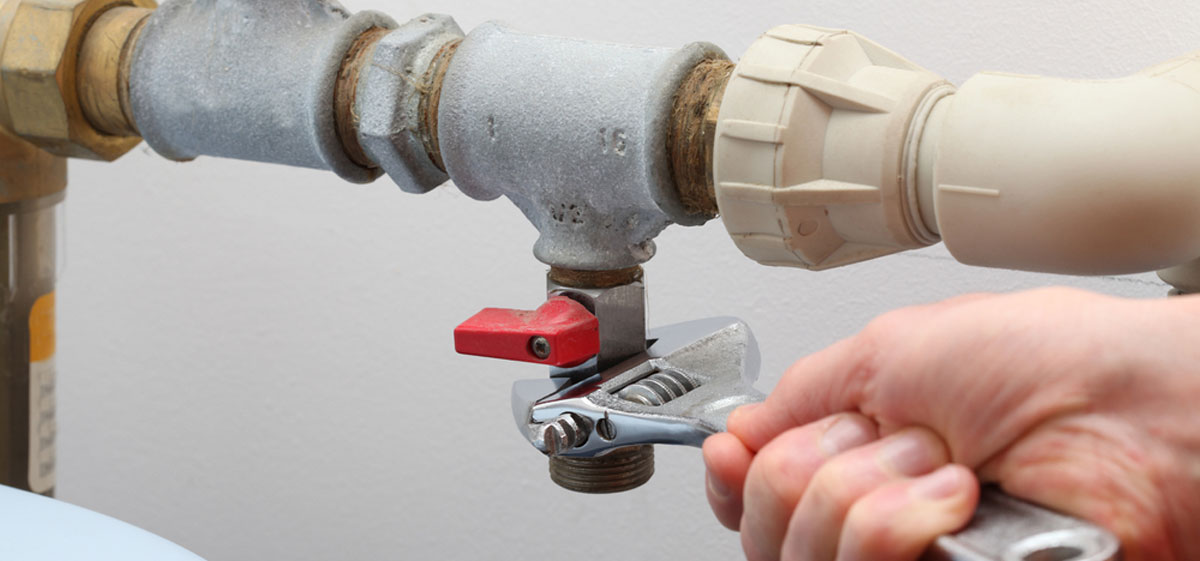
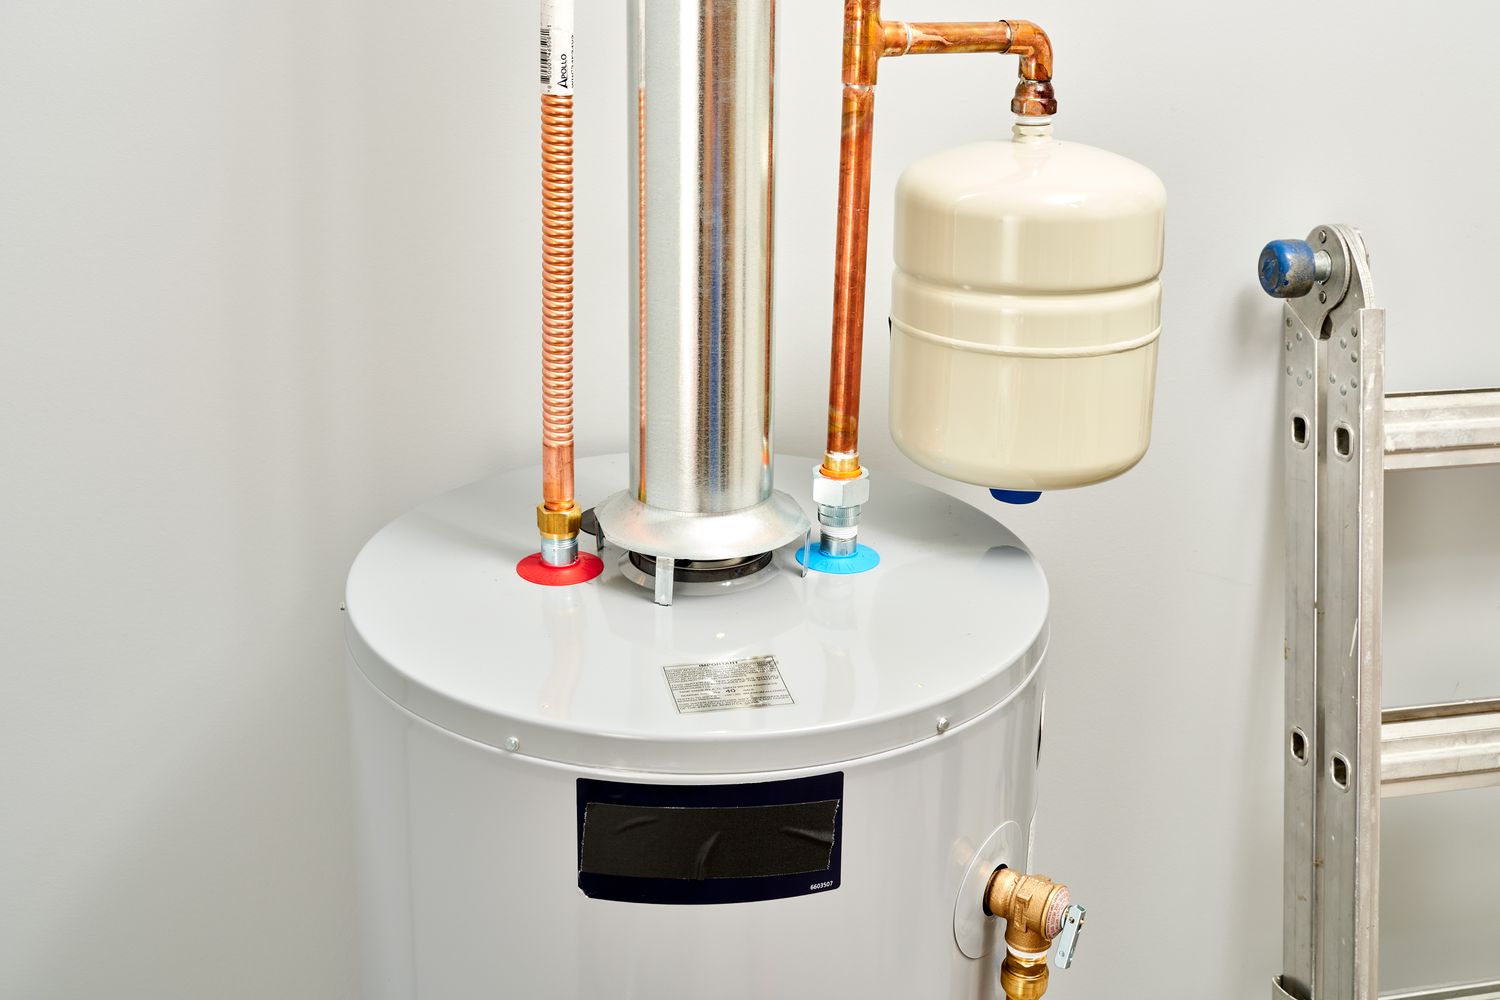
Step 5: Disconnect the water pipes
Disconnecting the water pipes from the water heater is a crucial step in the disconnection process. By disconnecting the water pipes, you will be able to remove the water heater from its location. Follow these steps to disconnect the water pipes:
- Start by using an adjustable wrench or channel-lock pliers to loosen the connection between the hot water outlet and the pipe connected to it. Turn the fitting counterclockwise until it is loose.
- Repeat the same process for the cold water inlet connection. Use the wrench or pliers to loosen the fitting by turning it counterclockwise.
- If there are any additional water pipes connected to the water heater, such as recirculation lines or drain valve lines, loosen and disconnect them using the appropriate tools. Be careful not to damage the pipes or fittings during this process.
- Once all the water pipes are disconnected, inspect them for any signs of damage or wear. Replace any damaged pipes or fittings before reinstalling the water heater.
It is important to note that residual water may still be present in the pipes after disconnecting them. To minimize spillage, have a bucket or drain pan ready to catch any remaining water that may come out of the pipes.
By disconnecting the water pipes from the water heater, you have successfully completed a critical step in the disconnection process. The next step involves disconnecting the electrical connections.
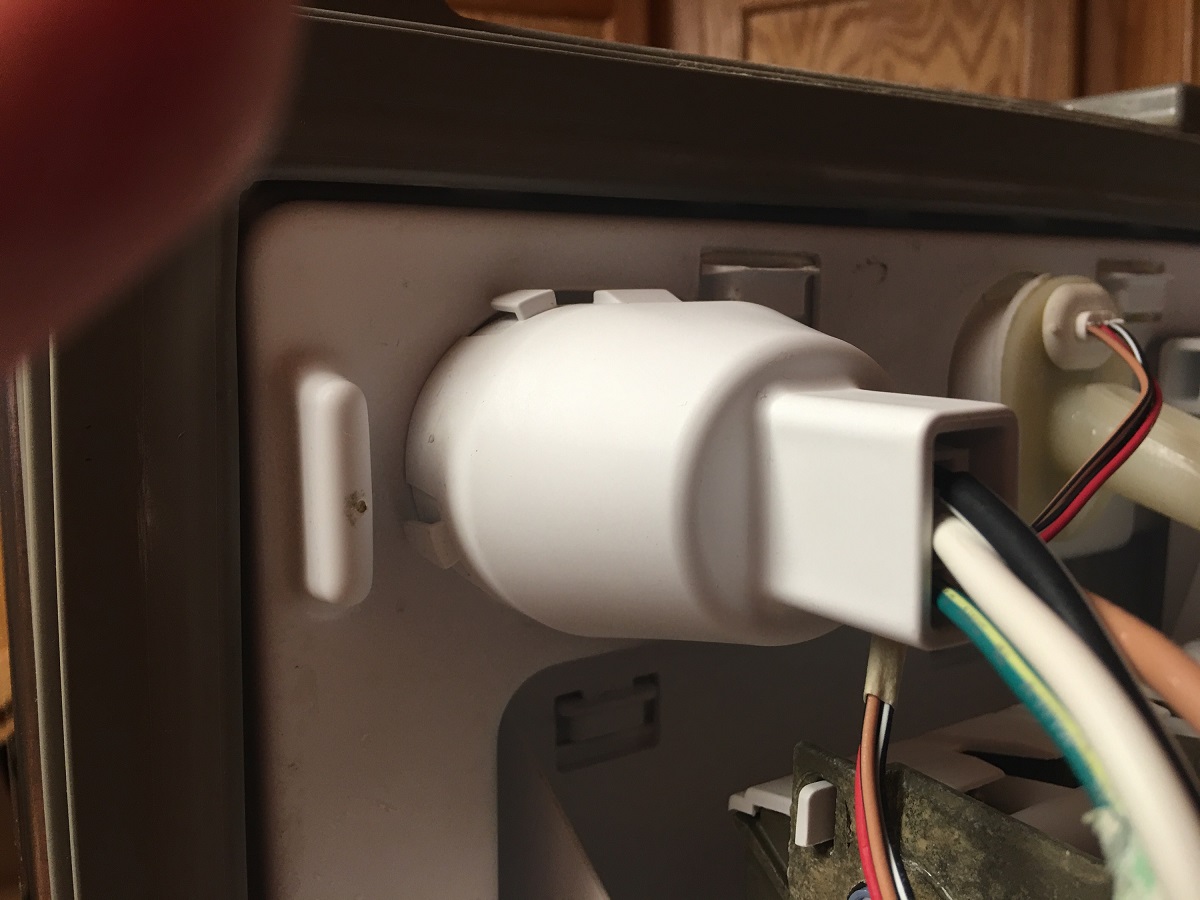
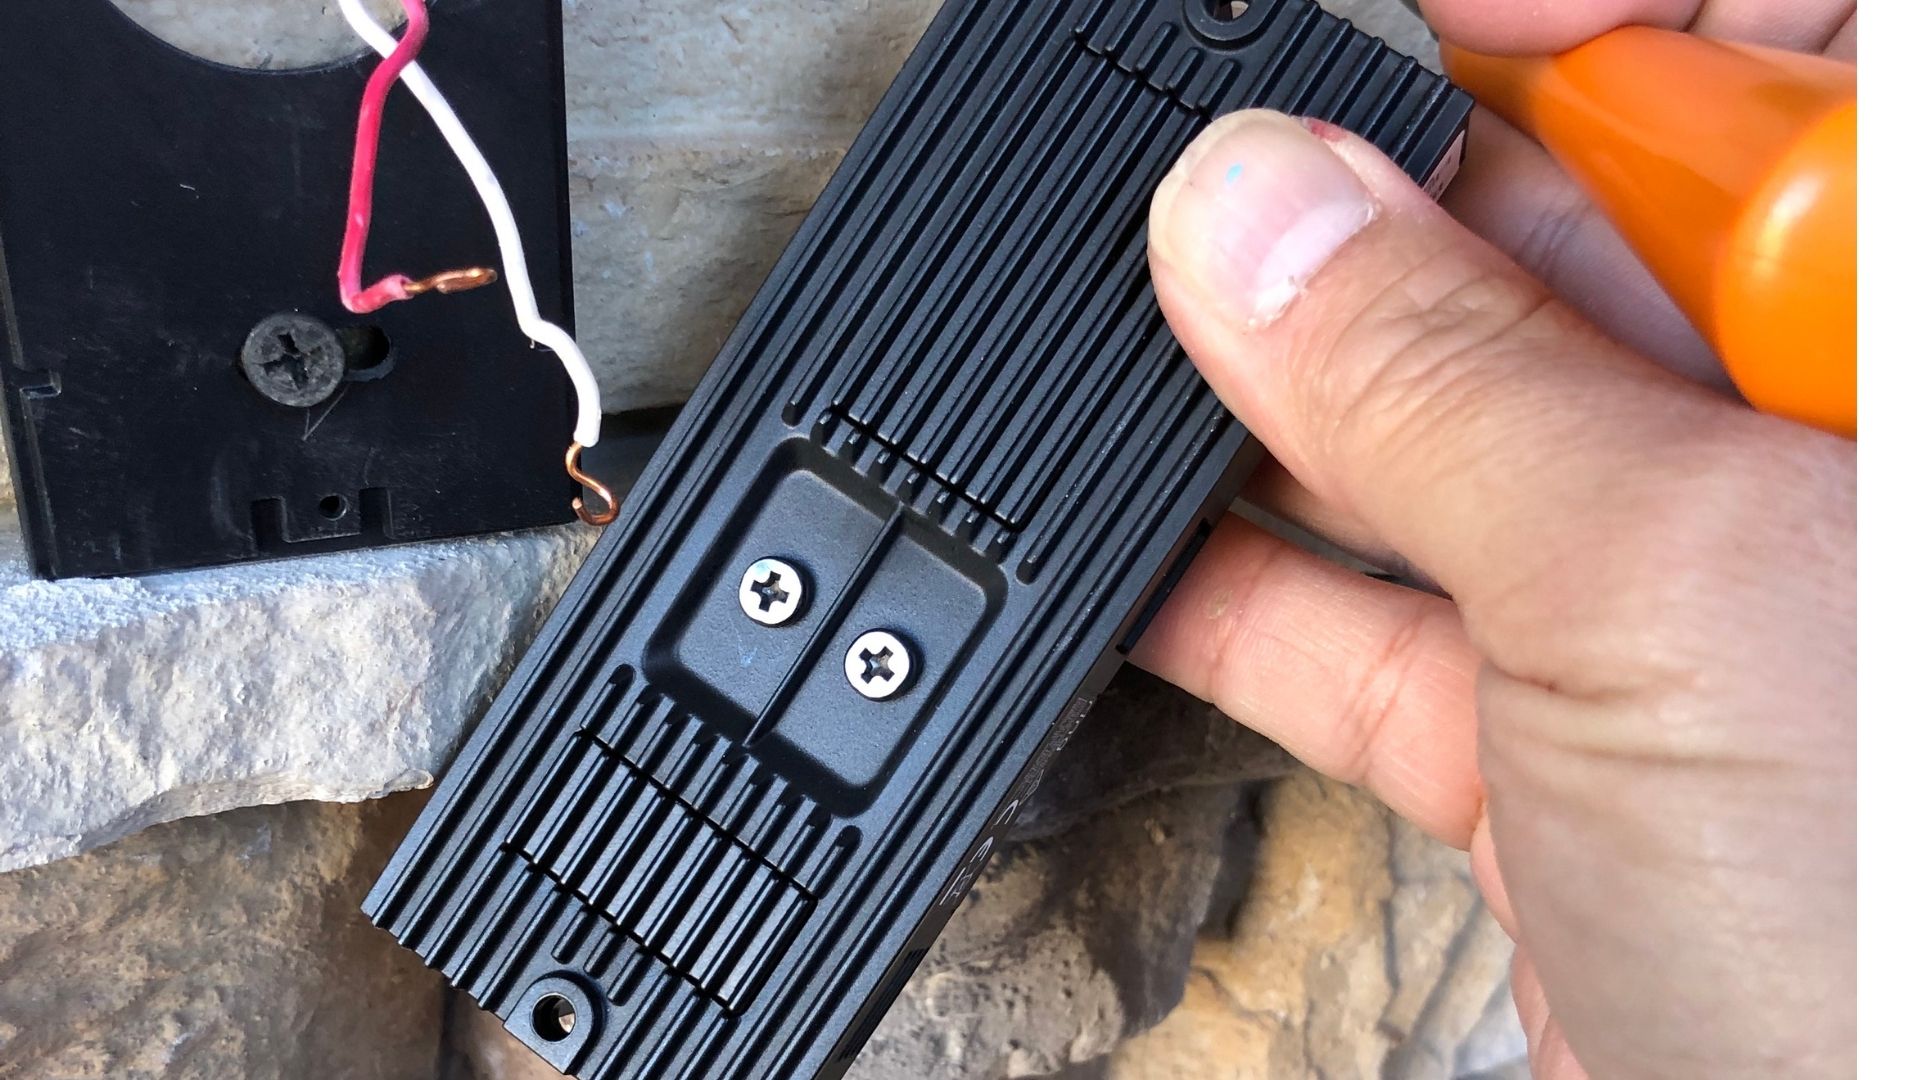
Step 6: Disconnect the electrical connections
Disconnecting the electrical connections is another important step in disconnecting a water heater. By properly disconnecting the electrical connections, you ensure safety and prevent any electric shocks or accidents. Follow these steps to disconnect the electrical connections:
- Locate the electrical panel where the circuit for the water heater is located. It is usually labeled as “Water Heater” or “Hot Water.”
- Identify the breaker or fuse that controls the power supply to the water heater. Switch off the breaker or remove the fuse to cut off the electrical power.
- Once the power is turned off, locate the electrical conduit or wiring that runs from the circuit breaker to the water heater. It is typically connected to a junction box on the side or top of the unit.
- Using a screwdriver, remove the cover of the junction box to expose the electrical connections inside.
- Inspect the wiring connections inside the junction box. Typically, you will find three wires: a black (hot) wire, a white (neutral) wire, and a green or bare copper (ground) wire.
- Loosen the terminal screws that secure the wires to the water heater. Carefully remove the wires one at a time by pulling them out from the terminals.
- After disconnecting the wires, securely tape the ends of each wire with electrical tape. This will prevent any contact with other wires or metal surfaces.
It is important to handle the electrical connections with caution and follow proper electrical safety protocols. If you are unsure or uncomfortable with handling electrical components, it is recommended to seek assistance from a professional electrician.
By following these steps, you have successfully disconnected the electrical connections for your water heater. The next and final step is to remove the water heater from its location.
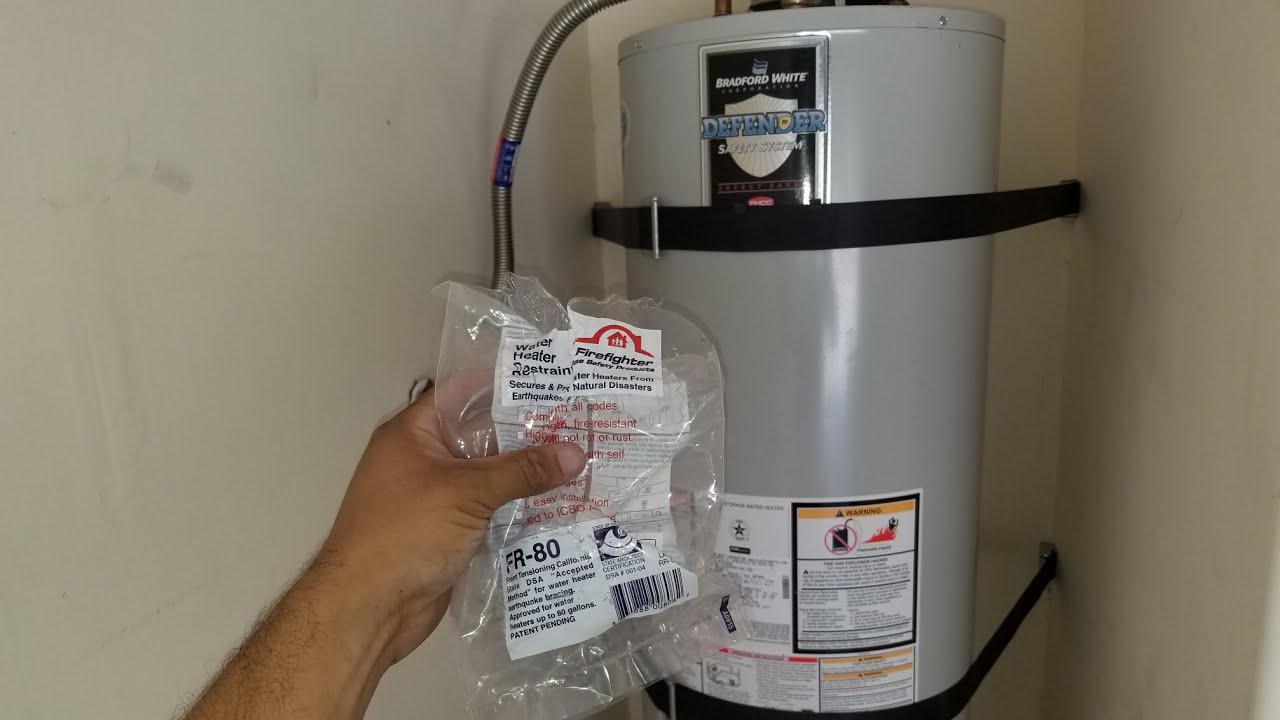
Step 7: Remove the water heater
Removing the water heater from its location is the final step in the disconnection process. By carefully removing the water heater, you can create space for a new unit or prepare it for transportation. Follow these steps to safely remove the water heater:
- Ensure that the water heater is completely disconnected from the power supply and water pipes, as outlined in the previous steps.
- Enlist the help of a partner or use the proper lifting equipment to ensure safe handling of the water heater. Depending on the size and weight of the unit, you may need a dolly or hand truck to assist in its removal.
- Carefully lift the water heater, ensuring that you maintain a firm grip and distribute the weight evenly with your partner or the lifting equipment. Pay attention to your surroundings and avoid any obstacles or tight spaces.
- Slowly and steadily move the water heater away from its original location. Take care not to scratch or damage any surfaces, and be mindful of any sharp edges or protrusions on the unit.
- If you are replacing the water heater, follow the manufacturer’s instructions for the installation of the new unit. If you are moving or storing the water heater, ensure that it is placed in a safe and appropriate location.
While removing the water heater, it is important to prioritize your safety and the safety of those around you. Use proper lifting techniques, wear protective gloves if necessary, and take breaks if you feel fatigued.
By successfully removing the water heater, you have completed the disconnection process. Ensure that the area is clean and free of any debris or water spills. If you are replacing the unit, you can now proceed with the installation of the new water heater.
Remember, if you are unsure or uncomfortable with any step of the disconnection process, it is always best to seek assistance from a professional plumber or technician who can guide you through the process and ensure proper disconnection and installation.
Conclusion
Disconnecting a water heater is a task that may be necessary when moving, replacing, or repairing the unit. While it may seem daunting, following the proper steps can ensure a safe and efficient disconnection process. By gathering the necessary tools and materials, shutting off the power supply, turning off the water supply, draining the water heater, disconnecting the water pipes, and disconnecting the electrical connections, you can successfully remove the water heater.
Throughout the disconnection process, it is crucial to prioritize safety. Use caution when working with electricity and water, and always follow proper safety protocols. If you are unsure or uncomfortable with any step, it is advisable to seek assistance from a professional plumber or technician.
By taking your time, following the steps outlined in this article, and exercising caution, you can disconnect your water heater effectively. Remember to be thorough and double-check that all connections are properly disconnected before removing the unit from its location.
Once the disconnection process is complete, you may proceed with the installation of a new water heater or make arrangements for the disposal or storage of the old unit. Following the manufacturer’s instructions and seeking professional help, if needed, will ensure a successful installation or proper disposal.
Disconnecting a water heater is not only essential for functional purposes but also for safety reasons. Properly disconnecting and removing a water heater allows for proper maintenance, repairs, or replacement, ensuring the efficient and reliable operation of the unit.
Remember, if you are unsure or uncomfortable with any step of the disconnection process, do not hesitate to seek professional assistance. It is better to have the guidance and expertise of a trained professional to ensure a safe and successful disconnection.
By successfully disconnecting your water heater, you have taken a significant step towards maintaining a safe and functional home. Whether you are preparing for a move, upgrading your unit, or addressing repairs, the knowledge gained from this article will equip you to tackle the task with confidence.
Frequently Asked Questions about How To Disconnect Water Heater
Was this page helpful?
At Storables.com, we guarantee accurate and reliable information. Our content, validated by Expert Board Contributors, is crafted following stringent Editorial Policies. We're committed to providing you with well-researched, expert-backed insights for all your informational needs.


0 thoughts on “How To Disconnect Water Heater”