Home>Ideas and Tips>Home Theater Riser Construction: Improve Rear Seat Viewing

Ideas and Tips
Home Theater Riser Construction: Improve Rear Seat Viewing
Published: August 29, 2024
Build a home theater riser to enhance rear seat viewing, improve acoustics, and increase comfort. Follow our step-by-step guide for the perfect setup.
(Many of the links in this article redirect to a specific reviewed product. Your purchase of these products through affiliate links helps to generate commission for Storables.com, at no extra cost. Learn more)
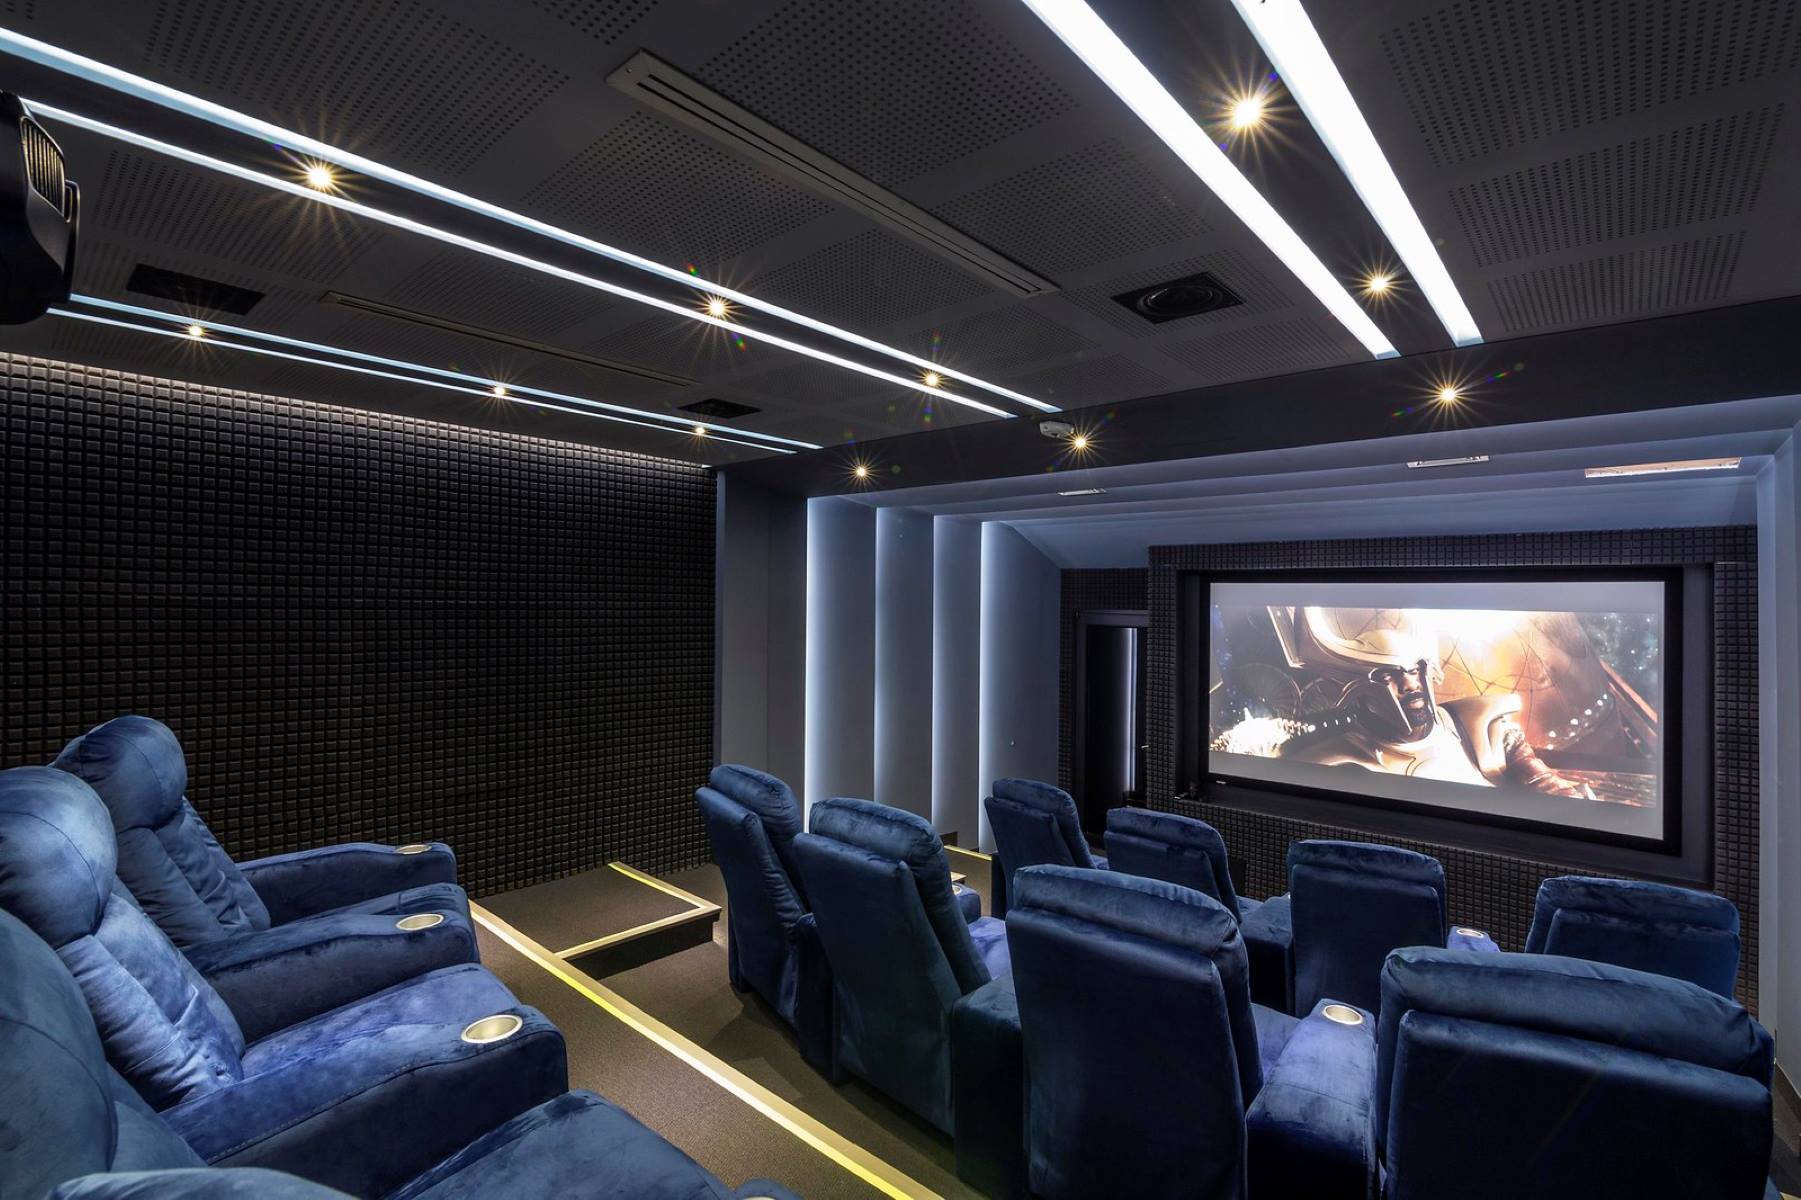
Creating a home theater is more than just setting up a screen and some speakers; it's about crafting an immersive experience that transports you to another world. One crucial element often overlooked in home theater design is the seating arrangement. Specifically, elevating the rear seats to ensure an unobstructed view of the screen is essential for an optimal viewing experience. In this article, we will delve into the construction of a home theater riser, focusing on how to build one that not only elevates the rear seats but also enhances the overall acoustics and comfort of your theater room.
Why Build a Home Theater Riser?
A home theater riser serves multiple purposes beyond just elevating the rear seats. Here are some key reasons why you should consider building one:
-
Improved Viewing Angle: The primary reason for building a riser is to ensure that the rear seats have an unobstructed view of the screen. If the second row of seats is not elevated, it can be difficult for viewers to see the entire screen, especially if the first row is positioned close to the screen.
-
Enhanced Acoustics: A well-designed riser can also improve the acoustics of your home theater. By incorporating sound-absorbing materials like Auralex, you can reduce echo and improve the overall sound quality.
-
Increased Comfort: Elevating the rear seats can also make the viewing experience more comfortable. It allows for better posture and reduces the strain on the neck and back.
-
Customization: Building a riser gives you the flexibility to customize it according to your needs. You can choose the materials, design, and size based on your specific requirements.
Read more: How To Build A Home Theater Riser
Materials Needed
Before you start building your home theater riser, it's essential to gather all the necessary materials. Here’s a list of what you'll need:
- 2×8 Lumber: This will be the primary material for the riser platform.
- 2×6 Lumber: Used for the base platforms if you're building on concrete.
- Plywood or OSB Subfloor: For the top surface of the riser.
- Insulation: Soundproofing mineral wool insulation to dampen unwanted sounds.
- Insulation Supports: To hold the insulation in place.
- Subfloor Adhesive: For securing the subfloor to the joists.
- 3” Wood Screws: For assembling the base platforms and securing the joists.
- Hurricane Straps: For securing particle board base sheets together.
- Wood Clips: To firmly secure and square the structure.
- Auralex U-boats or Similar Sound-Absorbing Materials: To improve acoustics.
Step-by-Step Guide to Building a Home Theater Riser
Step 1: Lay Out All Materials and Plan Your Cuts
The first step in building your home theater riser is to lay out all your materials in a big open area and begin planning where to make your cuts. Since the width of your riser might be larger than two 2’ x 4’ sheets of plywood, you'll need to determine the best place for placing any oddball pieces. For example, if you have a piece that's roughly 9” in width, you can place it between the two 2’ x 4’ sheets which should line up perfectly with one of your 2’ x 8’ joists. Placing this piece on the extreme side of the riser is not advised as it can compromise structural integrity, especially when someone steps off the riser platform.
Step 2: Layout the Plywood Base and Frame the Joist Structure
Next, you need to layout the plywood base in your theater room and strap it together using hurricane straps with small nails. This will help secure the particle board base sheets together. Then, frame out the riser in your theater room. It's advisable to do this in the theater room itself rather than another location because the finished structure will be big and heavy, making it difficult to transport, especially if your theater room is on the second floor like mine.
Step 3: Fasten the Structure and Drill Ports
Before setting down the joist structure on top of the plywood flooring, suggest placing plastic on top of the plywood. This will make your life much easier when inserting Auralex mineral fiber and prevent fibers from seeping out of the riser. Use 4” screws to join each 2 x 8 joist member in addition to wood clips on the edges to firmly secure and square the structure. Once framing is completed, drill out two 1-1/2” ports using a hole saw. While this deviates slightly from Auralex's plan of using 2” holes, it maintains excellent structural integrity by not drilling overly large holes.
Step 4: Install U-Boats and Cut to Finish
Install Auralex U-boats or similar sound-absorbing materials to mechanically isolate the riser from the rest of the flooring. These U-boats help smooth out bass response and increase tactile response for all seats residing on it. Finally, cut any excess material to finish off your riser platform.
Additional Tips for Building Your Riser
-
Soundproofing: To ensure that your riser does not act like a drum when hit by bass, install soundproofing mineral wool insulation. This will help dampen any unwanted sounds that enter the room.
-
Subfloor Installation: Use subfloor adhesive or construction adhesive to secure the OSB subfloor to the joists. Make sure to cut the subfloor to size such that the end lands on the center of a joist. To stiffen up the platform and reduce vibrations, glue and screw down a second layer of subfloor with seams running in the opposite direction.
-
Customization: Consider adding a step or platform to your riser if needed. This can be done by recessing part of the riser platform for a comfortable step height.
Conclusion
Building a home theater riser is a rewarding DIY project that can significantly enhance your viewing experience. By elevating the rear seats and incorporating sound-absorbing materials, you can create an immersive environment that rivals commercial theaters. Remember to plan carefully, use high-quality materials, and consider additional features like soundproofing and customization to make your home theater truly special.
Read more: How Much Are Rear View Mirrors
Final Thoughts
Creating a home theater is not just about setting up equipment; it's about crafting an experience that transports you to another world. With a well-designed riser, you can ensure that every seat in your theater room offers an unobstructed view and a comfortable viewing experience. Whether you're a seasoned DIY enthusiast or just starting out, building a home theater riser is a project worth undertaking for anyone passionate about home entertainment.
By following these steps and tips, you'll be able to build a home theater riser that not only improves rear seat viewing but also enhances the overall acoustics and comfort of your theater room. Happy building
Was this page helpful?
At Storables.com, we guarantee accurate and reliable information. Our content, validated by Expert Board Contributors, is crafted following stringent Editorial Policies. We're committed to providing you with well-researched, expert-backed insights for all your informational needs.


0 thoughts on “Home Theater Riser Construction: Improve Rear Seat Viewing”