Home>Ideas and Tips>How To Choose And Install The Right Bathroom Wall-Mounted Faucet
Ideas and Tips
How To Choose And Install The Right Bathroom Wall-Mounted Faucet
Modified: October 27, 2024
Learn how to choose and install the perfect bathroom wall-mounted faucet with our comprehensive guide, covering key factors and step-by-step instructions.
(Many of the links in this article redirect to a specific reviewed product. Your purchase of these products through affiliate links helps to generate commission for Storables.com, at no extra cost. Learn more)
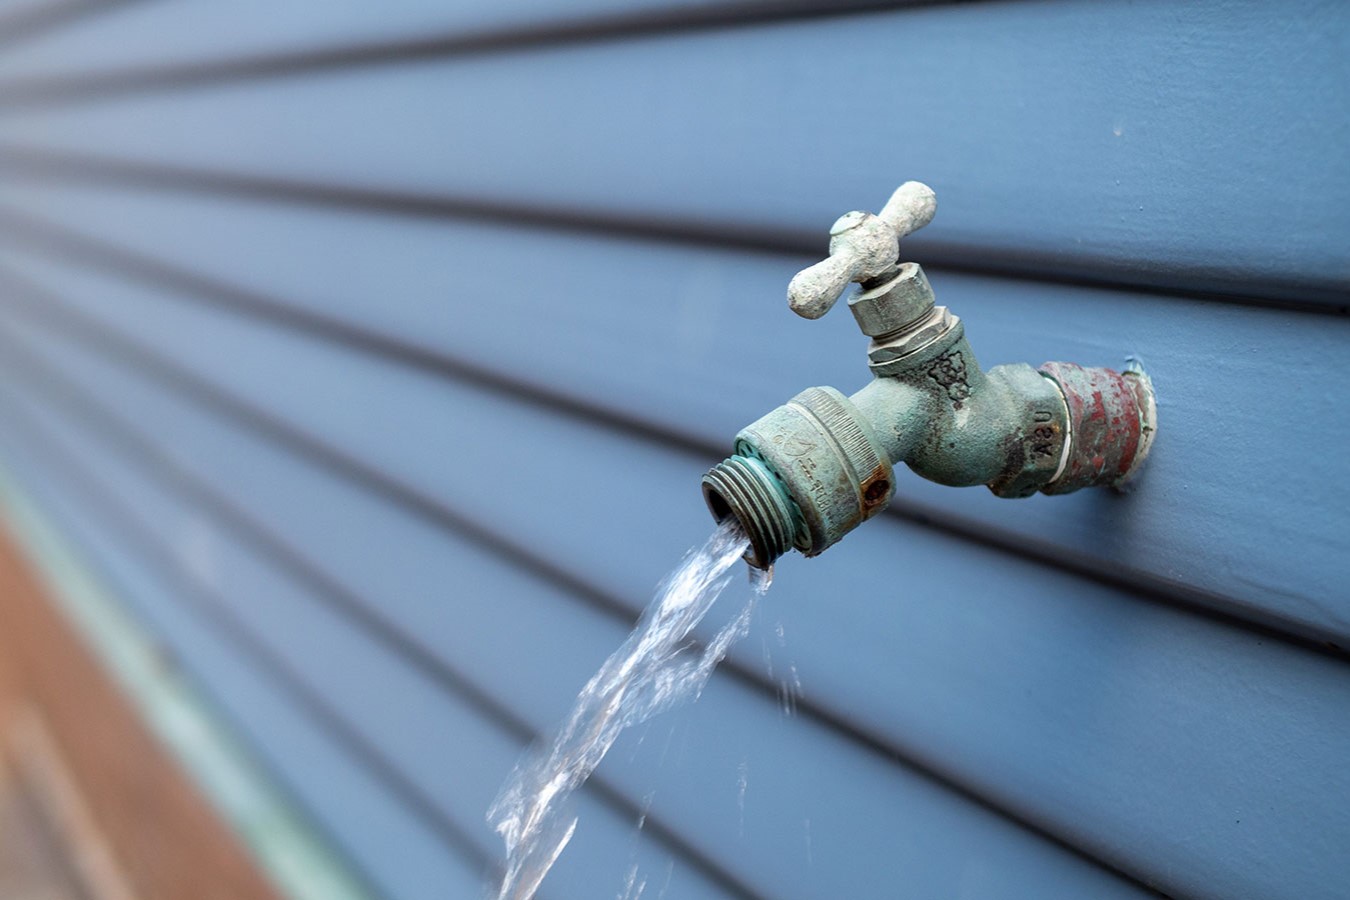
Choosing the right bathroom wall-mounted faucet can be a daunting task, especially with the numerous options available in the market. Not only do you need to consider the aesthetic appeal and functionality of the faucet, but also the complexity of its installation. In this article, we will guide you through the process of selecting the perfect wall-mounted faucet for your bathroom and provide a step-by-step guide on how to install it.
Understanding Wall-Mounted Faucets
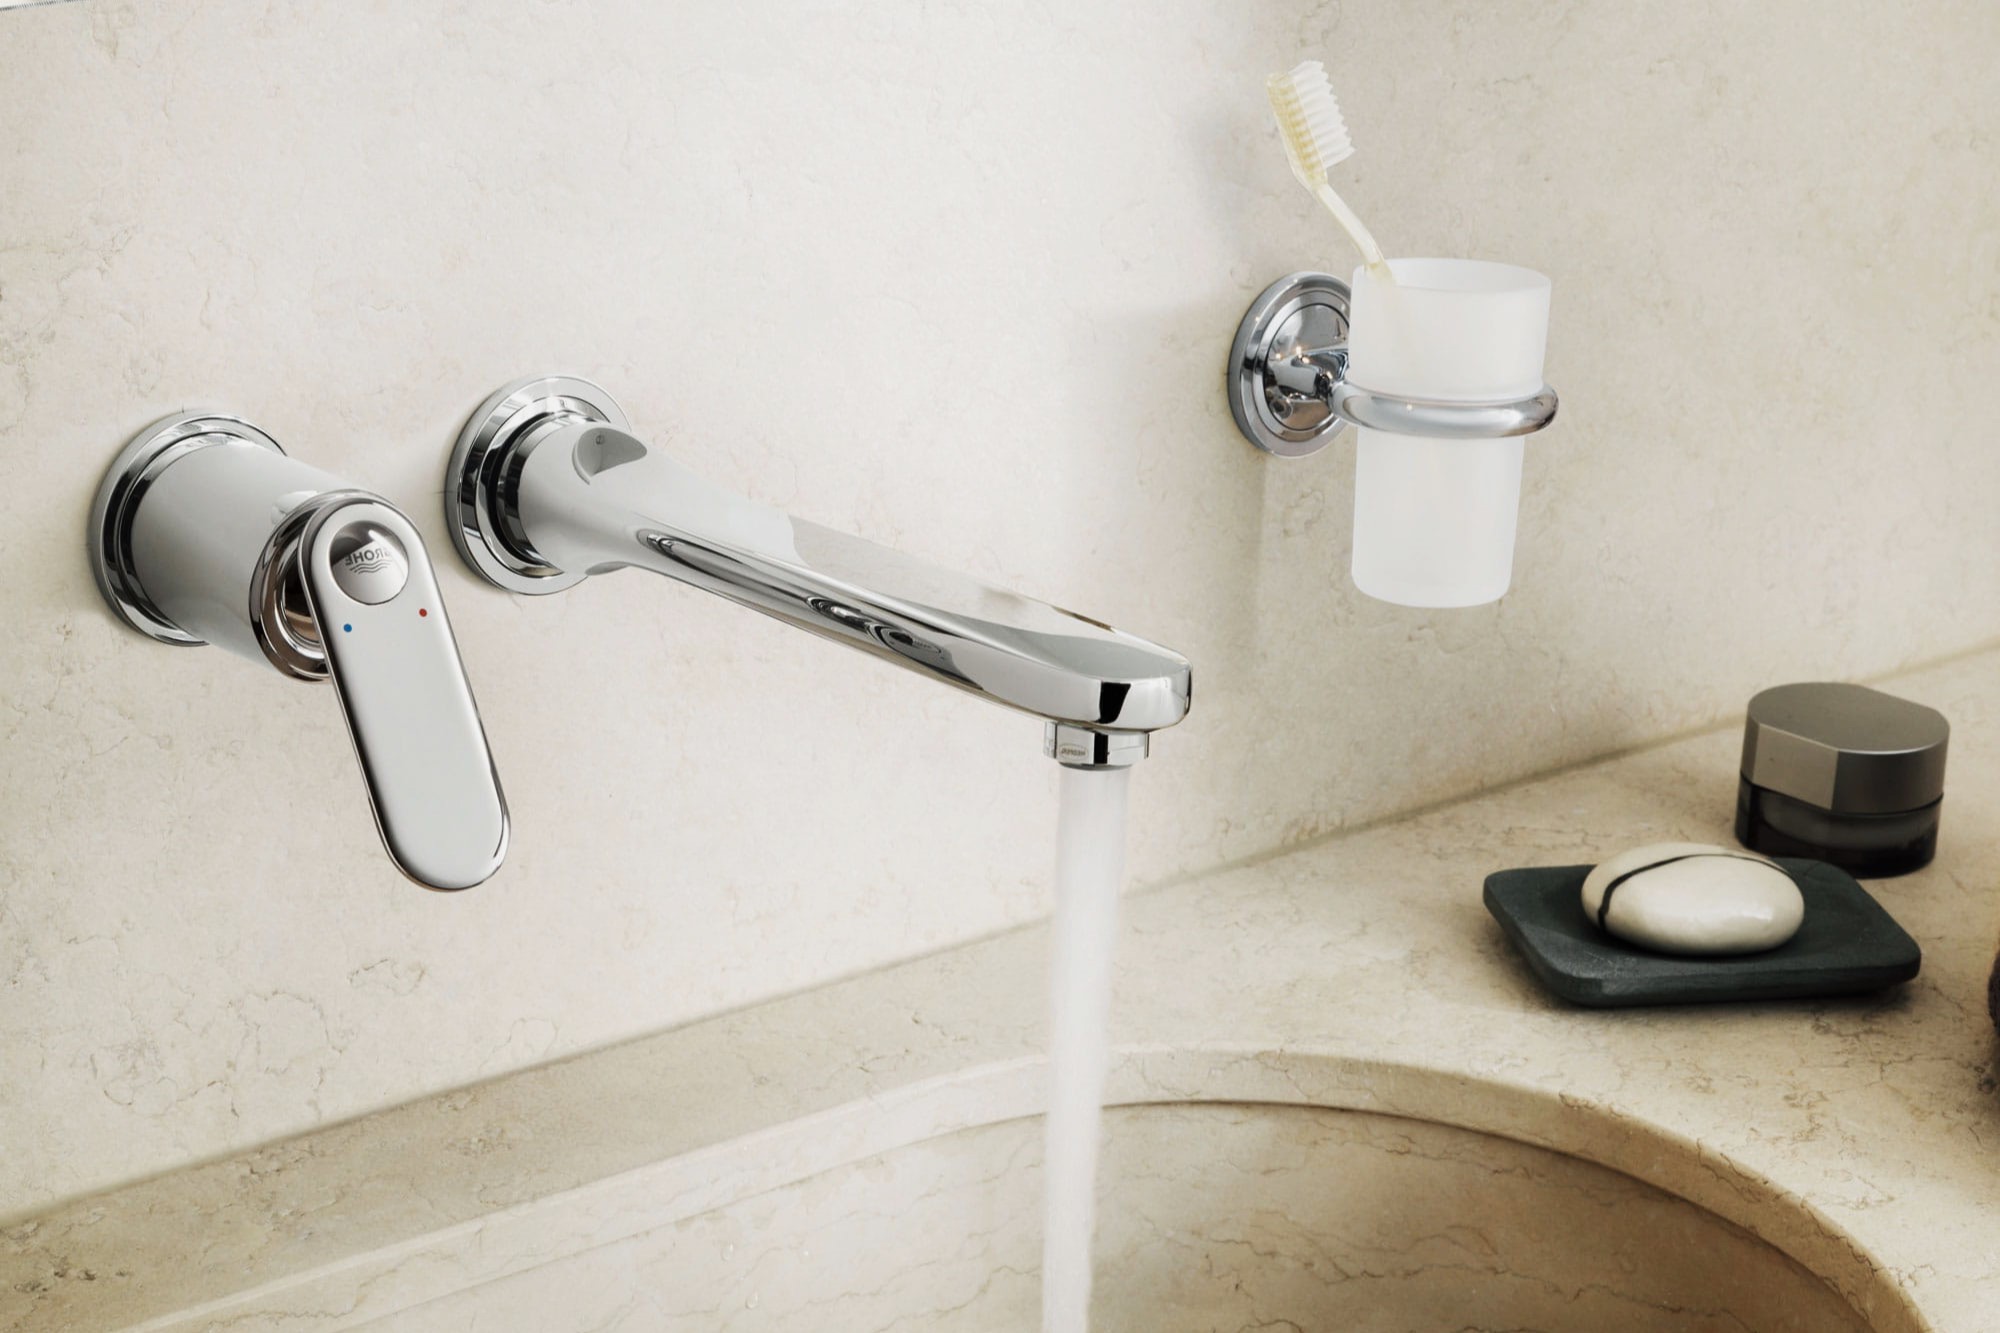
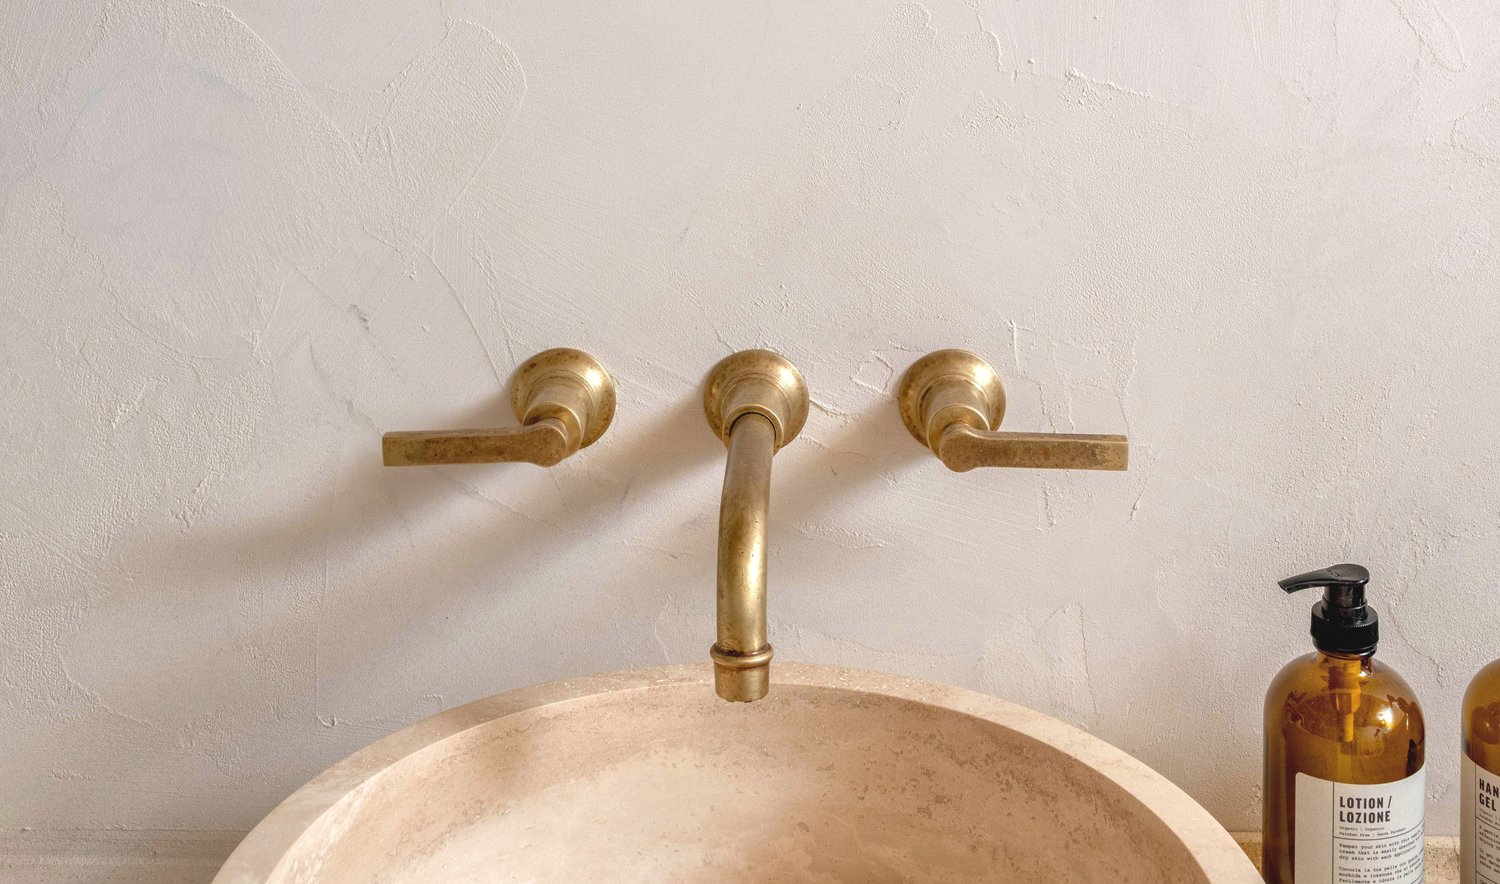
A wall-mounted bathroom faucet is mounted directly to the wall above the sink, eliminating the need for holes in the sink or countertop. This design offers several advantages, including a clean and uncluttered look, increased counter space, and easier cleaning. However, it also presents some challenges, such as requiring in-wall plumbing and potentially more complex installation compared to deck-mounted faucets.
Pros and Cons of Wall-Mounted Faucets
Before making your decision, it's essential to weigh the pros and cons of wall-mounted faucets.
Pros:
- Aesthetic Appeal: Wall-mounted faucets offer a modern and minimalist look, enhancing the bathroom’s overall design by creating a clean and uncluttered countertop.
- Space Efficiency: By being mounted on the wall, these faucets free up countertop space, making cleaning easier and providing more room for bathroom essentials.
- Customizable Installation Height: The flexibility to install the faucet at various heights can improve accessibility for users of all ages and abilities, making it a versatile choice for diverse households.
Cons:
- Complex Installation: Requires in-wall plumbing, which can be more complicated and costly, especially in renovations where walls need to be opened and modified.
- Maintenance Challenges: Repairs may necessitate access to plumbing behind the wall, potentially increasing the complexity and cost of maintenance over time.
Factors to Consider When Choosing a Wall-Mounted Faucet
-
Sink Type:
- The type of sink you have or plan to install is crucial in determining the right faucet. For instance, a countertop-mounted sink will require a faucet with a single or three-hole configuration, while a wall-mounted sink will need a wall-mounted faucet.
-
Mounting Style:
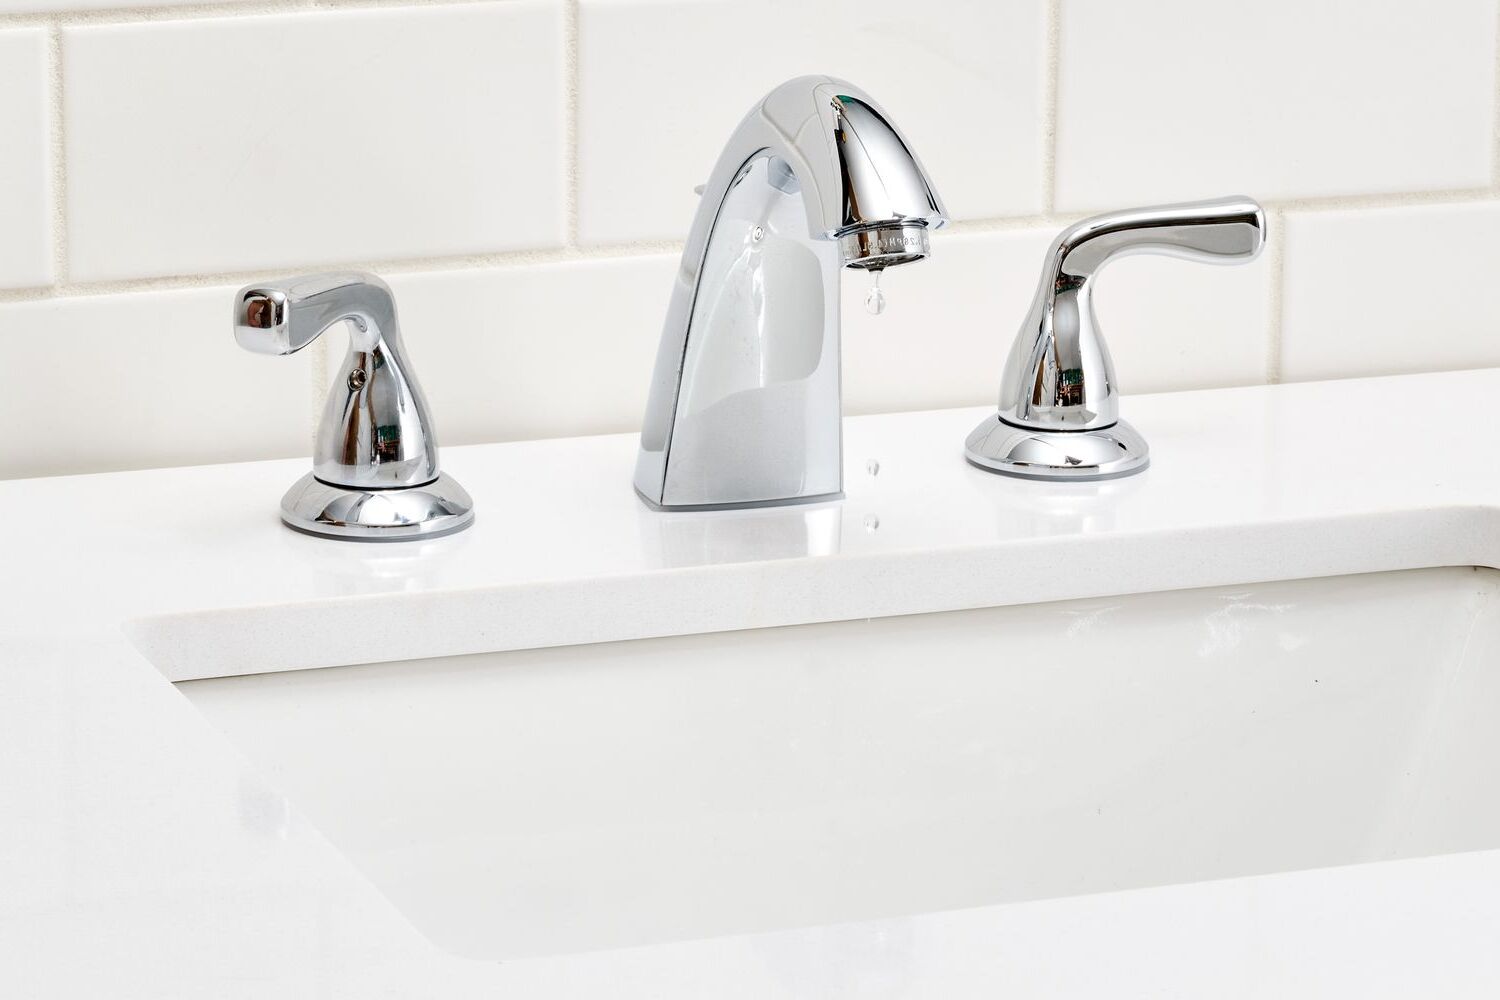
- The three common mounting styles for bathroom sink faucets are deck-mounted, wall-mounted, and vessel-mounted. Deck-mounted faucets are installed directly on the sink deck or countertop, while wall-mounted faucets are attached to the wall above the sink. Vessel-mounted faucets are designed for vessel sinks and are installed directly on the sink itself.
-
Spout Reach and Height:
- The spout reach and height are crucial considerations as they determine the ease of use and the amount of space required for various activities at the sink. The spout reach refers to how far the water will extend from the spout into the sink bowl. Make sure the spout reach is adequate for your sink size to avoid splashing water outside the basin. Similarly, the spout height should accommodate any objects you plan to wash under the faucet, such as your hands or a large pot.
-
Handle Type:
- Bathroom sink faucets come with different handle types, including single-handle, double-handle, and touchless options. Single-handle faucets allow you to control both the water temperature and flow with one hand, while double-handle faucets have separate handles for hot and cold water. Touchless faucets use motion sensors to detect your presence and activate the water flow, offering convenience and hygiene benefits.
-
Faucet Finish:
- The finish of your bathroom sink faucet plays a significant role in the overall aesthetic appeal of your bathroom. Various finishes are available, including chrome, brushed nickel, matte black, bronze, and gold-tone options. The finish should complement the existing decor and fixtures in your bathroom. Additionally, consider the ease of maintenance and durability of the finish, as some finishes may require more frequent cleaning or be susceptible to scratches and tarnishing.
-
Water Efficiency:
- With increasing awareness about environmental conservation, opting for a water-efficient bathroom sink faucet is a responsible choice. Look for faucets that have the WaterSense label, indicating that they meet the Environmental Protection Agency’s criteria for water efficiency and performance. Water-efficient faucets can save both water and money over time by reducing water consumption without compromising performance.
-
Budget:
- Lastly, it is essential to establish a budget for your bathroom sink faucet. Faucet prices can vary greatly depending on the brand, style, material, and features. Determine a price range that you are comfortable with and focus on finding options within that range. While it is wise to invest in a high-quality faucet that will last, it is also possible to find stylish and functional faucets at more affordable price points. Remember to consider the long-term durability and warranty coverage when making your final decision.
Tools and Materials Needed for Installation
Before starting the installation process, gather all the necessary tools and materials. Here is a list of what you will need:
- 1/2-inch Copper or PEX Pipe: Depending on your plumbing setup, you may need copper or PEX pipes for the water supply lines.
- Soldering Supplies or Crimping Tool and Barbed Fittings: If using copper pipes, you will need soldering supplies. For PEX pipes, a crimping tool and barbed fittings are required.
- Two Shutoff Valves: These valves are necessary for shutting off the water supply lines during installation.
- 2×4 Blocking Crossmember: This crossmember will support the faucet and ensure it is level.
- Measuring Tape: For accurate measurements and ensuring proper placement of the faucet.
- Torpedo Level: To ensure the faucet is perfectly level during installation.
- Drill: For making holes in the wall if necessary.
- Screws: For securing the faucet to the wall and blocking crossmember.
- Pipe Straps: To secure the pipes to the framing.
Steps for Installing a Wall-Mounted Faucet
-
Run the Water Supply Pipes:
- If you’re retrofitting an existing faucet, you can extend the stubouts for that faucet to the location of the new one. Otherwise, tee the supply lines into the nearest existing hot and cold water supply lines. Connect pipes and fittings with soldering supplies (for copper) or a crimping tool and barbed fittings (for PEX).
-
Install Shut-off Valves:
- You need a shut-off valve for each supply line. Put them in an accessible location. Some plumbers prefer to locate them behind a panel in the room adjacent to the bathroom.
-
Install the Blocking Crossmember:
- Modify the framing as needed to accommodate a 2×4 blocking crossmember at the height of the faucet. Level the crossmember with a torpedo level and screw it to the two studs on either side. Read the faucet installation instructions to determine how far behind the wall surface the crossmember needs to be.
-
Mount the Valve Body:
- Screw the valve body to the block, using a torpedo level to level it. Measure the distance the pipes stub out beyond the wall and double-check with the manufacturer’s requirements.
-
Connect the Water:
- Finish installing the water lines and connect them to the valve body. Secure the pipes to the framing with pipe straps. Turn on the water and check for leaks.
-
Finish the Wall:
- Once all plumbing connections are secure, finish installing any necessary trim or covers around the faucet area according to the manufacturer’s instructions.
Tips for a Smooth Installation
- Plan Ahead: Ensure you have all necessary tools and materials before starting the installation process. Measure carefully to avoid any mistakes during the installation.
- Follow Manufacturer’s Instructions: Each faucet brand may have specific installation requirements. Always refer to the manufacturer’s instructions for detailed guidance.
- Test Before Finishing: Turn on the water supply and check for leaks before finishing any cosmetic work around the faucet area.
Conclusion
Choosing and installing the right bathroom wall-mounted faucet requires careful consideration of various factors, including sink type, mounting style, spout reach and height, handle type, faucet finish, water efficiency, and budget. By following these steps and tips, you can ensure a smooth and successful installation process that enhances both the functionality and aesthetic appeal of your bathroom.
Remember that while wall-mounted faucets offer several advantages, they also present some challenges related to installation and maintenance. However, with proper planning and execution, you can enjoy the benefits of a modern and efficient bathroom setup that meets your needs and preferences.
Was this page helpful?
At Storables.com, we guarantee accurate and reliable information. Our content, validated by Expert Board Contributors, is crafted following stringent Editorial Policies. We're committed to providing you with well-researched, expert-backed insights for all your informational needs.


0 thoughts on “How To Choose And Install The Right Bathroom Wall-Mounted Faucet”