Articles
How To Install Wall Mount Faucet
Modified: August 28, 2024
Learn step-by-step instructions on how to install a wall mount faucet with our comprehensive articles. Transform your space with ease.
(Many of the links in this article redirect to a specific reviewed product. Your purchase of these products through affiliate links helps to generate commission for Storables.com, at no extra cost. Learn more)
Introduction
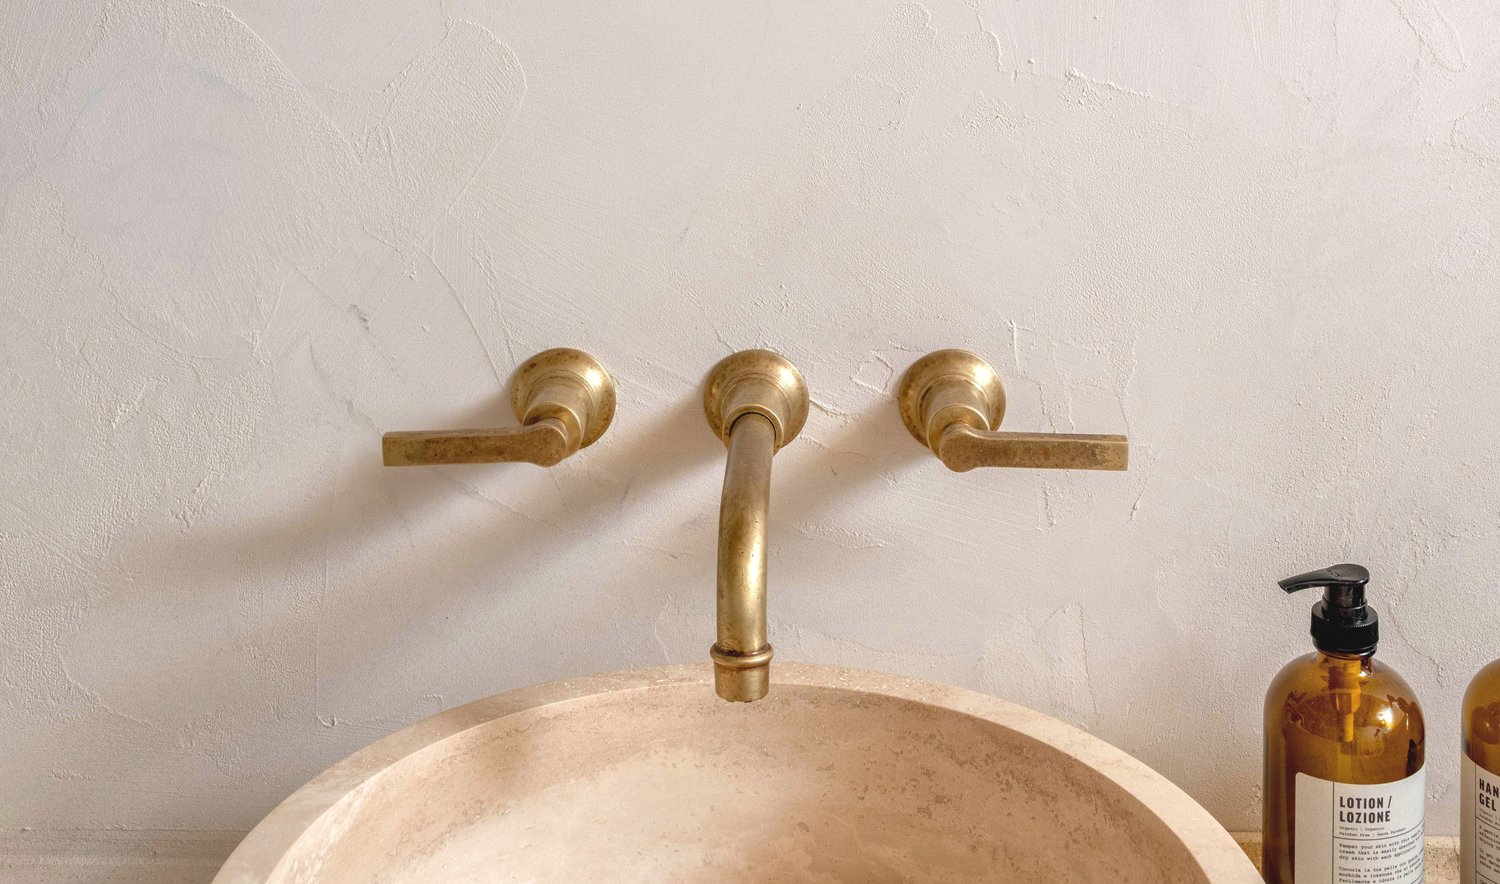
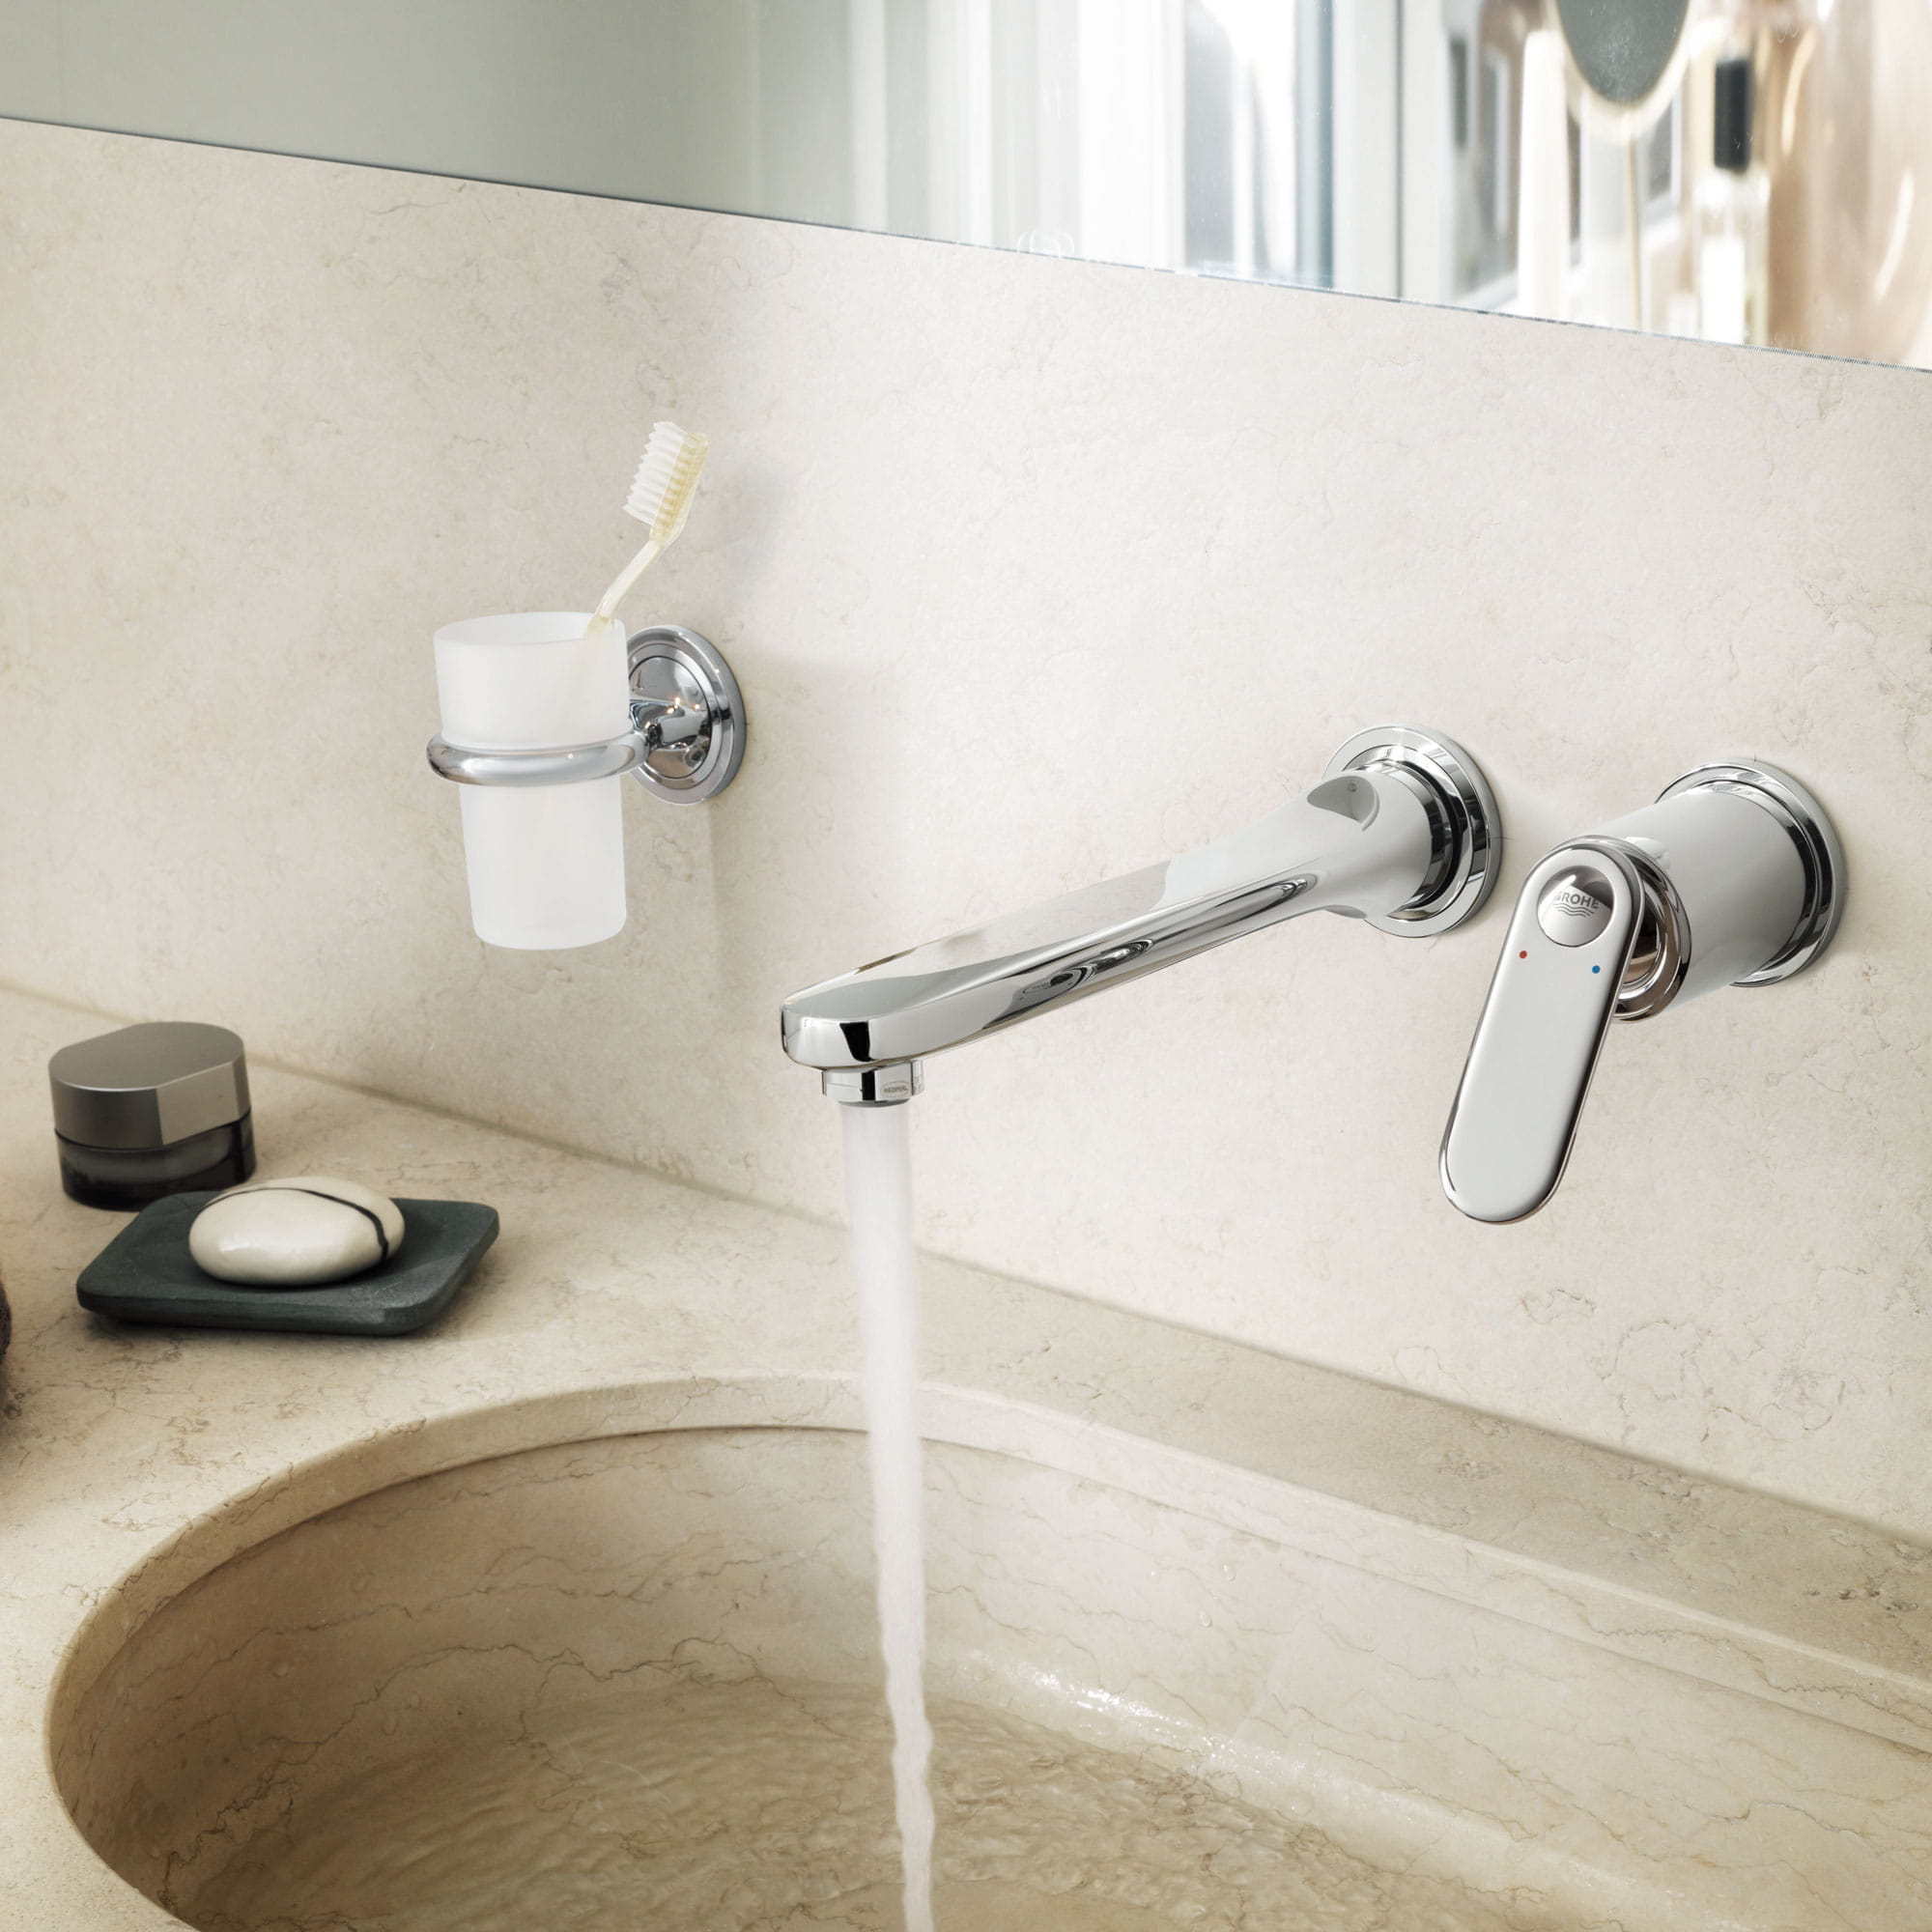
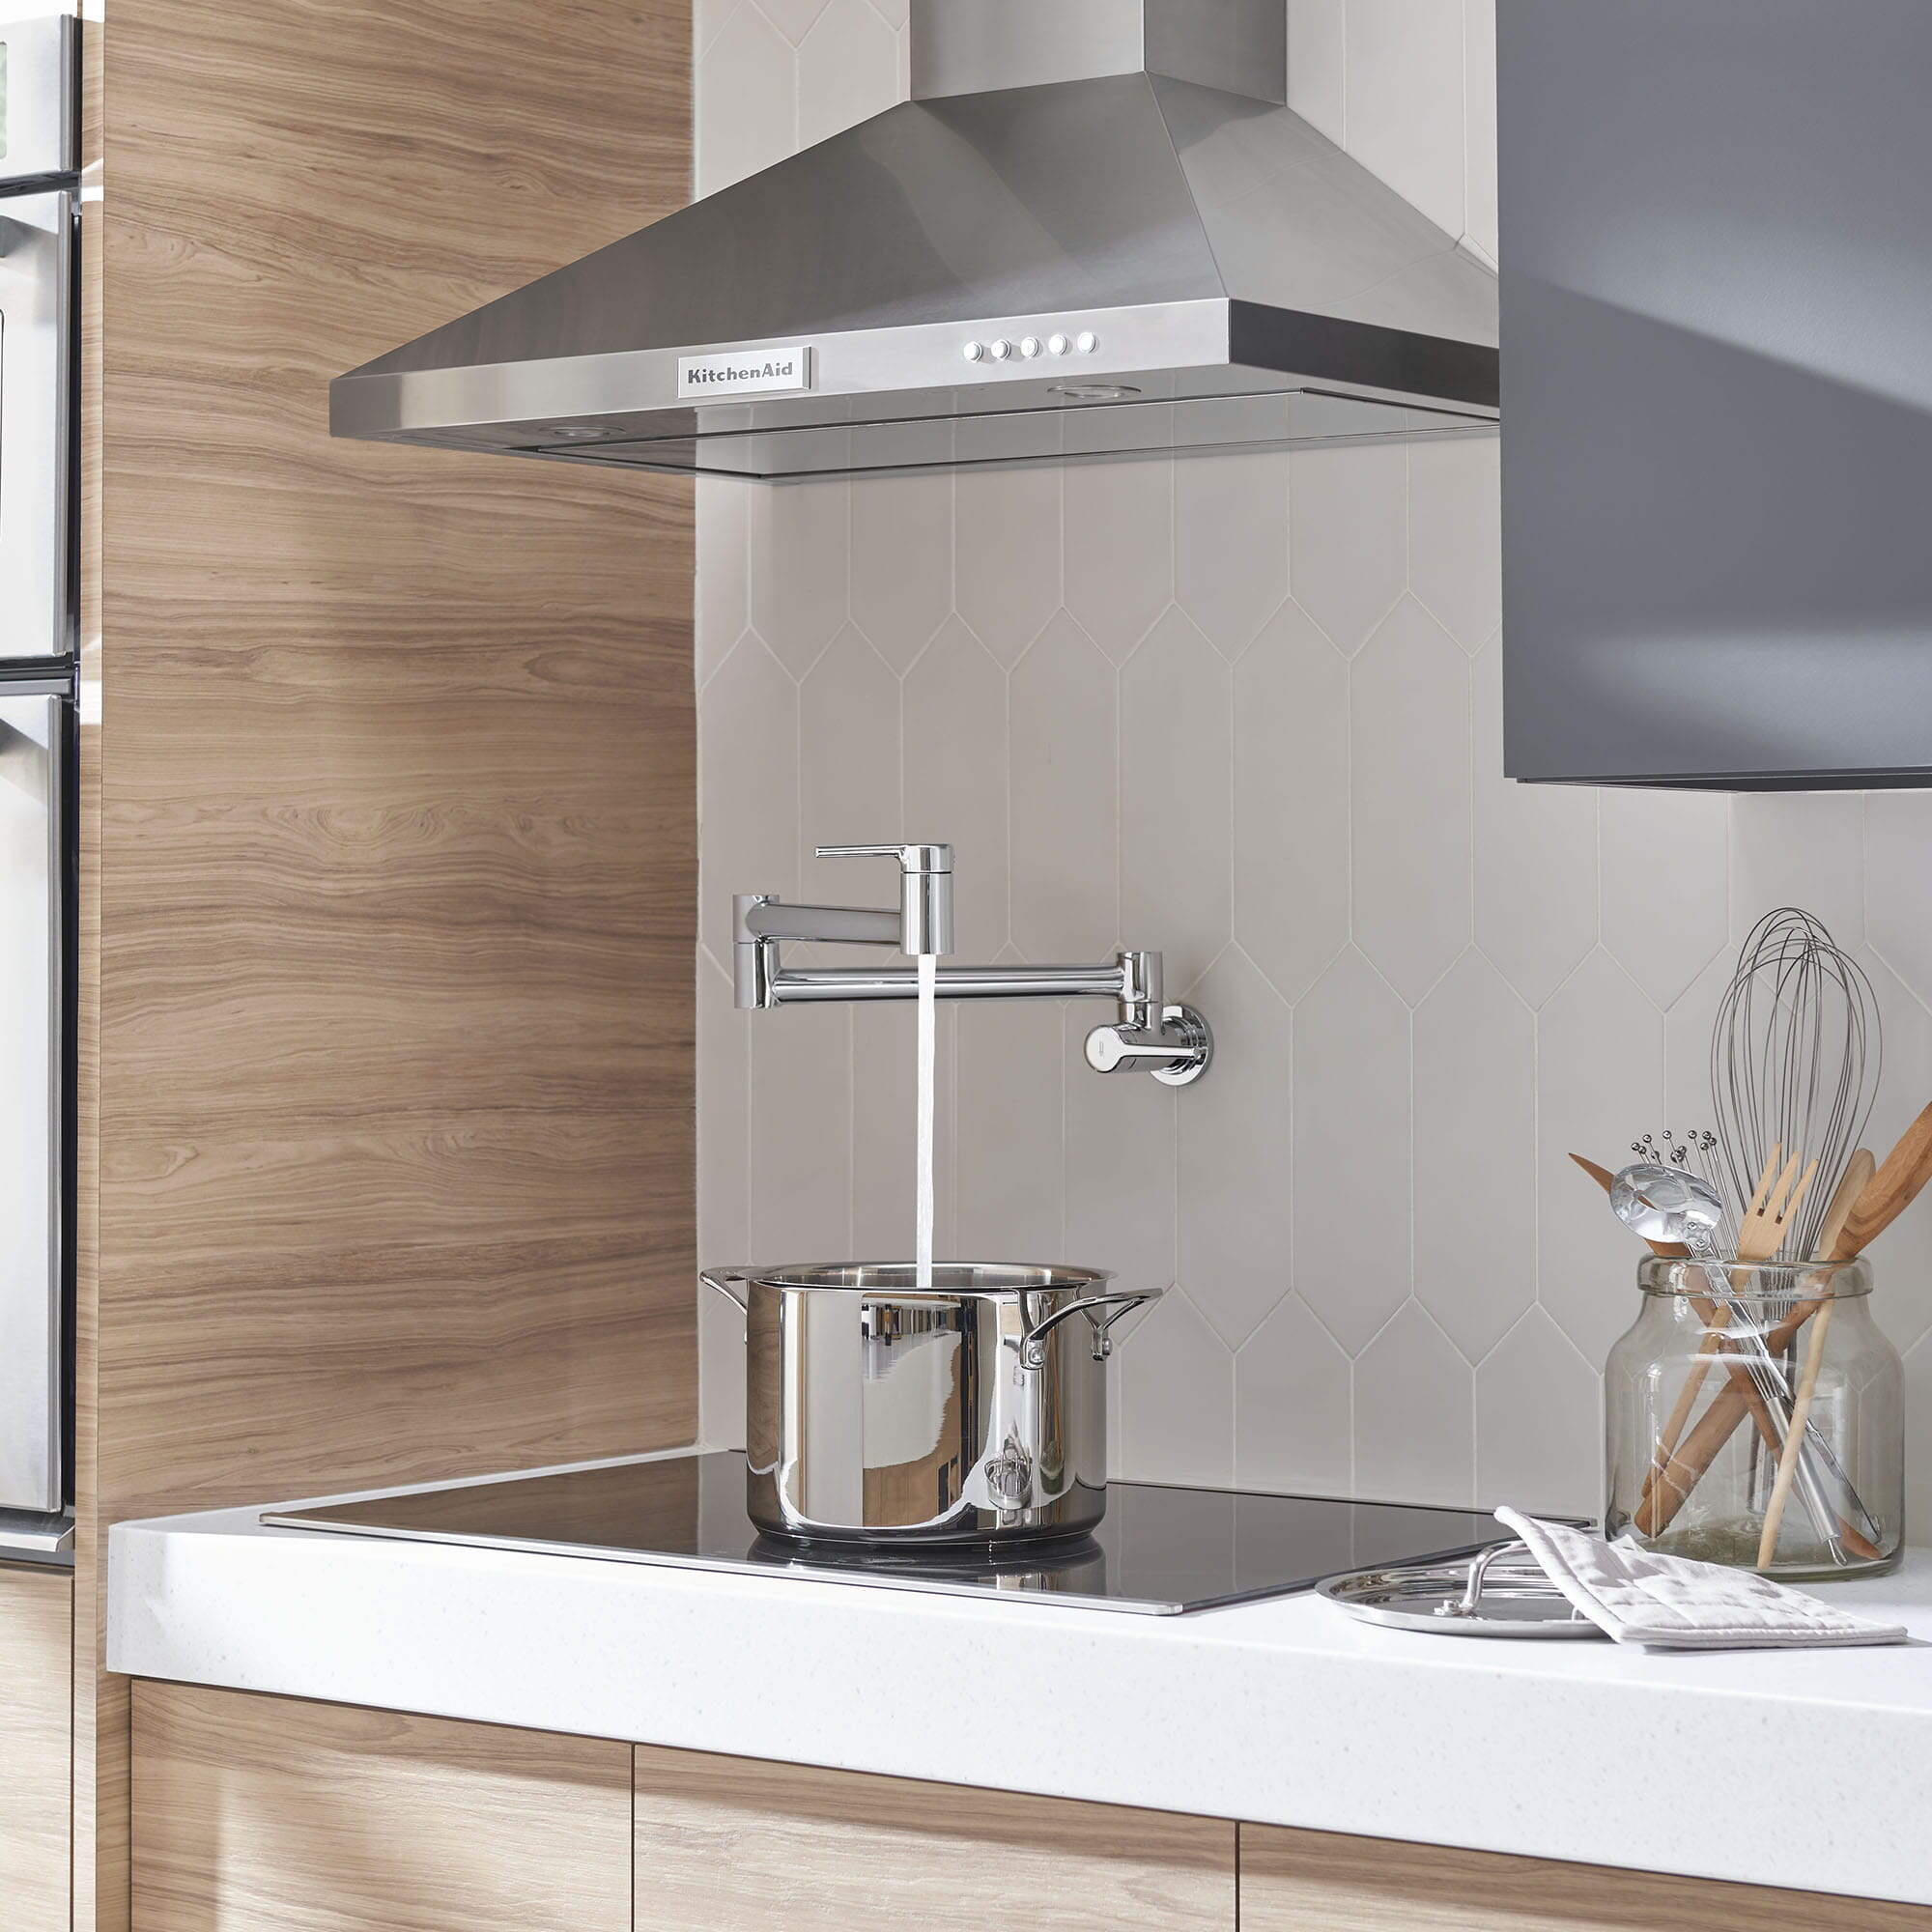
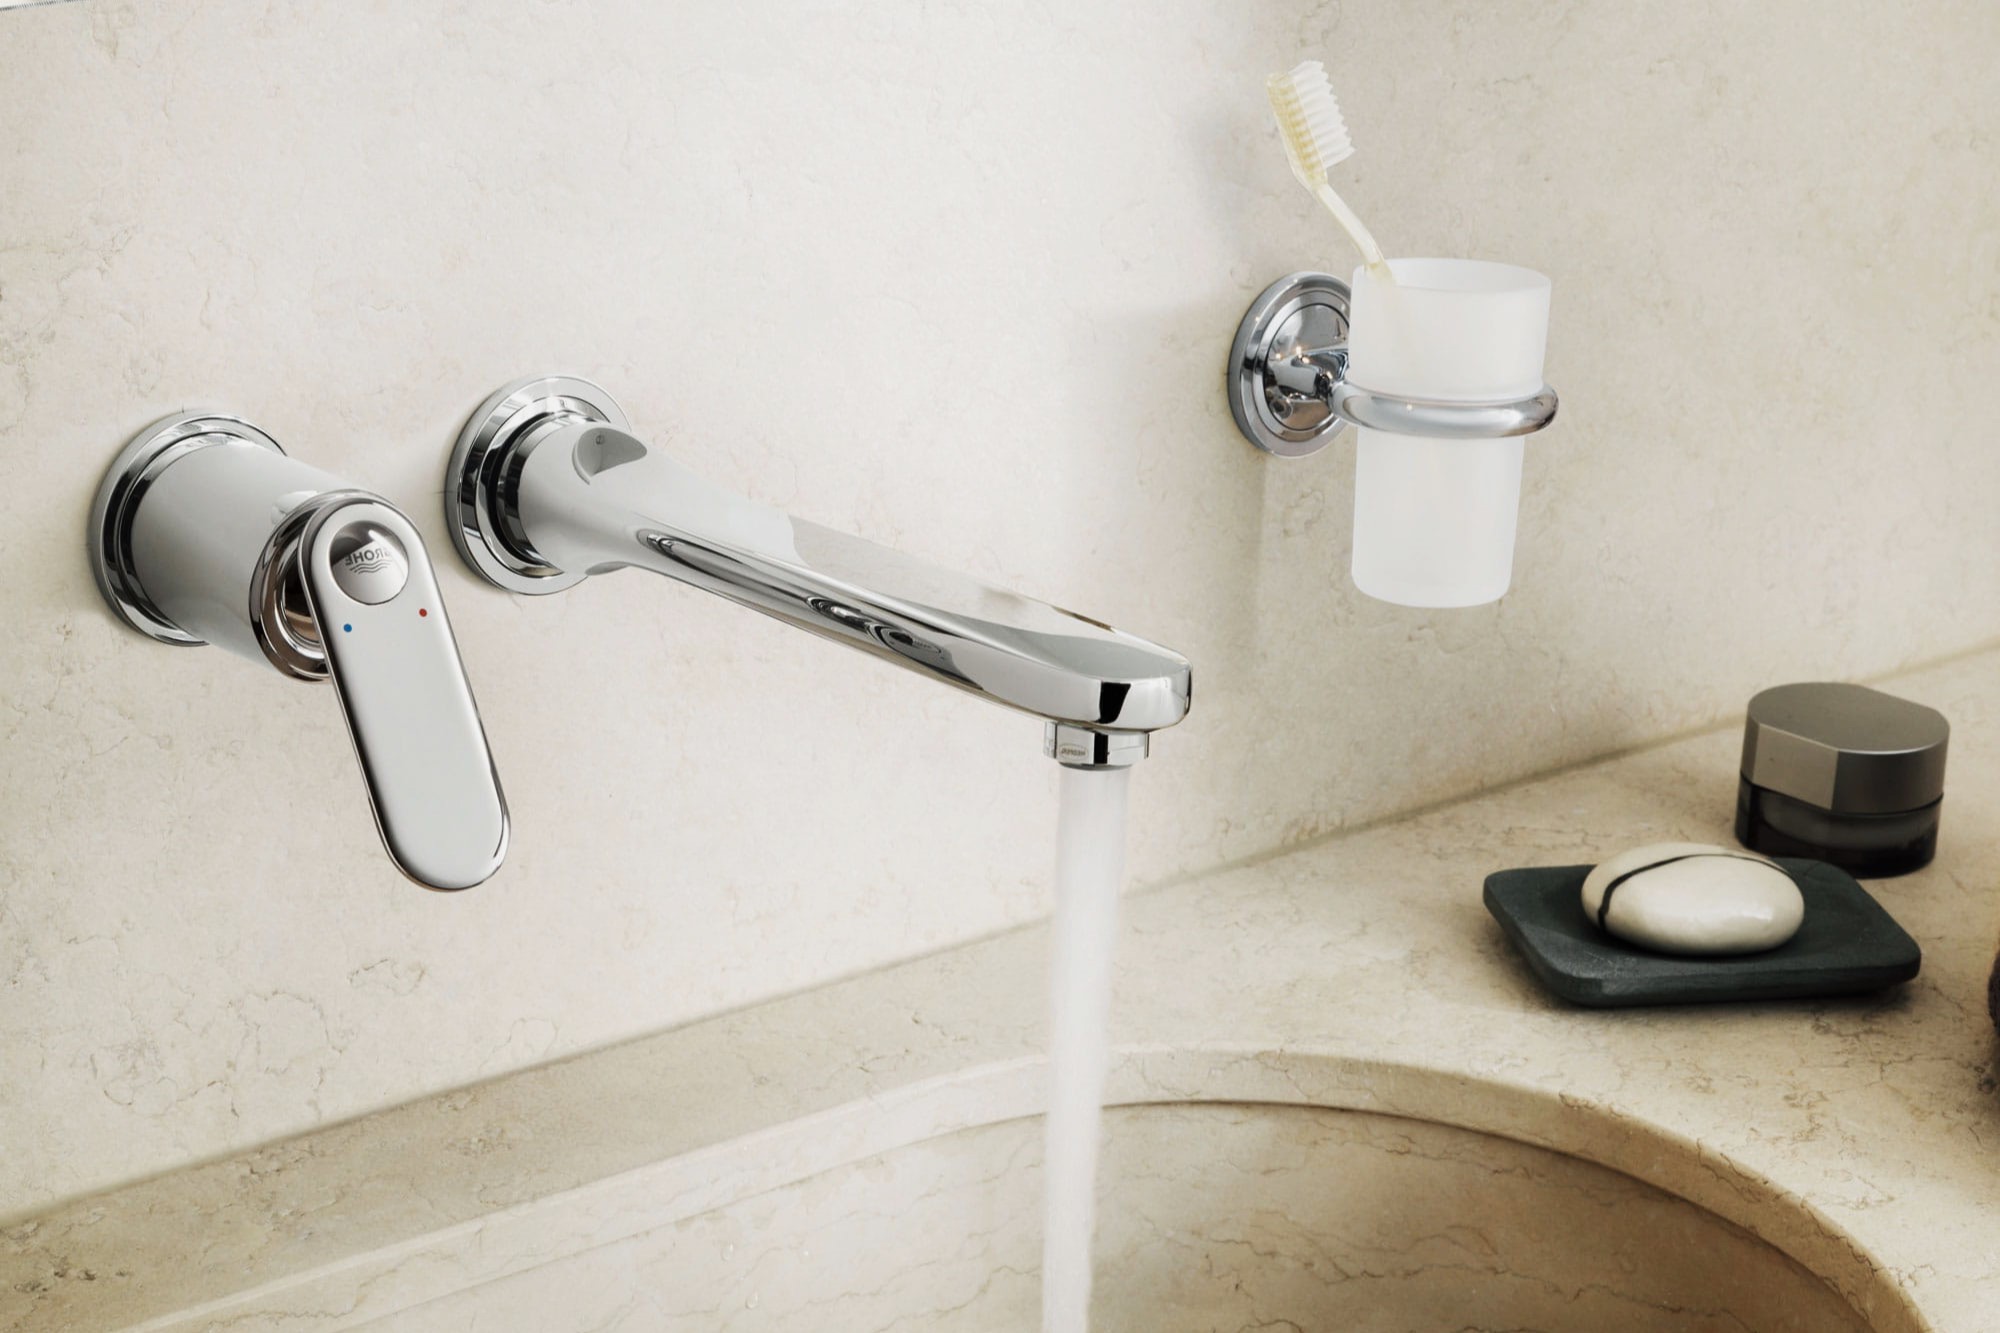
When it comes to upgrading the look and functionality of your bathroom or kitchen, installing a wall mount faucet can be a game changer. Wall mount faucets not only provide a sleek and modern aesthetic, but they also free up valuable counter space and make cleaning a breeze.
However, the thought of installing a wall mount faucet may seem intimidating to some. But fear not! With the right tools, materials, and a little bit of guidance, you can easily install a wall mount faucet on your own.
In this article, we will take you through a step-by-step process on how to install a wall mount faucet. Whether you are a seasoned DIY enthusiast or a beginner, this guide will help you tackle the installation process with confidence.
Before we dive into the specific steps, let’s first go over the tools and materials you will need for this project.
Key Takeaways:
- Elevate your bathroom or kitchen with a sleek wall mount faucet, freeing up counter space and simplifying cleaning. Follow the step-by-step guide for a rewarding DIY project.
- Proper preparation, accurate drilling, and secure attachment are crucial for a stable and secure wall mount faucet installation. Test for leaks to ensure long-term performance.
Read more: How To Install A Wall Mount Sink
Step 1: Gather the necessary tools and materials
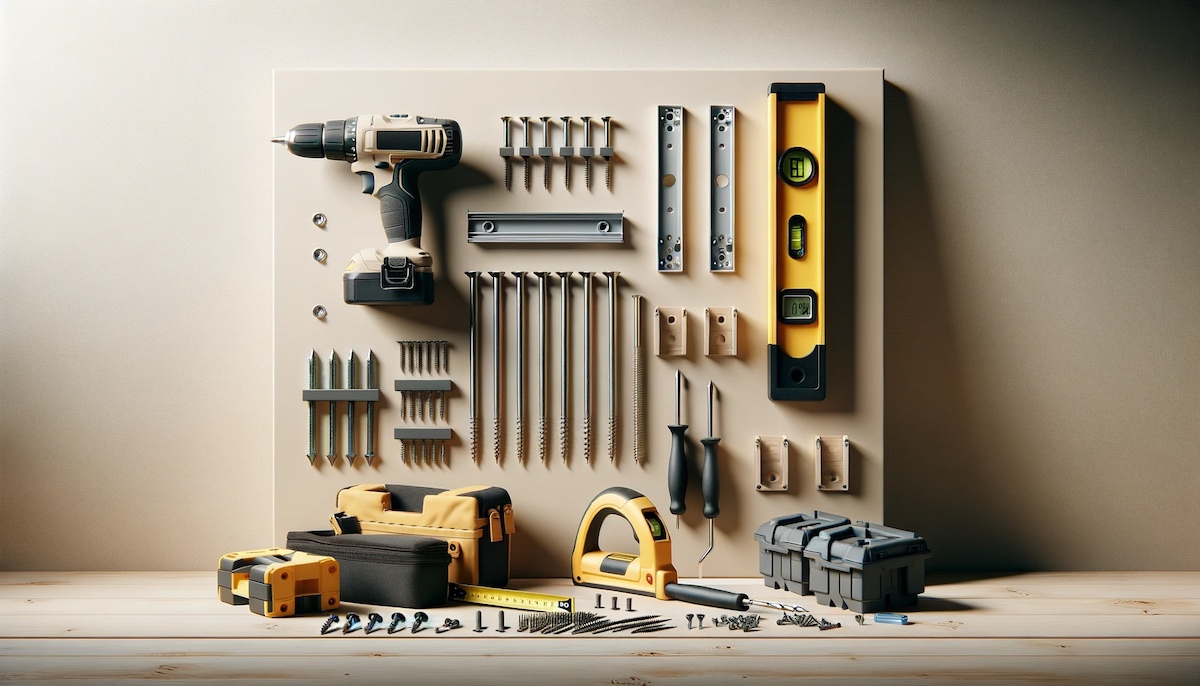
Before you begin the installation process, it’s essential to gather all the necessary tools and materials. Here’s a list of what you’ll need:
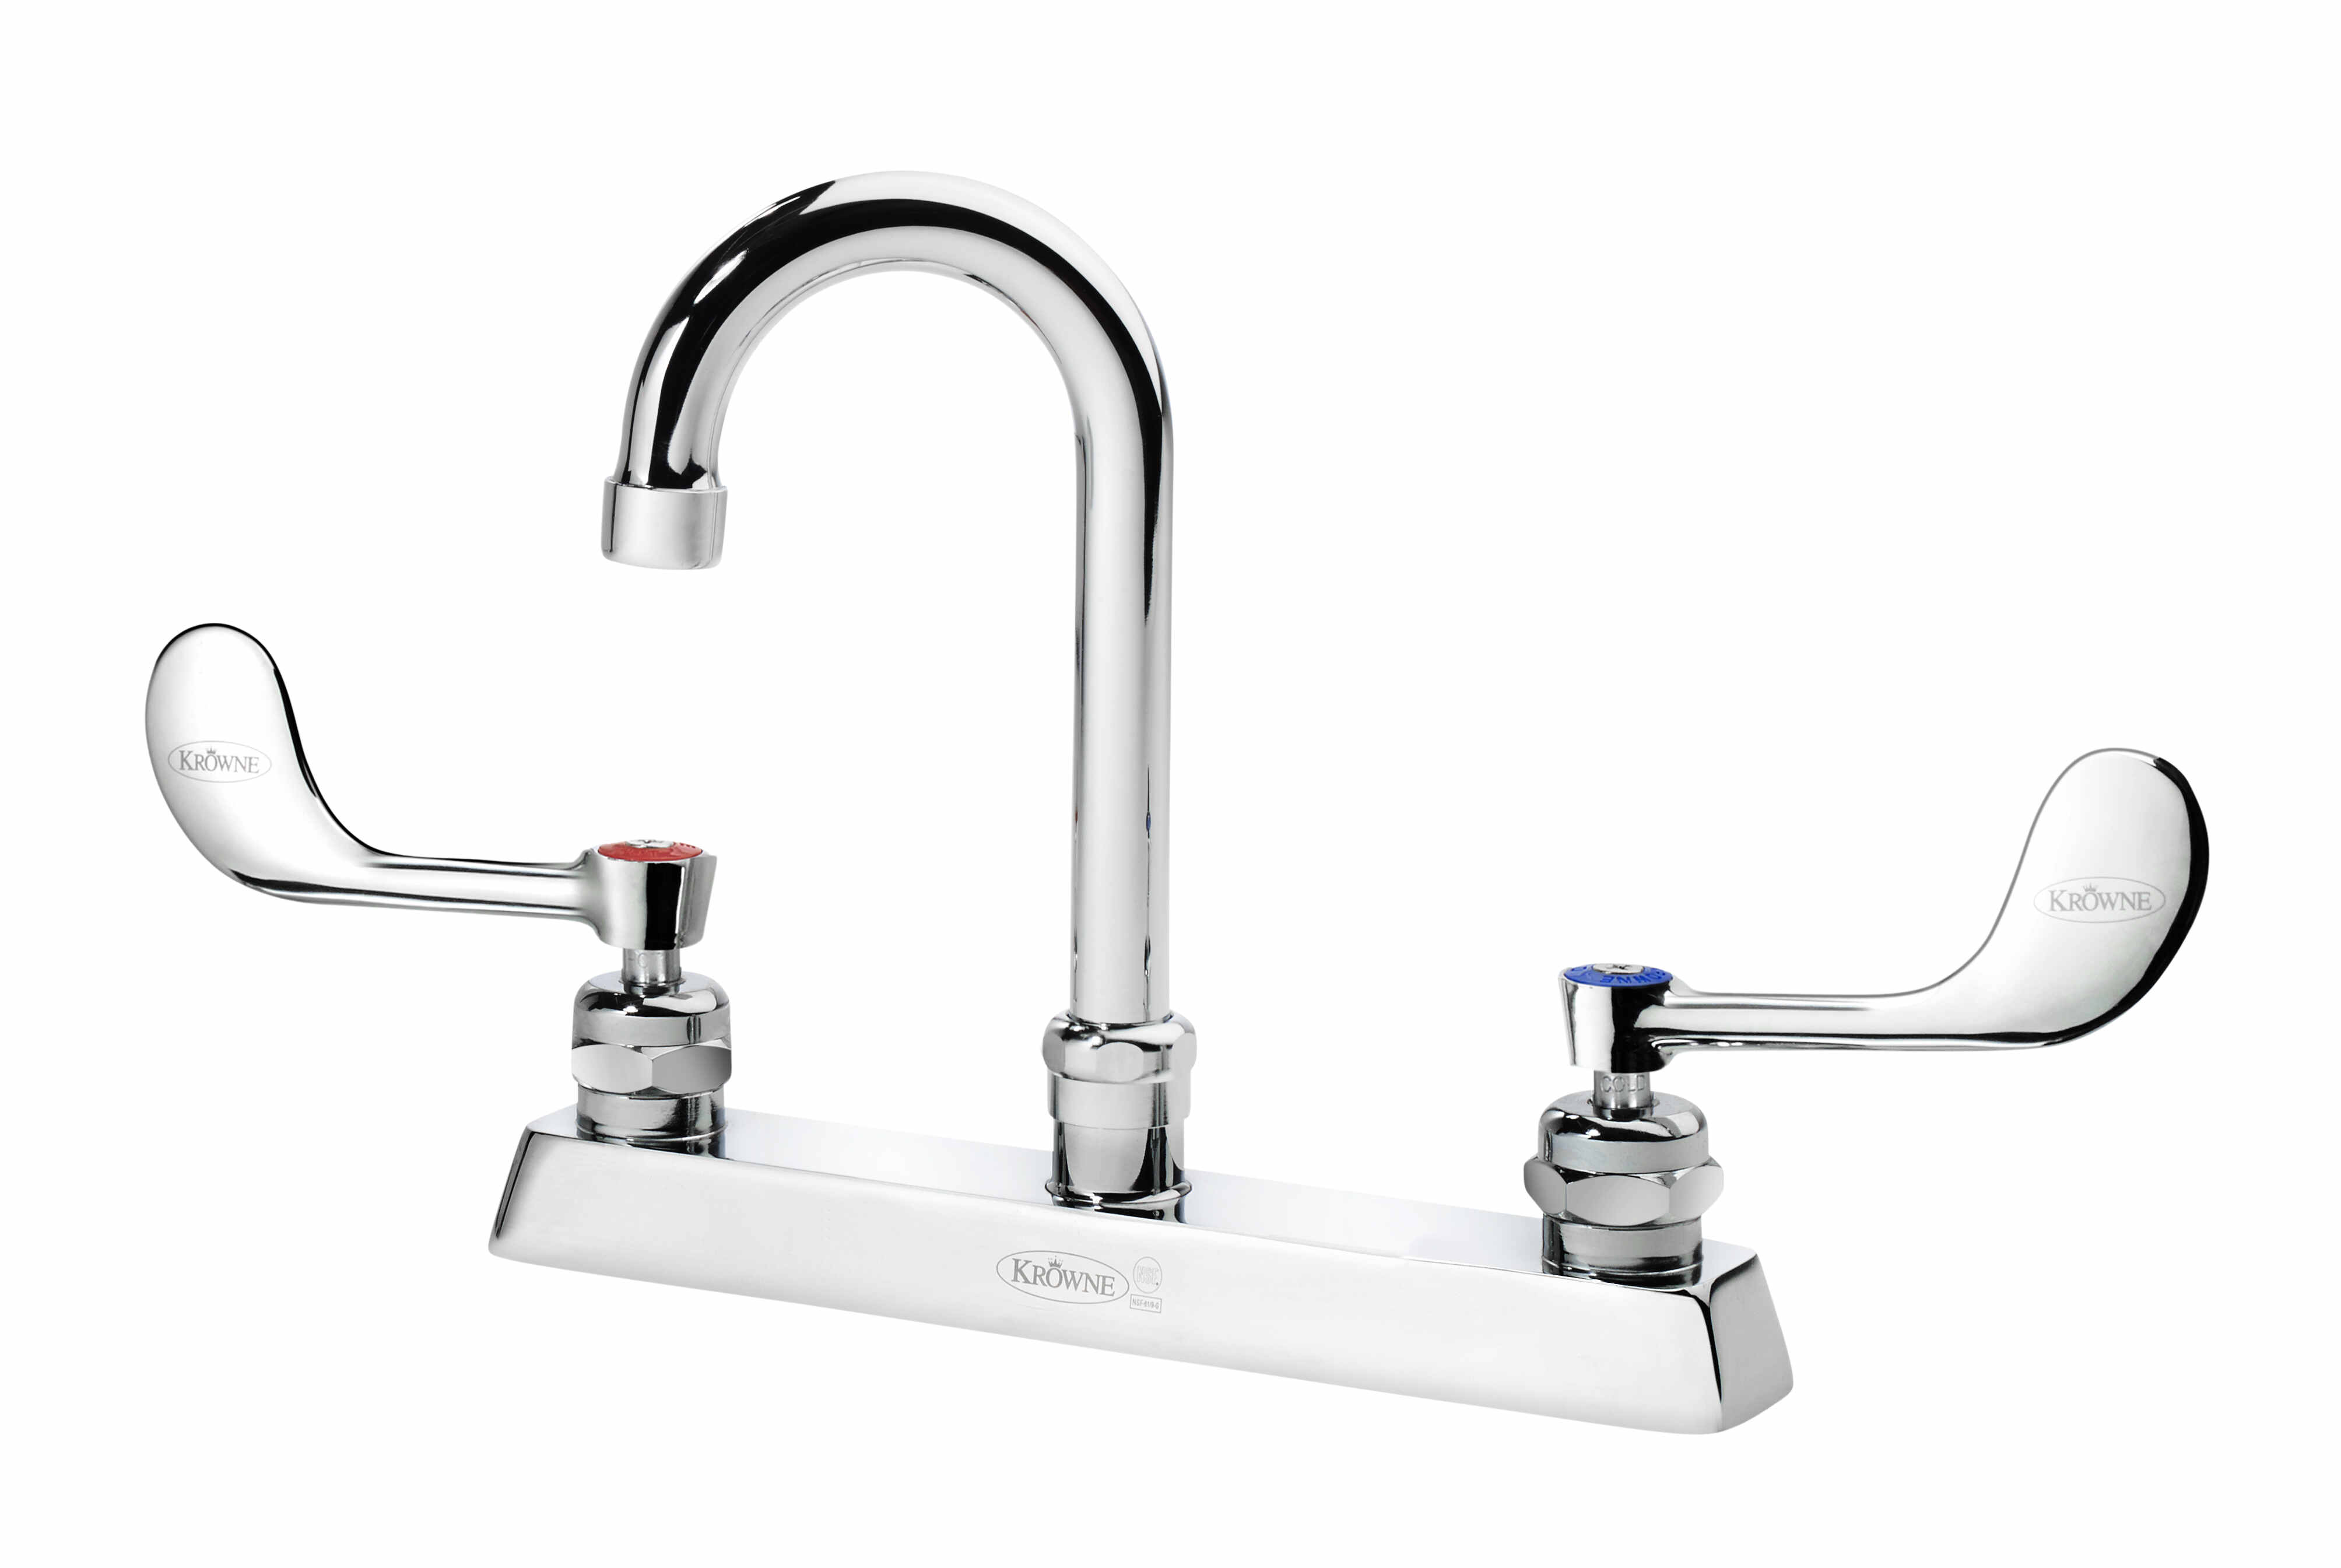
- Wall mount faucet kit (including the faucet, handles, and any additional components)
- Adjustable wrench
- Screwdriver (flathead or Phillips, depending on the screws used)
- Drill
- Drill bits (appropriate for your wall material)
- Tape measure
- Pencil
- Plumber’s tape (also known as Teflon tape)
- Plumber’s putty or silicone sealant
- Bucket or towel (to catch any water)
- Safety glasses
Make sure you have all the tools and materials listed above before you start the installation process. This will ensure a smooth and efficient installation without any unexpected hiccups.
Step 2: Prepare the wall for installation
Now that you have gathered all the necessary tools and materials, it’s time to prepare the wall for the installation of your wall mount faucet. Follow these steps:
- Turn off the water supply: Locate the shut-off valves under the sink or in the main water supply line and turn them off. This will prevent any water from flowing while you work.
- Remove the old faucet (if applicable): If you are replacing an existing faucet, remove it by disconnecting the water supply lines and unscrewing any mounting nuts. Use an adjustable wrench or a pair of pliers to loosen and remove any connections.
- Clean the wall: Use a damp cloth to clean the wall surface where the faucet will be installed. Remove any dirt, grime, or old sealant to ensure a clean and smooth surface.
- Inspect the wall for stability: Check the wall for any signs of damage or instability. It’s important to have a stable and secure wall to ensure proper installation and prevent any future issues.
- Locate the studs: Use a stud finder to locate the studs in the wall. Wall mount faucets need to be securely mounted to studs for stability and support. Mark the location of the studs with a pencil.
By properly preparing the wall for installation, you’ll ensure a solid foundation for your wall mount faucet and minimize the risk of any future complications.
Step 3: Mark and drill holes for mounting
With the wall prepared, it’s time to mark and drill the holes for mounting your wall mount faucet. Follow these steps:
- Position the faucet base plate: Take the faucet base plate and position it on the wall, aligning it with the marks you made for the studs. Ensure that the base plate is level and centered.
- Make the hole markings: Use a pencil to mark the screw hole locations on the wall through the holes of the base plate. Make sure to mark both the screw holes for the base plate and any additional holes for any handles or additional components.
- Double-check the markings: Before drilling, double-check the accuracy of your markings to ensure they are aligned with the studs and properly spaced.
- Drill the holes: With the proper drill bit, begin drilling the marked holes on the wall. Use caution and apply even pressure as you drill. Start with a smaller drill bit size and gradually increase to the size required for the mounting screws.
- Clean the holes: After drilling, use a brush or cloth to remove any dust or debris from the drilled holes. This will ensure a secure fit when mounting the faucet.
By carefully marking and drilling the holes, you’ll have a solid foundation for securely mounting your wall mount faucet. Take your time and double-check the accuracy to ensure proper alignment and stability.
Step 4: Install the faucet base plate
Now that you have marked and drilled the holes for mounting, it’s time to install the faucet base plate onto the wall. Follow these steps:
- Apply plumber’s tape: Take a roll of plumber’s tape and wrap a few turns around the threads of the water supply outlets on the wall. This will create a watertight seal once the faucet is installed.
- Position the base plate: Align the holes on the base plate with the holes on the wall, ensuring that the base plate is level and centered. Gently press the base plate against the wall, making sure that it fits snugly.
- Insert the mounting screws: Insert the mounting screws through the holes in the base plate and into the drilled holes on the wall. Use a screwdriver or an adjustable wrench to tighten the screws, but be careful not to overtighten and damage the base plate or the wall.
- Check for stability: Once the base plate is securely attached, give it a gentle tug to check for stability. It should feel firm and not wobble or move.
By properly installing the faucet base plate, you’ll ensure a solid and secure foundation for the rest of the wall mount faucet installation. Take your time and ensure that the base plate is level, centered, and tightly secured to the wall.
When installing a wall mount faucet, make sure to measure and mark the exact placement of the faucet and water lines before cutting into the wall. This will ensure a precise and secure installation.
Read more: How To Install A Wall Mount Toilet
Step 5: Attach the water supply lines
With the faucet base plate securely installed, it’s time to attach the water supply lines to the faucet. Follow these steps:
- Prepare the supply lines: Before attaching the supply lines, ensure that the water supply valves are still turned off. Inspect the supply lines for any damage or leaks. If needed, replace them with new ones.
- Apply plumber’s tape: Wrap a few turns of plumber’s tape around the threads of the water supply outlets on the faucet. This will create a secure and watertight seal.
- Connect the supply lines: Take the end of the supply lines and screw them onto the water supply outlets on the faucet. Use an adjustable wrench to tighten the connections, but be careful not to overtighten and damage the threads.
- Turn on the water supply: Once the supply lines are securely connected, turn on the water supply valves to allow water to flow into the faucet. Check for any leaks or drips around the connections. If you notice any, tighten the connections further or apply plumber’s putty or silicone sealant to create a tight seal.
- Purge the lines: Open the faucet handles to allow any air or debris in the lines to be flushed out. Let the water run for a few minutes until it flows smoothly and without any sputtering.
By properly attaching the water supply lines, you’ll ensure a steady and reliable flow of water to your wall mount faucet. Take your time to secure the connections properly and check for any leaks before moving on to the next step.
Step 6: Mount the faucet to the wall
Now that the water supply lines are attached, it’s time to mount the faucet onto the wall. Follow these steps:
- Apply plumber’s putty or silicone sealant: Apply a small amount of plumber’s putty or silicone sealant onto the backside of the faucet base plate. This will create a watertight seal and prevent any water from seeping behind the faucet.
- Position the faucet: Carefully position the faucet onto the base plate, aligning it with the mounting screws and holes. Gently press it against the base plate to secure it in place.
- Tighten the mounting screws: Using a screwdriver or an adjustable wrench, tighten the mounting screws on the faucet. Be careful not to overtighten, as it may damage the faucet or base plate. Ensure that the faucet is level and properly aligned.
- Check for stability: Once the faucet is securely mounted, give it a gentle tug to check for stability. It should feel firm and not wobble or move. Adjust the mounting screws if necessary.
By mounting the faucet securely to the wall, you’ll ensure that it remains stable and functional for years to come. Take your time to properly align the faucet and tighten the mounting screws, ensuring a secure and level installation.
Step 7: Connect the drain assembly
Now that the faucet is securely mounted, it’s time to connect the drain assembly. Follow these steps:
- Assemble the drain parts: Start by assembling the drain parts according to the manufacturer’s instructions. This typically involves connecting the drain flange, gasket, and tailpiece.
- Apply plumber’s putty or silicone sealant: Apply a thin layer of plumber’s putty or silicone sealant to the underside of the drain flange. This will create a watertight seal when the drain is installed.
- Insert the drain flange: Insert the drain flange into the drain opening from the top of the sink. Ensure that it is centered and seated properly.
- Tighten the retaining nut: From underneath the sink, place the rubber gasket and retaining nut onto the threaded portion of the drain flange. Use pliers or a wrench to tighten the retaining nut, making sure not to overtighten and risk damaging the sink or drain assembly.
- Connect the tailpiece: Attach the tailpiece to the bottom of the drain flange, aligning it with the trap. Secure it in place using a slip nut and washer.
- Check for leaks: Once the drain assembly is connected, turn on the water and check for any leaks around the drain area. Tighten any connections if needed.
By properly connecting the drain assembly, you’ll ensure that water flows smoothly and drains effectively. Take your time to follow the manufacturer’s instructions and double-check all connections to prevent any potential leaks.
Step 8: Test and check for leaks
Congratulations! You’re almost done with the installation of your wall mount faucet. The final step is to test it and check for any leaks. Follow these steps:
- Turn on the water supply: Slowly turn on the water supply valves to allow water to flow into the faucet. Keep an eye out for any signs of leakage.
- Check for leaks: Carefully inspect all the connections, including the supply lines, faucet handles, and drain assembly. Look for any signs of water leakage or dripping.
- Listen for unusual noises: While the water is flowing, listen for any unusual sounds such as hissing or rattling, which may indicate air in the system or improper installation.
- Test the faucet functionality: Test each faucet handle individually to ensure they turn on and off smoothly. Check the hot and cold water controls to make sure they are functioning correctly.
- Inspect the drain: Fill the sink with water and then release it to check if the drain is functioning properly. Ensure that the water drains quickly and completely without any backups or clogs.
If you notice any leaks or issues during the testing process, stop the water supply and assess the problem. Tighten any loose connections or consider consulting a professional plumber for assistance if necessary.
Once you are satisfied that there are no leaks and the faucet is functioning properly, pat yourself on the back for a job well done!
Remember to keep an eye on the faucet and periodically check for leaks or any other issues to ensure its long-term performance and prevent any potential water damage.
Conclusion
Installing a wall mount faucet can elevate the look and functionality of your bathroom or kitchen. By following the step-by-step guide outlined in this article, you can confidently install a wall mount faucet on your own.
From gathering the necessary tools and materials to testing for leaks, each step plays a crucial role in ensuring a successful installation. Take your time, pay attention to detail, and don’t hesitate to seek professional assistance if needed.
Remember, proper preparation of the wall, accurate marking and drilling of the mounting holes, and secure attachment of the faucet base plate are key to a stable and secure installation. Additionally, properly connecting the water supply lines and drain assembly will ensure a steady flow of water and efficient drainage.
Lastly, always test the faucet and check for leaks before considering the installation complete. By doing so, you can prevent any potential water damage and ensure the long-term performance of your wall mount faucet.
With the right tools, materials, and guidance, installing a wall mount faucet can be a rewarding and satisfying DIY project. Enjoy the aesthetic and functional benefits of your new wall mount faucet as you bring a touch of elegance and convenience to your space.
Frequently Asked Questions about How To Install Wall Mount Faucet
Was this page helpful?
At Storables.com, we guarantee accurate and reliable information. Our content, validated by Expert Board Contributors, is crafted following stringent Editorial Policies. We're committed to providing you with well-researched, expert-backed insights for all your informational needs.


0 thoughts on “How To Install Wall Mount Faucet”